
Some desserts carry a feeling long before the first spoonful. This one does.
Patriotic pudding cups are simple in structure, gentle in flavor, and cheerful in color. There’s comfort in the ease of making them. I’ve used this same combination of vanilla pudding, fruit topping, and cream since the 1980s. It began as a Sunday school treat, made in mismatched jelly jars. I still use glass cups because I like seeing the layers settle in like old friends.
There’s no baking, no boiling. Just whisking, spooning, and chilling. If you can stir a bowl of pudding, you can make these.

Vanilla Pudding and Summer Patience

Start with a box of instant vanilla pudding. I use the 5.1-ounce size and stir it with 3 cups of cold whole milk. The full-fat milk keeps it smooth. I’ve tried lower fat in the past, it thins too easily, especially when chilled. In my notebook, I’ve written, “Always use whole milk if you want the pudding to hold its shape in layers.”
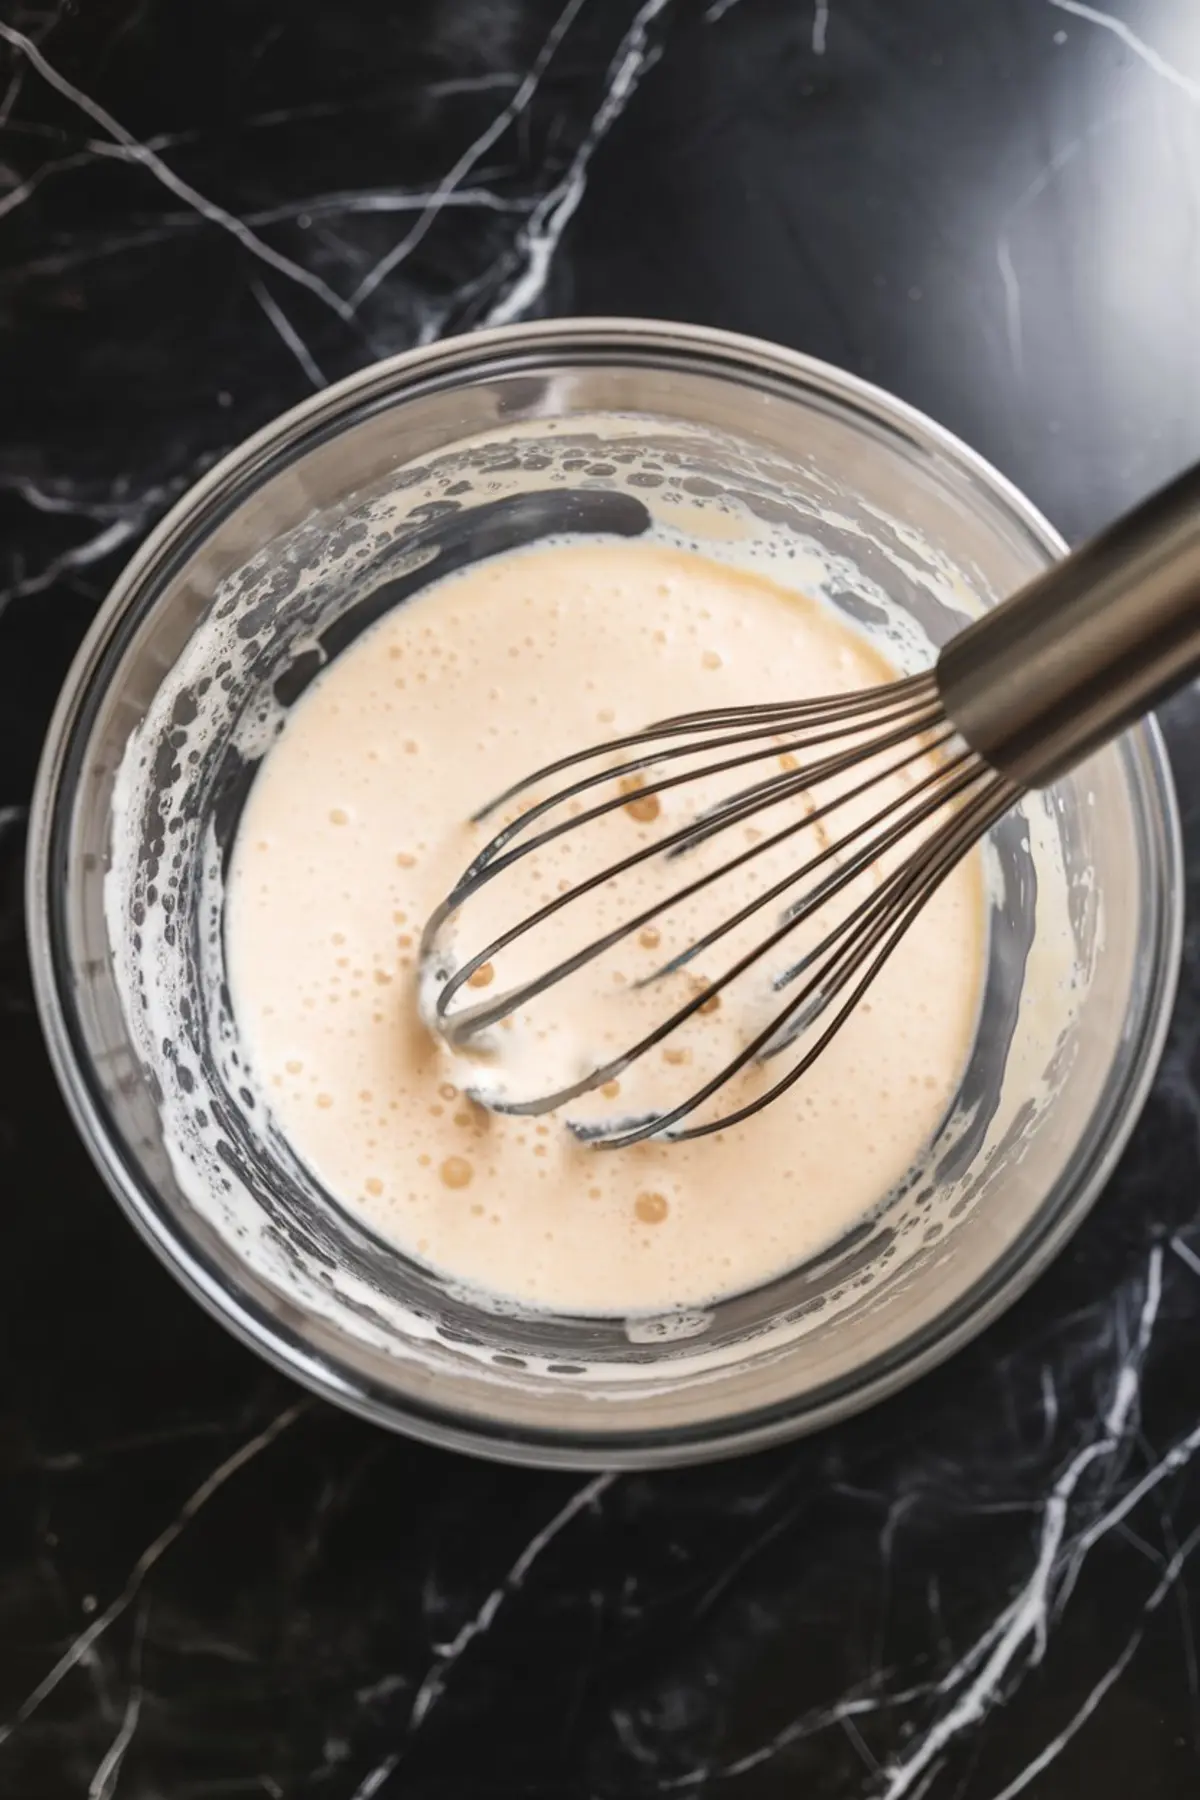
Whisk until it’s just thick enough to coat a spoon, then let it rest. That resting time, just five minutes matters. The pudding finishes thickening while you get the cups ready.
Blue First, Then White

Spoon out half a cup of the pudding into a smaller bowl. This becomes your blue layer. Two drops of gel food coloring is enough. Gel works better than liquid, it won’t thin the pudding or blur the lines.
Layer the blue pudding into the bottom of each clear glass. I use the back of a spoon to even it out. Don’t worry if the edge isn’t sharp. These are meant to feel homemade.
Add a thicker layer of white pudding over the blue. Spoon it gently and smooth it again. Then pause. Chill the cups for fifteen minutes. This is the part that makes the colors hold their place.
If the lines aren’t perfect, it doesn’t matter. If it tilts or leans, that’s fine. If it cracks, don’t worry.
A Note on Red Topping Choices
I’ve used cherry pie filling when I had extra from a cobbler. I’ve also used strawberry dessert gel when I needed something smoother. If you want a bright finish, the gel topping keeps a cleaner line. The pie filling brings more flavor, but it can sink a little into the pudding. There’s no wrong choice.
Whichever you choose, spoon it slowly. Let it rest on top without pressing. I’ve written “Float it, don’t push it” on my recipe card.
Cream and Stars
Whipped cream comes next. I’ve piped it with a star tip, and I’ve spooned it on with a butter knife when I couldn’t find the bag. Both ways work.
Sprinkle on your red, white, and blue confetti or edible stars. The dessert isn’t finished until it’s been chilled again. Just a short while enough for the layers to settle and hold.
Summer Traditions and Shared Tables
These pudding cups often sit beside other chocolate desserts on my table. If you’re looking for more ideas, I’ve written about Velvet Mousse Chocolate Cups and Fourth of July Chocolate Churros. Chloe made the churros once for our book club picnic. She brought extra napkins and a little flag toothpick in each one. I felt proud.
You can also try the Patriotic Firecracker Chocolate Bark or Patriotic Crinkle Cookies. Both keep well in summer heat.
Save Your Notes and Ask Questions
If you make these, write down what worked. Or what didn’t. I’ve kept my notes for over 40 years, and each batch still teaches me something.
Feel free to leave a comment below or ask a question. I read them slowly, with tea in hand.
And if you’d like to remember this recipe, save it to your board. That way it will be there, waiting.
Patriotic Pudding Recipe

Patriotic Pudding is a no-bake layered dessert with vibrant red, white, and blue colors. It combines creamy vanilla pudding, bright berry topping, and whipped cream for a festive and simple treat. Each layer is spooned into clear glass cups for a colorful presentation, making it an easy option for summer gatherings and patriotic holidays.
Ingredients
- One (5.1 oz) box of instant vanilla pudding
- 3 cups cold whole milk
- Red gel dessert topping or cherry pie filling (about 1 ½ cups)
- Blue food gel coloring
- Whipped cream or whipped topping
- Edible star sprinkles or red, white, and blue confetti
- Clear glass cups or dessert shooters
Instructions
- MAKE THE VANILLA PUDDING: In a medium bowl, whisk together the instant vanilla pudding mix and cold whole milk for 2 minutes until smooth and starting to thicken. Let it sit for 5 minutes until spoonable but not fully firm.
- TINT A PORTION BLUE: Scoop out about ½ cup of the set pudding into a separate bowl. Add 1 to 2 drops of blue food gel and stir gently to combine without deflating. Keep the remaining pudding white.
- LAYER THE BLUE: Spoon a layer of blue pudding into the bottom of each clear glass cup, using the back of a spoon to smooth the top evenly.
- LAYER THE WHITE: Add a thicker layer of the plain white vanilla pudding over the blue layer. Smooth the surface gently. Place the cups in the refrigerator and chill for 15 minutes to help the layers set.
- ADD THE RED TOPPING: Once chilled, carefully spoon the red gel dessert topping or cherry pie filling over the white pudding. Spread it gently without pressing to keep the layers distinct.
- TOP WITH WHIPPED CREAM: Pipe or spoon a swirl of whipped cream over each dessert. For a decorative finish, use a piping bag fitted with a star tip to create a tall, swirled topping.
- DECORATE AND CHILL: Sprinkle edible stars or red, white, and blue confetti over the whipped cream. Chill the assembled desserts until ready to serve.
Notes
Chilling between layers keeps the colors from blending. Use gel food coloring to prevent thinning the pudding. For a more structured look, use a piping bag for both pudding and whipped cream layers.
Nutrition Information:
Yield:
6Serving Size:
1Amount Per Serving: Calories: 125Total Fat: 6gSaturated Fat: 3gTrans Fat: 0gUnsaturated Fat: 2gCholesterol: 13mgSodium: 82mgCarbohydrates: 14gFiber: 0gSugar: 10gProtein: 4g
