

There is a subtle extra step I use whenever I bake these homemade chocolate croissants. It adds something interesting that most recipes don’t include, and it elevates the final outcome in a special way.
I call it my dash magic. I usually keep it under wraps until readers reach the right moment, but I want to give you a little clue so you can watch out for it as you read along.
This unique addition has been part of my recipe journal for years, and I’ve tested it with every variation of chocolate croissant dough I can imagine.

Let’s explore the process of creating these heavenly pastries from start to finish. There is no reason to feel worried about technique.
You can succeed by following each step and giving the dough enough rest between turns. I will explain the process in detail, so you’ll know how to handle everything. My perspective comes from personal trial and error, which taught me that no step is wasted.
My own cat, Whiskers, has seen me through more flour-covered kitchen moments than I can count. Sometimes he peers in with curiosity as I roll out dough on the countertop.
Gather These Ingredients
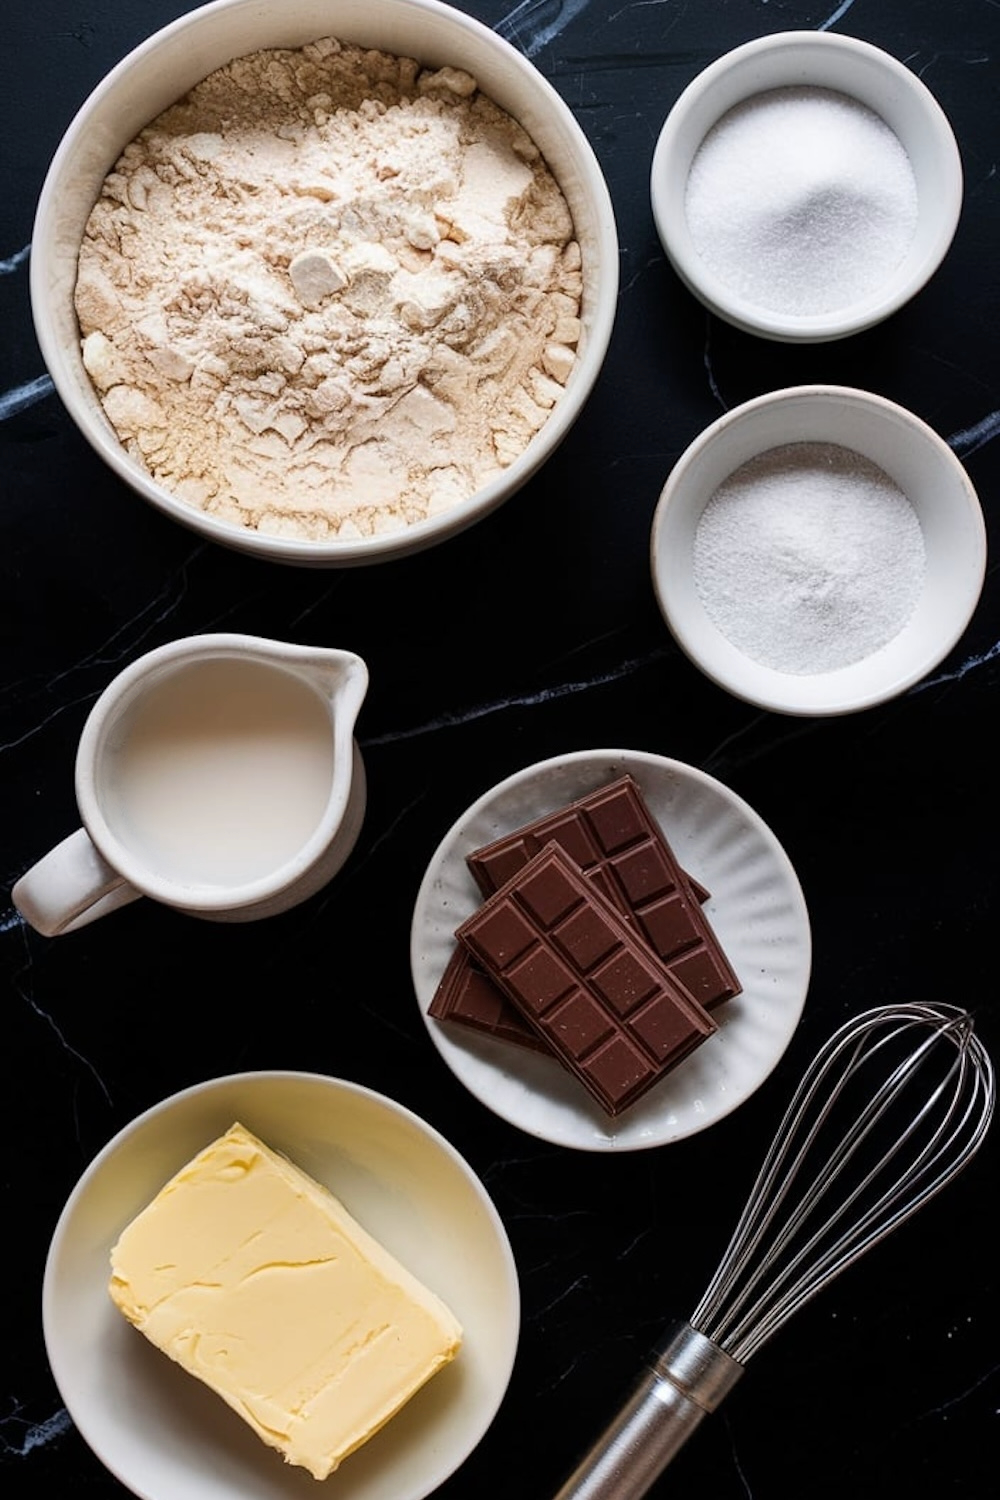
I prepare flour, granulated sugar, and a small measure of salt. I warm milk to help activate yeast. I have a bit of softened butter that blends with the flour to form a soft base for the dough.
I also set aside a larger block of cold butter that goes in later for layering. Good-quality chocolate bars or sticks sit ready because I rely on them to provide an indulgent center. I whisk one egg and a splash of milk in a small bowl for the final glaze, which brings a lovely color to the croissants.
Everything I mentioned works together to create a pastry with light layers, crisp edges, and smooth, melted chocolate inside. The key is to keep things chilled when necessary.
I like to ensure the warm milk is at the right temperature before I stir in the yeast. I measure carefully so the dough stays balanced. These elements combine to form a dough that is sturdy enough to hold its shape, yet tender when baked.
Crafting the Dough
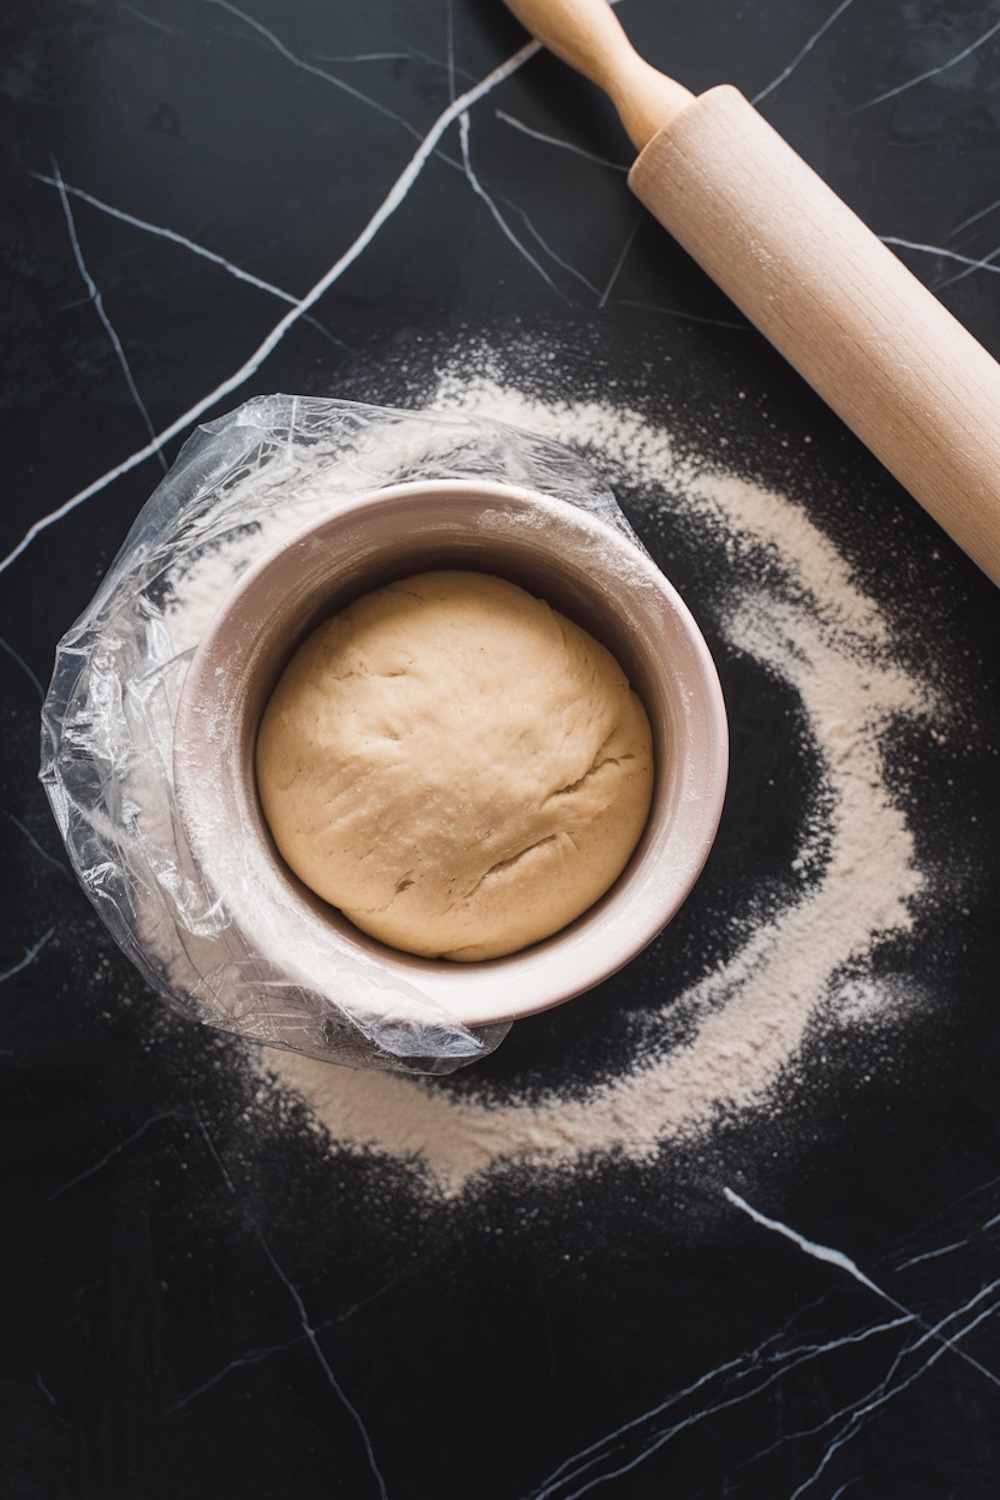
I place my flour, sugar, and salt in a wide mixing bowl. I stir them to ensure an even blend, then I add the yeast, which was set in warm milk until it began to look foamy on top.
I slip in a small amount of softened butter and knead by hand, pressing the dough until it feels smooth. I usually do this for a few minutes. I keep an eye on how moist or dry it feels, sometimes sprinkling a touch more flour if I notice any stickiness. I wrap this dough and transfer it to the fridge so it can rest and develop flavor.
The cold rest is important. It helps me handle the dough more easily when I incorporate the butter block. I recall the first time I attempted this process.
I had a fear of messing up, but I discovered that working methodically keeps everything neat and simple. A 60-minute chill sets the stage.
Forming Layers with Butter

I shape the cold butter into a neat rectangle. I flatten it between two sheets of parchment, aiming for a thickness that matches part of the dough’s width. After the dough chills, I roll it into a rectangle that comfortably holds the butter block on one side. I fold the dough to encase the butter, then seal the edges. This step locks in the butter, which later creates light, delicate layers. I gently lengthen the dough with a rolling pin before folding it into thirds. That is my first turn.
The dough goes back to the fridge for another chill. Each time I roll and fold, I create more layers. I repeat this set of actions two more times. This approach, known as laminating, is the secret behind traditional croissants. My best tip is to stay calm if butter tries to peek out the edges. A quick patch of flour and a trip to the fridge prevents trouble. After the final turn, I wrap the dough again. I let it rest. This ensures that the dough remains workable and the butter stays cool enough to form distinct layers in the oven.
Shaping These Chocolate Beauties
I roll out the rested dough into a large rectangle. I trim the edges for a neat finish. This helps each croissant bake evenly. Then I measure and mark triangles along the dough.
A small piece of chocolate goes on the wide end of every triangle. I roll each piece gently, taking care to tuck the tip under. I space these rolls on a sheet pan. They need an hour or two in a warm spot to puff and swell.
I prepare the egg wash by mixing an egg and a bit of milk in a small bowl. I lightly brush each croissant before they go in the oven. The transformation in the final baking stage is always exciting. The pastries puff and change color while the chocolate melts inside.
The Moment to Bake
An oven heated to 375°F sets the scene for golden perfection. I place the croissants on a center rack and watch them develop a flaky outer layer. The best measure of doneness is a rich, even color across the top.
That can happen anywhere between 15 and 20 minutes depending on your oven. I usually check them around the 15-minute mark and decide if they need a couple more minutes.
The final treat emerges fragrant and slightly crisp at the edges. I hear a little crackle if I gently tap one with a finger. This indicates that the layers inside got the correct amount of rise and heat.

Introducing My Dash Magic
I mentioned something at the start that I sprinkle into my chocolate croissants. It’s not a fancy product or a complicated method. The magic stems from a tiny pinch of cinnamon or chili powder blended into the chocolate. I keep it subtle so it doesn’t overshadow the buttery taste or the sweet notes. Sometimes I experiment with both. I discovered this small addition while testing recipes for my Pin Notebook. It brings a layer of complexity that others might not expect. I suggest you try it once, then adjust based on your preference.
A Personal Tradition
I always sample the dough or the filling in some form before baking begins. This is how I sense the balance of flavors. My Golden Spoon helps me scoop just enough chocolate or dough for a little taste.
Whiskers sometimes wanders by and meows as if she’s expecting a treat. I prefer to keep cat-friendly items away from chocolate, so she gets a separate reward later. The entire process feels like a small family ritual, reminding me why I love baking so much.
Storage and Make-Ahead Tips
These homemade chocolate croissants taste best the same day they’re baked. I store leftovers in an airtight container on the counter. They hold on to their flaky appeal for about two days.
If I need to plan ahead, I shape the croissants and freeze them right after rolling in the chocolate. They go from freezer to fridge the night before baking. I let them come to room temperature the next morning, then allow them to rise and bake as usual.
Serving Ideas and More Dessert Inspiration

You can enjoy a warm chocolate croissant with a cup of coffee. I sometimes add powdered sugar across the top because it gives a pretty finish or drizzle it with some extra chocolate.
If you want more chocolate creations, you can sample Chocolate Ganache Macarons for a smooth filling that pairs well with airy meringue shells.
Another delightful treat is my Chocolate Cheesecake BrownieBars with Ganache Topping. The layering in those bars contrasts a fudgy base and a velvety top.
If you want something crunchy with a fun twist, check out my Chocolate Churros recipe, which uses a familiar dough but fries up into a crispy delight.
Why Try This at Home
Chocolate croissants can feel fancy or complicated, yet home baking offers a sense of connection. You can witness the dough’s transformation up close. You choose the chocolate you love.
That dash magic is your call. You decide if you want a subtle pinch of cinnamon or chili. Each choice personalizes the result. This is the essence of home cooking that keeps me enthusiastic about sharing recipes on Pin DESSERTS.
I invite you to practice the laminating process, trust the resting stages, and then be rewarded with pastries that rival those in a bakery display. I recall my earliest attempts and how proud I felt.
Even if they were a bit misshapen, the flavor was unmatched. My Pin Notebook now holds plenty of notes on how to tweak the layers or temperature. I recommend you keep track of your adjustments too. You might discover your own dash magic along the way.

Pin and Share Your Results
Save this recipe pin on your dessert board. Let your community see what you’re baking and inspire them to roll out some croissants too. I’d love to hear how they turn out. Drop a comment with your experience or any questions you have about the process. Share pictures if you can. That sense of camaraderie is what makes baking so much fun.
Homemade Chocolate Croissants

Chocolate croissants, also known as pain au chocolat, are a classic French pastry featuring buttery, flaky layers wrapped around rich chocolate. This recipe walks you through each step of the process, from making the dough to laminating it with butter for those signature layers. While the process takes time, the results are well worth the effort, delivering bakery-quality croissants right from your own kitchen. Follow the detailed instructions for a successful bake that combines precise technique with delicious flavor.
Ingredients
- FOR THE DOUGH:
- 3 3/4 cups (450g) all-purpose flour
- 1/4 cup (50g) granulated sugar
- 1 teaspoon salt
- 2 1/4 teaspoons (1 packet) active dry yeast
- 1 cup (240ml) warm milk (around 110°F or 43°C)
- 2 tablespoons unsalted butter, softened
- FOR LAMINATING:
- 1 cup (225g) unsalted butter, cold and cut into a rectangle
- FOR THE FILLING:
- 8 ounces (225g) semi-sweet or dark chocolate, cut into bars or sticks
- FOR THE EGG WASH:
- 1 large egg
- 1 tablespoon milk
Instructions
- PREPARE THE DOUGH: In a large mixing bowl, combine the flour, sugar, and salt. In a small bowl, mix the warm milk and yeast, letting it sit for 5 minutes until foamy. Add the yeast mixture and softened butter to the dry ingredients. Mix until a dough forms, then knead lightly on a floured surface for 5-7 minutes until smooth. Wrap the dough in plastic wrap and refrigerate for 1 hour.
- PREPARE THE BUTTER BLOCK: Place the cold butter between two sheets of parchment paper. Use a rolling pin to flatten the butter into a 6x8-inch rectangle. Chill the butter block while the dough rests.
- LAMINATE THE DOUGH: Roll the chilled dough into a rectangle approximately 10x16 inches. Place the butter block on one half of the dough, fold the other half over it, and seal the edges. Gently roll out the dough into another rectangle, then fold it into thirds like a letter. Wrap the dough and refrigerate for 30 minutes. Repeat this process two more times, chilling the dough between each turn.
- SHAPE THE CROISSANTS: Roll the dough into a 10x20-inch rectangle and trim the edges for neatness. Cut the dough into 8 triangles. Place a piece of chocolate near the base of each triangle, then roll it tightly toward the tip, tucking the tip underneath to secure the shape.
- PROOF AND BAKE: Arrange the croissants on a parchment-lined baking sheet, leaving space between each one. Cover them with a clean towel and let them rise for 1-2 hours until doubled in size. Brush with egg wash and bake in a preheated oven at 375°F (190°C) for 15-20 minutes, until golden brown and flaky.
Notes
Temperature Control: Keep the butter and dough as cold as possible throughout the process to maintain proper layering. If the butter softens too much, place the dough back in the refrigerator to firm up.
Chocolate Selection: Choose high-quality chocolate bars or sticks for the best flavor and a smooth texture when melted.
Shaping Tips: Roll the croissants tightly to ensure they hold their shape during proofing and baking. Tucking the tip underneath helps to prevent unrolling in the oven.
Make Ahead: The dough can be prepared the day before and left to proof overnight in the refrigerator. This allows for easier timing and enhances the flavor.
Freezing Instructions: Once shaped, croissants can be frozen before proofing. When ready to bake, let them thaw and proof until doubled in size before applying the egg wash and baking.
Reheating: Leftover croissants can be gently reheated in the oven at 300°F (150°C) for a few minutes to restore their crispness.

Tried making this tonight, twice. Followed the recipe to a ‘T’. When mixing the dough, it will not create a doughy consistency. I thought maybe the first attempt I had missed a measured value, but after the second attempt, I can confirm the dough does not stick together. Maybe the directions need to be modified. If you have any updated recipe information, please let me know.. it seems that maybe more liquid should be present, maybe more milk? Would love to try and make this successful since I already have the butter bar in the refrigerator.
Hey Jim, really appreciate you taking the time to test this twice and share your experience. That kind of feedback is always helpful.
Based on what you described, it sounds like the dough may have come out a bit dry, which can happen depending on how the flour is measured or even local humidity. One thing that might help is adding an extra tablespoon or two of milk during the initial mix, just until the dough starts coming together more easily. It should feel soft and a little tacky but not sticky.
Also, make sure the milk is warm enough to activate the yeast and that the butter is nicely softened—it really helps the dough form properly. I’ve had batches turn out stiff before when I used cooler milk or if I rushed the mixing step.
If you’re up for giving it another shot, I’d love to hear how it goes. You’ve already got the butter bar chilling, so you’re set up for a win 🧈🥐
This dough was way too stiff I even added a couple extra table spoons of milk like suggest to Jim. Still too stiff. I temped the milk to make sure it was the right temperature. Not sure what’s going wrong with this recipe.
Hey Savannah, thank you for jumping in and trying it out and for testing the extra milk suggestion too. I know how frustrating it can be when the dough still isn’t cooperating, especially after making thoughtful adjustments.
Since you’ve already checked the milk temperature and even added more liquid, I wonder if the issue might be with the flour itself. Some brands are just more absorbent than others, or if it’s been stored in a dry environment, it can soak up more moisture than expected. I’ve had similar results when using flour that’s been sitting in my pantry a bit too long. In those cases, I’ve found it helps to add the milk gradually and stop once the dough feels soft and pliable, not stiff, but not wet either.
One other thing to double-check is the kneading time. Over-kneading can sometimes tighten the dough too much, especially early on, making it feel tough. A gentle hand works best here.
I’m going to retest this recipe on my end again just to be sure we’re not missing anything in the instructions. If something needs adjusting, I’ll absolutely update it and share the changes right here. You’re doing everything right by observing and tweaking, and I really appreciate you sharing what you’re seeing, it helps more than you know 🧡