
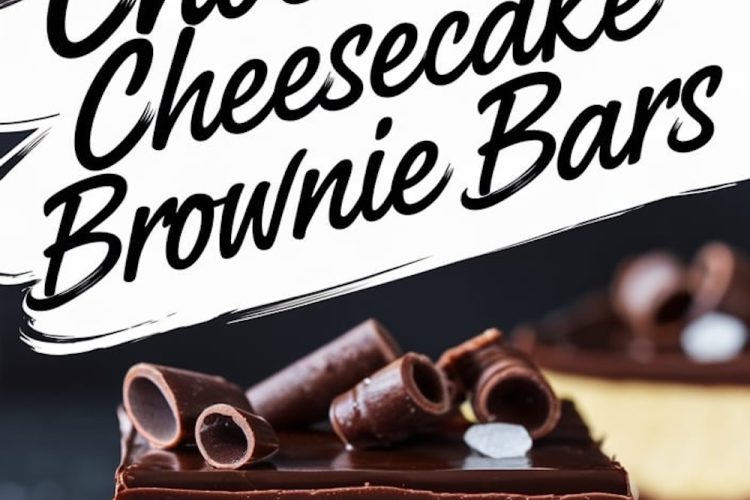
I once discovered a simple dash of something extra that turned these chocolate cheesecake brownie bars into something special. This hidden element transforms each bite. You may guess what it is right away, or you may wait for the big reveal. Either way, these squares bring a crowd-pleasing blend of rich, creamy, and sweet flavors that balance in a single bite. The recipe started with a basic plan to mix a fudgy brownie base and a velvety cheesecake layer, then pile on more chocolate for good measure. That extra nudge of flavor happened by accident in my kitchen, and I’ll spill all the details soon.
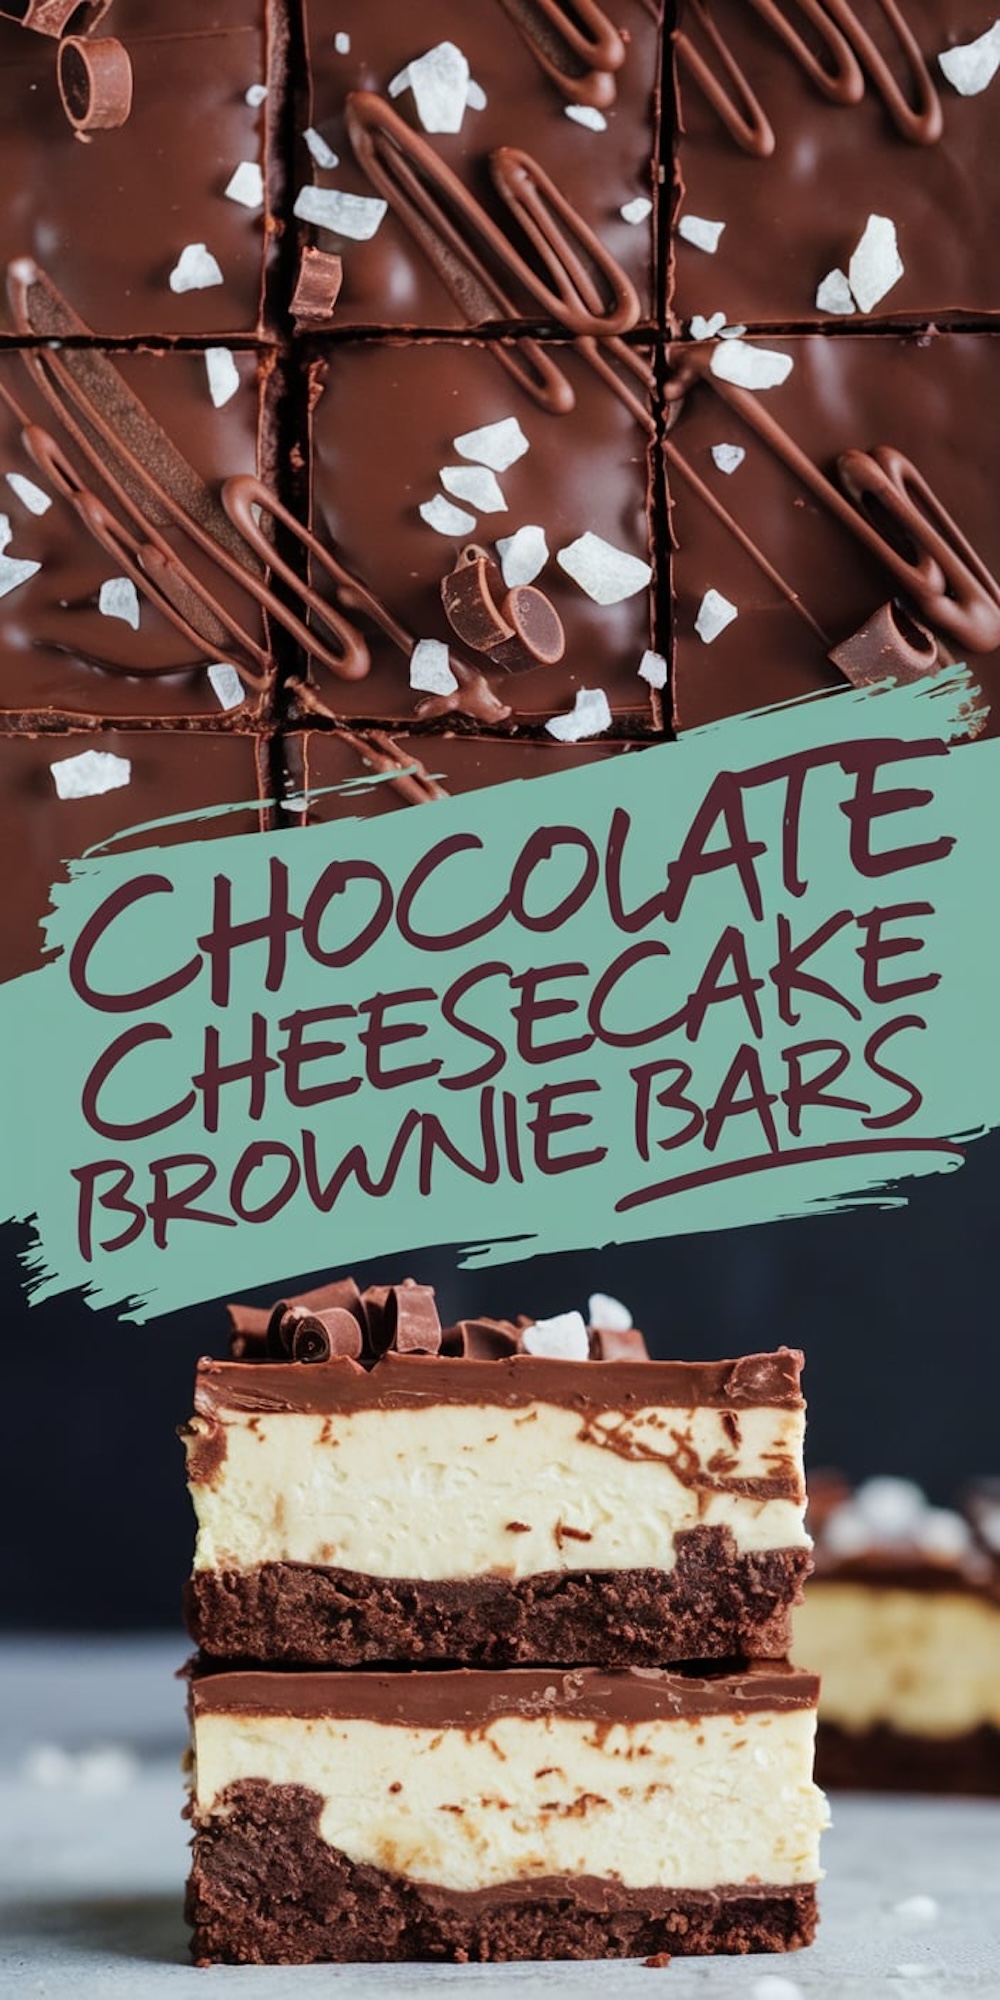
Fudgy Chocolate Base and Creamy Cheesecake Center
I often crave brownie-based desserts, so I keep the essentials close at hand. Butter, sugar, eggs, and good cocoa powder produce a thick, dense base. My stand mixer runs often in my kitchen, and the ingredients come together quickly for that signature gooey bite. I never skimp on chocolate quality. This step sets the tone for the entire dessert.
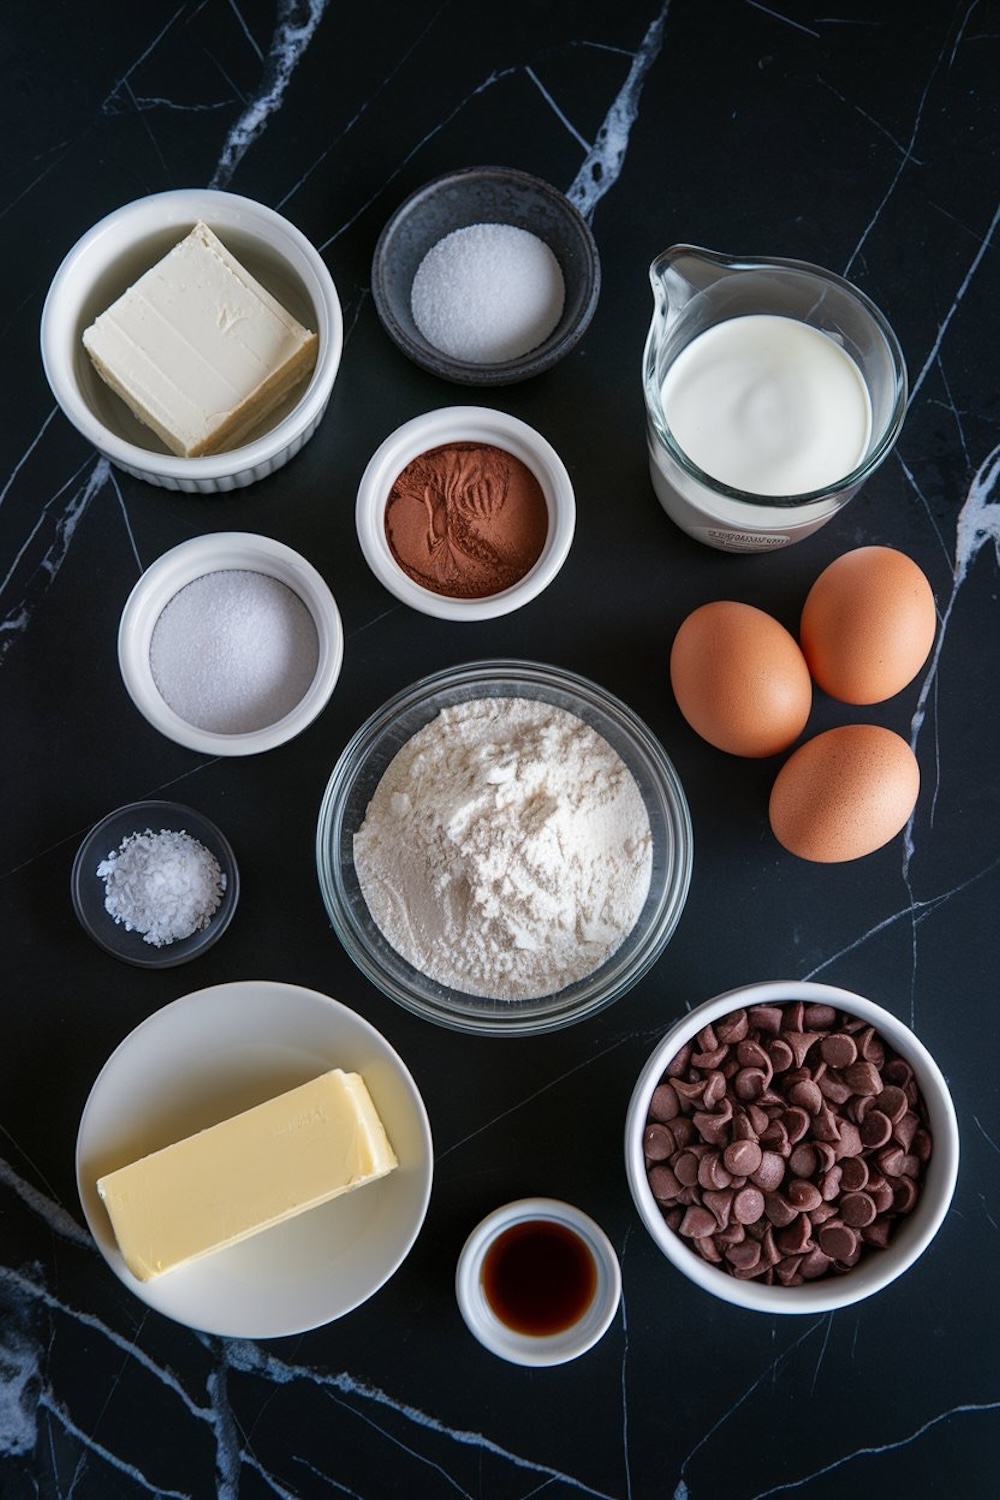
The creamy cheesecake layer rises right above the brownie, offering a sweet tang that cuts through the chocolate. Cream cheese, sugar, and eggs form the heart of this mixture. I learned this part through trial and error. Overbeating can create cracks, so I go slow with my mixer and watch the texture. I once forgot to take the cream cheese out of the fridge in time, and lumps ruined the final result. That taught me to set ingredients on the counter early so they soften properly.
Each step builds on the last. The brownie layer bakes slightly first, then meets the cheesecake mixture. This quick pre-bake ensures that the base sets. A smooth top layer forms after the final bake, ready to chill in the refrigerator. I always give it time to cool, so the flavors meld.
Ganache and a Satisfying Finish
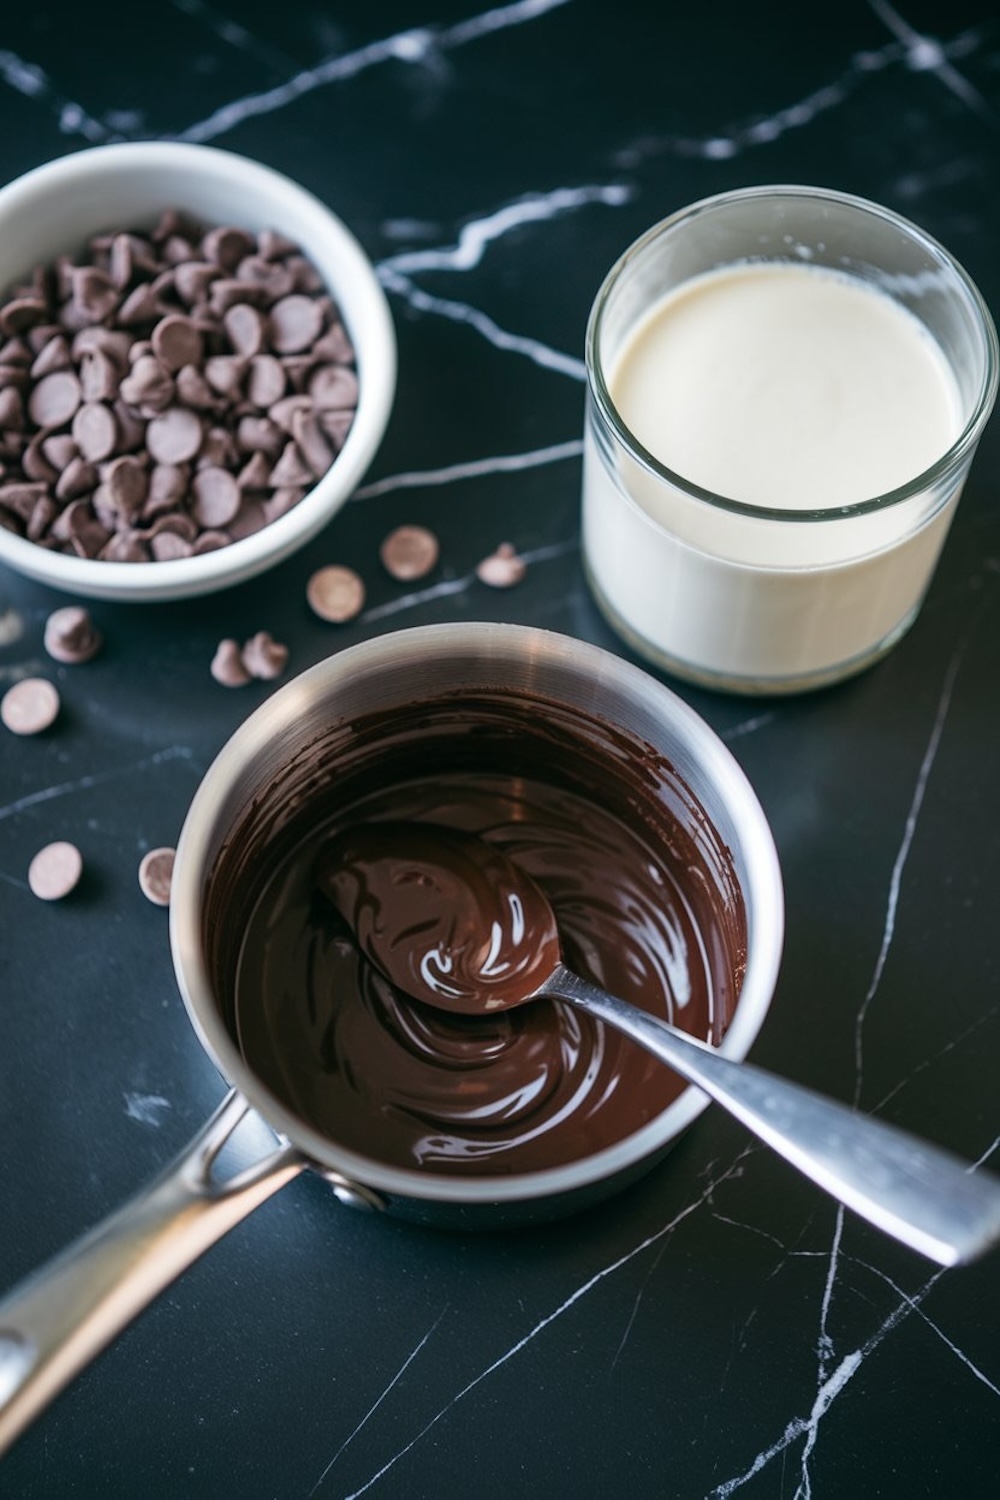
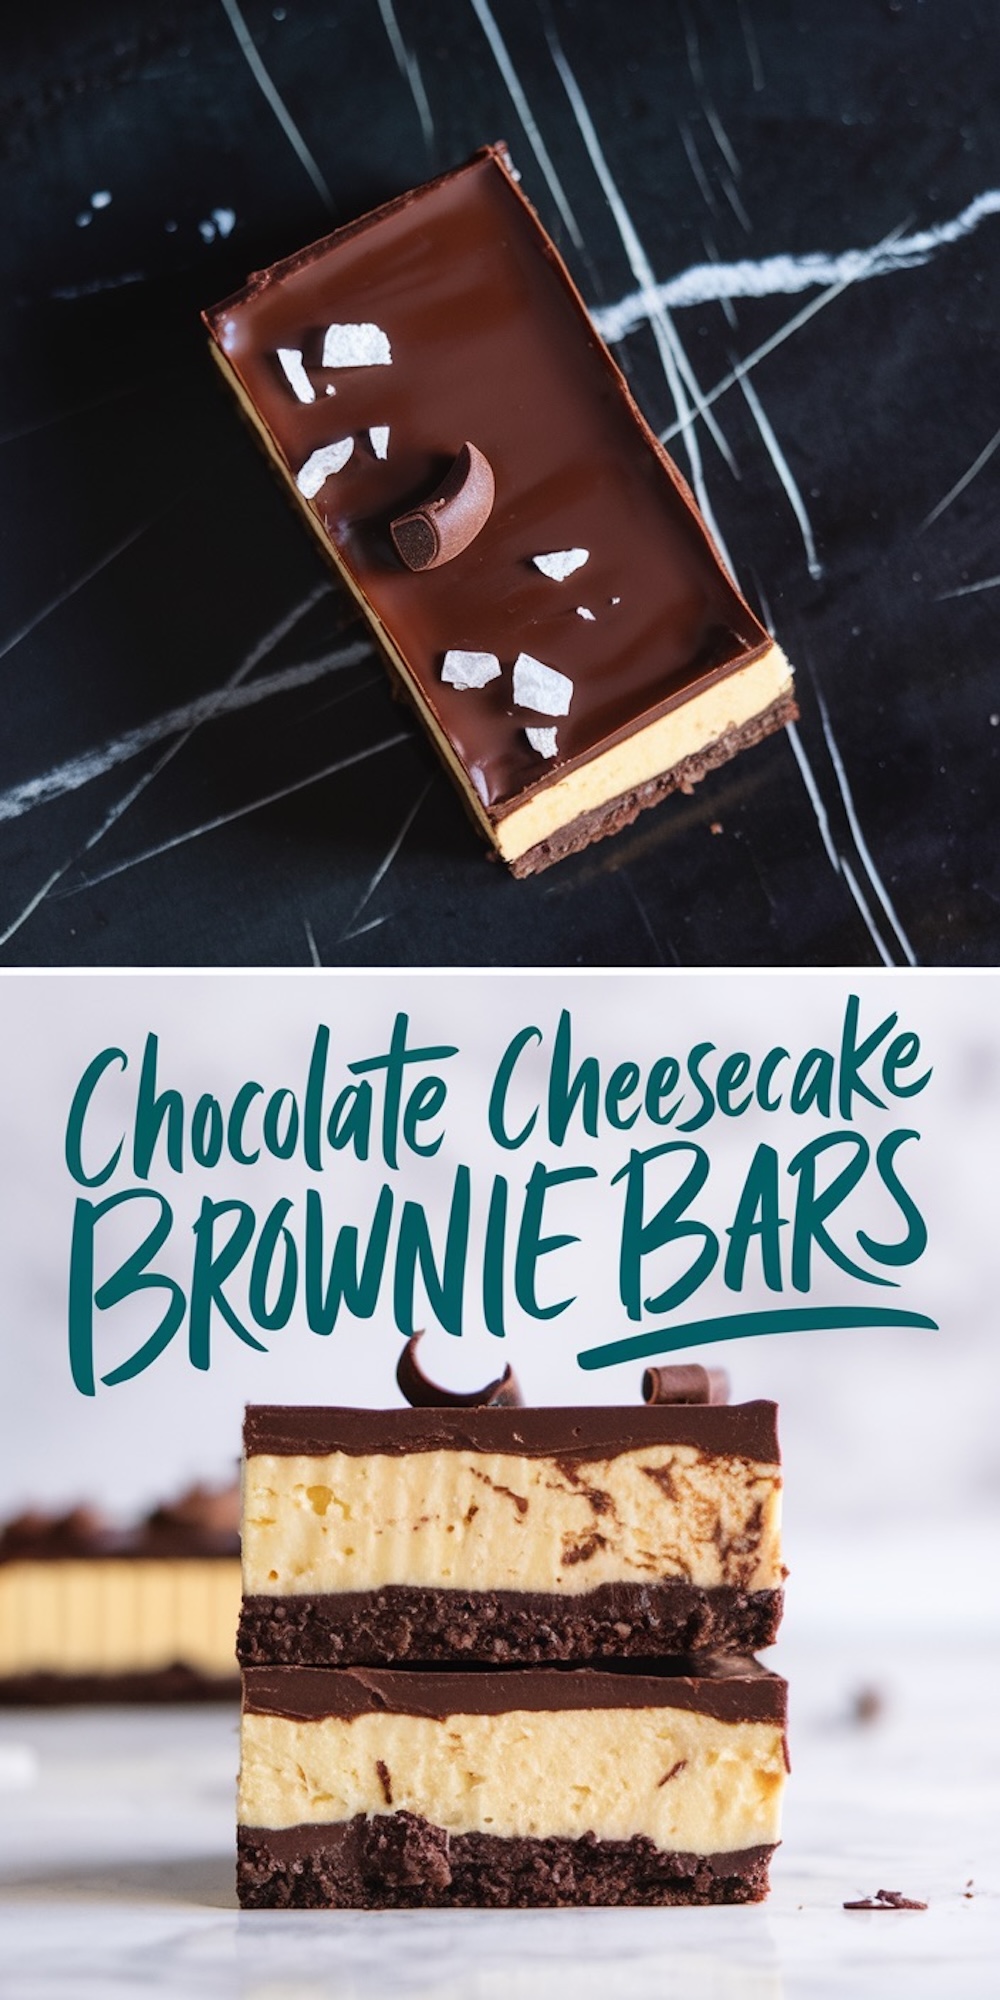
A glossy ganache covers the cheesecake layer. I prefer semi-sweet chocolate chips, heated gently with heavy cream to form a shiny spread. I pour the warm mixture over the chilled bars and allow it to set. The final effect looks like a professional pastry but remains simple to produce.
This layered treat slices neatly if you use a sharp knife dipped in hot water. I wipe my blade after each cut. Smooth edges make a big difference if you plan to snap photos or share on social media. Either way, you’ll see the distinct layers right away.
My Tasting Tradition
I have a habit of tasting each stage of my desserts. I dip a finger into the brownie batter before it even goes into the pan. I run a small spoon through the cheesecake blend to test sweetness. Then I check the ganache with a quick swirl of my finger. This might sound like a guaranteed sugar rush, but it helps me confirm that every component lines up with my personal standards. My cat Whiskers, who claims the corner of my kitchen as his kingdom, always watches me. He can’t sample, but his ears perk up when I reach for a taste.
I also rely on my Pin Notebook to record each adjustment. A half-cup more chocolate, a little less sugar, or a dash of a secret spice can mean the difference between good and spectacular. That notebook follows me from recipe to recipe, storing all sorts of notes for future experiments.
Steps in Simple Paragraphs
First, set your oven to a moderate temperature and ready a baking pan. Warm the butter, and stir in sugar, eggs, plus cocoa. Add flour and salt, then blend until smooth. Pour the mixture into the pan and bake until the edges look set. Bring the pan out to cool and breathe in that warm chocolate aroma.
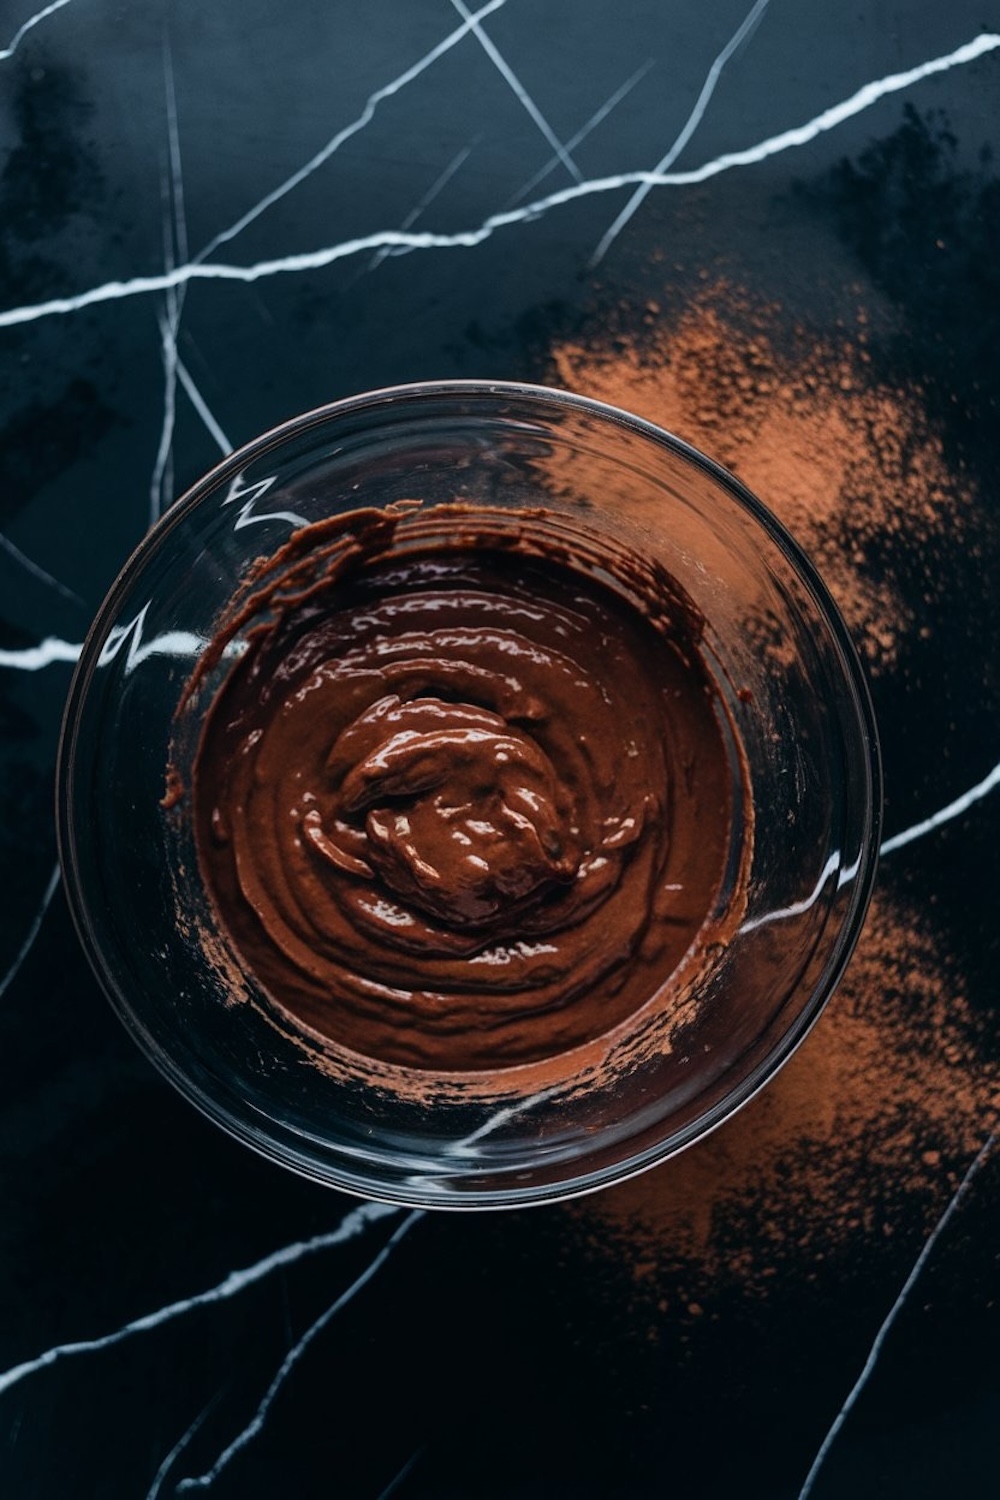
Next, blend the cream cheese with sugar. Add eggs one at a time. Stir in vanilla gently. Pour this over the brownie layer and return the dish to the oven. Watch for a slight jiggle in the center before turning off the heat. Pull it out and let the bars cool. That firm base plus creamy layer might call your name right away, but the next step completes the treat.
Finally, mix chocolate chips with heavy cream. Heat until silky, then pour a thick layer over the cooled dessert. Smooth it out, and let it set in the fridge. Patience matters here. This top coat needs time to chill.
The Secret Dash and My Golden Spoon
I promised to share that special element. It’s the right pinch of salt. A delicate sprinkling over the ganache draws out each flavor note, balancing the sweetness. I discovered this the day I measured sea salt a bit too generously and realized the impact it made on the final bite. That day, I also used my trusty Golden Spoon to sample the results. I scoop a little from the corner to see how the layers balance. This small step tells me if the dessert needs anything else. The spoon helps me gauge textures. A direct sample. No fancy gadgets.
Flavor Variations and Fun Ideas
I see these bars as a starting point for all kinds of spins. A spoonful of espresso powder in the brownie layer adds a light coffee note. Dark chocolate instead of semi-sweet chips produces a bitter edge, while milk chocolate leans on the sweeter side. A swirl of salted caramel on top can also provide an exciting finish. Some days I sprinkle chopped nuts over the ganache for an added crunch.
This dessert ties right in with other chocolate favorites on Pin DESSERTS. I like to share my trials and successes, so feel free to check out the Chocolate Churros page if you want another cocoa-driven treat. You’ll also find buttery layers in my Homemade Chocolate Croissants. My sweet tooth always returns to brownies, so try the Turtle Brownies if you crave an extra caramel crunch.
Why These Cheesecake Brownie Bars Endure
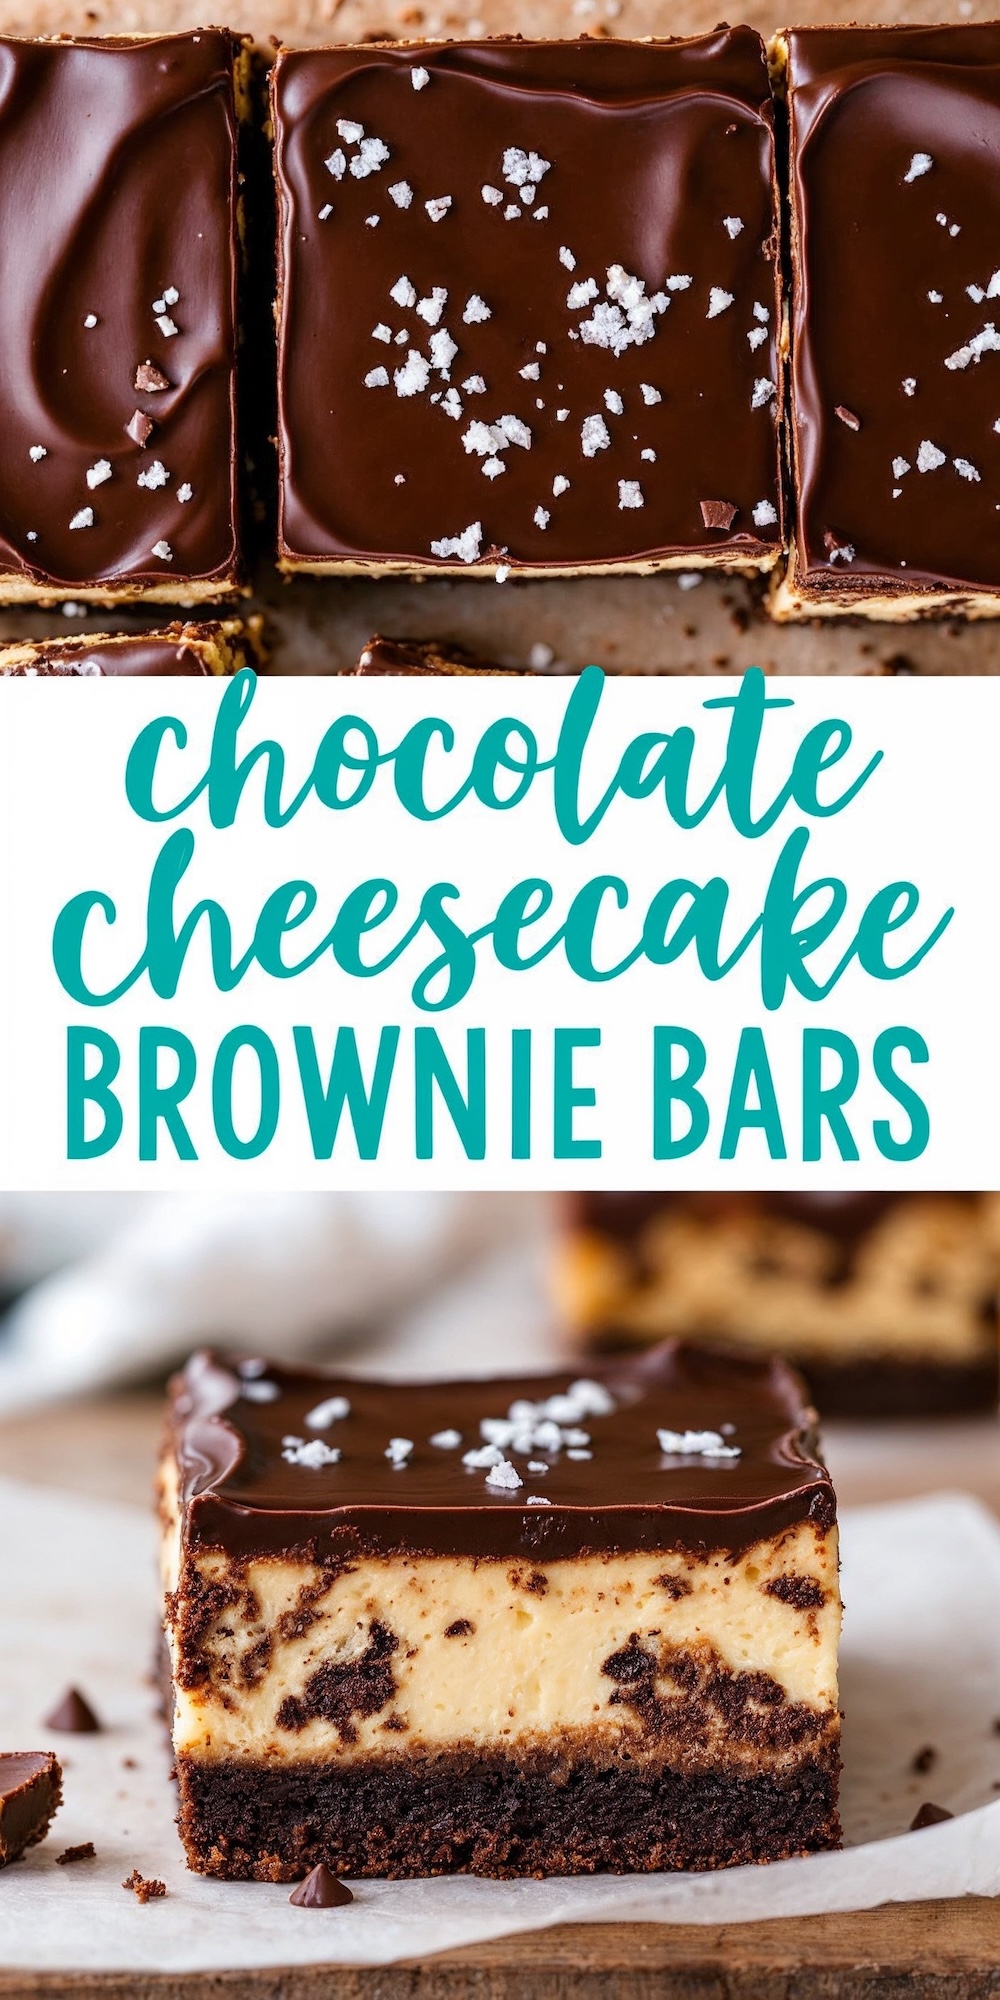
People often ask me why I make this recipe so often. I point them to the layers. A brownie with deep chocolate notes meets a soft, sweet cheesecake. The ganache ties everything together, and that pinch of salt lifts each layer into a memorable snack or dessert. It’s a hit at parties. It’s easy to store in the fridge. It even packs well for picnics. I box a few squares, and everyone smiles by the last crumb.
Storage and Serving
I recommend leaving these bars in the fridge for up to five days, sealed in an airtight container so the ganache stays glossy. If you need more time, you can cut them into squares, wrap each piece, and freeze them. Pull out a square the night before you plan to serve it. By morning, you’ll have a dessert that tastes freshly baked.
Serving can go many ways. Some folks top each bar with fruit, while others prefer a scoop of ice cream. I sometimes drizzle chocolate sauce on top if I’m feeling extra bold. That approach suits a warm evening with friends gathered around, swapping stories.
Pin and Share Your Thoughts
Please pin this recipe to your favorite board. Your future self will thank you when a chocolate craving hits. Let me know how your version turns out. I’d love to hear about any twists or flavor experiments you try. Share your success, or even a kitchen mishap, in the comments. A friendly community waits here, eager to see how your creation looks.
Chocolate Cheesecake Brownie Bars Recipe
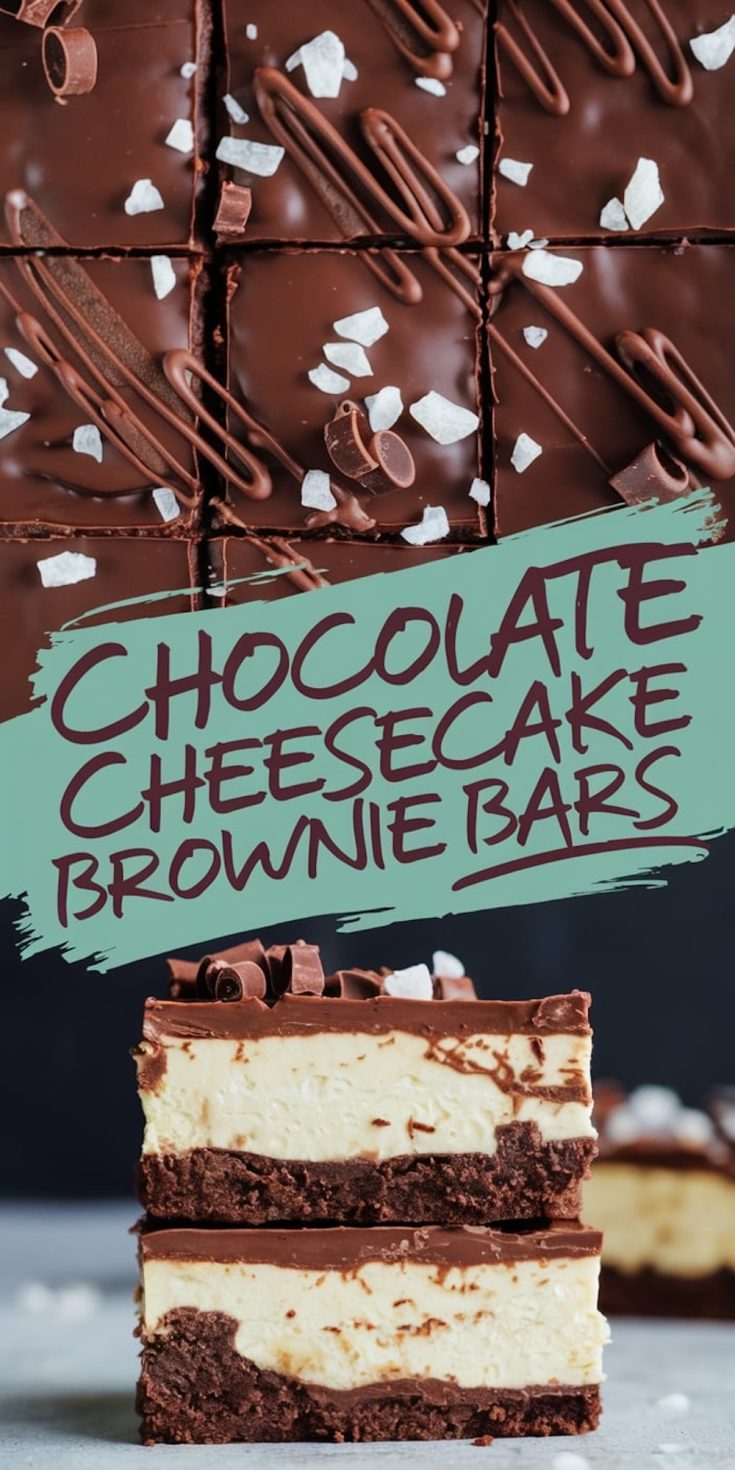
Rich brownie layers are topped with creamy cheesecake and finished with a silky chocolate ganache for a dessert that's both elegant and satisfying. These layered bars combine classic flavors in a smooth, decadent texture, with optional toppings like flaky sea salt or chocolate curls for added flair. Perfectly balanced in sweetness and texture, these bars are ideal for gatherings or as a make-ahead treat.
Ingredients
- FOR THE BROWNIE LAYER:
- 1/2 cup (115g) unsalted butter
- 1 cup (200g) granulated sugar
- 2 large eggs
- 1 tsp vanilla extract
- 1/3 cup (40g) unsweetened cocoa powder
- 1/2 cup (65g) all-purpose flour
- 1/4 tsp salt
- FOR THE CHEESECAKE LAYER:
- 16 oz (450g) cream cheese, softened
- 1/2 cup (100g) granulated sugar
- 2 large eggs
- 1 tsp vanilla extract
- FOR THE CHOCOLATE GANACHE:
- 1 cup (170g) semi-sweet chocolate chips
- 1/2 cup (120ml) heavy cream
- OPTIONAL TOPPING:
- Flaky sea salt
- Chocolate curls or shavings
