

You’re not looking for another cheesecake.
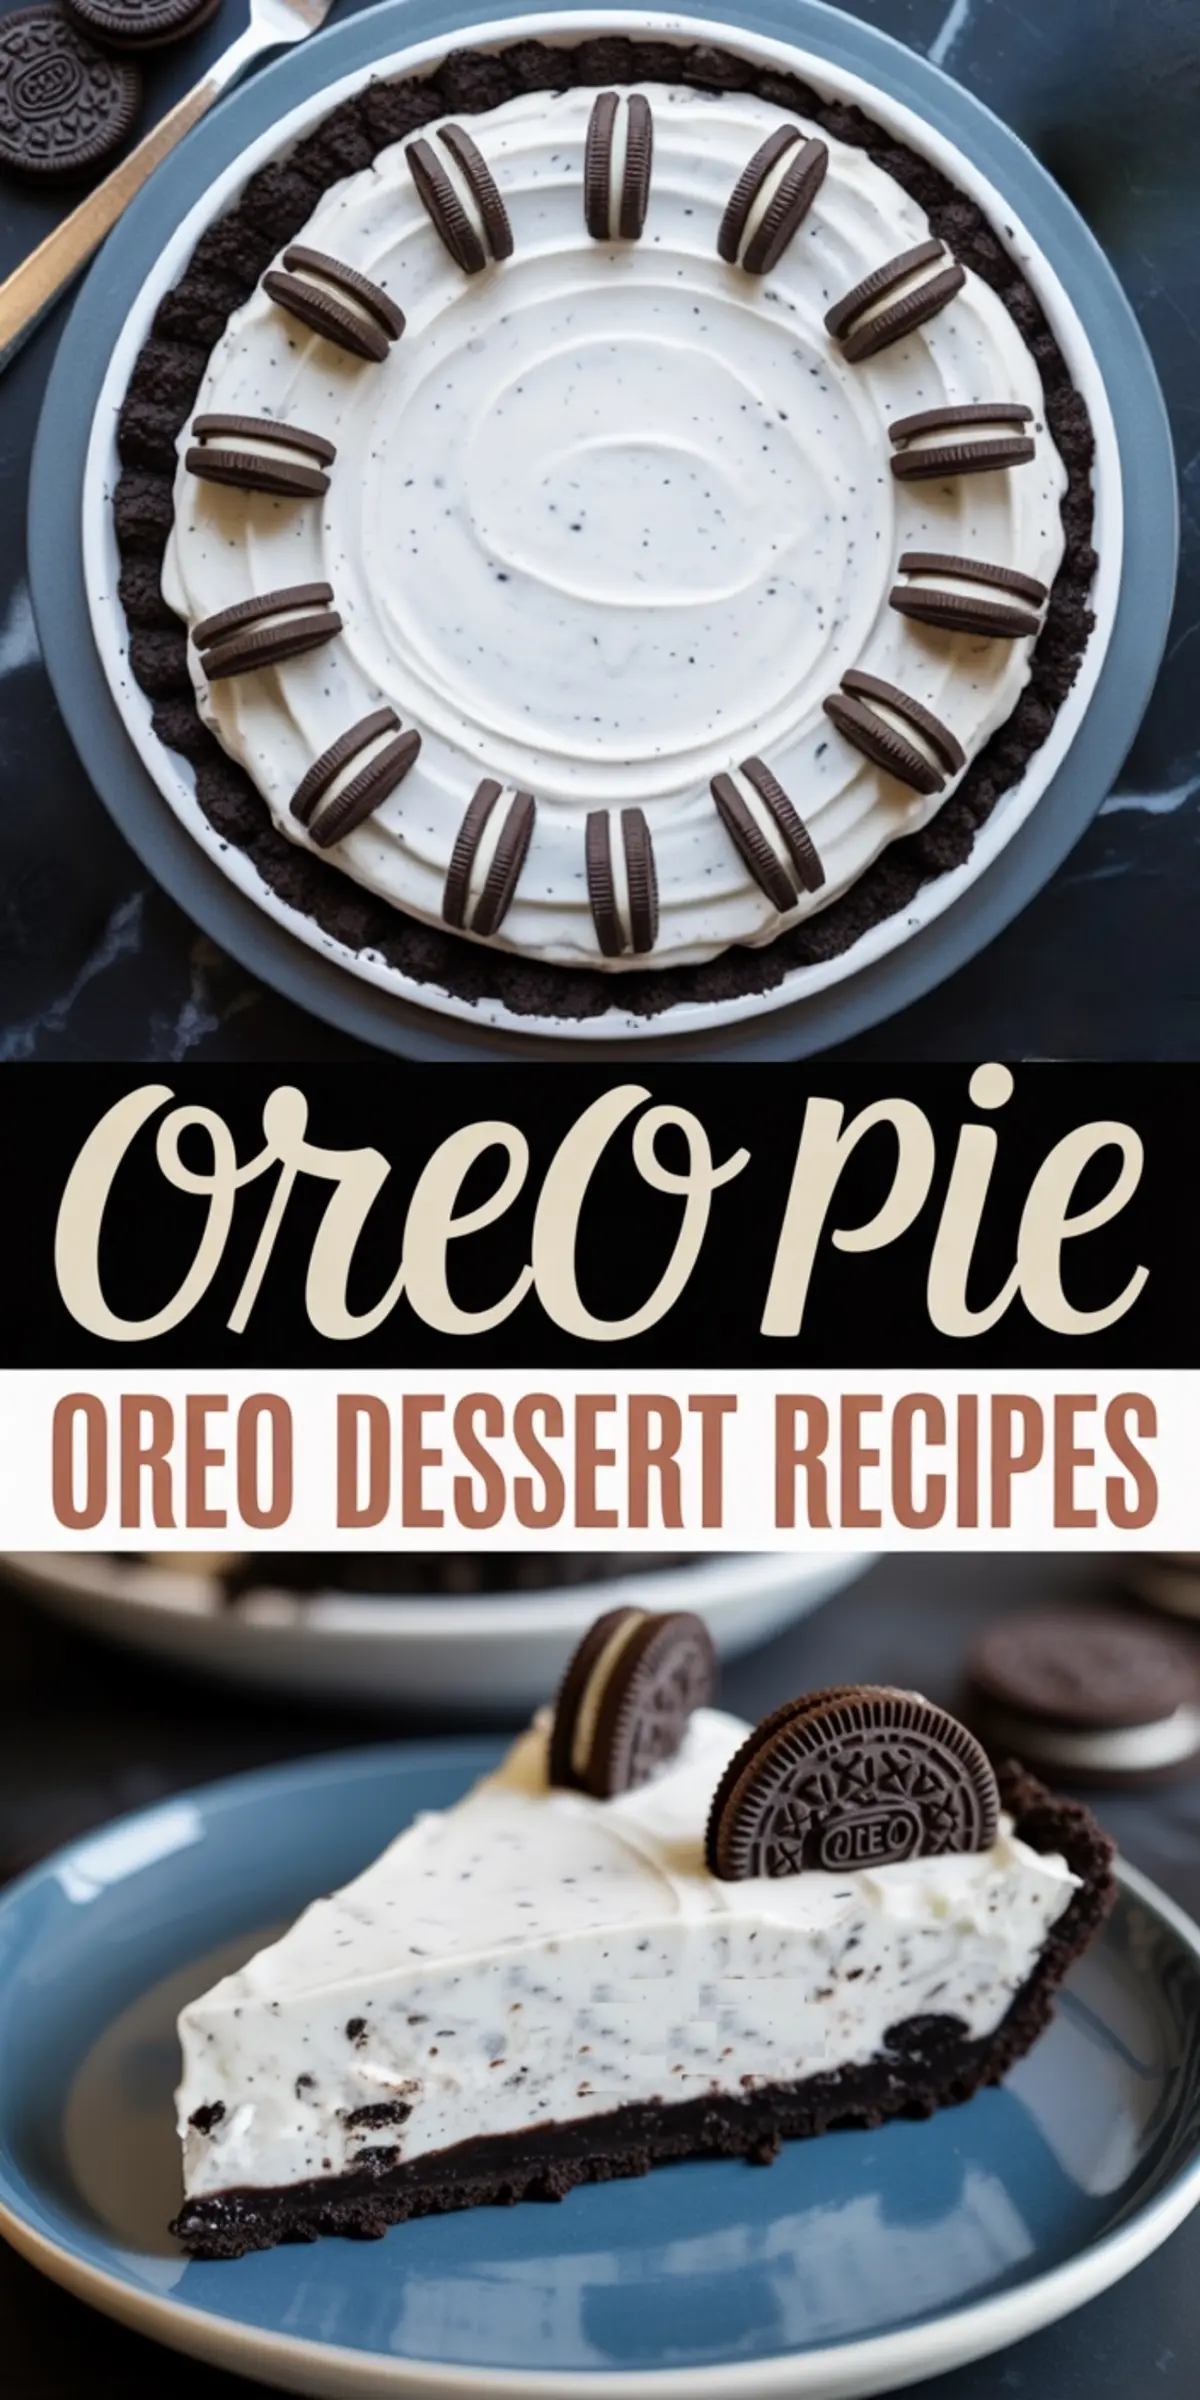
You’re after something that tastes like Oreos all the way through, from the first bite to the last crumb. This no bake Oreo pie holds its shape, chills like a dream, and delivers a creamy, cookie-packed experience that doesn’t need a single minute in the oven.
What you’ll find here isn’t just another version of a cookies and cream dessert. This one leans into the Oreo crust, doubles down on the filling, and uses a chilled approach that keeps things light but still indulgent.
You’ll walk away knowing how to build an easy Oreo pie that stands tall, slices cleanly, and satisfies everyone at the table. You’ll also get my favorite tip for making the filling taste a little deeper, a little more dimensional.
There’s a small ingredient that changes everything. It’s subtle, but it pulls the pie together in a way most Oreo cream pies don’t quite reach. But we’ll get there. Let’s build the base first.
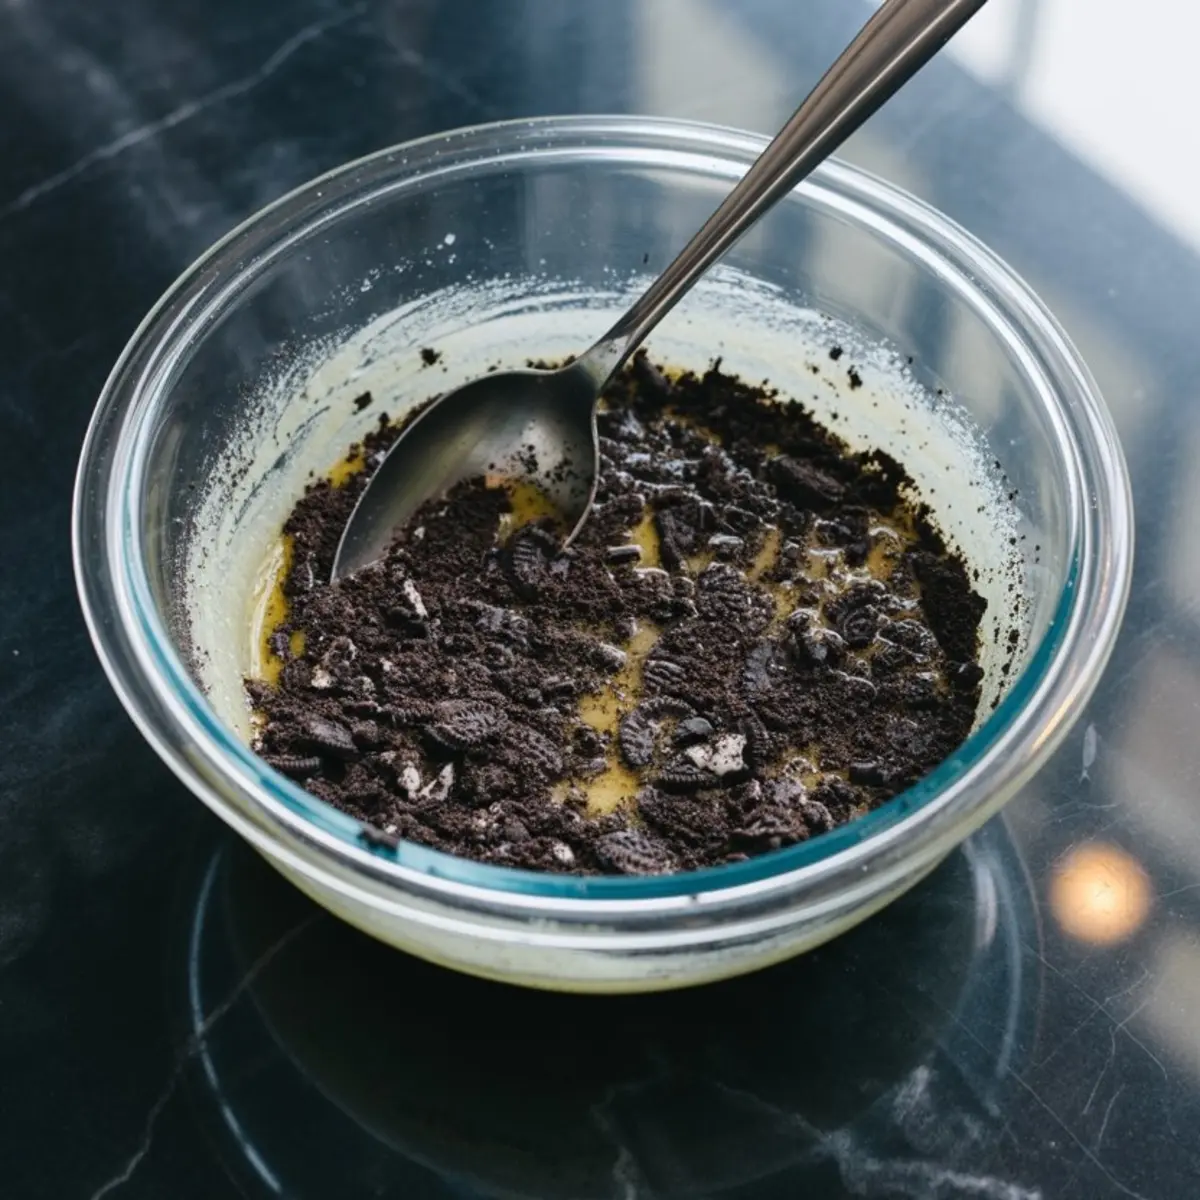
How to Make the Oreo Pie Crust Without Baking
Start with 24 classic chocolate Oreos and crush them until fine.
I like to use a food processor, but a zip-top bag and a rolling pin do the job too. Add melted butter and mix until it feels like damp sand. You should be able to press a spoonful between your fingers and have it hold its shape.

Press this mixture into a 9-inch pie dish, shaping it up the sides. Use a flat-bottomed measuring cup to press the crust tightly so it stays firm when chilled.
Let it rest in the fridge for half an hour. This helps the butter solidify and keeps the crust from crumbling when you add the filling.
Optional but Impactful: The Chocolate Ganache Layer
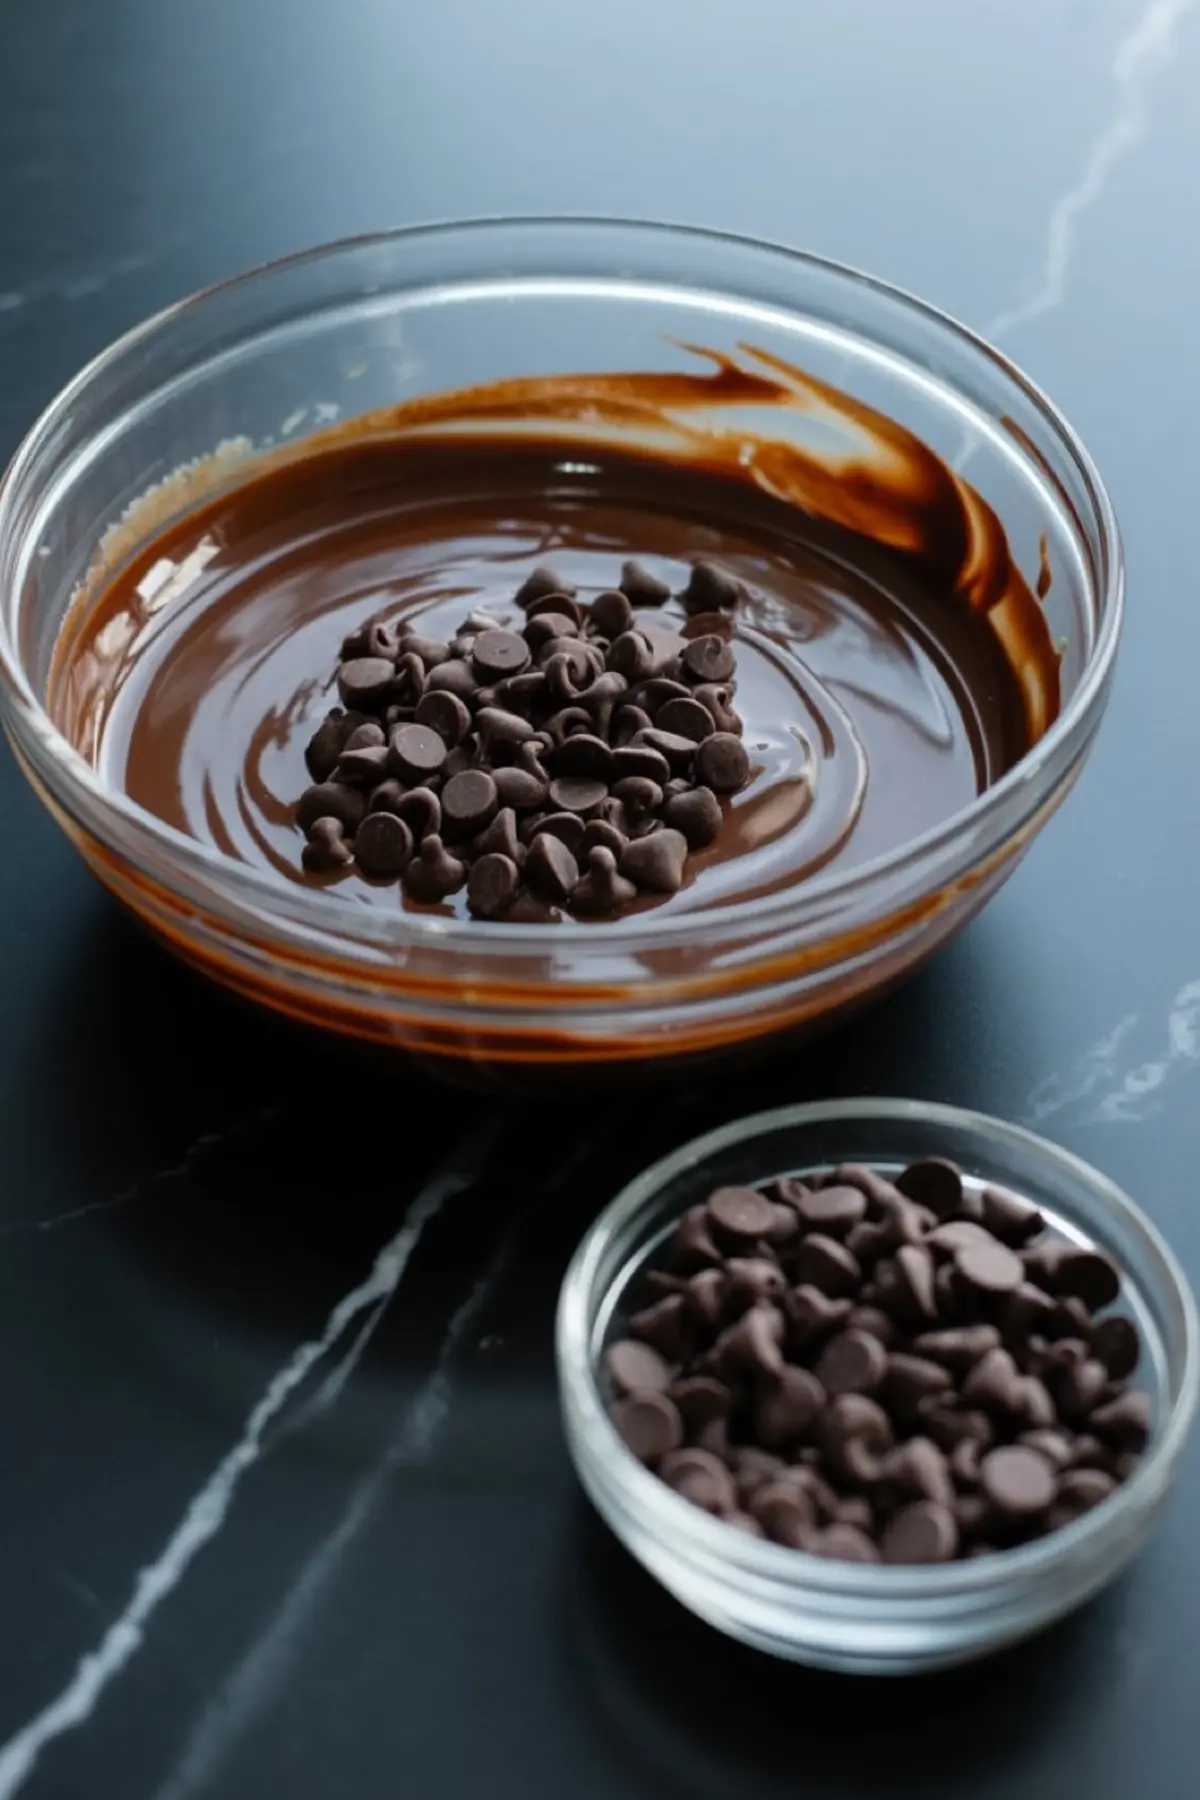
If you’ve made a No Bake Oreo Cheesecake, you might have skipped ganache. But here, I’d reconsider.
Ganache adds depth. It turns this from a kid-friendly dessert into something that feels a bit more grown-up, even with crushed Oreos on top.
To make it, warm cream until it just begins to bubble. Pour it over chocolate chips and let it sit for a minute. Stir until silky. Then pour and spread it over the crust.
I always chill the ganache layer again for 10 minutes before adding the filling. Otherwise, it can mix into the cream cheese base instead of sitting beneath it.
A Creamy Oreo Filling That Actually Sets
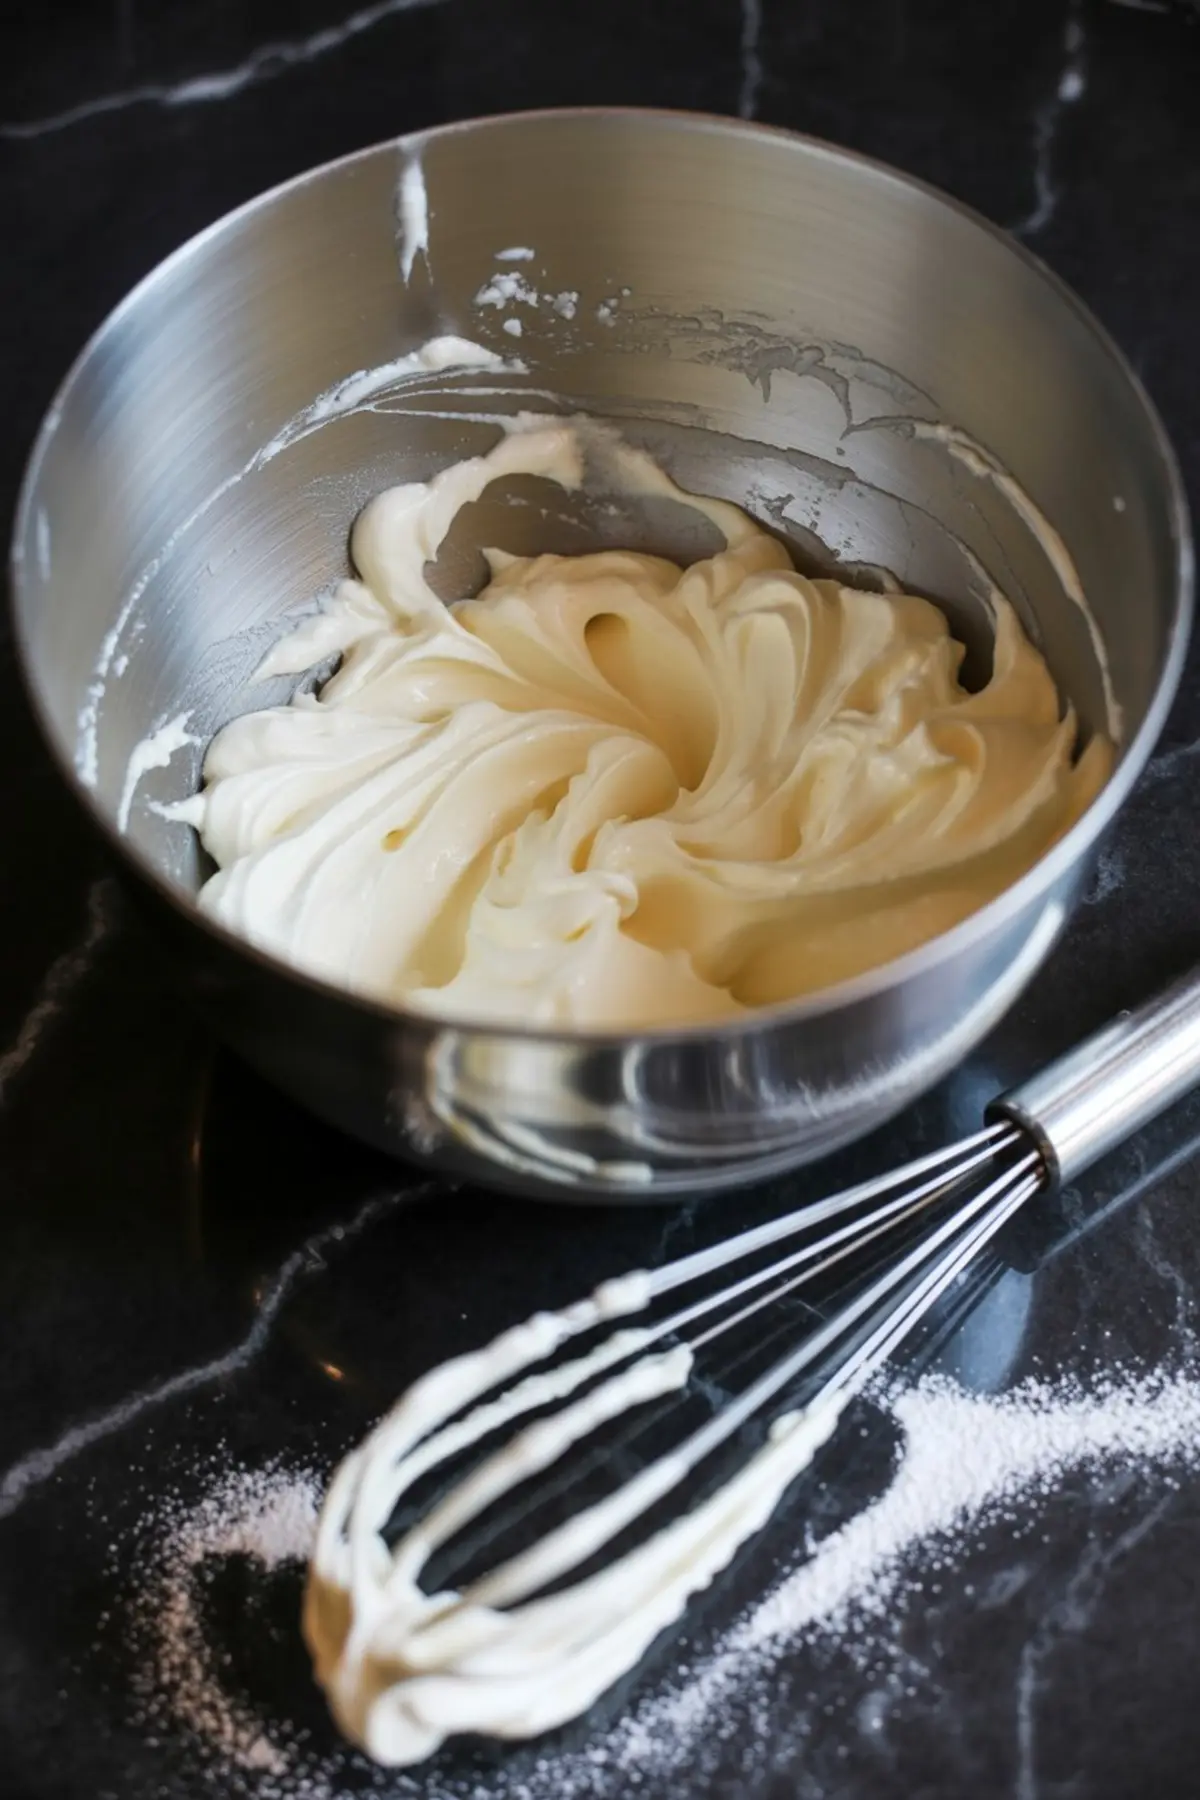
Cream cheese gives the filling structure. Whipped topping adds lightness. Together, they create that signature Oreo cream pie texture without the need for gelatin.
Beat the softened cream cheese with powdered sugar until smooth. Then fold in the whipped topping gently. The air trapped inside helps the pie hold its shape after chilling.
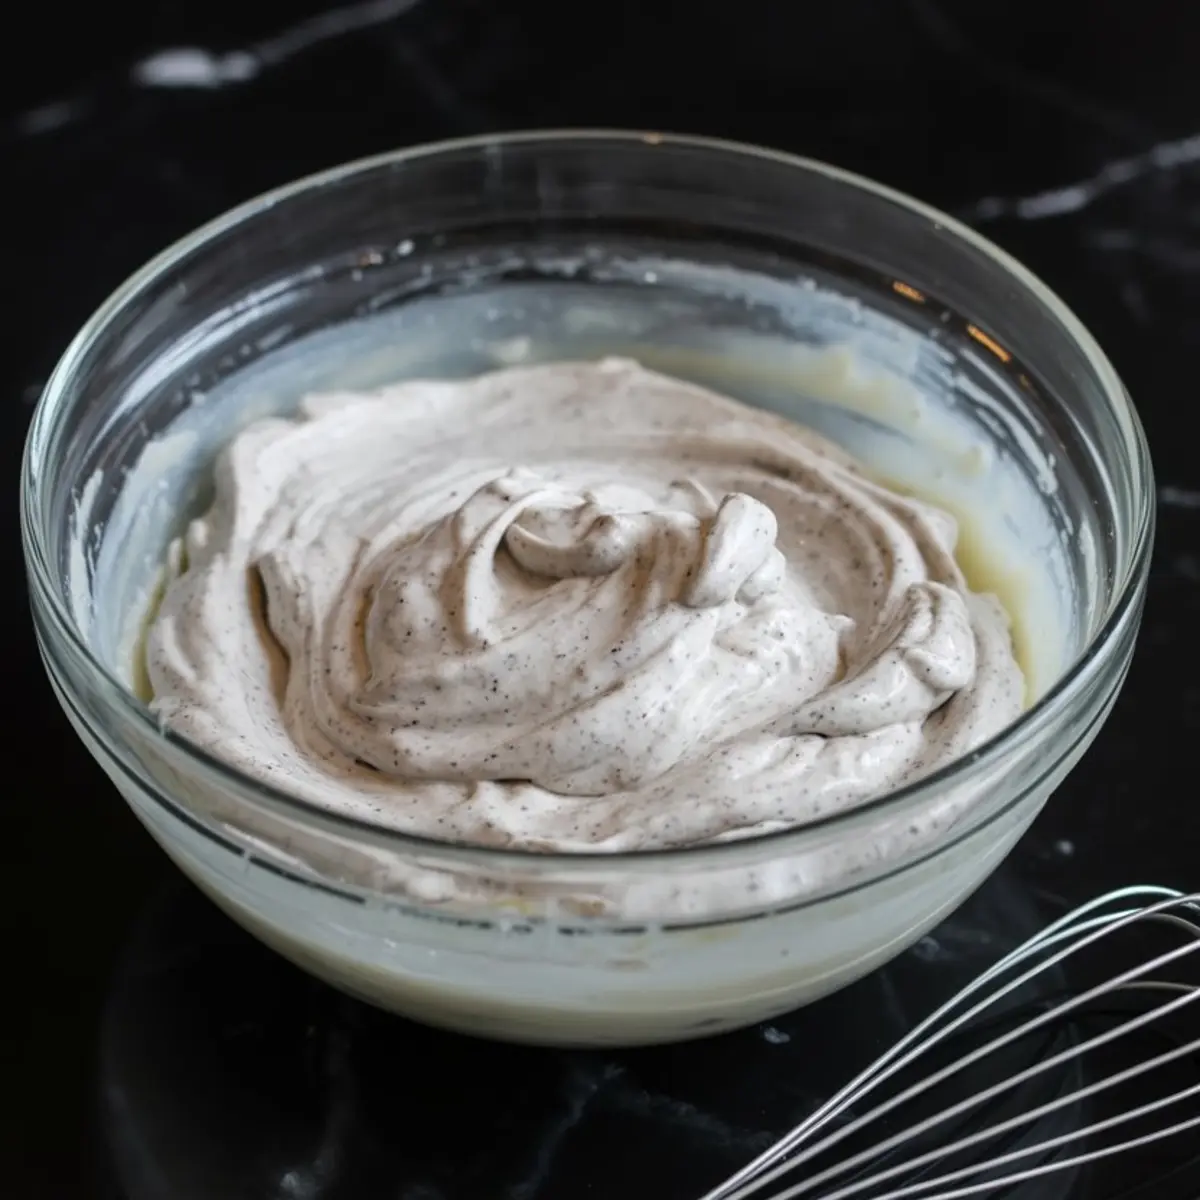
Crushed Oreos come next. I’ve tested different quantities and six cookies strikes the right balance. Enough crunch without overwhelming the creamy base.
If you’ve made Oreo Cupcakes before, you know how intense that filling can get when overmixed. Fold the cookies in just until they’re spread through.
Fill, Chill, and Wait for the Slice Test
Once your crust is cold and your ganache is firm, spoon the filling into the pie dish. Smooth the top with a spatula. Cover with wrap and chill for at least four hours. I leave mine overnight.
Patience here means cleaner slices. The cream firms up and slices hold their shape. If you’ve ever made Oreo Cheesecake Cookies, you’ll know how important temperature control can be when Oreos meet dairy.
Use a sharp knife and wipe it between slices. Serve cold. Always cold. This pie softens fast in warm kitchens.
Comparison That Matters: Whipped Topping vs. Whipped Cream
I’ve tested both. In my Pin Notebook, I wrote: “Whipped cream melts in 24 hours. Cool Whip holds for days.”
If you need the pie to travel or sit out at a party, go with the whipped topping. Real whipped cream tastes cleaner but collapses faster, especially with crushed Oreos inside.
When I make this for my niece’s birthday, I stick with Cool Whip. When it’s just for me and a friend? I whip the cream by hand.
Top It Off: Oreo Cookie Garnish and Optional Crumbs
Before serving, add whole Oreos around the edge of the pie. You can press them slightly into the filling so they stay in place.
I usually crush two more cookies and sprinkle them across the center. It gives a little texture contrast and breaks up the white of the filling.
If you’re into clean, elegant presentation, skip the crumbs and just use cookies. But if you want it to look like a Chocolate Covered Oreos tray, don’t hold back.
The Secret Ingredient I Add to the Filling
Here’s where the magic comes in. I add a single tablespoon of sour cream to the filling.
It’s not enough to make the pie tangy. But it rounds out the sweetness and gives the filling a subtle depth you’d miss otherwise. I tried it once, by accident. I’ve never left it out since.
You’ll taste it in the second bite. That gentle pause in sweetness. It works. Try it.
Save This Oreo Pie for Later and Let Me Know How It Goes

This no bake Oreo pie sits among the most requested pies in my kitchen.
I’ve brought it to birthdays, summer cookouts, and quiet Sunday nights when only something sweet will do. The Oreo crust, the Oreo filling, and the extra chilled ganache layer come together in a way that feels generous but manageable.
Save this to your Pinterest dessert board so it’s ready when you are.
And if you make it, I’d love to hear what you think. Share in the comments what toppings you used or if you tried the ganache. Let’s build something better together.
No-Bake Oreo Pie
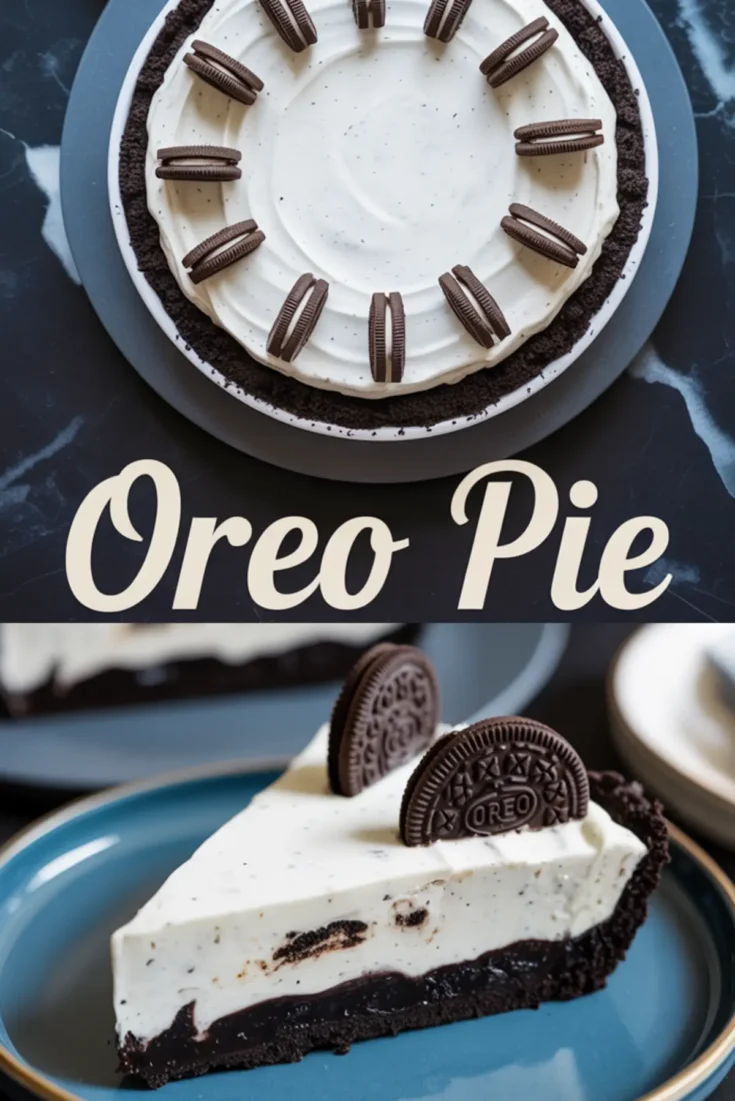
Oreo pie is the kind of no bake dessert that never fails to impress. I crush chocolate Oreos into an Oreo crust, fill it with a creamy Oreo filling, and chill until set. The result is an easy Oreo pie that tastes like cookies and cream in pie form. Some call it Oreo cream pie, others Oreo cookie pie or even dirt pie, but no matter the name it’s always a crowd favorite. I’ve tested Oreo pie crust recipe no bake versions and other recipes using Oreo pie crust for cheesecakes and layered Oreo crust desserts, but this one remains the simplest. Among Oreo desserts, a no bake Oreo cream pie with Oreo crust is quick, rich, and perfect for parties.
Ingredients
- for the crust
- 24 Oreo cookies, crushed
- 5 tablespoons unsalted butter, melted
- for the filling
- 8 oz cream cheese, softened
- 1/2 cup powdered sugar
- 8 oz whipped topping (like Cool Whip), thawed
- 6 Oreo cookies, crushed
- for the optional ganache
- 1/2 cup semi-sweet chocolate chips
- 1/4 cup heavy cream
- for topping
- 6–8 whole Oreo cookies
Instructions
- MAKE THE CRUST: Combine the crushed Oreo cookies and melted butter in a bowl and mix until all crumbs are evenly moistened. Press the mixture firmly into the bottom and up the sides of a 9-inch pie dish. Use the bottom of a measuring cup to flatten and pack it evenly. Refrigerate for 30 minutes to allow the crust to set.
- MAKE THE GANACHE (OPTIONAL): Warm the heavy cream in a small saucepan or microwave just until it begins to simmer. Pour the hot cream over the chocolate chips in a bowl and let it sit for 1 minute. Stir until smooth and glossy. Pour the ganache over the chilled crust and spread it in a thin, even layer. Return the crust to the refrigerator while preparing the filling.
- MAKE THE FILLING: In a large mixing bowl, beat the softened cream cheese and powdered sugar until the mixture is completely smooth and fluffy. Gently fold in the whipped topping using a spatula, working slowly to keep the mixture light and airy. Add the crushed Oreo cookies and fold just until evenly combined.
- ASSEMBLE THE PIE: Spoon the filling over the prepared crust (or ganache layer, if using). Spread the top evenly with a spatula, smoothing out the surface. Cover the pie with plastic wrap or foil and refrigerate for at least 4 hours, or overnight, until fully set.
- DECORATE AND SERVE: Just before serving, arrange whole Oreo cookies around the edge of the pie. Optionally, crush a few additional cookies and sprinkle over the top. Slice using a sharp knife and serve cold.
Notes
Soften the cream cheese at room temperature for 45–60 minutes to ensure smooth blending. For the cleanest slices, chill the pie overnight and wipe the knife between cuts. The ganache layer is optional but adds a deeper chocolate flavor that contrasts well with the creamy filling.
Nutrition Information:
Yield:
8Serving Size:
1Amount Per Serving: Calories: 1039Total Fat: 58gSaturated Fat: 28gTrans Fat: 0gUnsaturated Fat: 27gCholesterol: 56mgSodium: 671mgCarbohydrates: 126gFiber: 5gSugar: 80gProtein: 11g
