

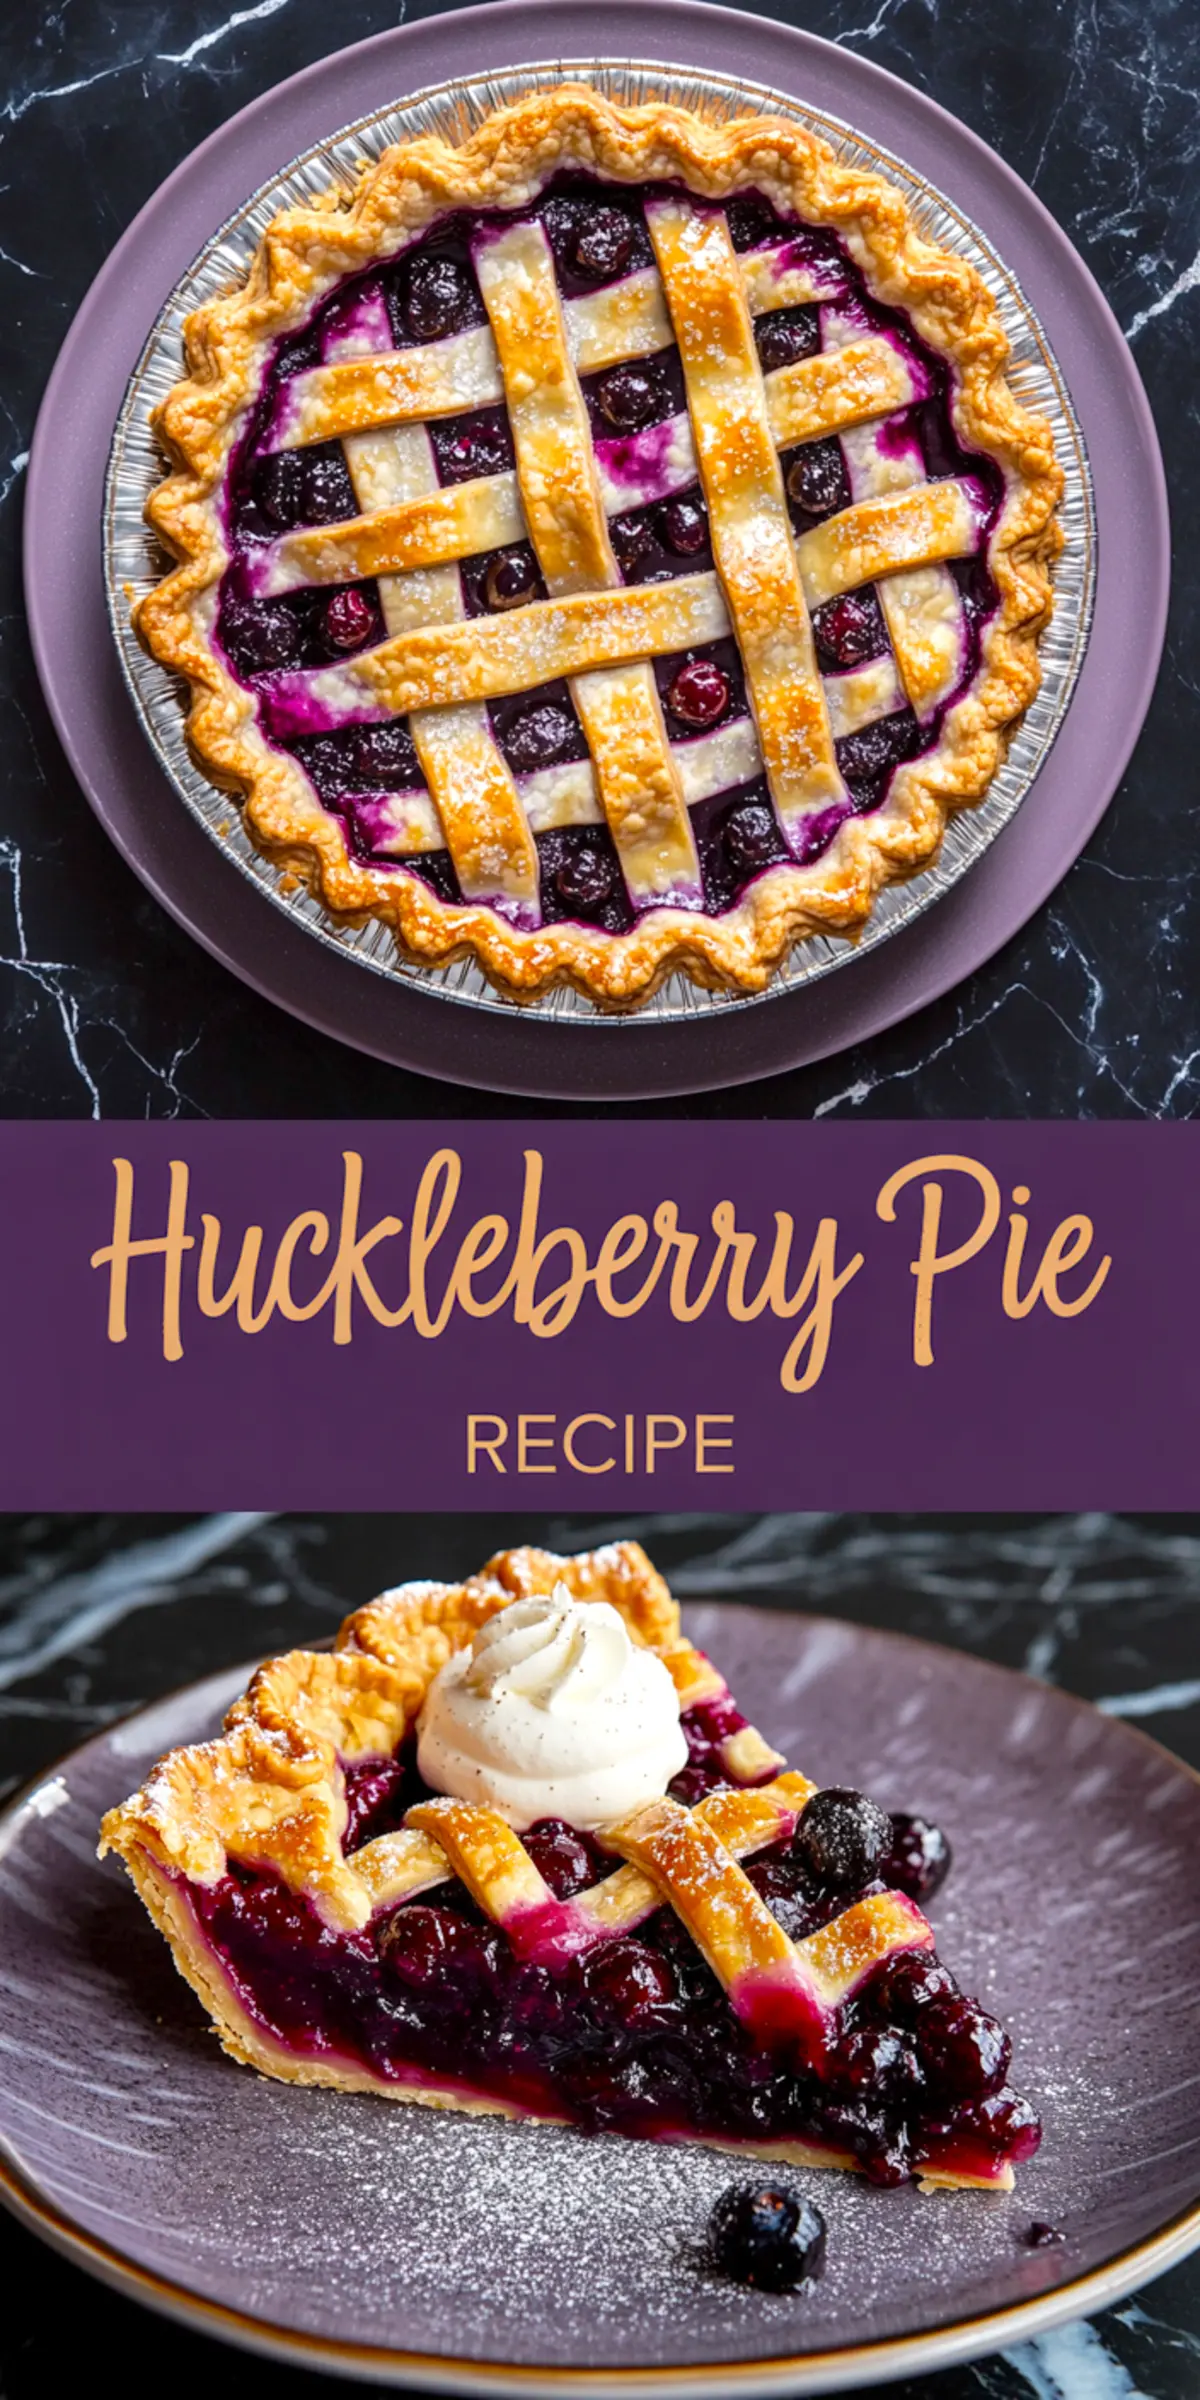
There’s a reason huckleberry pie feels different from every other berry dessert. It’s wild. It’s tart in a way that pinches your cheeks just slightly, and sweet enough to make you want a second slice before you’ve finished the first. This recipe gives you more than just a pie it hands you a chance to work with a fruit that doesn’t show up at just any market.
You’ll learn exactly how to get that golden lattice, how to hold the berry juice in place without turning the crust soggy, and how to make it slice clean without refrigeration tricks. I’ll show you how I do it in my kitchen, using the same notes I’ve scribbled in my Pin Notebook for the past few years.
But here’s where things get more interesting. There’s one subtle addition in the filling—a pantry ingredient you’ve likely overlooked—that takes the whole pie from good to remarkable. I’ll tell you exactly what it is after the filling is tucked in.
Let’s get your confidence warmed up.
Ingredients for Huckleberry Pie with Lemon and Cinnamon
I use two dough rounds made with butter, flour, salt, sugar, and ice water. The butter needs to stay cold while you work it in. Soft butter ruins the flake. I’ve pressed this dough into both pie tins and hand pies, and I always come back to the same basic ratio.

For the filling, fresh or frozen huckleberries work. If they’re frozen, don’t thaw. Use them straight out of the bag to keep the juice from thinning the mix too early. I add sugar, cinnamon, lemon zest, juice, and a bit of cornstarch. Stir it gently, and let it rest.
This is where the magic starts. The berries begin releasing their juice. You’ll notice the sugar dissolves, and the cinnamon clings to the skins. I always take a deep breath here—there’s nothing like the scent of huckleberries warming with lemon.
Want something different next time? You could try this same base with raspberries or even gooseberries if you’re feeling adventurous. But huckleberries? They keep you grounded in tradition.
The Best Dough Method: Butter vs. Shortening
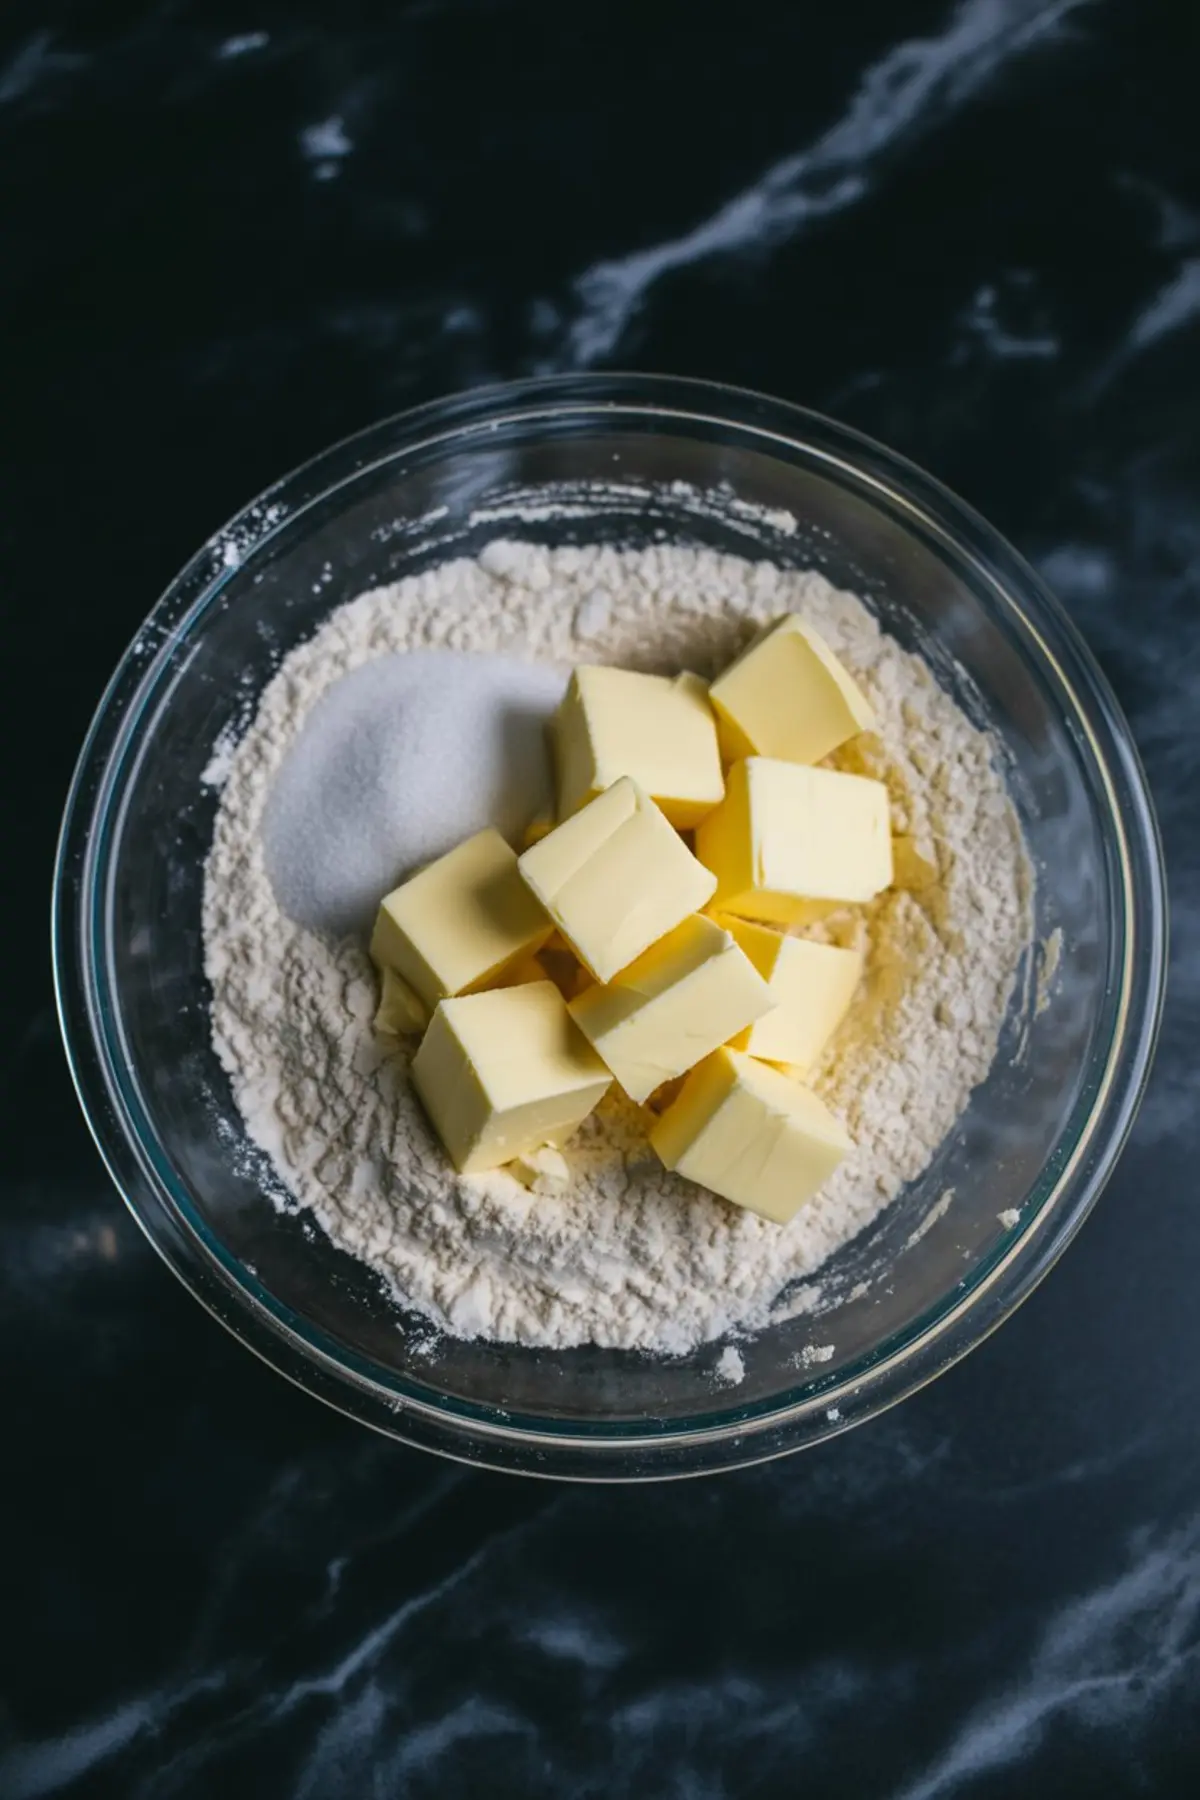
You’ve likely seen pie crust recipes call for shortening. I’ve tested both, and I’ll say this plainly. Butter wins. Every time.
In my experience, shortening gives you a bit more pliability, but you lose the rich depth and crisp edges that butter brings. The all-butter crust bakes with flavor, not just structure. If your kitchen runs warm, chill your tools. Even the rolling pin. Cold keeps the butter solid while you shape.
If you ever need a no-roll version, save my Frozen Blueberry Pie for later. It’s a good place to start when time runs short.
Rolling and Filling Your Pie Like a Pro
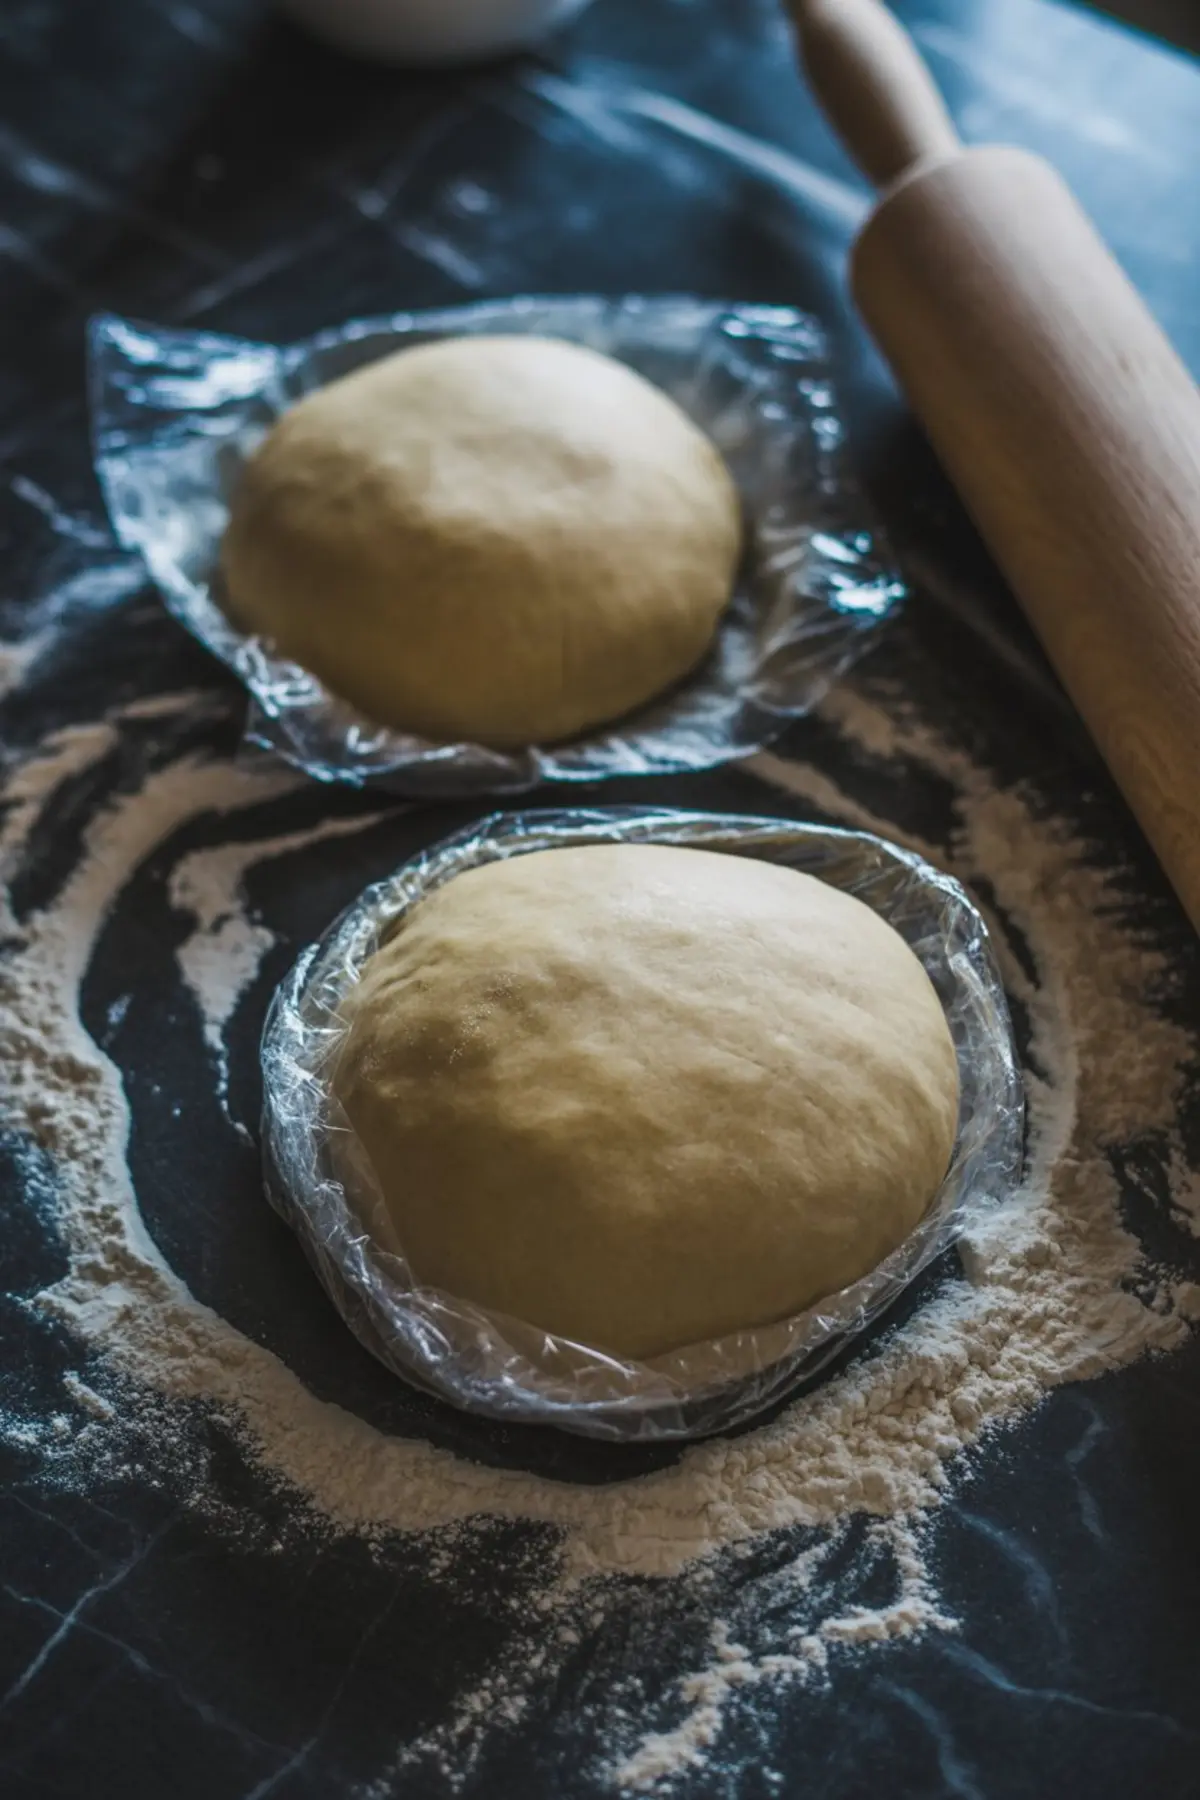
Once the dough has rested, I roll it into a 12-inch circle and ease it into a 9-inch pan. Don’t stretch it. Press gently. Let the dough fall into place, then trim with clean edges.

The filling goes in next. Spoon the huckleberry mix right into the crust and spread it into an even layer. Let the juices sit where they fall. No need to stir them in again.
I roll out the second disc and slice it into wide strips. That’s your lattice. I usually do five in each direction. Keep the pattern loose—it’s a pie, not a ruler’s parade. Pinch the edges to seal, crimp, and breathe.

Now brush that top with a quick egg wash. Water and egg, nothing fancy. Sprinkle coarse sugar over the crust to help it catch golden in the oven.
If you like experimenting with other shapes, my Classic Blueberry Pie uses a double crust and vents instead of a lattice. Equally satisfying.
Bake and Cool for the Cleanest Slice
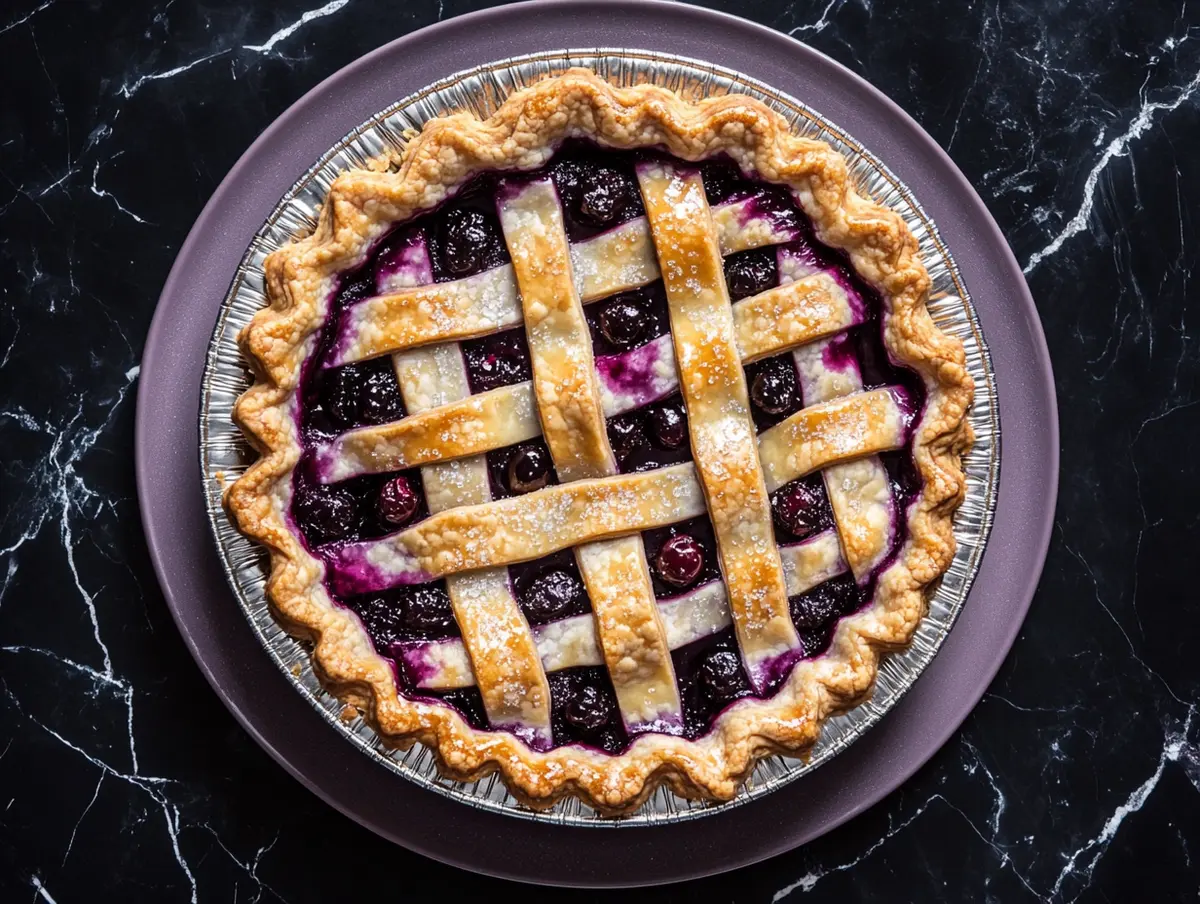
Start the bake hot. I set mine at 425°F for 20 minutes. Then reduce to 375°F and bake until the juices bubble through the lattice and the crust turns deep golden.
Now here’s where most folks rush. Let the pie cool. At least four hours. It needs that time to set up and cut clean. If you slice it warm, it will spill. Still delicious, but messy. Sometimes I make two pies just for this reason—one to eat warm with ice cream, and one to cool for pictures and clean cuts.
If you prefer something more summery and soft-set, try the Strawberry Pie recipe next time. It uses a different gelling technique but carries a similar balance of tart and sweet.
The Ingredient You Didn’t Expect
Now, about that secret. It’s lemon zest. Not lemon juice. The zest gives you oils that float to the top of the filling and linger in every bite. It brightens the deep berry flavor and pulls the cinnamon into harmony. I tested the pie once without it, and it fell flat. The difference was clear.
You don’t need much—just enough to stir in with the sugar. That’s the moment when the pie changes. From standard to unforgettable.
It’s a trick I picked up while working on blueberry hand pies one winter. The batch tasted flat until I added a pinch of zest. Ever since, I never skip it.
Save and Share Your Huckleberry Moment

If you’ve made it this far, I know you’re serious about baking. This huckleberry pie recipe belongs in your collection of go-to huckleberry desserts. You can also use it as a base for huckleberry muffins, or fold the filling into a chilled base for huckleberry cheesecake. The structure holds.
Try pairing a slice with vanilla bean whipped cream or lavender ice cream. Then let the pie rest under a glass dome on your kitchen counter. It speaks for itself.
Save this recipe to your Pinterest board so you can find it again during pie season. I’d love to hear how yours turned out. Did you try a full lattice or go freeform? Leave a comment and share any tweaks you made. I always read them.
Huckleberry Pie Recipe

Huckleberry pie combines a flaky all-butter crust with the intense, tart-sweet flavor of huckleberries. The filling is lightly spiced with cinnamon and brightened with lemon, then finished with a golden lattice crust. This rustic pie slices cleanly and showcases the natural texture and deep purple juices of the berries.
Ingredients
- FOR THE CRUST
- 2 ½ cups all-purpose flour
- 1 teaspoon salt
- 1 tablespoon granulated sugar
- 1 cup (2 sticks) cold unsalted butter, cut into small cubes
- 6 to 8 tablespoons ice water
- FOR THE FILLING
- 5 cups fresh or frozen huckleberries
- ⅔ cup granulated sugar
- 1 tablespoon lemon juice
- 1 teaspoon lemon zest
- ½ teaspoon ground cinnamon
- 3 tablespoons cornstarch
- FOR ASSEMBLY
- 1 egg
- 1 tablespoon water
- 1 tablespoon coarse sugar
Notes
Store loosely covered at room temperature for up to 2 days. For longer storage, refrigerate for 4 to 5 days. The baked pie can also be frozen for up to 3 months when tightly wrapped. Reheat in a 350°F oven until the crust crisps and the filling is warmed through.
Nutrition Information:
Yield:
8Serving Size:
1Amount Per Serving: Calories: 306Total Fat: 3gSaturated Fat: 1gTrans Fat: 0gUnsaturated Fat: 1gCholesterol: 27mgSodium: 277mgCarbohydrates: 66gFiber: 3gSugar: 29gProtein: 6g
