

Some recipes feel like postcards from the past. These decorated beach cookies always take me back to the summer we built a driftwood dessert table for my nephew’s birthday. I remember the cookies more than the cake. There was seafoam sugar, golden shell patterns, and one fish cookie with a crooked tail that somehow became the favorite.
You’ll learn exactly how to bake and decorate summer sugar cookies that look like they washed in with the tide. This post walks you through how to make soft butter cookies, how to choose between royal icing and fondant, and how to decorate ocean cookies in a way that actually feels fun.
These are beach-themed cookies, but I don’t stop at blue waves. I use texture, color depth, and a quiet trick I learned from a failed coral cookie years ago. I’ll share that unexpected touch at the end.
This post also includes comparisons to help you choose the best decorating method. And if you’re already planning a pool party or ocean-themed birthday, these cookies will give your table something extra special.
Pool Party Sugar Cookies have a similar base, so you can mix and match themes if you like.

How to Make the Sugar Cookie Base
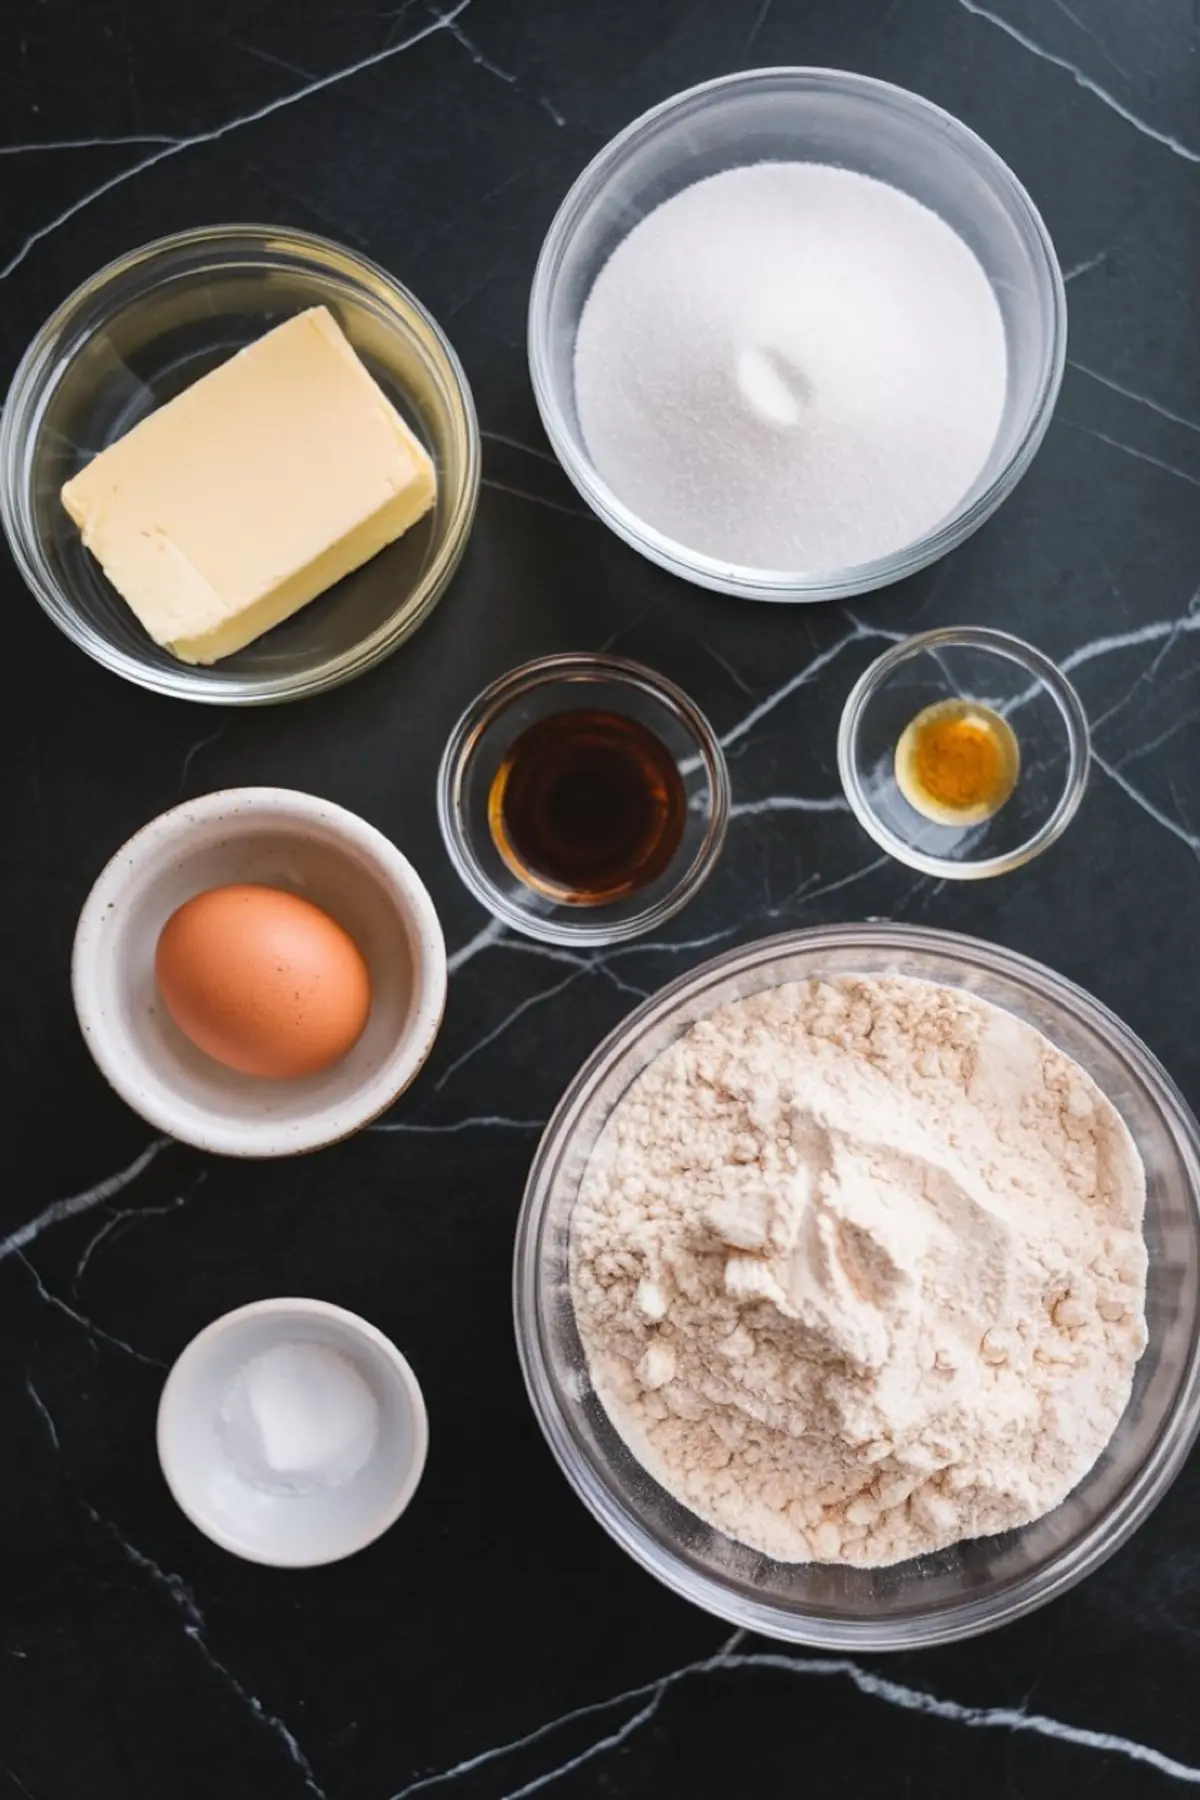
This dough doesn’t spread much and bakes into a soft, slightly crisp cookie that holds shape well. I use unsalted butter at room temperature so the mixing goes smoothly. The vanilla brings warmth, and a touch of almond extract adds that nostalgic bakery aroma.
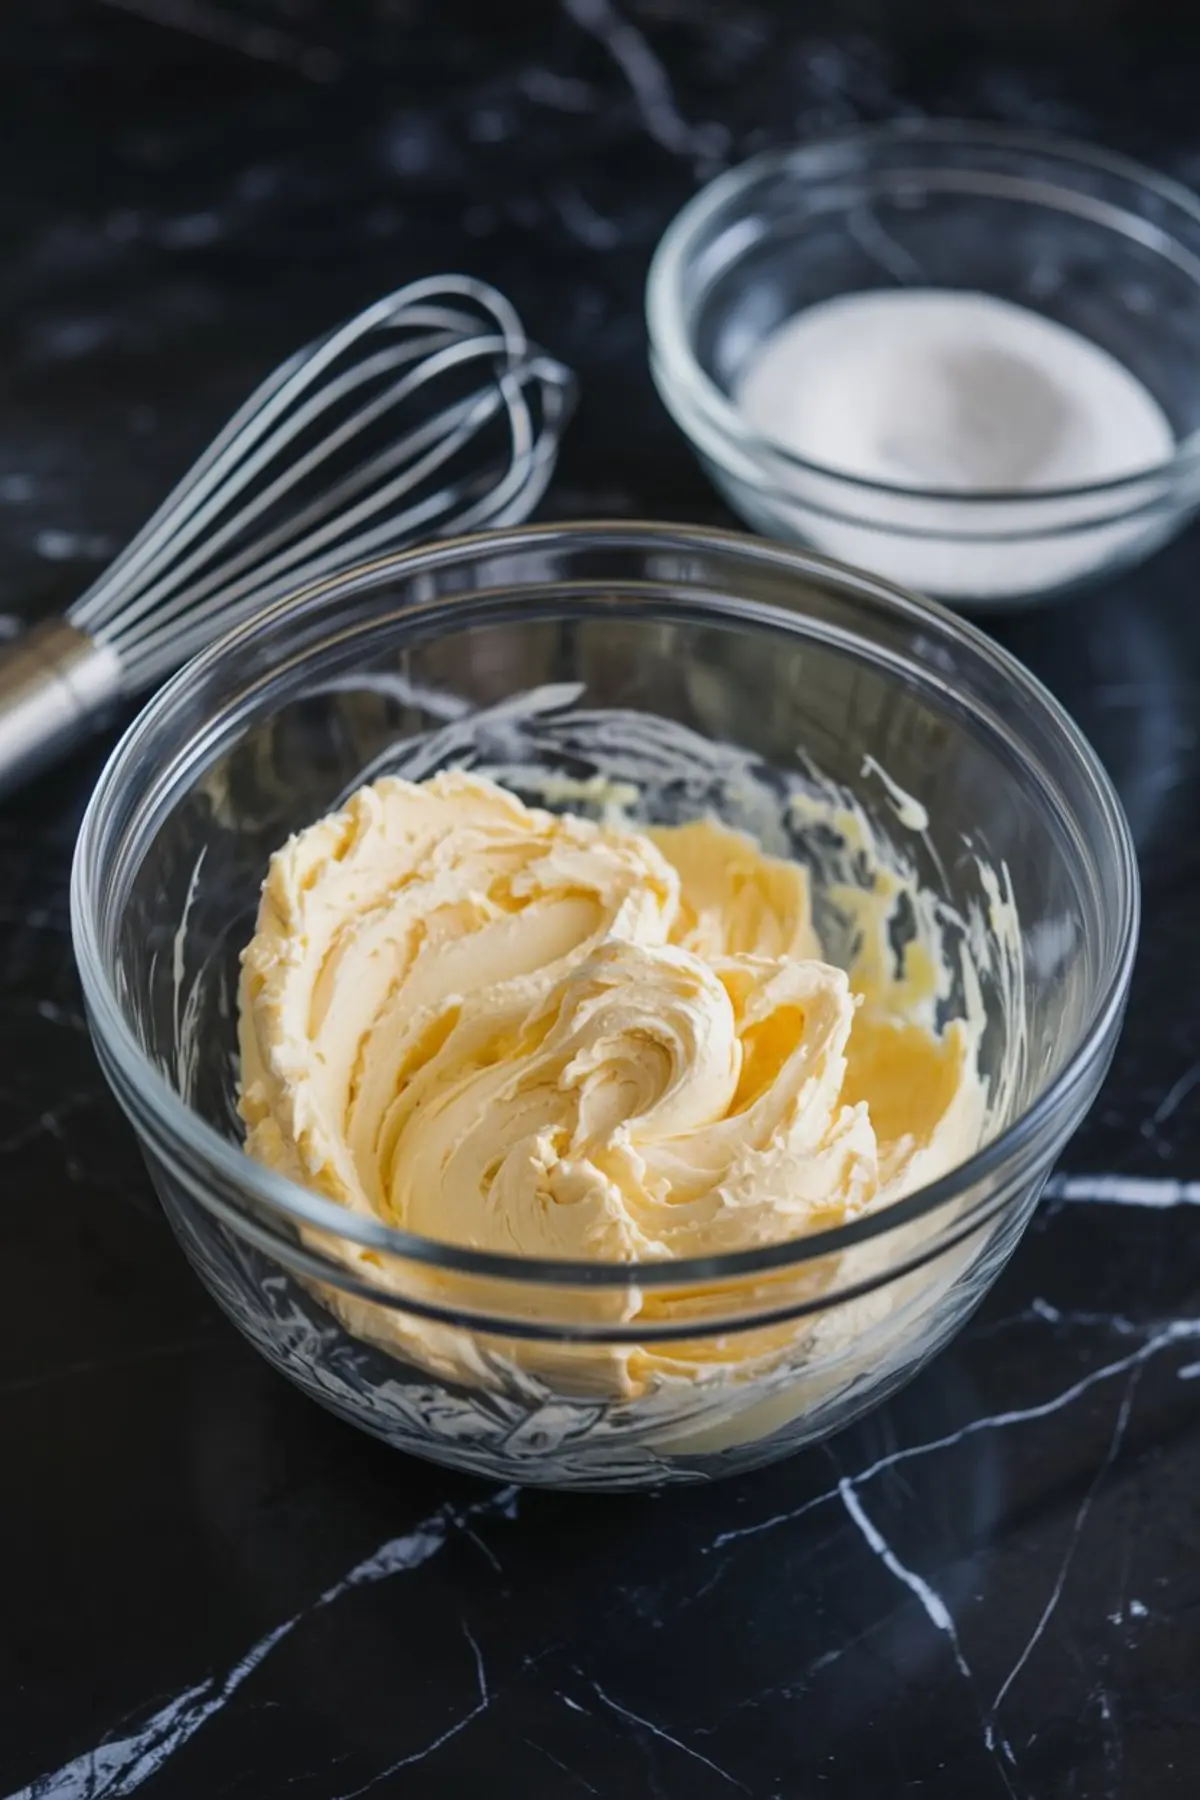
In my experience, chilling the dough is the most important part. I chill it twice: once after mixing and again after cutting the shapes, especially in summer. That keeps the edges sharp.
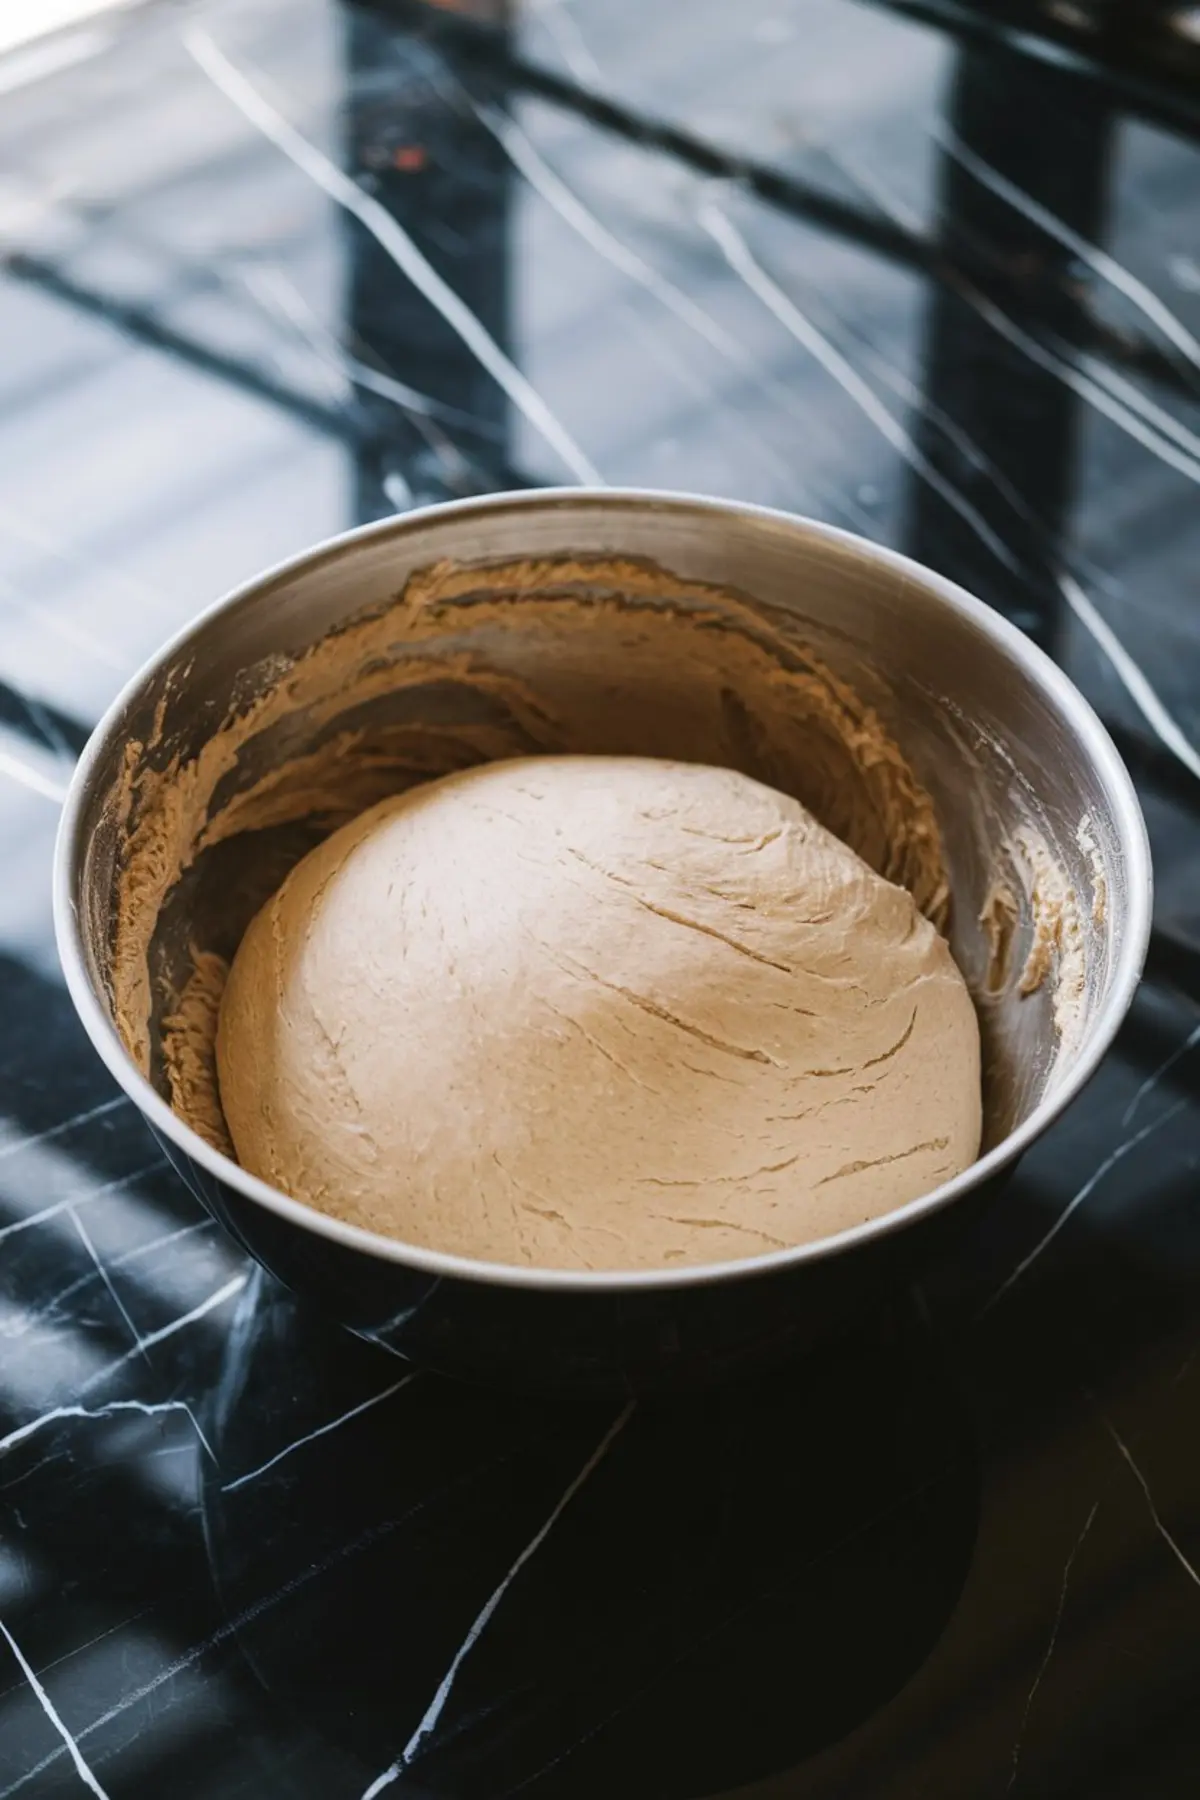
Use a floured surface, roll gently, and avoid overworking the dough. A 1/4-inch thickness gives you a good canvas for decorating without turning them into bricks.
If you like variety, you can follow the same base to make Beach Ball Cake decorations with cookie cutouts too.
Choosing Between Royal Icing and Fondant for Decorated Cookies
I’ve tested both styles over the years, and each has its own charm. Royal icing gives you shine and flow. You can outline, flood, and build up layers with delicate detail. It takes more patience but allows creative freedom with color blends.
Fondant, on the other hand, offers a sculpted look. It works best for adding dimension, like raised shells or pressed wave textures. If you’re decorating with kids, fondant is often less messy.
In my notes, I’ve found that fondant decorations hold up better at outdoor events. Royal icing tends to soften in humidity, especially during long summer days.
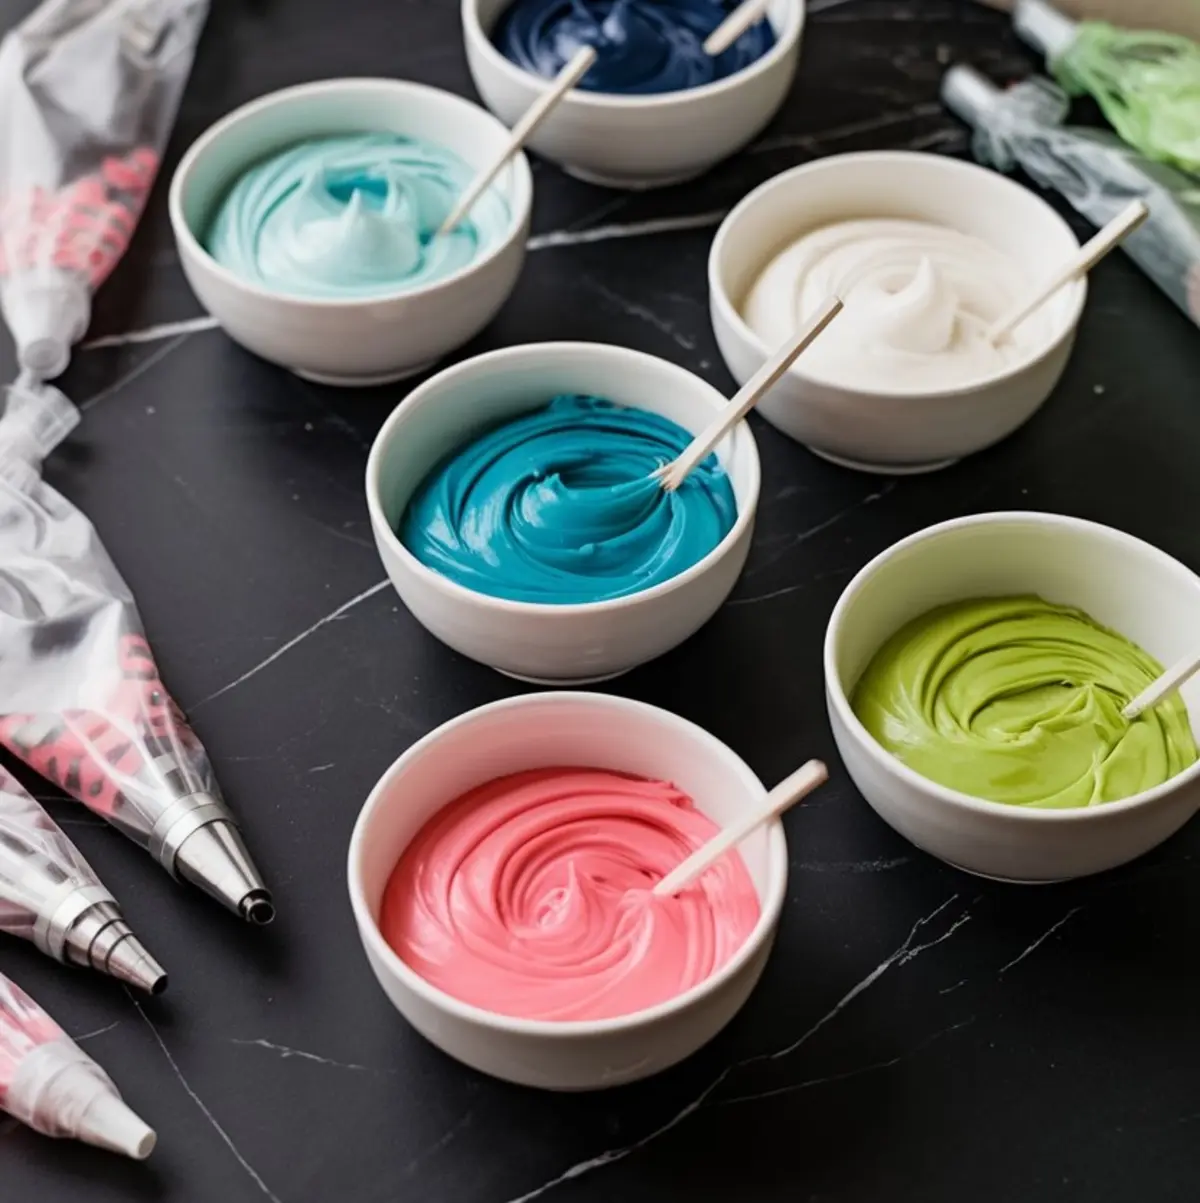
Either method can be made colorful. I always reach for sky blue, teal, coral, and white. Yellow adds a touch of sunshine. You can tint icing or fondant easily with gel colors. Just work a little at a time to avoid staining your hands or going too bold.
Decorating Summer Sugar Cookies with Royal Icing
Start with thick icing for outlines. I pipe the border first, then fill it in with thinner icing to flood the space. If you want the seafoam effect, sprinkle white sections with sanding sugar before the icing dries.
Let the base color dry before layering on details. I once rushed and watched a perfectly piped seashell sink into blue icing like a shipwreck.
Use small piping tips for details. I keep a toothpick nearby to fix edges or pop air bubbles. And if the icing feels too thick, just add a few drops of water. It should flow but not run.
Decorating Beach Cookies with Fondant and Ocean Details
Roll out white fondant on a cornstarch-dusted surface. Cut to match your cookie shapes. Then color small sections for your sea life elements.
Use silicone molds or your hands to create coral branches, fish, and wave crests. I like layering different shades of blue for a sense of motion.
Edible shimmer dust can add a subtle shine. And a little edible glue or corn syrup holds the fondant in place without making the surface soggy.
If you enjoy decorating with your hands more than piping, this method might feel easier. It also gives your cookies a clean, polished look for party platters.
For more inspiration, I often browse other summer desserts and try to match colors across the board.
My Secret Element That Makes These Cookies Pop
So what’s that unexpected trick I hinted at earlier? It’s texture. I use one small silicone mold to press crushed sugar pearls into the fondant waves or wet royal icing edges. It creates a look that reminds me of coral dust or saltwater foam.
I learned this after a batch of shell cookies looked flat and dull. That little bit of contrast brought them to life. It catches the light and adds a gentle crunch too.
If you make beach cookies decorated with just color, they still look cute. But if you add texture, they stand out. That’s the difference between sweet and showstopper.
You can even mix both techniques—ice some cookies, cover others with fondant, then use the same color palette for cohesion.
Pin These Beach Cookies for Later and Join the Conversation
If these beach sugar cookies brought you ideas or memories, save this on your summer desserts board so you can find it again. I’d love to hear how yours turn out.
What colors did you use? Did you go with waves, fish, or coral? Leave a comment below and let’s share cookie ideas together. Your tips might help someone else have their best bake.
Decorated Beach Cookies
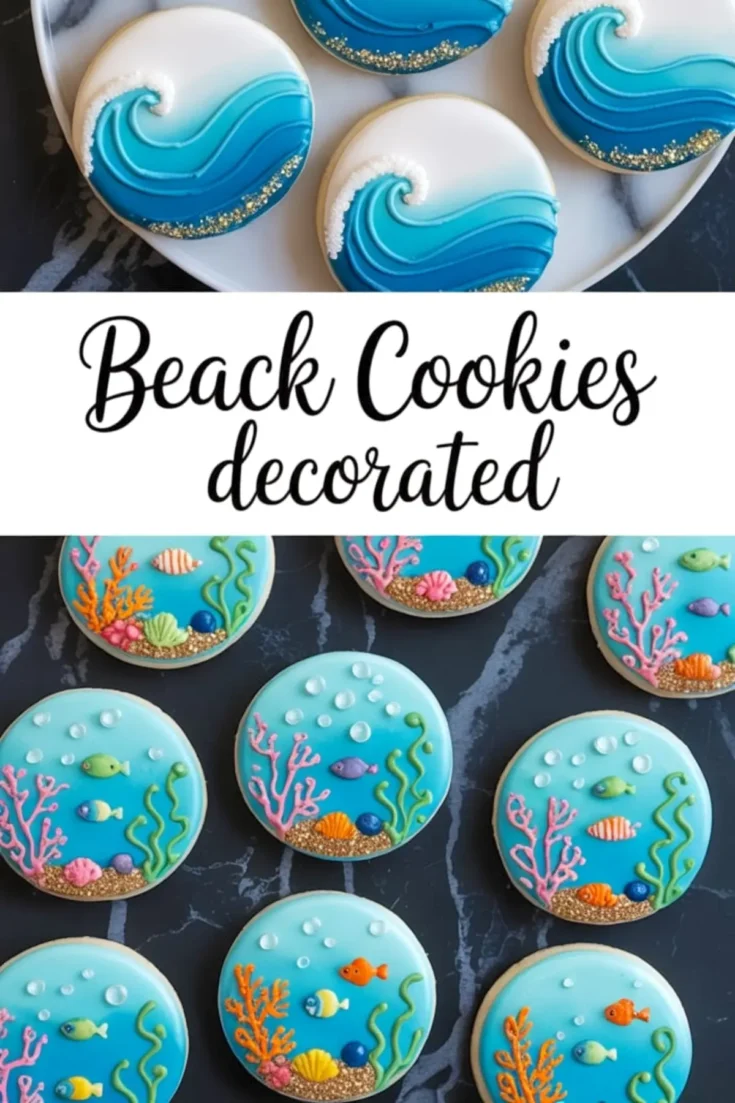
These beach-themed sugar cookies have a soft, buttery base and can be decorated using either royal icing or fondant. Use ocean-inspired colors and textures to create waves, shells, fish, and seaweed for a custom coastal design.
Ingredients
- FOR THE SUGAR COOKIE BASE:
- 1 cup unsalted butter, at room temperature
- 1 cup granulated sugar
- 1 large egg
- 1½ teaspoons vanilla extract
- ½ teaspoon almond extract (optional)
- 3 cups all-purpose flour
- ½ teaspoon baking powder
- ½ teaspoon salt
- FOR ROYAL ICING (OPTIONAL):
- 4 cups powdered sugar, sifted
- 3 tablespoons meringue powder
- 5–7 tablespoons water (adjust to consistency)
- Gel food coloring: white, sky blue, teal, navy, coral, green, yellow
- IF USING FONDANT INSTEAD:
- White fondant (store-bought or homemade)
- Gel food coloring
- Cornstarch (for rolling)
- Small cutters, embossing tools, silicone molds for waves, shells, seaweed
- Edible glue or corn syrup to attach fondant to cookies
Instructions
- MAKE THE DOUGH: Cream the butter and sugar together in a large bowl using a hand mixer or stand mixer until pale and fluffy, about 2 to 3 minutes. Add the egg, vanilla extract, and almond extract, and beat until well combined. In a separate bowl, whisk together the flour, baking powder, and salt. Gradually add the dry ingredients to the wet mixture, mixing until a soft, non-sticky dough forms. Divide the dough into two portions, flatten into discs, wrap in plastic wrap, and chill for at least 1 hour.
- ROLL AND BAKE: Preheat the oven to 350°F (175°C). On a floured surface, roll one disc of dough at a time to ¼ inch thickness. Cut into shapes using round or wave-themed cookie cutters. Place the cookies on parchment-lined baking sheets, spacing them 1 inch apart. Bake for 8 to 10 minutes, or until the edges are just lightly golden. Allow the cookies to cool completely on a wire rack before decorating.
- DECORATE – ROYAL ICING METHOD: In a mixing bowl, combine powdered sugar, meringue powder, and 5 tablespoons of water. Mix until thick and glossy, adding more water a teaspoon at a time to reach the desired consistency. Divide the icing into smaller bowls and tint each with gel food coloring as needed. Use thicker icing for outlines and detailed piping. Use flood-consistency icing for base coats. Let each layer dry before adding additional decorations. Sprinkle white icing with sanding sugar to mimic sea foam.
- DECORATE – FONDANT METHOD: Lightly dust your surface with cornstarch and roll out the white fondant to about ⅛ inch thick. Cut the fondant using the same cookie cutters to match the cookie shapes. Tint small portions of fondant with gel food coloring to create different ocean-themed elements. Shape details like waves, fish, shells, or coral by hand or with molds. Attach fondant to the cooled cookies using edible glue or a small amount of corn syrup. Press textured elements gently onto the surface, and add shimmer dust or edible glitter for a finished look.
Notes
For best results, let decorated cookies dry uncovered at room temperature for several hours or overnight before stacking or packaging.
Nutrition Information:
Yield:
24Serving Size:
1Amount Per Serving: Calories: 274Total Fat: 9gSaturated Fat: 5gTrans Fat: 0gUnsaturated Fat: 3gCholesterol: 28mgSodium: 71mgCarbohydrates: 47gFiber: 1gSugar: 32gProtein: 2g
