

Poolside playlists and bright towels always call for a cookie that looks like it belongs beside the lounger.
My pool party sugar cookies answer that call with vivid icing stripes and a crumb that keeps its snap even under July sunshine.
You will learn exactly how to mix, chill and decorate them so friends trust your tray more than the sunscreen.
Early in my baking notebook I circled one question: can a decorated sugar cookie survive a humid afternoon?
Years and many sheet pans later I hold a method that works every weekend and I am passing it to you here.
Confidence grows when the baker understands each step rather than guessing along.
A single scent hides inside these buttery rounds and that small note turns polite nods into wide smiles.
I will hint at it now yet keep you curious until after the decorating guide.
Think tropical breeze bottled in a teaspoon.

Pool Party Sugar Cookies Ingredients Explained
All-purpose flour provides structure while staying tender after cooling.
Unsalted butter brings clean dairy flavor and sets the crumb once chilled.
Vanilla extract pairs with a lone egg to round sweetness into something familiar and balanced.
Royal icing owes its gloss to powdered sugar and the dependable lift of meringue powder.
A careful stream of water turns the mix into a honey-like flow that hugs every curve of the cookie.

Gel colors supply bright tones without thinning the icing so edges stay sharp.
For pastel mood boards I sometimes borrow the palette from my Pastel Sugar Cookies.
Those subtle tints translate beautifully onto slice-shaped citrus designs in this summer batch.
The shared base recipe means you can move between styles without changing grocery lists.
Method That Keeps Shapes Crisp in Heat
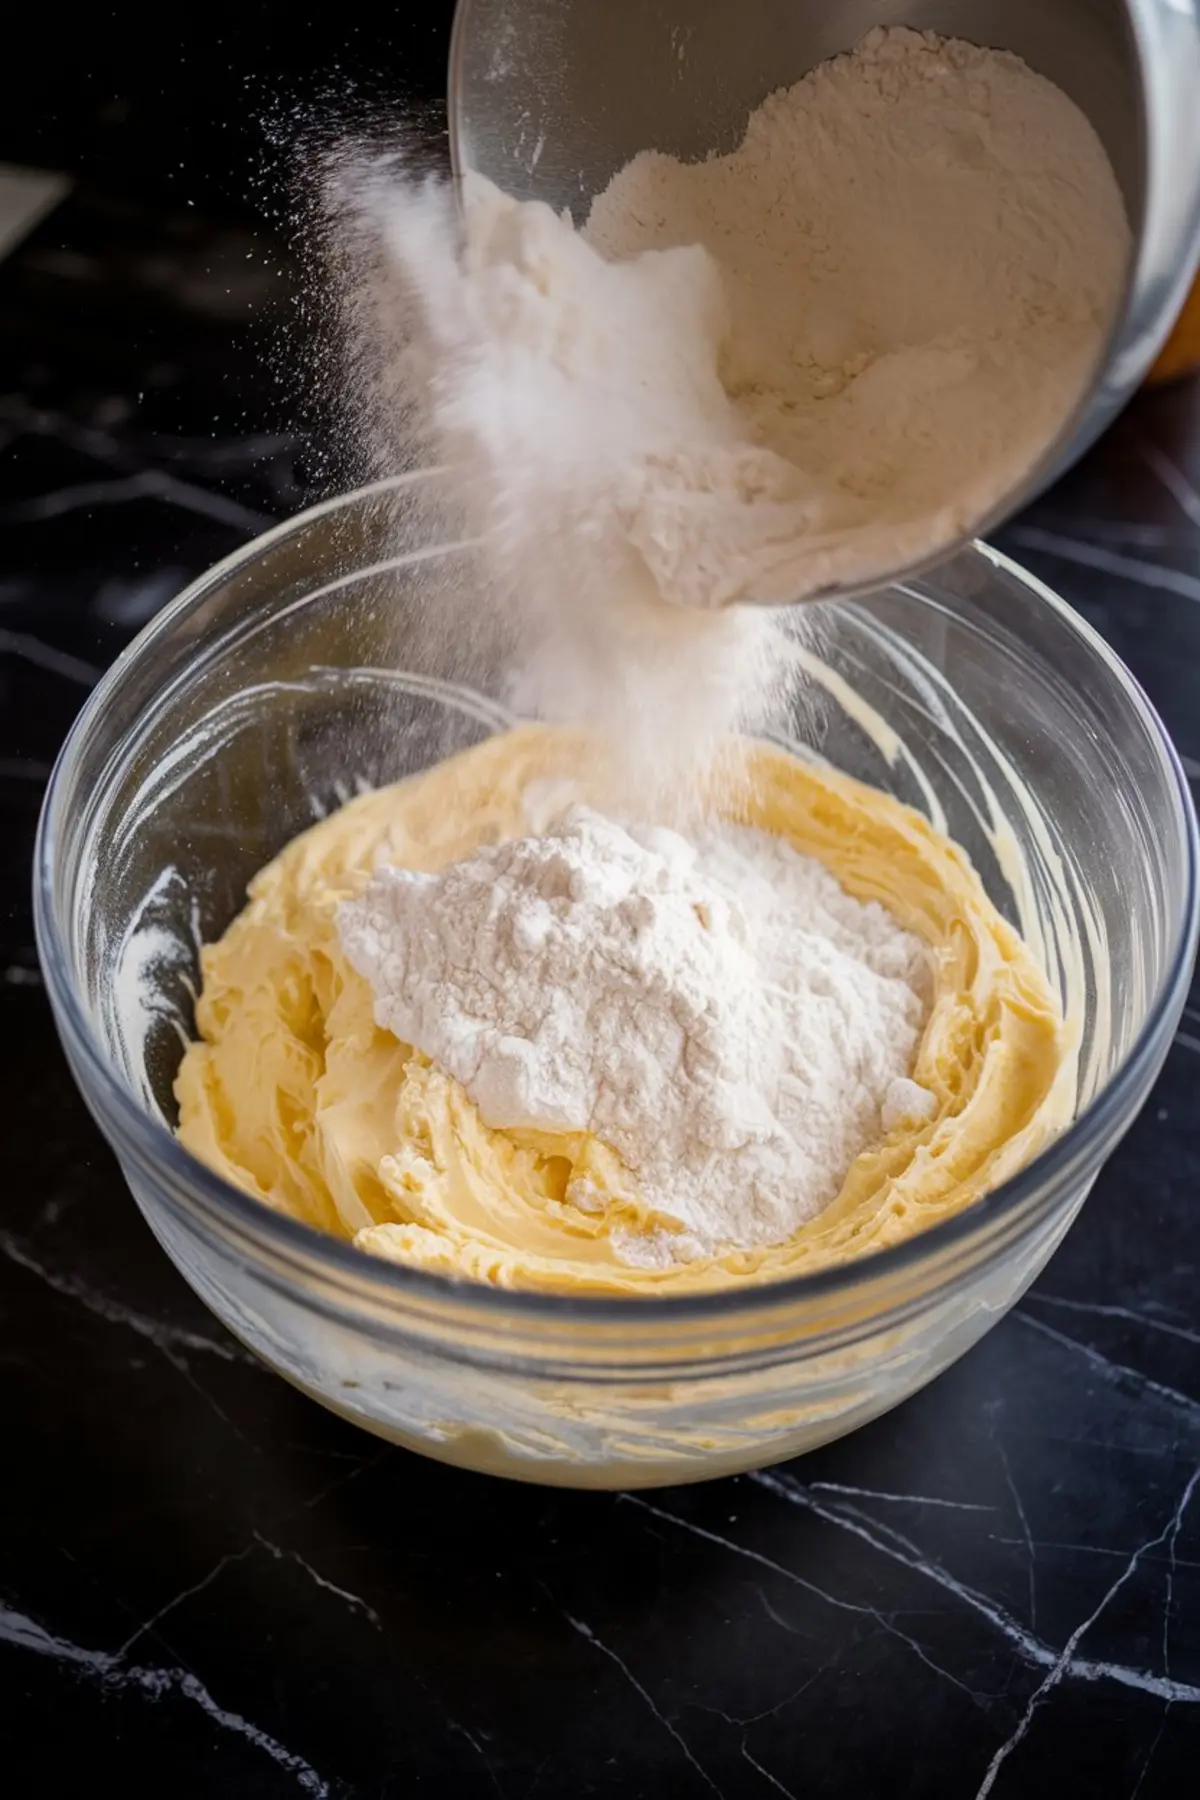
The butter and sugar cream until pale which locks tiny air pockets inside the dough.
Flour slips in next and the mixer stops as soon as streaks vanish because over-mixing invites spread.
A full hour of chilling between parchment sheets lets the butter resolidify and the gluten relax.
Chilled slabs meet popsicle and watermelon cutters which create clean edges that stay put during baking.

I slide the tray back into the fridge for fifteen minutes while the oven climbs to three hundred fifty degrees Fahrenheit.
That short rest prevents early melting and protects every outline.
If deeper caramel notes appeal to you the Maple Brown Sugar Cookies on the site prove how sugar choice shifts flavor.

In my tests the maple dough spread a hair more because syrup softens structure.
For pool-themed detail the classic white sugar option remains the reliable performer.
Butter Versus Margarine: A Taste Test I Logged
Last June I baked twin batches swapping butter for margarine to satisfy a vegan cousin.
The butter version delivered fuller aroma and crisper edges while margarine led to softer bites that blurred shapes slightly.
If dairy-free guests attend the party I still choose margarine but I pipe thicker borders to counter the spread.
Decorating Pool Vibes with Royal Icing
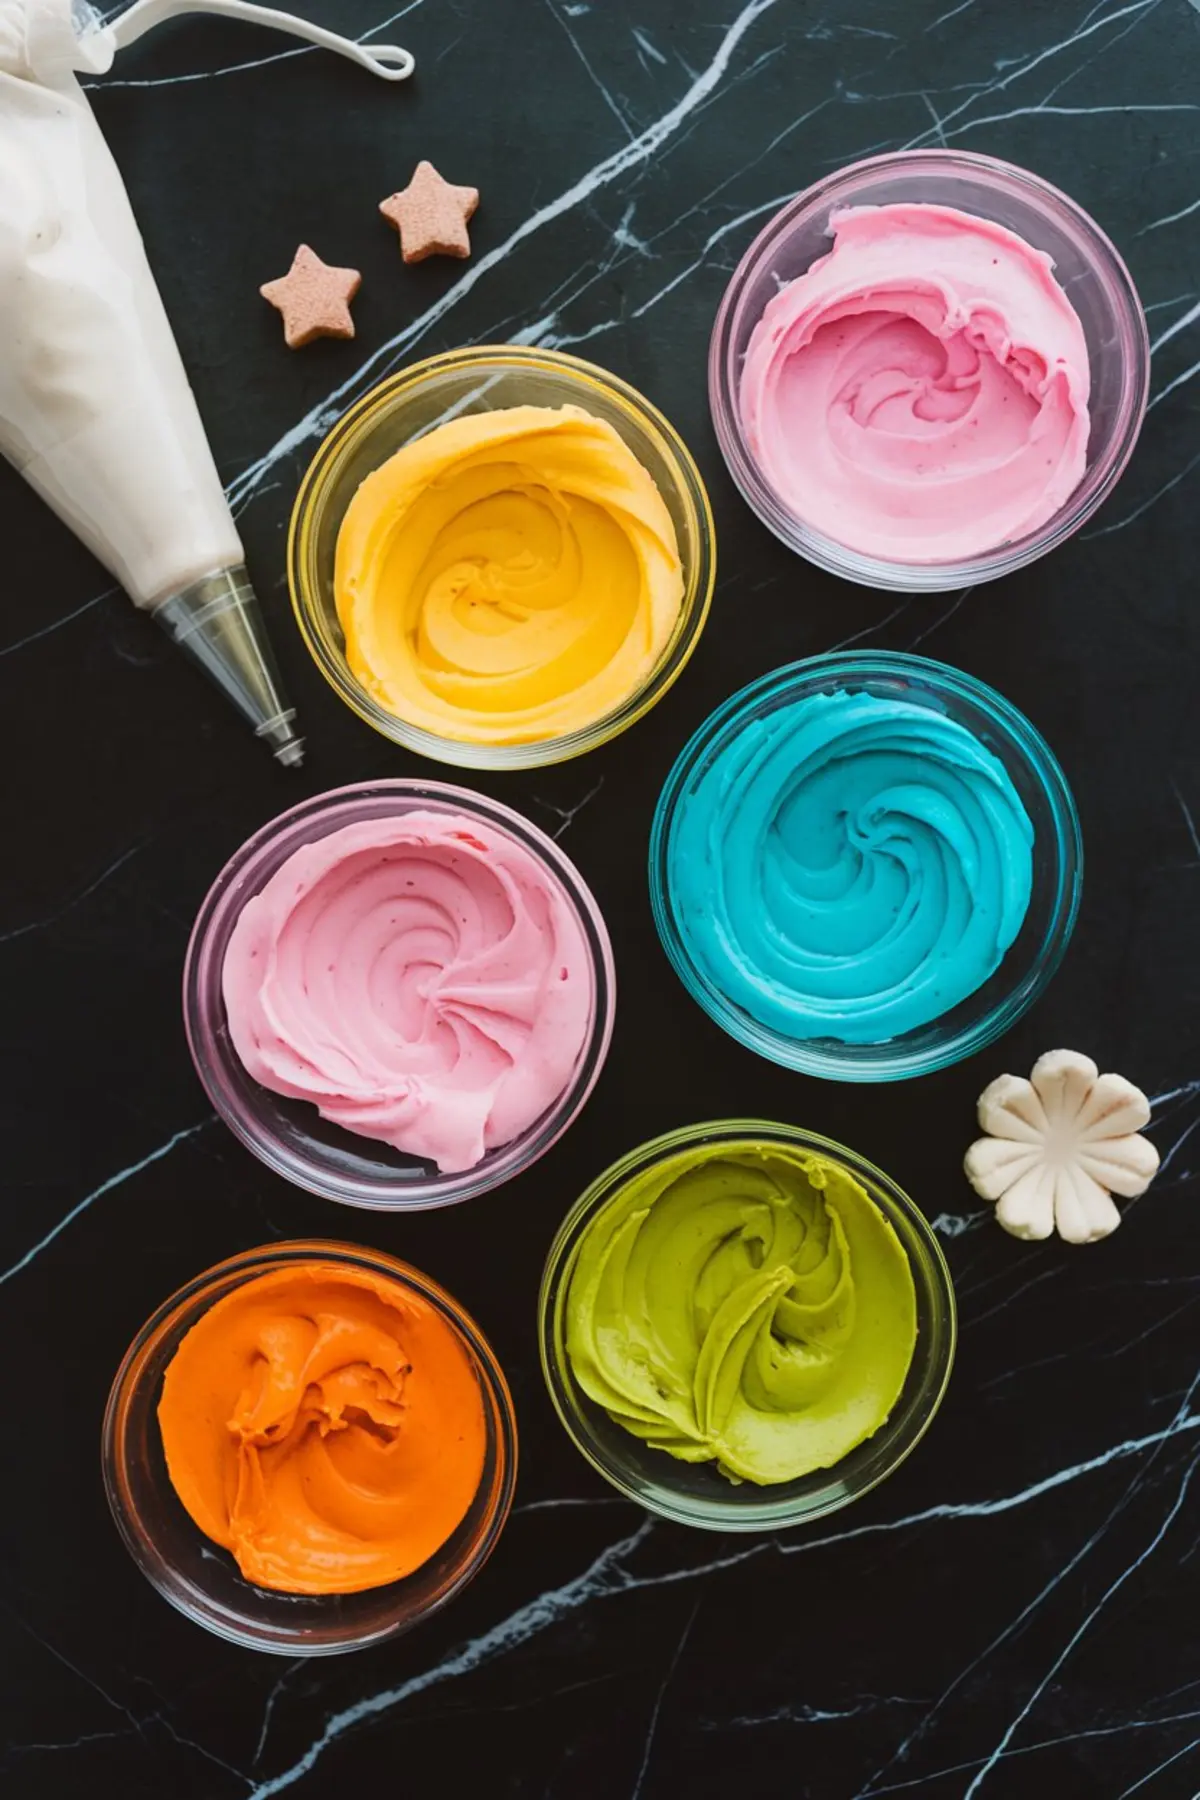
A slightly thicker outline goes on first then a gentle flood fills the center so the surface levels on its own.
A toothpick nudges any bubble to the side leaving a glassy finish after drying.
Patience here repays you with tiles worthy of a resort café.
Watermelon slices receive a ring of white then a sweep of green along the rind and black dots for seeds.
Popsicle shapes look fun when pastel swirls overlap like melted sherbet.
Citrus rounds pop with alternating spokes of white and bright orange or lime.
Bright color confidence grows once you see how crinkles set in my Summer Crinkle Cookies.
That recipe taught me to rely on gel dyes for vivid tone without extra liquid.
The same rule keeps royal icing from flowing over edges.
Secret Ingredient Reveal and Why It Matters
The hidden flourish is a quarter teaspoon of coconut extract stirred into the dough with vanilla.
Heat from the oven releases a subtle beach scent that whispers piña colada without overpowering classic sugar cookie flavor.
Guests notice something lively yet cannot always place it and that mystery starts conversations.
People with coconut allergies can leave out the extract because the cookie stands strong on its own.
For everyone else the tiny measure lifts the whole batch into vacation territory.
You will taste sunblock memories in the best possible way.
Troubleshooting and Pro Tips for Sunny Days
High humidity slows royal icing drying so I move trays into an air-conditioned room overnight.
Silica gel packets near the cooling rack help guard against bloom on the glaze.
If time runs short a fan set on low across the countertop speeds the process.
Gel food colors sometimes deepen as they set so aim for a shade lighter than final target.
Black seeds on watermelon gain shine when a dot of corn syrup brushes on after drying.
Edible glitter sticks well if sprinkled within five minutes of flooding.
Finished cookies stay safest in a single layer inside a shallow container with parchment between rows.
An overnight freeze on undecorated cookies keeps them fresh for a month.
Wrapped cookies thaw at room temperature and avoid condensation on icing.
Share Your Pool Party Sugar Cookies and Pin for Later
A quick save of this guide to your dessert board means you can return when the next heat wave arrives.
A quick tap on the pin button keeps the recipe safe among your summer plans.
Friends scrolling by will thank you for the splash of color in their feed.
I hope you share in the comments how your cookies turned out and which design made the biggest splash.
Questions about icing consistency or storage always receive a reply from me.
Together we build a pool party cookie crew one batch at a time.
Pool Party Sugar Cookies

Buttery sugar cookies decorated with vibrant royal icing designs inspired by summer treats like popsicles, citrus slices, and watermelon. These cookies hold their shape when baked and are perfect for warm-weather celebrations.
Ingredients
- FOR THE COOKIES
- 3 cups all-purpose flour
- 1 teaspoon baking powder
- 1/2 teaspoon salt
- 1 cup unsalted butter, softened
- 1 cup granulated sugar
- 1 large egg
- 1 tablespoon vanilla extract
- FOR THE ROYAL ICING
- 4 cups powdered sugar
- 3 tablespoons meringue powder
- 6 tablespoons water, plus more as needed
- Gel food coloring in desired colors (yellow, pink, blue, white, optional orange and green)
- FOR DECORATING
- Edible glitter
- Mini sprinkles
- Fondant fruits (optional)
- Tiny paper or fondant straws
- Black royal icing for watermelon seeds
Instructions
- MAKE THE DOUGH: In a large mixing bowl, cream together the softened butter and granulated sugar until light and fluffy, about 2–3 minutes. Add the egg and vanilla extract, mixing until fully incorporated. In a separate bowl, whisk together the flour, baking powder, and salt, then gradually add the dry ingredients to the wet mixture. Mix just until a smooth dough forms.
- ROLL AND CHILL: Divide the dough into two portions and roll each between sheets of parchment paper to 1/4-inch thickness. Transfer the sheets to a baking sheet and chill in the refrigerator for at least 1 hour.
- PREPARE TO BAKE: Remove dough from the refrigerator and cut into desired shapes using cookie cutters—popsicle, circle, triangle, or any fun summer-themed shapes. Place cutouts on a parchment-lined baking sheet and chill again for 15 minutes while the oven preheats to 350°F (175°C).
- BAKE THE COOKIES: Bake chilled cookies in the preheated oven for 10–12 minutes, or until the edges are just starting to turn golden. Allow cookies to cool on the baking sheet for 5 minutes, then transfer to a wire rack to cool completely before decorating.
- MAKE THE ROYAL ICING: In the bowl of a stand mixer, combine powdered sugar, meringue powder, and 6 tablespoons of water. Beat on low speed for 1 minute, then increase to medium-high and mix for 4–5 minutes until soft peaks form. Adjust consistency with additional water, one teaspoon at a time, to create a honey-like texture for flood icing.
- COLOR AND PREPARE ICING: Divide the royal icing into separate bowls and tint with gel food coloring. For best results, use piping bags fitted with small round tips or squeeze bottles for detailed decorating.
- OUTLINE AND FLOOD: Pipe a thin border of thicker icing around the edges of each cookie to create a barrier. Fill in the center with the thinner flood icing. Use a toothpick or scribe tool to help spread the icing evenly and eliminate air bubbles.
- DECORATE DESIGNS: For watermelon cookies, fill the center with red or pink icing, add a thin white ring, and outline with green. Drop tiny dots of black icing for seeds. For popsicle cookies, layer pastel colors to mimic fruity swirls. For citrus slices, outline in orange or lime green and pipe white spokes from the center outward.
- DRY COMPLETELY: Let the decorated cookies dry uncovered in a cool room for at least 8 hours or overnight until the icing sets with a firm, glossy finish.
Notes
Use gel food coloring to avoid thinning the icing. Keep icing covered while decorating to prevent it from drying out. For best results, bake and decorate the cookies on separate days to allow ample time for drying.
Nutrition Information:
Yield:
36Serving Size:
1Amount Per Serving: Calories: 183Total Fat: 6gSaturated Fat: 3gTrans Fat: 0gUnsaturated Fat: 2gCholesterol: 19mgSodium: 54mgCarbohydrates: 31gFiber: 0gSugar: 22gProtein: 1g
