
Best Apple Pie Recipe with Balanced Flavor and a Flaky Crust
Some desserts ask to be fussed over. Others just ask to be made again.
This apple pie is the second kind. The kind you return to every time fall rolls around and the apples start stacking up on the kitchen counter.
You’ll learn how to bake a homemade double-crust apple pie that’s balanced, simple, and deeply familiar. No heavy-handed spices. No gooey syrup. Just crisp apples, light sweetness, and a golden, crackly top that makes it hard to stop at one slice.
Every step is covered with clarity so you can bake with confidence. And tucked in the middle of the process, there’s a surprising detail—something small, but quietly essential. I’ll tell you what it is once we get to the top crust.
But first, let’s look at what makes this pie so dependable in the first place.

Choosing Apples for Balanced Flavor and Texture
Apple Dessert Recipes for Any Season Start with the Right Fruit
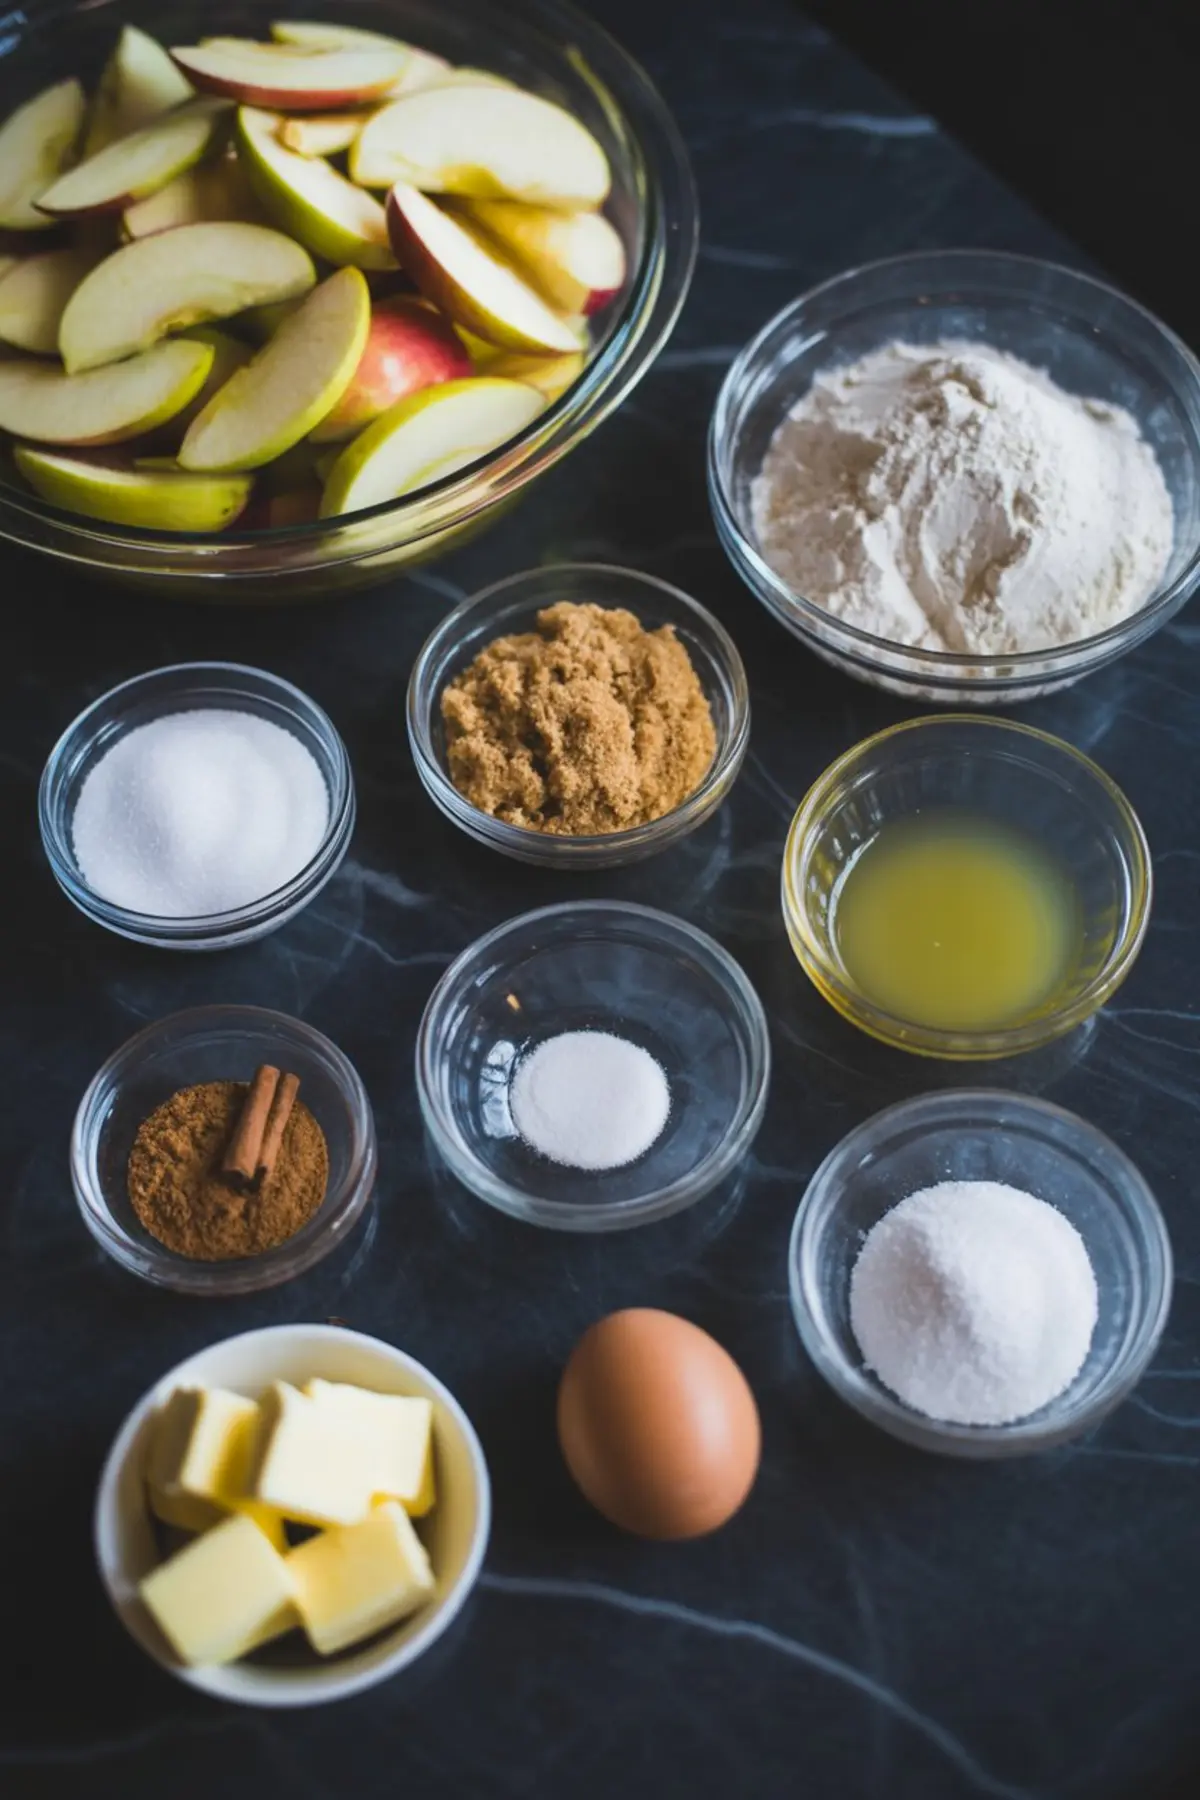
A good apple pie relies on contrast. The apples need to hold their shape but still soften, and the flavor needs a sharp note to offset the sweetness. That’s why I use a combination of Granny Smith and Honeycrisp.
Granny Smith gives that clean, tart bite that wakes up the filling. Honeycrisp softens slightly more in the oven and brings in natural sweetness without going mushy.
In my notes, I’ve compared Honeycrisp with Fuji, and the Fuji variety ended up too soft for a clean slice. If you’re after pie that cuts neatly and holds up overnight, Honeycrisp stays firmer and less syrupy.
The balance of these two apples makes this recipe adaptable across seasons, from back-to-school bakes to full-on Thanksgiving menus.
If you love a flexible apple dessert that can swing sweet or tart depending on your mood, you might also try the Apple Brownies Recipe for a cake-bar hybrid using similar apples.
How to Mix the Apple Pie Filling Without Overdoing It
Apple Pie Filling Recipes Should Highlight the Fruit
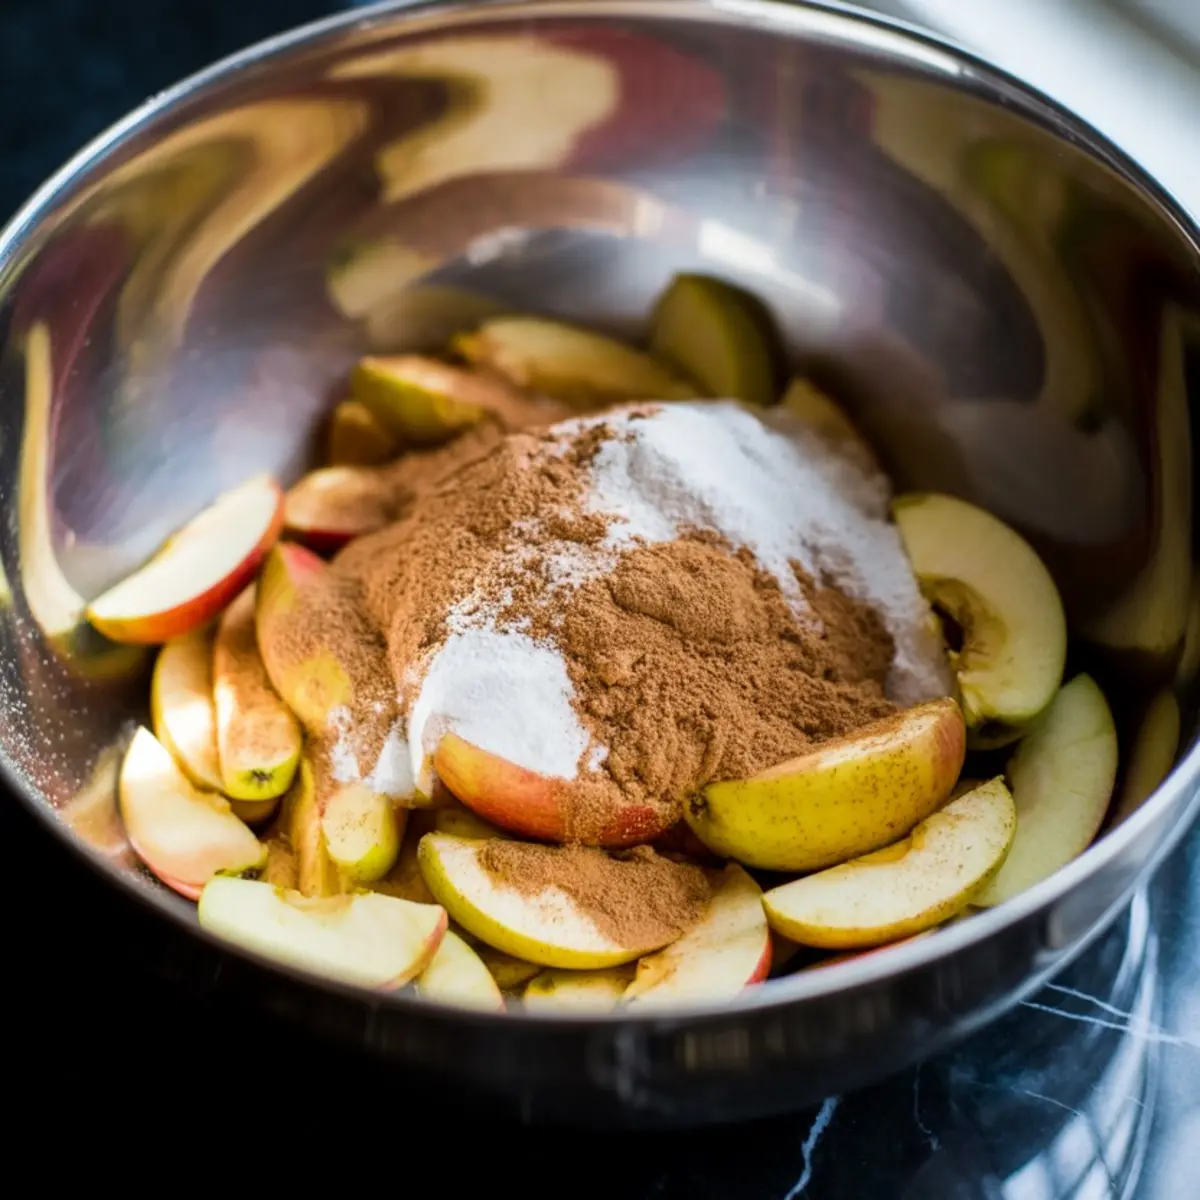
The filling doesn’t need much. Toss your sliced apples with a bit of lemon juice to stop browning. Add granulated sugar for a clean sweetness, brown sugar for depth, and a touch of flour to catch the juices.
The cinnamon is gentle. Not dominant. The nutmeg is barely there—just enough to deepen the aroma without turning the whole pie into a spice bomb.
I skip cloves, allspice, and other mix-ins in this version. They distract from the apples. You can add a teaspoon of vanilla if you want a warmer, softer flavor, but I usually don’t. I’ve found that simplicity is what people come back for.
If you’re making dessert for a crowd, Apple Slab Pie follows a similar method but stretches it into a sheet pan for easier serving.
Assembly Notes: Getting the Crust and Filling to Work Together
Apple Pie Desserts That Don’t Leak or Sink After Baking
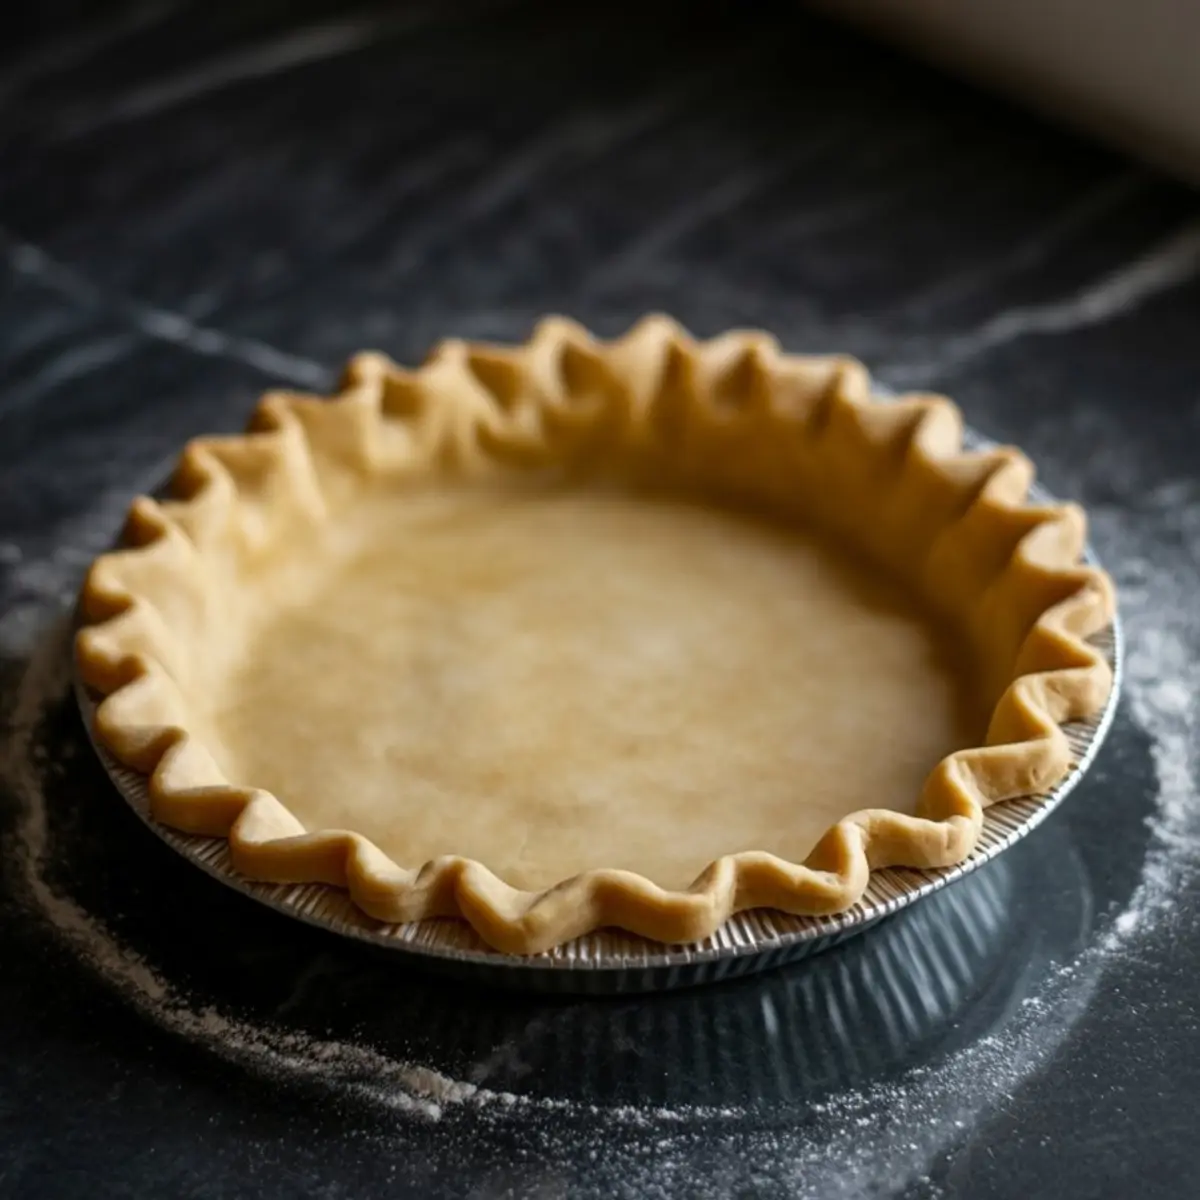
Your bottom crust needs to be cold and firm when you fill it. That helps it stay flaky instead of turning soft from the fruit’s moisture. I roll mine out on a floured marble slab and let the edges hang naturally before trimming.
Pile the apples high. They will cook down.
You want a gentle mound in the center, not a flat layer. That domed shape bakes into an even slice later and keeps the top crust from collapsing.
Then come the tiny butter cubes. Don’t skip them. They melt down into the filling and enrich the juices without making it greasy. For a slightly caramelized edge, I sometimes let one or two pieces touch the crust directly. Just a touch—it helps deepen the flavor.
The Secret Step: How to Get a Crunchy, Shiny Crust Top
The Dash That Changes Everything in an Apple Pie Recipe Easy to Repeat
Now for the part I teased earlier.
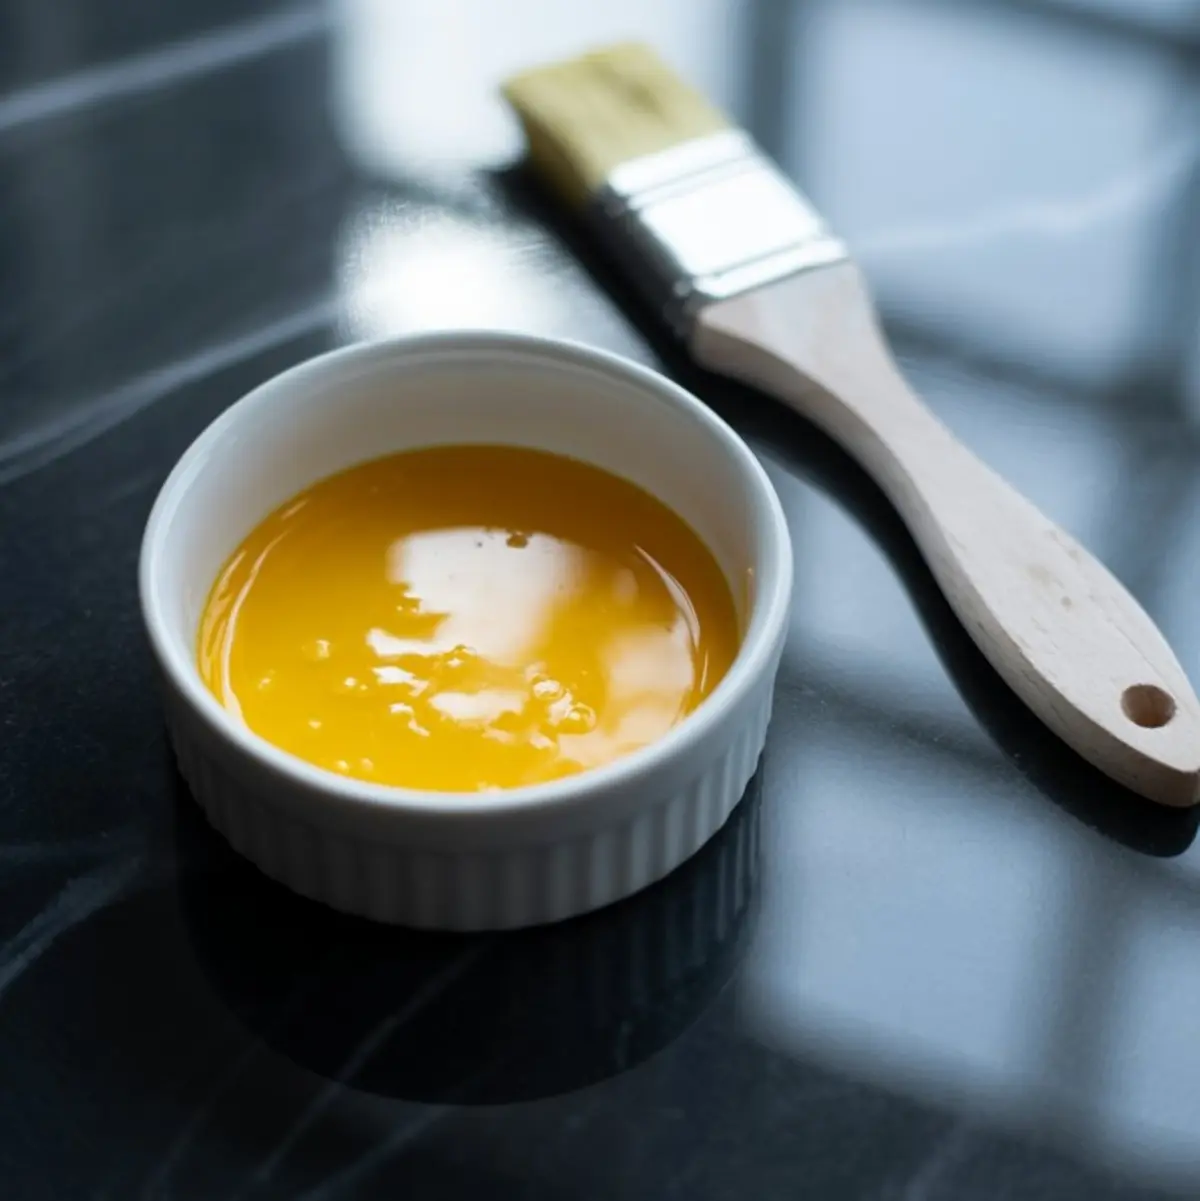
After the top crust goes on—whether you go for a classic sheet or a loose lattice—brush it with a yolk-milk wash. This part gives it color.
But here’s the real trick: sprinkle coarse sugar right after the egg wash, before it sets.
Turbinado or Demerara both work well. This is where the texture comes in. It gives that crackly top that contrasts with the soft filling. I’ve had pies with flaky crusts but soft tops. That sugar layer solves it.
For a pie with caramel tones and extra crunch, the Salted Caramel Apple Pie Bars use the same sugar technique—just in bar form. It’s worth trying both to see how texture affects flavor.
Baking and Cooling Tips for Best Results
Mini Apple Pies and Full Pies Follow the Same Baking Logic
Start hot. Bake the pie at 400°F for 20 minutes to set the crust. Then drop the temperature to 350°F and finish it slowly, allowing the fruit to soften without overbrowning the edges.
If the edges brown too quickly, cover them loosely with foil. I usually check mine around the 25-minute mark after lowering the temperature. The bubbling juices are your sign that it’s ready.
Let it cool. I know it’s hard.
If you cut it too soon, the filling will slide and the bottom crust may turn soggy. Give it two hours on the counter. That resting time lets the starches set and makes slicing clean and easy.
Some of my readers prefer an apple crisp pie recipe because it sets faster. But if you’re after something classic, this one gives you the cleanest cut with the deepest flavor.
Save This Pie for Later and Share Your Bake
If this pie earns a spot in your recipe box, I hope you’ll pin it now and bake it again next season.
You can save it under your Apple Pie Aesthetic board or share it to your Apple Tart and Fritter collection—whatever suits your style.
And once you make it, I’d love to hear how it turned out. Did you use different apples? Add a twist to the crust? Tell me in the comments. That’s where the best ideas usually come from.
Apple Pie Recipe
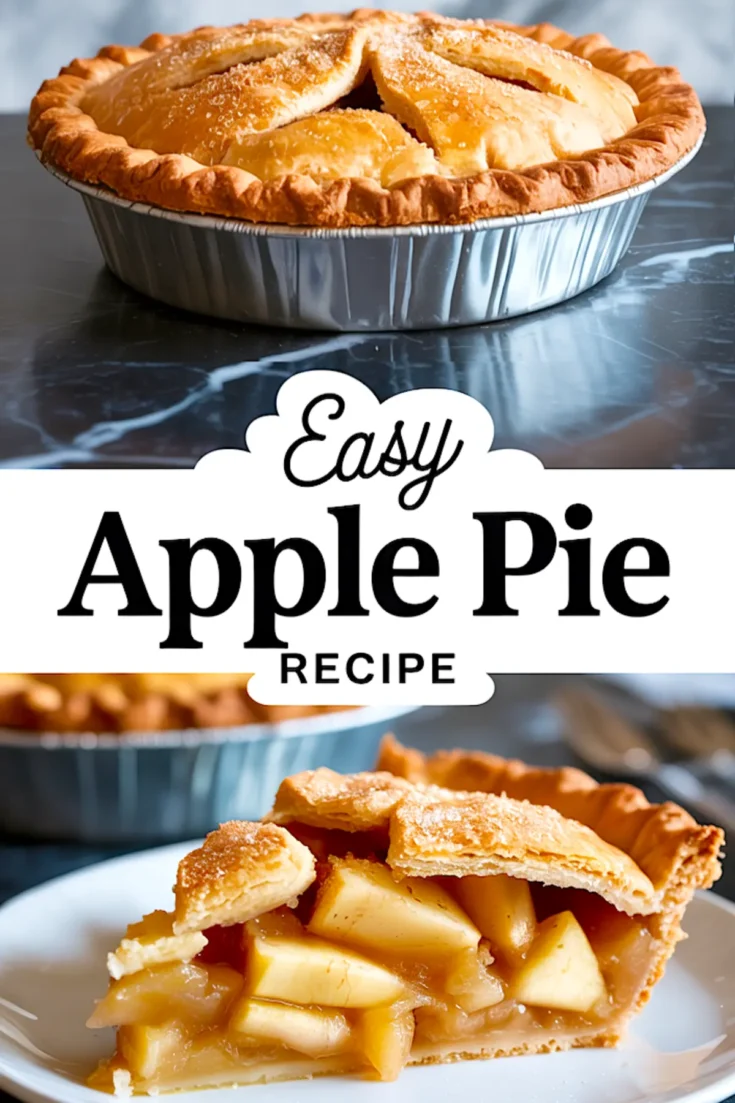
This easy apple pie recipe uses a mix of tart and sweet apples for balance and a flaky double crust for texture. The filling is gently spiced and lightly sweetened, letting the natural apple flavor shine. No unnecessary extras—just simple, reliable ingredients that bake into a classic pie.
Ingredients
- 6–7 medium apples, peeled, cored, and thinly sliced
- 3/4 cup granulated sugar
- 1/4 cup brown sugar
- 2 tablespoons all-purpose flour
- 1 tablespoon lemon juice
- 1 teaspoon ground cinnamon
- 1/8 teaspoon ground nutmeg
- 1/4 teaspoon salt
- 2 tablespoons unsalted butter, diced
- 1 egg yolk mixed with 1 tablespoon milk
- 1 tablespoon coarse sugar
- 1 double pie crust (homemade or store-bought)
Instructions
- PREPARE THE CRUST: If making your own pie dough, prepare it in advance and chill it thoroughly. Roll out the bottom crust on a floured surface, then carefully transfer it to a 9-inch pie plate. Let the excess hang over the edges without trimming it yet.
- MIX THE FILLING: In a large bowl, combine the sliced apples with lemon juice and toss to coat. Add the granulated sugar, brown sugar, flour, cinnamon, nutmeg, and salt. Gently toss the mixture until the apples are evenly coated, taking care not to break them.
- ASSEMBLE THE PIE: Pour the apple mixture into the prepared crust, piling the apples high in the center. Evenly distribute the diced butter pieces over the filling.
- ADD THE TOP CRUST: Roll out the top crust and place it over the filling, or create a lattice if preferred. Trim any excess dough and fold the edges under. Crimp the edges with your fingers or a fork to seal the crusts together securely.
- BRUSH AND TOP: Brush the top crust with the egg yolk and milk mixture. Sprinkle the coarse sugar evenly over the crust for added texture and color.
- BAKE THE PIE: Place the pie on the center rack of a preheated 400°F (200°C) oven. Bake for 20 minutes, then reduce the temperature to 350°F (175°C) and continue baking for 35 to 40 minutes. If the crust edges brown too quickly, cover them with foil partway through baking.
- COOL BEFORE SERVING: Remove the pie from the oven when the crust is golden and the filling is bubbling through the vents. Let the pie cool at room temperature for at least 2 hours before slicing to allow the filling to set properly.
Notes
Use a mix of tart and sweet apples like Granny Smith and Honeycrisp for balanced flavor and good texture. For best results, avoid overmixing the filling or overworking the dough. If desired, a teaspoon of vanilla extract can be added to the filling, though it's not necessary.
Nutrition Information:
Yield:
8Serving Size:
1Amount Per Serving: Calories: 1032Total Fat: 12gSaturated Fat: 4gTrans Fat: 0gUnsaturated Fat: 5gCholesterol: 31mgSodium: 176mgCarbohydrates: 249gFiber: 37gSugar: 185gProtein: 6g
