

There’s a comfort that settles in the kitchen when apples hit the cutting board. Their sharp, sweet scent reminds me of late September, when the market bins brim with fruit that holds tight to its tartness. I’ve baked these Salted Caramel Apple Pie Bars for decades. They’re steady. They never ask for much, and they always come through — crisp on the bottom, soft in the middle, and just enough salt at the end to keep things grounded.
Some call them apple pie cheesecake bars, though there’s no cream cheese here. Just shortbread, apples, and a crumble I could make in my sleep. I’ve written this one into my recipe notebook so many times that the corners are soft from use. And Chloe, sweet thing, still calls them “the good ones with the salt on top.”
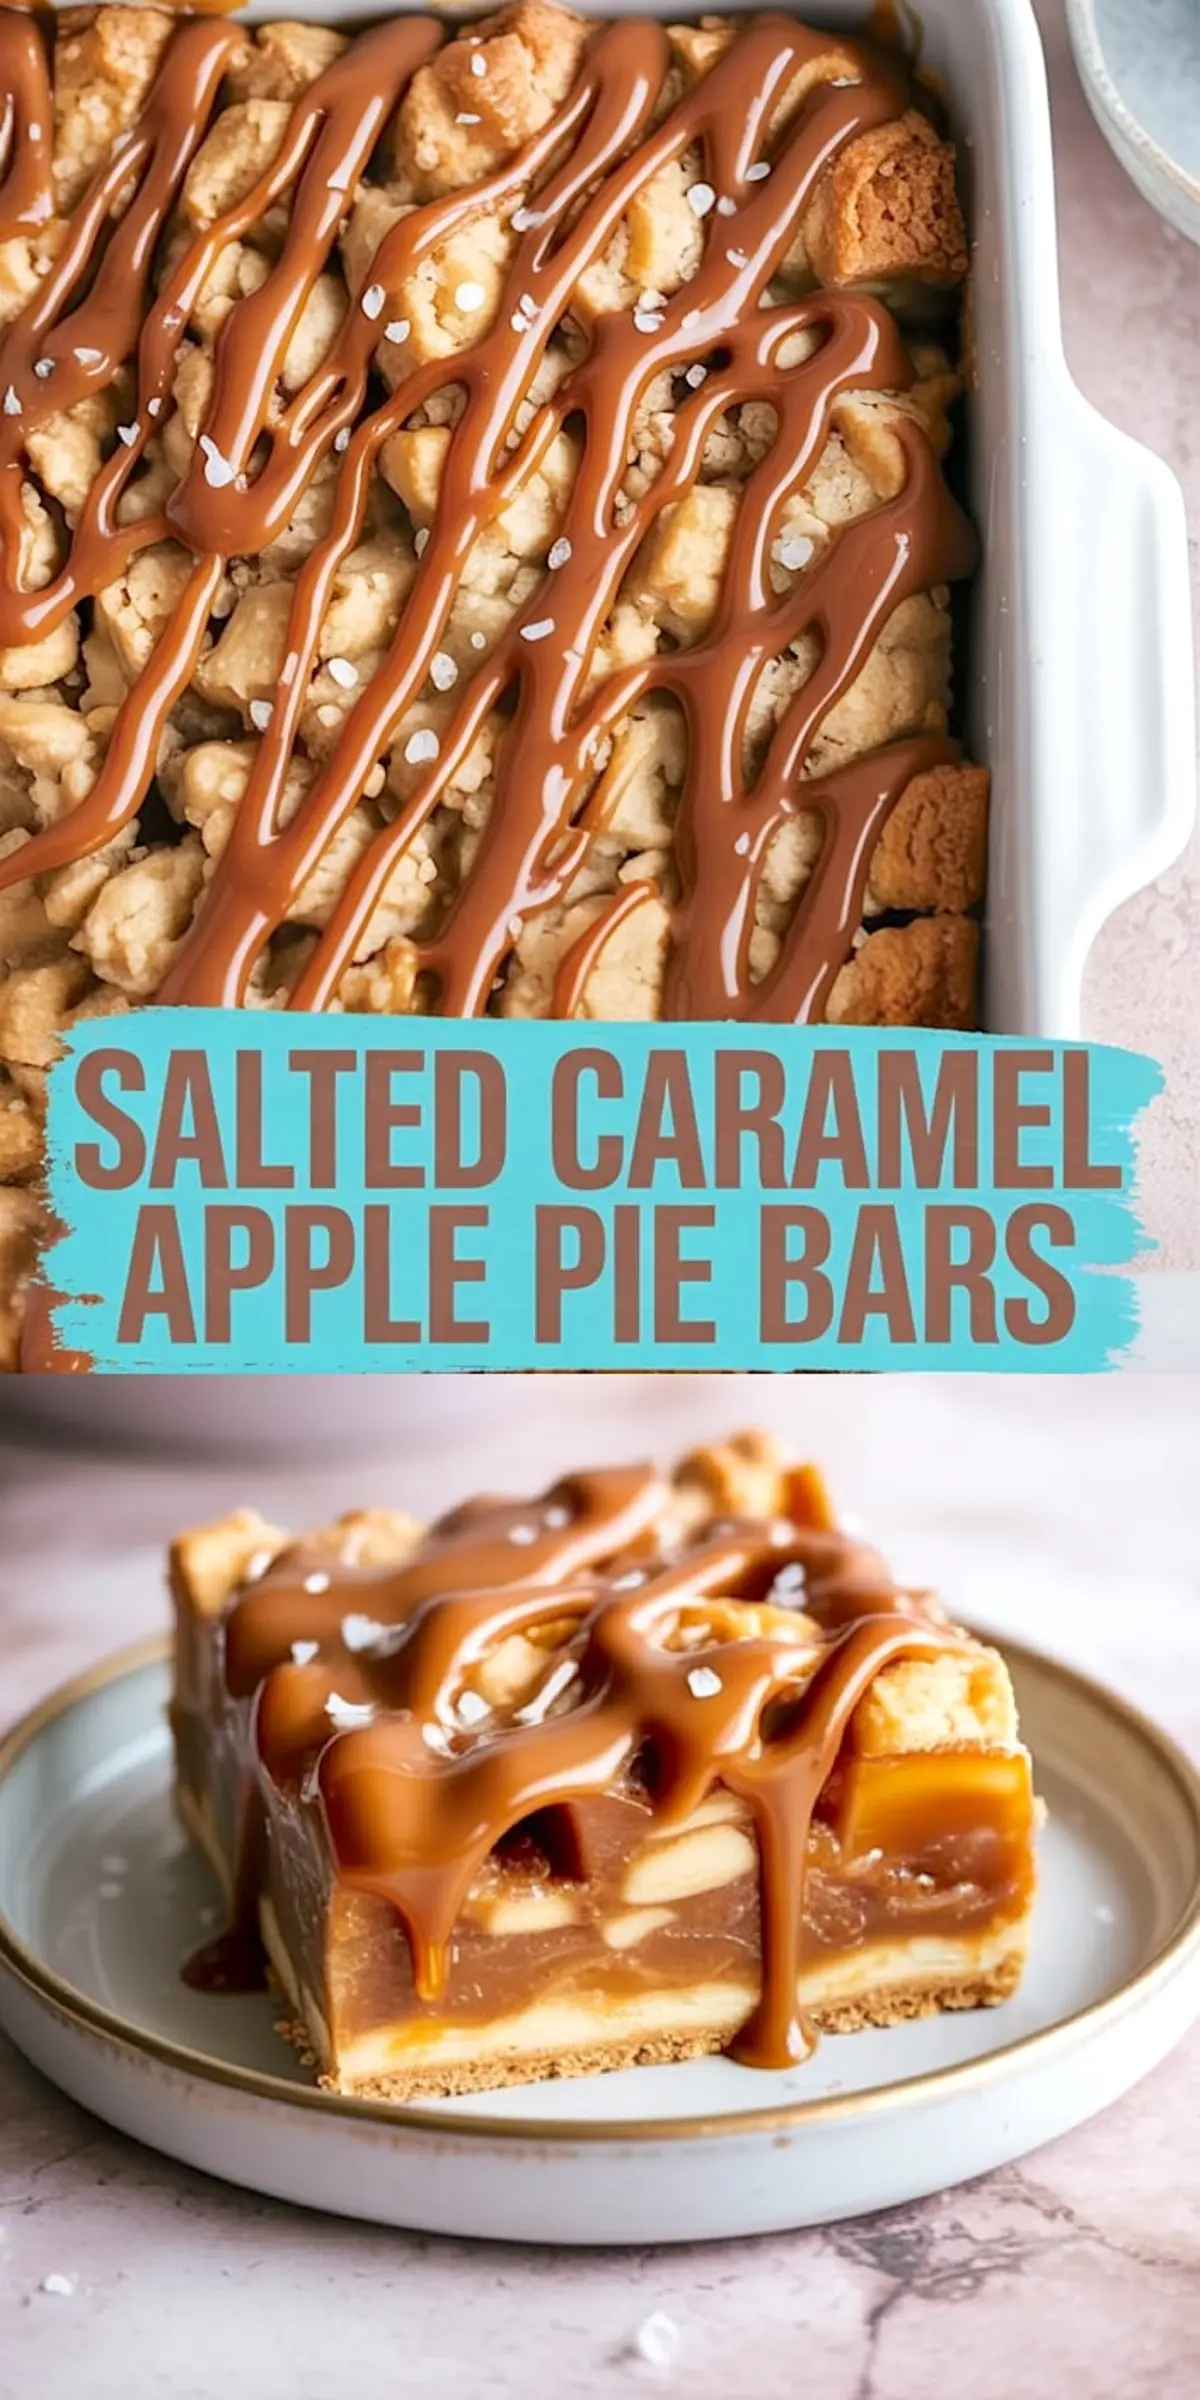
A Quiet Favorite Among Thanksgiving Desserts
These bars hold their shape well, so they’ve made their way into many school lunches and bake sales. The crust is thick and buttery, enough to support the soft apples and crumble without falling apart. You can slice them clean or let them crumble a bit — they’re forgiving like that.
I’ve found they sit somewhere between caramel apple cheesecake bars and classic apple slab pie. They carry the sweetness of both, but you can pick one up with your hands and eat it standing barefoot in the kitchen. That counts for something.
The brown sugar in the apple layer gives the bars a golden warmth, especially when paired with cinnamon and just a touch of nutmeg. If your apples are sweet, you may want to skip the nutmeg. But if you’re using Granny Smiths, I’d keep it. That contrast matters.
Choosing the Right Apples for Apple Pie Bars
In my notes, I’ve compared Granny Smiths to Honeycrisp many times. Granny Smiths keep their bite and resist turning soft. Honeycrisp slices, on the other hand, soften beautifully and add a bit more juice.
If you want a clean slice that holds together, go with Granny Smith. If you’re after a softer middle and don’t mind a little sag, Honeycrisp does a lovely job. Sometimes, I use both. You could, too.
These bars remind me of my Apple Slab Pie — but here, the shortbread makes the base more sturdy and the edges easier to lift. I wrote that recipe down for Chloe years ago, and I still use the same ratios today.
Making the Crust and Apple Filling
The shortbread crust uses cold butter, and I always cut it in by hand. I find my fingers know the dough better than any food processor. Once it holds its shape when pressed, you’ll know it’s ready for the pan.
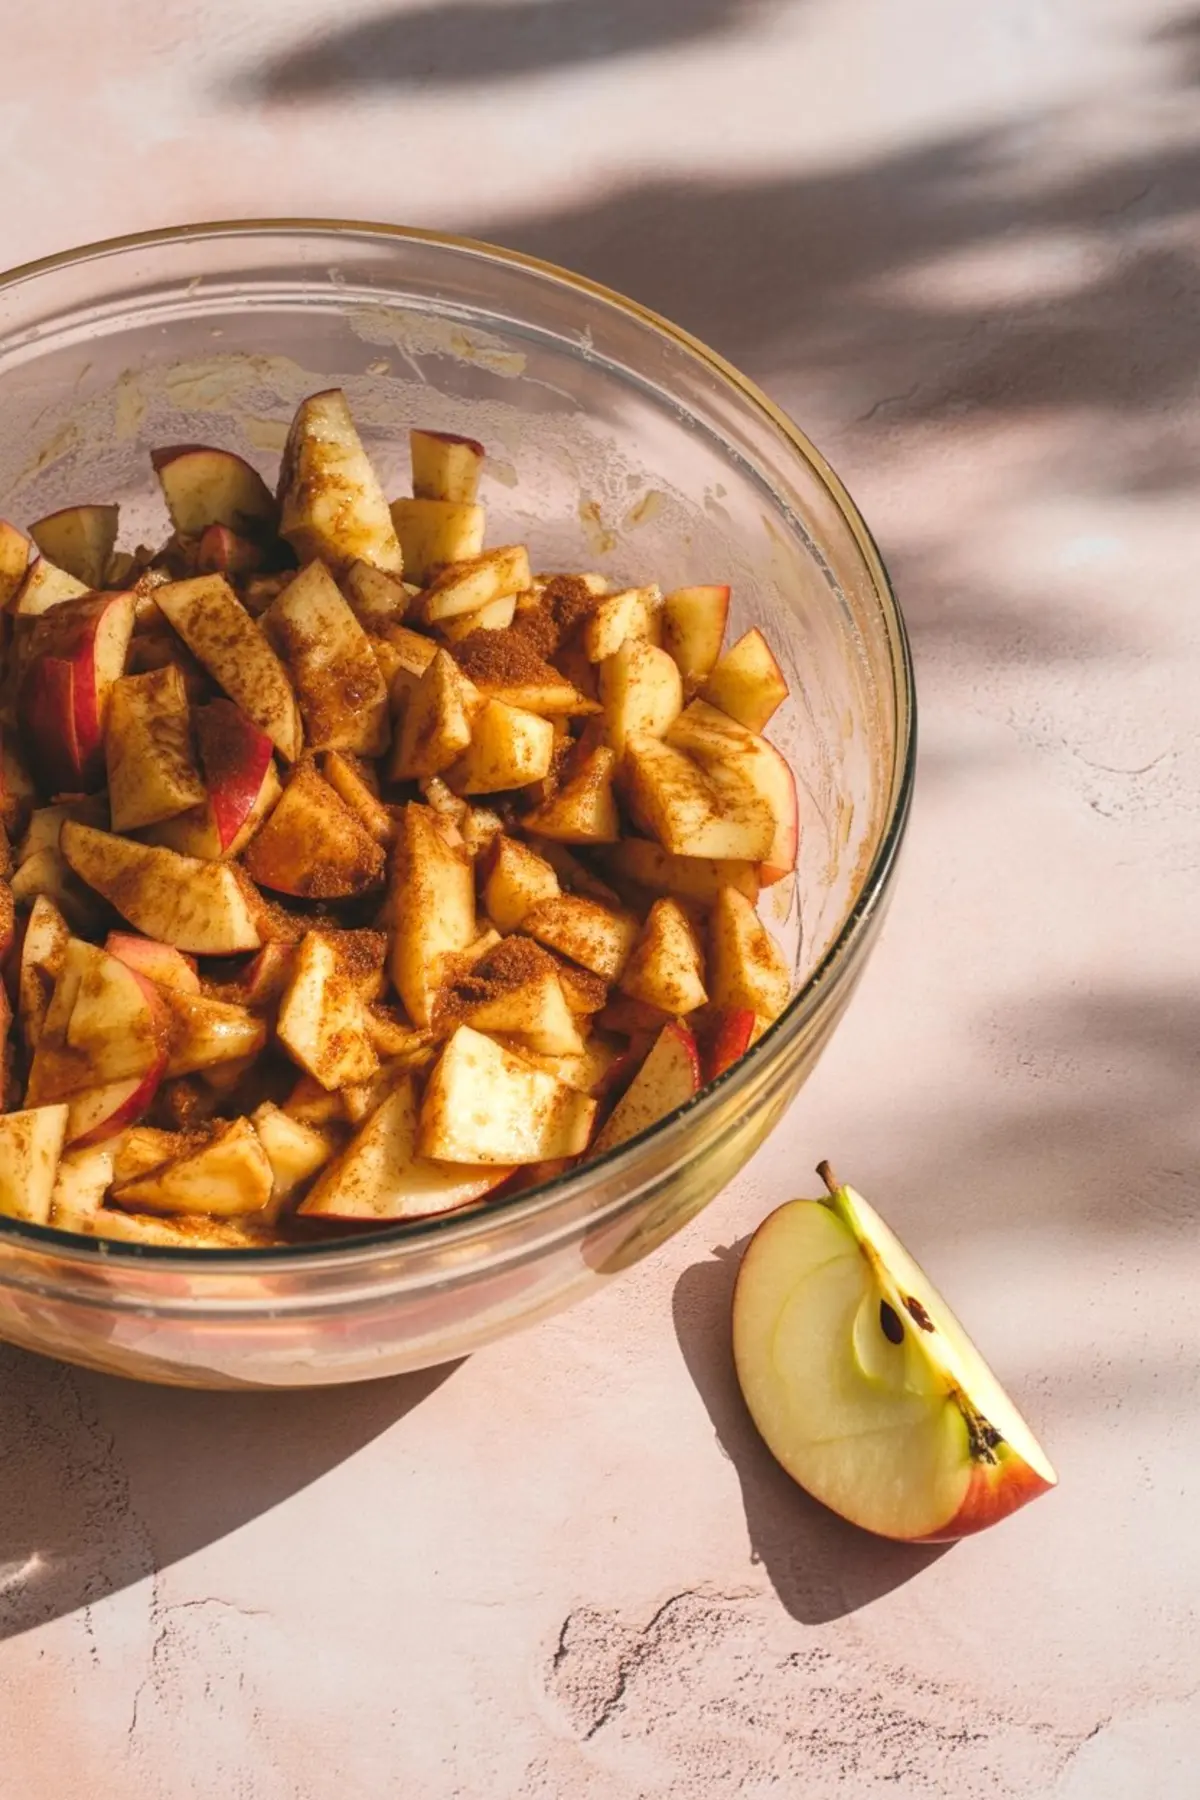
The filling is simple. Apples, sugar, cinnamon, flour. Let the apples sit for a bit after mixing so they release their juice. Then use a slotted spoon or your hands to lift them into the pan. Leaving the extra liquid behind helps keep the crust firm.
If you love apple-based bars, the method is similar to my Caramel Apple Dump Cake, though this one takes just a little more care.
Find the dump cake recipe here
A Crumble That Doesn’t Need Precision
This is the part where people tend to fuss. But I never do.
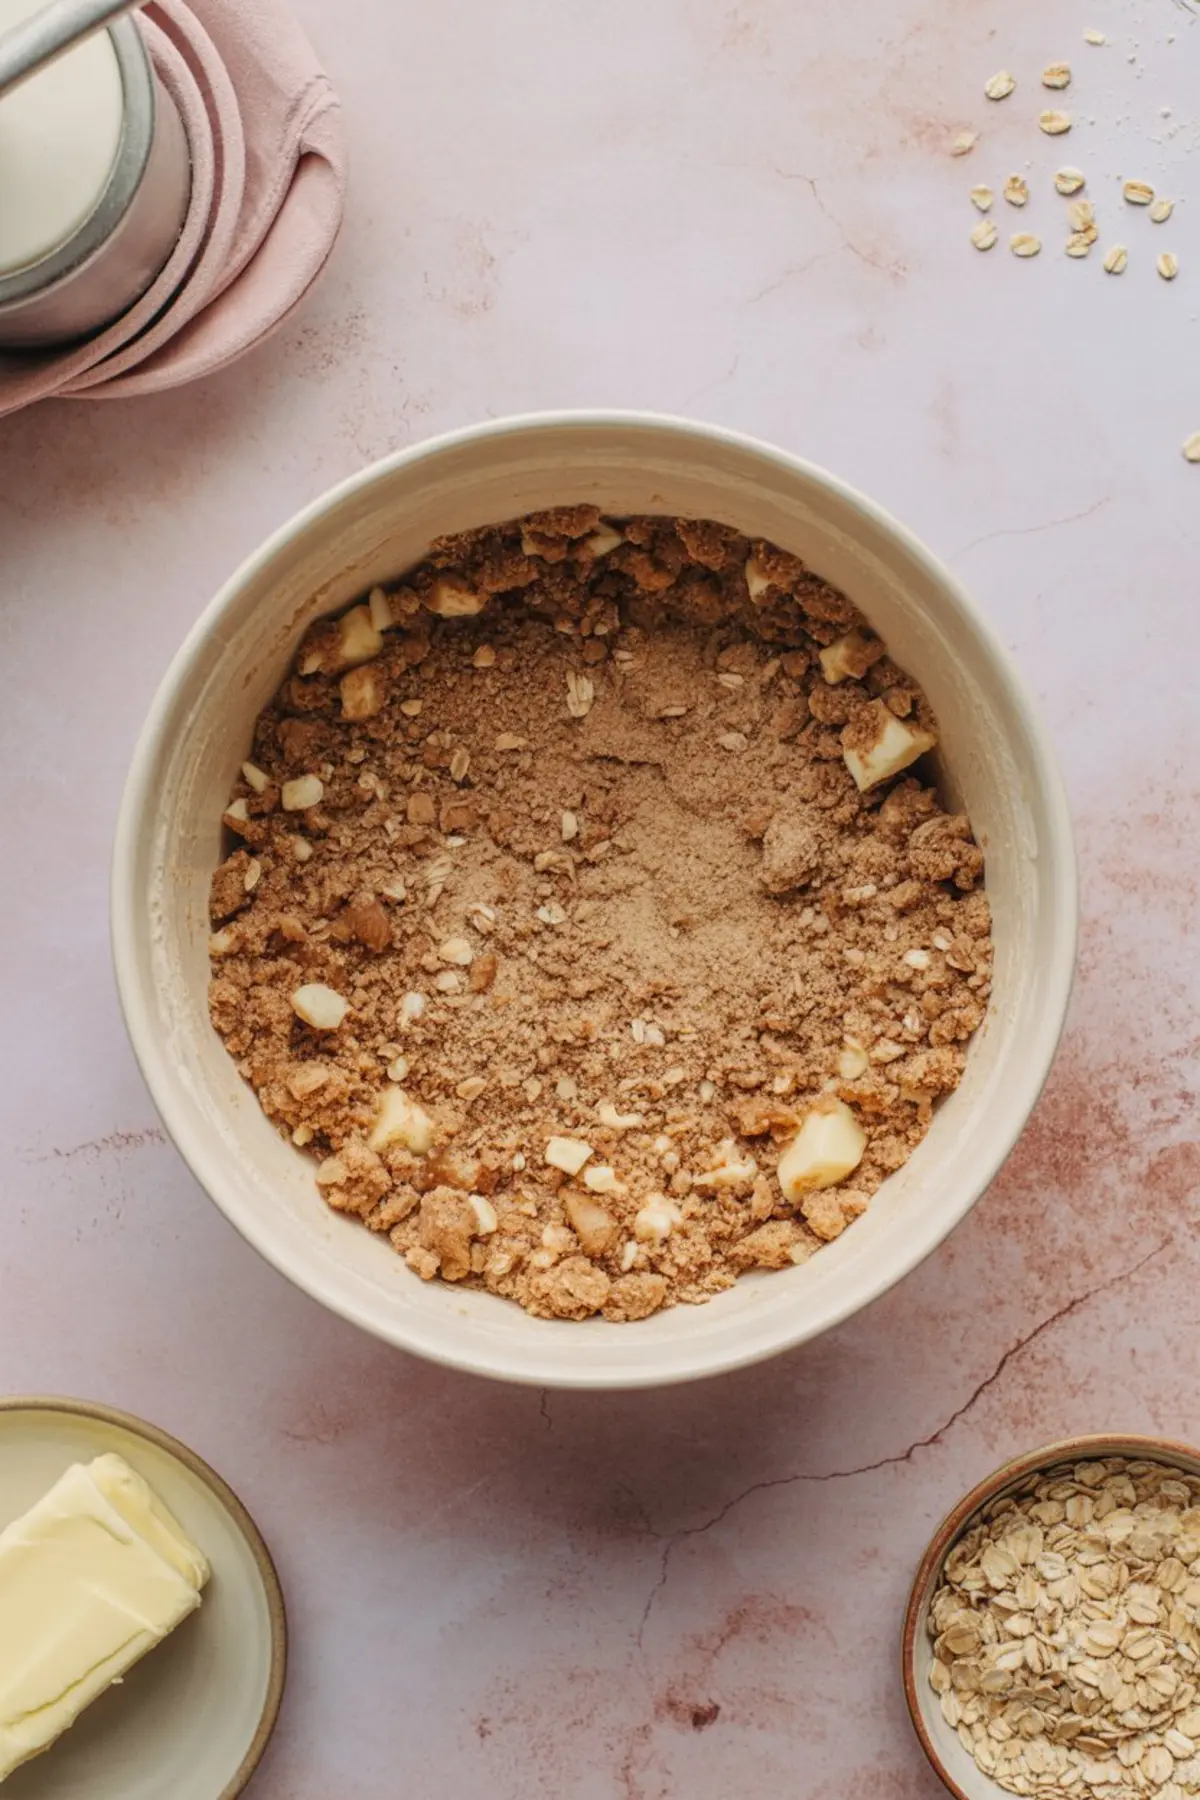
Use your fingers. Work the cold butter into the flour, sugar, and oats until the mix starts to clump. If it feels too dry, warm your hands a little and keep going. If it looks uneven, that’s fine. A good crumble isn’t neat.
You can leave out the oats if you’d like. I often do when I want the top to feel more like a cookie. But oats do bring a bit of texture and weight. They soak up the apple juice, too.
The same crumble base works well for my Apple Crisp Cheesecake Recipe if you’re looking to try a baked cheesecake with a spiced apple layer.
Baking and the Caramel Apple Topping
The bars bake until the crumble turns golden and the apple slices feel soft when you pierce them. Use a small paring knife. If it slides in with no resistance, they’re done.
Let them cool completely before you drizzle the caramel. If the bars are still warm, the sauce soaks in too much and disappears. I warm the caramel just enough so it pours easily, then I spoon it over the top in slow zigzags.
Then comes the salt. I use flaky sea salt. Just a sprinkle, no more. If you’re nervous, start with a light dusting. You can always add more once you’ve tasted a square.
These toppings echo the flavor of my Easy Caramel Apple Dip — sweet, smooth, and lightly salted. If you’ve made that dip before, you’ll know what I mean.
Storage, Reheating, and Serving Notes

These bars keep well for a couple of days on the counter, or longer in the fridge. I cut them into squares and layer them between parchment. Reheat them gently in a low oven if you’d like to serve them warm.
They’re easier to slice after they’ve rested. I usually bake them the day before I need them. And if the caramel runs, or the crust cracks a little at the edges, don’t worry. That’s just how homemade things behave. It won’t matter once someone takes a bite.
For a fancier occasion, you can warm the bars and serve them with vanilla ice cream. I’ve done that with my Caramel Apple Cheesecake, too. Warm apples and cold cream make good company.
See the cheesecake version here
A Dessert Bar Worth Remembering
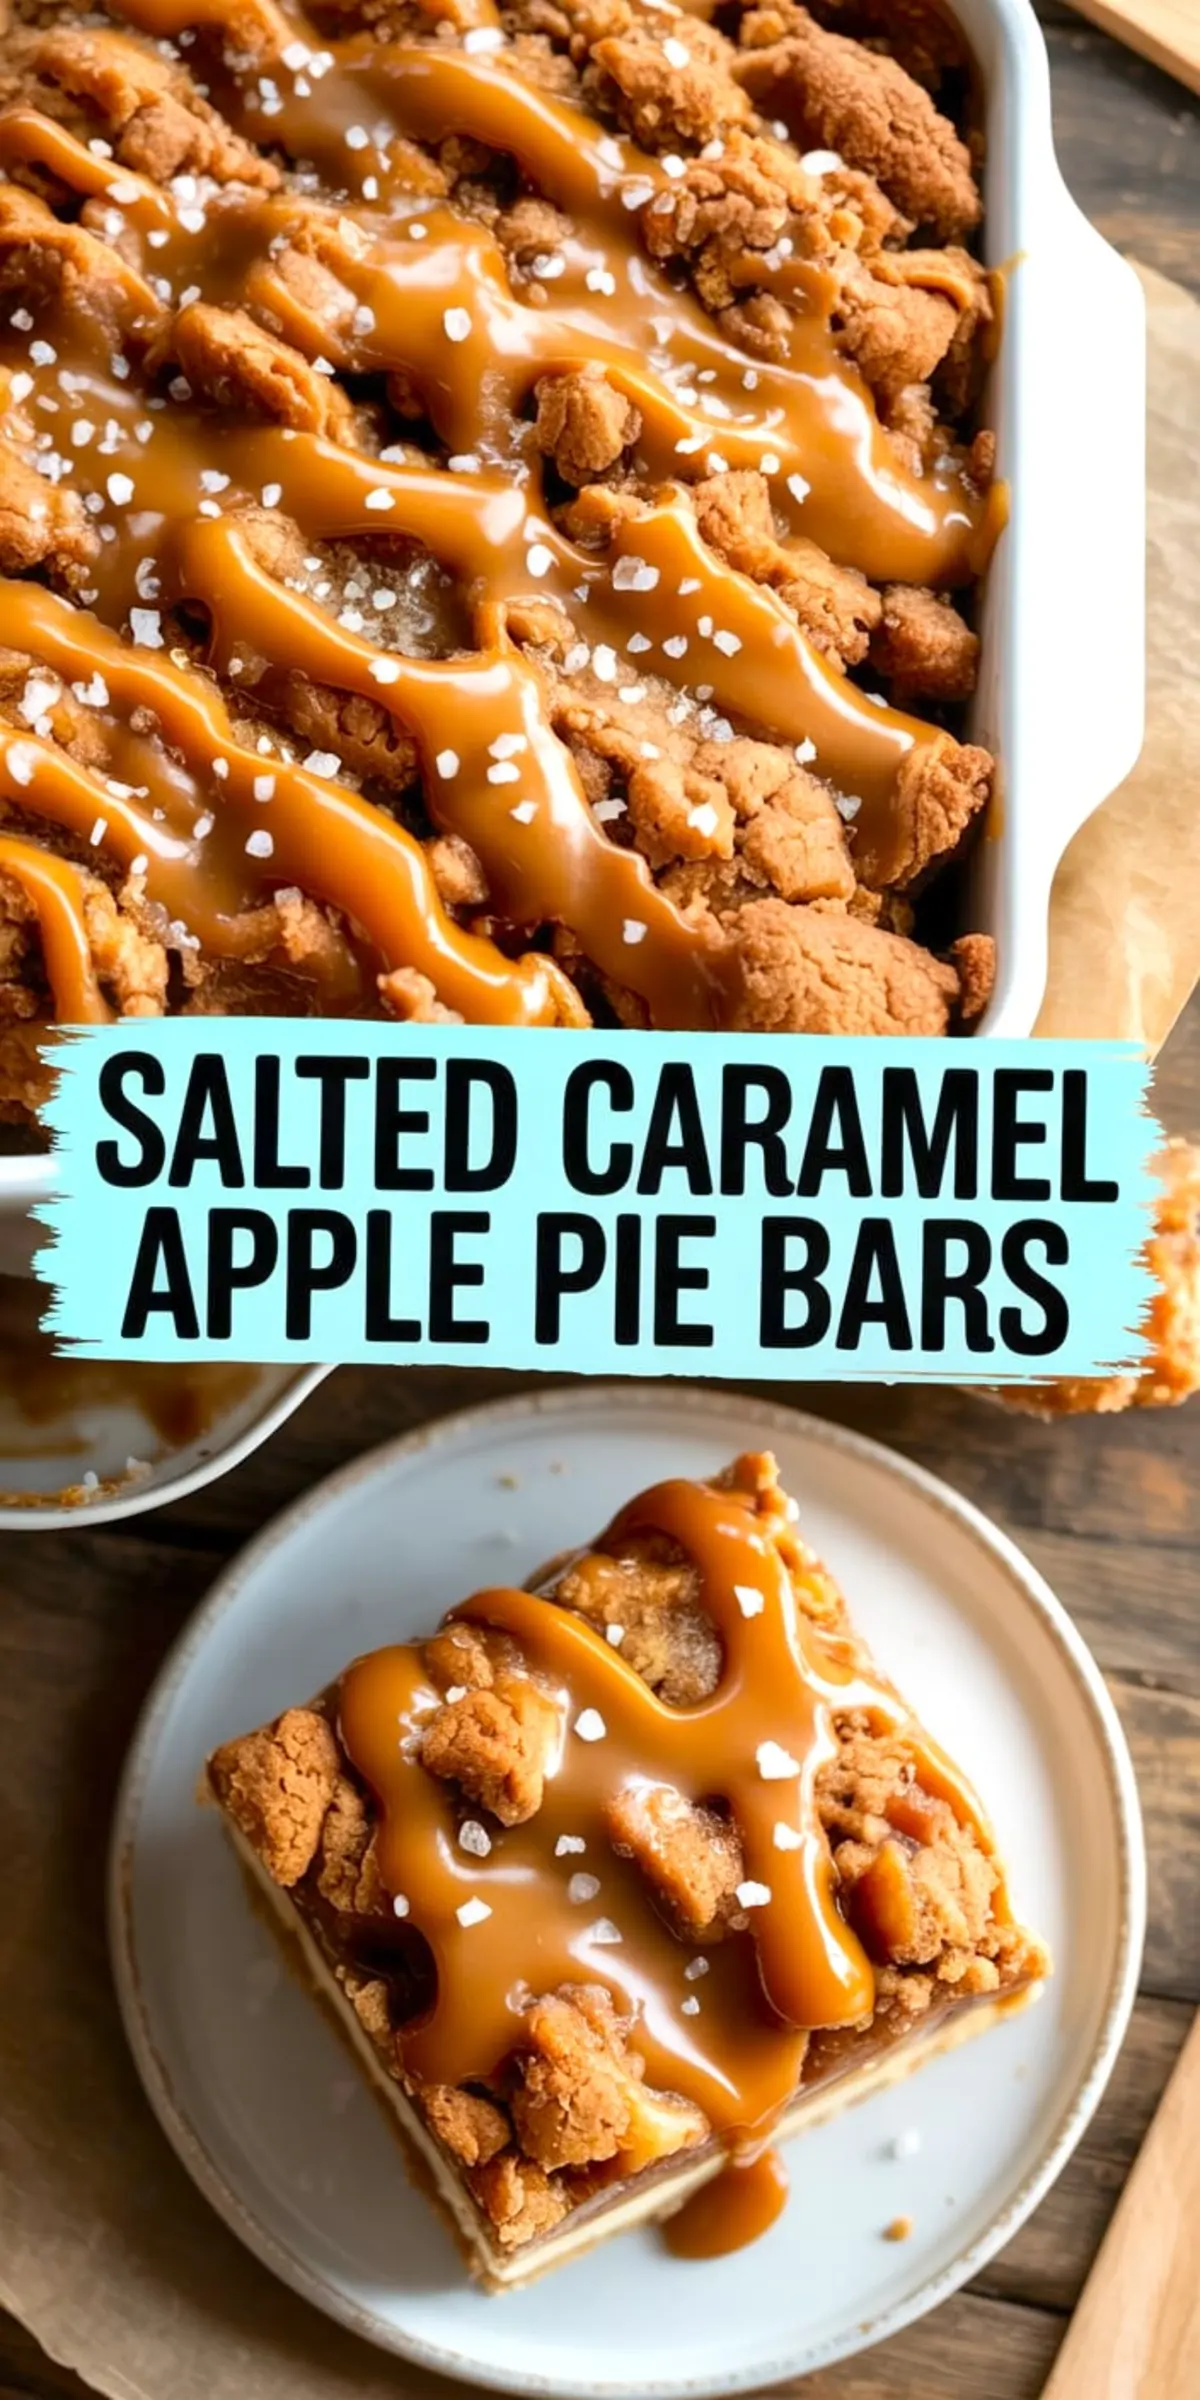
I’ve brought these to church potlucks, packed them in tin boxes, and wrapped them in wax paper with twine. People call them all kinds of names — caramel apple fudge, apple pie cheesecake bars, apple slices with caramel.
But in my book, they’re simply written as “C’s Bars.” I wrote that note beside the first time I made them for Chloe. She came home with crumbs in her lunchbox and asked if I could make them again.
I still do.
If you try these bars, let me know. I’d love to hear what kind of apples you used or if you changed anything to suit your hands. You can leave a comment or just save the recipe to your board. I always read the notes, even if I don’t answer right away.
Salted Caramel Apple Pie Bars

Salted Caramel Apple Pie Bars combine a buttery shortbread crust, spiced apple filling, and a crisp crumble topping into a sliceable, shareable dessert. Warm caramel sauce and flaky sea salt finish each bar for a balanced sweet-salty flavor. These bars offer the comfort of apple pie with the convenience of handheld squares.
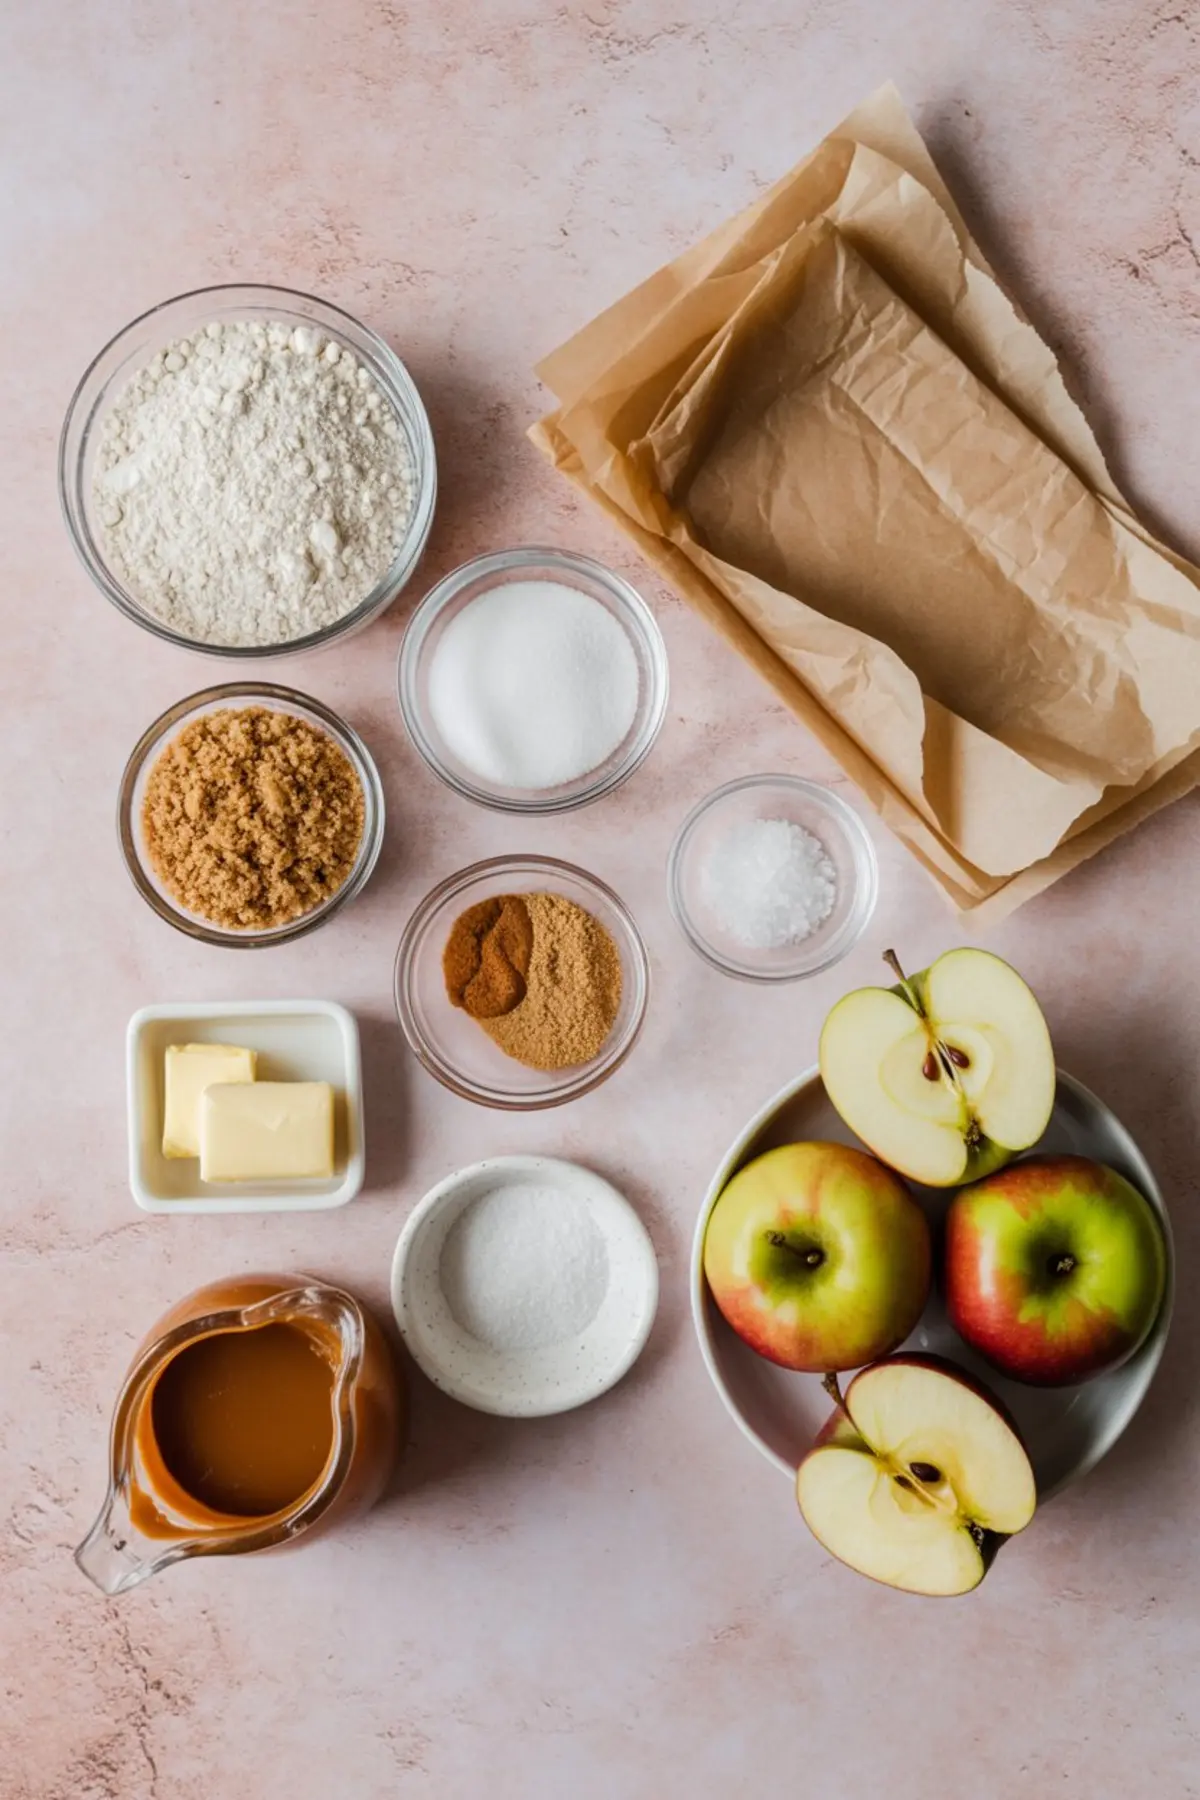
Ingredients
- FOR THE SHORTBREAD CRUST
- 2 cups all-purpose flour
- 1/2 cup granulated sugar
- 1/4 teaspoon salt
- 3/4 cup cold unsalted butter, cubed
- FOR THE APPLE FILLING
- 4 medium tart apples (such as Granny Smith or Honeycrisp), peeled and thinly sliced
- 1/3 cup light brown sugar, packed
- 1 tablespoon all-purpose flour
- 1 teaspoon ground cinnamon
- 1/4 teaspoon ground nutmeg (optional)
- FOR THE CRUMBLE TOPPING
- 1 cup all-purpose flour
- 1/2 cup light brown sugar, packed
- 1/2 cup rolled oats (optional)
- 1/2 cup cold unsalted butter, cubed
- FOR THE TOPPING
- 1/2 cup store-bought caramel sauce, warmed
- 1 teaspoon flaky sea salt
Instructions
- PREHEAT THE OVEN AND PREPARE THE PAN: Preheat oven to 350°F (175°C). Line a 9x13-inch baking pan with parchment paper, leaving overhang on the sides to help lift out the bars later.
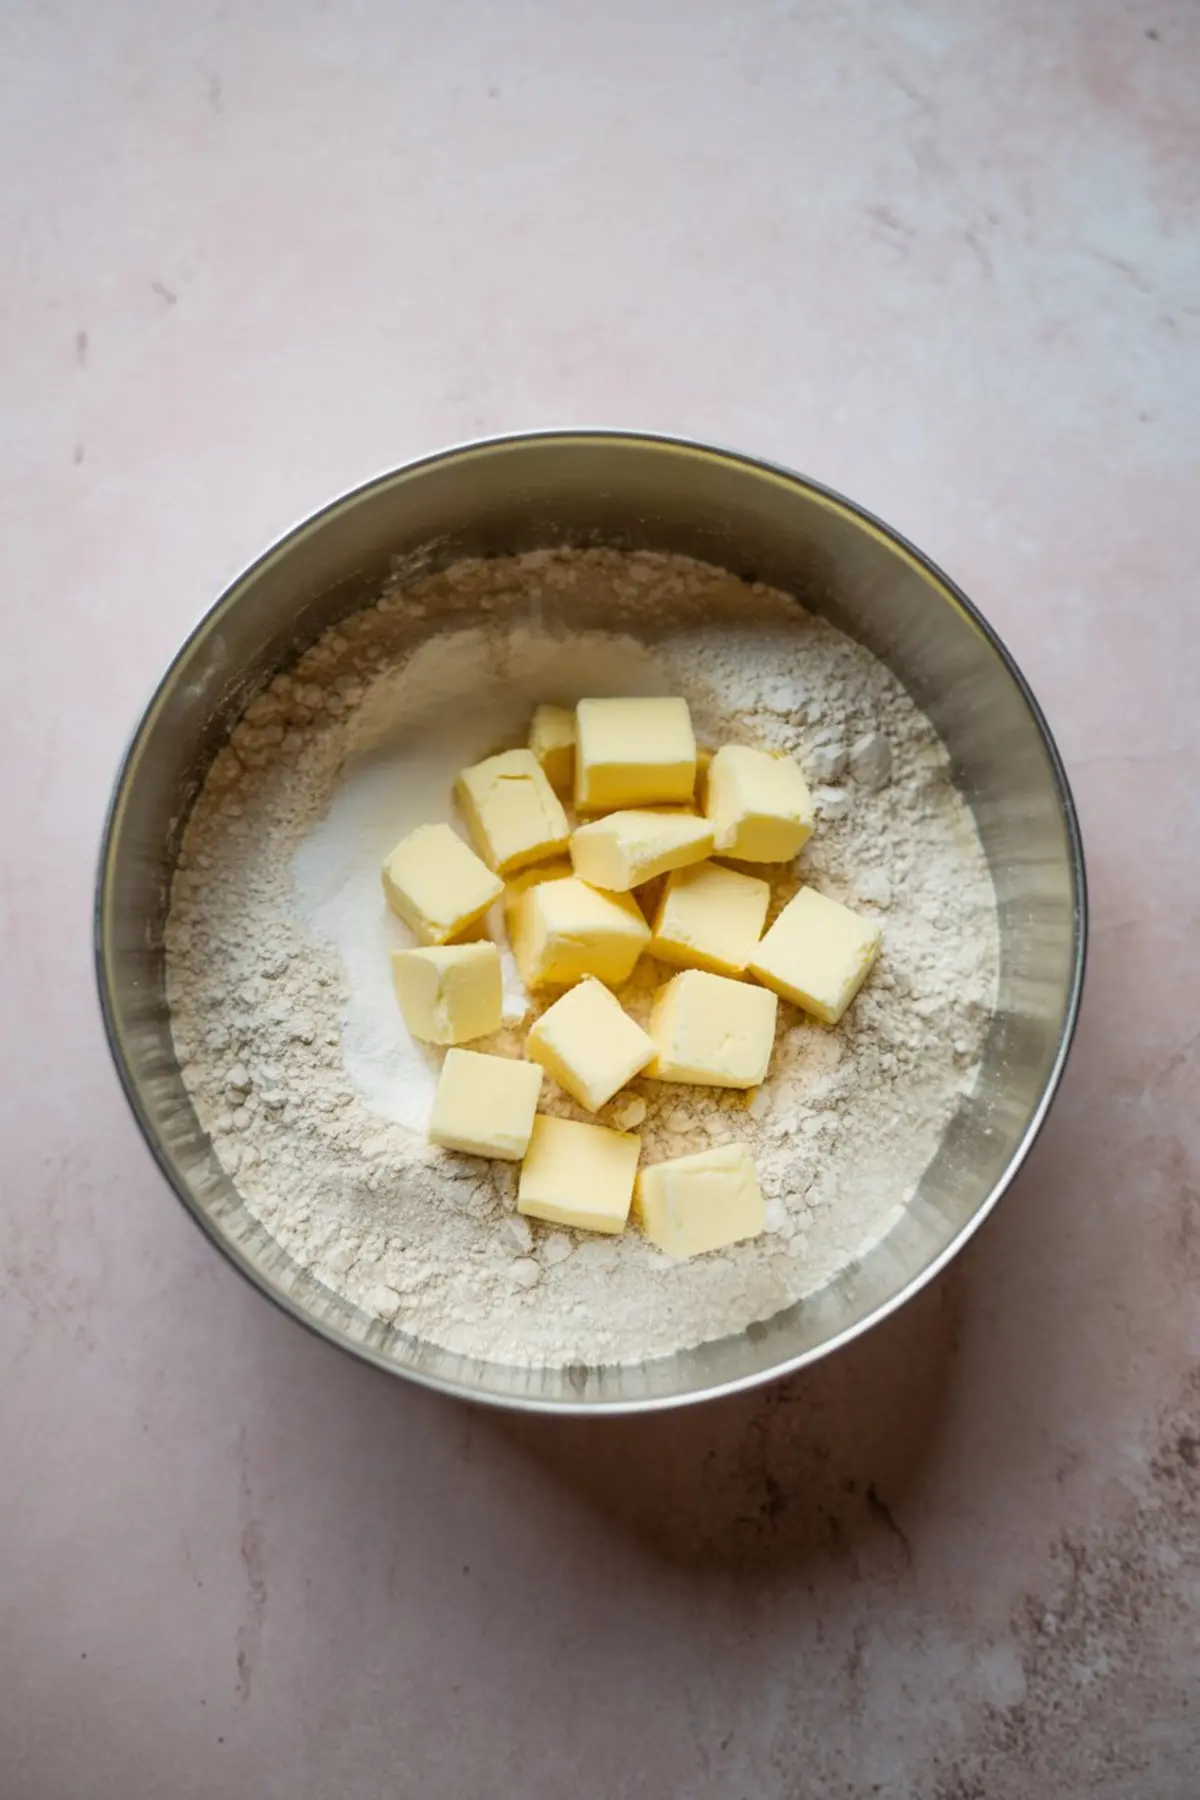
- MAKE THE SHORTBREAD CRUST: In a medium bowl, mix the flour, sugar, and salt. Cut in the cold butter using a pastry cutter or your fingertips until the mixture forms coarse crumbs. Press the dough firmly and evenly into the bottom of the prepared pan. Bake for 15 minutes or until lightly golden around the edges.
- PREPARE THE APPLE FILLING: While the crust bakes, place the sliced apples in a large bowl. Add brown sugar, flour, cinnamon, and nutmeg. Toss until the apples are evenly coated. Let them sit to release some juices.
- ADD THE APPLES TO THE CRUST: Once the crust is out of the oven, evenly layer the apple mixture over it, avoiding excess liquid that may have pooled in the bowl to prevent sogginess.
- MAKE THE CRUMBLE TOPPING: In the same bowl used for the crust, mix flour, brown sugar, oats if using, and cold butter. Work the mixture with your fingers until it forms small clumps. Sprinkle the crumble evenly over the apple layer.
- BAKE THE BARS: Return the pan to the oven and bake for 30–35 minutes, or until the top is golden and the apples are tender when pierced with a knife. Let the bars cool completely in the pan.
- ADD CARAMEL AND SALT: Once cool, drizzle the warm caramel sauce over the bars. Sprinkle evenly with flaky sea salt. Let the caramel set before cutting into squares.
Notes
Use firm, tart apples for the best texture. Store the bars in an airtight container at room temperature for up to 2 days or refrigerate for longer freshness. Reheat briefly before serving, if desired.
Nutrition Information:
Yield:
16Serving Size:
1Amount Per Serving: Calories: 341Total Fat: 15gSaturated Fat: 9gTrans Fat: 0gUnsaturated Fat: 5gCholesterol: 38mgSodium: 209mgCarbohydrates: 49gFiber: 2gSugar: 27gProtein: 3g
