

A soft breeze slid through my kitchen window one spring afternoon, carrying the sound of children playing outside. I remember mixing flour, sugar, and eggs, then glancing at my calendar.
An Easter gathering loomed, and I wanted something sweet and playful on the table.
My earliest memory of this dessert comes from a holiday picnic on a sunny lawn. My family and I passed around brightly colored cookies that melted in our mouths.
Curiosity had me scribbling notes about the preparation, hoping to capture the secrets behind those pastel hues.
I tested variations over the years, but a small twist transformed this recipe into what I love today. A certain dash of magic brings everything together and gives each bite a subtle surprise.
That tiny piece of wonder will appear later, so keep reading to see how it changes these cookies into something special.
Check also: Summer Crinkle Cookies

Ingredients for Pastel Sugar Cookie Sandwiches
The dough includes butter, sugar, an egg, vanilla extract, flour, baking soda, baking powder, salt, and a bit of milk. Each element works together to create a soft texture that holds pastel shades without looking dull.
Gel food coloring is key, since it gives vivid tints without making the dough watery.

A separate buttercream mixture creates a smooth filling that unites each pair of cookies. Powdered sugar, softened butter, a splash of cream or milk, vanilla extract, and a small pinch of salt complete it. The end result is fluffy and easy to spread between two delicate rounds.
Steps to Create Pastel Sugar Cookie Sandwiches

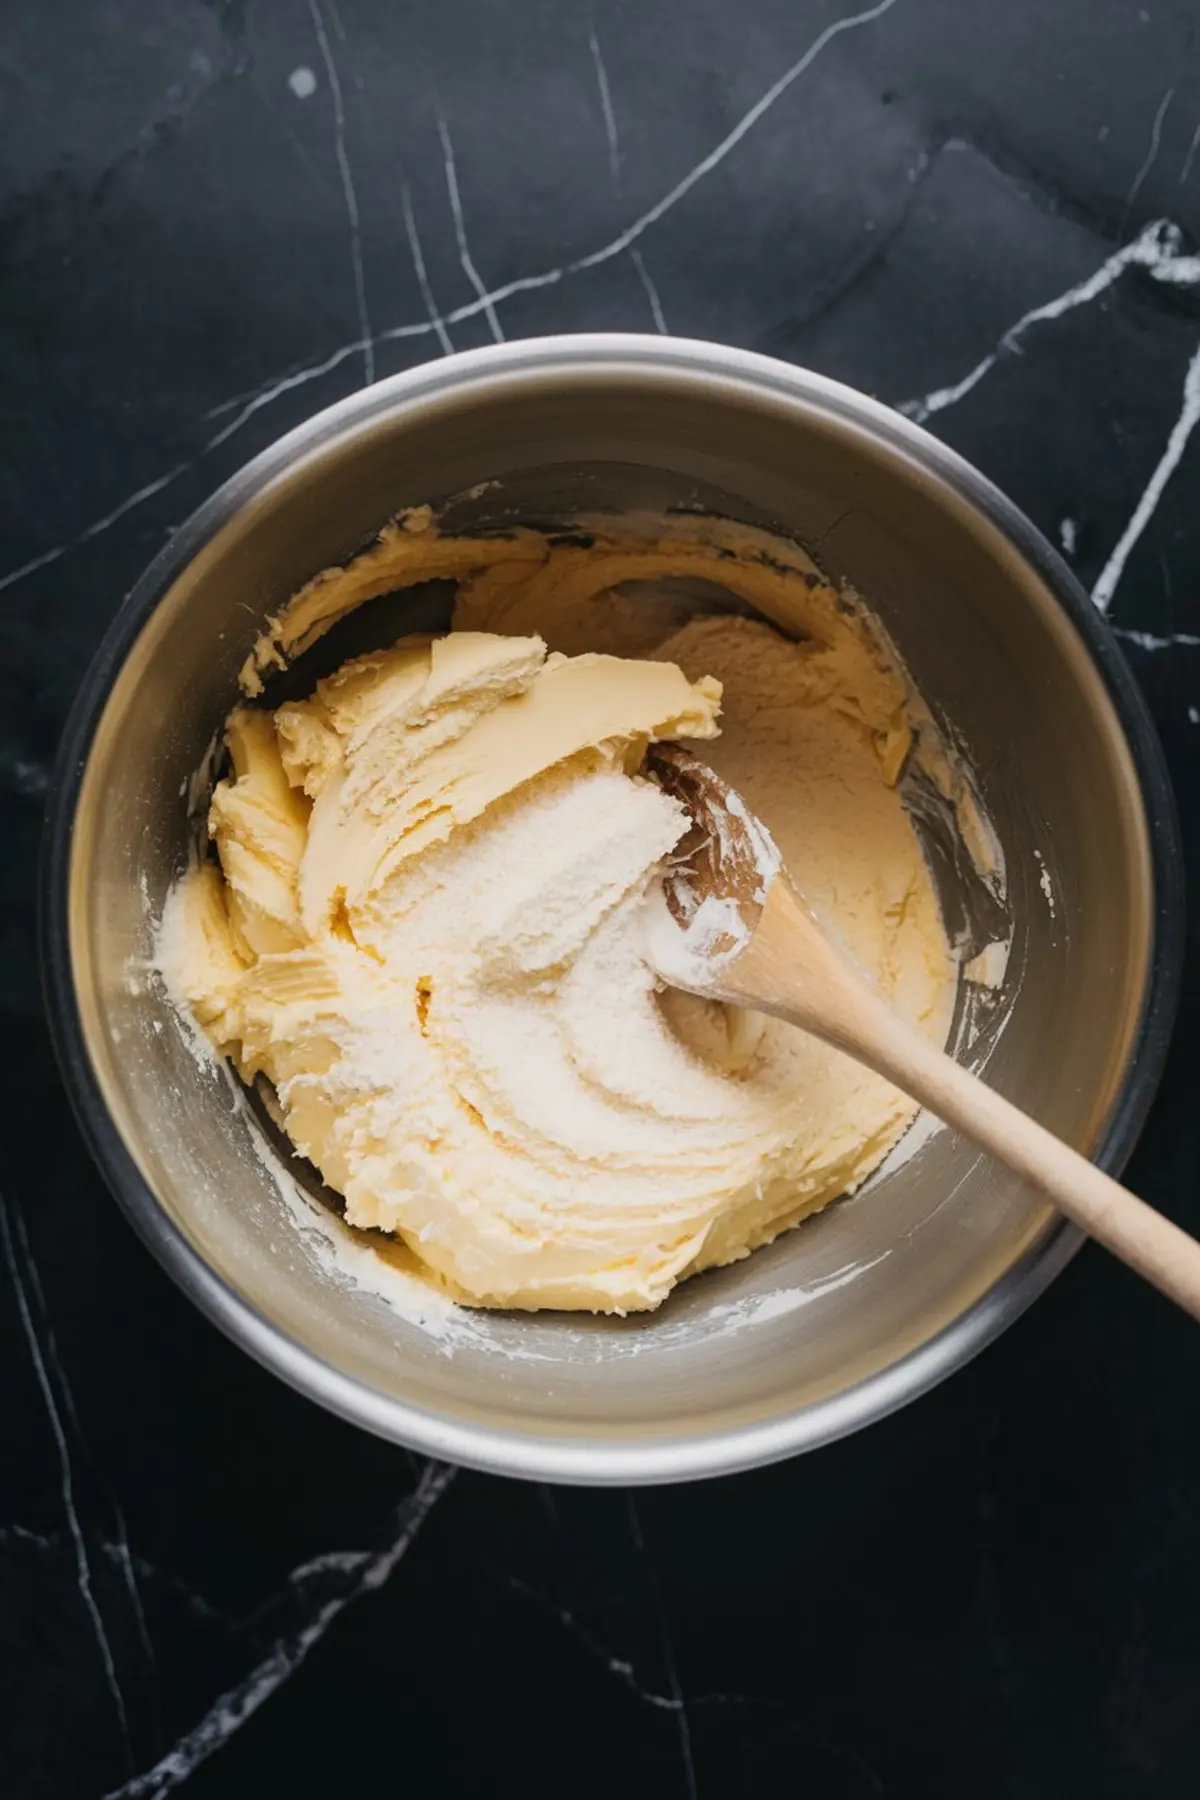
Mix softened butter and sugar in a bowl to get a fluffy foundation. Add an egg and vanilla for warmth and taste. Combine flour, baking soda, baking powder, and salt in another bowl, then fold everything together with a dash of milk to keep the dough supple.
Split the dough into five parts, coloring each piece a gentle hue. Roll tablespoon-sized dough balls, then place them on a lined baking sheet. Heat the oven to 350°F (175°C), and bake the cookies until they set around the edges while remaining tender in the center.
Allow them to cool for a few minutes on the sheet to settle, then shift them to a rack for complete cooling. Build the filling by creaming butter, adding powdered sugar, and whisking in cream, vanilla, and a tiny bit of salt. Spread or pipe the filling on the flat side of one cookie, then press another cookie on top.

Setting cookies on a tray for a short rest helps the filling hold its shape. Those colors shine under a soft layer of icing, and the final texture makes each bite memorable. I enjoy gazing at the pastels before stacking them on a plate because it feels like a cheerful parade of color.
The Dash of Magic That Changes Everything
A tiny pinch of salt in the buttercream might seem minor. I have learned it creates a balance that brings out the vanilla flavor, adds clarity to the overall sweetness, and keeps the cookies from tasting sugary in a heavy way.
That pinch remains the quiet hero, something I call my “dash magic” because it stealthily perfects the entire profile of these sandwich cookies.
Whiskers, my curious cat, meanders around my feet whenever I make these cookies. He seems drawn by the vanilla aroma and the gentle hum of my stand mixer.
I jot notes in my Pin Notebook each time I refine the filling measurements, and that pinch of salt is always highlighted as my must-remember step.
My Golden Spoon, inherited from Aunt Marian, plays a small role in my mixing routine. I stir in the last bit of flour with it, recalling childhood days spent peeking around Aunt Marian’s kitchen.
That spoon has become a lucky charm for me, and I feel connected to family traditions as I swirl the dough in its final stage.
Easter Treats That Complement These Sandwiches
Other sweets can add variety to your festive menu. Easter Cinnamon Rolls often come to mind, and you can see my detailed process at this link. A bouncy swirl of cinnamon might serve as a fine companion to the lighter sugar cookie taste.
I also like Easter Egg Cookie Dough Bites for a fun snack before the main dessert arrives. Take a quick peek at this recipe if you want a creative spin on classic cookie dough.
Carrot Cake with a creamy frosting might surprise everyone around the table too. My personal take is found at this page and features a soft crumb loaded with flavor.
The cookies pair well with these additions, balancing textures and tastes without overwhelming the table. Each recipe adds its own spark to spring celebrations. Guests often hover near the dessert spread, comparing flavors and swirling their cups of tea or coffee.
Personal Insights and Helpful Tips
I always weigh my ingredients for consistent results. My kitchen scale has never steered me wrong, and it ensures that the final cookies remain soft and round. Friends who skip this step sometimes wonder why their dough turns dry or sticky.
Keeping the dough chilled briefly helps if your kitchen is too warm. My home gets hot when the oven runs, so a quick rest for the dough in the fridge can bring it back to a workable temperature.
A bit of patience rewards you with neater cookies and fewer sticky fingers.
The filling also benefits from a touch of experimentation. I once substituted part of the butter with cream cheese, and the result turned out tangy and interesting. My Pin Notebook has a scribbled note about that option for a future twist.
Share and Pin This Recipe

Feel free to pin this tutorial on your dessert board, so you can find it whenever inspiration strikes. Tell me how your cookies turn out, and ask questions if anything seems puzzling. I enjoy hearing new spins on the standard formula, and I believe others can benefit from your experiences too.
Want to keep the conversation going? Drop a comment and share your tips. Your feedback helps everyone discover fresh ideas and personal ways to refine the recipe.
Pastel Sugar Cookie Sandwiches Recipe

Soft, pastel-colored sugar cookies are sandwiched with a smooth vanilla filling, creating a colorful and sweet treat. The cookies have a tender texture, while the filling adds a creamy contrast.
Ingredients
- FOR THE SUGAR COOKIES:
- 1 cup unsalted butter, softened
- 1 ½ cups granulated sugar
- 1 large egg
- 2 teaspoons vanilla extract
- 2 ¾ cups all-purpose flour
- 1 teaspoon baking soda
- ½ teaspoon baking powder
- ½ teaspoon salt
- 2 tablespoons milk
- Gel food coloring (pink, yellow, green, blue, and purple)
- FOR THE VANILLA FILLING:
- ½ cup unsalted butter, softened
- 2 cups powdered sugar
- 2 tablespoons heavy cream or milk
- 1 teaspoon vanilla extract
- Pinch of salt
Instructions
- PREHEAT THE OVEN: Set the oven to 350°F (175°C). Line a baking sheet with parchment paper and set it aside.
- MAKE THE COOKIE DOUGH: In a large mixing bowl, beat the butter and sugar together until light and fluffy, about 2 minutes. Add the egg and vanilla extract, mixing until fully incorporated.
- COMBINE THE DRY INGREDIENTS: In a separate bowl, whisk together the flour, baking soda, baking powder, and salt. Gradually add the dry ingredients to the wet ingredients, mixing on low speed. The dough will be thick but soft. Add the milk and mix until combined.
- COLOR THE DOUGH: Divide the dough into five portions. Using gel food coloring, tint each portion a different pastel color. Knead the coloring into the dough until evenly distributed.
- SHAPE AND BAKE: Scoop about 1 tablespoon of dough for each cookie and roll it into a smooth ball. Place the dough balls onto the prepared baking sheet, spacing them about 2 inches apart. Bake for 8-10 minutes, until the edges are set and the tops look slightly cracked but not browned. Let the cookies cool on the baking sheet for 5 minutes before transferring them to a wire rack to cool completely.
- MAKE THE VANILLA FILLING: In a mixing bowl, beat the butter until smooth. Gradually add the powdered sugar, then mix in the heavy cream (or milk), vanilla extract, and a pinch of salt. Continue beating until the mixture is fluffy and spreadable. Adjust consistency by adding more cream if too thick or more powdered sugar if too thin.
- ASSEMBLE THE COOKIE SANDWICHES: Once the cookies are completely cool, match them into pairs of similar sizes. Using a piping bag or a spoon, spread a generous amount of filling onto the flat side of one cookie. Place a second cookie on top and press gently to spread the filling evenly.
- SET BEFORE SERVING: Let the cookie sandwiches sit for about 10 minutes to allow the filling to firm up slightly.
Notes
For best results, use gel food coloring to achieve vibrant pastel shades without altering the dough’s texture. If the dough becomes too soft while handling, refrigerate it for 15-20 minutes before rolling. Store cookie sandwiches in an airtight container at room temperature for up to 3 days or refrigerate for up to a week. Let chilled cookies sit at room temperature before serving for the best texture.
Nutrition Information:
Yield:
24Serving Size:
1Amount Per Serving: Calories: 254Total Fat: 13gSaturated Fat: 8gTrans Fat: 0gUnsaturated Fat: 4gCholesterol: 41mgSodium: 123mgCarbohydrates: 33gFiber: 0gSugar: 22gProtein: 2g

I made these cookies today and although they didn’t crackle like they were supposed to, I thought they turned out great and they look very beautiful in their springtime colours. Very tasty too! Will definitely make these again. Maybe chocolate!!!
Hi Nancy, I’m really glad to hear they still turned out beautifully — those spring colors make them so fun to serve, even if the crackle didn’t show up this time. If you ever want to troubleshoot that part, chilling the dough a bit longer before baking can help create that distinct crinkle on top. A slightly hotter oven can also give them that quick puff and crack. And yes to chocolate — that would be a dreamy twist 😍 Let me know how they go if you try that version!
Can I make the dough the night before & refrigerate it, then make them the next day?
Absolutely, Elizabeth, chilling the dough overnight works really well here 😊
In fact, I’ve done it that way myself when I wanted to break up the prep over two days. Just make sure the dough is wrapped tightly or stored in an airtight container, and let it sit at room temp for about 20–30 minutes before scooping and baking. That short rest helps soften the dough a bit and gives you those nice smooth, pastel cookies with the signature crackly tops.
Let me know how yours turn out, I’d love to hear what colors you went with! 💜💛💚
Can you mix the food coloring with the egg before adding to batter instead of later? I saw another baker’s video where they did that. I am afraid of over-mixing my dough. Any suggestions for amount of food coloring? I want them bright and not faded like yours.
Hi Juli, yes — you can mix the gel food coloring into the egg before adding it, and that can actually help you get more even color with less extra mixing later. I’d still divide the dough after the base is mixed, then add a little of the colored egg mixture to each portion so you stay in control of the shades.
For brighter colors, gel coloring is the way to go. Start small, then build gradually — usually a toothpick dip or 1 to 2 drops per portion is enough for soft pastels, and a bit more will push them brighter. If you want stronger color without overworking the dough, knead the color in just until combined and stop there.
If the dough starts feeling too soft while you’re coloring it, chill it for 10 to 15 minutes before scooping. That helps a lot with both texture and color handling.
I am curious if you used a cookie cutter after baking, to get a perfect circle.
The cookes in the ad pic have a rough edging mimicking a macaron.
Hi Tina — no cookie cutter after baking. These were shaped by rolling the dough into smooth balls before baking, so the edges stay naturally soft and a little uneven rather than perfectly stamped. If you want them extra round, you can gently tidy the edges while they’re still warm, but I wouldn’t cut them after baking.
My cookies spread super thin and 3” in diameter. What did I do wrong?
Hi Cee — on this one, super-thin spread usually means the dough was a little too warm or a little short on flour. I would make sure the butter was softened, not melted, chill the dough until it feels firm again, and bake on a cool parchment-lined sheet. If the flour was scooped straight from the bag, that can also leave the dough under-measured and make the cookies run wide. If you want, tell me whether you chilled the dough before baking and I can help narrow it down.
These are very good and easy to make. I’ve made them twice first time i followed the recipe the second time I didn’t add gel food coloring or the filling just plain sugar cookies
Thanks for sharing that, Brandy. I like that you tried them both ways. Skipping the gel color and filling is a good option when you want a simpler sugar cookie, and it keeps the same soft cookie base without the extra Easter look.