
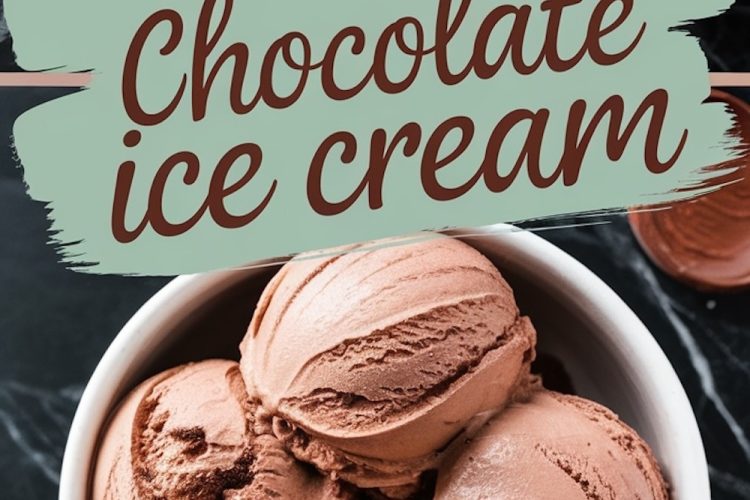
I tasted this chocolate delight during my childhood, and the memory still warms my heart. I remember the rich aroma wafting from the kitchen as my aunt stirred her pot of cocoa and cream. She had a confident gleam in her eye that suggested good things were about to happen. I kept holding my spoon, waiting for that silky mixture to transform into something dreamy.
My young mind decided this was magic in edible form. You will discover a similar enchantment as you explore this recipe and enjoy the same velvety goodness that made me grin from ear to ear.
A dash of mystery awaits you in these paragraphs, and I promise a tiny secret that lifts each spoonful beyond your expectations. Keep that curiosity alive until the final reveal.
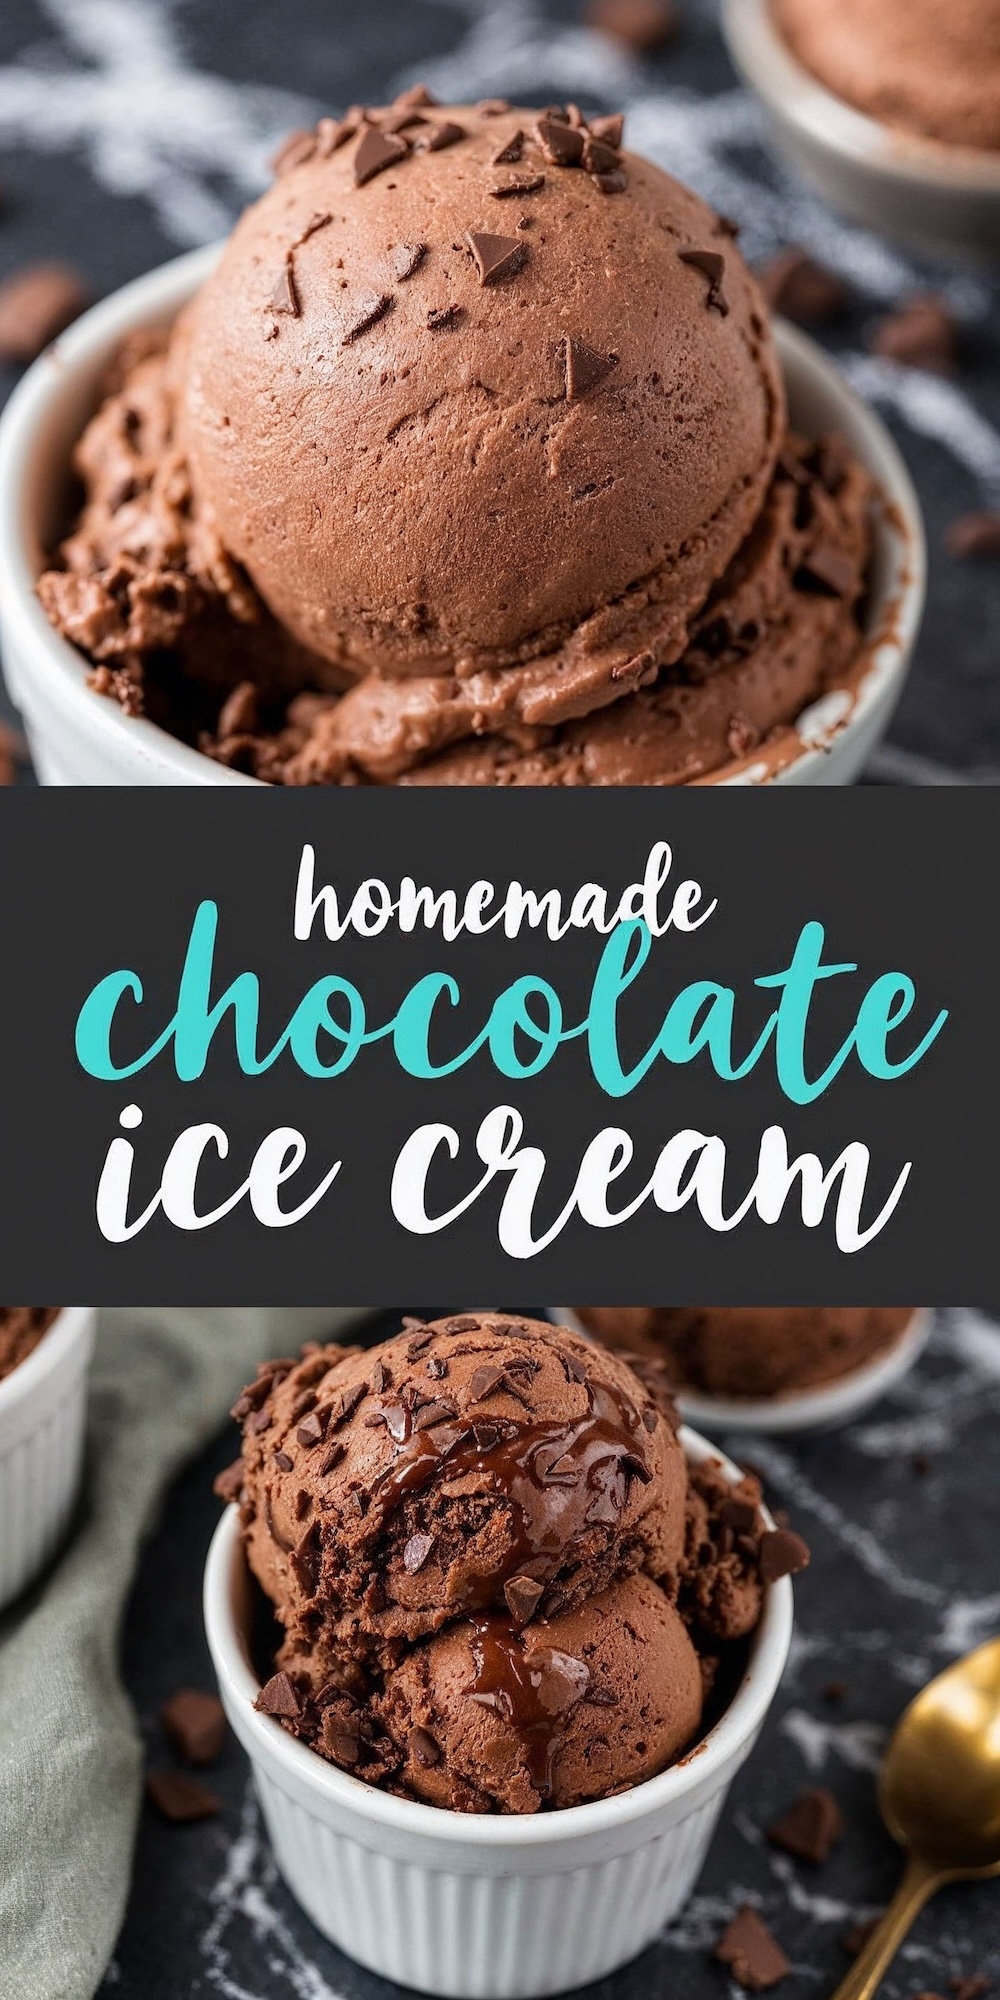
A Quick Overview Of The Chocolate Custard Ingredients
You begin with heavy cream, whole milk, granulated sugar, unsweetened cocoa powder, and a sprinkle of salt. These basics combine to create a creamy foundation that welcomes semi-sweet chocolate and egg yolks. The process transforms everything into a custard that churns into an incredible texture. That texture pleases any chocolate lover who craves a velvety scoop.
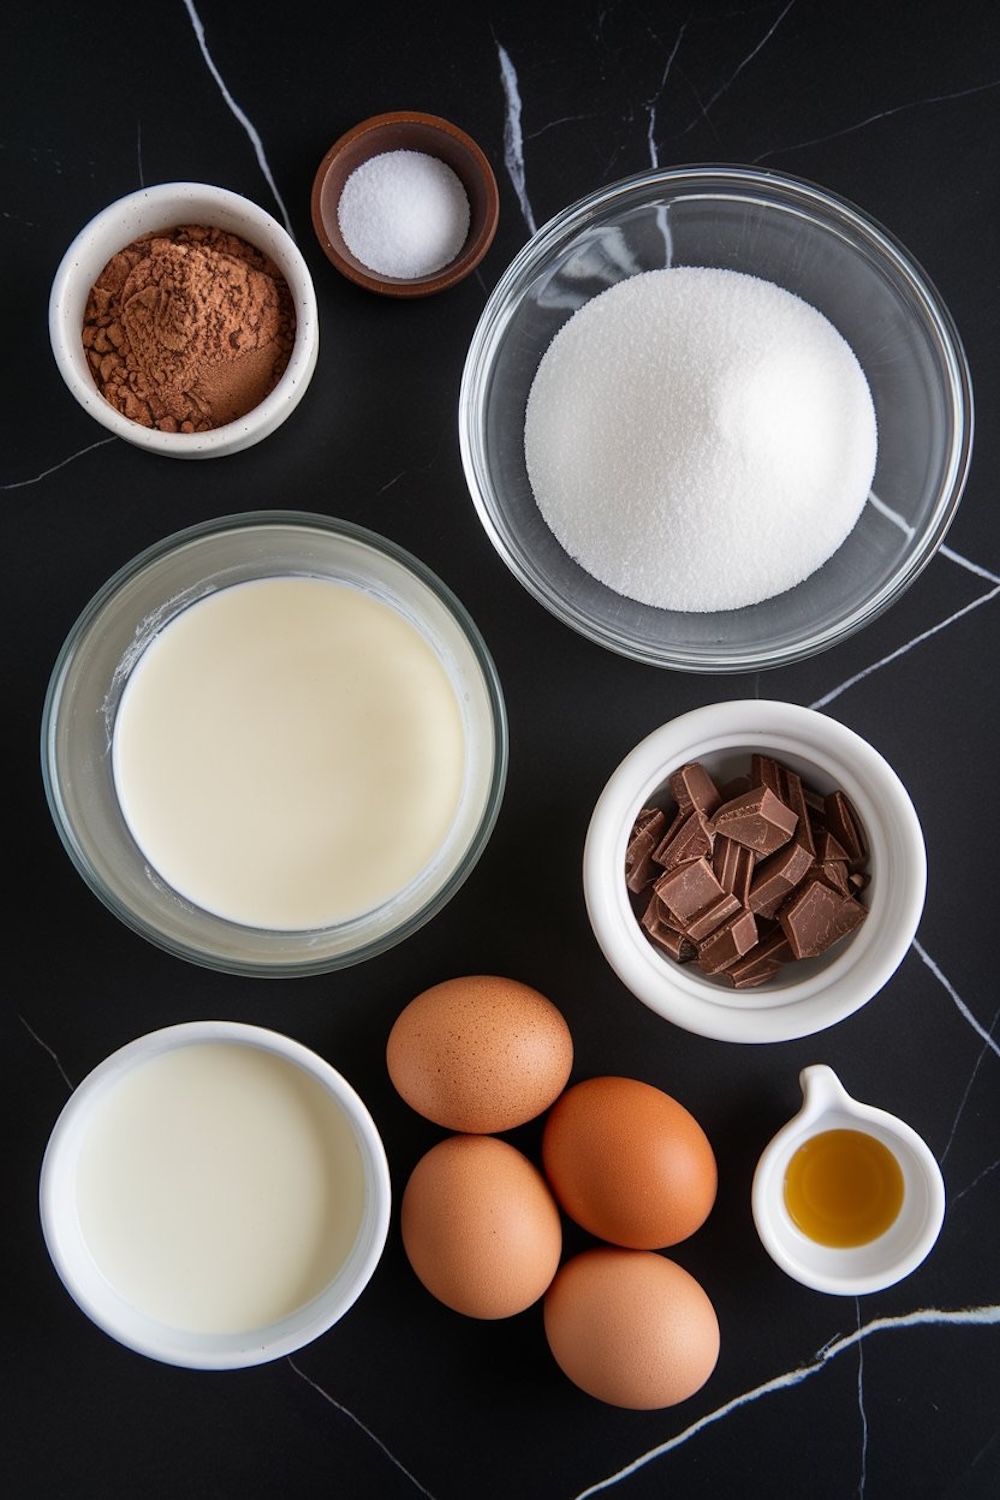
Vanilla extract steps in later to round out the taste with a gentle sweetness that pairs nicely with each bite. A reliable saucepan handles the gentle heating, and your ability to whisk often ensures a smooth result. Patience and attention pay off here. Warm but not boiled. Silky but not scorched. Each element works together in harmony.
Heating And Blending The Milk And Cream
You place your heavy cream, whole milk, sugar, cocoa powder, and salt into a sturdy saucepan. A moderate flame helps warm these ingredients without a rush. A whisk in your hand stirs everything into a liquid that looks glossy. I watch for small bubbles around the edges, which usually signal that the mixture is hot but not boiling.
My cat, Whiskers, often appears around this point. He smells chocolate from a distance, though he never gets a taste. He seems enthralled by the swirling in the pan, tail swishing with each movement. I keep an eye on the saucepan and avoid letting it reach a rolling boil. You want heat, not chaos.
Melting The Finely Chopped Chocolate
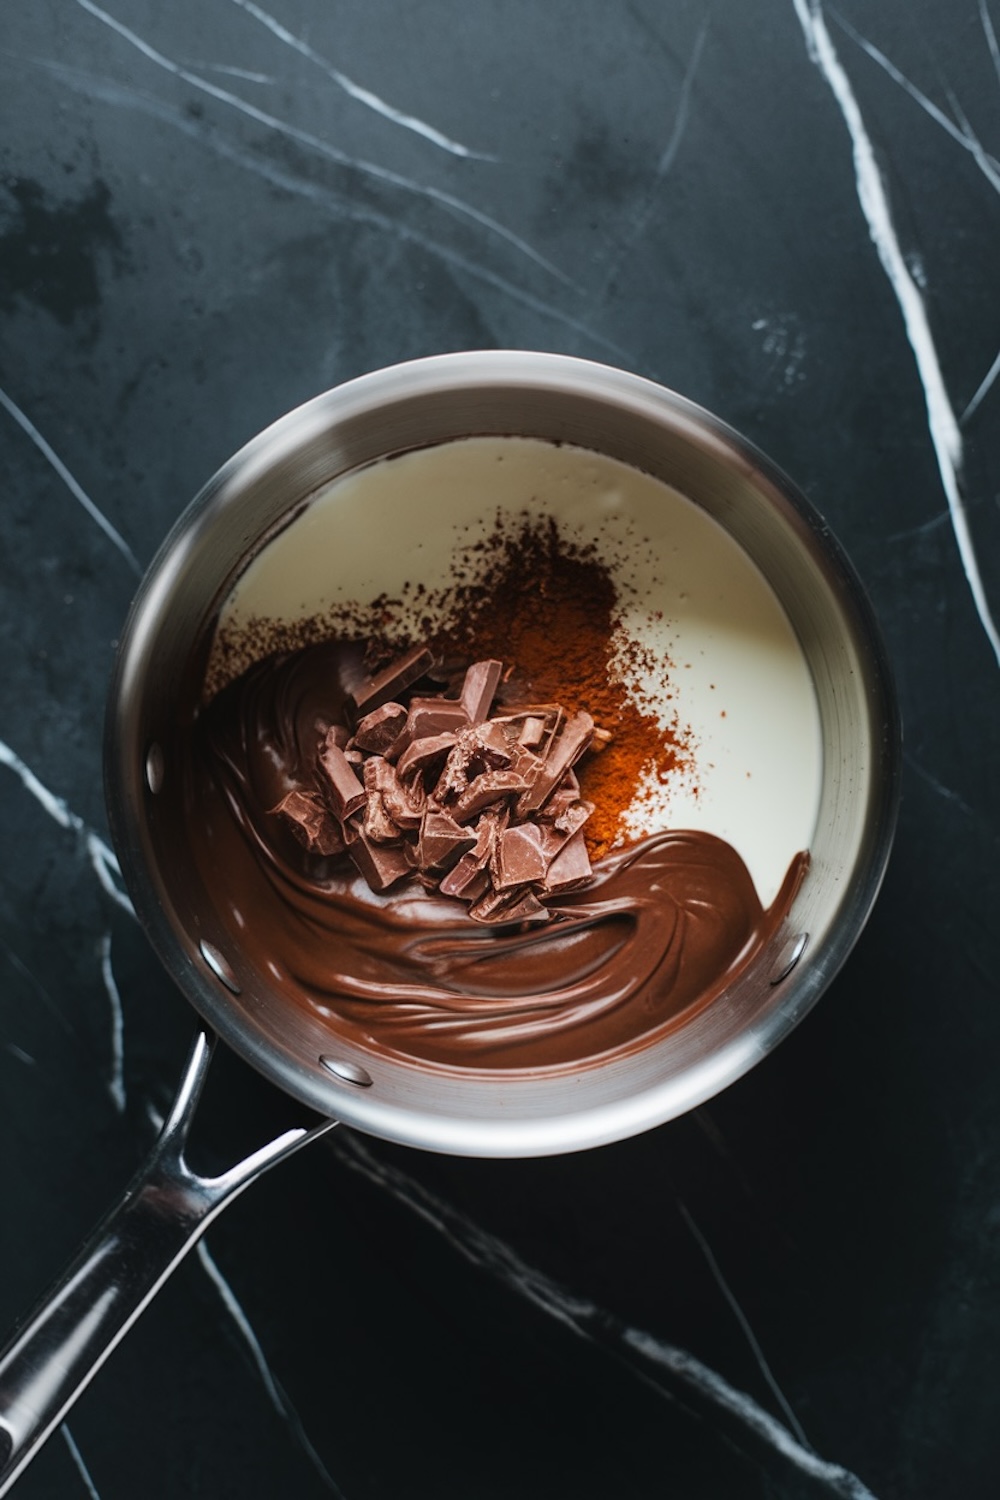
You remove the saucepan from the flame once the base is hot. Small pieces of semi-sweet chocolate dissolve into the mixture with gentle whisking. I love that moment when the chocolate merges, creating a deeper color and a thicker consistency. The kitchen’s atmosphere shifts, and I catch myself breathing in the sweet steam. A sense of comfort washes over me.
You can feel it too, because the smell is irresistible in the best possible way. My Golden Spoon waits nearby, an heirloom from my dear aunt, who believed every homemade dessert deserves a bit of tradition. I stir with it sometimes, and I swear it adds a pinch of nostalgia.
Tempering The Egg Yolks With Care
You take a separate bowl with your whisked egg yolks. A slow drizzle of the hot chocolate mixture joins the yolks while you stir continuously. This step prevents curdling. If you move too quickly, lumps happen, and nobody wants that. You then pour the newly combined mixture back into the main saucepan. Gentle warming continues over a medium flame.
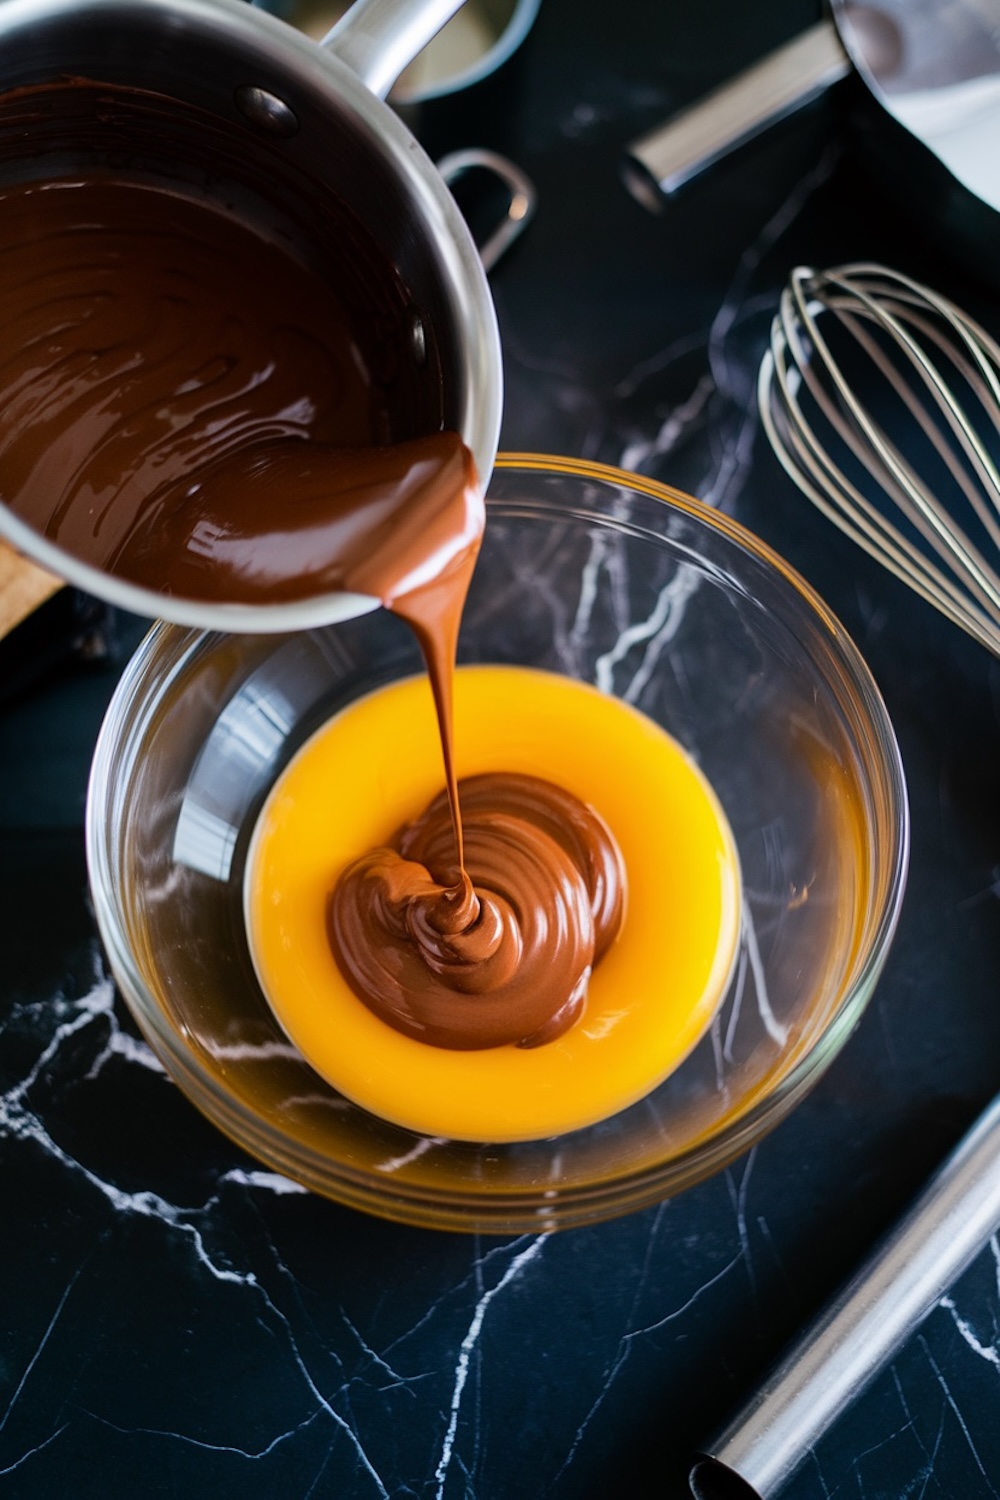
You stir and watch for a thickening sign. My instincts tell me it coats the back of a spoon after about five to seven minutes. No boiling, just a calm thickening. You hold faith in that pace because it leads to a custard that sets the stage for serious creaminess.
Cooling And Adding Vanilla Before Chilling
You turn off the heat and stir in the vanilla extract. The aroma changes subtly, taking on a softer note that balances the deep chocolate. A fine-mesh sieve helps remove any small lumps or stray bits of egg. This small but important detail results in a flawless custard.
I cover it with plastic wrap and press gently on the surface to avoid that unwanted skin.
The bowl often finds its spot in my fridge for at least four hours. That wait can test your patience, but the reward is worth each tick of the clock.
I sometimes record my observations in my Pin Notebook, where I keep scribbled remarks about ingredients or adjustments for the next batch. Ice cream rarely follows rigid rules, so a notebook full of ideas helps keep each experiment alive.
Churning To Achieve A Soft-Serve Consistency
You let the custard chill thoroughly. Your ice cream maker then takes center stage. You pour the custard in, following the manufacturer’s instructions, and watch as it spins. Twenty to twenty-five minutes of gentle movement transforms the custard into a soft-serve treat.
My eyes always light up when I see that swirl become thick and luscious. The old trick is to rely on the machine’s recommended timing but trust your eyes and taste buds as well. Some prefer a slightly thicker churn. Others stop a bit earlier. My approach is simple. I peek inside, and if I see a smooth swirl that stands up on a spoon, I’m satisfied.
Freezing The Ice Cream For The Ideal Texture
You transfer your newly churned delight into an airtight container. Two to four hours in the freezer adds firmness. Some folks enjoy a softer texture and can serve it sooner. My family tends to like a solid scoop, so I wait the full duration.
A home freezer often requires a bit of rearranging to make space. I shift a few bags of frozen peas aside to give my container enough breathing room. I sometimes set a timer on my phone, but the clamor of anticipation usually keeps me pacing back to the freezer door anyway. I rarely resist a small spoonful before it fully sets. My Golden Spoon helps me with those sneaky tastes.
Revealing The Dash Of Magic
You may wonder what tiny detail changes a decent chocolate ice cream into something memorable. A small pinch of salt plays that role. That might sound simple, yet it somehow brightens the chocolate and balances the sweetness in every spoonful.
The recipe card includes that quarter teaspoon, but I treat it like a secret handshake. I consider it the dash of magic because it surprises people who wouldn’t expect such a small ingredient to have such a bold influence on flavor. My aunt taught me that years ago, and I still marvel at how it works. You can taste a fuller chocolate experience, and you appreciate that short list of ingredients a bit more.
Personal Anecdotes And Cooking Notes
I still remember a rainy day last spring when Whiskers nearly knocked over my milk pitcher. He leaped onto the counter with a glint in his eyes, and I had to rescue that pitcher before the entire kitchen turned sticky.
That memory reminds me that an ice cream session can invite surprises. My Pin Notebook remains my faithful companion. It holds scribbles of random thoughts like “Try dark chocolate next time” or “Add toasted nuts for a crunchy twist.” I enjoy flipping through its pages after each cooking adventure. You can do something similar. A personal record keeps track of progress and sparks new ideas for future desserts. Confidence grows with each entry, and you start trusting your instincts.
Friends ask why I keep returning to this recipe. The answer is simple: it speaks to my love for real flavors. The heavy cream, cocoa powder, and melted chocolate combine with those egg yolks in a way that comforts me. I also love the reaction from anyone who experiences that first spoonful. There is a hush, followed by a smile, and then an emphatic nod. The flavor lingers and beckons for another taste. I sometimes garnish it with chocolate shavings or a drizzle of melted chocolate sauce. You can explore your creative side. The custard base welcomes additions like nuts, cookie crumbles, or a swirl of caramel. Chocolate, though, remains the star.
Serving Suggestions And Variations

I often serve a scoop of homemade chocolate ice cream in a waffle cone or a small bowl. My sister loves to top hers with a bit of whipped cream and fresh berries. Her approach adds color and a punch of tartness.
My cousin likes to crumble chocolate cookies on top. My mother once sprinkled a hint of chili powder over her bowl because she enjoys a subtle kick. That might sound unusual, yet I took a spoonful and found it surprisingly satisfying. You can consider these variations or craft your own. A swirl of peanut butter or a swirl of caramel can bring another dimension to the dessert. The possibilities remain wide open.
Save This Recipe And Share Your Feedback
You can pin this Chocolate Ice Cream Recipe on your favorite Pinterest board for quick reference. This dessert can become a summer staple, a holiday treat, or a random pick-me-up on any day. I invite you to leave a comment about your experience and thoughts. Conversation connects us, and it also inspires fresh ideas in the kitchen. You might share your success stories, slip-ups, or questions about technique. I enjoy that sense of community that blossoms around a shared love for good food.
Related Chocolate Articles For Your Next Sweet Adventure
You can explore my Chocolate Fondue creation here:
You might enjoy a moist slice of Chocolate Fudge Cake.
You can explore a playful treat with these Homemade Chocolate Hazelnut Truffles.
You may savor a Chocolate Pot de Crème for a smooth and rich finish to any meal.
These offer unique ways to embrace chocolate’s finest qualities. I hope you find inspiration among them. You might keep them in mind for your next indulgent cooking session. Sharing recipes and tips helps us learn from one another. Good food should travel far and wide.
Homemade Chocolate Ice Cream Recipe
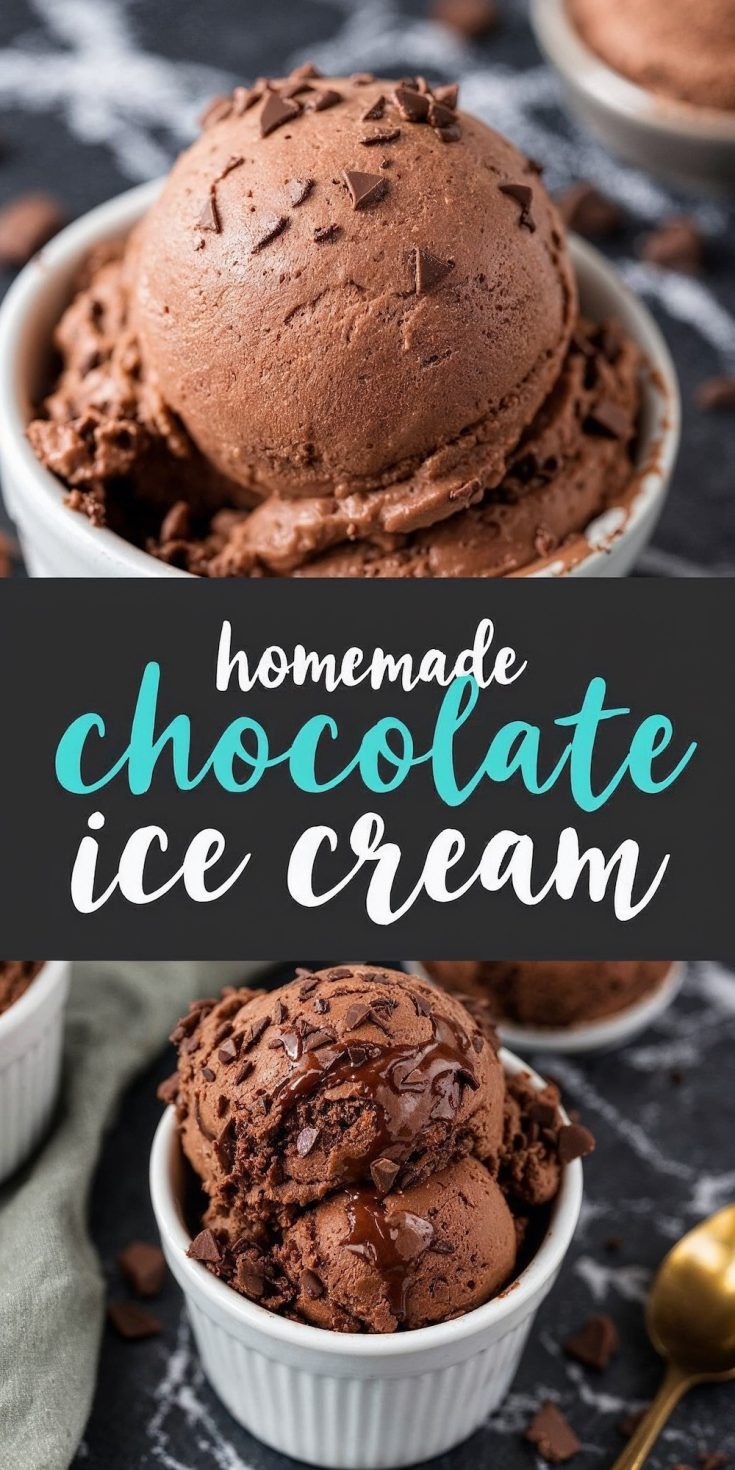
Homemade chocolate ice cream is a creamy and rich dessert made with simple ingredients. This recipe involves creating a chocolate custard base, churning it to a soft-serve texture, and freezing it for a smooth and firm finish.
Ingredients
- 2 cups (480 ml) heavy cream
- 1 cup (240 ml) whole milk
- 1 cup (200 g) granulated sugar
- 1/2 cup (50 g) unsweetened cocoa powder
- 4 oz (115 g) semi-sweet chocolate, finely chopped
- 4 large egg yolks
- 1 teaspoon pure vanilla extract
- 1/4 teaspoon salt
Instructions
- PREPARE THE CHOCOLATE BASE: In a medium saucepan, combine the heavy cream, whole milk, granulated sugar, unsweetened cocoa powder, and salt. Whisk until the mixture is smooth. Heat over medium heat, stirring occasionally, until the mixture is hot but not boiling.
- MELT THE CHOCOLATE: Remove the saucepan from the heat. Add the finely chopped semi-sweet chocolate and whisk until fully melted and smooth.
- TEMPER THE EGGS: In a separate bowl, whisk the egg yolks. Slowly drizzle about 1/2 cup of the hot chocolate mixture into the yolks while whisking constantly to prevent curdling. Once combined, pour the tempered yolk mixture back into the saucepan.
- THICKEN THE CUSTARD: Return the saucepan to medium heat. Stir constantly with a wooden spoon or silicone spatula until the mixture thickens slightly and coats the back of the spoon, about 5-7 minutes. Avoid boiling.
- ADD VANILLA AND CHILL: Remove the saucepan from heat and stir in the vanilla extract. Strain the custard through a fine-mesh sieve into a clean bowl. Cover the custard with plastic wrap, pressing it directly onto the surface to prevent a skin from forming. Chill in the refrigerator for at least 4 hours or overnight.
- CHURN THE ICE CREAM: Once the custard is thoroughly chilled, pour it into your ice cream maker. Churn according to the manufacturer’s instructions, typically for 20-25 minutes, until it reaches a soft-serve consistency.
- FREEZE FOR FIRMNESS: Transfer the churned ice cream to an airtight container and freeze for 2-4 hours until firm.
- SERVE: Scoop the ice cream into bowls or cones and enjoy immediately.
Notes
For a deeper chocolate flavor, use dark chocolate instead of semi-sweet chocolate.
Store the ice cream in an airtight container in the freezer for up to one week.
