
I first tasted chocolate pot de crème when I was still scribbling favorite sweets in a notebook I kept hidden under my pillow. My aunt offered it with a wink, promising a smooth spoonful that would spread warmth across my entire soul. That decadent moment hooked me for life.
The velvety texture felt like liquid silk on my tongue. My mind still drifts back to those early days, remembering how it brightened afternoons in her modest kitchen. A little secret once discovered can leave you craving more. Something unexpected waits within this recipe, but I plan to reveal that detail a bit later. Keep that curiosity going while you gather the ingredients for an indulgent treat.

A Personal Connection to This Dessert
My experiences in the kitchen shaped my deep love for recipes that blend tradition with personal flair. This chocolate pot de crème symbolizes that kind of balance. I have developed small adjustments that reflect my journey as a home cook who learns with each stir of the pan.
My cat, Whiskers, often circles my feet, eager to pounce on a stray morsel. The gentle aroma of melting chocolate attracts him, and I have to give him a gentle nudge away from the counter. Somehow, he knows this dessert represents a moment of real comfort. He sits calmly, as if urging me onward with each step.
Sourcing the Key Ingredients for Velvety Bliss
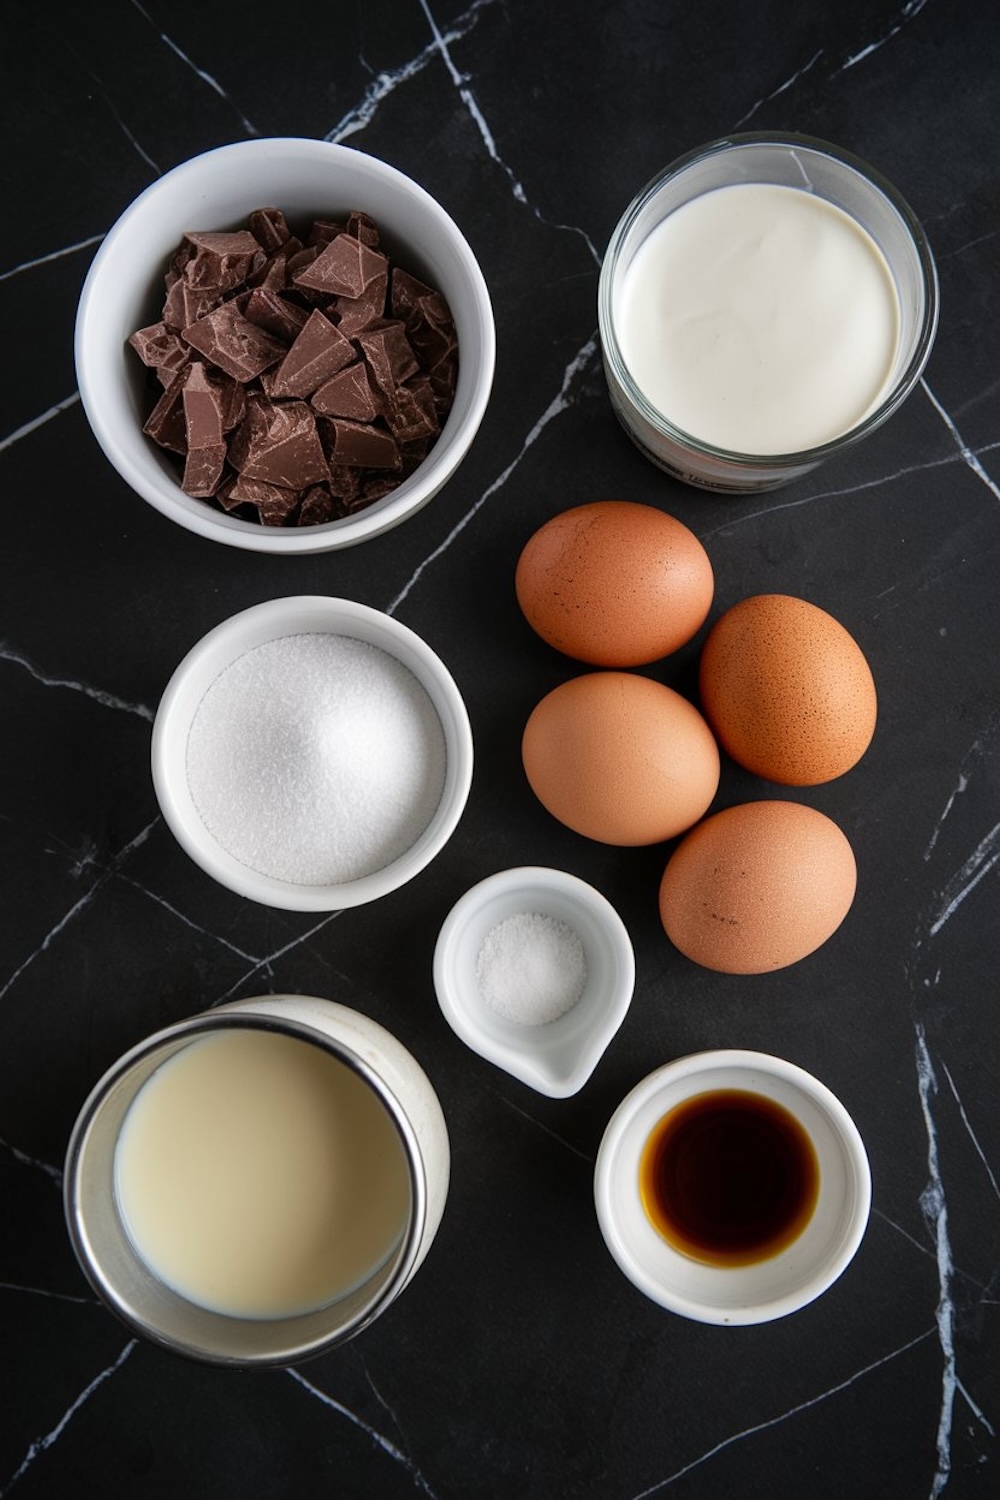
The basic elements for chocolate pot de crème are simple. High-quality chocolate leads the pack, with a bittersweet edge that pairs well with rich cream. A bit of whole milk keeps the texture light enough for spoonful after spoonful. Egg yolks unify the mixture and provide a smooth consistency. A sprinkle of sugar sweetens it to your liking. A hint of salt cuts through that sweetness, making each bite more distinctive. Vanilla extract finishes the flavor profile, bringing warmth that supports the chocolate notes.
One detail deserves special attention. The chocolate has to be finely chopped so that it melts easily. Shards that melt evenly ensure no lumps interrupt your custard. I make certain to pick a brand that has a bold cocoa taste and a melt-in-your-mouth texture. That approach pays off once you taste the final spoonful, free from any graininess.
Heating the Cream and Milk
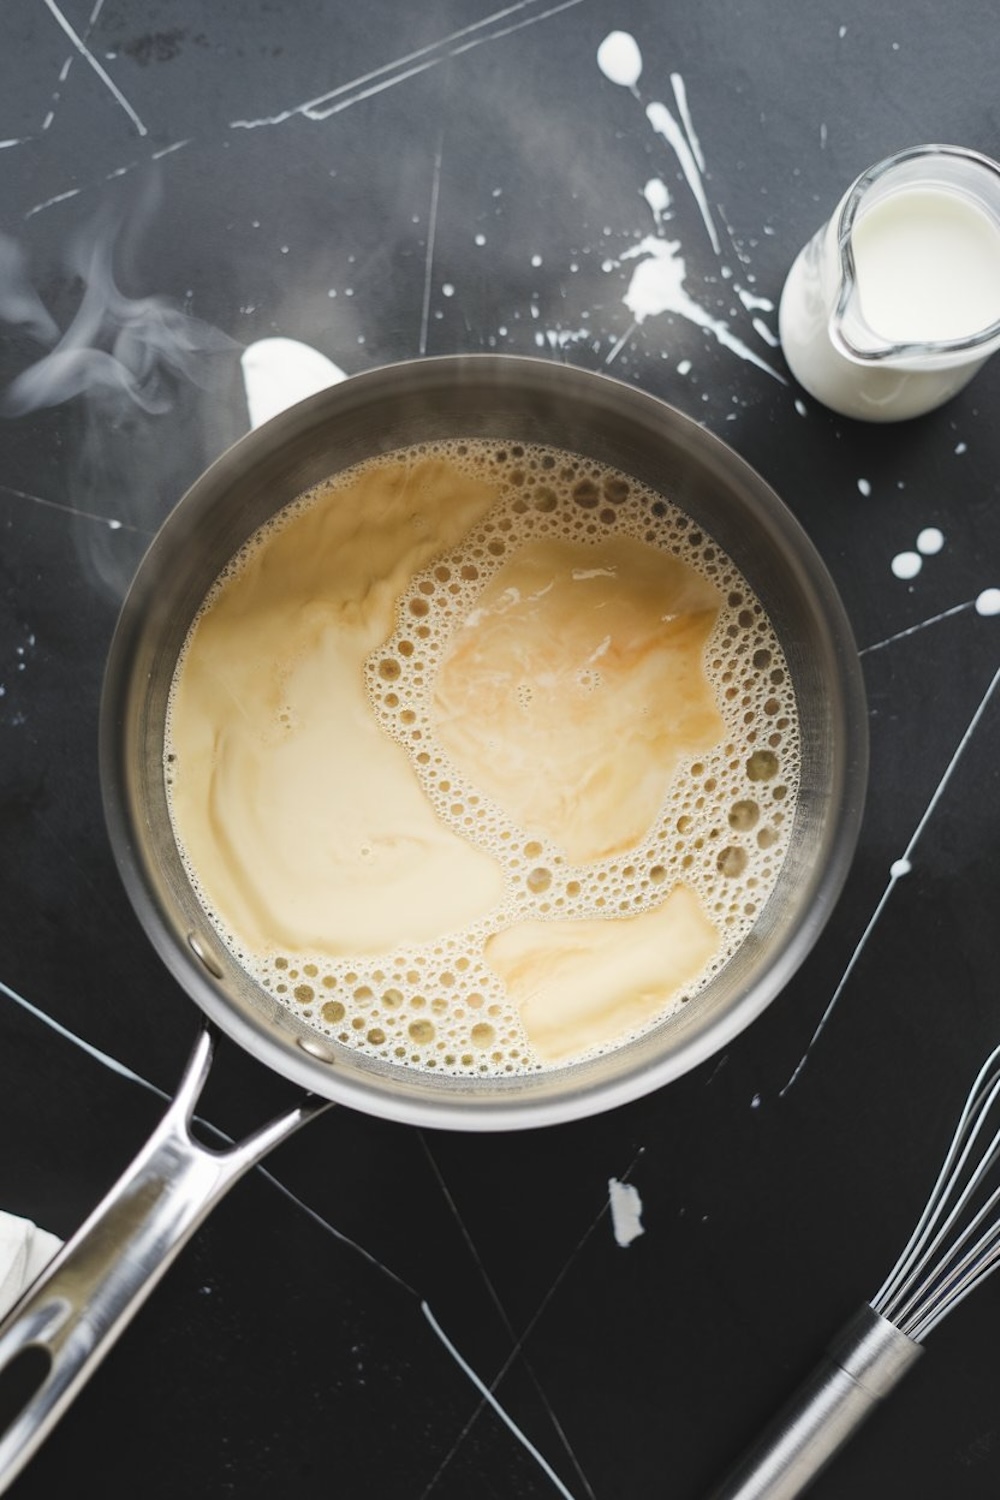
I start by pouring the heavy cream and whole milk into a saucepan. The heat setting remains moderate, preventing any scorching at the base. Gentle stirring protects against sudden boiling. Tiny bubbles along the edges signal that the mixture is warm enough for the next phase. That calm approach might seem cautious, but it avoids the heartache of burned milk. My personal cooking style involves close observation. I learned that from a slip I made in my younger days, boiling the cream too fast and ending up with a bitter aftertaste. Lessons in the kitchen can be humbling. They also keep me attentive, especially for delicate desserts such as this.
Whisking the Egg Yolks and Sugar
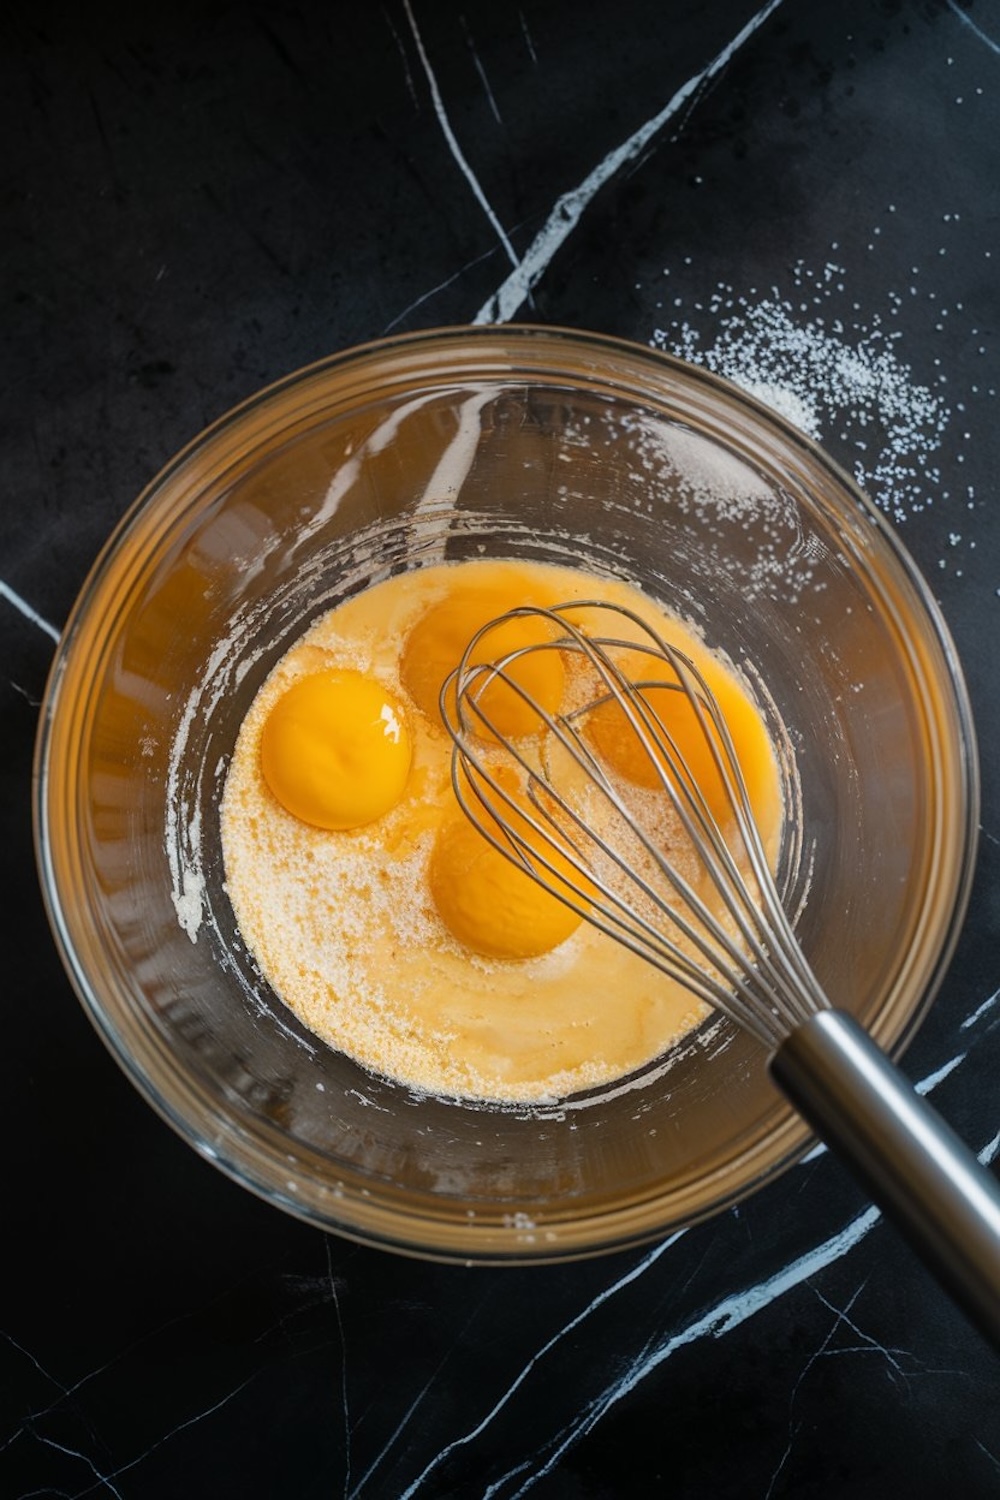
That bowl of yolks in bright yellow always brings a smile. There is something so cozy about whisking them with sugar, seeing them lighten and thicken. The mixture gains volume, turning pale and shiny. A pinch of salt edges in, not to make it salty, but to lift the flavor. Tired arms might complain, but I keep whisking until I can sense that airy consistency. Steady motion, steady results. I discovered over time that this stage creates the crucial foundation. Effort here reaps benefits at the final tasting.
Tempering the Yolk Mixture
Scalding hot cream meets delicate egg yolks, so I have to be careful. I ladle a small portion of the hot mixture into the eggs, whisking without pause. This prevents unwanted curdles. A smooth transition keeps the custard silky. The tempered yolks then return to the saucepan, combining with the rest of the cream. That feeling of shifting from cautious stirring to confidence marks a small victory. Cooking provides those little triumphs. Each recipe teaches discipline and reward.
Cooking the Custard
Constant stirring over low heat brings the mixture to the point where it gently coats the back of the spoon. I find that a wooden spoon or spatula offers the best feedback. The custard thickens after eight or so minutes. My phone stays across the room, as I dislike distractions during this exact period. A single moment of lost focus might ruin the consistency. My grandmother used to say that desserts need your full presence. I still abide by that advice.
Adding Chocolate and Vanilla
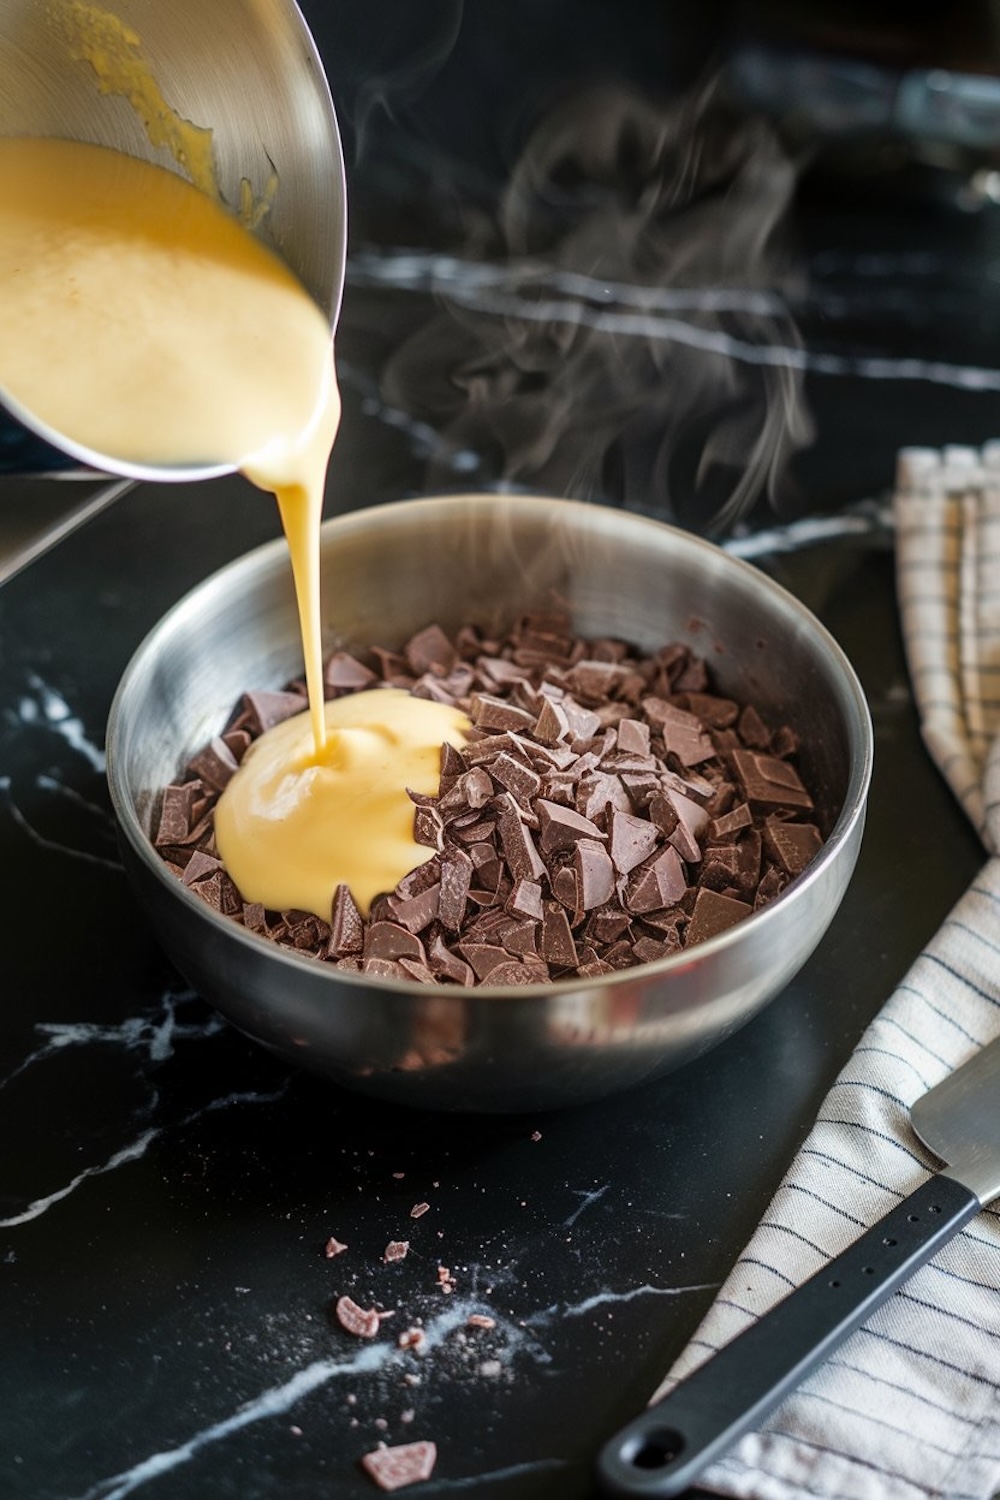
Removing the saucepan from the heat is like stepping onto a calm shoreline after a slow boat ride. I stir in the finely chopped chocolate, letting it melt from the warmth of the mixture. A swirl of glossy brown soon emerges, and I pause to inhale that sweet, slightly bitter fragrance. Vanilla extract slips in, blending with the chocolate. Each stir adds luster to the custard. The transformation from pale cream to rich cocoa hue never fails to excite me.
Straining and Chilling
A fine-mesh sieve catches small bits of cooked egg, ensuring no lumps slide through. Once strained, I pour the mixture into small ramekins or cups. I use my Golden Spoon for this step, the one I inherited from my aunt.
That spoon has a story for every scratch and curve. It symbolizes family ties and moments in the kitchen that shaped my cooking life. Next, the cups head into the fridge, covered lightly with plastic wrap.
Four hours of waiting builds anticipation. Overnight is even more luxurious. Patience is necessary, because the reward is worth it.
The Revealed Secret
I promised an unexpected element. After completing the standard steps, I stir a subtle pinch of coffee grounds into half of the batch. That tiny addition often surprises my guests. Coffee brings out deeper cocoa notes and adds complexity to the custard.
My Pin Notebook has a special mention for this secret. I recorded that tweak years ago after a friend raved about the result. Some add a faint dusting of ground cinnamon or chili flakes instead, but I stick with coffee.
Feel free to experiment if you crave a light jolt of heat.
Serving Suggestions and Sweet Companions
The texture remains soft yet sturdy, inviting each spoonful. A scattering of whipped cream on top adds more comfort. A pinch of sea salt can highlight that sweet-bitter contrast. One friend crumbles toasted nuts over hers to add crunch.
Another friend pairs it with fresh berries, noting the shift in flavor. Each approach works in its own way. This dessert can also appear alongside these other chocolate ideas.
My chocolate fondue recipe at pindesserts.com/no-bake-desserts/chocolate-fondue-recipe/ provides a dip experience. A chocolate fudge cake version at pindesserts.com/no-bake-desserts/chocolate-fudge-cake/ satisfies those who crave a dense slice.
If truffles excite you, homemade chocolate hazelnut truffles at pindesserts.com/no-bake-desserts/homemade-chocolate-hazelnut-truffles/ might spark ideas for special occasions.

Notes from My Pin Notebook
I jot everything down in my Pin Notebook. That habit began as a way to remember tips and avoid repeating kitchen mishaps. Over time, it became a collection of small stories. Some entries feature a chocolate splatter from testing new toppings. Others mark which coffee variety worked best. Each note helps me refine my approach. Food is deeply personal, and these small observations keep the process fresh.
I believe chocolate pot de crème reveals how a few simple steps can lead to an impressive dessert. The difference rests in attentive technique, choice of ingredients, and that dash of personal style.
My routine might differ from yours, but that is the beauty of cooking. You can adapt, adjust, and create your own mark on each dish. For me, that surprise coffee pinch stands as my signature. It came from a desire to expand flavor boundaries and amuse my loved ones at the table.
Time to Pin and Share Your Experience
I hope you will save this recipe on your Pinterest board so you can find it again whenever the craving arises. That step keeps it ready for family gatherings or quick treats for yourself. I love hearing about your stories, so feel free to share in the comments how it turned out, or ask questions if you need clarity on any step.
Cooking thrives on collective wisdom. Each voice in the kitchen adds a spark of inspiration. These shared reflections create a warm sense of community that keeps my passion for food alive and well.
Chocolate Pot de Crème Recipe
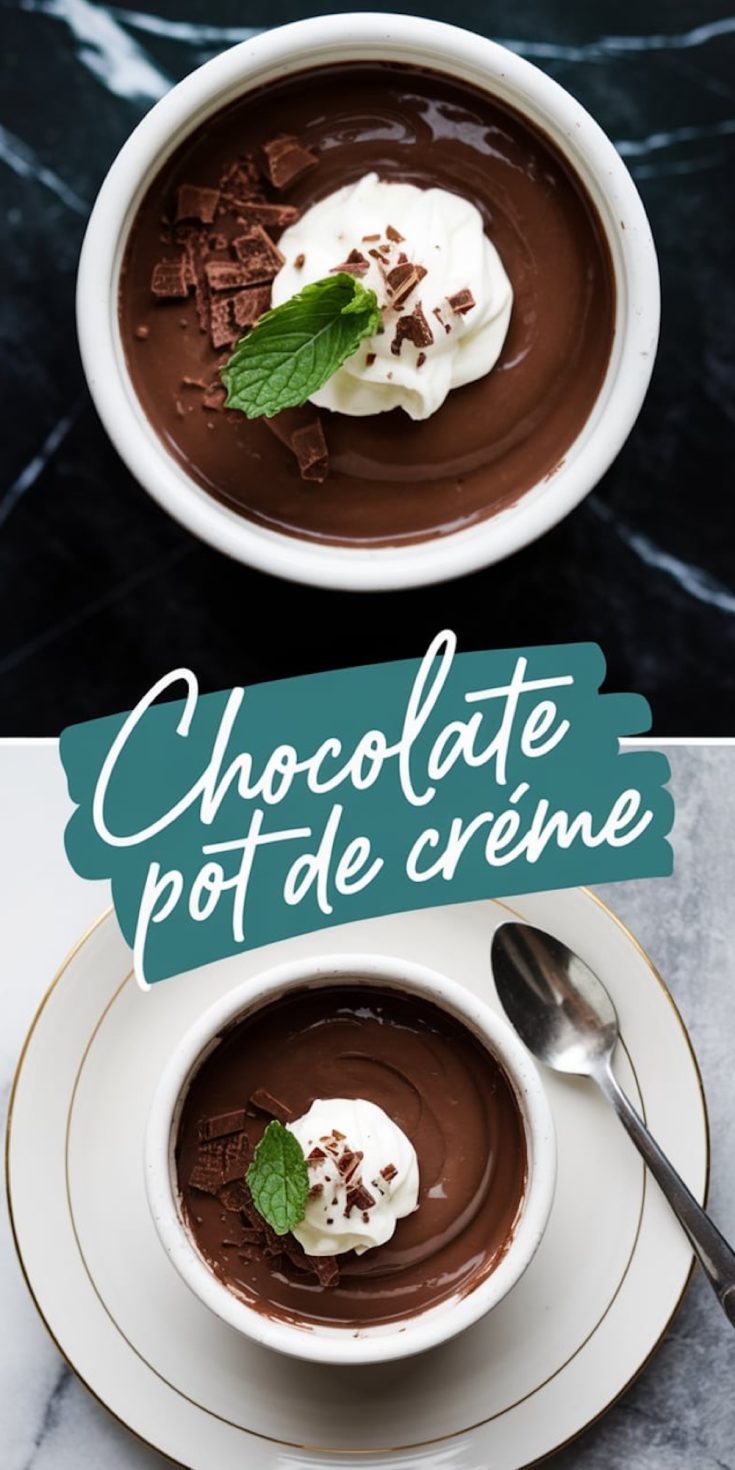
Chocolate pot de crème is a classic French dessert with a rich, silky texture. This recipe combines bittersweet chocolate, cream, and egg yolks to create a luscious custard served in small ramekins or cups. The preparation involves gentle heating and careful stirring to achieve a perfectly smooth and creamy consistency.
Ingredients
- 1 ½ cups (360ml) heavy cream
- ½ cup (120ml) whole milk
- 4 large egg yolks
- 3 tablespoons granulated sugar
- 6 ounces (170g) bittersweet chocolate, finely chopped
- 1 teaspoon pure vanilla extract
- A pinch of salt
Instructions
- HEAT THE CREAM AND MILK: In a medium saucepan, combine the heavy cream and milk. Heat over medium heat until small bubbles form around the edges, stirring occasionally to prevent scorching. Do not let it boil.
- WHISK THE EGG YOLKS AND SUGAR: In a separate bowl, whisk together the egg yolks, granulated sugar, and a pinch of salt until the mixture is smooth and slightly pale.
- TEMPER THE YOLKS: Slowly pour about half a cup of the hot cream mixture into the egg mixture, whisking constantly to prevent the eggs from scrambling. Gradually pour the tempered egg mixture back into the saucepan with the remaining cream, continuing to whisk.
- COOK THE CUSTARD: Place the saucepan over low heat and stir constantly with a wooden spoon or silicone spatula. The custard is ready when it thickens enough to coat the back of the spoon, which takes about 8–10 minutes.
- ADD THE CHOCOLATE AND VANILLA: Remove the saucepan from the heat and immediately stir in the chopped chocolate until it is fully melted and smooth. Add the vanilla extract and stir until well combined.
- STRAIN AND POUR: Strain the custard through a fine-mesh sieve into a large measuring cup or bowl to remove any bits of cooked egg. Carefully pour the custard into small ramekins or cups.
- CHILL: Cover the ramekins with plastic wrap and refrigerate for at least 4 hours or until set. For the best texture, refrigerate overnight.
Notes
Serve with whipped cream or a sprinkle of sea salt for added contrast.
Use high-quality chocolate for the best flavor.
Store in the refrigerator for up to 3 days.
Nutrition Information:
Yield:
6Serving Size:
1Amount Per Serving: Calories: 156Total Fat: 9gSaturated Fat: 5gTrans Fat: 0gUnsaturated Fat: 4gCholesterol: 166mgSodium: 88mgCarbohydrates: 12gFiber: 0gSugar: 11gProtein: 6g
