
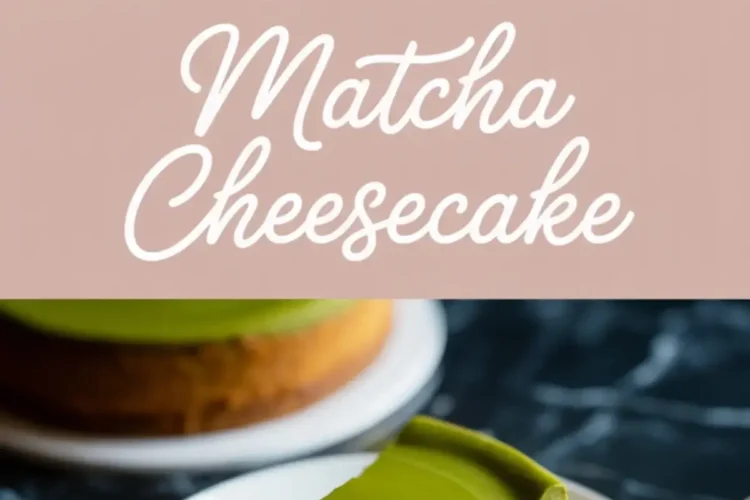
There’s something about matcha that quiets the noise in my head. Maybe it’s the way the green tones soften the plate, or maybe it’s how the bitterness sits in contrast to the cream.
In this post, you’ll learn how to bake a smooth, clean-slicing matcha cheesecake that holds its shape, doesn’t crack, and offers something just a little unexpected.
This isn’t just another green dessert. This is a cheesecake for people who like balance. Slight bitterness. Calm sweetness. It tastes like what I wish most cafés smelled like.
And near the end of this article, I’ll reveal one tiny step that changed how I bake every matcha dessert now. It makes the green stand out more and gives the filling an extra lift. So keep going. It’s coming.

Why Baked Matcha Cheesecake Deserves Your Attention
A no-bake version will give you fluff. But a baked matcha cheesecake gives you weight. Each forkful lands gently and doesn’t float off the tongue like whipped cream.
In my notes, this recipe sits next to my Snickers Cheesecake and Apple Cheesecake for days I want structure without heaviness. It’s creamy, not airy. Balanced, not bland.
The green tea flavor doesn’t punch. It settles. That’s the point.
You don’t need to fuss with toppings. The color does the work. And when sliced clean, it looks like it belongs on a ceramic plate in a Tokyo bakery.
Crust Choices: Why Texture Matters in a Matcha Cake Recipe
This crust uses digestive biscuits or graham crackers crushed into fine crumbs. I’ve made it with both. Here’s what I’ve found:
Digestives give a bit more body. They absorb the butter without turning soggy and hold better overnight.
Graham crackers feel more nostalgic for American palettes but crumble faster under pressure.
I use digestives when serving it chilled straight from the fridge. They snap cleaner. But use whatever you’ve got. The filling is the real story here.
Press and Bake the Base Before You Pour
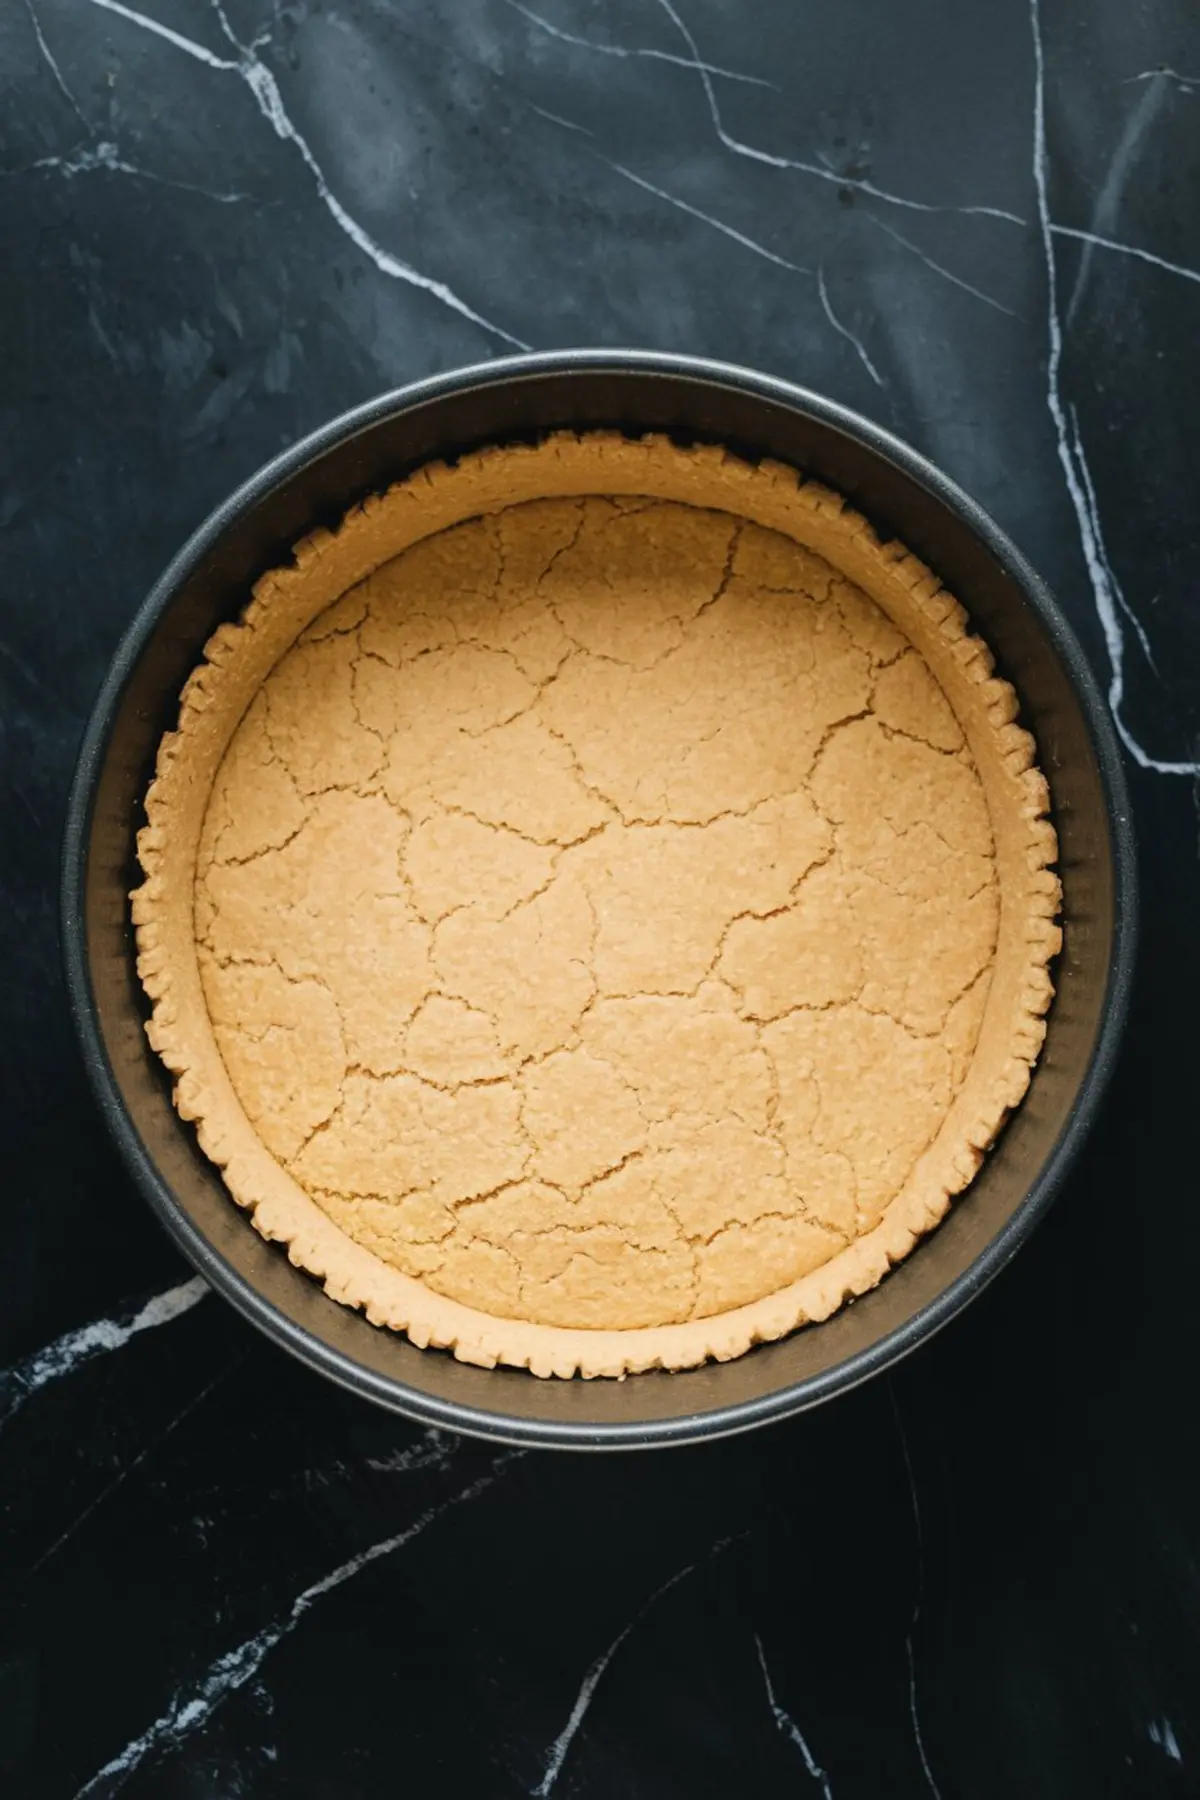
Once you’ve crushed your biscuits and stirred in the melted butter, press the mix into your springform pan. It should feel like damp sand. Press it flat using the bottom of a glass and bake it briefly before adding the filling.
This quick bake firms up the crust and keeps it from floating once the matcha mix goes on top.
Cream Cheese Comes First and Needs to Be Soft
Start with room temperature full-fat cream cheese. Cold blocks will resist your mixer and make the batter lumpy.
Beat it smooth on its own before adding anything else. This step sets the tone for the entire filling.
If you skip this and dump everything in at once, the texture will suffer. No one wants gritty matcha cheesecake. Not you. Not your guests.
Sweeten and Sift: Matcha and Sugar Blend Next

Once the cream cheese is smooth, add sugar gradually. Then, sift in the matcha powder slowly.
Don’t skip the sifting. Culinary matcha loves to clump. Sifting gives you even distribution and a smoother look in every slice.
I’ve tried whisking matcha directly in once. Never again. You end up chasing lumps that never fully disappear.
Add the Eggs Gently — One at a Time
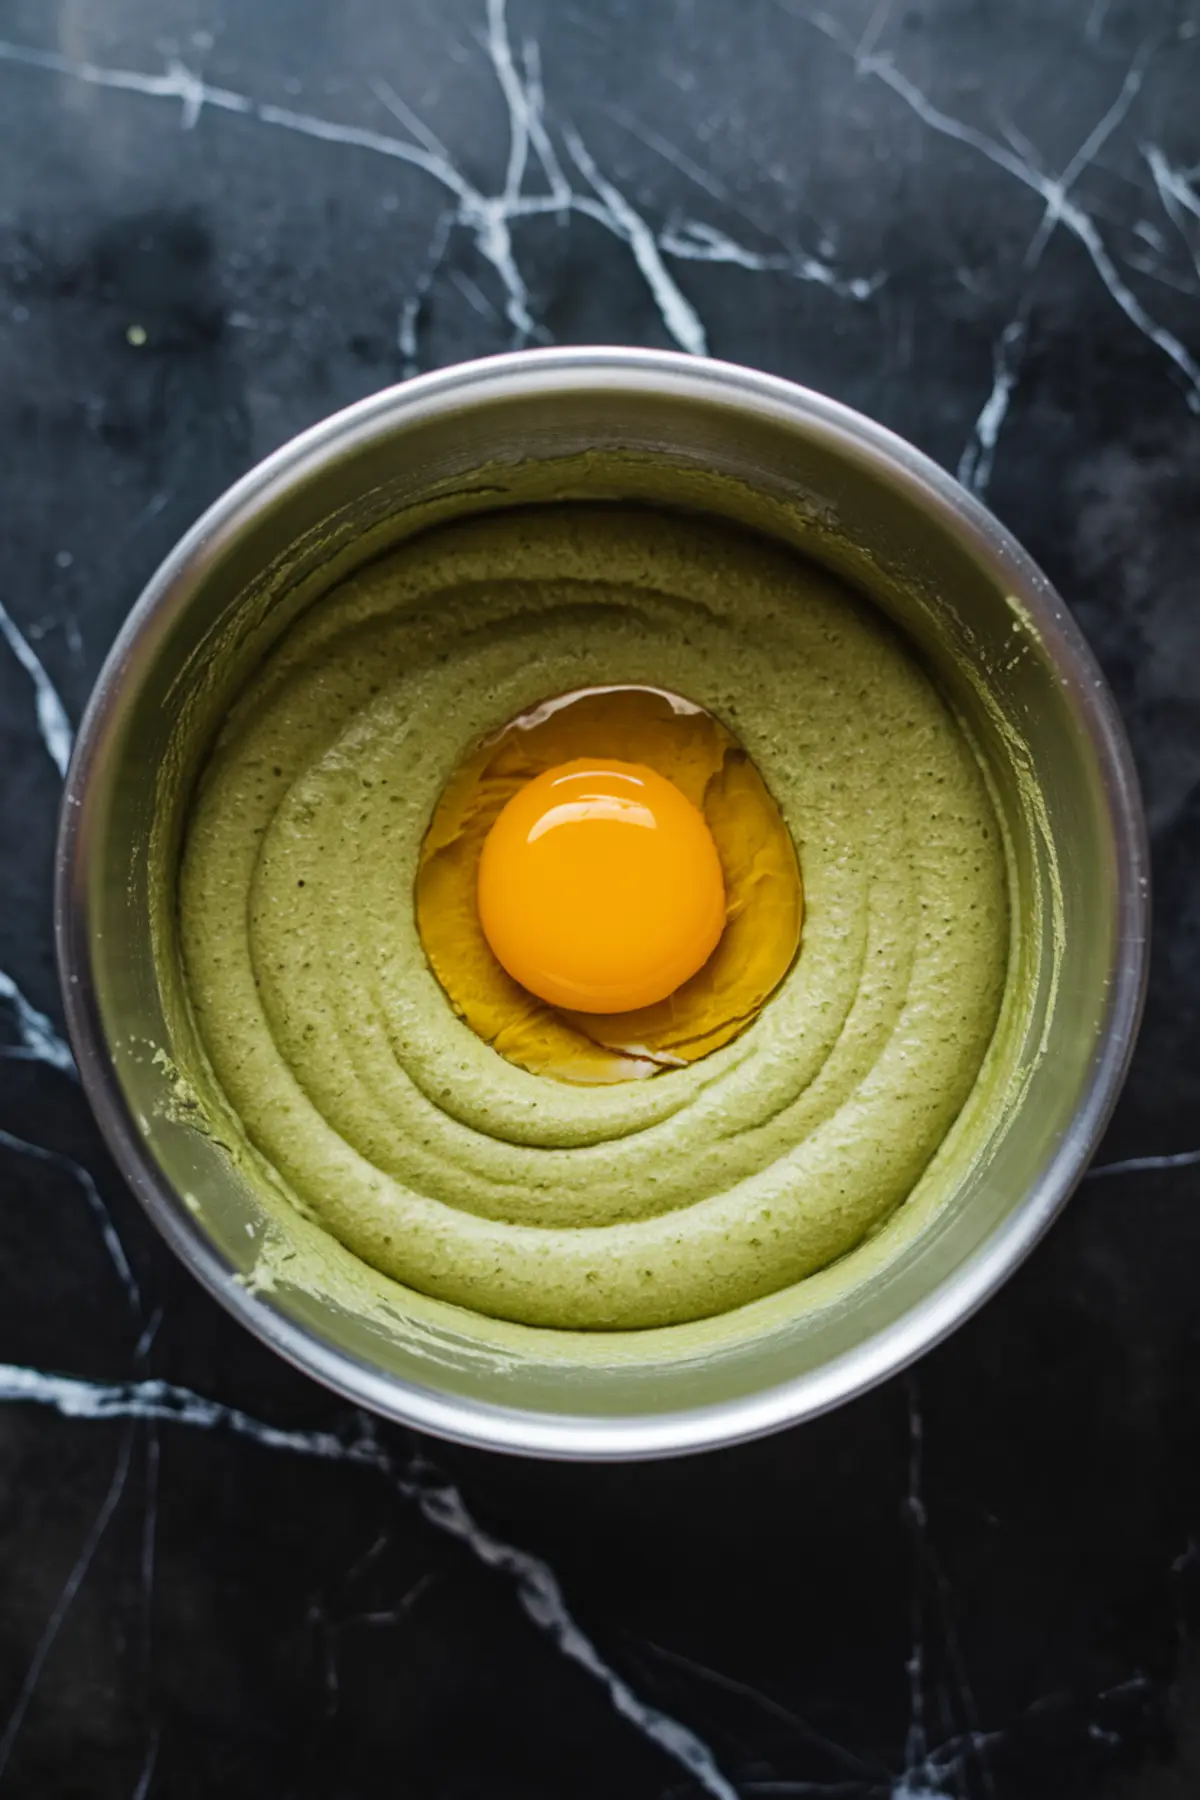
Eggs help the cheesecake hold together. But if you overbeat them, you’ll trap air and risk cracking later.
Add them one by one, mixing just enough to blend. The yolk adds richness, so don’t skip it. That extra bit of fat smooths the texture without softening the structure.
Finish the Filling: Cream and Vanilla Last
Add the heavy cream and vanilla extract once the eggs are in. Stir gently. Don’t whisk. Don’t foam.
This isn’t whipped cream. You want a silky batter that settles flat in the pan.
After you mix, tap the bowl a few times on the counter. This releases trapped air and helps avoid bubbling on top.
Bake Low and Slow: Why the Water Bath Matters
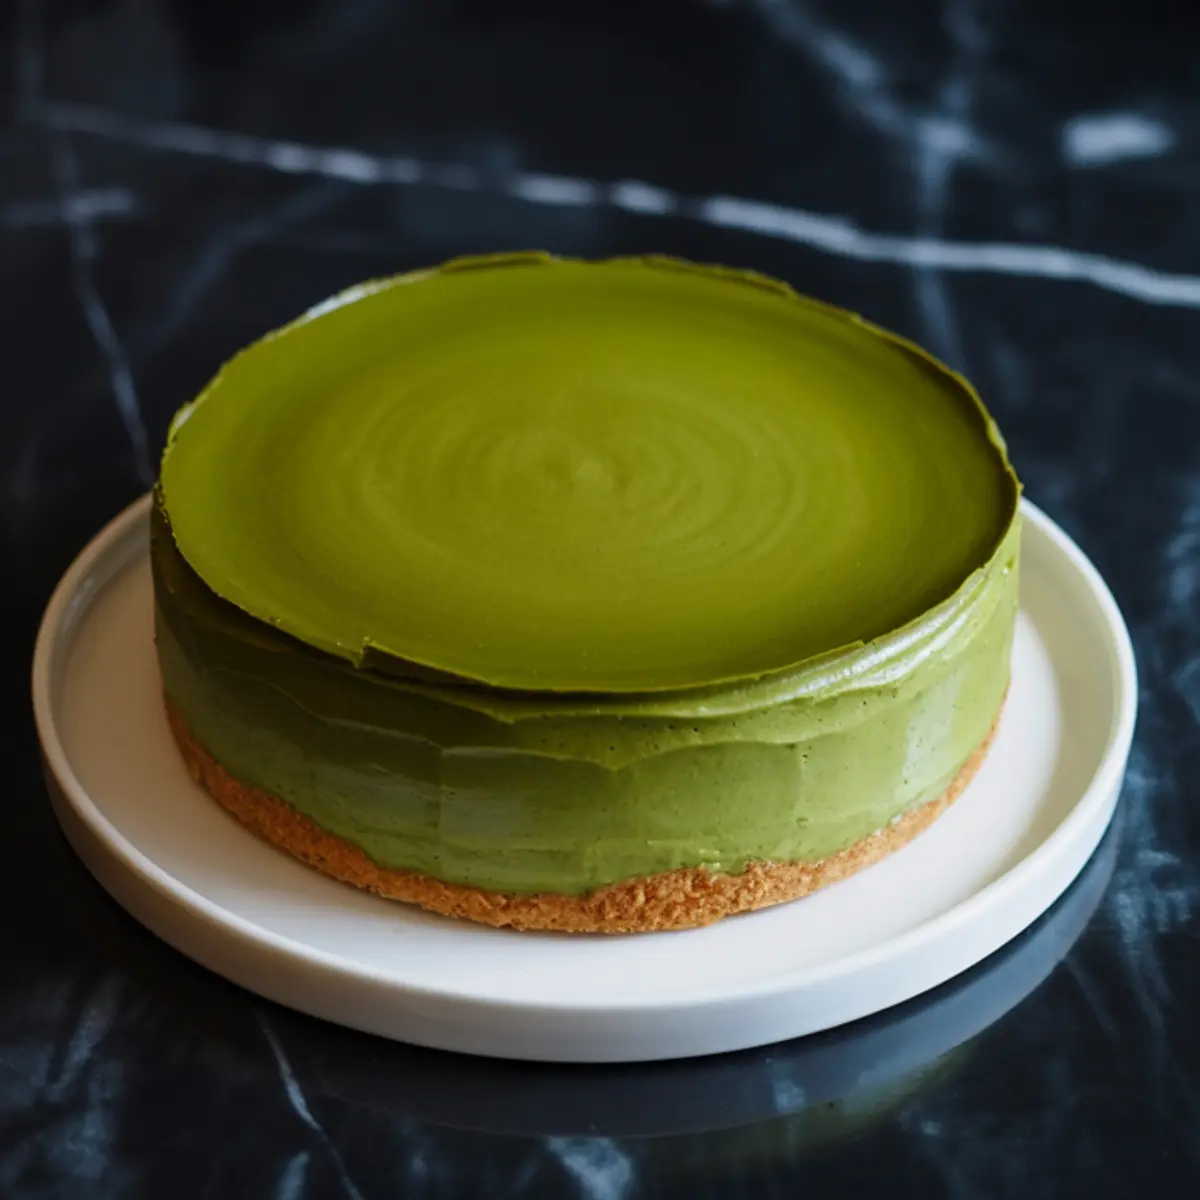
This cheesecake bakes in a water bath at 325°F (160°C). The hot water insulates the edges and keeps the heat even.
Line your springform pan and wrap it well in foil so water doesn’t seep in. Place it inside a larger roasting pan and pour hot water around it until halfway up the sides.
The cheesecake will bake for around an hour. It’s ready when the edges are set and the center still jiggles slightly.
Turn off the oven and leave the cheesecake inside, door cracked open, for another hour. That slow cool prevents cracks.
Chill Time Isn’t Optional
Once the cheesecake reaches room temperature, cover and refrigerate overnight. It needs that time to set and deepen its flavor.
Don’t rush this step. If you slice too early, the texture won’t hold. The green tea flavor also gets better by morning.
That Little Dash of Magic: My Matcha Trick

I hinted earlier about a secret step. Here it is:
Before I sift in the matcha, I mix it with one teaspoon of the sugar from the recipe. Just that bit. Then I sift the blend into the batter.
This softens the bitterness just slightly and distributes the green powder more evenly.
I found this trick by accident. It sat in the corner of my Pin Notebook for months before I remembered to try it again. Now I never skip it.
More Cheesecakes You’ll Probably Like
If you love structured, flavored cheesecakes, check out these favorites:
• Peach Cheesecake with a soft fruit layer
• Red Velvet Cheesecake with that signature tang
• No Bake Strawberry Cheesecake for days when the oven stays off
Save This Matcha Cheesecake Recipe and Share How It Turned Out

You can pin this baked matcha cheesecake to your Pinterest board so you don’t lose it. It’s a calm showstopper. One of those recipes that looks dramatic but feels grounding.
I’d love to hear what you thought. Did you try the sugar-sift trick? How did your crust hold up?
Drop your version in the comments or ask me anything if you hit a snag. That’s how we all get better.
Matcha Cheesecake Recipe
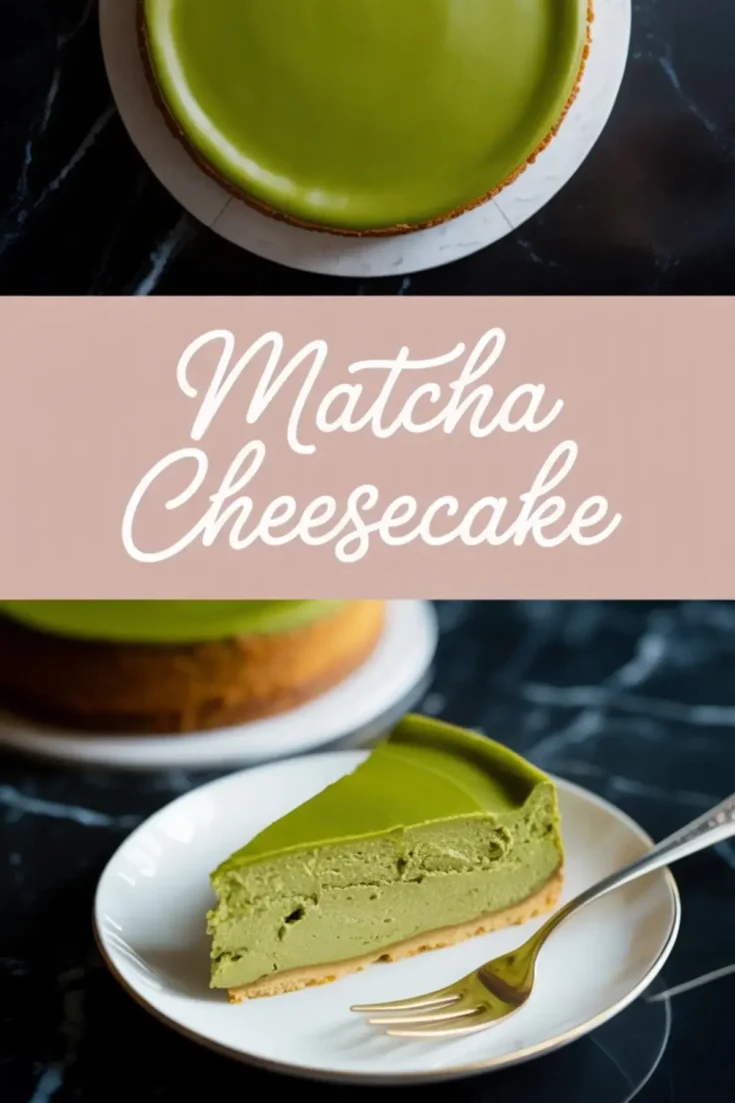
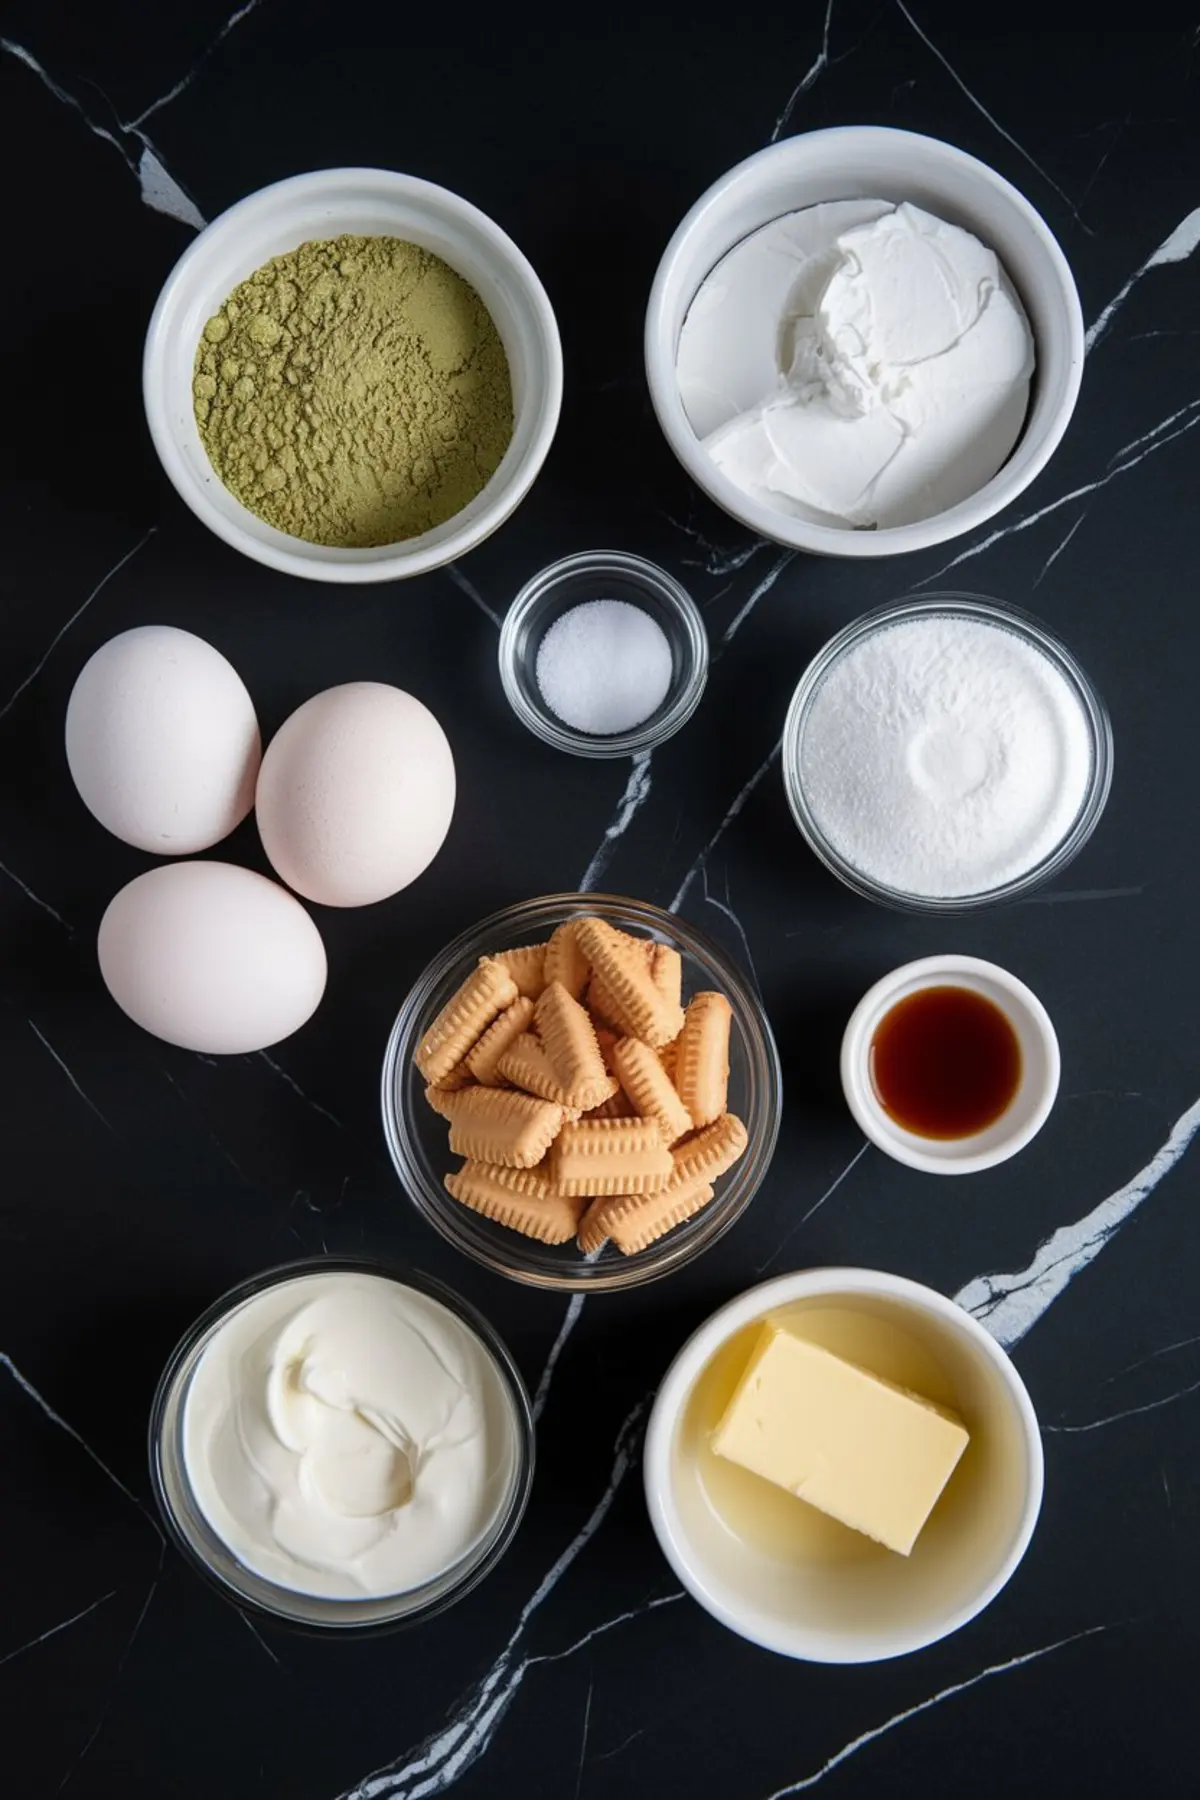
A baked matcha cheesecake combines smooth cream cheese with earthy, slightly bitter green tea powder to create a calm, balanced dessert. The biscuit base gives structure while the matcha adds both flavor and a striking color. Baking it low and slow, then chilling overnight, ensures a creamy texture and clean slices.
Ingredients
- FOR THE CRUST
- 150 grams digestive biscuits or graham crackers, crushed
- 75 grams unsalted butter, melted
- FOR THE FILLING
- 500 grams full-fat cream cheese, at room temperature
- 120 grams granulated sugar
- 2 tablespoons culinary grade matcha powder, sifted
- 3 large eggs, at room temperature
- 1 large egg yolk
- 150 milliliters heavy cream
- 1 teaspoon vanilla extract
Instructions
- PREPARE THE OVEN AND PAN: Preheat the oven to 325°F (160°C). Line the bottom of a 9-inch springform pan with parchment paper and lightly grease the sides.
- MAKE THE CRUST: Combine the crushed biscuits and melted butter in a bowl and mix until the texture resembles damp sand. Press the mixture firmly into the base of the prepared pan, using the bottom of a glass to flatten and even it out. Bake for 10 minutes, then remove from the oven and set aside to cool completely.
- BEAT THE CREAM CHEESE: In a large mixing bowl, beat the softened cream cheese until completely smooth using a hand mixer or stand mixer on medium speed.
- ADD SUGAR AND MATCHA: Add the sugar and mix until fully combined. Gradually sift in the matcha powder, mixing slowly to avoid clumps and ensure even distribution.
- INCORPORATE EGGS: Add the eggs one at a time, followed by the yolk, mixing gently after each addition. Do not overmix; just combine until smooth to avoid incorporating excess air.
- ADD CREAM AND VANILLA: Pour in the heavy cream and vanilla extract. Stir until just combined. Tap the bowl on the counter several times to release any trapped air bubbles.
- FILL THE PAN: Pour the cheesecake batter over the cooled crust and smooth the top with a spatula.
- PREPARE THE WATER BATH: Place the springform pan into a larger roasting pan. Fill the outer pan with hot water until it reaches halfway up the sides of the springform pan.
- BAKE THE CHEESECAKE: Bake for 50 to 60 minutes, until the edges are set but the center still has a slight wobble when gently shaken.
- COOL IN THE OVEN: Turn off the oven and leave the door ajar. Let the cheesecake sit inside for 1 hour to cool gradually and prevent cracking.
- CHILL OVERNIGHT: Remove the pan from the water bath and allow the cheesecake to cool to room temperature. Then refrigerate overnight to fully set before slicing and serving.
Notes
Use high-quality culinary grade matcha for best flavor and color. Be sure to bring cream cheese and eggs to room temperature for a smoother batter. Avoid overmixing to maintain a dense, creamy texture without cracks.
Nutrition Information:
Yield:
12Serving Size:
1Amount Per Serving: Calories: 369Total Fat: 29gSaturated Fat: 17gTrans Fat: 0gUnsaturated Fat: 10gCholesterol: 148mgSodium: 199mgCarbohydrates: 22gFiber: 0gSugar: 17gProtein: 6g
