
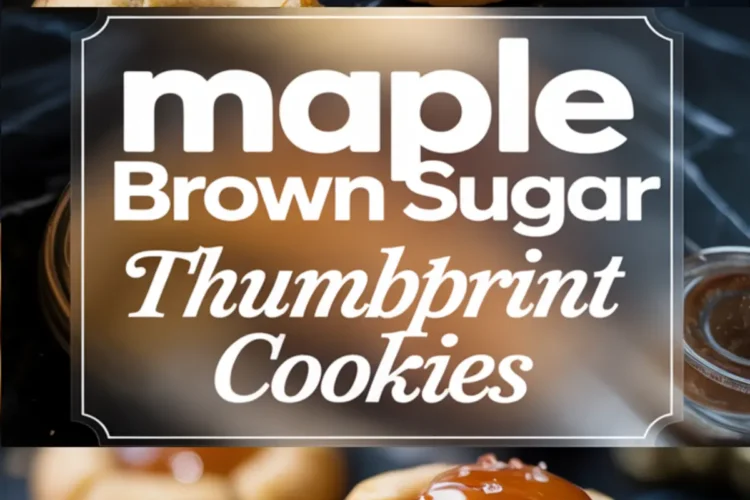
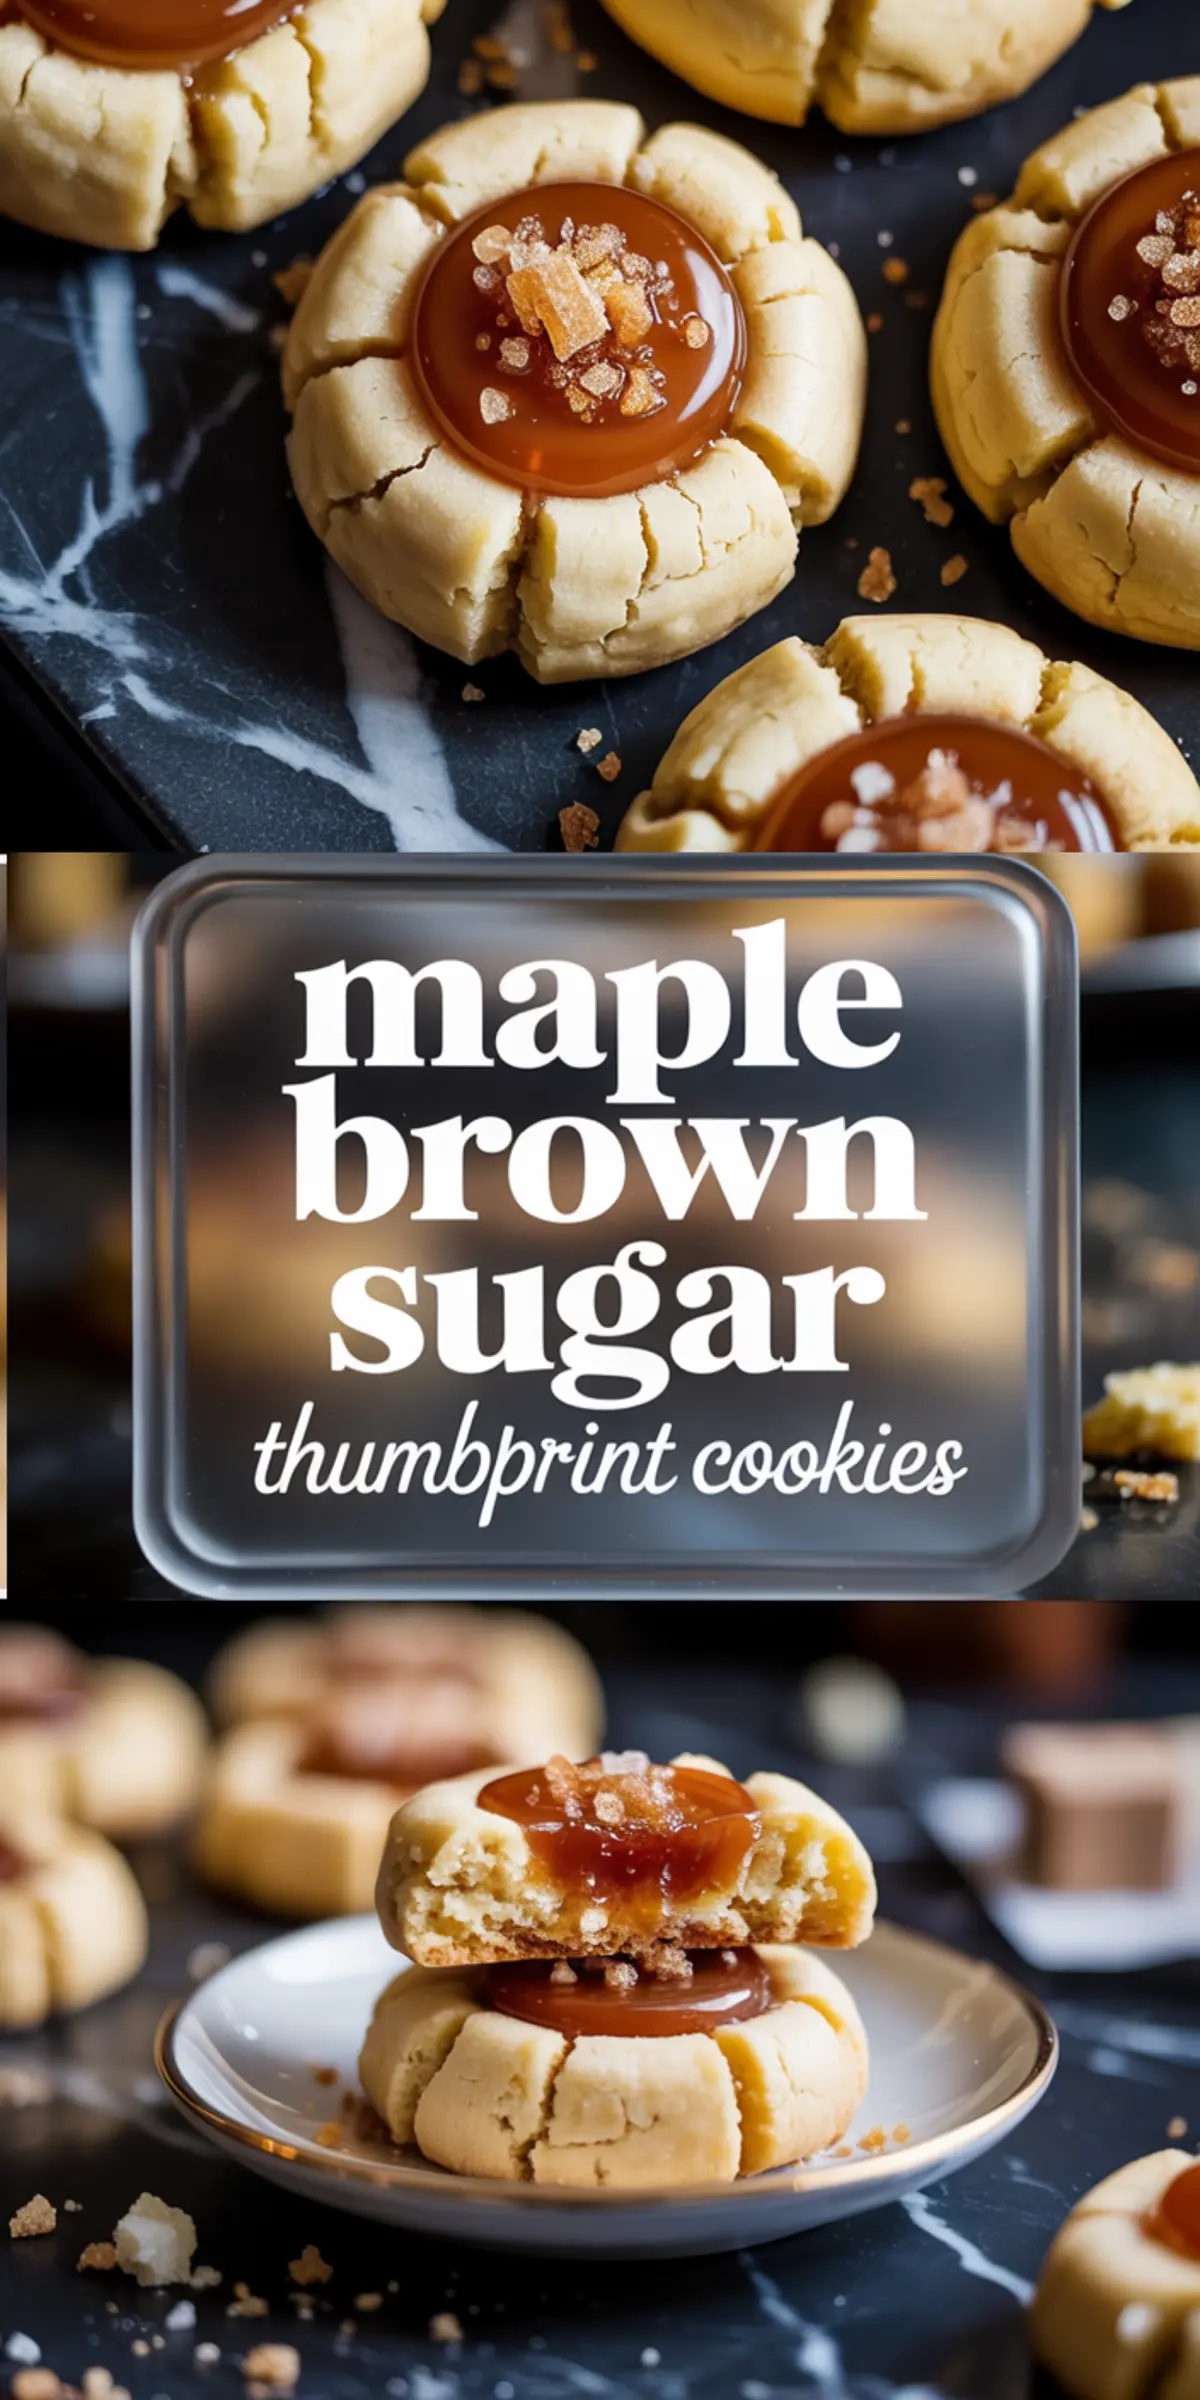
Maple Brown Sugar Thumbprint Cookies are warm, soft cookies shaped with care and filled by hand. Each one carries the sweetness of real maple syrup and the depth of brown sugar, all wrapped in a tender, buttery crumb. These are classic thumbprint cookies, only cozier. The kind of cookie that feels like a sweater fresh from the dryer.
This recipe guides you through making maple cookies with rich filling and a soft texture that settles into every bite. You will learn how to balance heat and patience while shaping, filling, and finishing. You will also learn why certain sugars behave the way they do and what gives the filling its gleam.
These cookies sit confidently on a plate. They do not demand a glaze of confidence from you. They hand it back to you, bite by bite.
The moment that pulls them apart from the usual maple cookies recipe is quiet, but real. I will get to that soon, but let me just say this. The filling is more than a filling. It acts like a sauce, then sets like memory. It comes from a tiny pot on the stove and changes the whole experience. More on that after the steps.
Why Brown Sugar Matters in These Maple Cookies
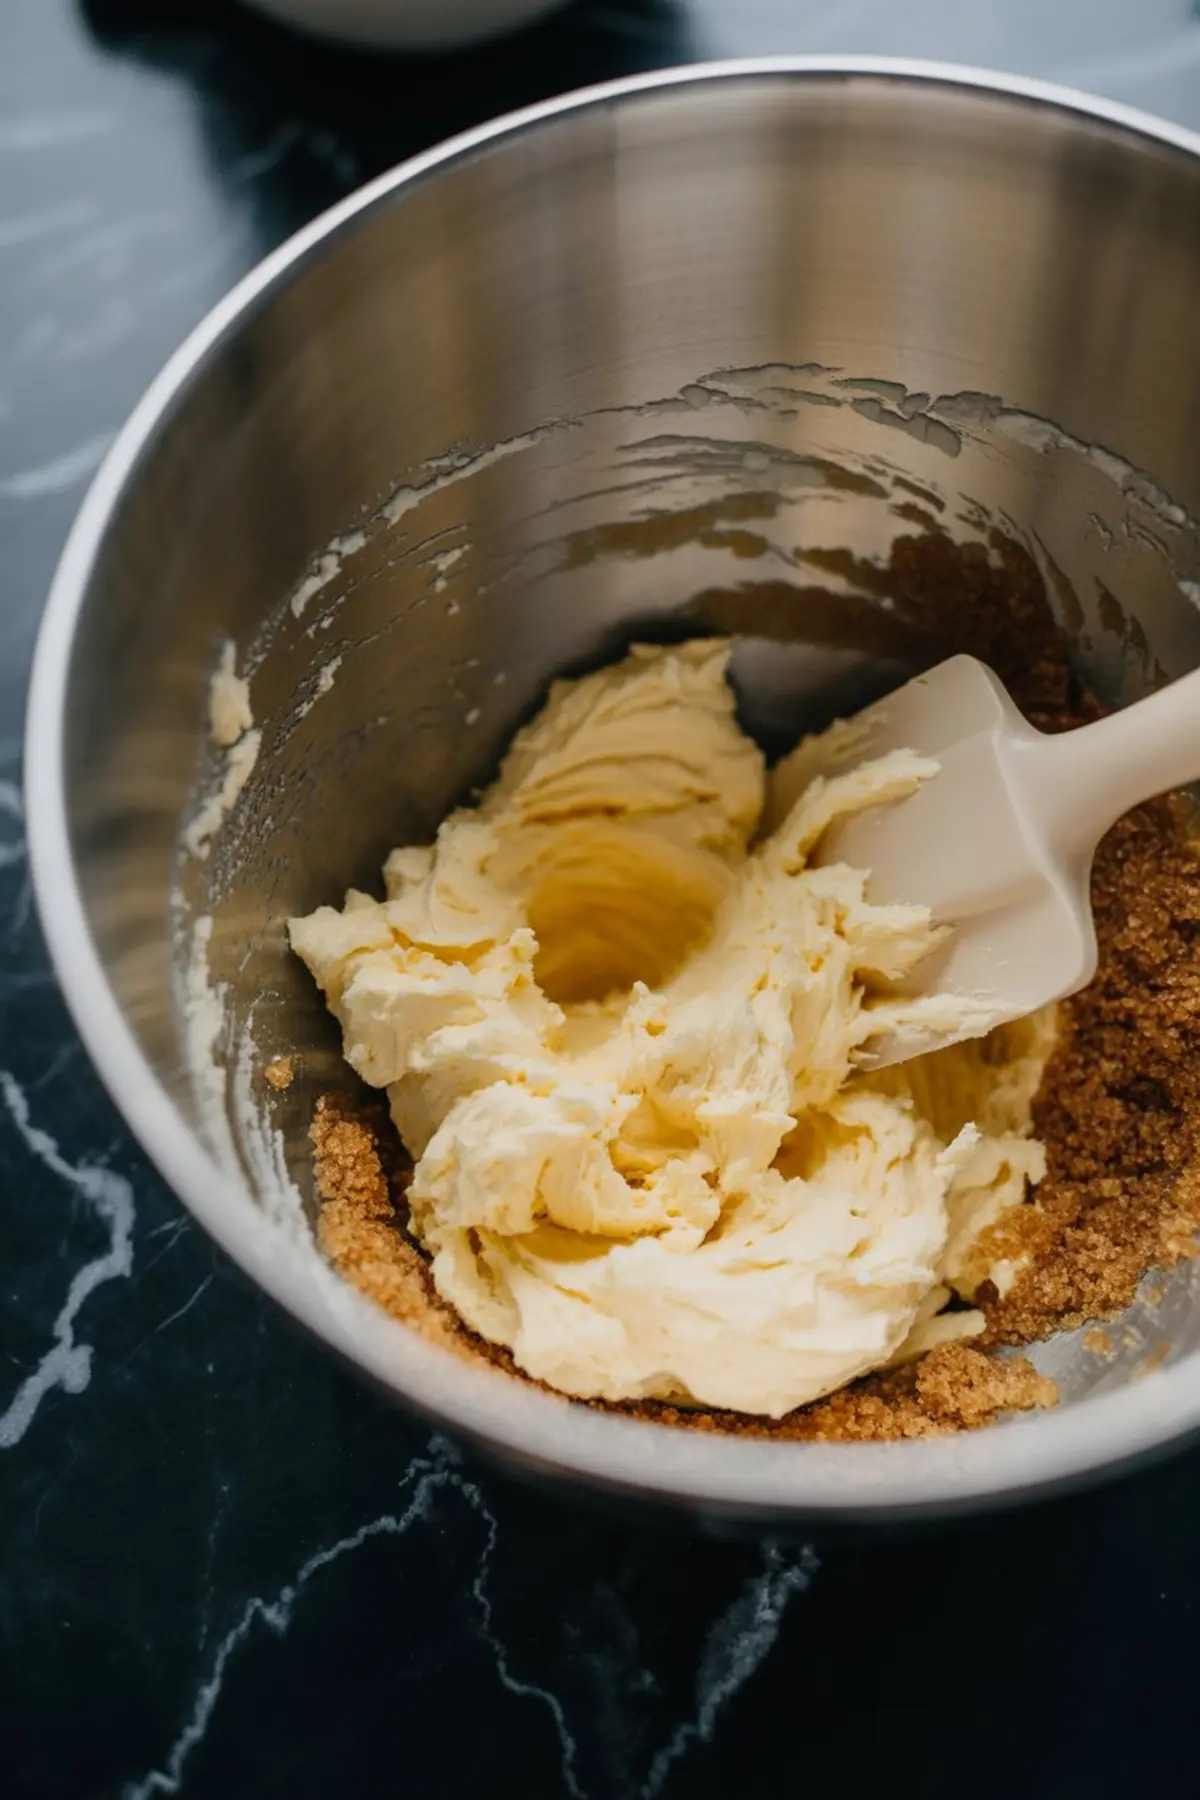
I have tried these with white sugar in the dough, just once, for the sake of curiosity. It gave me dryness and distance. Brown sugar, especially light brown, pulls in moisture. That keeps the texture soft and stops the cookies from crumbling in a brittle way. It also adds a warmth that white sugar cannot provide. Brown sugar binds things in flavor and feel.
You can taste this again in the filling. It does not get hard, nor does it melt into the cookie. It sits right there, waiting. Ready.
The balance of sugar matters here. One gives structure, the other gives depth. I lean into that.
Butter and Vanilla Bring the Dough Together
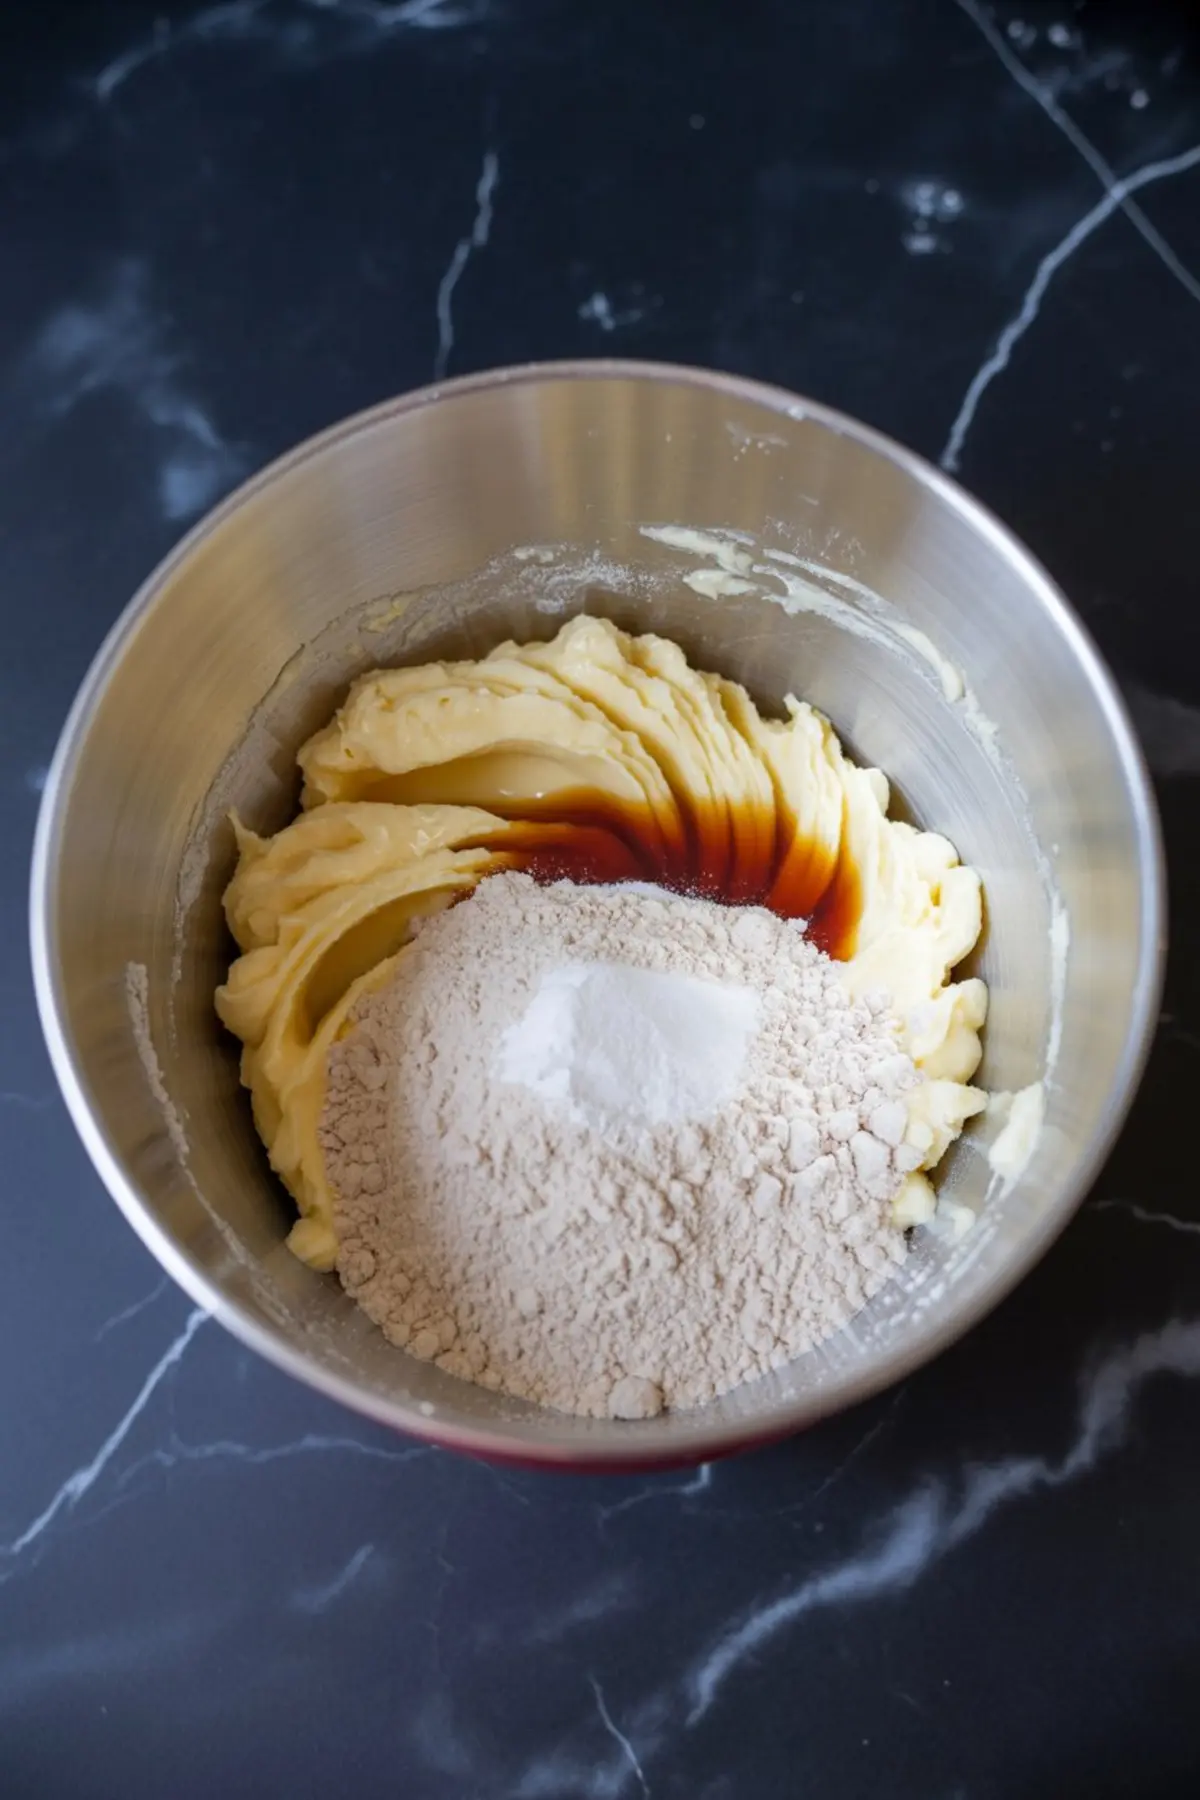
Softened butter is the base. It gives the dough its rich tenderness. Do not use melted butter. It will ruin the shape and make the cookies spread. I always leave my butter out in the morning, then return in the afternoon once it feels like cool clay. That way, it creams properly with the sugar. Vanilla is not just for aroma. It lifts the flavor of maple. Without it, the filling can taste flat.
There is no egg in this dough. That is not a mistake. It allows the shortbread-like crumb to shine. You will notice it right away.
If you enjoy maple-forward cookies with a melt-in-your-mouth crumb, try these Brown Sugar Maple Cookies. They share a similar comfort but come together in a simpler shape.
Choosing the Right Maple Syrup Makes All the Difference
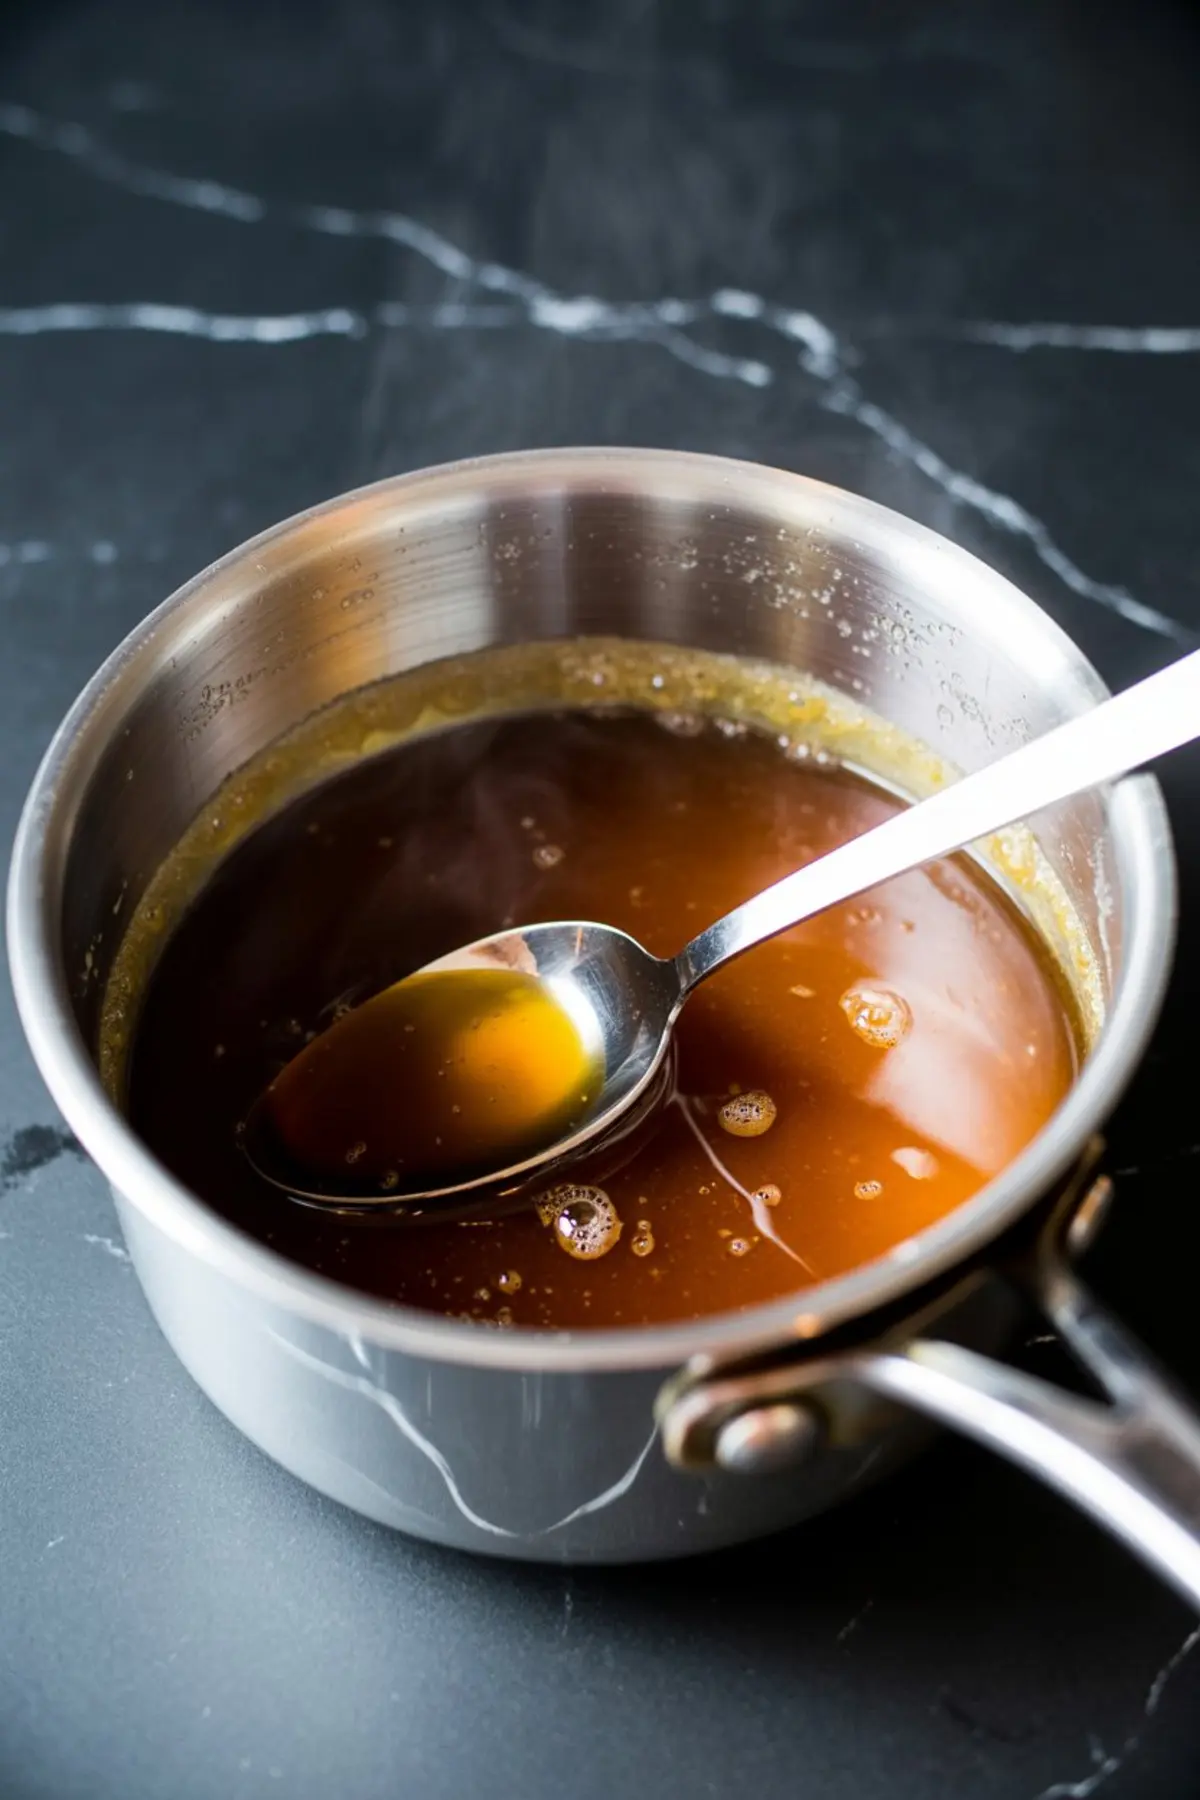
Grade A dark maple syrup is my choice. It has a strength to it. I have tested this recipe with amber syrup and found the flavor too faint, almost lost against the butter. Go with dark if you can find it. You want that distinct richness to carry through the filling. The syrup thickens into a pourable caramel. It sinks slightly into the cookie and stays put. Avoid pancake syrups or blends. They burn fast and taste artificial.
If you are exploring maple syrup desserts, you might also like these Maple Brown Sugar Cookies. The structure is different, but the spirit is shared.
Maple Filling vs Maple Glaze: What You Should Know
Some maple cookies use a thin glaze that sets into a shiny top layer. I have nothing against that. In fact, it can be lovely on a sugar cookie or a scone. But for these thumbprint cookies, I prefer a cooked filling. The syrup and cream come together with brown sugar and butter on the stovetop. As it thickens, it becomes glossy and thick enough to hold shape.
This is not a drizzle. It is a spoonful.
I have seen people try to shortcut this by mixing maple syrup with powdered sugar. It hardens, yes, but lacks depth. The cooked filling becomes more than sweet. It turns into something soft and buttery with a whisper of smoke from the maple.
If you’re looking for thumbprints with a twist, these Kitchen Sink Cookies explore a playful variation using salty mix-ins and bold textures.
How the Cookies Are Shaped, Twice
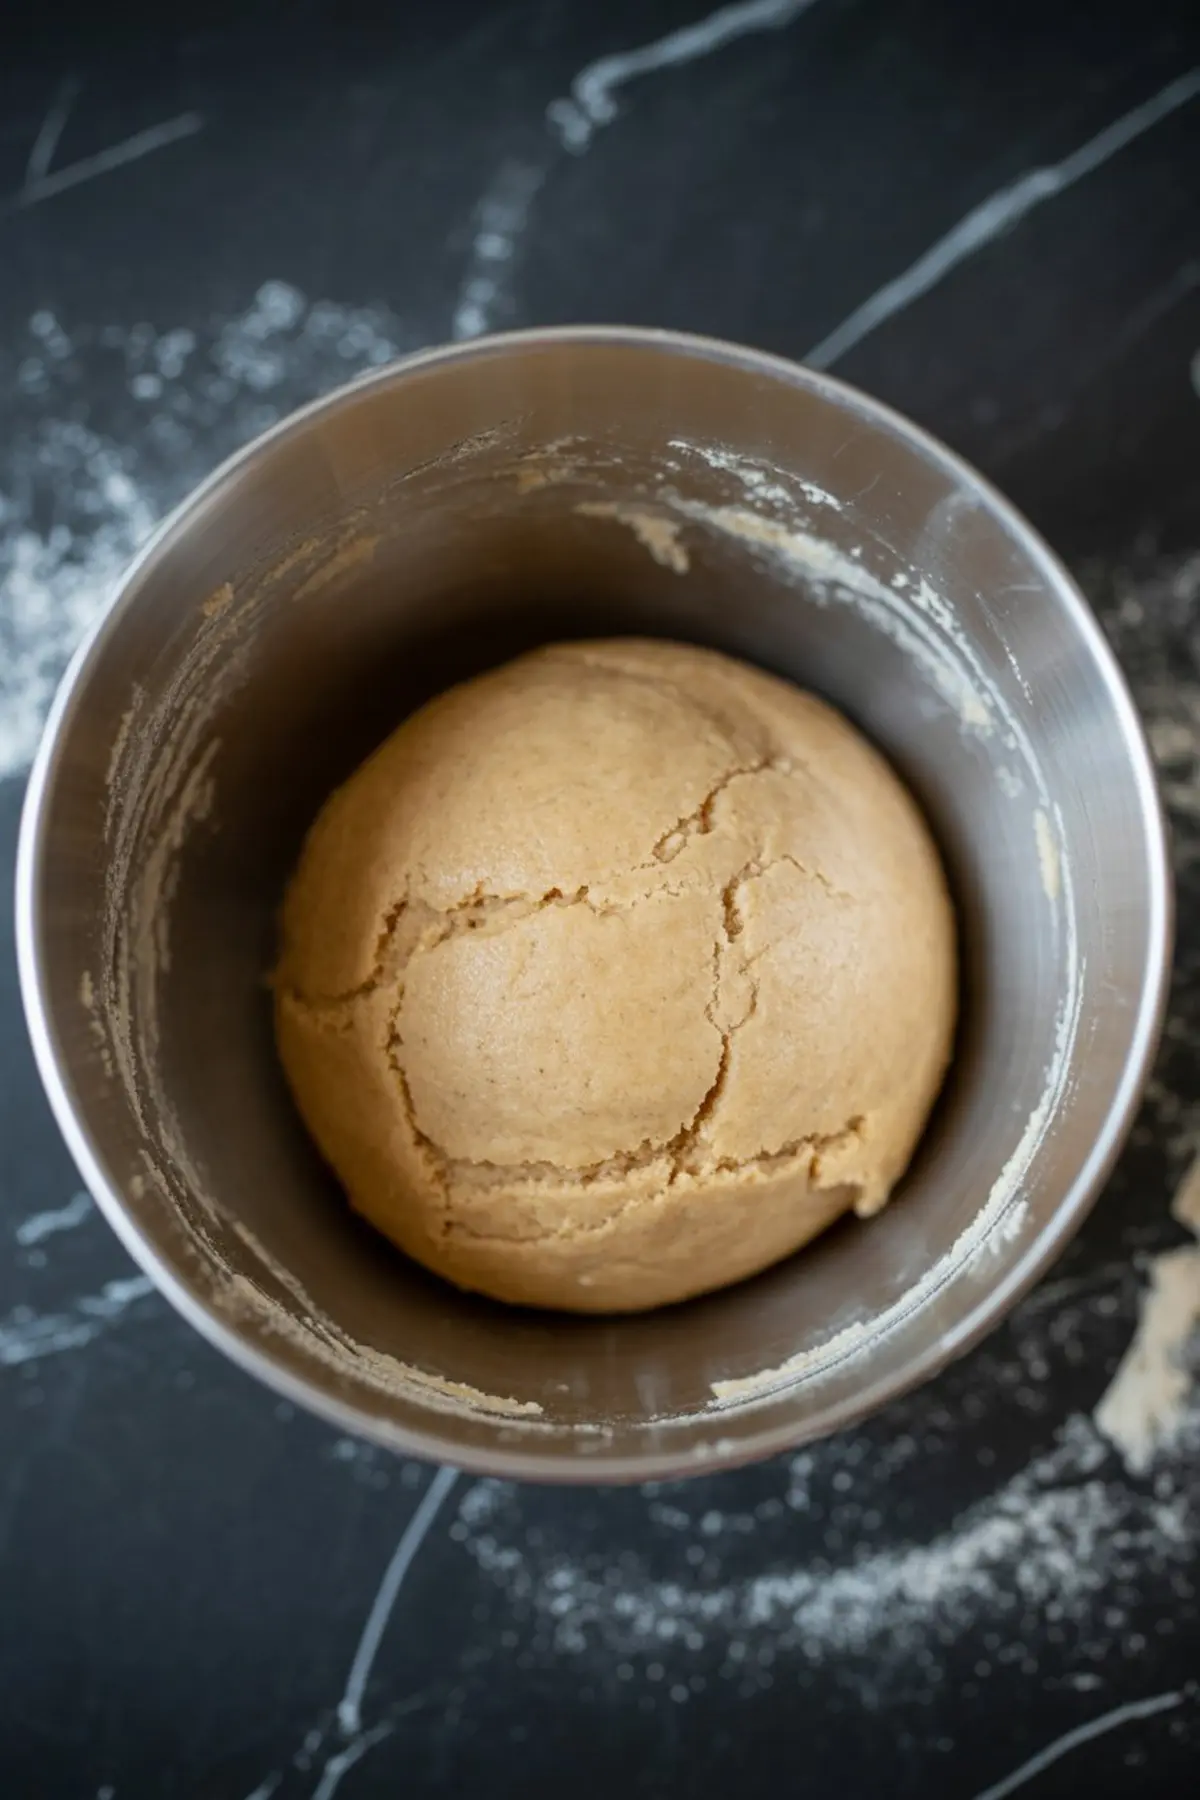
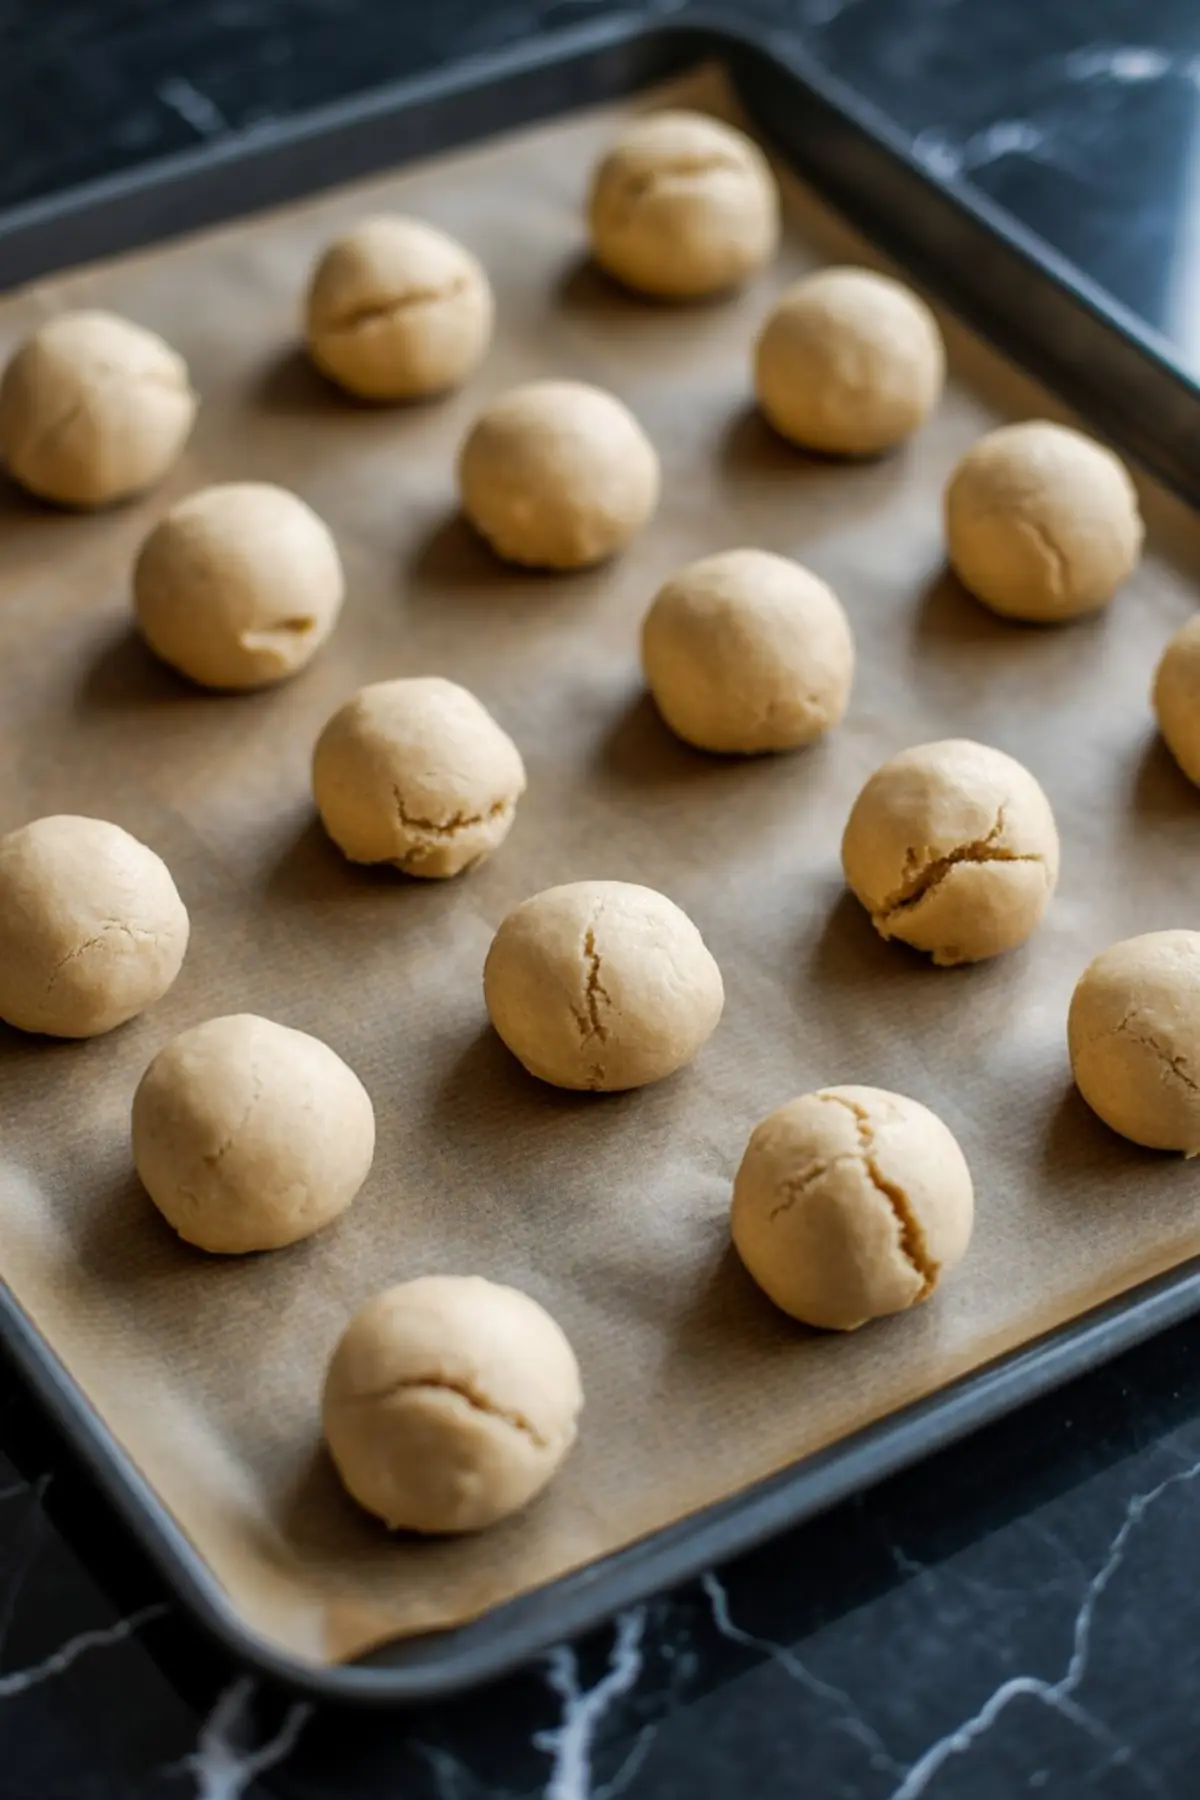
I shape the dough once into small balls. Then again after baking begins. That second press, after 8 minutes, is where the real thumbprint happens. It is better to press when the dough is half-set. If you try to make the indent at the start, it will disappear during baking. I use the back of a rounded teaspoon. You could use your thumb, but the spoon keeps things even.
That second press creates a small pocket, not too deep, just enough to hold the maple filling without spilling. I love that moment. The scent rising. The edges firm. The middle waiting.
If you enjoy seasonal cookies with soft middles and a bit of flair, take a peek at these Eggnog Cheesecake Cookies. They carry similar holiday comfort, shaped with intention.
A Quick Note About Garnishing
I finish these with a pinch of flaky sea salt or maple sugar crystals. The salt tempers the sweetness. Maple sugar deepens it. You could skip it, but I do not. It makes the top glimmer. If you are serving these as part of your fall recipes lineup, the garnish gives them a bakery finish.
Set them out at room temperature. Let the filling cool and settle. Then lift one. The cookie bends, the filling holds, and the sugar sparkles just slightly.
The Secret That Changes the Filling’s Texture
Here is the element I held back.
Heavy cream. Without it, the maple syrup and brown sugar would boil too fast, then harden like brittle. With it, they thicken slowly into a soft caramel that stays spoonable. The cream changes everything. It smooths the texture, gives it volume, and adds a mellow finish. It makes the filling thick enough to stay where you place it, but soft enough to yield under your teeth.
If you ever wondered why some fillings feel chewy while others remain smooth, this is the reason. The cream makes all the difference.
And that is the quiet magic of these maple thumbprints.
Final Thoughts and Invitation to Share
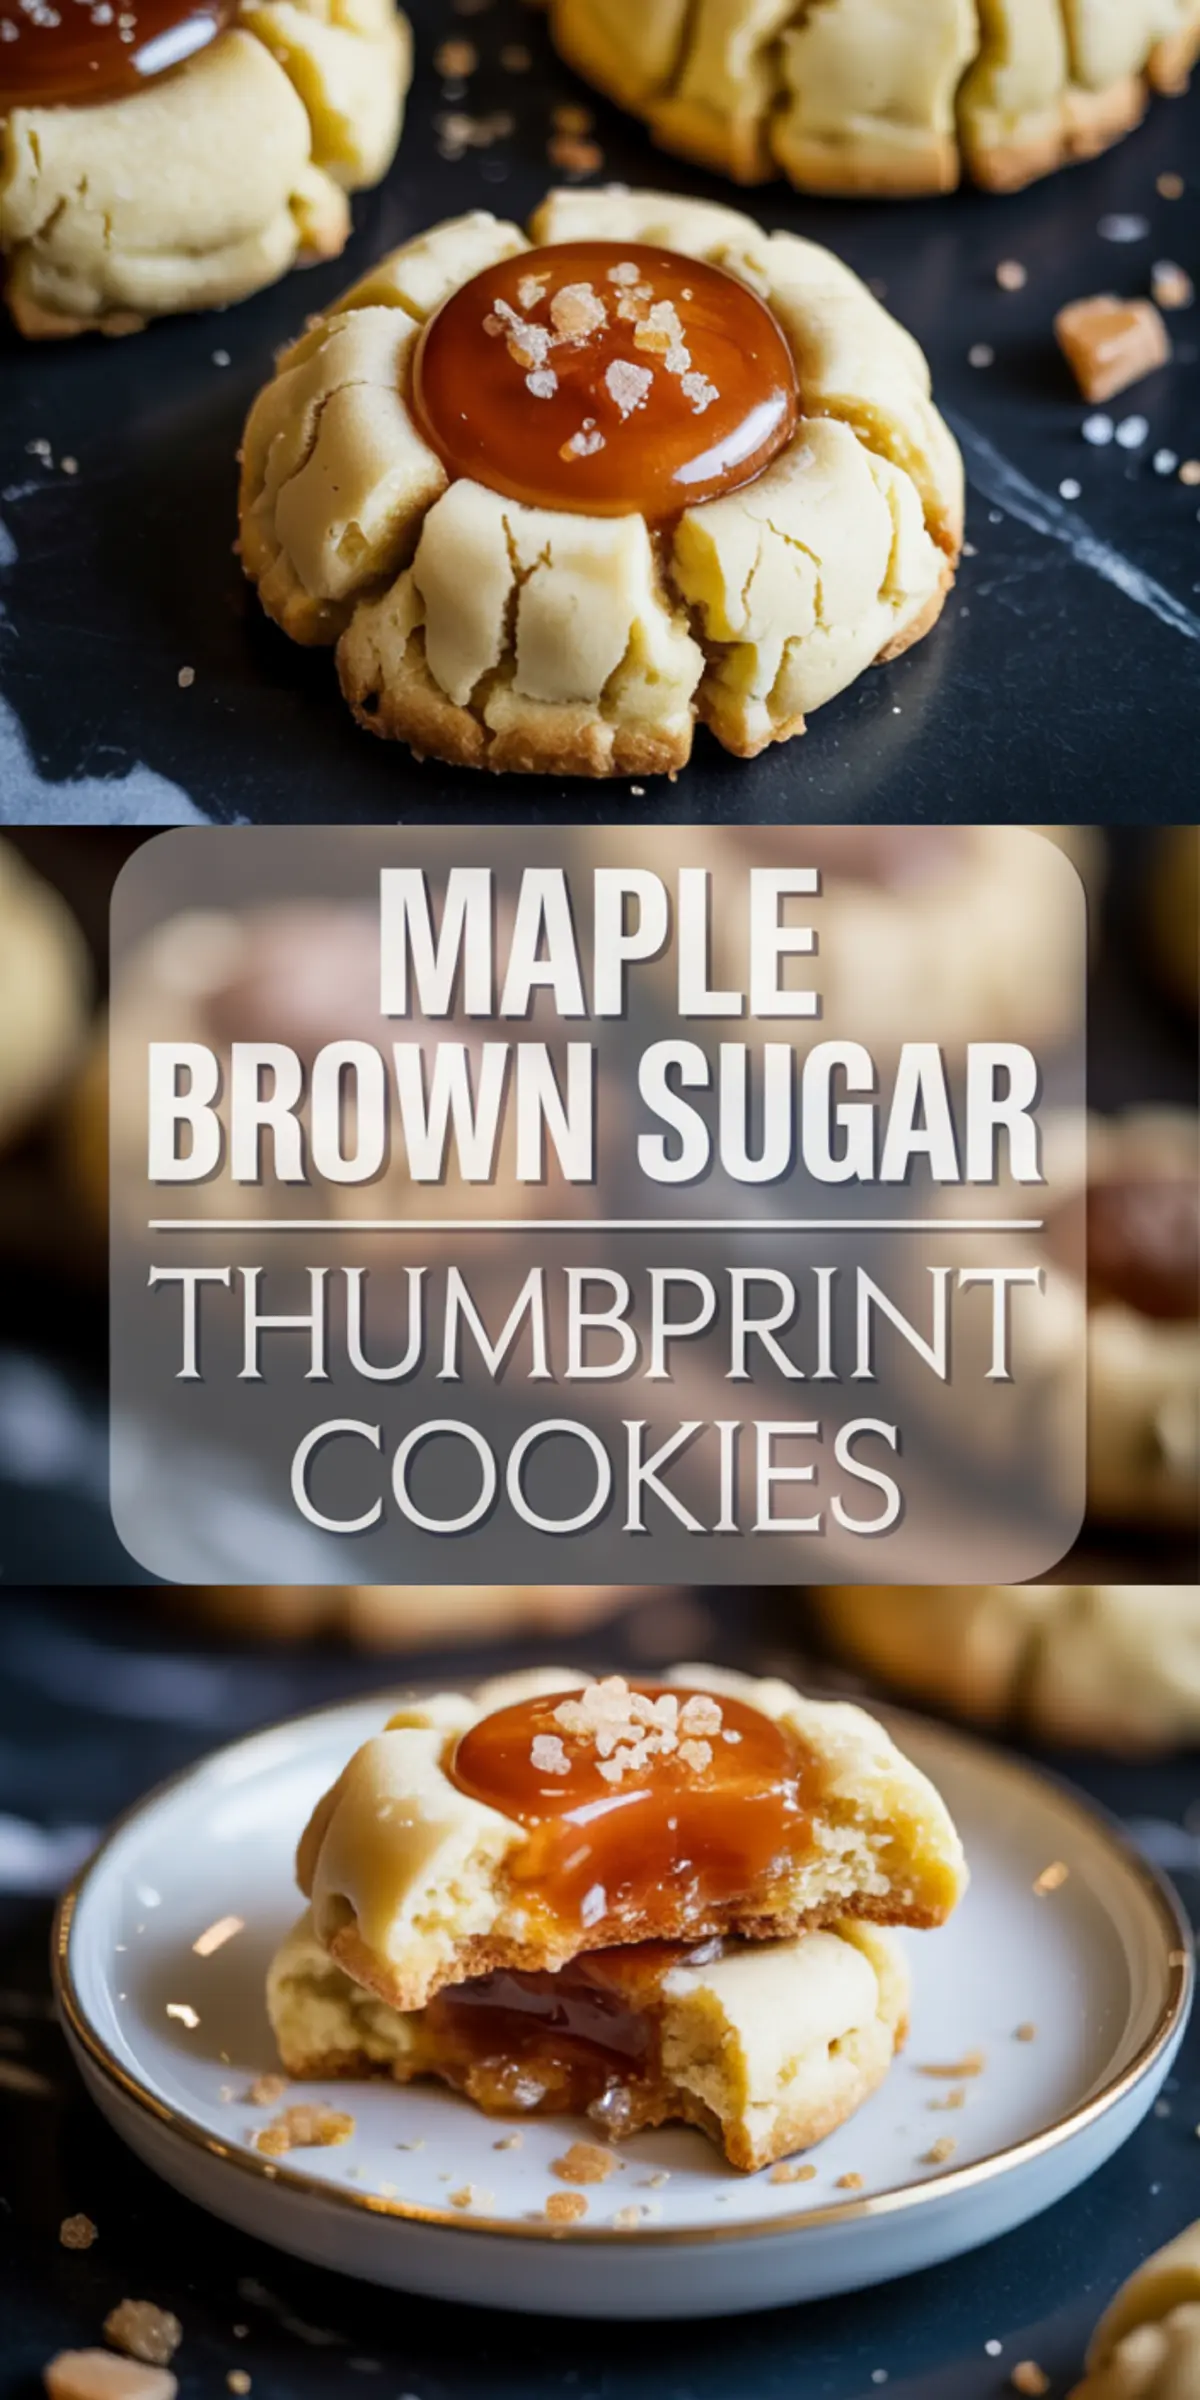
Save this recipe to your Pinterest Thumbprint Cookies board if it speaks to your kind of baking. These cookies belong with warm drinks and cool air. They belong in batches.
Let me know in the comments how they turned out for you. Did you go with the maple sugar or the flaky salt? Or maybe both. I would love to hear your version. Ask anything if you get stuck. We are all still learning from each other, batch by batch.
Maple Brown Sugar Thumbprint Cookies
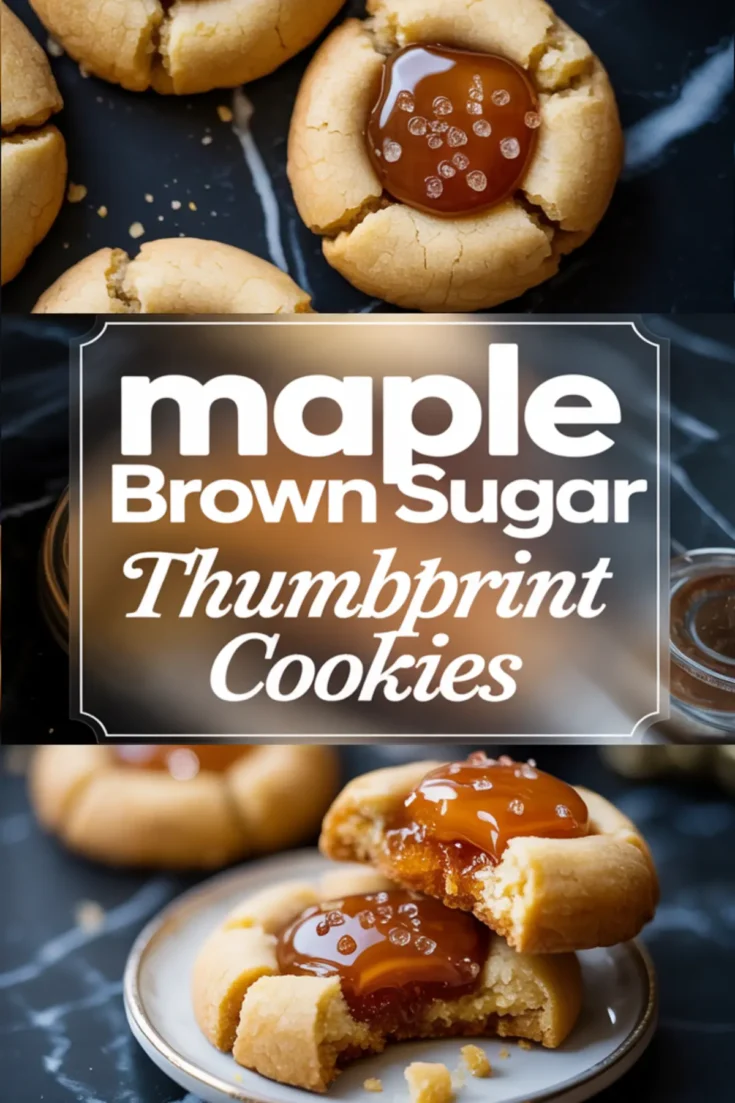
These maple brown sugar thumbprint cookies are the perfect blend of cozy and sweet. Made with rich brown sugar, real maple syrup, and filled with a luscious maple glaze, these soft and chewy thumbprint cookies are a must for your fall recipes lineup. Each bite delivers warm maple flavor with a melt-in-your-mouth texture that’s perfect for crisp days and cozy nights. Great for dessert tables or as a weekend baking project, these Pinterest thumbprint cookies are both easy and impressive. If you love maple cookies or are hunting for a unique maple cookies recipe, these maple thumbprints belong in your seasonal baking list.
Ingredients
- FOR THE COOKIES
- 1 cup unsalted butter, softened
- ½ cup packed light brown sugar
- 2 teaspoons vanilla extract
- 2 cups all-purpose flour
- ¼ teaspoon salt
- FOR THE MAPLE FILLING
- ½ cup pure maple syrup (grade A dark recommended)
- ½ cup packed light brown sugar
- ¼ cup heavy cream
- 2 tablespoons unsalted butter
- FOR TOPPING
- Flaky sea salt or maple sugar crystals, for garnish
Instructions
- PREHEAT THE OVEN: Set the oven to 350°F (175°C) and line a large baking sheet with parchment paper.
- MAKE THE DOUGH: In a large bowl, cream the softened butter and brown sugar until light and fluffy. Add vanilla extract and mix until smooth.
- ADD DRY INGREDIENTS: Stir in the flour and salt. Mix until the dough forms and pulls away from the bowl. The texture should be soft but not sticky.
- SHAPE THE COOKIES: Roll the dough into 1-inch balls and place them on the prepared baking sheet, spacing them about 2 inches apart.
- BAKE AND INDENT: Bake for 8 minutes, then remove the cookies from the oven and gently press the center of each with your thumb or the back of a rounded teaspoon. Return to the oven and bake for another 4–5 minutes, until the edges are golden and centers are just set.
- COOL THE COOKIES: Let the cookies cool on the baking sheet for 5 minutes before transferring them to a wire rack to cool completely.
- MAKE THE MAPLE FILLING: In a small saucepan over medium heat, combine the maple syrup, brown sugar, heavy cream, and butter. Stir frequently as the mixture heats and begins to thicken, about 8–10 minutes. It should coat the back of a spoon but still pour easily. Remove from heat and let cool slightly.
- FILL THE COOKIES: Spoon about ½ to 1 teaspoon of the warm maple caramel into each cookie center. The caramel will spread slightly, then settle as it cools.
- GARNISH AND SET: Sprinkle a small pinch of flaky sea salt or maple sugar crystals on each cookie while the filling is still warm. Let the cookies rest at room temperature for 30 minutes to allow the filling to set before serving.
Notes
Real maple syrup is essential for depth of flavor. Do not use imitation or pancake syrup. The caramel will firm as it cools but should remain soft and glossy. Store cookies in an airtight container at room temperature for up to 3 days.
Nutrition Information:
Yield:
24Serving Size:
1Amount Per Serving: Calories: 177Total Fat: 10gSaturated Fat: 6gTrans Fat: 0gUnsaturated Fat: 3gCholesterol: 26mgSodium: 55mgCarbohydrates: 21gFiber: 0gSugar: 12gProtein: 1g
