

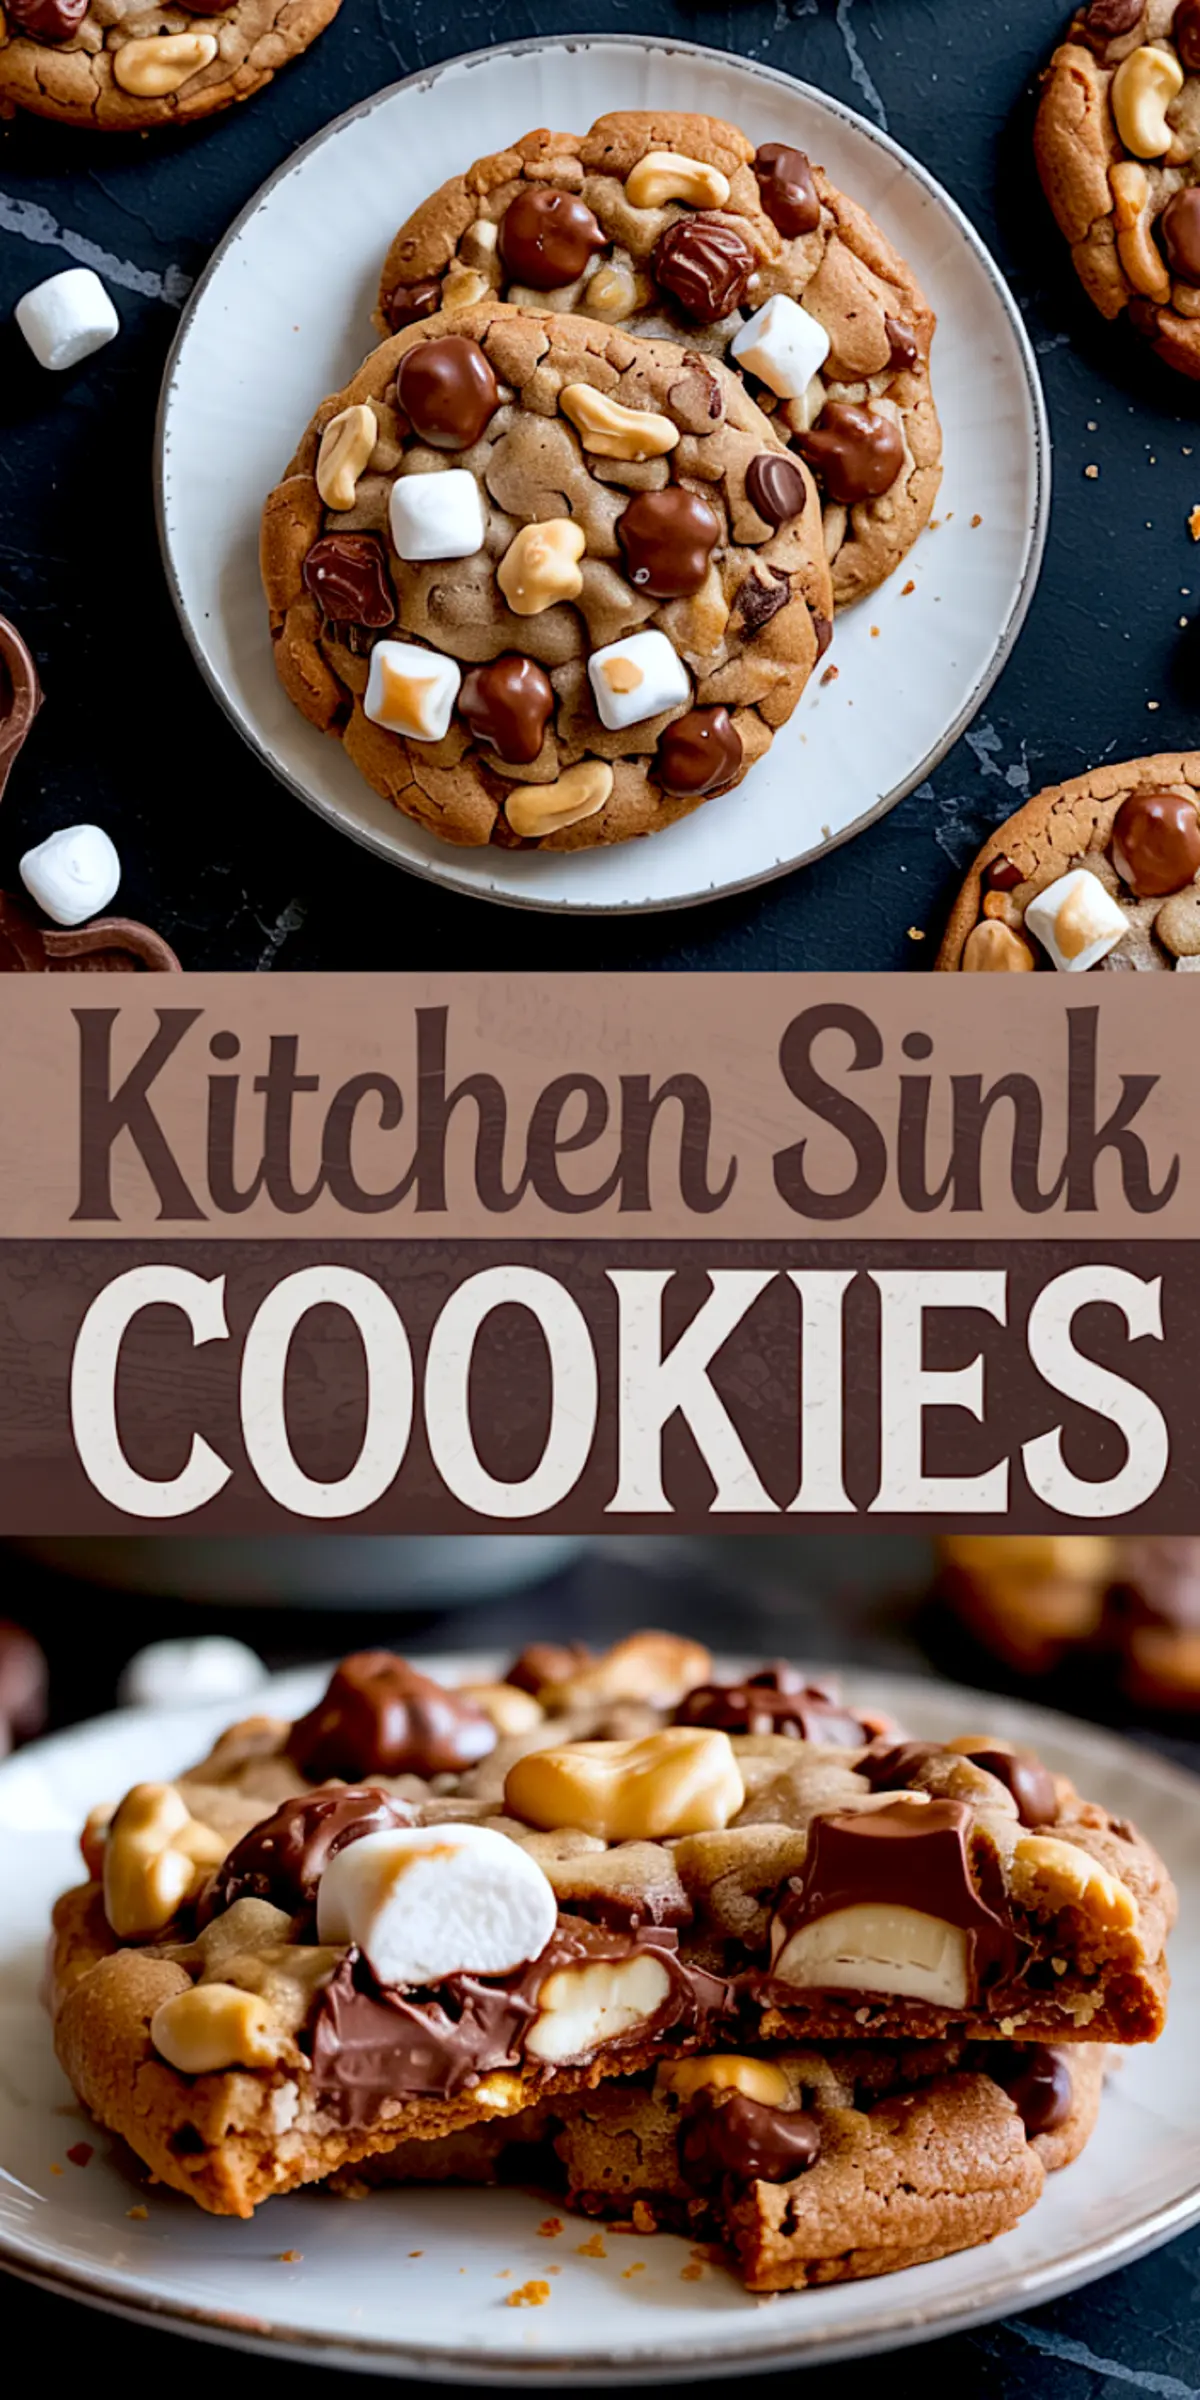
There’s a difference between a cookie that tries too hard and one that knows exactly what it is.
This Kitchen Sink Cookies recipe sits right in that sweet spot. Every bite tastes like a story told in chocolate, marshmallow, peanut butter, and salt. If you’ve ever paused over a cookie and thought, should it be soft, crunchy, salty, gooey, chocolatey, or buttery? This recipe nods and says yes.
You’ll learn how to balance textures, flavors, and mix-ins without going overboard. This cookie holds its shape but melts on the inside. It satisfies a chocolate craving and a salty snack urge in the same bite. This is the kind of treat I bake when I don’t want to decide. I want it all in one cookie.
And that one unexpected dash of flavor? We’ll get to it. Let’s build the base first.
Why I Choose These Ingredients (and You Should Too)
Softened butter gives the dough its structure. Creaming it with both brown and white sugars creates air. That lift makes each cookie puff, hold shape, then sink into softness.
Brown sugar brings moisture and a deeper molasses tone that balances the mix-ins. It holds the chew. I’ve tested with all white sugar, and the result loses depth fast. It also hardens too quickly.
Two eggs, not one. This isn’t a delicate cookie. It needs backbone. The second egg adds stability without drying out the dough. I’ve tried using just one and the texture ends up confused — like it’s stuck between cakey and crumbly.
Flour, baking soda, salt. This trio is standard, but the flour quantity matters. Go too light, and the cookies melt into puddles. Go too heavy, and you lose the soft center. Two and a half cups hits the line.
A Sweet and Salty Mix That Actually Balances
This cookie starts where most end. The mix-ins drive the flavor. Chocolate chunks melt just enough to feel rich but stay visible. Mini marshmallows puff and char slightly, adding chew and a hint of caramel.
Chopped pretzels snap against the soft dough. I’ve tried potato chips, and they go soggy. Pretzels keep their crunch. Peanut butter chips give sweetness and cream. Chopped caramels or toffee bits tuck into pockets and melt.
The chopped nuts — I alternate between cashews and pecans. Peanuts lean too dry, but they work in a pinch. Candy-coated chocolates bring color and crunch. Break chocolate bars instead if you want uneven chocolate pools.
The Butter-Sugar Base Needs Attention
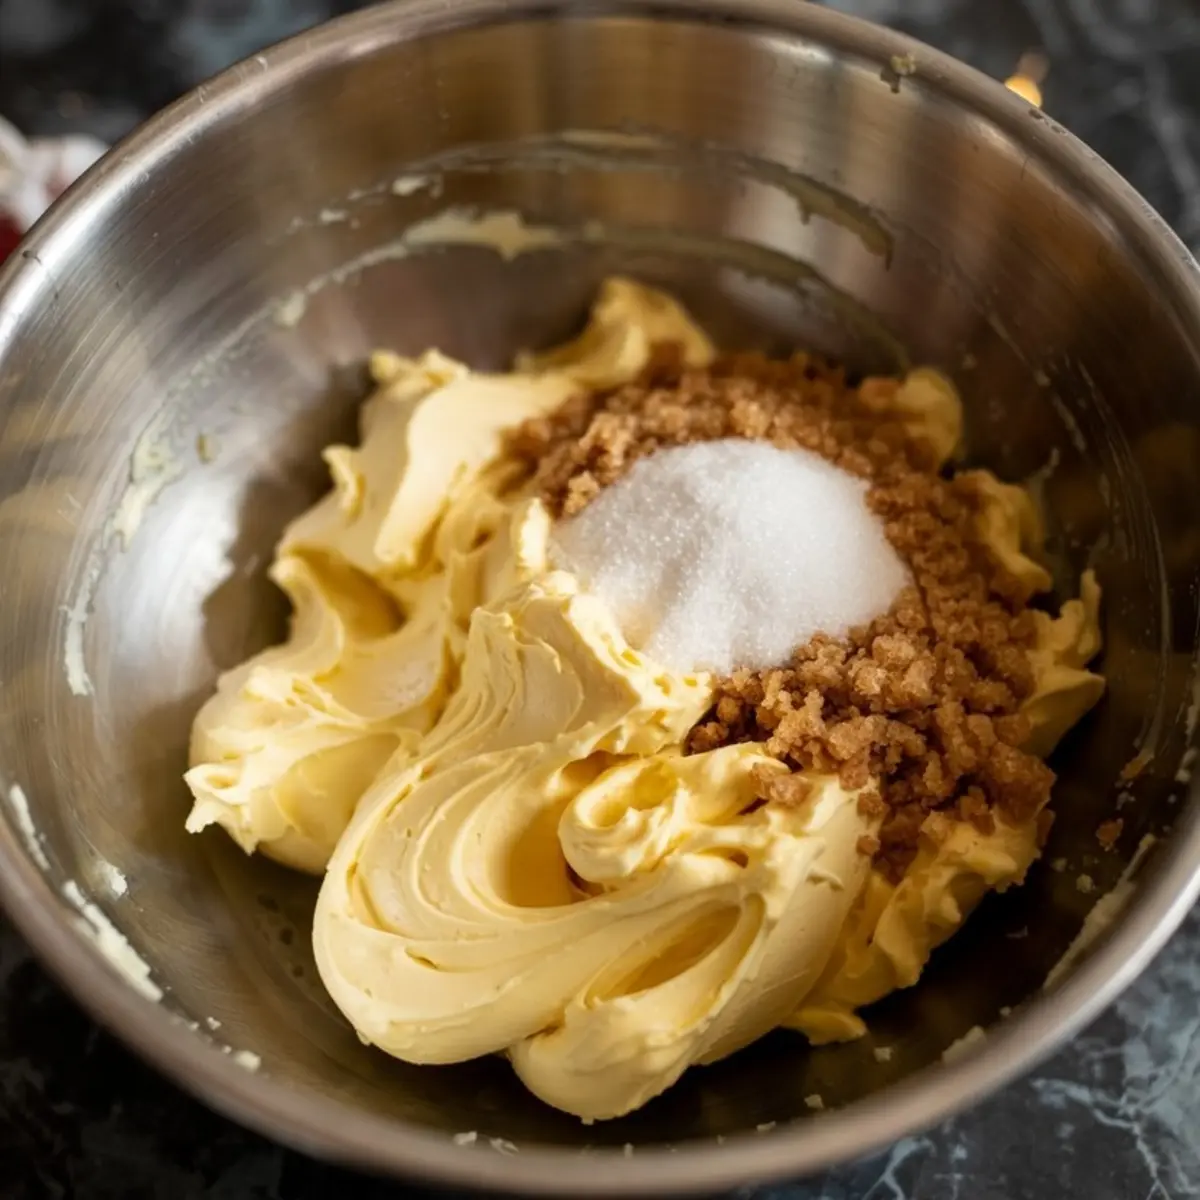
Creaming isn’t a step to rush. The butter and sugar should look pale, fluffy, and slightly grainy. If it’s glossy or greasy, it needs more air. This step is what makes these cookies soft but structured.
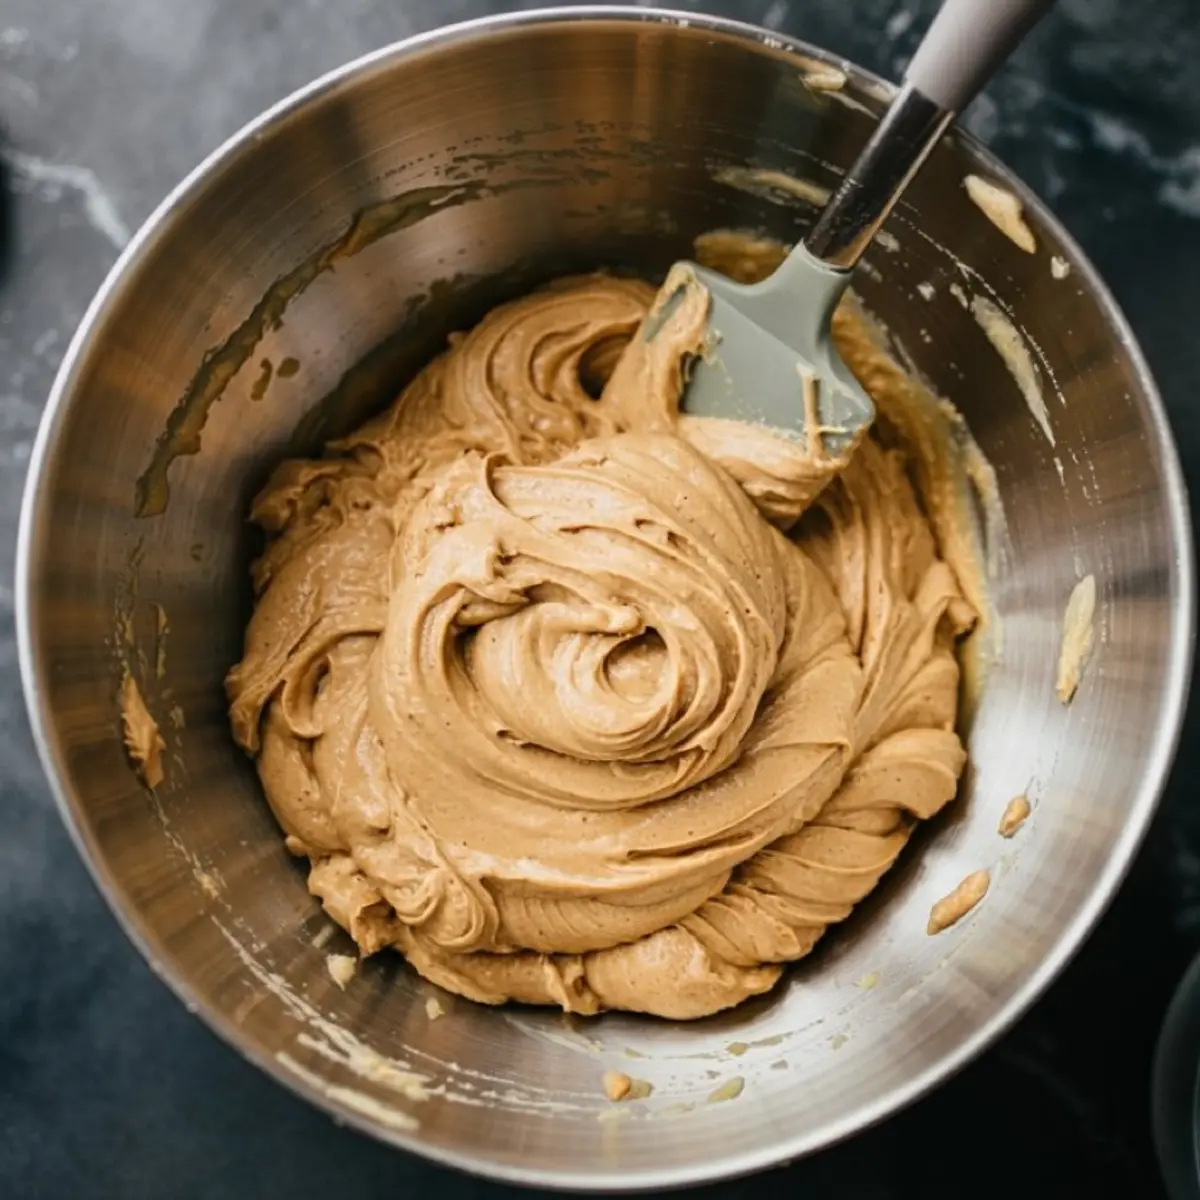
Once the eggs and vanilla go in, pause and scrape the bowl. This makes sure every edge gets mixed. I’ve made the mistake of skipping this, and ended up with uneven cookies — some too wet, some too dry.
Dry Ingredients Shouldn’t Be Overmixed
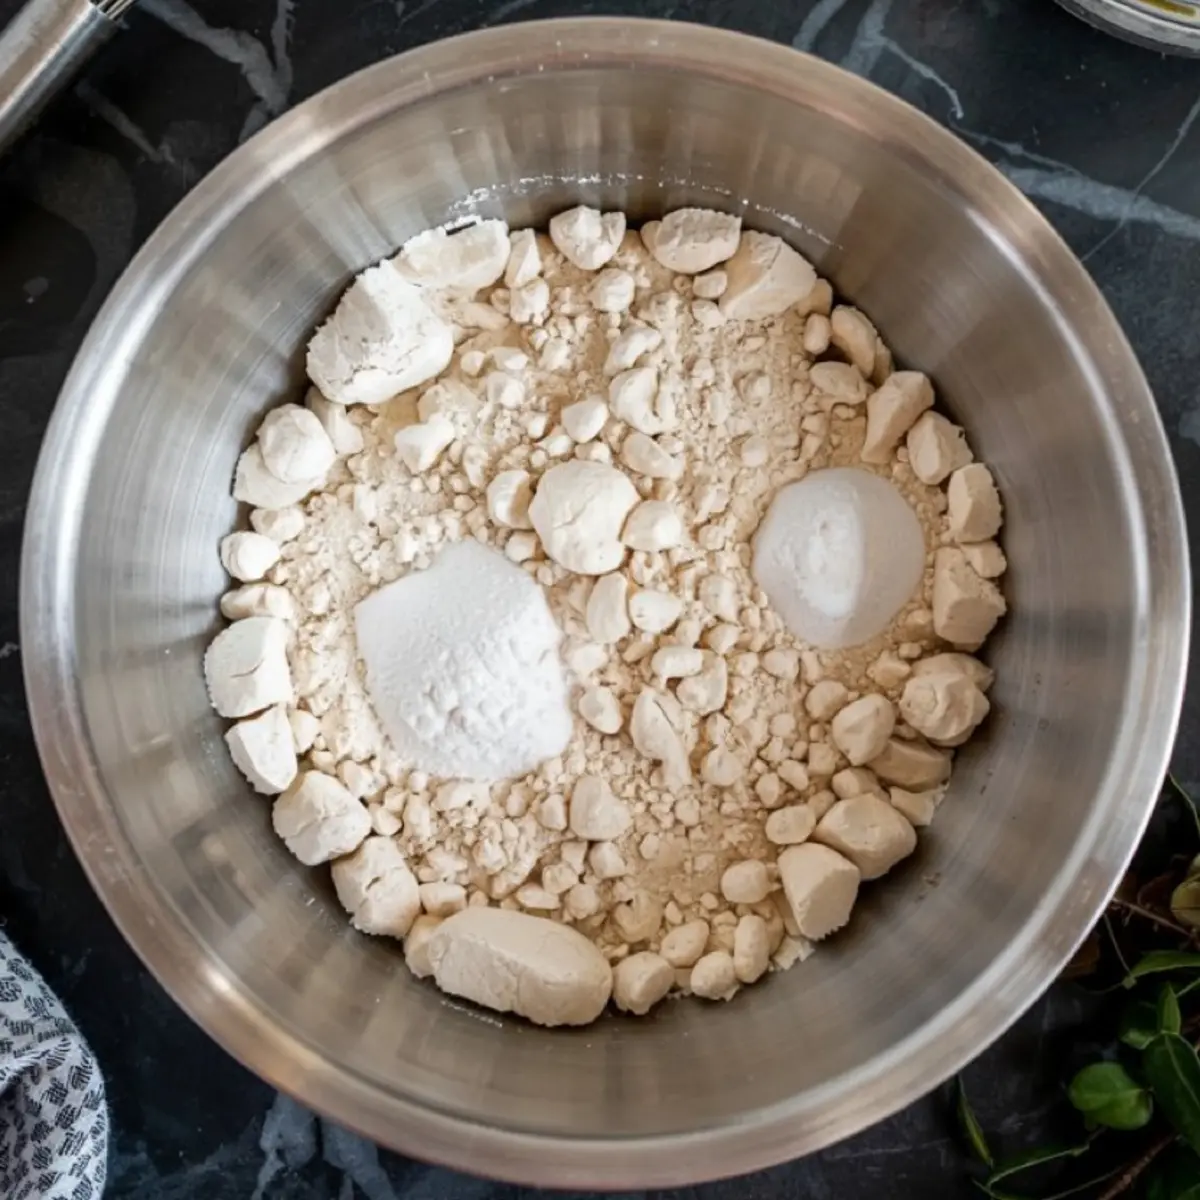
Once the flour hits the bowl, slow down. Overmixing tightens the gluten and makes the cookie stiff. Mix just until the flour disappears. I stir the final few turns by hand to stay on the safe side.
You’ll notice the dough feels dense. That’s good. The mix-ins haven’t gone in yet.
Mixing In the Chaos Without Losing Structure
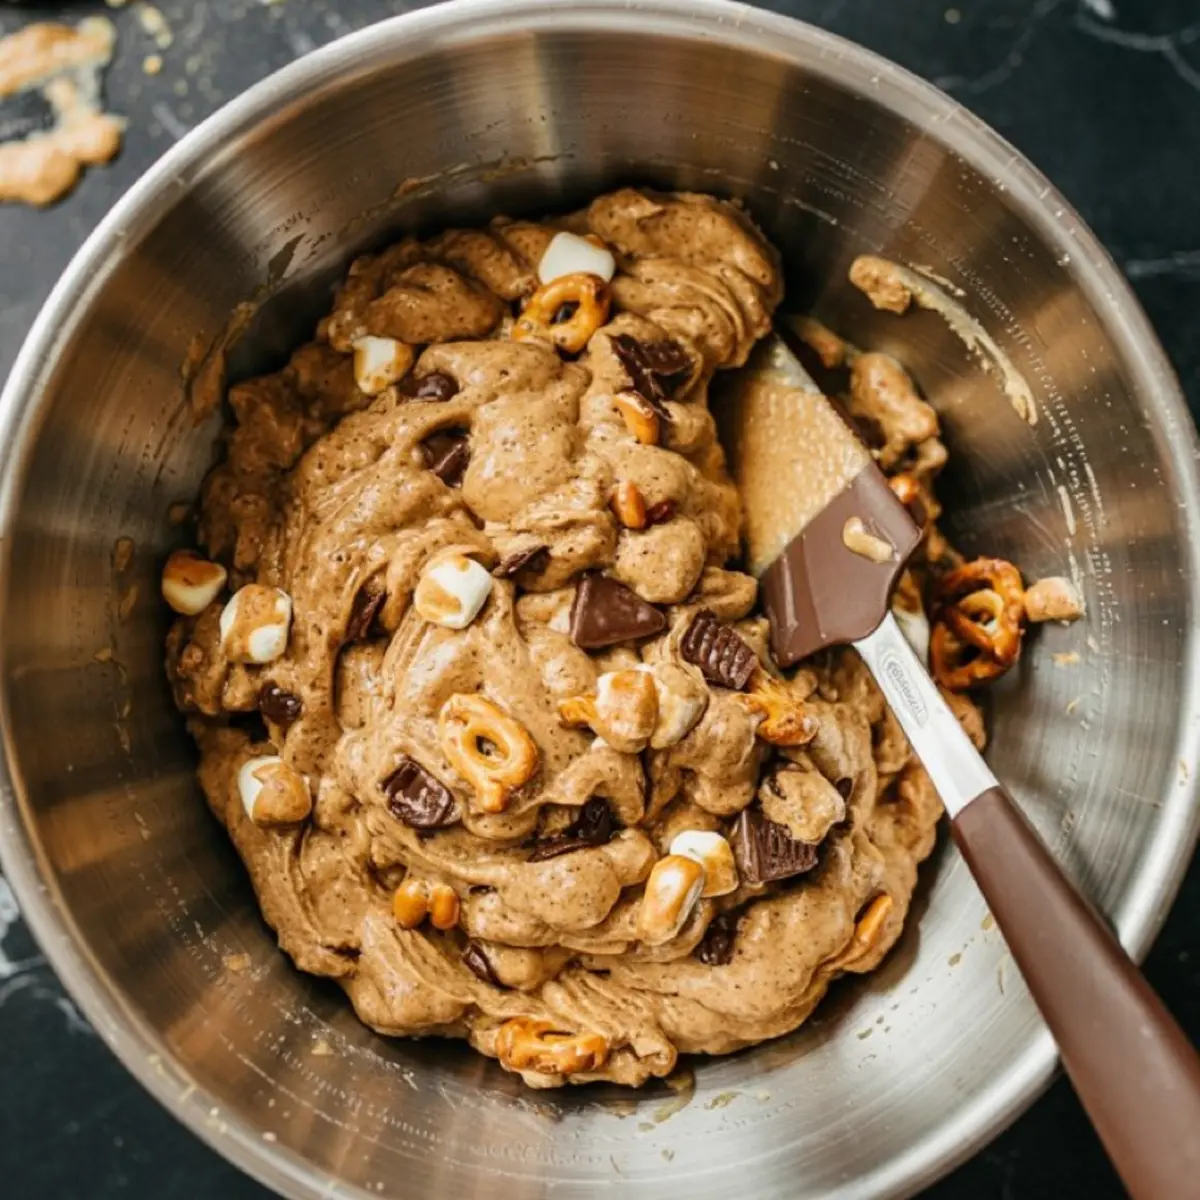
Stir the mix-ins by hand. A spoon works better than a mixer here. You want to keep chunks whole and let each ingredient stay visible. The dough should feel crowded.
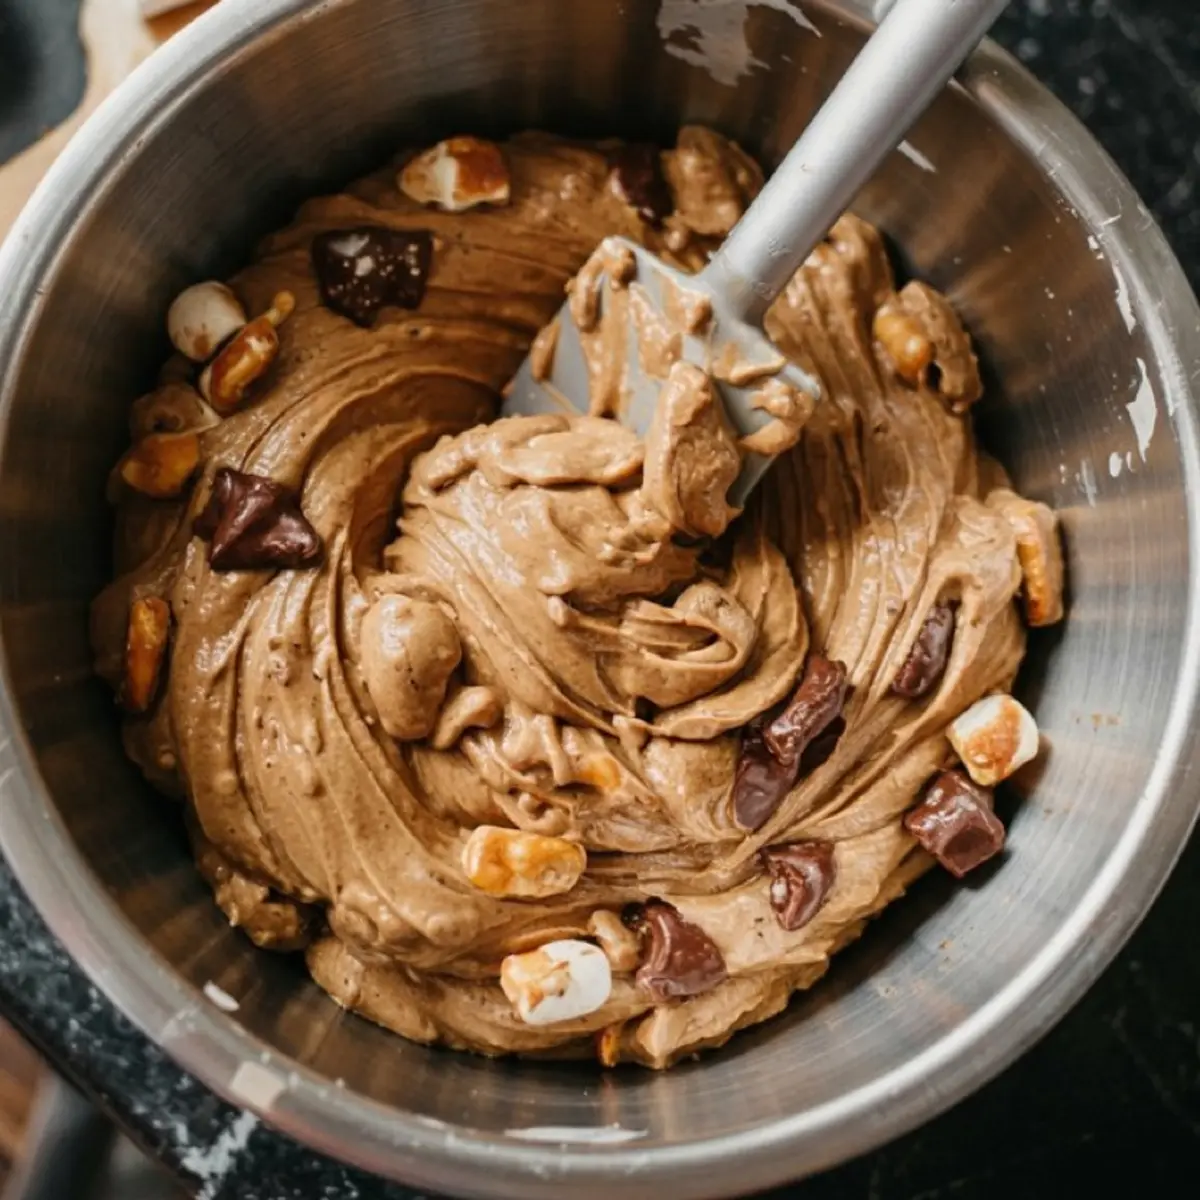
That’s how you know it’s right.
This part gets messy. You might doubt yourself. That’s okay. The dough isn’t elegant. It’s thick, heavy, and textured. You’ll taste every bit later.
Chill Time Is Your Best Friend
Thirty minutes in the fridge helps more than you think. It solidifies the fats and keeps the cookie from spreading too thin. I’ve tested these cookies without chilling — they overbake on the edges and flatten out fast.
One hour gives the dough more time to settle. If you’re in a rush, thirty minutes works. If you have the time, go longer. Up to 24 hours is safe. Letting the dough rest helps all those sweet and salty flavors merge.
Baking, Timing, and Texture Control
Preheat the oven before you scoop. A cold oven wrecks the timing. I use a three-tablespoon scoop for a bakery-style look.
Ten to twelve minutes gives you golden edges and soft centers. They should look underbaked in the middle. That’s the point. Leave them on the tray for five minutes before moving to a wire rack.
That resting time finishes the bake without drying them out.
Should You Use Chocolate Chips or Chunks?
I’ve tested both side-by-side. Chocolate chips hold shape and give you controlled, bite-sized sweetness. Chocolate chunks, especially from a bar, melt irregularly. That makes pockets of chocolate that feel more indulgent.
For this cookie, I always choose chunks. They blend better with the marshmallows and toffee. Chips are tidier, but chunks win on flavor.
If you’re making something like these Brown Butter Chocolate Chip Cookies, chips make more sense. In a loaded cookie like this? Chunks speak louder.
That Dash of Magic I Promised You
You’ve made the dough. You’ve chilled it. You’ve baked. And now you’re tasting it.
But here’s the part I didn’t tell you earlier: the secret touch I use is a small pinch of flaky salt on top just before baking.
It pulls the whole cookie together. Sweet and salty need contrast. That one pinch of salt — added after scooping, right before the tray goes in — makes the peanut butter, chocolate, and caramel stand out. It sharpens the whole experience.
Save This Sweet and Salty Cookie for Later
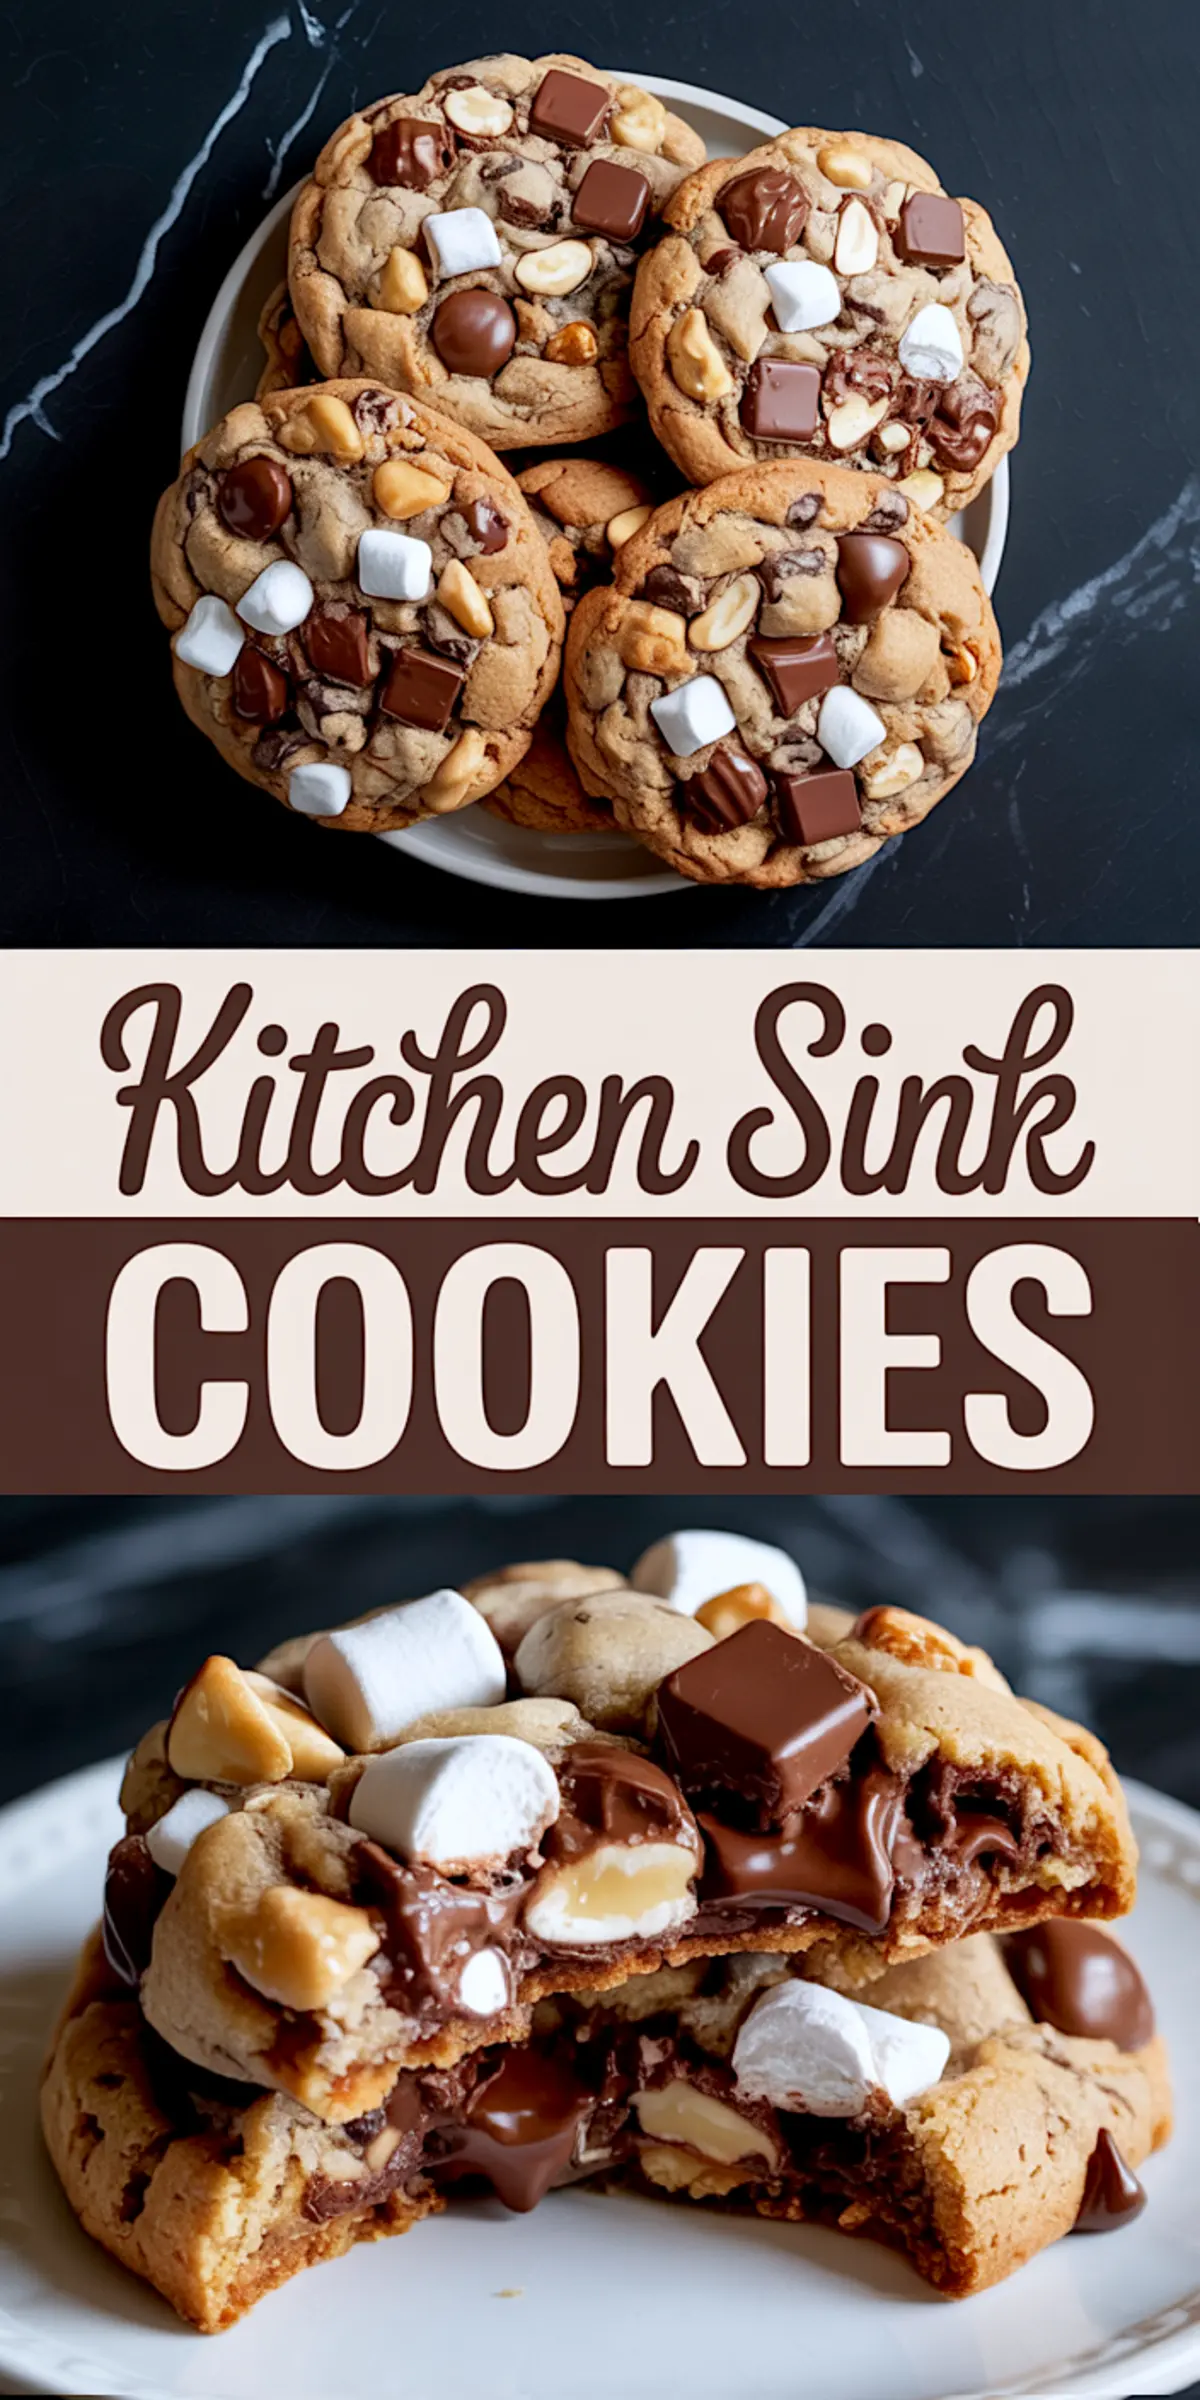
This Kitchen Sink Cookies Recipe gives you every texture and flavor without needing a special trip to the store.
It covers the best of all cookie cravings. If you love chewy cookies like these Oatmeal Chocolate Chip Cookies, or classic Peanut Butter Chocolate Chip Cookies, this one belongs in your tin too.
Pin it to your board so it’s ready next time the craving hits. And if you bake it, tell me. Leave a comment, ask a question, or share your favorite mix-in combo.
I always read them. I always learn something new.
Kitchen Sink Cookies Recipe

Kitchen sink cookies recipe is a chewy cookie loaded with sweet and salty mix-ins—like pretzels, chocolate chips, toffee bits, and whatever else is in the pantry. I mix the dough base like any classic cookie, then stir in everything but the kitchen sink. The result? Thick cookies with crisp edges and soft centers that feel like a surprise in every bite. If you like cookie recipes chewy and a little chaotic (in the best way), this one hits. I’ve brought them to parties, bake sales, and always get asked for the everything cookies recipe. They’re a quick win when you want sweets treats without a plan.
Ingredients
- 1 cup unsalted butter, softened
- 1 cup packed brown sugar
- ½ cup granulated sugar
- 2 large eggs
- 2 tsp vanilla extract
- 2 ½ cups all-purpose flour
- 1 tsp baking soda
- 1 tsp salt
- FOR THE MIX-INS
- 1 cup semi-sweet chocolate chunks
- ½ cup mini marshmallows
- ½ cup chopped pretzels
- ½ cup peanut butter chips
- ½ cup chopped caramel candies or toffee bits
- ½ cup chopped nuts (peanuts, pecans, or cashews)
- ½ cup candy-coated chocolates or broken chocolate bars
Instructions
- CREAM THE BUTTER AND SUGARS: In a large bowl, beat the softened butter, brown sugar, and granulated sugar together until light and fluffy. This should take about 2 to 3 minutes using a hand mixer or stand mixer. The mixture should look pale and airy, which helps create a soft texture in the cookies.
- ADD THE EGGS AND VANILLA: Add the eggs one at a time, mixing well after each addition. Pour in the vanilla extract and scrape down the sides and bottom of the bowl to make sure everything is fully incorporated.
- MIX THE DRY INGREDIENTS: In a separate bowl, whisk together the flour, baking soda, and salt. Slowly add the dry ingredients to the wet mixture, mixing just until no streaks of flour remain. Do not overmix.
- FOLD IN THE MIX-INS: Add your chosen mix-ins to the dough. Stir them in by hand using a sturdy spatula or wooden spoon. The dough will be thick and heavily loaded — that’s expected.
- CHILL THE DOUGH: Cover the bowl and refrigerate the dough for at least 30 minutes, or up to 1 hour. Chilling helps the flavors develop and prevents the cookies from spreading too much during baking.
- PREPARE TO BAKE: Preheat the oven to 350°F (175°C). Line two large baking sheets with parchment paper or silicone baking mats. Scoop the dough into large mounds, about 3 tablespoons each, and space them at least 2 inches apart on the baking sheets.
- BAKE THE COOKIES: Bake for 10 to 12 minutes, or until the edges are golden brown and the centers look just set but still slightly soft. Avoid overbaking; the cookies will continue to firm up as they cool.
- COOL COMPLETELY: Let the cookies rest on the baking sheet for 5 minutes before transferring them to a wire rack. Allow them to cool completely or enjoy slightly warm.
Notes
The mix-ins are highly flexible. Use any combination of chocolate, nuts, candy, or salty snacks to reach about 2 to 3 cups total. Dough can be chilled up to 24 hours in advance if needed. For even baking, bake one sheet at a time.
Nutrition Information:
Yield:
24Serving Size:
1Amount Per Serving: Calories: 294Total Fat: 14gSaturated Fat: 7gTrans Fat: 0gUnsaturated Fat: 6gCholesterol: 37mgSodium: 217mgCarbohydrates: 41gFiber: 1gSugar: 26gProtein: 4g
