
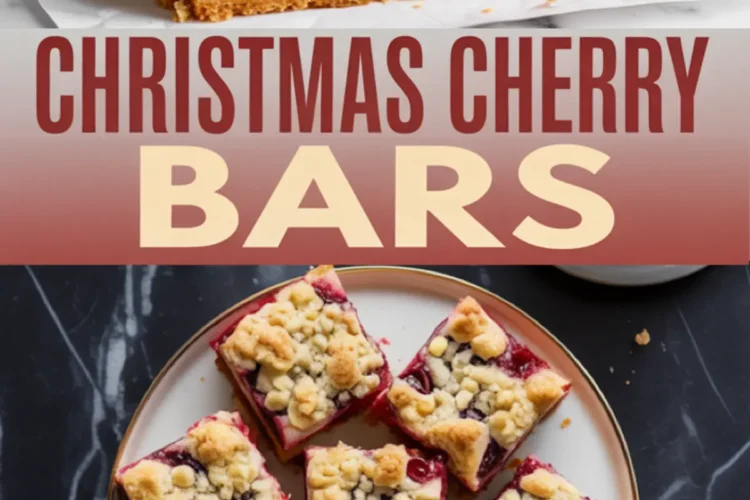
Some Christmas desserts whisper their presence. These cherry bars speak up.
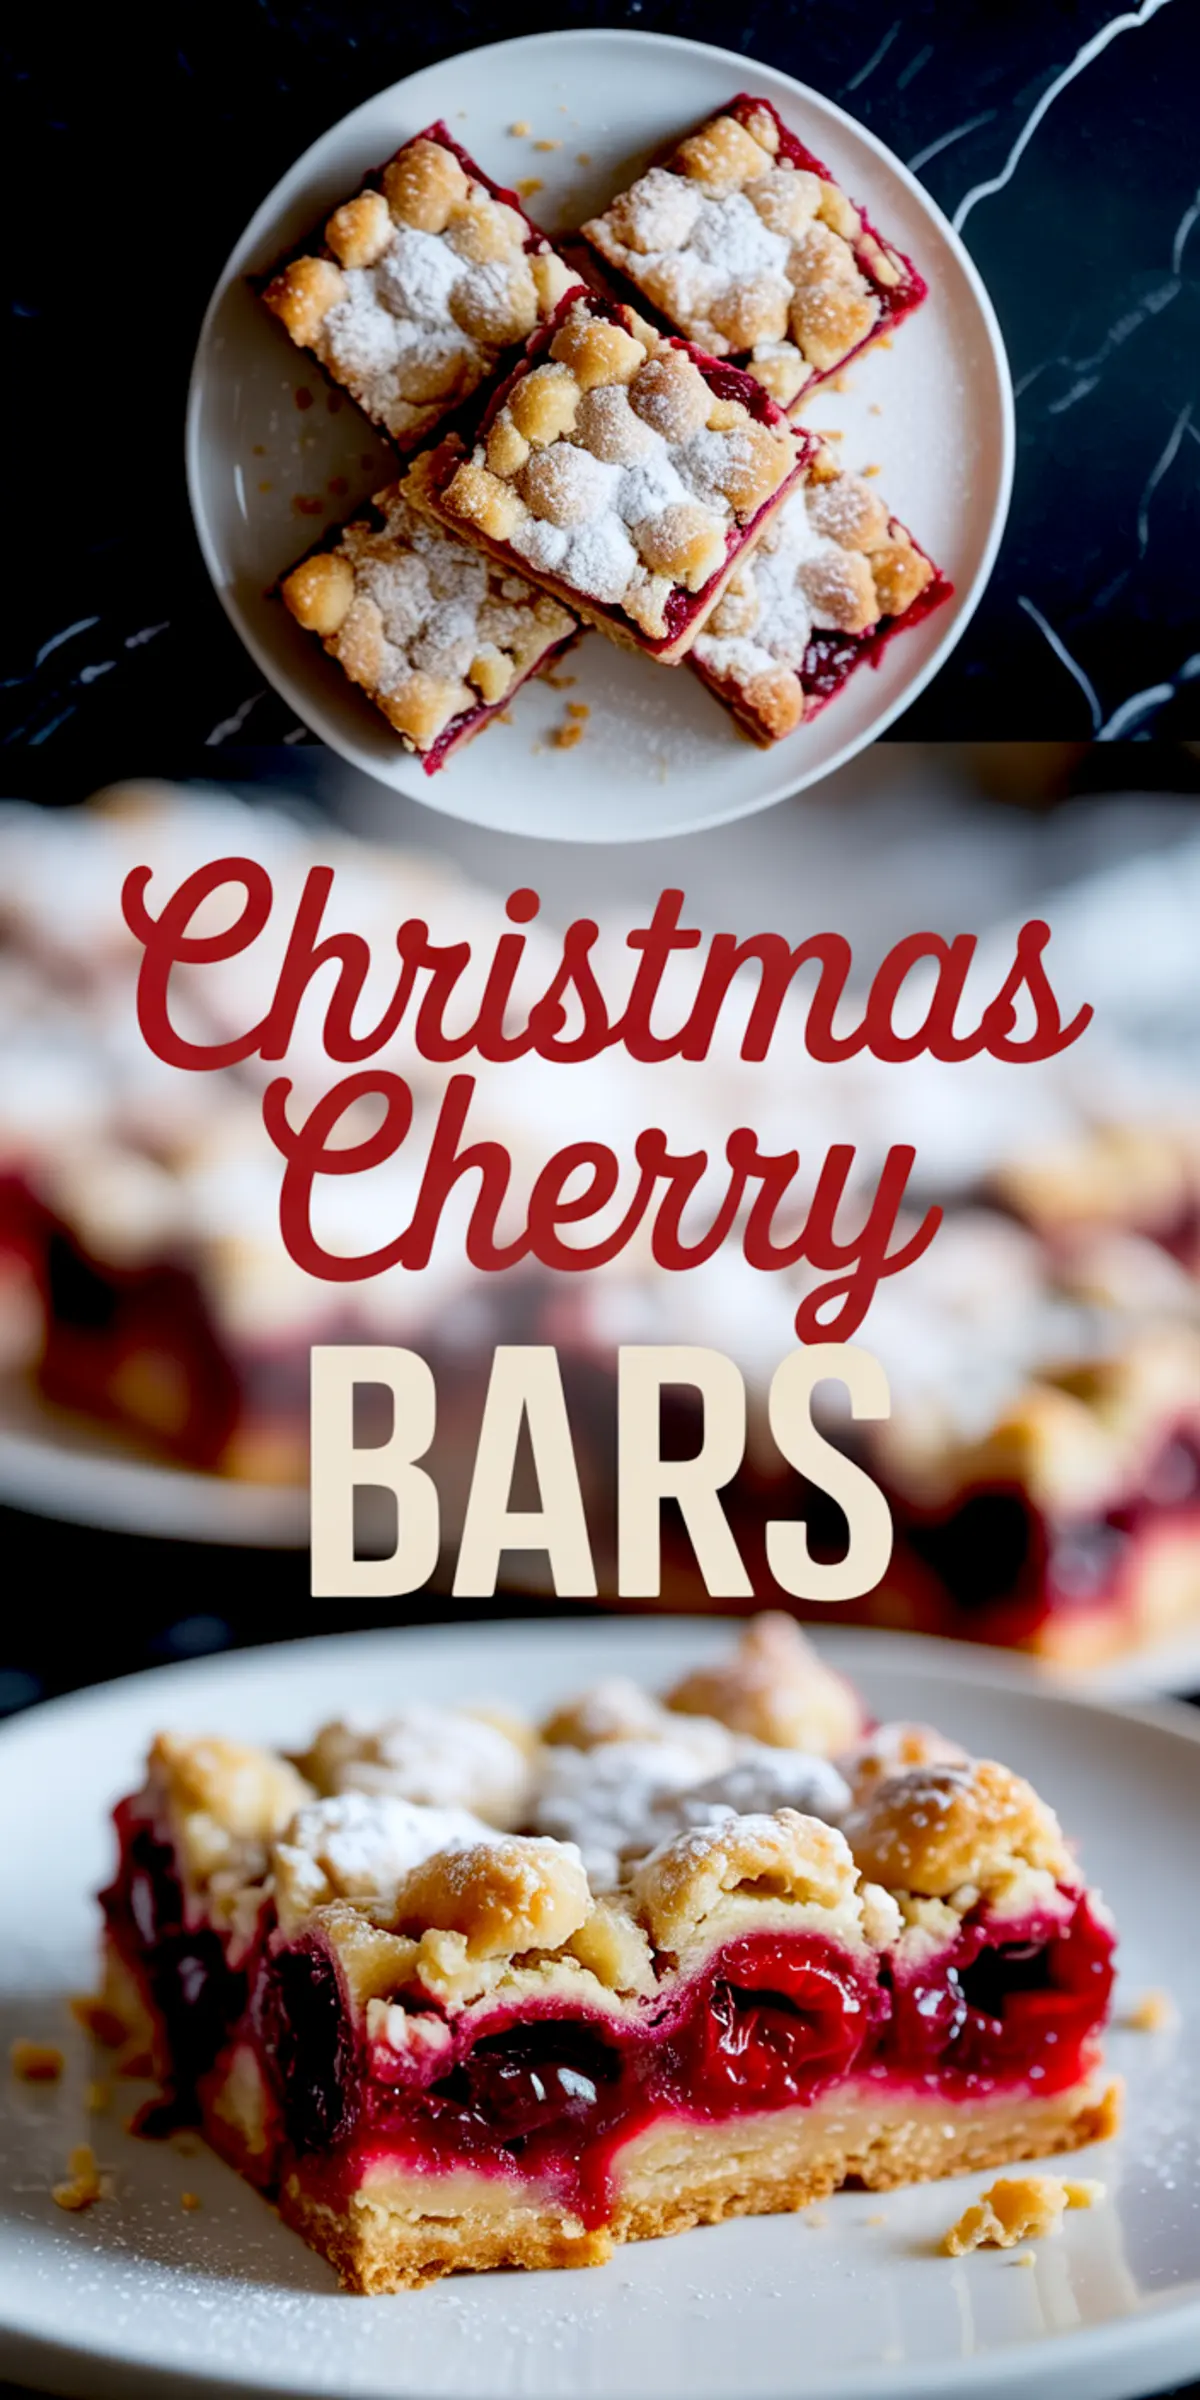
Their buttery base holds a thick layer of glossy cherry pie filling, and the top? It’s golden and craggy, like a soft sugar cookie decided to get festive. If you’ve been looking for a reliable, vibrant treat that travels well, slices neatly, and catches attention on the holiday desserts table, this Christmas cherry bars recipe deserves a place in your binder.
You’ll learn how to build them from a simple dough, what makes this recipe easy to prepare ahead, and how to keep the texture just right. These cherry dessert bars are a cross between cherry pie bars and old-fashioned cookie bars. A quiet middle ground with a bright, joyful center.
And there’s a quiet secret folded into the dough. One small dash that shifts everything. But let’s build to that.
How the Dough Makes the Dessert: Soft, Sweet, and Sturdy
The dough in this recipe pulls triple duty. It gives structure, sweetness, and contrast. It behaves like a shortbread meets sugar cookie hybrid, but with enough egg and lift to stay tender.

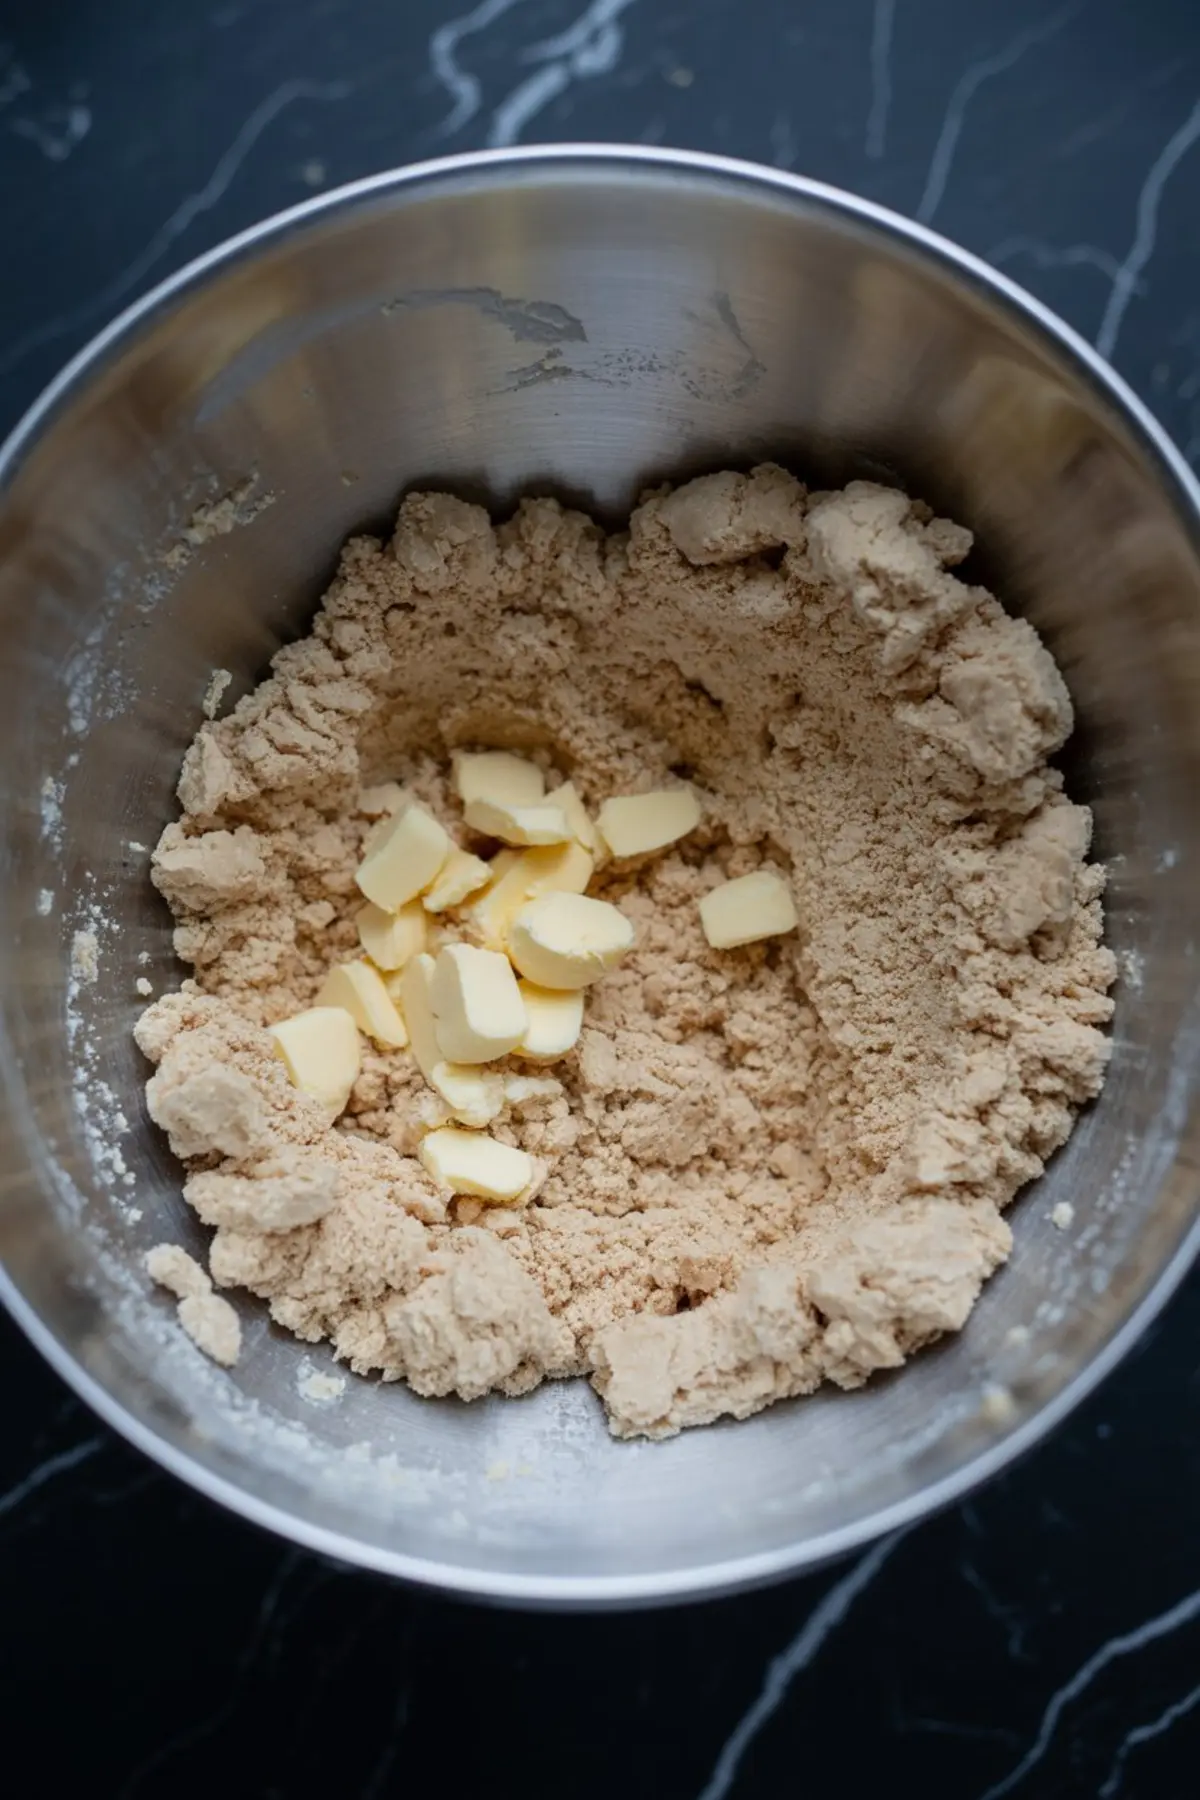
I use cold, cubed butter to keep the base flaky and prevent the crumble from melting into a single sheet. When you press it into the pan, it should hold its shape but still look rough around the edges. That texture matters. It’s the difference between soggy and satisfying.
A quick tip from my notebook: don’t skip lining the pan with parchment. Even though the butter keeps things from sticking, parchment guarantees neat edges once cooled. And you’ll want clean slices for the cookie swap.
You can spot similar buttery doughs in my Christmas Dump Cake and Mini Christmas Cakes, though those go in very different directions.
Cherry Pie Filling: Sweetness, Texture, and Shine
Canned cherry pie filling brings both convenience and consistency. Each can delivers that classic glossy red, soft cherries suspended in a thick syrup. And the amount? Two cans cover the base perfectly without overflowing. That matters, especially if you want bars that slice clean and stack.
I’ve used homemade filling before. It tastes lovely, but the texture gets unpredictable when baked between dough layers. For events or gifting, I reach for canned every time.
There’s also a nostalgic comfort to the way it bakes. The scent reminds me of the first cookie trays I made with my sister, with cherry bars cooling beside the Sugar Cookie Fudge on the counter.
Building the Layers: Crumble, Press, Pour, Crumble Again
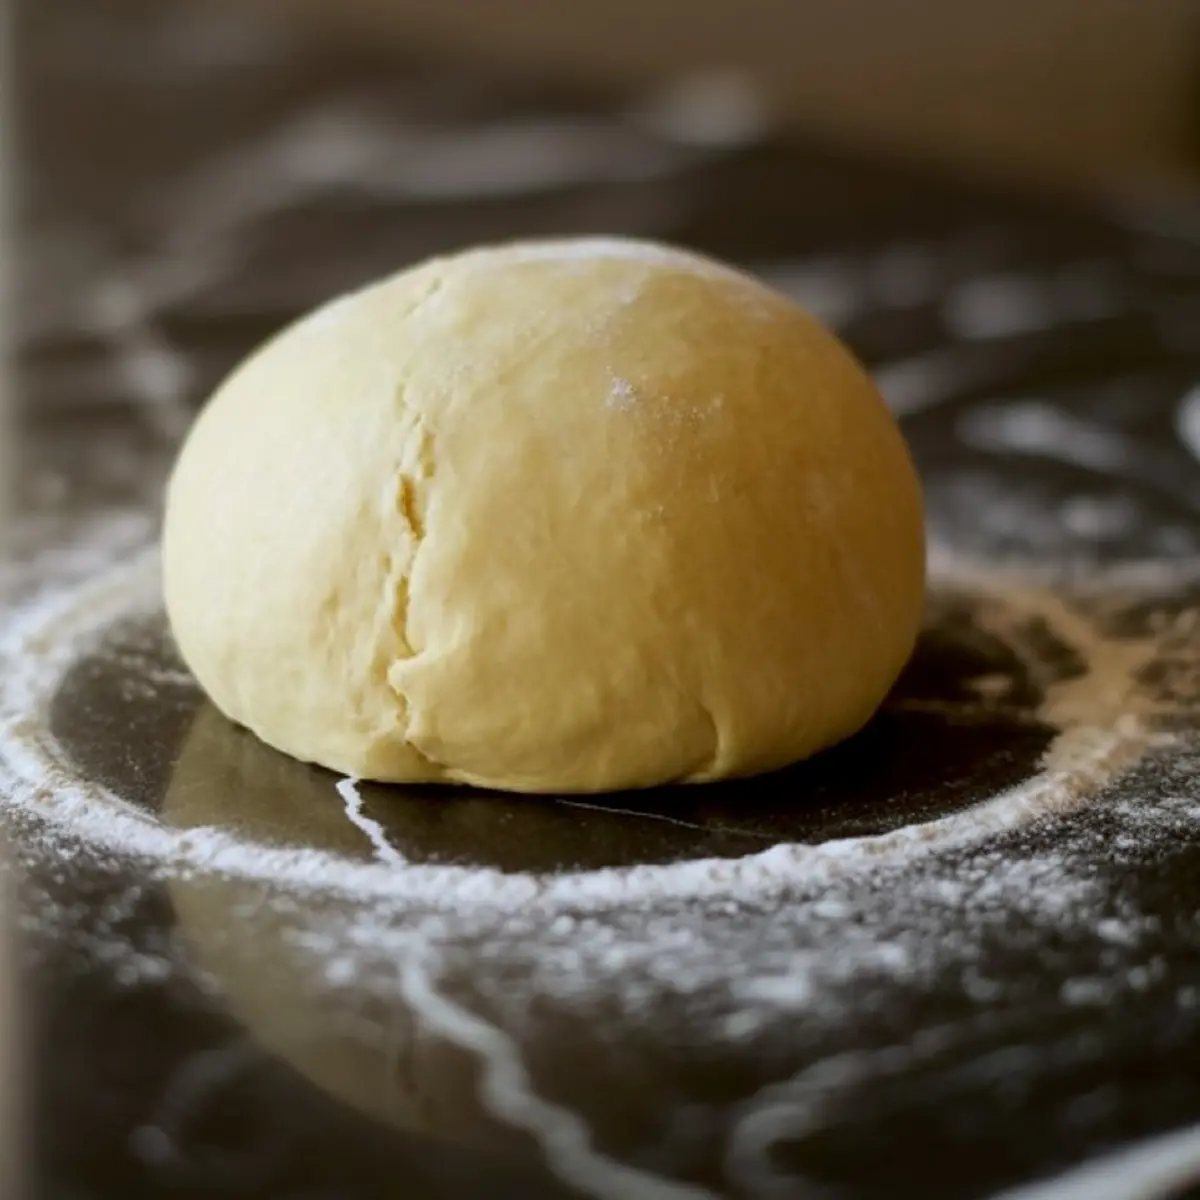
Start with two-thirds of the dough and press it into the bottom of your lined pan. I use the flat bottom of a dry measuring cup to press it evenly. It shouldn’t be too compact. Just firm enough to stay together and support the cherry filling.
Then spoon the cherry filling over the base. Spread it edge to edge. I like to use an offset spatula for this part, but a spoon works if you move slowly. Let the filling speak. It should look generous.

Take the rest of the dough and crumble it over the cherries. Pinch off pieces and scatter them without packing. The cherry filling should peek through in places. That’s the beauty of it. Messy on purpose, like snow over red berries.
You can see a similar approach in my Christmas Pie Recipe, where the filling peeks through lattice, but here, the crumbles give more casual charm.

Bake Until Golden and Let the Magic Set
I bake these bars at 350°F until the edges bubble and the top turns a soft golden hue. Around 45 minutes, depending on your oven. Don’t rely only on time. Use your eyes. The top should look lightly toasted. The cherry filling should be visibly active around the edges.
Then the hardest part. Letting them cool. Fully.
Warm bars crumble. Cool bars slice. I leave mine in the pan for an hour, then lift them out with the parchment. Once cool, the crust firms up and the cherry layer settles. That’s when you can cut them into neat squares.
Dusting with powdered sugar is optional, but I always do it. That snowy look gives them a polished finish.
One Small Dash That Changes Everything
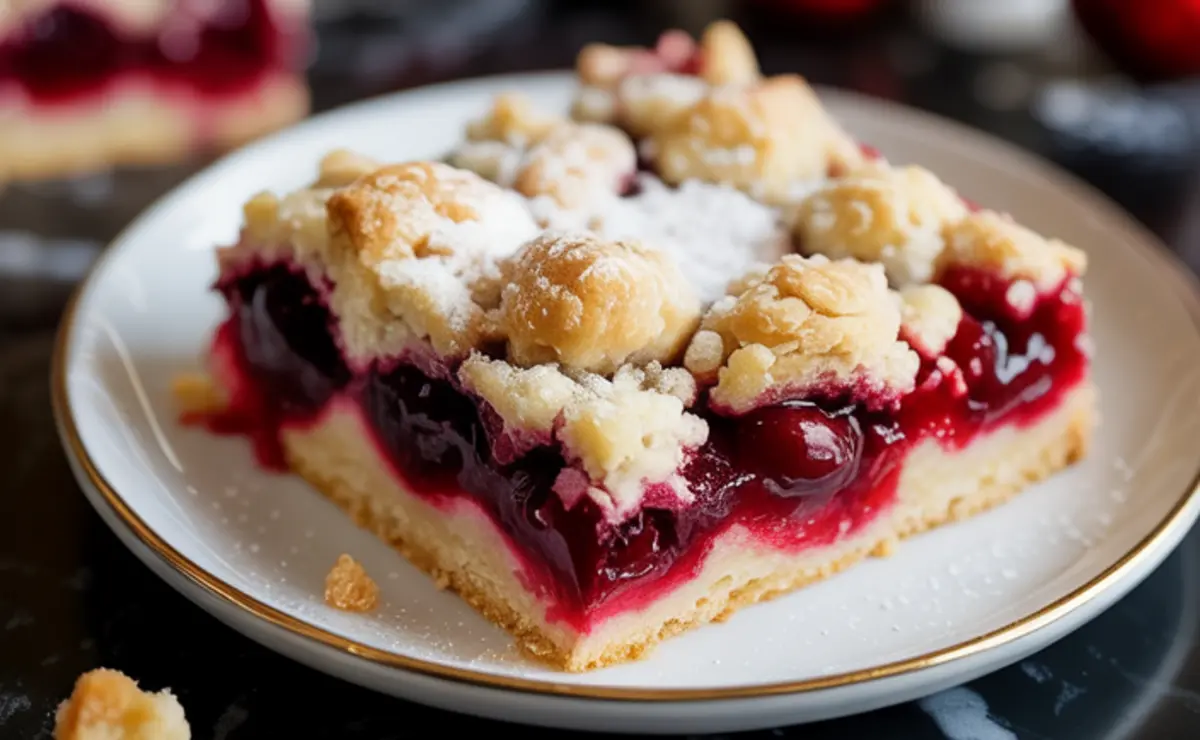
That almond extract? That’s the twist.
It’s optional in the ingredient list, but in my kitchen, it never is. I’ve tested these bars with and without. The difference is quiet, but clear. Almond brings a floral sharpness that lifts the cherries and deepens the butter.
Vanilla warms. Almond sharpens. When they come together, you get contrast. I use just a quarter teaspoon. No more. It doesn’t shout. It hums under everything.
Flour vs. Shortening Crust: A Comparison That Matters
I’ve had readers ask if they can swap the butter for shortening, especially if they want a firmer crust. I’ve tried it.
Here’s what I found. Shortening gives a clean cut, but no flavor. Butter browns. It brings depth. It sings in the crumble. For holiday bars, I always use butter. The color, taste, and aroma all depend on it.
If you’re baking for a crowd or setting up a Holiday Desserts Table, flavor matters more than shelf life. Butter wins.
These Bars Travel Well and Store Even Better
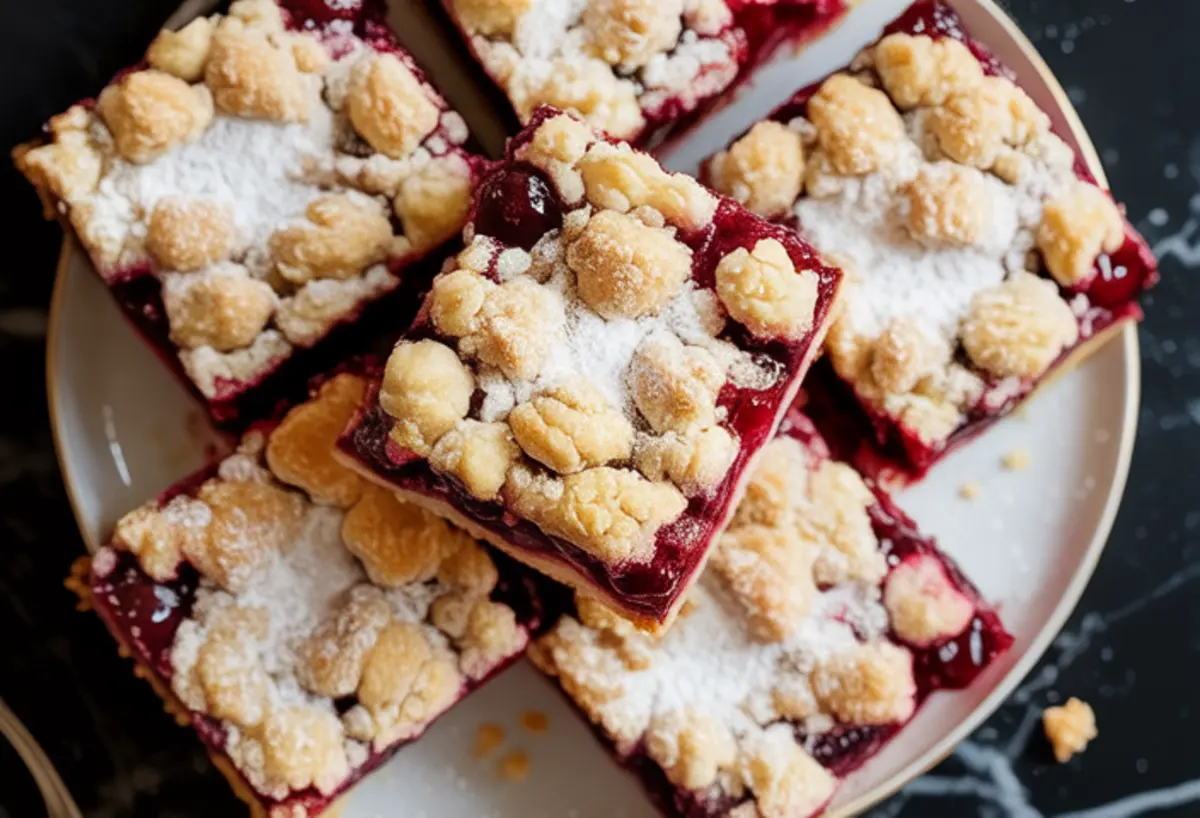
Once cooled, I pack them in parchment-lined tins. Between layers of wax paper if stacking. They last at room temperature for four days, or a full week in the fridge. Texture stays soft but stable.
These travel better than cherry pie and look neater than cake squares. You’ll thank yourself if you prep them the day before a gathering. They settle overnight and slice clean in the morning.
And for a full tray effect, try pairing these with the Christmas Fudge. Color contrast alone is worth it.
Save These Cherry Bars and Share Your Version
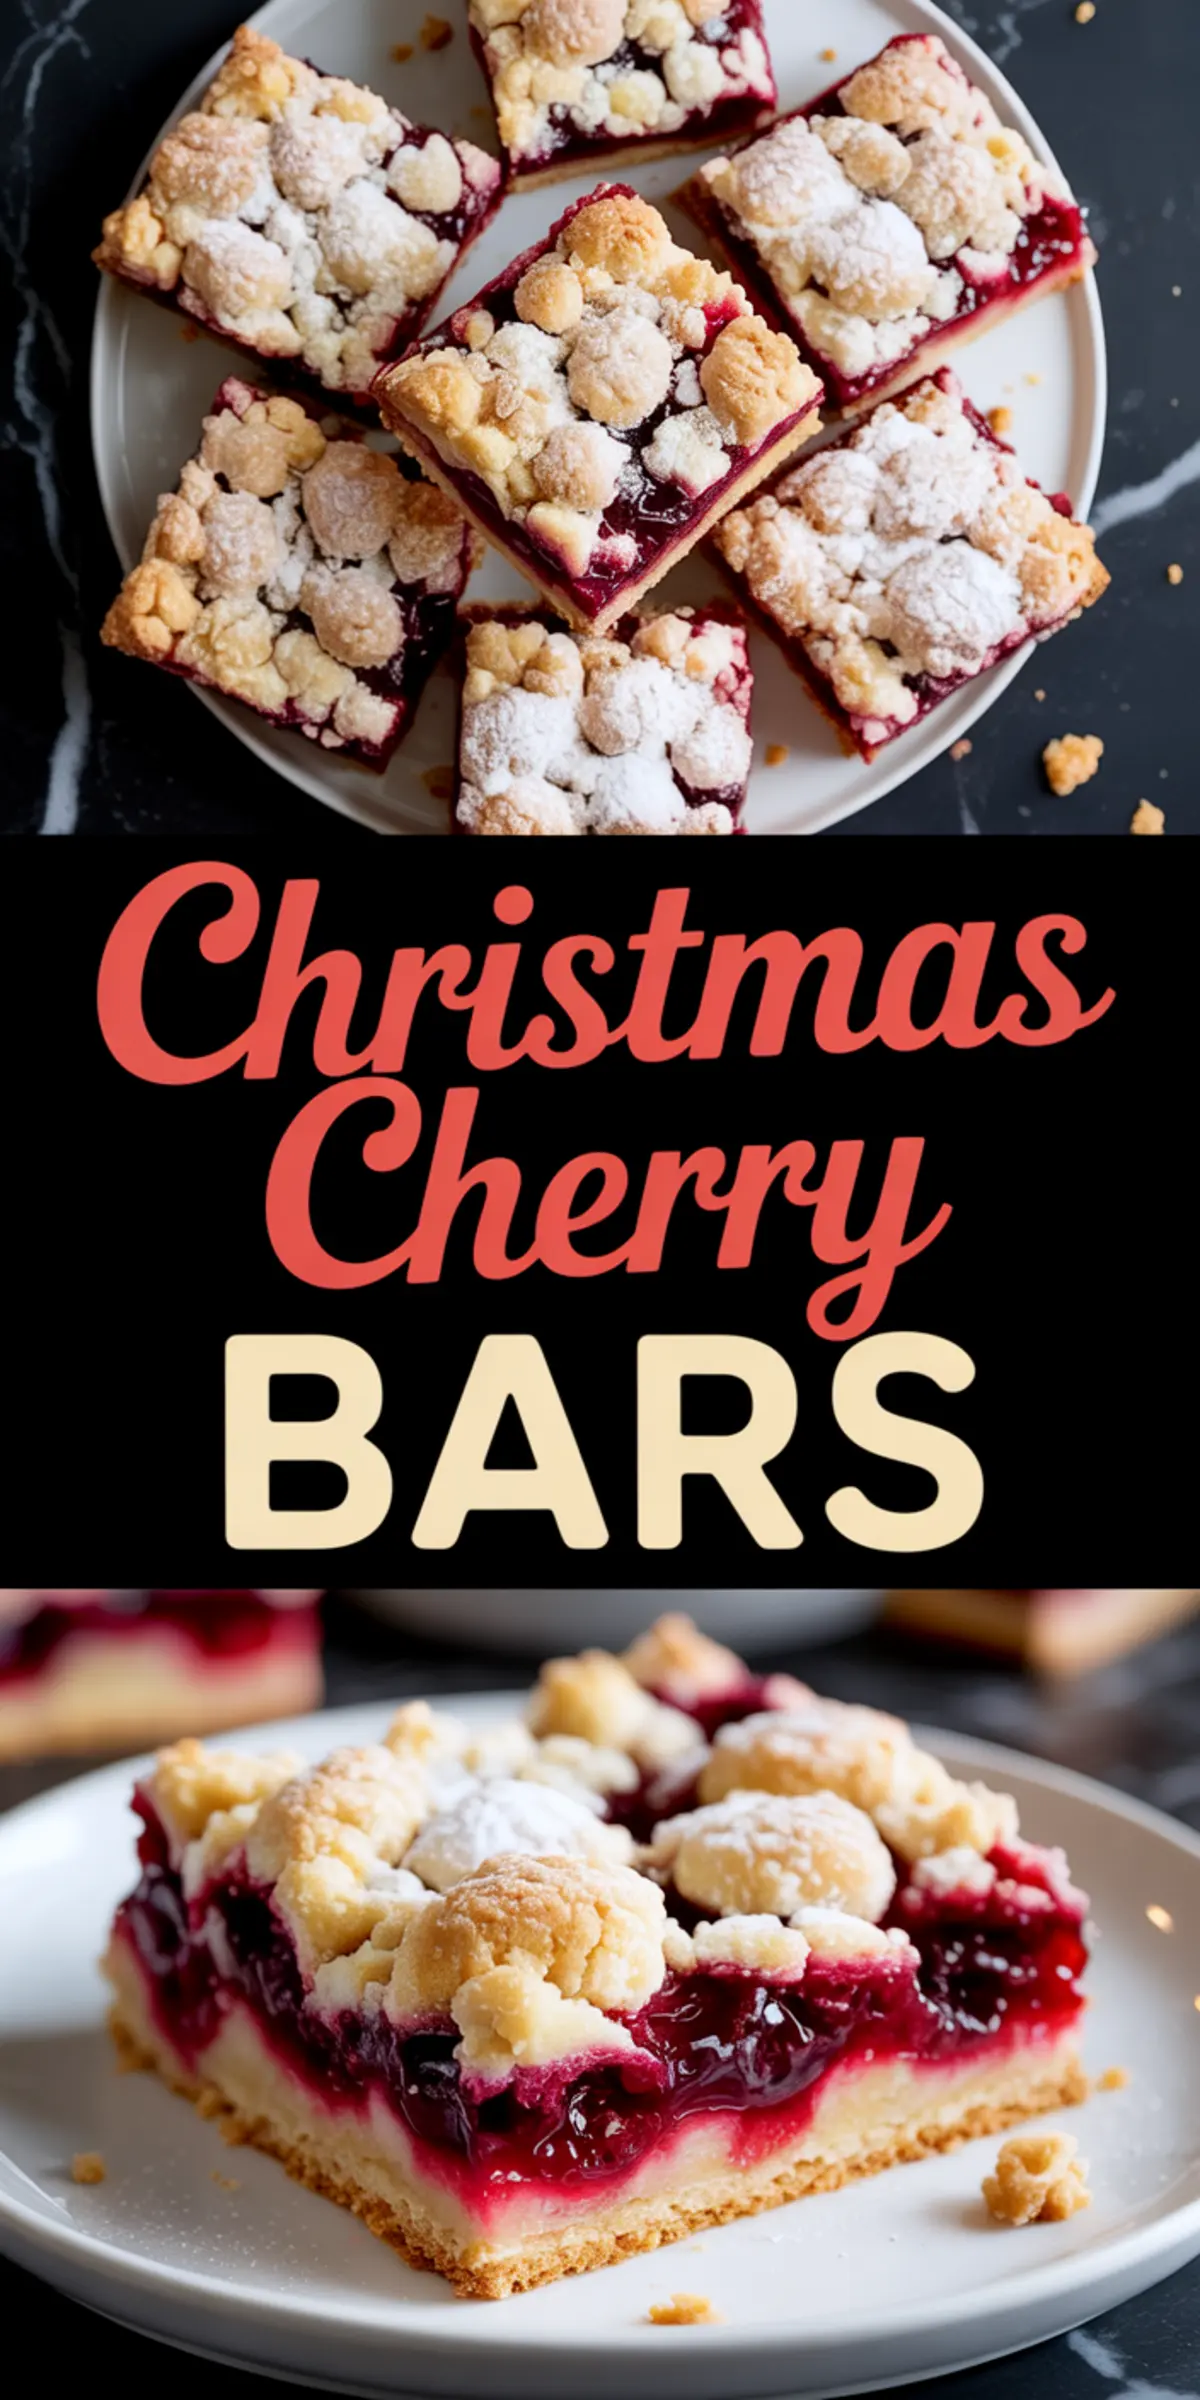
If you’re planning your Christmas cookie trays or looking for a make-ahead bar that holds up beautifully, these cherry bars fit right in.
They look like pie but cut like cookies. They hold up in lunchboxes, on platters, or wrapped as edible gifts. And once you add that almond dash, they don’t blend in with the rest.
Save this recipe to your Christmas Desserts board so you have it when the season turns. And if you try them, leave a comment below. I’d love to know how yours turned out.
Did you add the almond? Did you swap the filling? Let’s share tips.
Christmas Cherry Bars Recipe
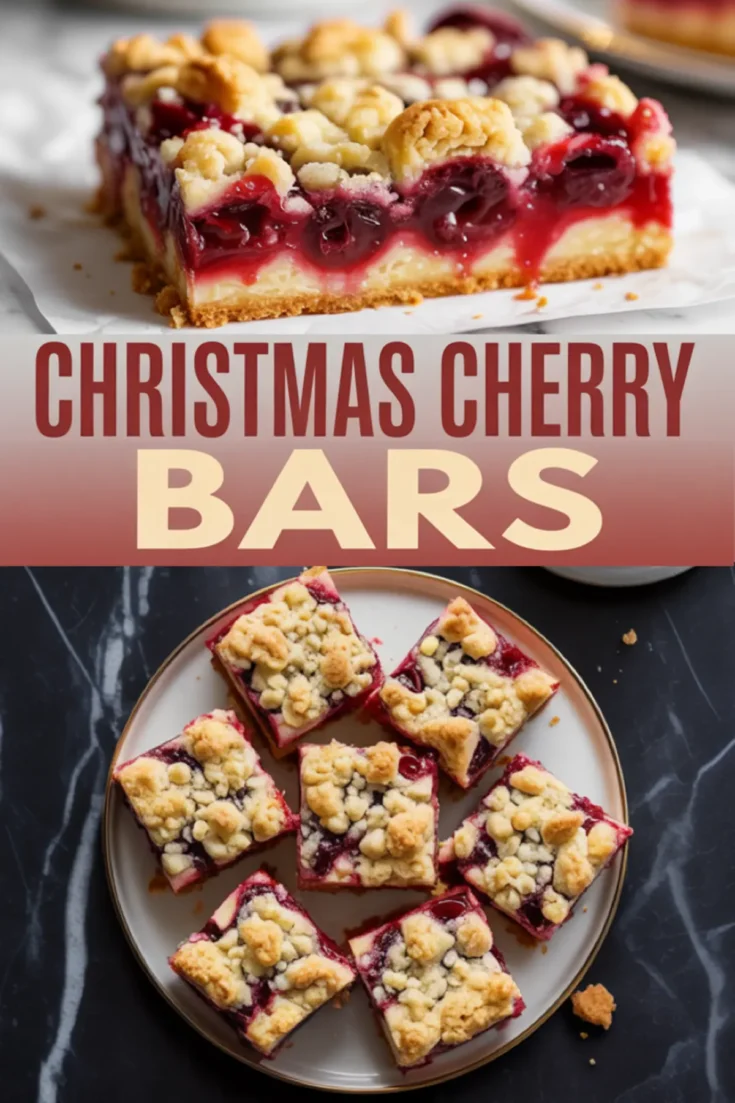
Christmas cherry bars are a soft, buttery dessert layered with cherry pie filling and a light golden crust. I mix a simple dough, press most into a pan, spoon over the cherry filling, and crumble the rest on top before baking. These cherry dessert bars slice cleanly and look bright on any holiday desserts table. I’ve brought them to cookie swaps, and they disappear fast. If you love cherry desserts or want a make-ahead option, this cherry bars recipe works well. Think of them as a cross between cherry pie bars and classic cookie bars, only easier. Keep them in your rotation for festive holiday desserts.
Ingredients
- FOR THE DOUGH:
- 3 cups all-purpose flour
- 1 1/2 cups granulated sugar
- 1 teaspoon baking powder
- 1/2 teaspoon salt
- 1 cup (2 sticks) unsalted butter, cold and cut into cubes
- 2 large eggs
- 1 teaspoon vanilla extract
- 1/4 teaspoon almond extract (optional)
- FOR THE FILLING:
- 2 cans (21 ounces each) cherry pie filling
Instructions
- PREHEAT THE OVEN: Set your oven to 350°F (175°C). Grease a 9x13-inch baking pan or line it with parchment paper for easy removal and clean cuts.
- MIX THE DRY INGREDIENTS: In a large mixing bowl, combine the flour, sugar, baking powder, and salt. Stir until evenly blended.
- ADD THE BUTTER: Add the cold, cubed butter to the dry ingredients. Use a pastry cutter or your fingertips to cut the butter into the flour mixture until it forms pea-sized crumbles. Keep the mixture cold to help the crust bake up crisp and tender.
- INCORPORATE WET INGREDIENTS: Add the eggs, vanilla extract, and almond extract if using. Stir until the dough is combined. It should be crumbly but cohesive when pressed together.
- FORM THE BASE: Take about two-thirds of the dough and press it evenly into the bottom of the prepared baking pan. Press firmly but avoid overworking the dough to maintain a tender texture.
- ADD THE CHERRY FILLING: Spoon the cherry pie filling over the base layer, distributing it evenly from edge to edge to ensure consistent fruit coverage.
- TOP WITH REMAINING DOUGH: Crumble the remaining dough over the cherry layer by pinching off small bits and scattering them evenly. Allow some of the filling to peek through for a rustic look.
- BAKE THE BARS: Place the pan in the oven and bake for 40 to 45 minutes, or until the top is lightly golden and the cherry filling is bubbling at the edges.
- COOL COMPLETELY: Remove the bars from the oven and let them cool completely in the pan. This allows the filling to set properly before slicing.
- OPTIONAL TOPPING: Once cooled, dust the bars with powdered sugar for a festive finish that adds a snowy look without extra sweetness.
Notes
Use cold butter to ensure the dough creates a crisp crust and golden crumble. Parchment lining is highly recommended for clean removal and even slicing. Store in an airtight container at room temperature for up to 4 days or refrigerate for up to 1 week.
Nutrition Information:
Yield:
24Serving Size:
1Amount Per Serving: Calories: 141Total Fat: 2gSaturated Fat: 1gTrans Fat: 0gUnsaturated Fat: 1gCholesterol: 17mgSodium: 96mgCarbohydrates: 28gFiber: 1gSugar: 14gProtein: 2g
