
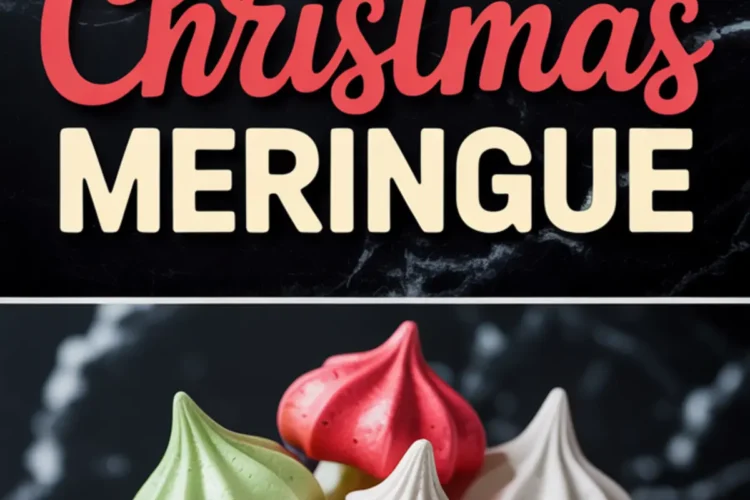
There’s something quietly charming about a cookie that doesn’t shout but lingers on your tongue with a soft crunch and a whisper of sweetness. These Christmas Meringue Kisses do exactly that. What you’re going to learn here is more than a method. You’ll understand why this recipe works year after year and how it always earns a spot on every holiday desserts table.
This recipe covers more than how to make Christmas Meringue. It explores technique, timing, texture. I’ll show you how to achieve the stable gloss of a well-whipped meringue, the kind that pipes into festive swirls and trees without collapsing. You’ll feel confident tackling this part of your holiday baking recipes.
You’ll also uncover a small, unexpected choice I make in these cookies. I’ll share it after the steps. It’s a dash of something subtle that gives the meringue cookies a finish you might not expect. But first, let’s talk ingredients.

Why These Ingredients Matter for Christmas Meringues
Egg whites provide the structure. You’ll want them at room temperature. Cold egg whites resist volume. I’ve tried this both ways in my early batches, and cold whites always left me disappointed. Room temperature changes everything.
Cream of tartar keeps the structure stable while you whip. This tiny bit of acid helps the proteins form firm, elastic strands. I used to skip it. I stopped doing that after a batch of fallen puffs in 2016. Never again.
Salt might seem small, but it sharpens the sweetness. A pinch is enough. It lifts the flavor and keeps the sugar from dominating.
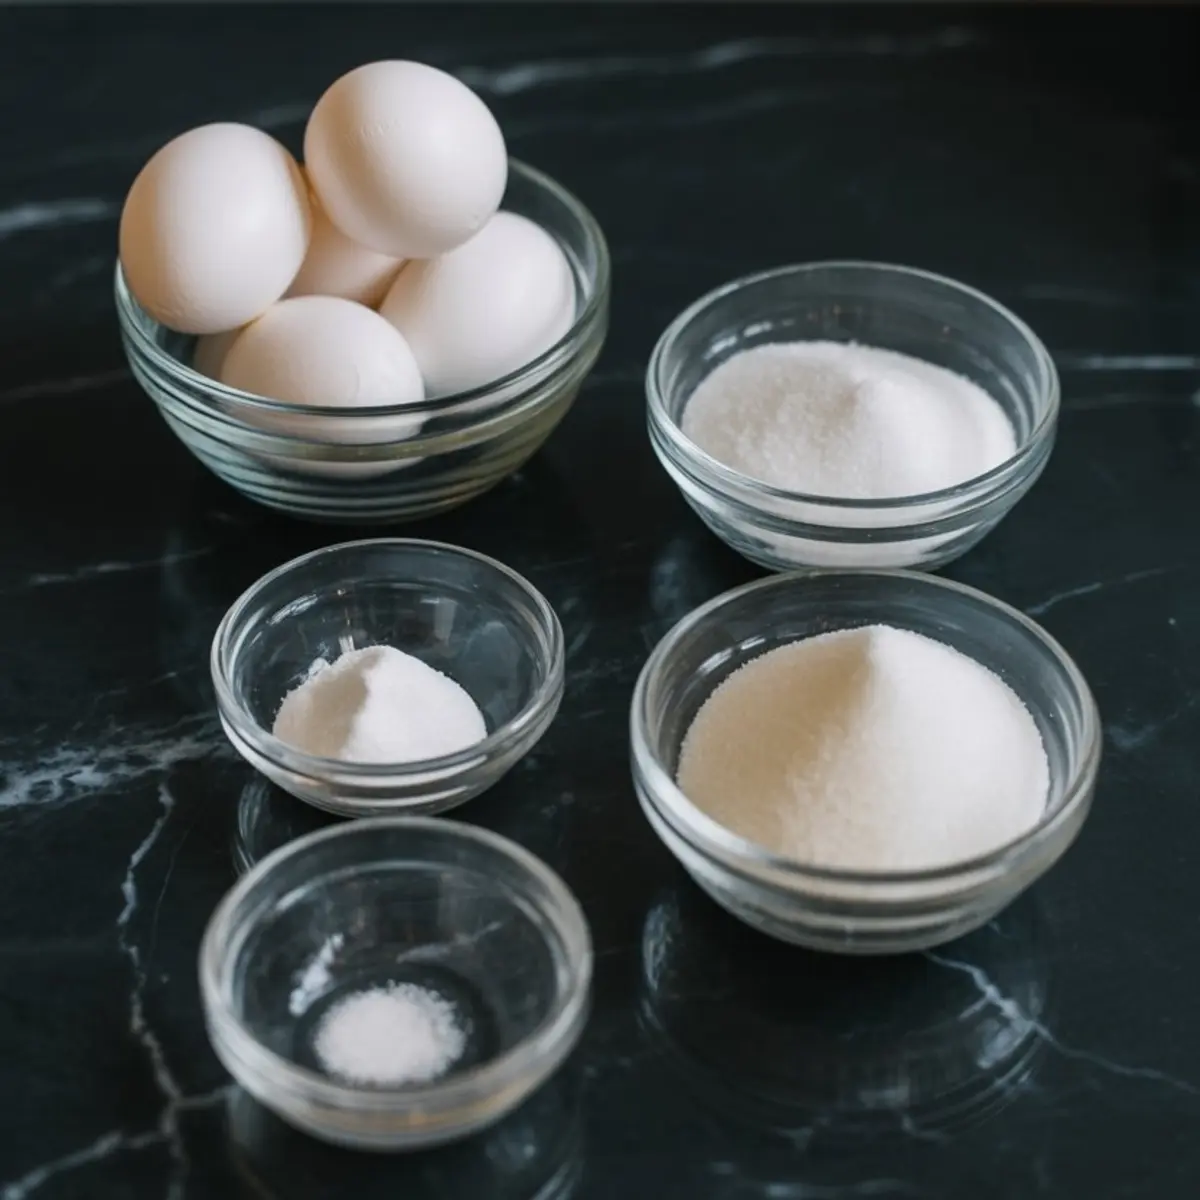
Granulated sugar gives the meringue its gloss. Add it slowly, one spoon at a time. Don’t rush. In my notes, the best batches came from adding sugar over 4 to 5 full minutes. It’s a slow climb to a stable structure.
Peppermint extract adds a subtle chill to the cookie. It’s clean and unexpected. You can use vanilla for something cozier. I’ve made both. If the rest of your Christmas fudge lineup leans rich, peppermint offers contrast.
Red and green gel food coloring brings holiday joy. I prefer gel over liquid. Liquid thins the meringue and ruins your piping. A swirl bag or separate bowls works best for color layering.
Christmas sprinkles or edible glitter? Optional, yes. But helpful if your holiday table includes little hands. Kids reach for sparkles. They don’t ask why. They just smile and grab.
How to Whip and Pipe Meringue Without Stress
Start slow. Your oven should be low and steady. Preheat it to 200°F. If your parchment curls up on the edges, secure it with clothespins or magnets outside the sheet.
Separate the eggs into a clean glass or metal bowl. Avoid plastic. Even a trace of fat in the bowl ruins volume. I cracked a yolk into my whites once and tried to salvage it. Don’t do that. Start over.
Whip the whites with salt and cream of tartar until foamy. Look for the stage where they turn from clear to opaque. That shift matters more than the clock.
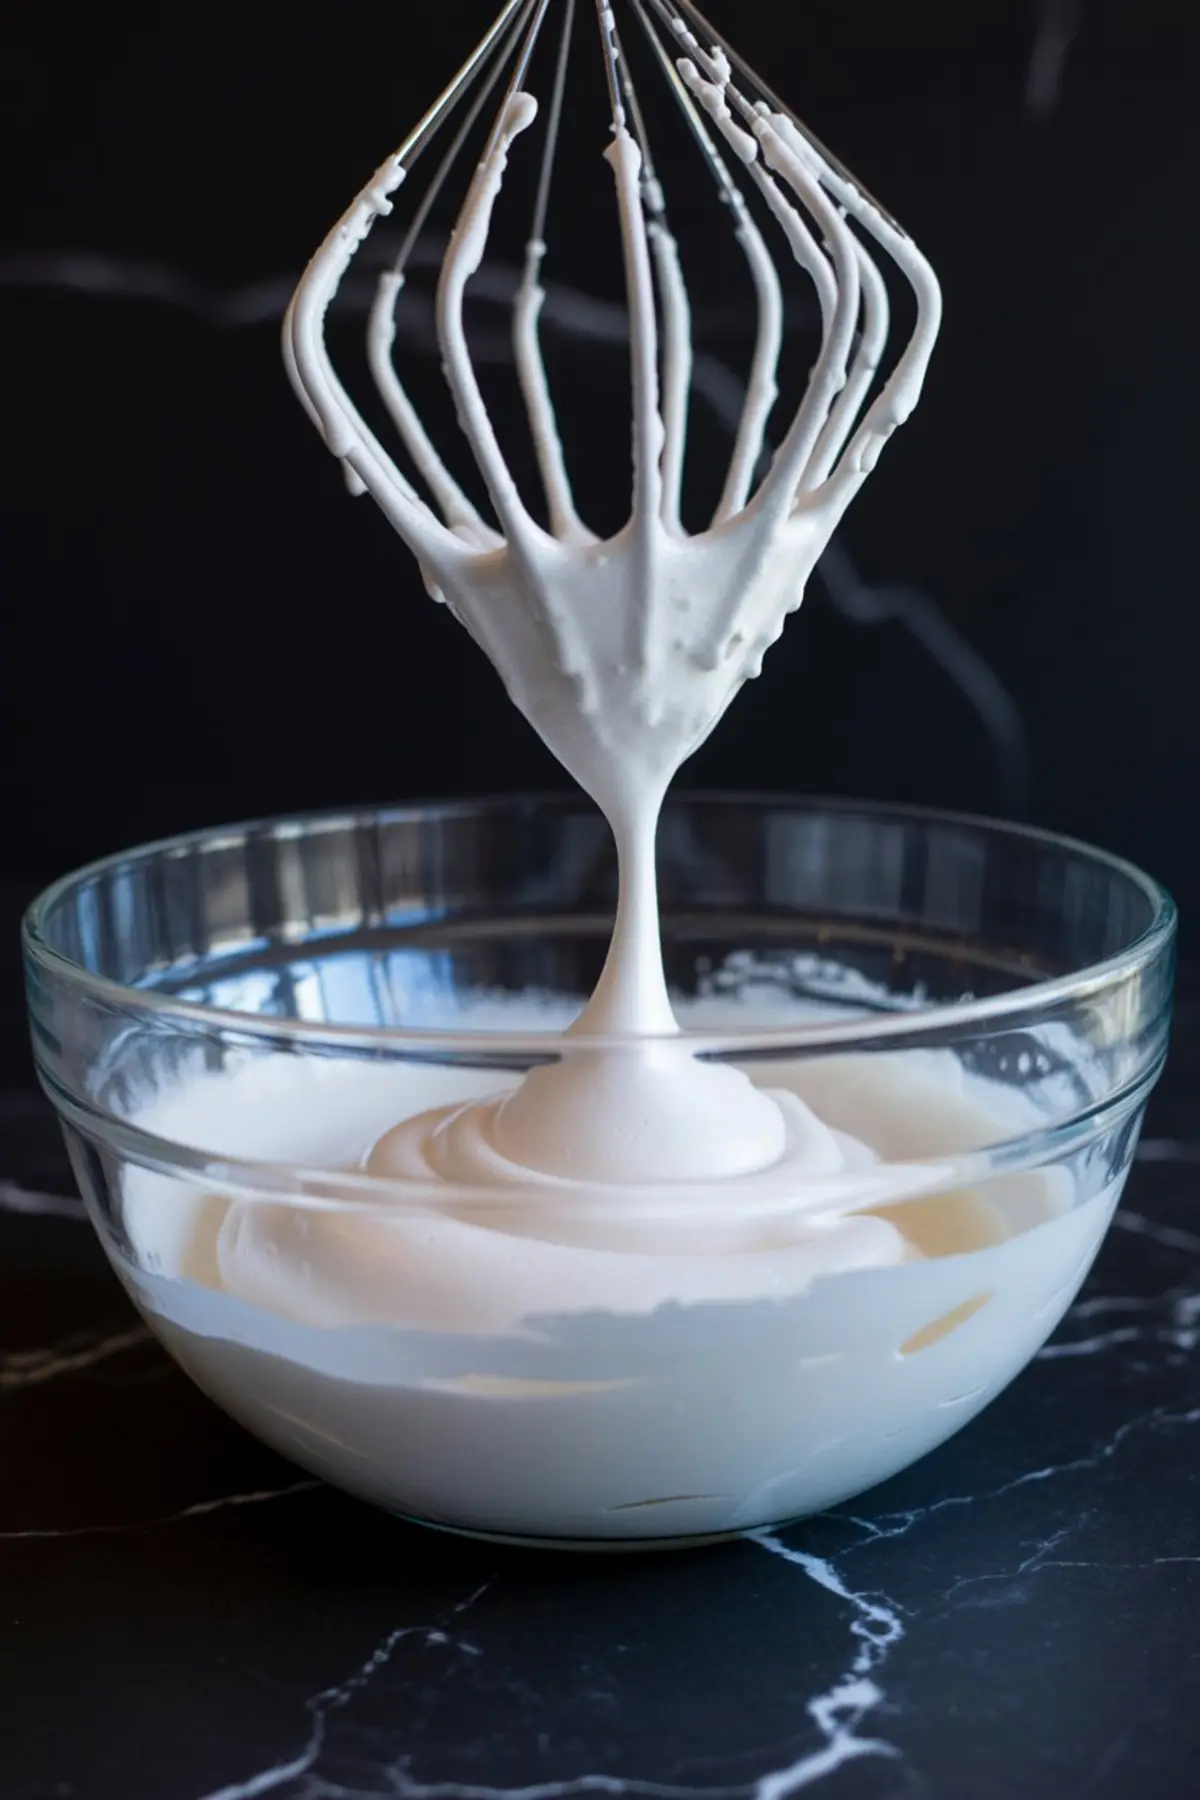
Add sugar slowly, one spoonful at a time, while the mixer runs. Let each spoon dissolve. Watch for the meringue to turn glossy. You want stiff peaks. When you lift the beater, the peak should hold and curl slightly.
Add the extract. Just a few seconds of mixing brings it through the batch. Don’t overwhip here. The meringue’s ready.
Divide and color the meringue as you like. Use a gentle folding motion. Never stir. I like to stripe the piping bag with a bit of red or green before spooning in the plain meringue. It gives you a soft swirl effect.
Pipe the meringue kisses on your prepared sheets. They won’t spread. You can nest them fairly close together. Add sprinkles now if you’re using them. They need to bake with the kisses.
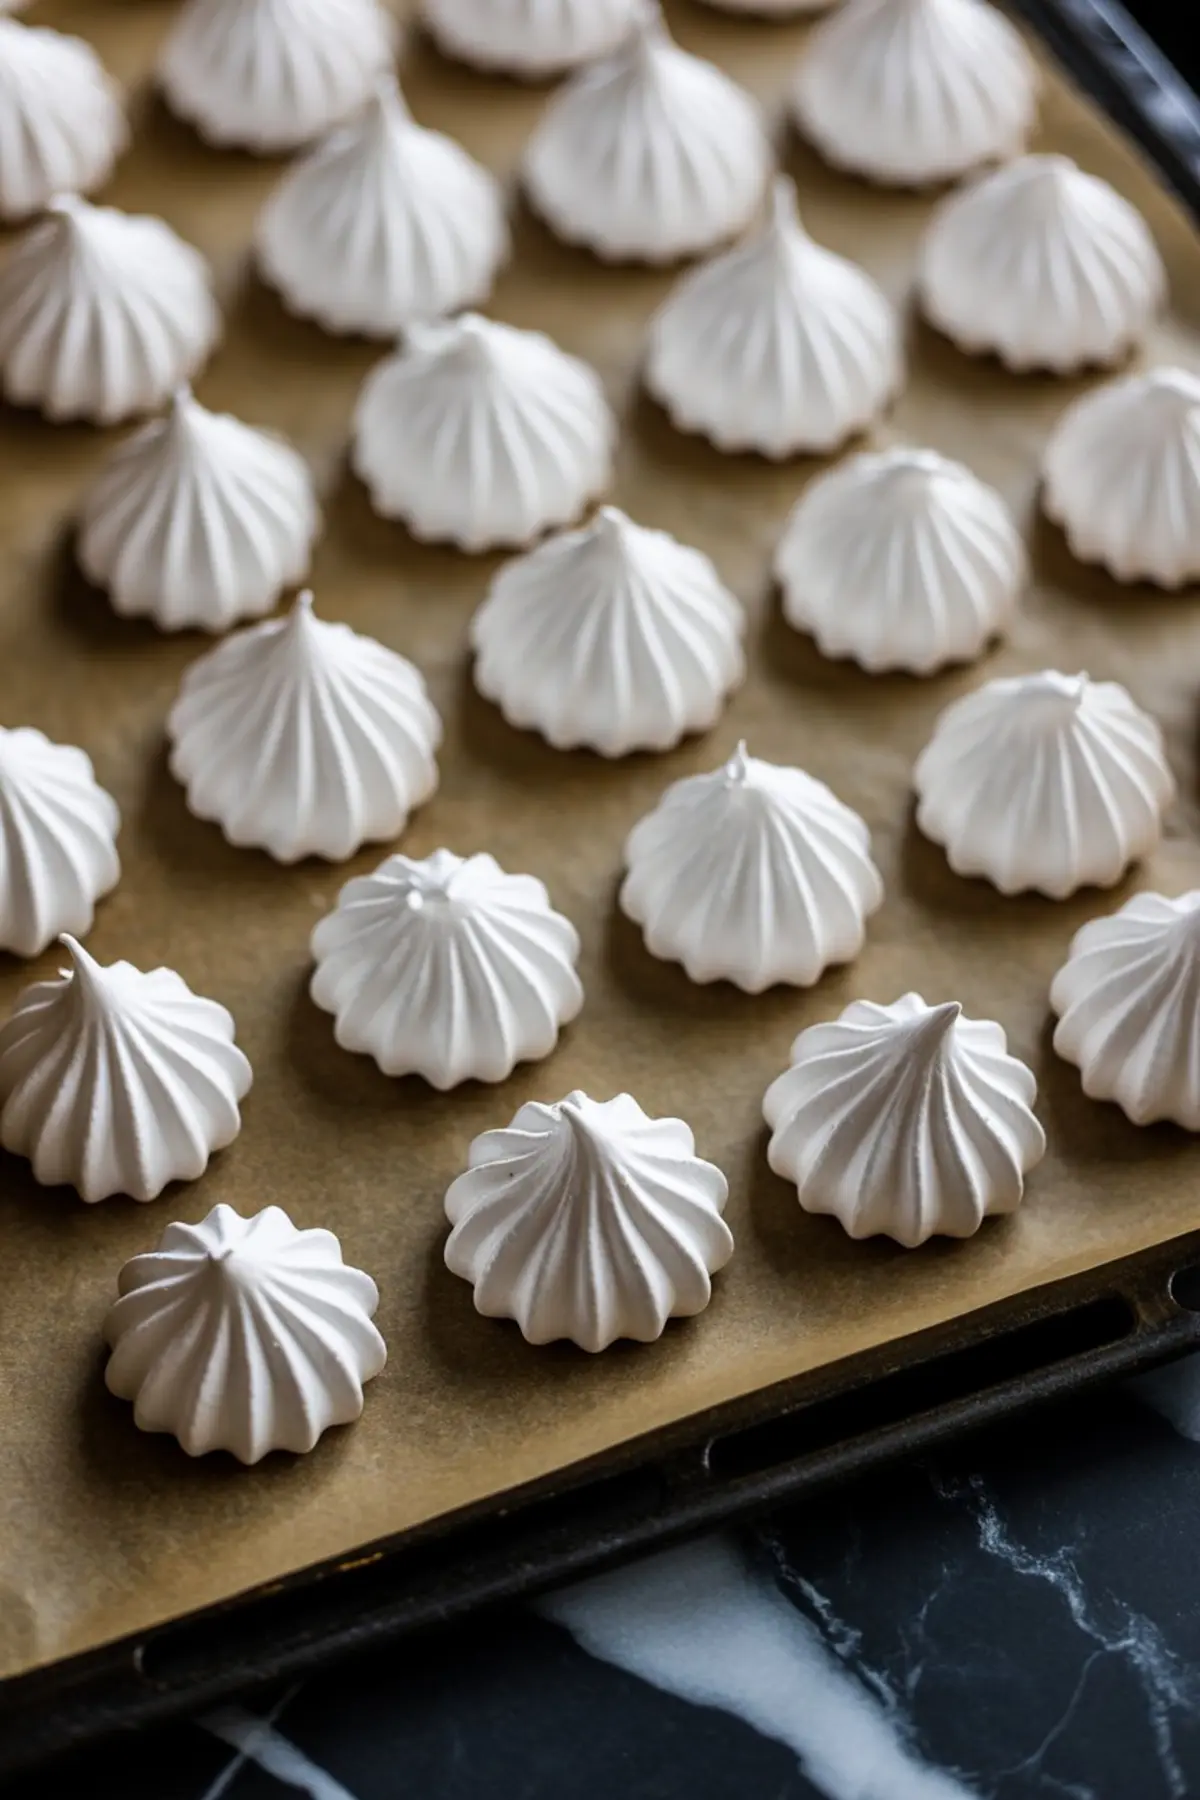
Place the trays in the oven. Let them bake low and slow for 1 hour and 30 minutes. Don’t open the oven door.
After baking, turn off the heat but leave the trays inside. Let them cool for another hour in that dry heat. That slow cooling sets the crisp texture.
Should You Use Peppermint or Vanilla?
I’ve tested both. Peppermint gives a cleaner finish, especially when served next to heavier Christmas fruit cake. It doesn’t compete. Vanilla, though, has warmth. It softens the bite. For cookie tins or gifts, I tend to use vanilla. It travels better and fits more palates.
If you’re making these alongside Christmas tree cake pops, the peppermint version holds its own. It stands out.
The Final Finish: What I Always Add Last
This is where I let you in on the part I hinted earlier. A single drop of almond extract. Just one. It rounds out the peppermint or deepens the vanilla. It doesn’t taste like almond. It tastes finished.
I mix it in with the main extract. Quietly. Without fanfare. It adds balance you can’t name but feel.
I found this by accident one year, trying to rescue a batch that felt flat. Since then, I always add that one drop.
The texture holds, the kisses dry crisp, and they leave that tiny echo of flavor behind.
Save and Share Your Own Christmas Meringue Ideas
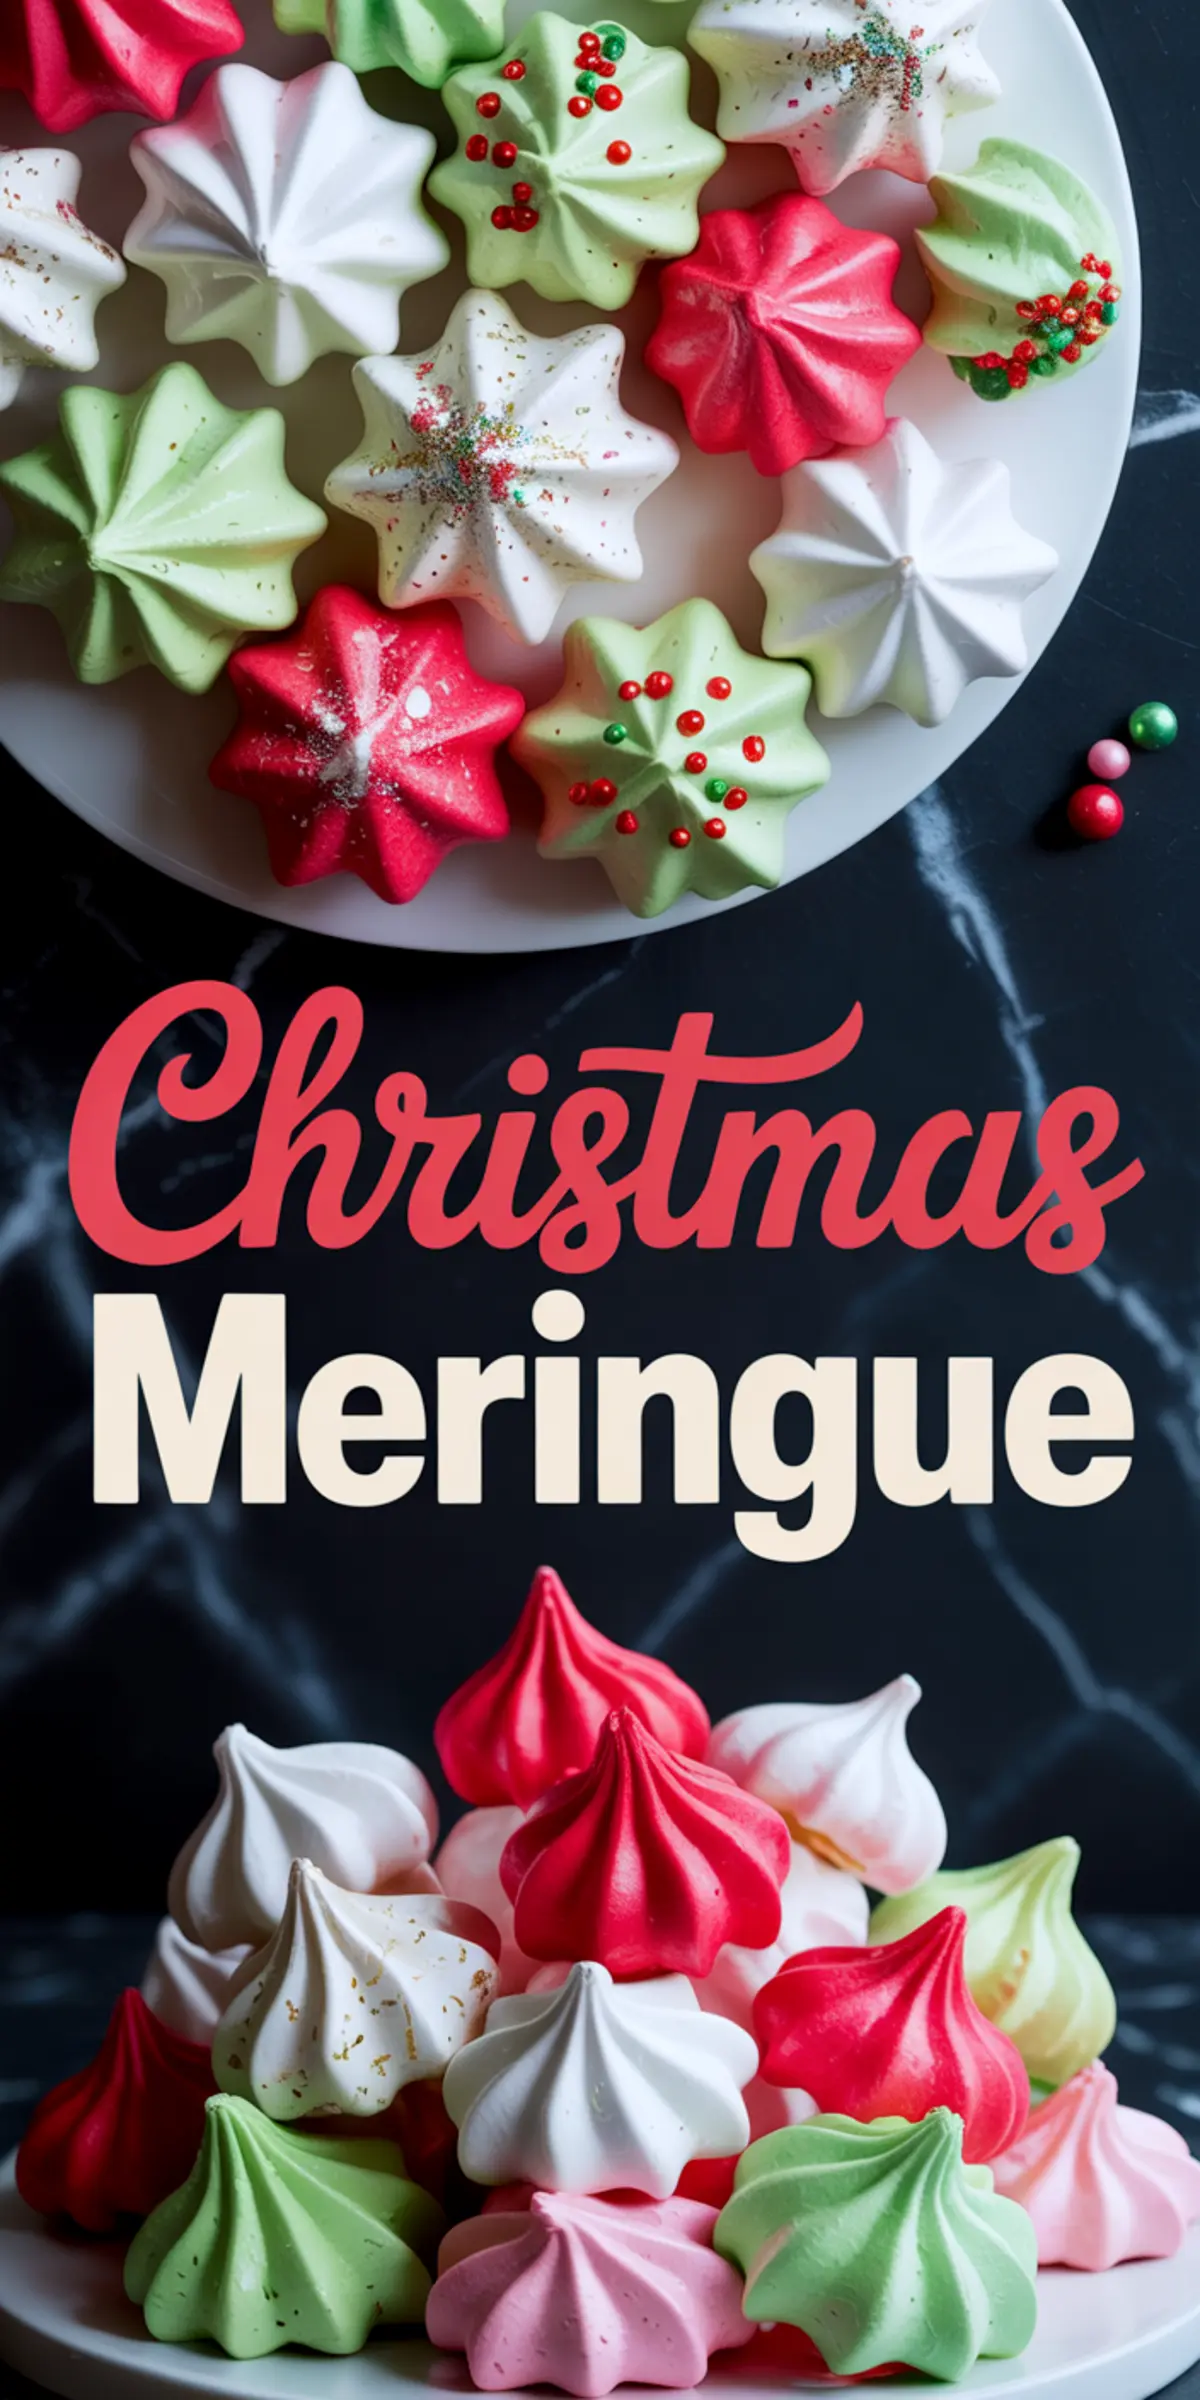
These meringue kisses make a bright addition to any Christmas Pavlova tray or gift tin. They’re easy to scale, easy to color, and they last well when stored properly.
Save this recipe to your favorite Pinterest board so you can find it again before the next cookie swap or winter brunch.
And if you try it, let me know in the comments. I’d love to hear what color combinations you chose or whether you used peppermint, vanilla, or maybe both.
Happy baking. Let it snow.
Christmas Meringue Kisses
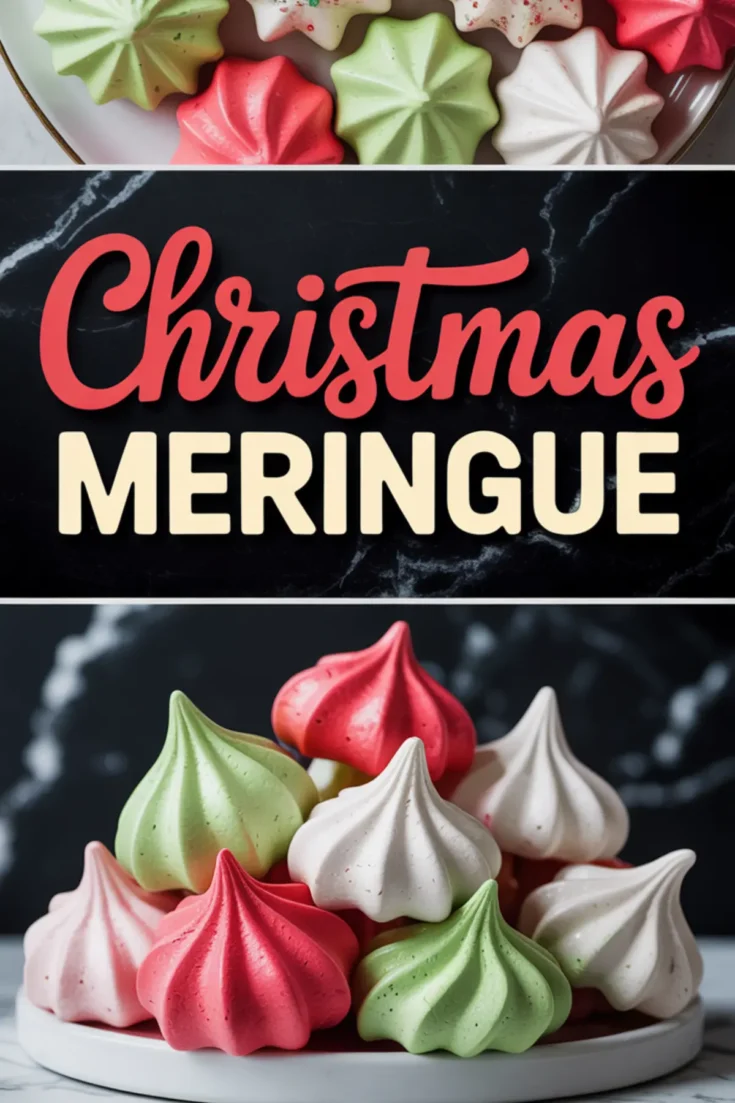
Christmas meringue is a crisp, airy cookie made by whipping egg whites and sugar until glossy and stiff. I pipe the mixture into swirls or trees, then bake them low and slow until dry. These christmas meringues hold their shape beautifully and melt in your mouth. They’re naturally gluten-free, easy to color, and look great on a holiday desserts table. I use this meringue recipe every year for cookie tins or simple gifts. If you’re planning christmas baking recipes or need christmas meringue ideas that won’t take much effort, these are a festive place to start.
Ingredients
- 4 large egg whites, at room temperature
- 1 cup granulated sugar
- ½ teaspoon cream of tartar
- ⅛ teaspoon salt
- ½ teaspoon peppermint extract or vanilla extract
- Red and green gel food coloring
- Christmas sprinkles or edible glitter (optional)
Instructions
- PREHEAT THE OVEN: Set your oven to 200°F (95°C) and line two baking sheets with parchment paper. Use clothespins or magnets to keep the parchment flat if needed.
- SEPARATE THE EGGS: Carefully separate the egg whites into a clean, dry metal or glass mixing bowl, ensuring no yolk is present. Add salt and cream of tartar to the bowl.
- WHIP TO FOAMY STAGE: Begin beating the egg whites on medium speed until they become frothy and opaque, using a stand mixer or hand mixer.
- ADD SUGAR GRADUALLY: With the mixer running, add sugar one tablespoon at a time, waiting for each addition to dissolve before adding the next. This step ensures the meringue develops a glossy, stable structure.
- WHIP TO STIFF PEAKS: Continue beating for 8 to 10 minutes until stiff, glossy peaks form. When the beater is lifted, the meringue should hold a firm curl without collapsing.
- ADD EXTRACT: Mix in peppermint extract (or vanilla) and beat for 10 seconds to incorporate evenly.
- COLOR THE MERINGUE: Divide the meringue into separate bowls based on the number of colors you plan to use. Add a small amount of gel food coloring to each and gently fold to combine, being careful not to deflate the meringue.
- PREPARE PIPING BAG: Fit a piping bag with a large star tip (such as Wilton 1M or 2D). Spoon in the colored meringue or stripe the bag with food coloring before adding plain meringue for a swirl effect.
- PIPE THE KISSES: Pipe small meringue kisses onto the prepared baking sheets, spacing them slightly apart. They won’t spread while baking. Add sprinkles or edible glitter if using.
- BAKE LOW AND SLOW: Place the trays in the preheated oven and bake for 1 hour and 30 minutes. Do not open the oven during baking.
- COOL IN OVEN: After baking, turn off the oven and leave the meringues inside for at least 1 hour to cool and dry completely. Keep the door closed to maintain the low humidity.
Notes
Store finished meringues in an airtight container at room temperature for up to one week. Avoid making these on humid days if possible, as moisture affects texture.
Nutrition Information:
Yield:
60Serving Size:
1Amount Per Serving: Calories: 15Total Fat: 0gSaturated Fat: 0gTrans Fat: 0gUnsaturated Fat: 0gCholesterol: 0mgSodium: 8mgCarbohydrates: 3gFiber: 0gSugar: 3gProtein: 0g
