
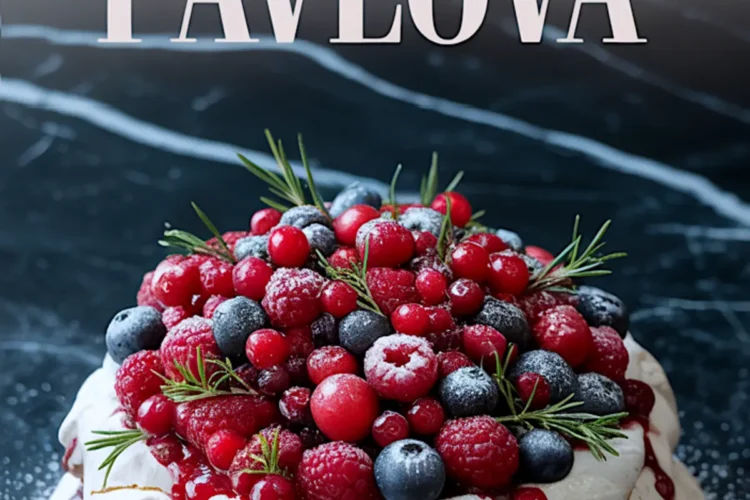
Christmas tables can feel crowded with heavy sweets, yet a pavlova dessert stands out as a light, dramatic finish. You will learn how to create a Christmas pavlova recipe with a crisp exterior, a marshmallow-soft center, and toppings that look like holiday decorations.
This pavlova Christmas version is more than decoration. It gives your guests the satisfaction of something sweet without the weight of a dense cake or pie. You will see how each ingredient plays its role, how each step shapes the outcome, and how one unexpected detail gives this pavlova a special charm. That last part, I’ll save for later.
Holiday baking often blends tradition with surprise. Pavlova brings both, and it fits naturally with other Christmas dessert ideas you might already plan, such as Christmas Chocolate.
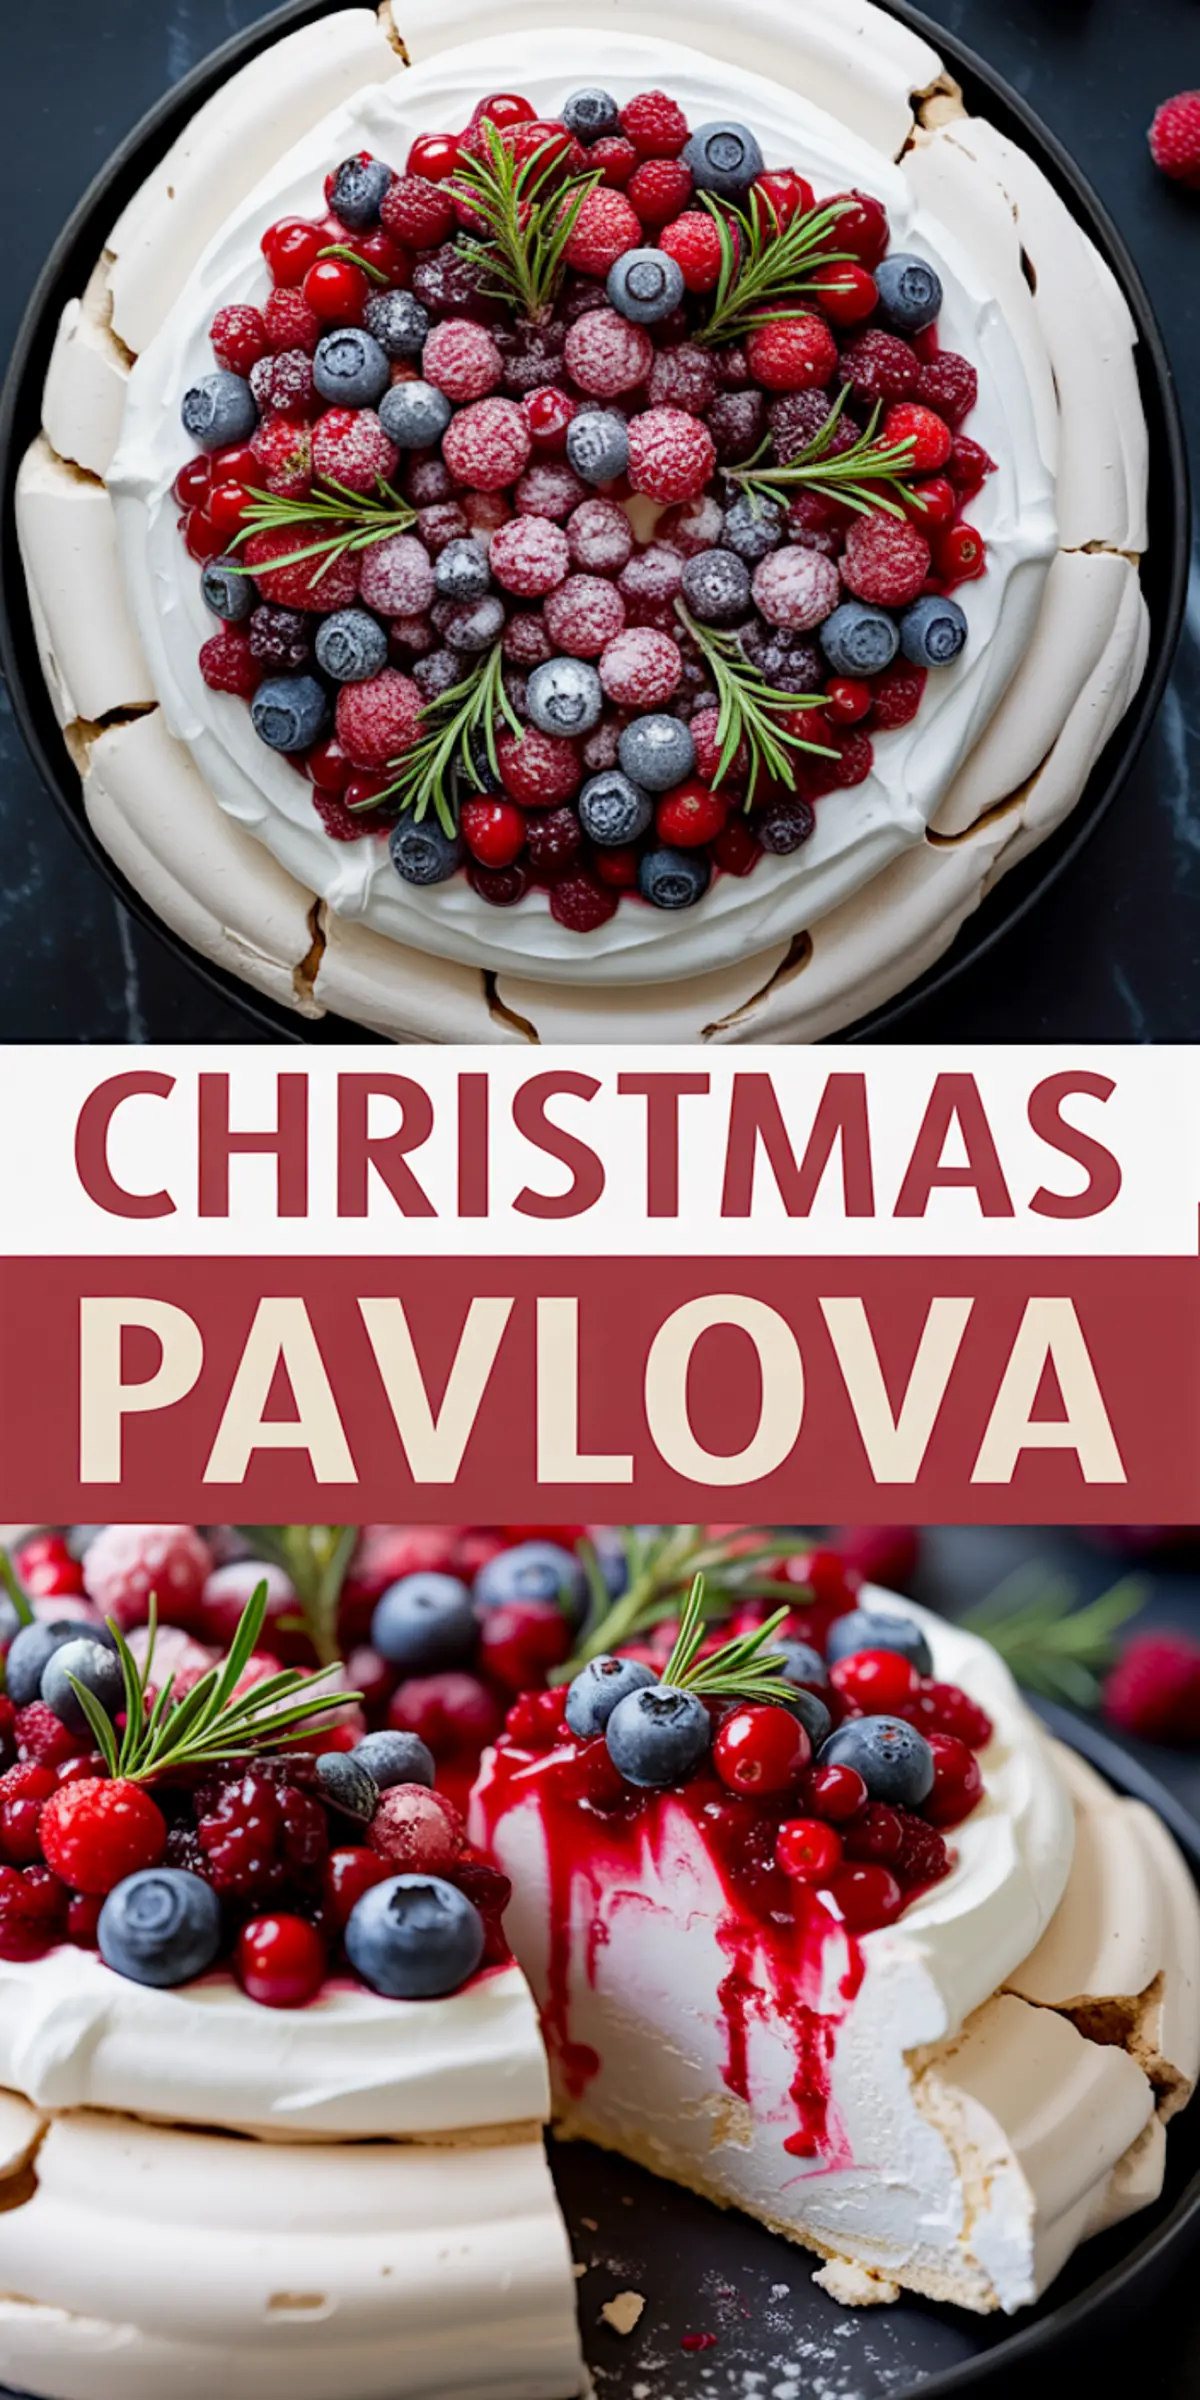
Ingredients That Shape the Christmas Pavlova
Egg whites are the foundation. They begin as clear, quiet liquid and, with air and patience, transform into the glossy structure that holds the pavlova together. I never rush this stage, because the peaks decide the final height.
Sugar stabilizes and sweetens. Superfine sugar dissolves best, though granulated sugar pulsed in a food processor works almost as well. I keep notes in my Pin Notebook, and I’ve found superfine sugar always gives a smoother shell.

Cornstarch and vinegar create the soft interior. Without them, the center often bakes too dry. The two together create a texture that feels like marshmallow rather than stiff meringue.
Vanilla extract adds warmth. It’s a small detail, yet without it the pavlova can taste hollow. I once made a version without vanilla, and the absence left the meringue tasting flat, no matter how beautiful it looked.
Heavy cream balances the sugar. Whipped unsweetened, it softens every bite and keeps the focus on the berries. Fresh berries bring color and tartness. At Christmas I lean toward raspberries, currants, or even a scatter of pomegranate seeds for brightness. A little rosemary completes the winter picture. It looks like pine and tastes clean against the sweetness.
If your Christmas menu already includes something rich like Christmas Pudding, this pavlova will feel like relief after that.
Comparison of Sugar Choices in Pavlova
I’ve tested pavlovas with both superfine sugar and standard granulated sugar. The difference shows up in the shell’s smoothness and shine. With superfine, the meringue spreads easily and sets with a clean, polished look. With granulated sugar, even pulsed, small grains sometimes linger. Those grains create a slightly gritty bite and a less glossy shell.
If you want presentation to match effort, superfine sugar is worth the extra step. The pavlova keeps its crisp shell and you avoid the faint crunch of undissolved sugar. My notebook is full of small trials like this, and I can say the results are clear.
Preparing the Pavlova Base
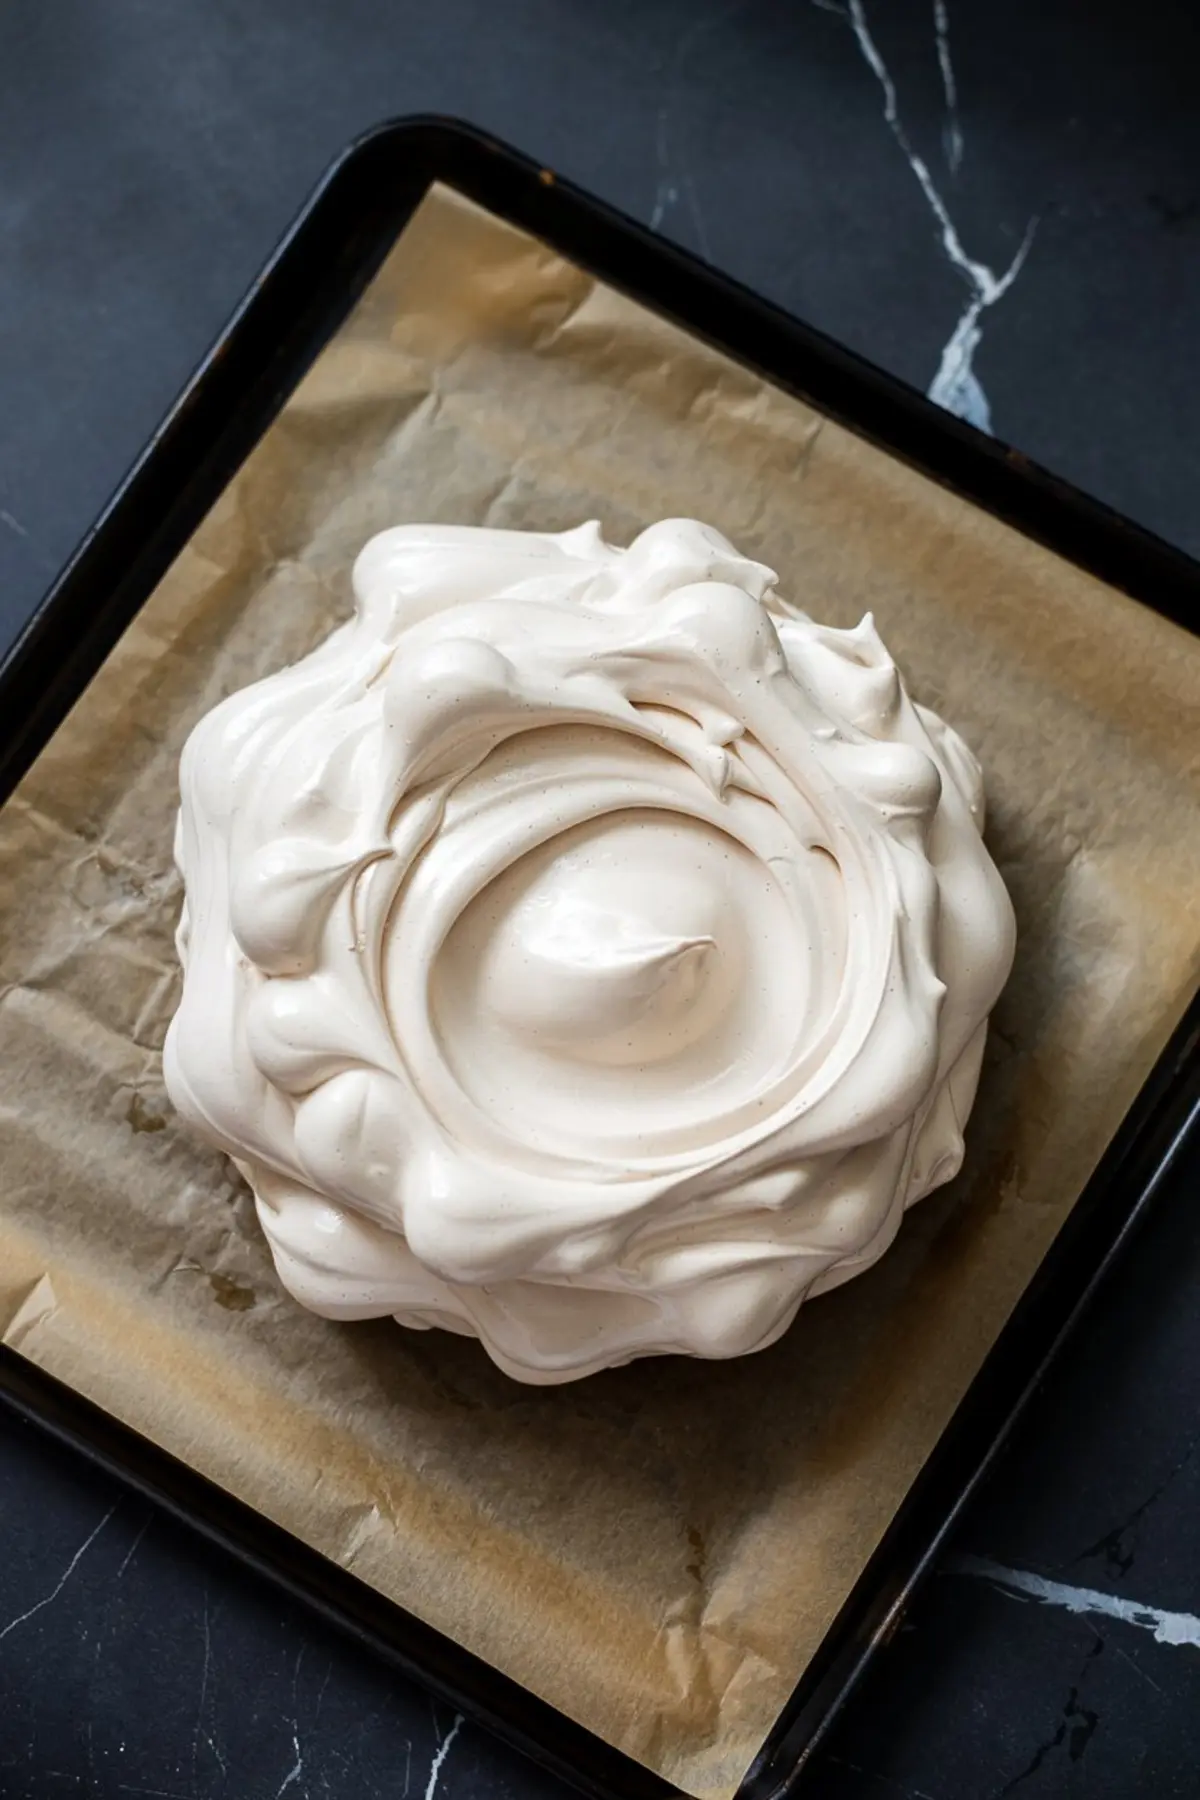
The oven needs a slow, steady heat. A preheat at 275°F followed by an immediate drop to 250°F creates the contrast that allows the shell to set without burning. I line my sheet with parchment and draw a circle, which feels like giving the meringue its stage.
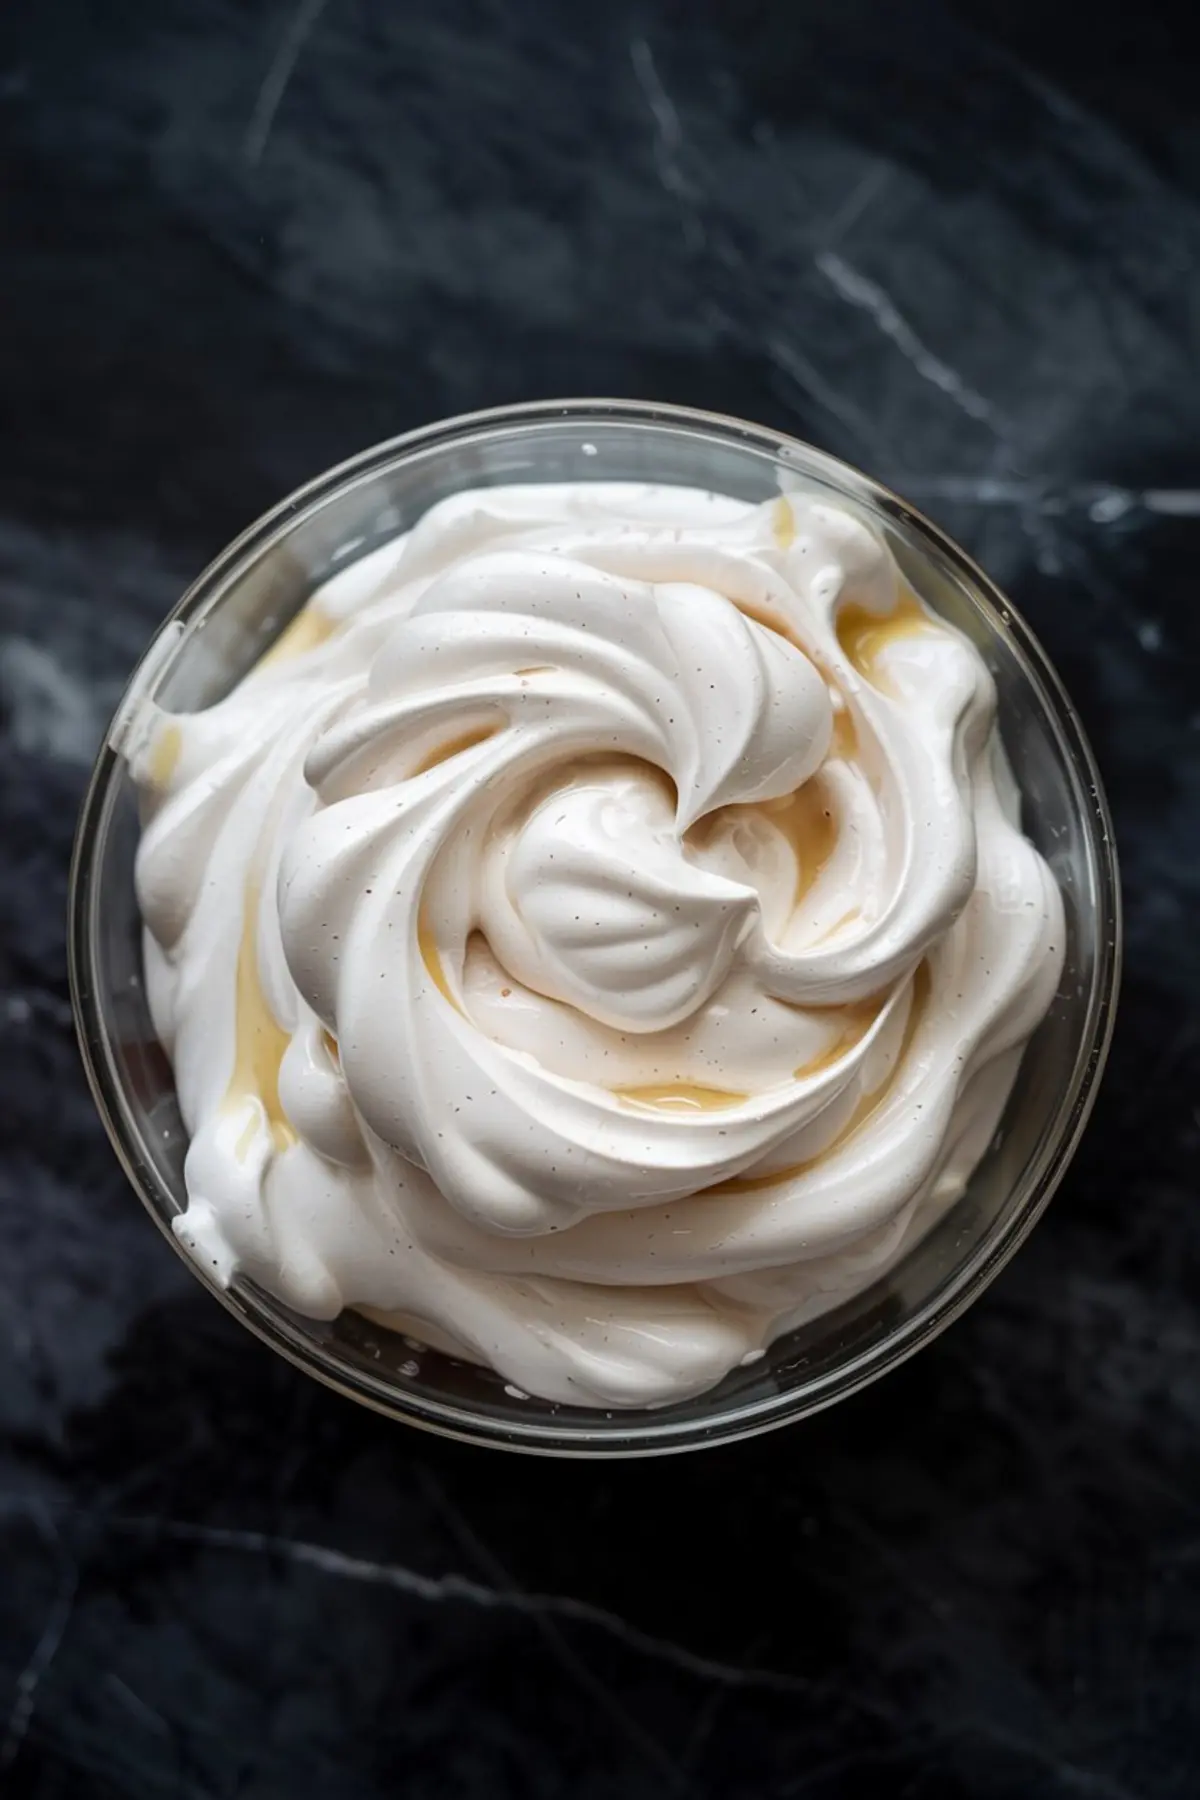
Whipping the egg whites takes time. Soft peaks mark the point where the whites have caught enough air but remain flexible. Only then do I add sugar, one spoonful at a time. I check by rubbing the meringue between two fingers. If it feels gritty, I keep the mixer running. This step alone separates a smooth pavlova from one with a sandy bite.
Folding in the stabilizers calls for care. A spatula, slow strokes, no sudden movements. You don’t want to lose the air you’ve worked to build.
If your oven is busy with Christmas Pancakes, plan carefully, because pavlova takes oven space for at least ninety minutes.
Baking and Cooling the Shell
Baking at a lower heat gives the meringue its crisp shell. It dries slowly rather than browning quickly. The patience pays off when you tap the shell and hear the hollow sound of a good pavlova.
Cooling inside the oven with the door cracked is non-negotiable. If you pull it out too soon, cracks appear. I once grew impatient and lifted mine to the counter too early. The whole surface split in seconds, a reminder that pavlova rewards patience.
Humidity plays a role too. On damp days the shell tends to absorb moisture and soften. If the air feels heavy, I delay baking. It saves frustration later.
For holiday gatherings where timing matters, you can make the base the night before and keep it in an airtight container. Then on the day, you only need to whip cream and arrange fruit.
Adding the Cream and Fruit Topping
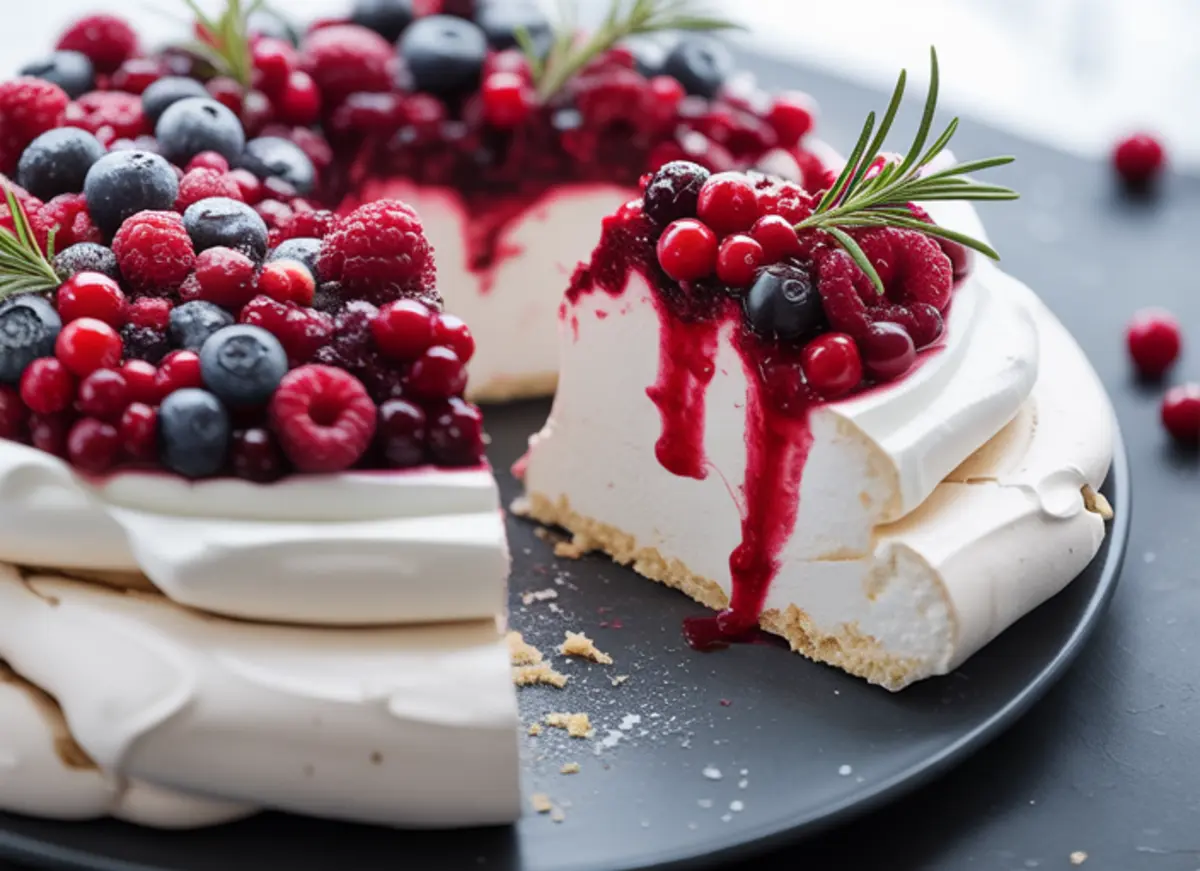
Whipping cream without sugar might feel unusual, but pavlova already brings plenty of sweetness. The plain cream sets off the fruit and balances the meringue.
I spoon cream into the center and let it sit like a soft cushion. The berries then fall naturally into place, tumbling slightly over the edges. Their red and purple tones make the pavlova look like a wreath. A sprig or two of rosemary completes the picture, dusted with powdered sugar like snow.
If you want your dessert table to feel coordinated, this pavlova sits nicely alongside Christmas Fudge. Both give a contrast in texture, one crisp and airy, the other dense and chewy.
The Secret Touch That Elevates This Pavlova
Earlier I hinted at a small element that lifts this recipe. It’s rosemary. Not as a heavy flavor, but as a garnish. Just a few sprigs change the pavlova from a simple meringue with cream into a Christmas centerpiece. Guests often pause before eating, drawn in by how it looks like winter branches.
That detail has become part of my holiday pavlova. It’s simple, yes, but it sets this Christmas pavlova recipe apart from others.
Share Your Christmas Pavlova
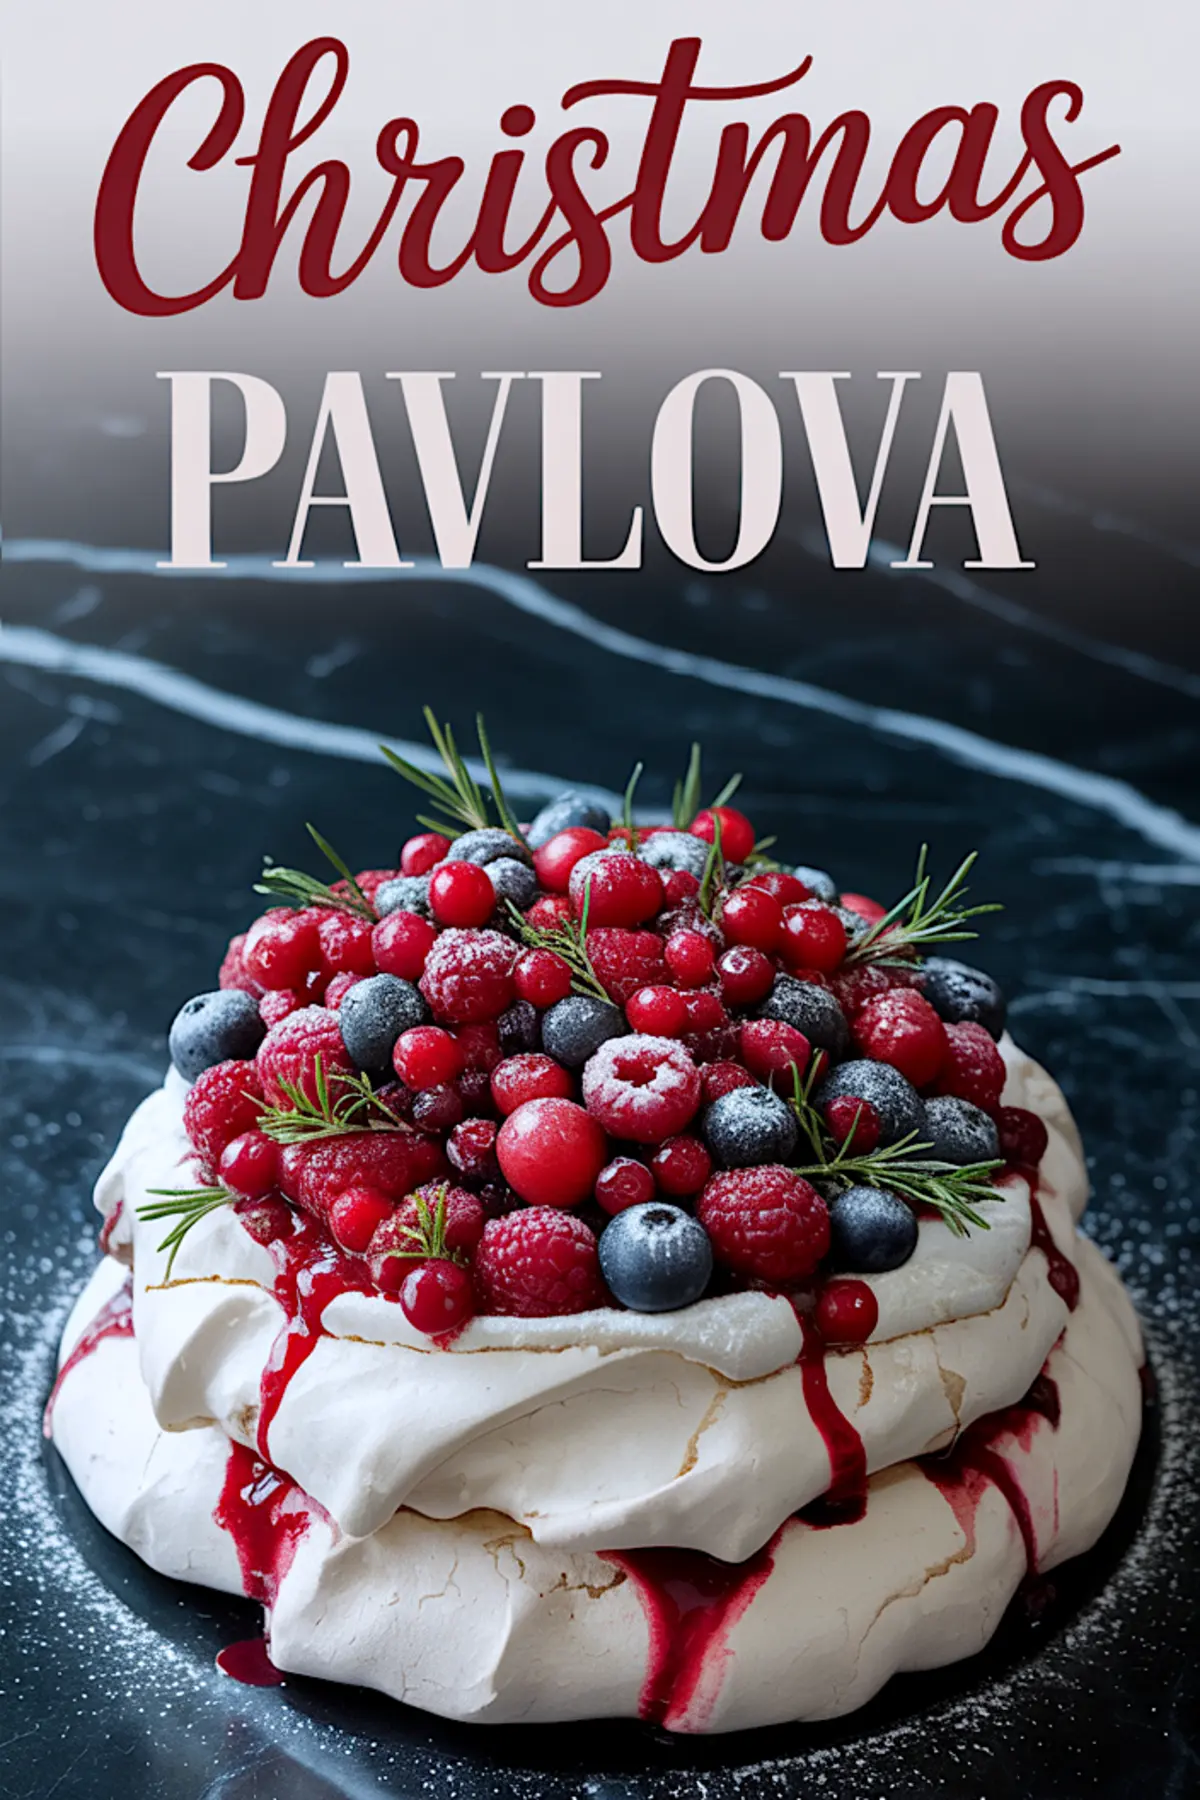
A pavlova dessert like this belongs in your holiday baking plan. It is light, dramatic, and welcoming after a heavy meal. Add it to your Xmas desserts and Christmas food ideas board, and keep it near recipes you revisit year after year.
I’d love for you to save this post to Pinterest for later. And when you make it, share in the comments how yours turned out, or ask questions if you find yourself stuck at any step. This is how our kitchen community grows, one pavlova at a time.
Christmas Pavlova Recipe
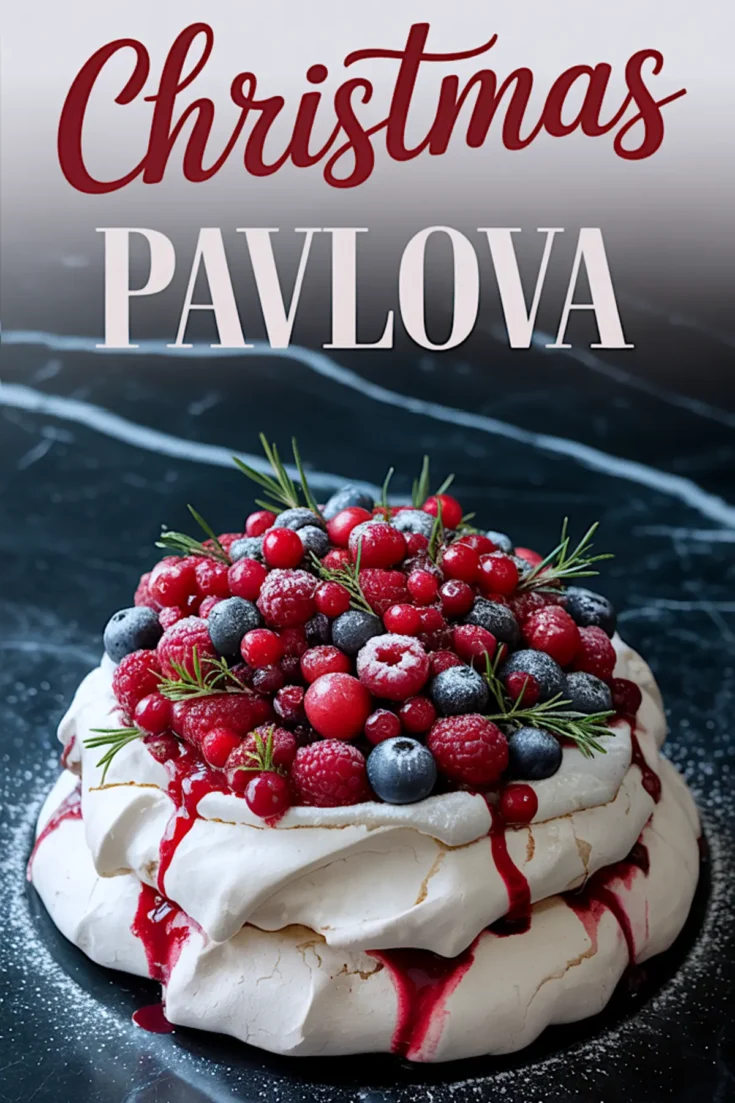
Christmas pavlova is a crisp meringue shell with a marshmallow-soft center, topped with whipped cream and fresh fruit. I usually go with red berries and a little mint to keep the colors festive. This Christmas pavlova recipe looks impressive but comes together with a short ingredient list and simple steps. It’s one of my favorite holiday dessert recipes when I want something light after a big meal. Pavlova Christmas versions like this fit well into any Christmas food ideas board—fresh, sweet, and not overly heavy. I keep it in my collection of pavlova dessert options that work for gatherings or small dinners. Save it with your holiday baking or Xmas desserts when you want a showstopper that’s naturally gluten-free.
Ingredients
- 6 large egg whites, at room temperature
- 1 ½ cups superfine sugar (or granulated sugar pulsed in a food processor)
- 2 teaspoons cornstarch
- 1 teaspoon white wine vinegar
- 1 teaspoon vanilla extract
- 1 ½ cups heavy cream
- 1 cup fresh berries (raspberries, blueberries, red currants, or pomegranate seeds)
- 3–4 small rosemary sprigs
- Powdered sugar, for dusting
Instructions
- PREHEAT THE OVEN: Preheat your oven to 275°F (135°C) and line a baking sheet with parchment paper. Draw an 8-inch circle on the paper as a guide, then flip it over so the pencil marks don’t touch the food.
- WHIP THE EGG WHITES: In a large clean mixing bowl, beat the egg whites on medium speed until soft peaks form. This will take a few minutes and requires a grease-free bowl to ensure proper volume.
- ADD THE SUGAR: With the mixer running, add the sugar one tablespoon at a time, allowing it to dissolve fully before adding more. Continue beating until the meringue becomes thick, glossy, and forms stiff peaks. Rub a little between your fingers—if it feels gritty, keep beating.
- FOLD IN STABILIZERS: Gently fold in the cornstarch, white wine vinegar, and vanilla extract using a spatula. Use slow, deliberate motions to preserve the air in the meringue.
- SHAPE THE MERINGUE: Spoon the meringue onto the parchment-lined baking sheet within the drawn circle. Smooth the sides and create a shallow well in the center with a spatula to hold the whipped cream later.
- BAKE THE PAVLOVA: Place the baking sheet in the oven and immediately reduce the temperature to 250°F (120°C). Bake for 90 minutes without opening the oven door. The exterior should feel dry and crisp.
- COOL GRADUALLY: After baking, turn off the oven and leave the pavlova inside with the door slightly ajar. Let it cool completely for at least 2 hours to prevent cracks from forming.
- WHIP THE CREAM: While the pavlova cools, beat the heavy cream in a chilled bowl until soft peaks form. Do not add sugar; the sweetness of the meringue balances the unsweetened cream.
- ASSEMBLE THE TOPPING: Once fully cooled, spoon the whipped cream into the center of the pavlova. Pile the fresh berries over the cream, allowing them to cascade slightly over the edges.
- GARNISH AND SERVE: Add a few rosemary sprigs and lightly dust the top with powdered sugar for a snow-like finish. Serve immediately or within a few hours for best texture.
Notes
To avoid weeping or cracking, make sure the egg whites are completely free of yolk and the bowl is clean and dry. Avoid making pavlova on humid days, as moisture can affect the texture. You can prepare the meringue base a day ahead and store it in an airtight container at room temperature. Add toppings just before serving.
Nutrition Information:
Yield:
8Serving Size:
1Amount Per Serving: Calories: 397Total Fat: 17gSaturated Fat: 11gTrans Fat: 1gUnsaturated Fat: 5gCholesterol: 50mgSodium: 57mgCarbohydrates: 60gFiber: 3gSugar: 55gProtein: 4g
