
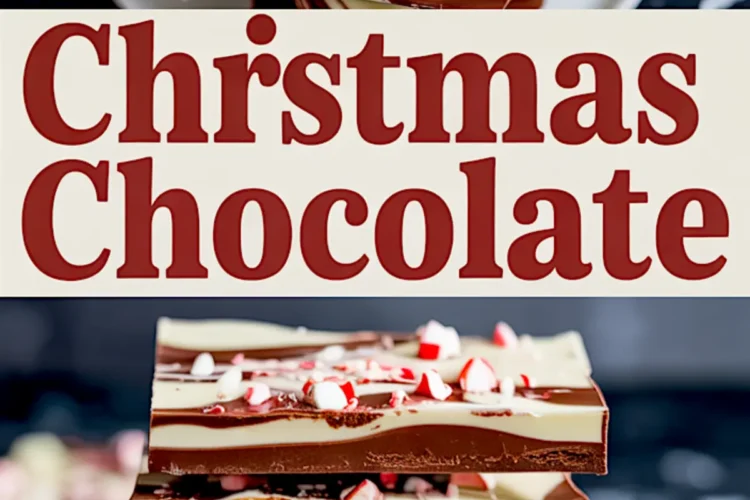
Chocolate feels like the heartbeat of the holidays. Every December, I notice how a single tray of glossy bark can brighten a table more than any centerpiece. You will learn exactly how to create this Christmas chocolate at home, and you will see how easy it is to turn it into both snack trays and Christmas chocolate gifts. That sense of ease matters because holiday kitchens get busy, and no one wants stress built into their candy recipes homemade.
This recipe fits right in with easy Christmas candy recipes people search for again and again. Think Christmas chocolates with swirled ribbons, a candy tray that doubles as decoration, and treats that look like Christmas aesthetic art. By the end, you’ll know how to pull it together quickly. More importantly, you’ll understand which ingredients carry the most weight, and why one small choice can change the bark from casual snack to polished gift. And yes, I’ll let you in on a secret dash of flavor that most skip.
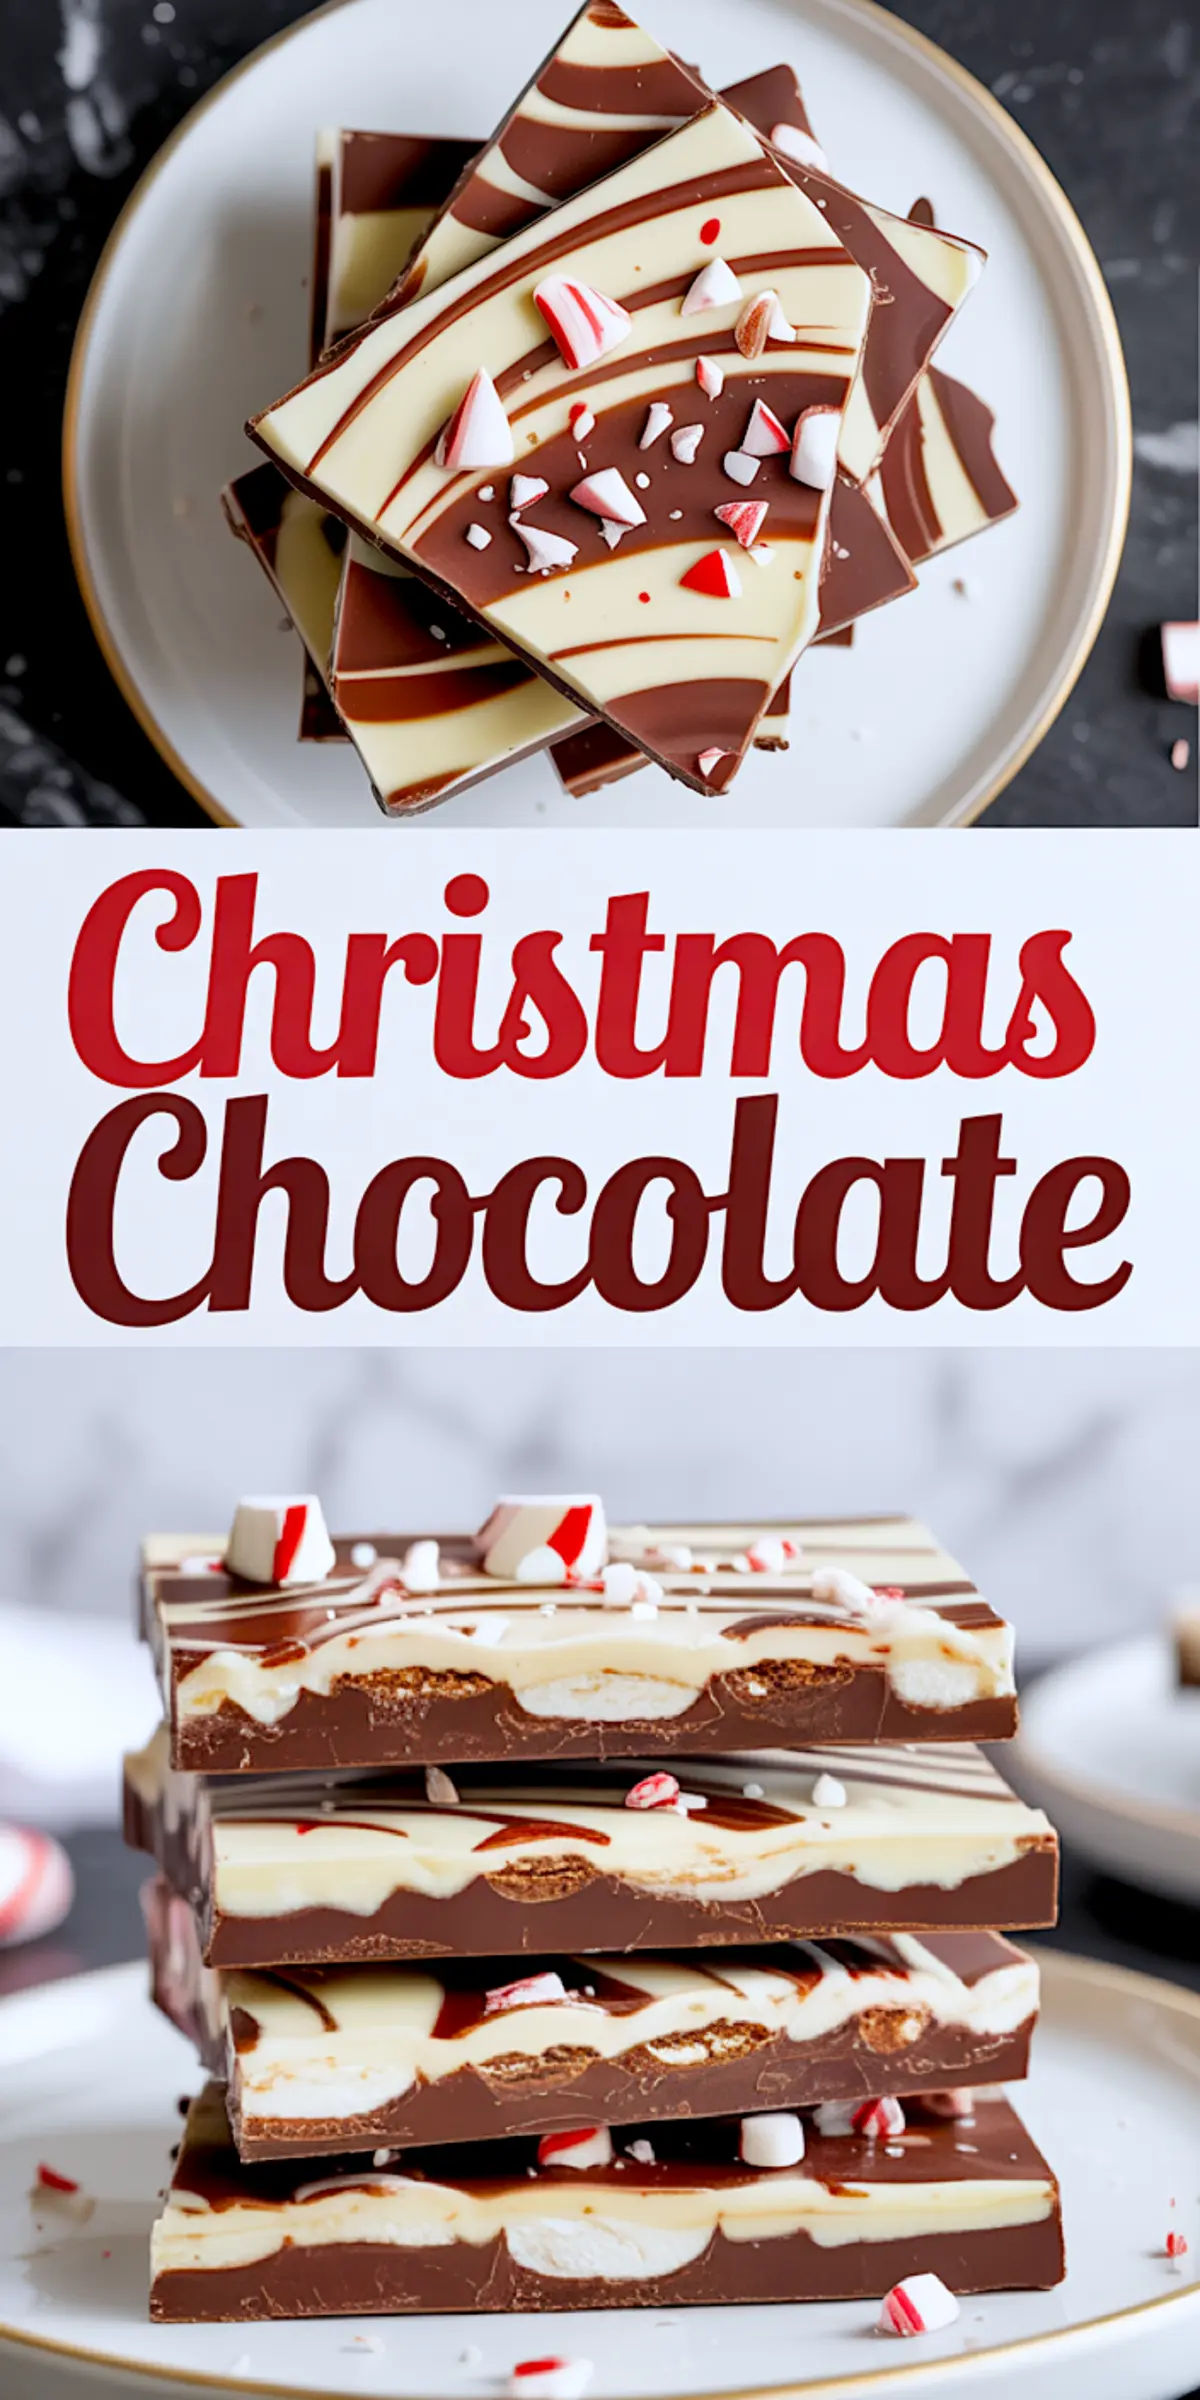
Why This Chocolate Bark Christmas Recipe Matters
Christmas bark holds a charm that even the best Christmas pie recipe cannot replicate. You spread a glossy sheet, add a swirl of contrast, and suddenly the surface looks like marble candy art. It feels approachable but also elegant enough for Christmas table decorations.
I remember the first time I broke a sheet into jagged shards and tucked them into jars tied with string. My neighbor asked where I bought them. That reaction showed me how a simple method can transform into Christmas chocolate gifts people talk about. You will see the same response when you make it.
If you are collecting recipes, this one belongs right next to Mini Christmas Cakes because both bring small effort but deliver a big seasonal statement.
Ingredients That Shape the Flavor
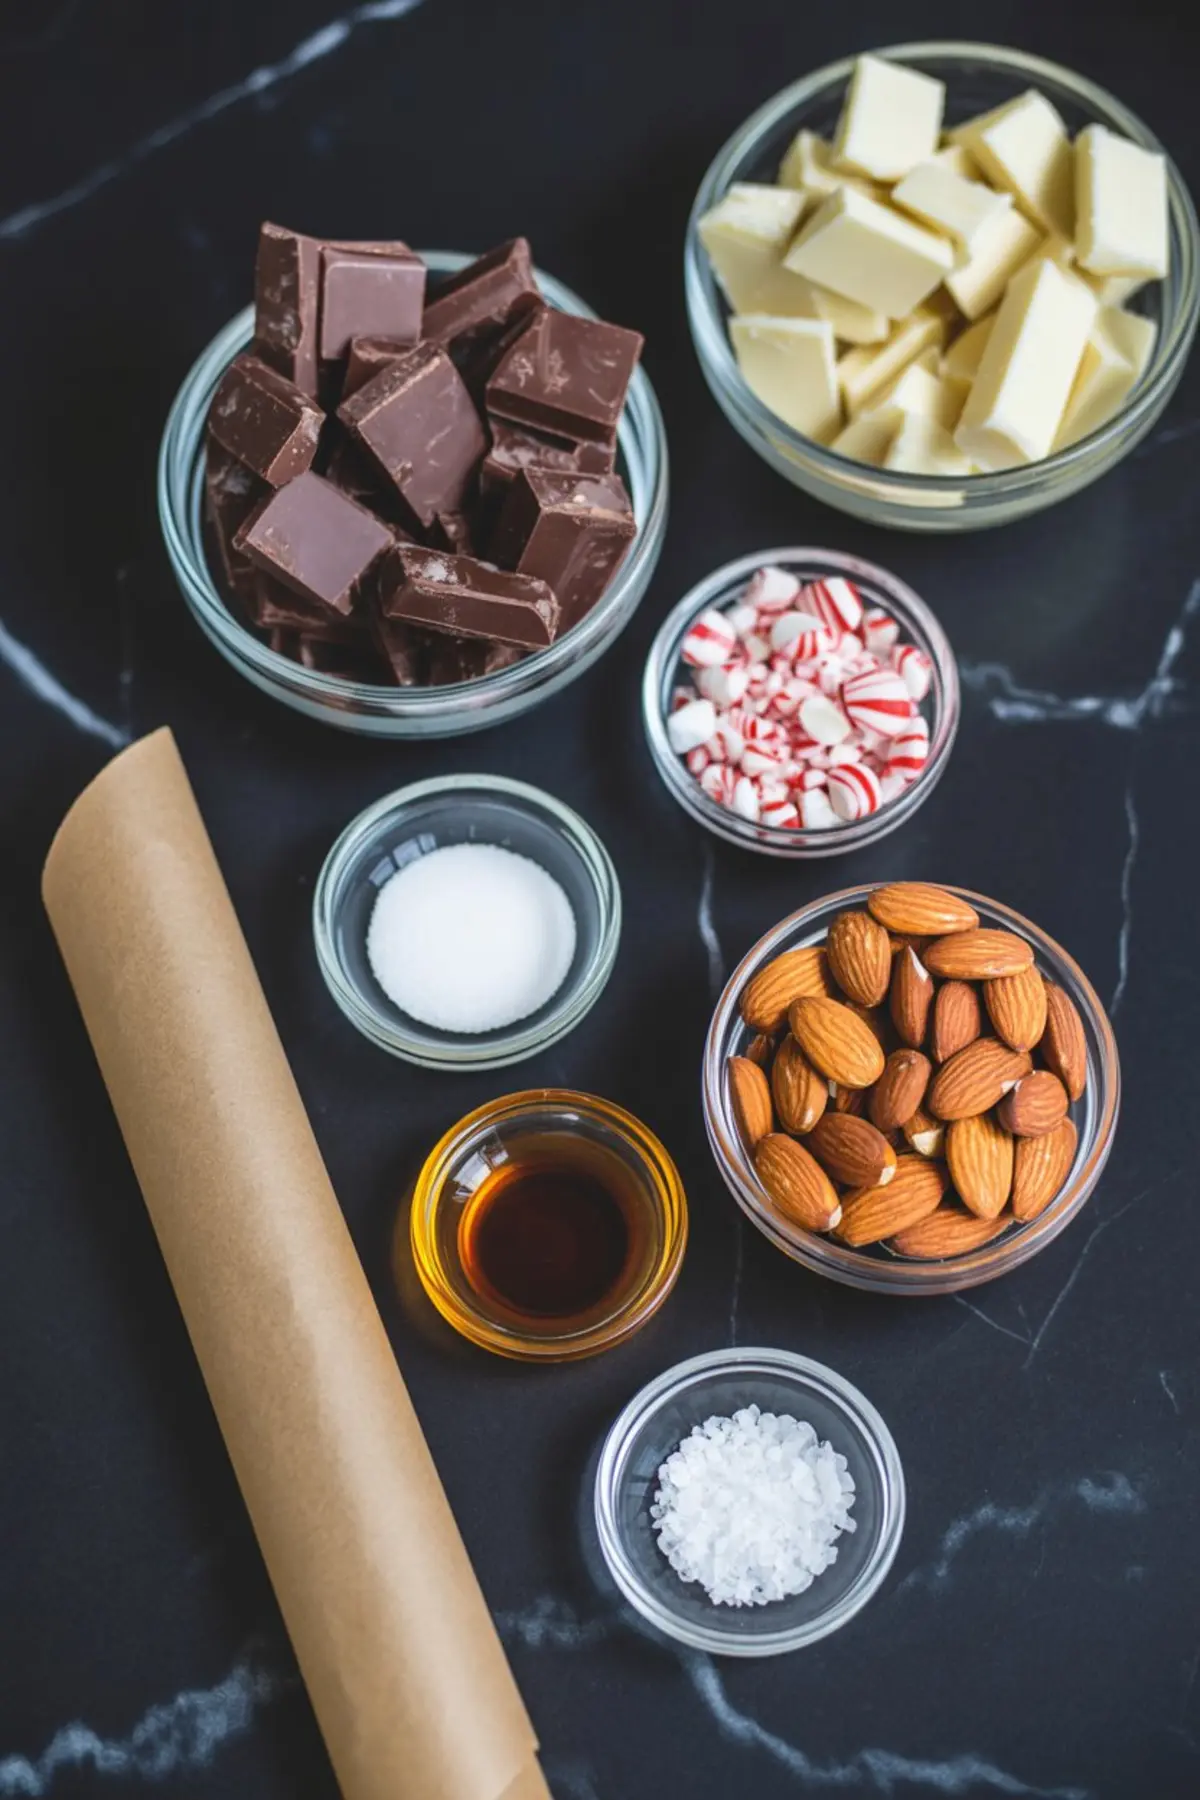
Dark chocolate sets the foundation. Semi-sweet offers balance, while bittersweet leans more grown-up. I reach for bittersweet when the rest of the table is filled with sugary items. The darker tone makes each shard stand out.
White chocolate comes next. It gives contrast, both in color and in flavor. The creamy notes highlight the sharper depth of dark chocolate. Swirling them together is like blending two voices into harmony.
Peppermint candies or candy canes carry the Christmas aesthetic. Their red streaks scatter across the bark like confetti, while the mint cuts through richness. Crushed larger for crunch or smaller for shimmer, both styles work.
Nuts, whether almonds or pistachios, add body. I’ve noticed pistachios bring a holiday color advantage, tiny green flecks against the white and dark swirls. Almonds lean more classic. Choose based on the look you want on your tray.
This is where a quick comparison helps. I’ve made batches with peppermint extract stirred in, and batches without it. Without extract, the bark feels subtle, more about chocolate with a gentle hint of mint. With extract, even a half teaspoon, the bark carries a sharp, bright note that dominates the bite. Both work, but in my notes I lean toward extract only when I skip nuts. Otherwise the flavors compete.
Melting the Dark Chocolate Base
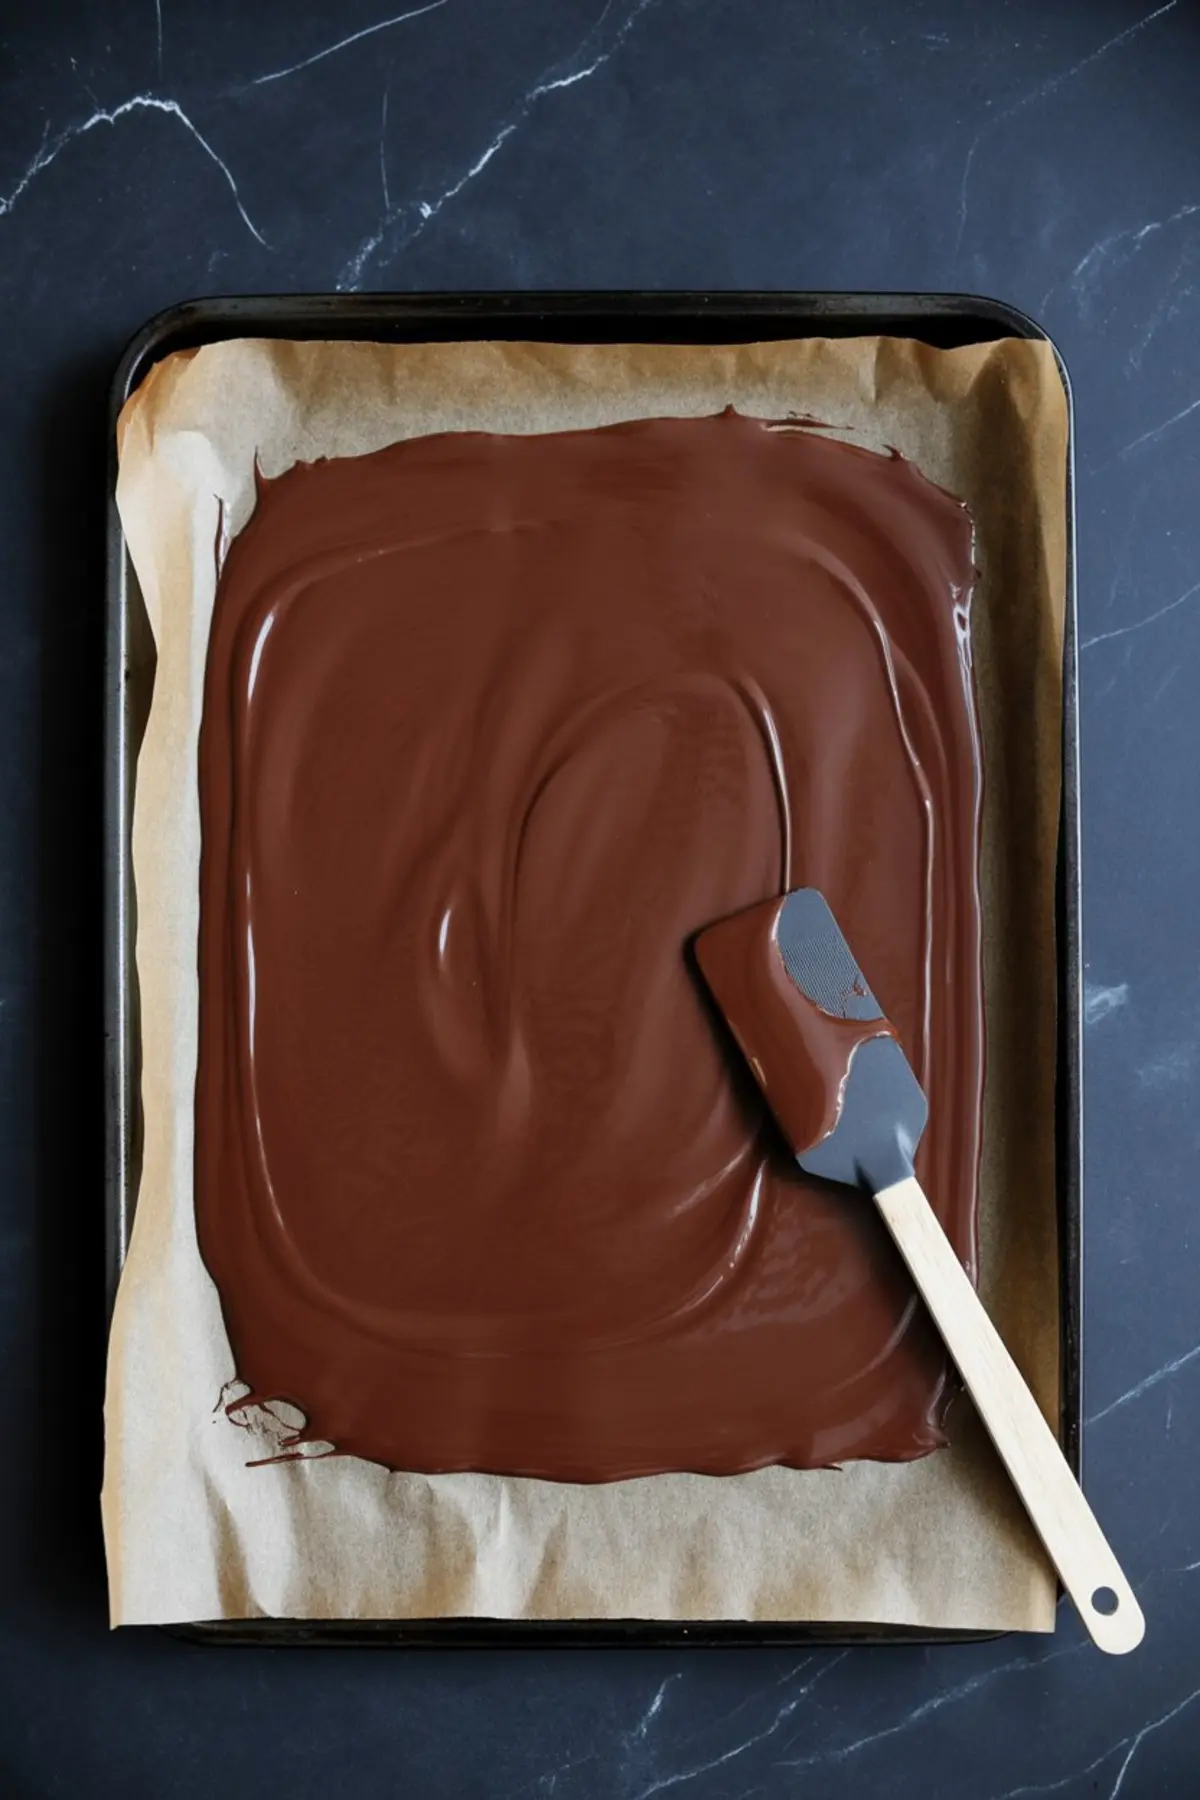
Lining the tray first saves frustration. Parchment makes the bark easy to lift later, while the rimmed sheet keeps chocolate in place. I always choose parchment over foil because foil leaves faint creases.
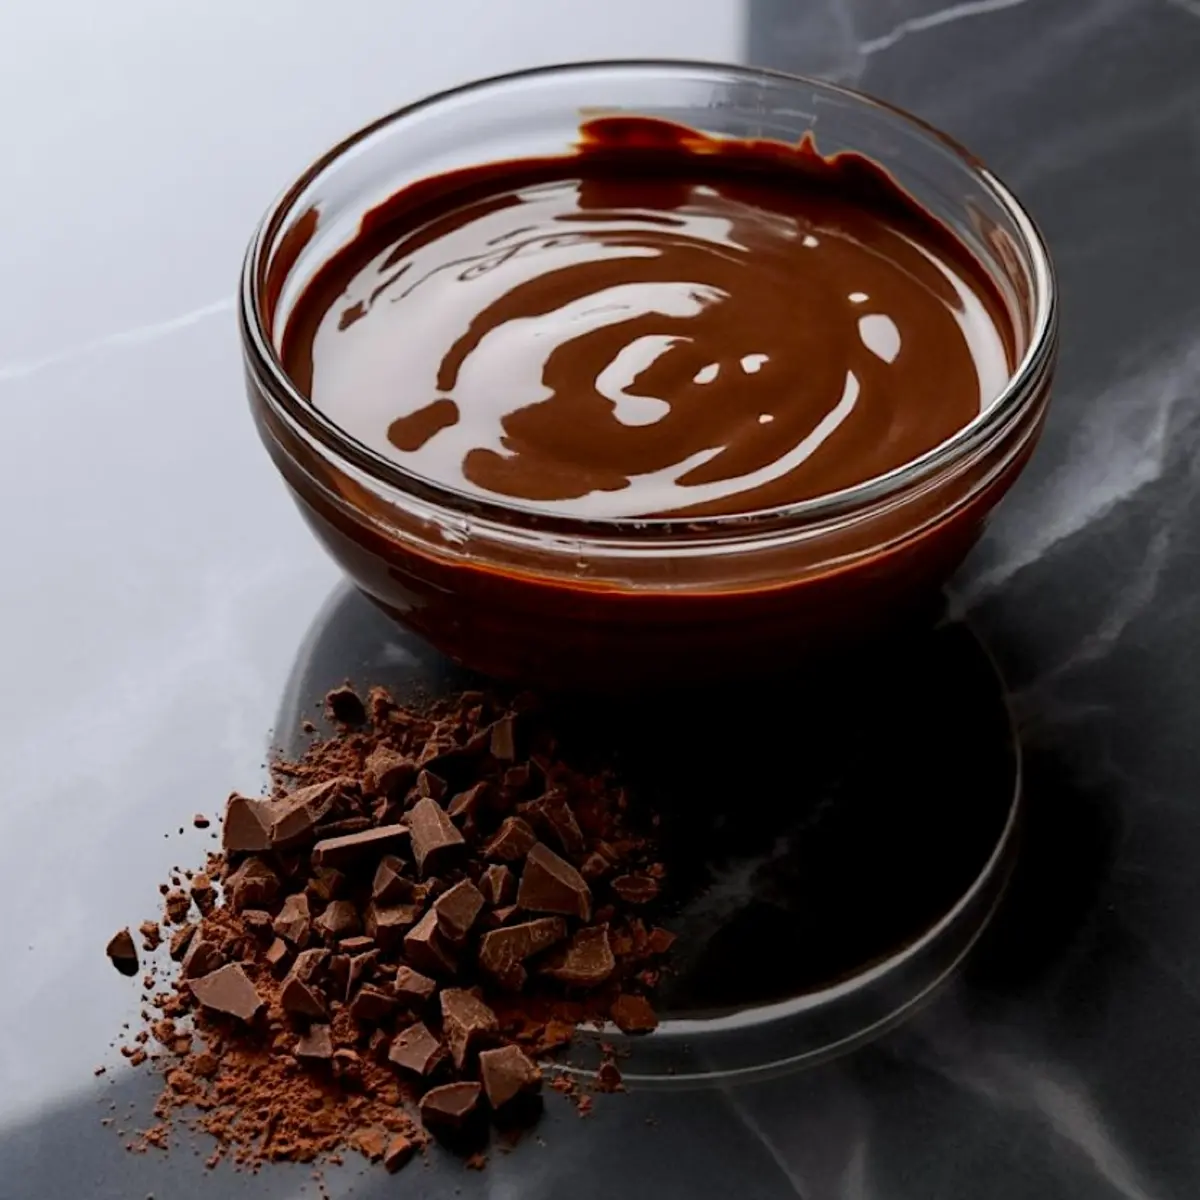
Melting the dark chocolate sets the stage. A double boiler keeps the texture smooth, though I admit I often use the microwave when time is short. Stirring every 30 seconds feels repetitive, but that simple habit keeps the chocolate glossy instead of grainy. Once poured and spread into a rectangle, you already have something beautiful, though the magic has yet to arrive.
This step reminds me of preparing Christmas Fudge, where control of heat defines the outcome. Both teach patience.
Swirling White Chocolate Ribbons
Pouring ribbons of white chocolate across the dark base feels like painting. The first time I tried it, I hesitated, afraid of ruining the smooth sheet. Now I know those ribbons create the design people notice most.
Swirling lightly with a toothpick or chopstick matters. Too heavy, and you blend into gray. Too light, and the colors sit apart. Aim for balance. Each sheet will look different, and that uniqueness makes every batch personal.
This stage reminds me of decorating Christmas Tree Brownies. Both use simple tools to create patterns that look far more complex than the effort behind them.
Adding Peppermint and Nut Toppings
Sprinkling crushed candy across warm chocolate makes the bark sparkle. I prefer a mix of fine dust and larger shards. The dust melts slightly into the surface, while the shards stand proud, adding crunch.
Nuts press easily into the soft surface. I always scatter with my fingers instead of pouring from a bowl. It takes longer, but I can control the pattern. One side heavy with nuts, one side light with just peppermint. That variety helps when packing gifts since each jar holds a mix of styles.
At this point you might wonder about the secret element I hinted at earlier. Here it is. A dash of peppermint extract stirred into the white chocolate before drizzling. That small addition deepens the flavor without overwhelming. It ties the candy cane pieces to the swirl.
I think of this like the finishing touch on Christmas Pudding. Both rely on tiny details to lift the flavor beyond expectation.
Setting, Breaking, and Storing the Bark
Letting the bark rest at room temperature creates a gentle set. The gloss stays intact. Refrigeration works if you are in a rush, though the surface sometimes shows faint marks. I usually refrigerate when I plan to break the bark quickly for gifting.
Breaking is satisfying. You lift the sheet and snap with your hands, creating shards that look like stained glass. Squares with a knife bring order, but I find the jagged pieces catch more light in jars.
Stored airtight, the bark holds for a week. It freezes longer without loss of flavor, which makes it an easy candidate for early prep, something you will appreciate during crowded December days.
If you plan dessert boards, this bark looks striking alongside a classic Christmas Pie Recipe. The colors balance pie crust browns with peppermint reds and chocolate ribbons.
Closing Thoughts and Invitation
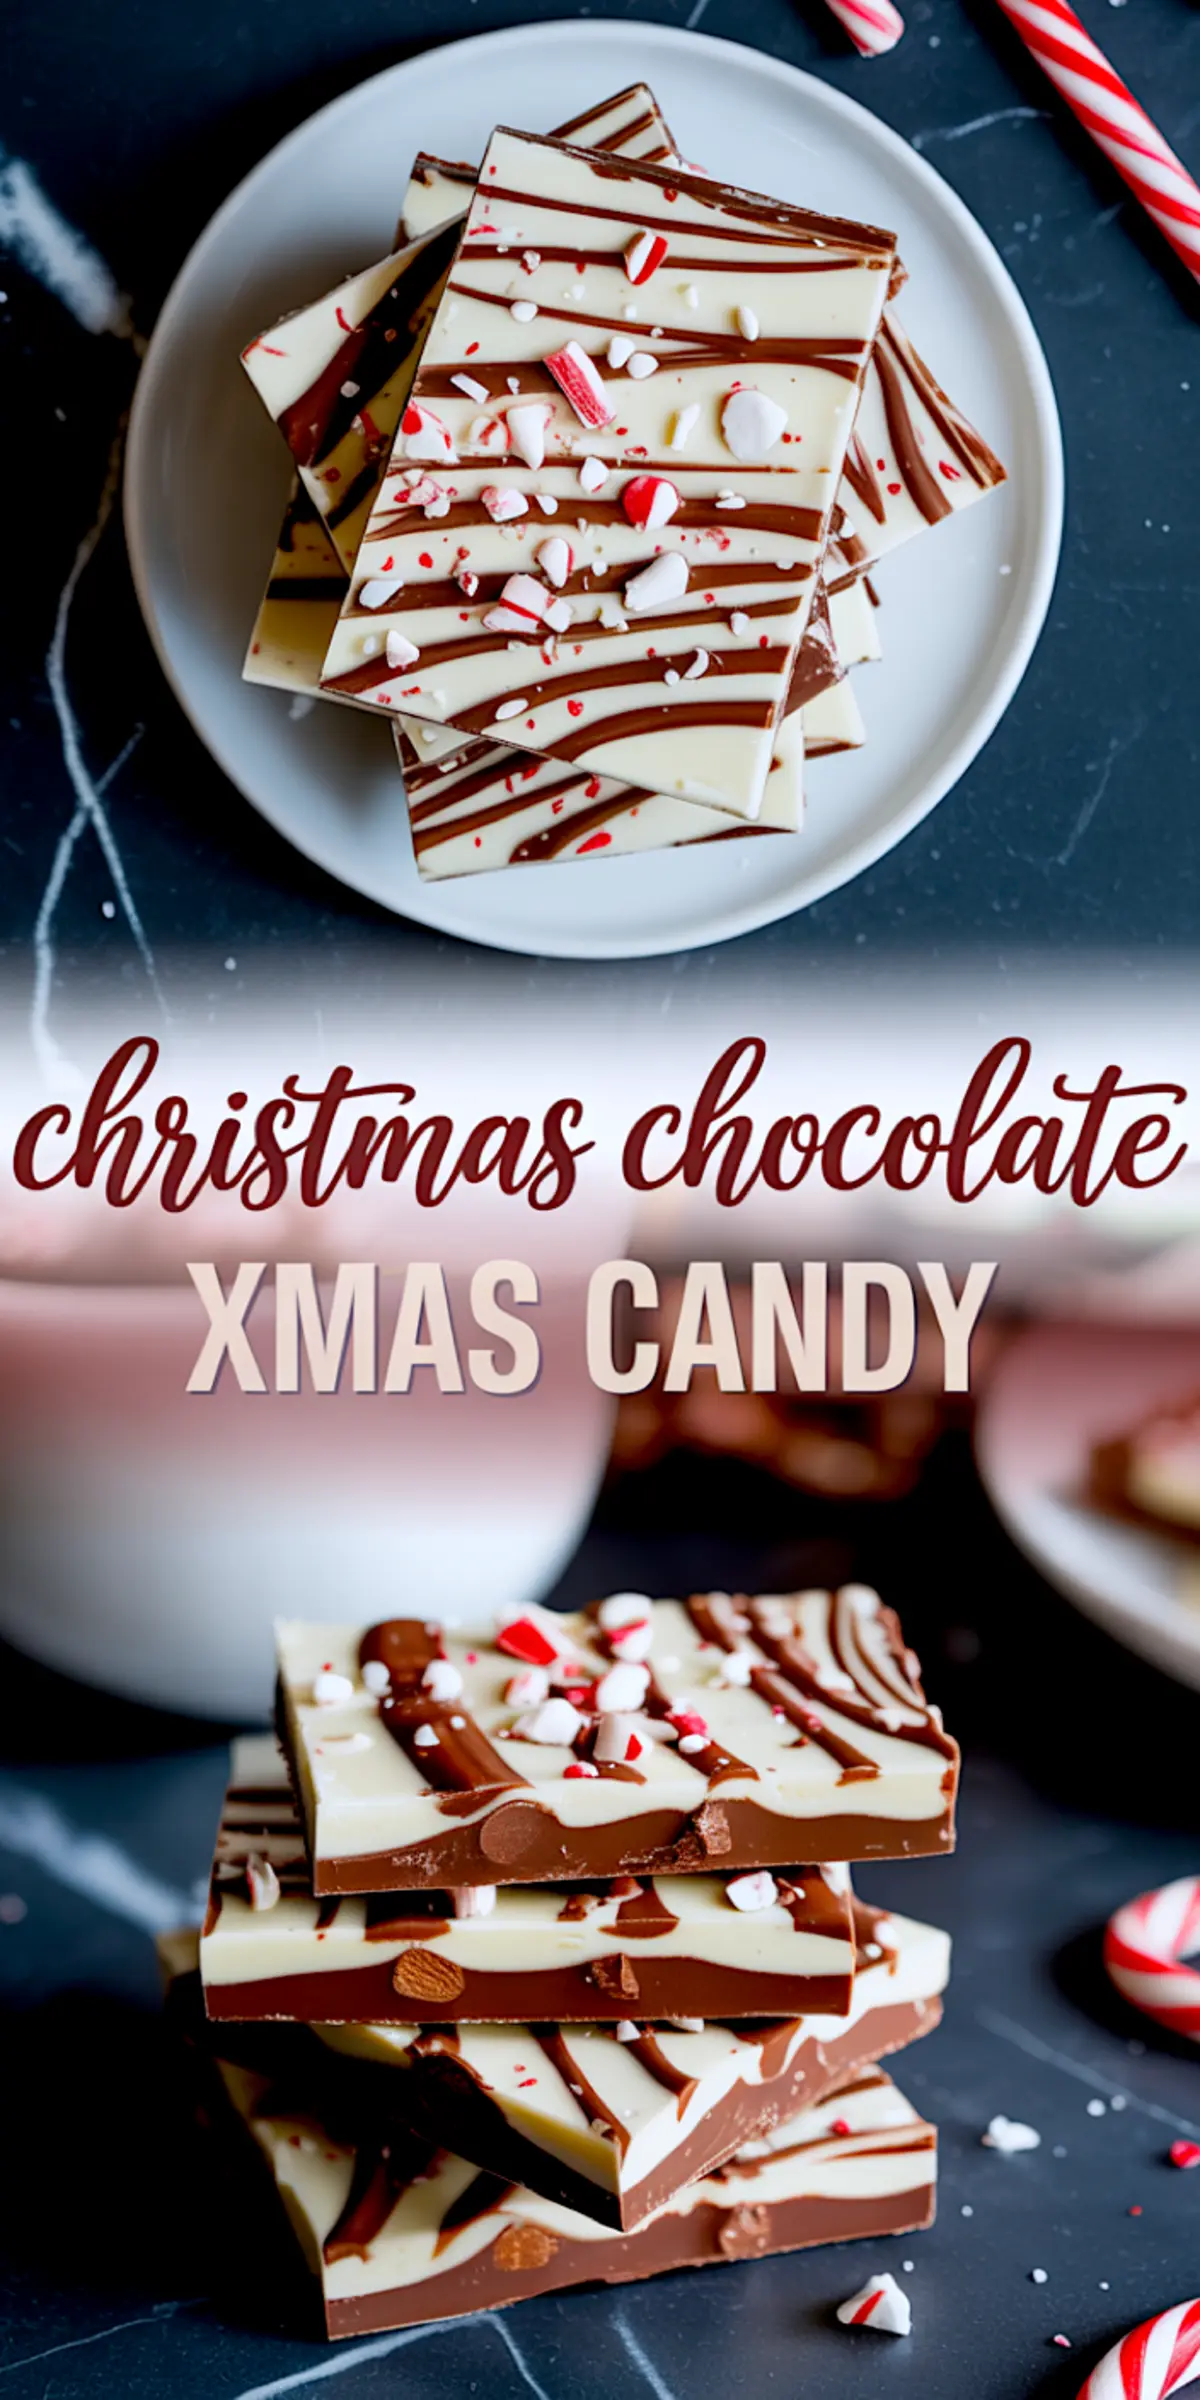
Christmas chocolate bark blends ease with artistry. You melt, swirl, scatter, and snap. Every step invites creativity. No two trays look the same, which is exactly what makes them special.
I encourage you to save this recipe to your Pinterest boards so you can return to it every season. It sits well next to any Christmas dessert, from pies to cakes, and it belongs in gift baskets too.
Tell me in the comments how your bark turned out. Did you choose pistachios for color, or almonds for tradition? Did you add peppermint extract, or keep it soft and subtle? Let’s build ideas together and share notes, the way neighbors do across kitchen tables.
Christmas Chocolate Recipe

Christmas chocolate comes together fast when you start with a sheet of melted bark and sprinkle on your favorite toppings. I swirl dark and white chocolate, then add crushed peppermint, dried fruit, or holiday sprinkles for color and crunch. This chocolate bark Christmas recipe is quick to make and easy to break into pieces for gifts or snack trays. It’s one of those candy recipes homemade that always looks festive without much effort. I package it for Christmas chocolate gifts or lay it out on dessert boards as part of my Christmas table decorations. Save this if you’re building a list of easy Christmas candy recipes that double as crowd-pleasers and simple holiday prep.
Ingredients
- 12 oz dark chocolate (semi-sweet or bittersweet), chopped
- 12 oz white chocolate, chopped
- 6–8 peppermint candies or candy canes, crushed
- 1/2 cup roasted almonds or pistachios, coarsely chopped (optional)
- 1/2 tsp peppermint extract (optional)
Instructions
- PREPARE THE BAKING SHEET: Line a rimmed baking sheet with parchment paper and set it aside. The rim will help contain the melted chocolate as it spreads.
- MELT THE DARK CHOCOLATE: Place the chopped dark chocolate in a heatproof bowl. Melt using a double boiler or microwave in 30-second increments, stirring between each, until fully smooth and glossy. Pour the melted chocolate onto the prepared baking sheet and spread it evenly into a rectangle about 9x12 inches.
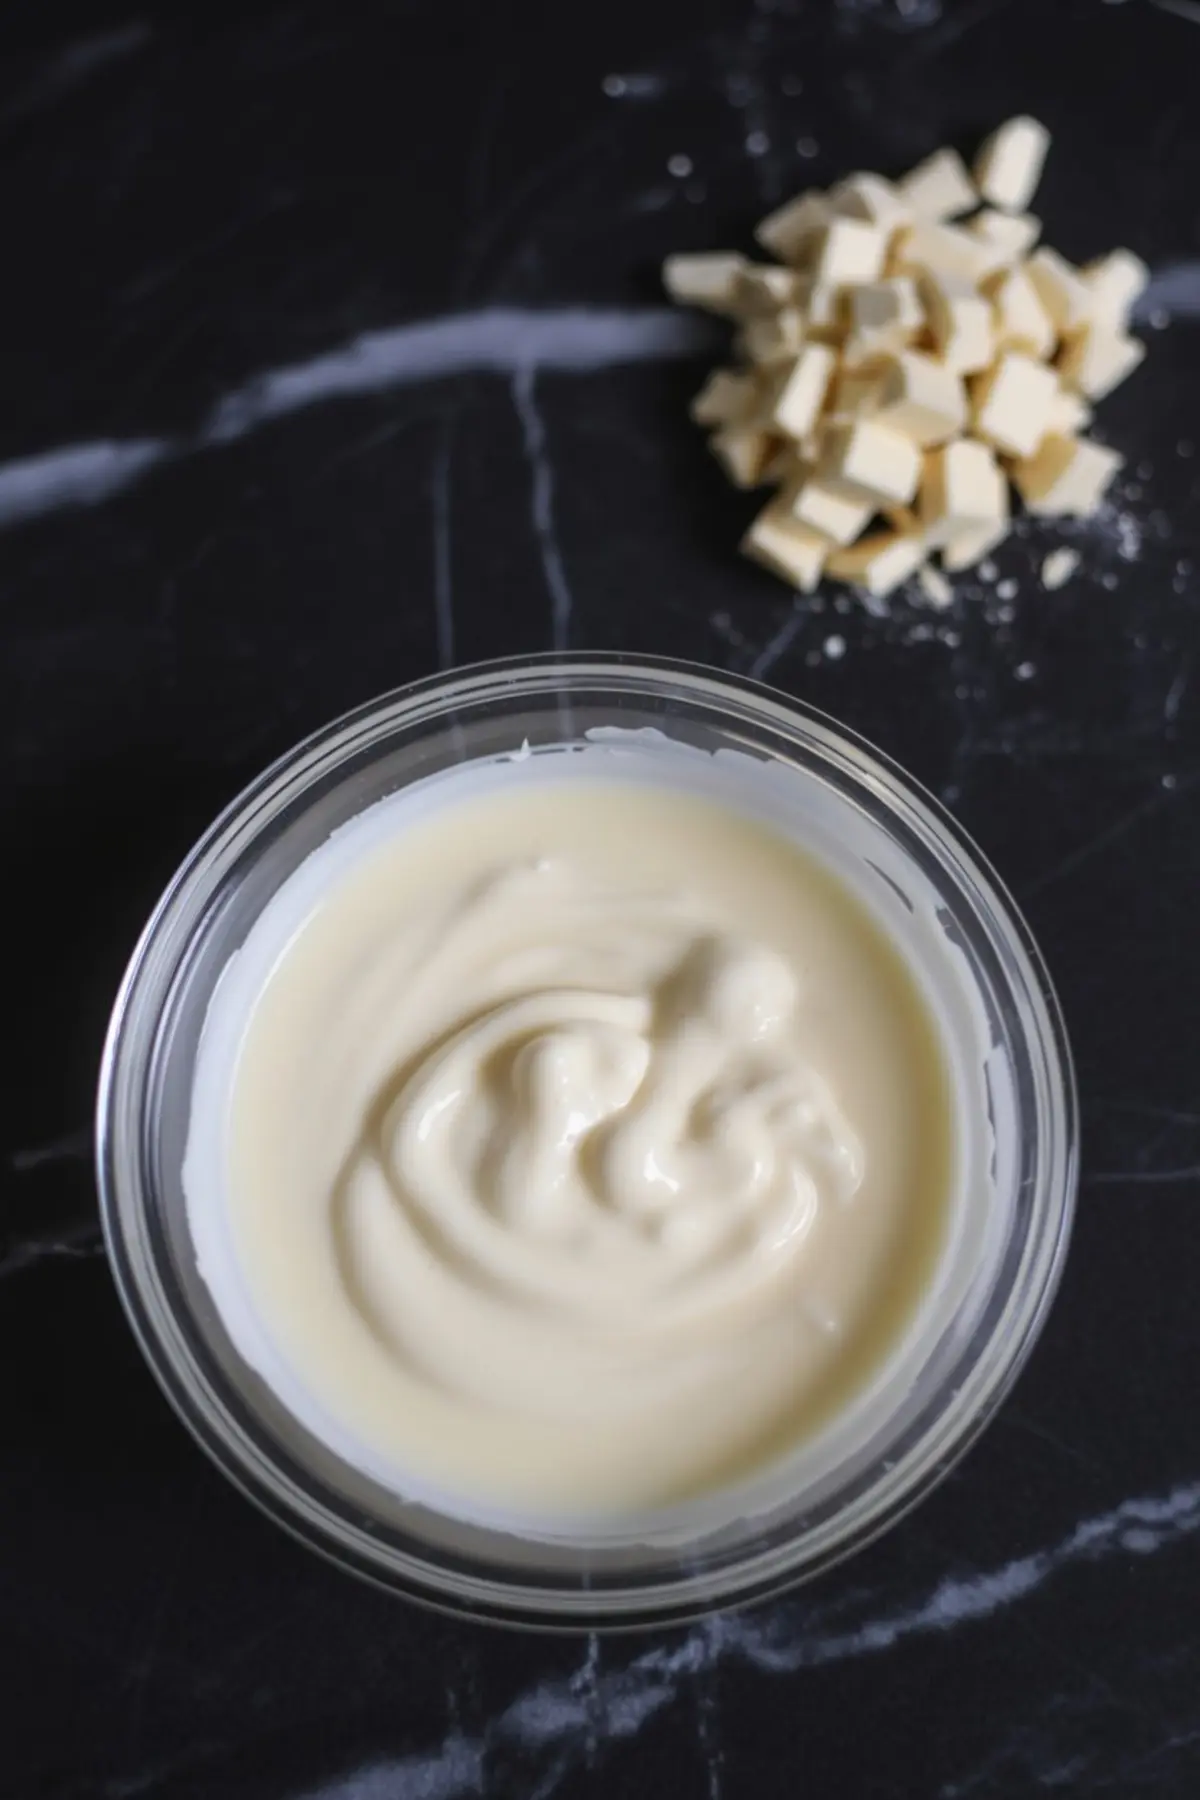
- MELT THE WHITE CHOCOLATE: In a separate bowl, melt the chopped white chocolate using the same method. Once melted, drizzle the white chocolate in thick ribbons over the dark chocolate base.
- CREATE THE SWIRL: Using a knife, toothpick, or the tip of a chopstick, gently swirl the white and dark chocolates together. Use a light hand to maintain visible ribbons and avoid overmixing.
- ADD TOPPINGS: While the chocolate is still warm, sprinkle the crushed peppermint candies evenly over the top. If using nuts, scatter them across the surface now. Lightly press the toppings into the chocolate with clean fingers to help them adhere.
- CHILL TO SET: Let the bark sit at room temperature for 1 to 2 hours until fully set, or place it in the refrigerator for about 30 minutes if you prefer a quicker chill.
- BREAK INTO PIECES: Once the bark is firm, break it into irregular pieces using your hands or cut into squares with a sharp knife. Store in an airtight container at room temperature for up to one week or in the freezer for longer storage.
Notes
Use high-quality chocolate for the best texture and flavor. For a more intense peppermint flavor, add the optional peppermint extract to either the dark or white chocolate before swirling. If using peppermint extract, stir it in just before pouring the chocolate onto the tray. Mixing sizes of crushed peppermint adds visual appeal and texture.
