

Some Christmas desserts melt. Some collapse. Some just don’t travel well. These Christmas Tree Brownies stay put.
You bake a simple, fudgy base. You slice it into triangles. You pipe green frosting across the surface like garland. Then you add the trunk, the lights, the little candy ornaments, and suddenly they aren’t just brownies anymore. They become brownie Christmas trees, and they hold their shape all the way from your kitchen to the classroom table.
You’ll find lots of Christmas brownies online, but this version has one job: to look good and taste better. I made them once for a neighbor’s cookie exchange, and the tray came back empty. Not a single tree made it home. You get the chewy, crackly top. You get the dense center. You get the little sparkle of red and gold on top. And if you’re decorating brownies for Christmas with kids, these are easy to handle. They don’t crumble. They don’t smear. They just work.
What’s more, this recipe hides a little surprise. A dash of something that most people skip.
You’ll see it later. But first, let’s bake.

How to Make Christmas Tree Brownies with Green Frosting
The brownie base starts with melted butter. Not softened, not creamed. Melted.
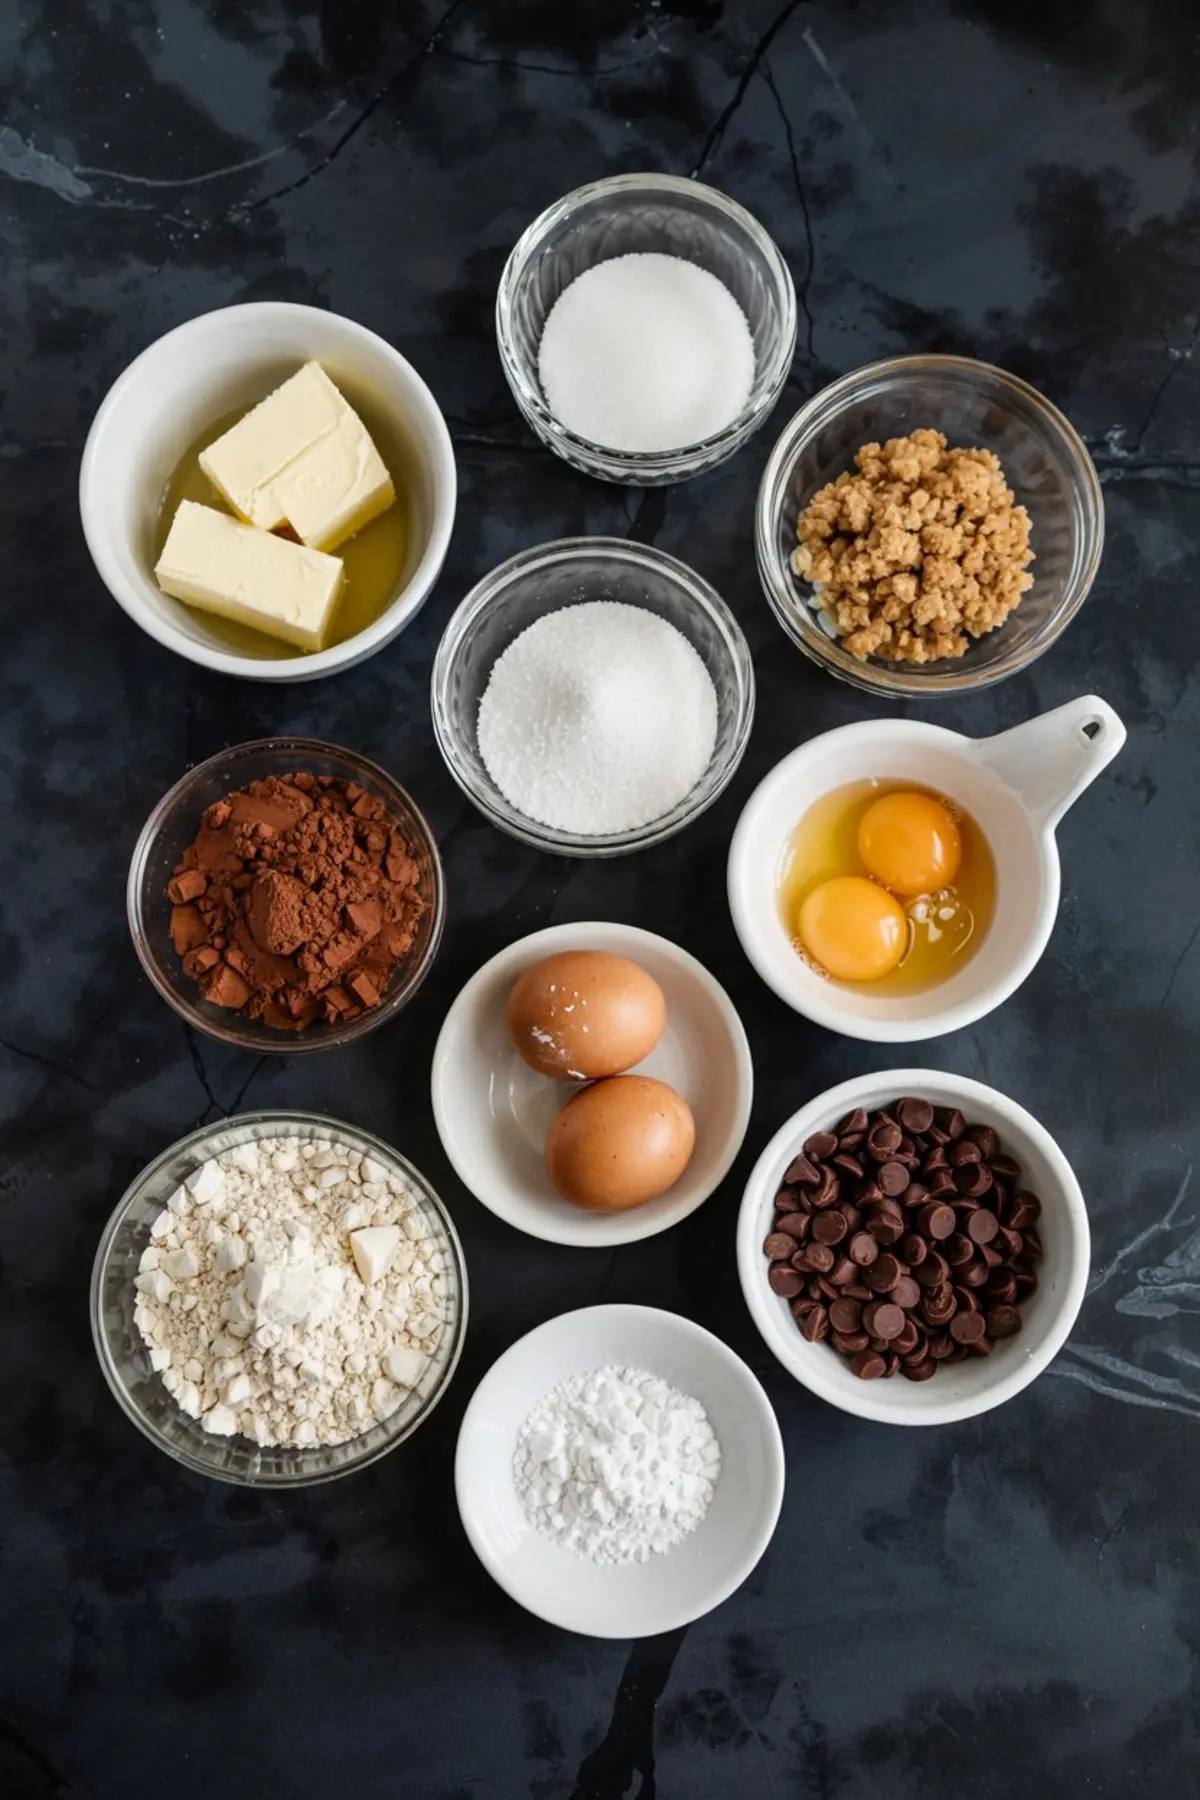
That choice gives the final bars a denser crumb and richer chew. I’ve tried using creamed butter before, and the result tasted fine but leaned cakey. If you want the brownies to hold their triangle shape and still taste fudgy, melted butter is key.
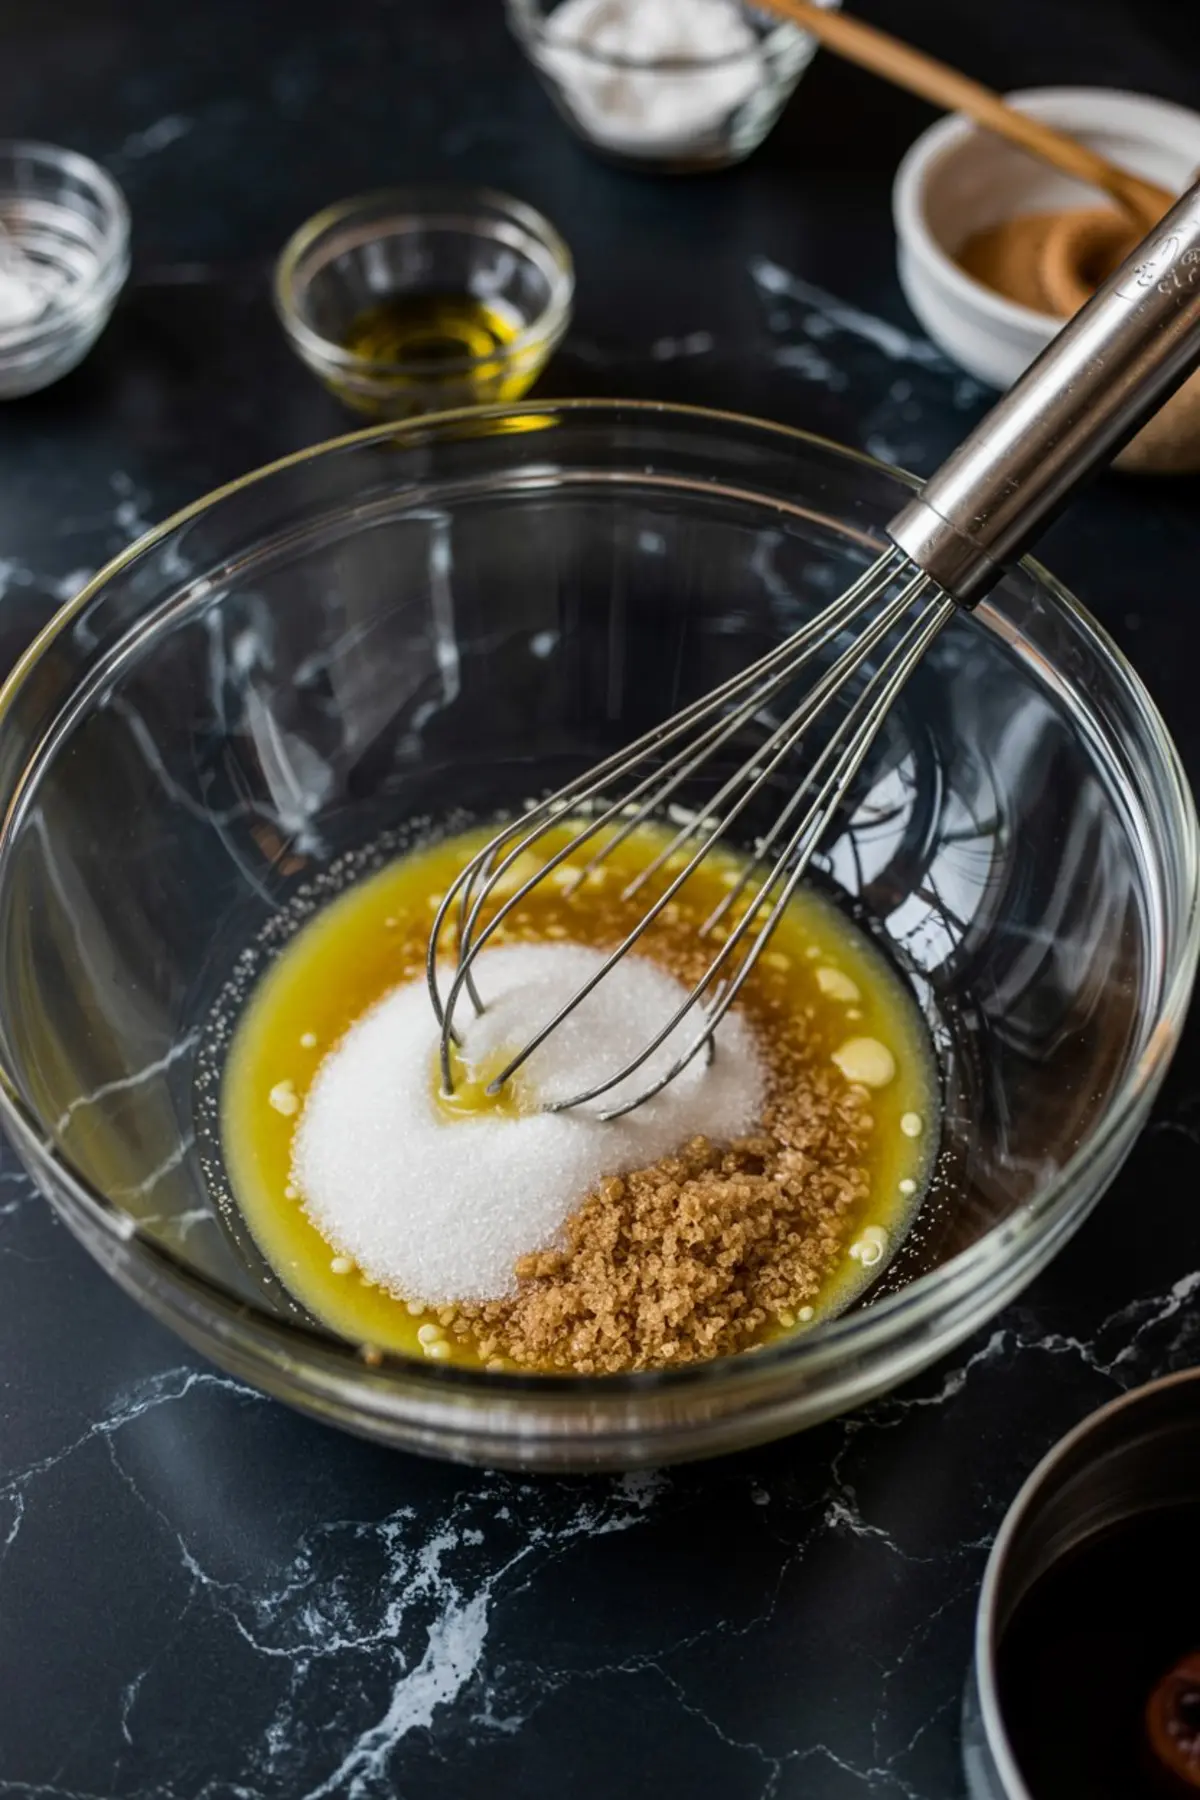
In a large bowl, whisk together melted butter, granulated sugar, and brown sugar. The brown sugar adds depth. It also helps keep the brownies moist once cooled.
Next come the eggs and vanilla. I usually crack all three eggs into a cup before adding, just in case one sneaks in a bit of shell. Stir everything until glossy. That shine tells you the sugars have dissolved and the batter has started to emulsify.
Mixing the Brownie Batter for Even Bake
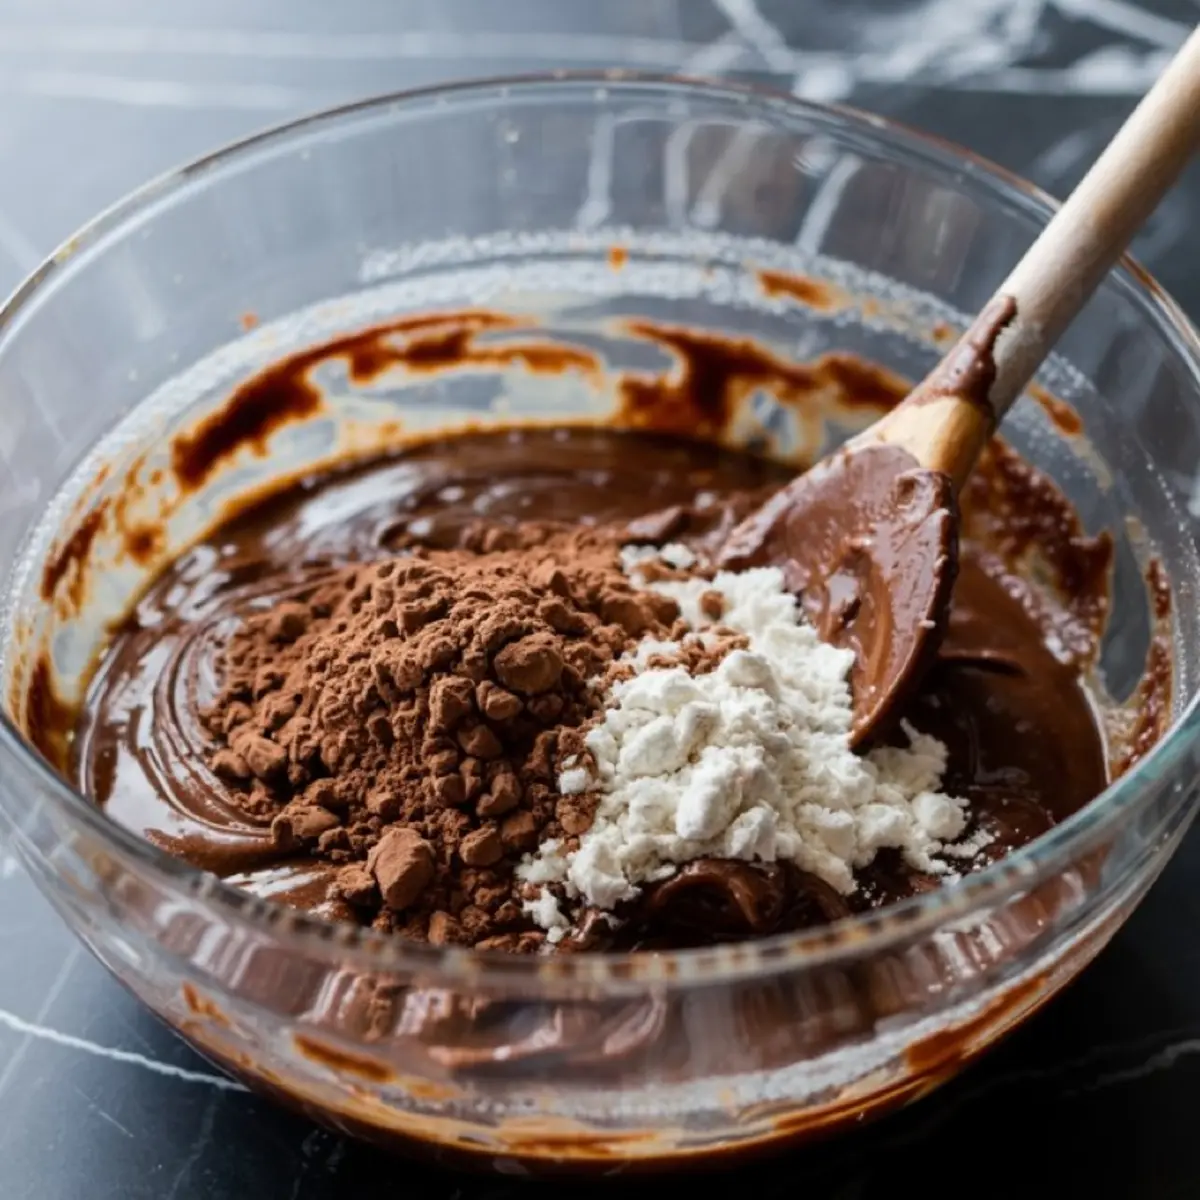
Now comes the sift. I sift the cocoa powder, flour, and salt right into the wet mixture.
Sifting keeps clumps out and helps you mix less. You don’t want to overwork the batter here. Stir gently just until no dry streaks remain. Then fold in the semisweet chocolate chips.
I’ve tested both chopped bar chocolate and chocolate chips in this step. The chips win. Bar chocolate melts more unevenly and sometimes leaves gooey pockets. Chips stay evenly spaced, giving every triangle a bit of bite.
Baking and Cooling for Clean Cuts
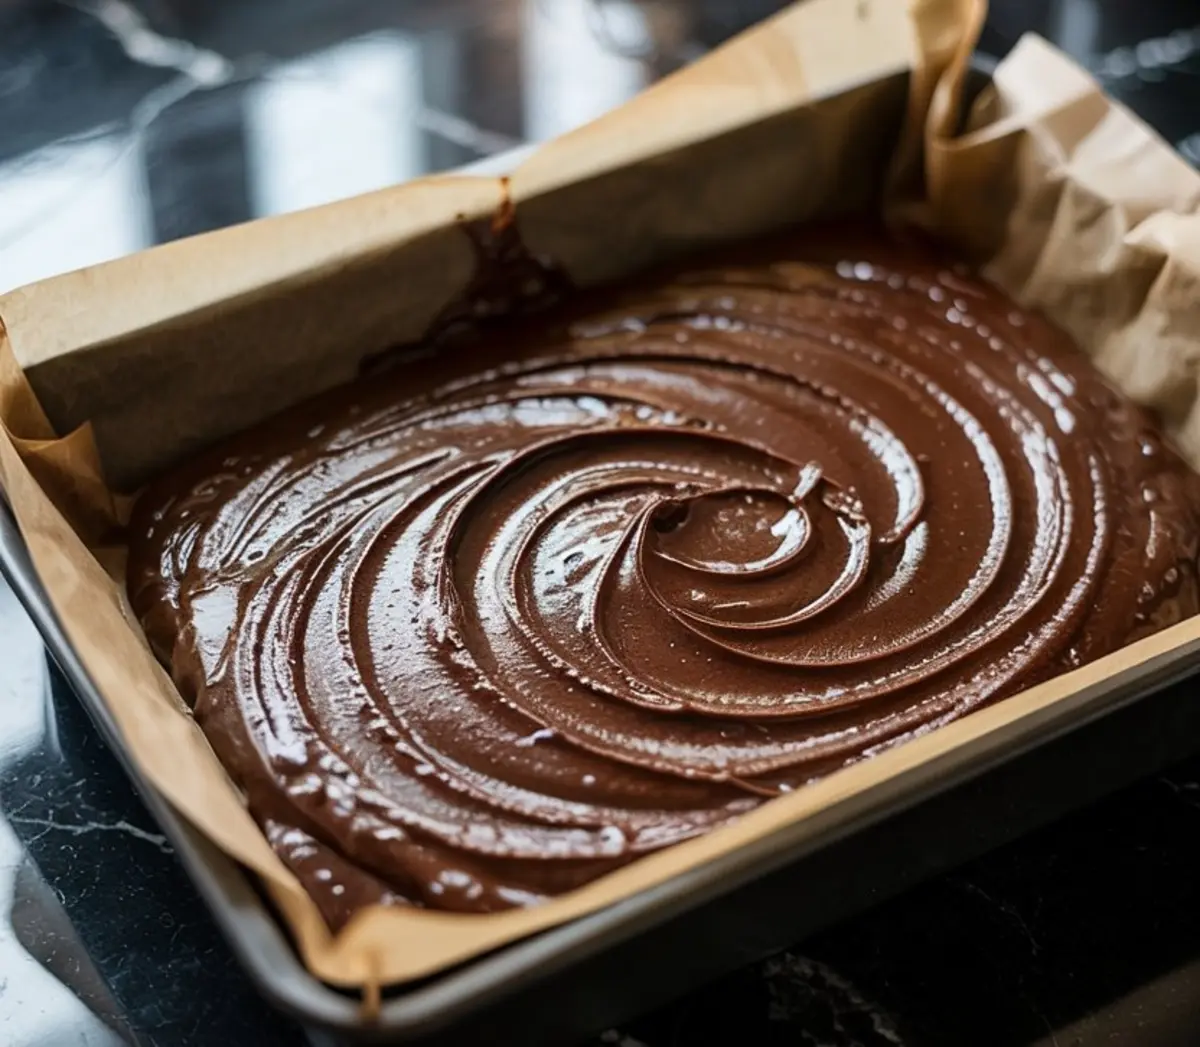
Pour the batter into a parchment-lined 9×13 pan. Smooth the top. Bake until the edges pull away slightly and the center tests with a few moist crumbs. Mine usually takes about 30 minutes, but check at 28.
Let the brownies cool completely in the pan. This part matters. Cutting too early turns them gummy. Letting them sit gives you that crisp edge and fudge-like center.
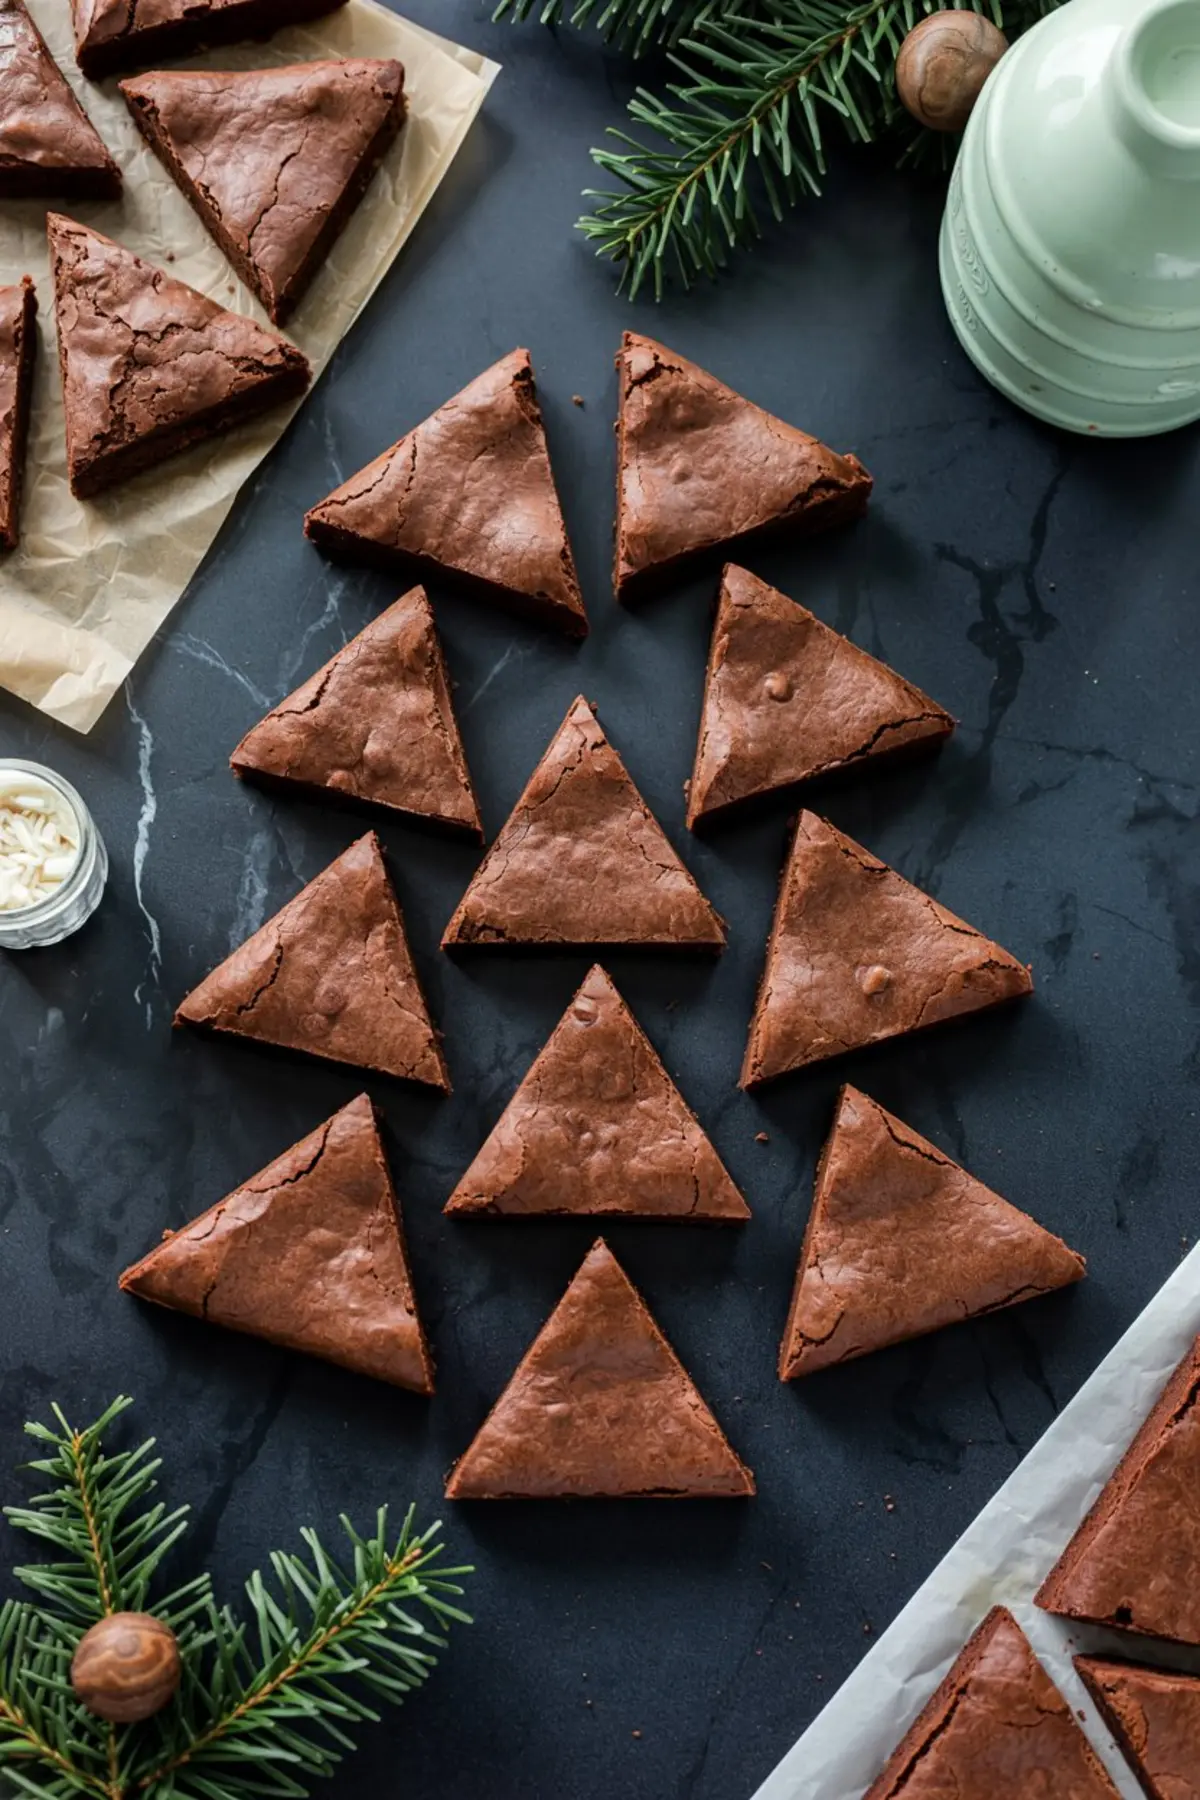
Use the parchment to lift the slab out once cool. Cut three even long strips, then cut each strip into alternating triangles. You’ll get 12 to 15 trees, depending on how generous your cuts are.
How to Add the Pretzel Trunks and Make the Trees Stand Out
Take each triangle and notch the center of the bottom edge. Press a mini pretzel stick or small piece of chocolate into the base.
If you’re using chocolate, dab a bit of frosting to hold it. I’ve done both versions, and the pretzel offers the best crunch. Chocolate looks tidy but softens fast at room temp.
I keep a row of trees resting on parchment while I finish the batch. That way nothing smears.
Making the Green Frosting and Decorating the Trees
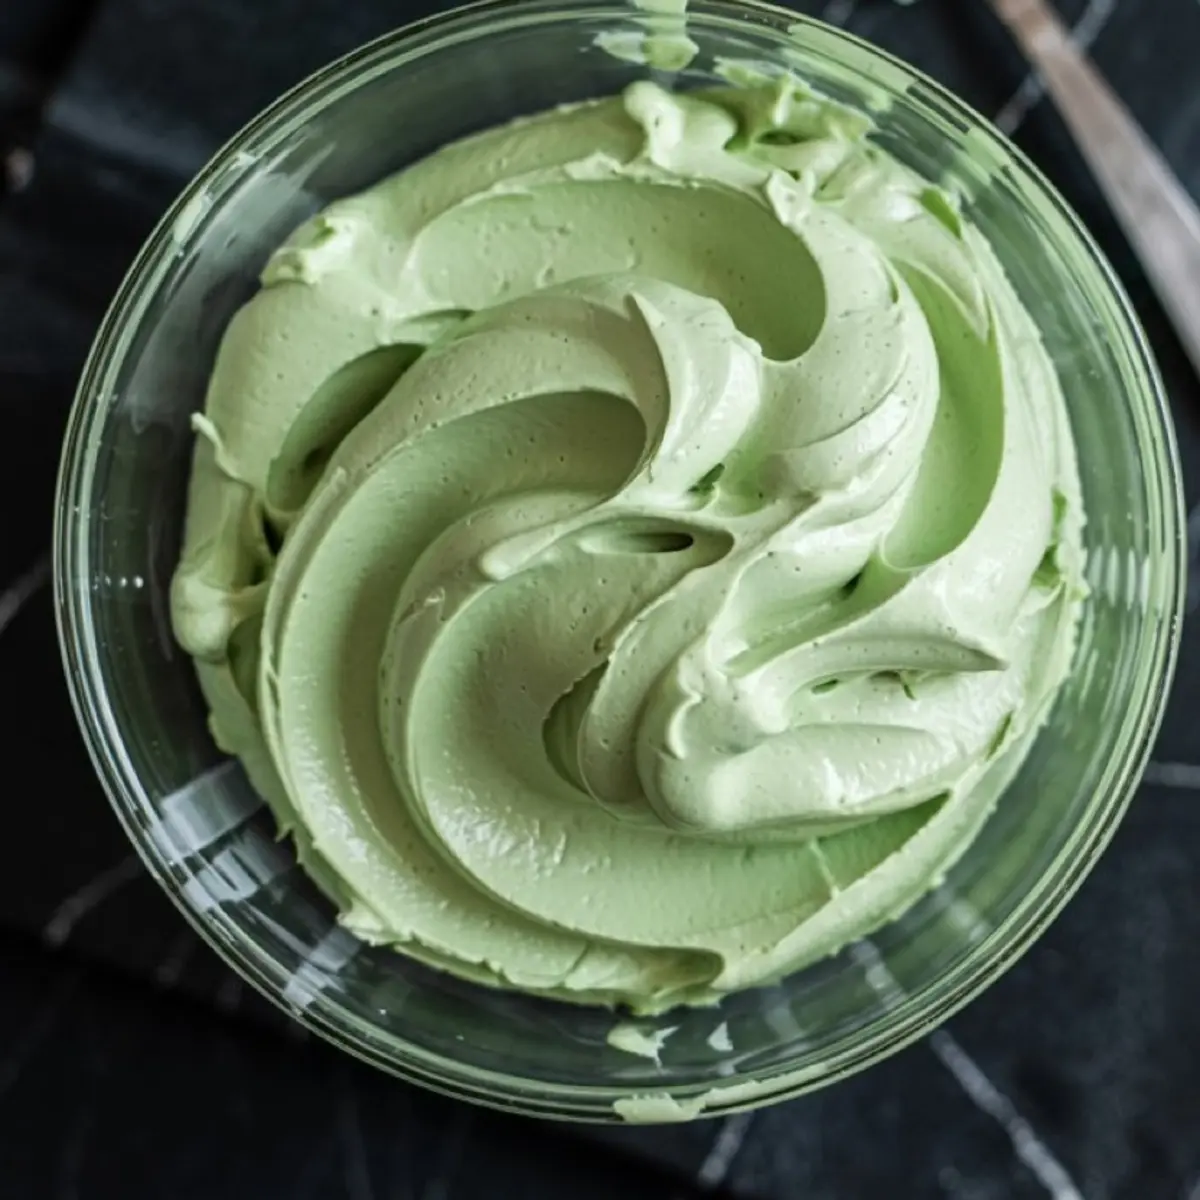
Beat softened butter until creamy. Add powdered sugar and mix until fluffy. Add milk and vanilla extract to loosen it up.
Now for the color. I use gel food coloring because it gives a deeper green without adding extra liquid. You can use drops, but the color often comes out too pale.
Once the frosting is mixed, transfer it to a piping bag or zip-top bag with the corner snipped. Pipe zigzag lines across each brownie to mimic tree garlands.
While the frosting is soft, press in the candy-coated chocolates. These act as ornaments. A few white sprinkles or edible glitter add sparkle. I’ve also topped mine with candy stars or mini yellow hearts when I’m out of stars.
What Sets These Christmas Tree Brownies Apart
Most decorated brownies don’t cut clean. Or they dry out fast. This version holds up.
The trick? It isn’t the ingredients. It’s the cool-down time and the way the shapes are cut. Brownies sliced too early or too randomly break and crumble.
Cutting into strips first and trimming alternating triangles creates more stable edges. I picked up that idea from a friend who teaches preschool. Her whole tray made it through twenty tiny hands without one snapped trunk.
These frosted Christmas tree brownies belong on your holiday baking list. They double as both treat and decor.
The Secret Ingredient I Never Skip
Here it is. That dash of salt.
I don’t mean the half-teaspoon in the flour. I mean a pinch sprinkled on top right after baking.
Just a tiny touch brings out the cocoa and keeps the brownies from tasting flat. It’s not meant to taste salty, just balanced. I started doing it by accident years ago and now I add it every time.
You don’t need much. Just a small pinch across the top as the pan comes out of the oven. Let it sink into the warmth.
Try These Other Christmas Treats
If you’re making a dessert board, pair these with something easy and chocolatey like Christmas Fudge. It cuts clean and stores well.
Or add a fun treat like Snowman Marshmallow Pops. Kids love those alongside these brownie trees.
You can even try a more centerpiece-style bake like this Christmas Pie Recipe. The crust smells like December.
And for something playful, Christmas Tree Cake Pops add height and color to the table.
Save These Christmas Brownies For Your Pinterest Board
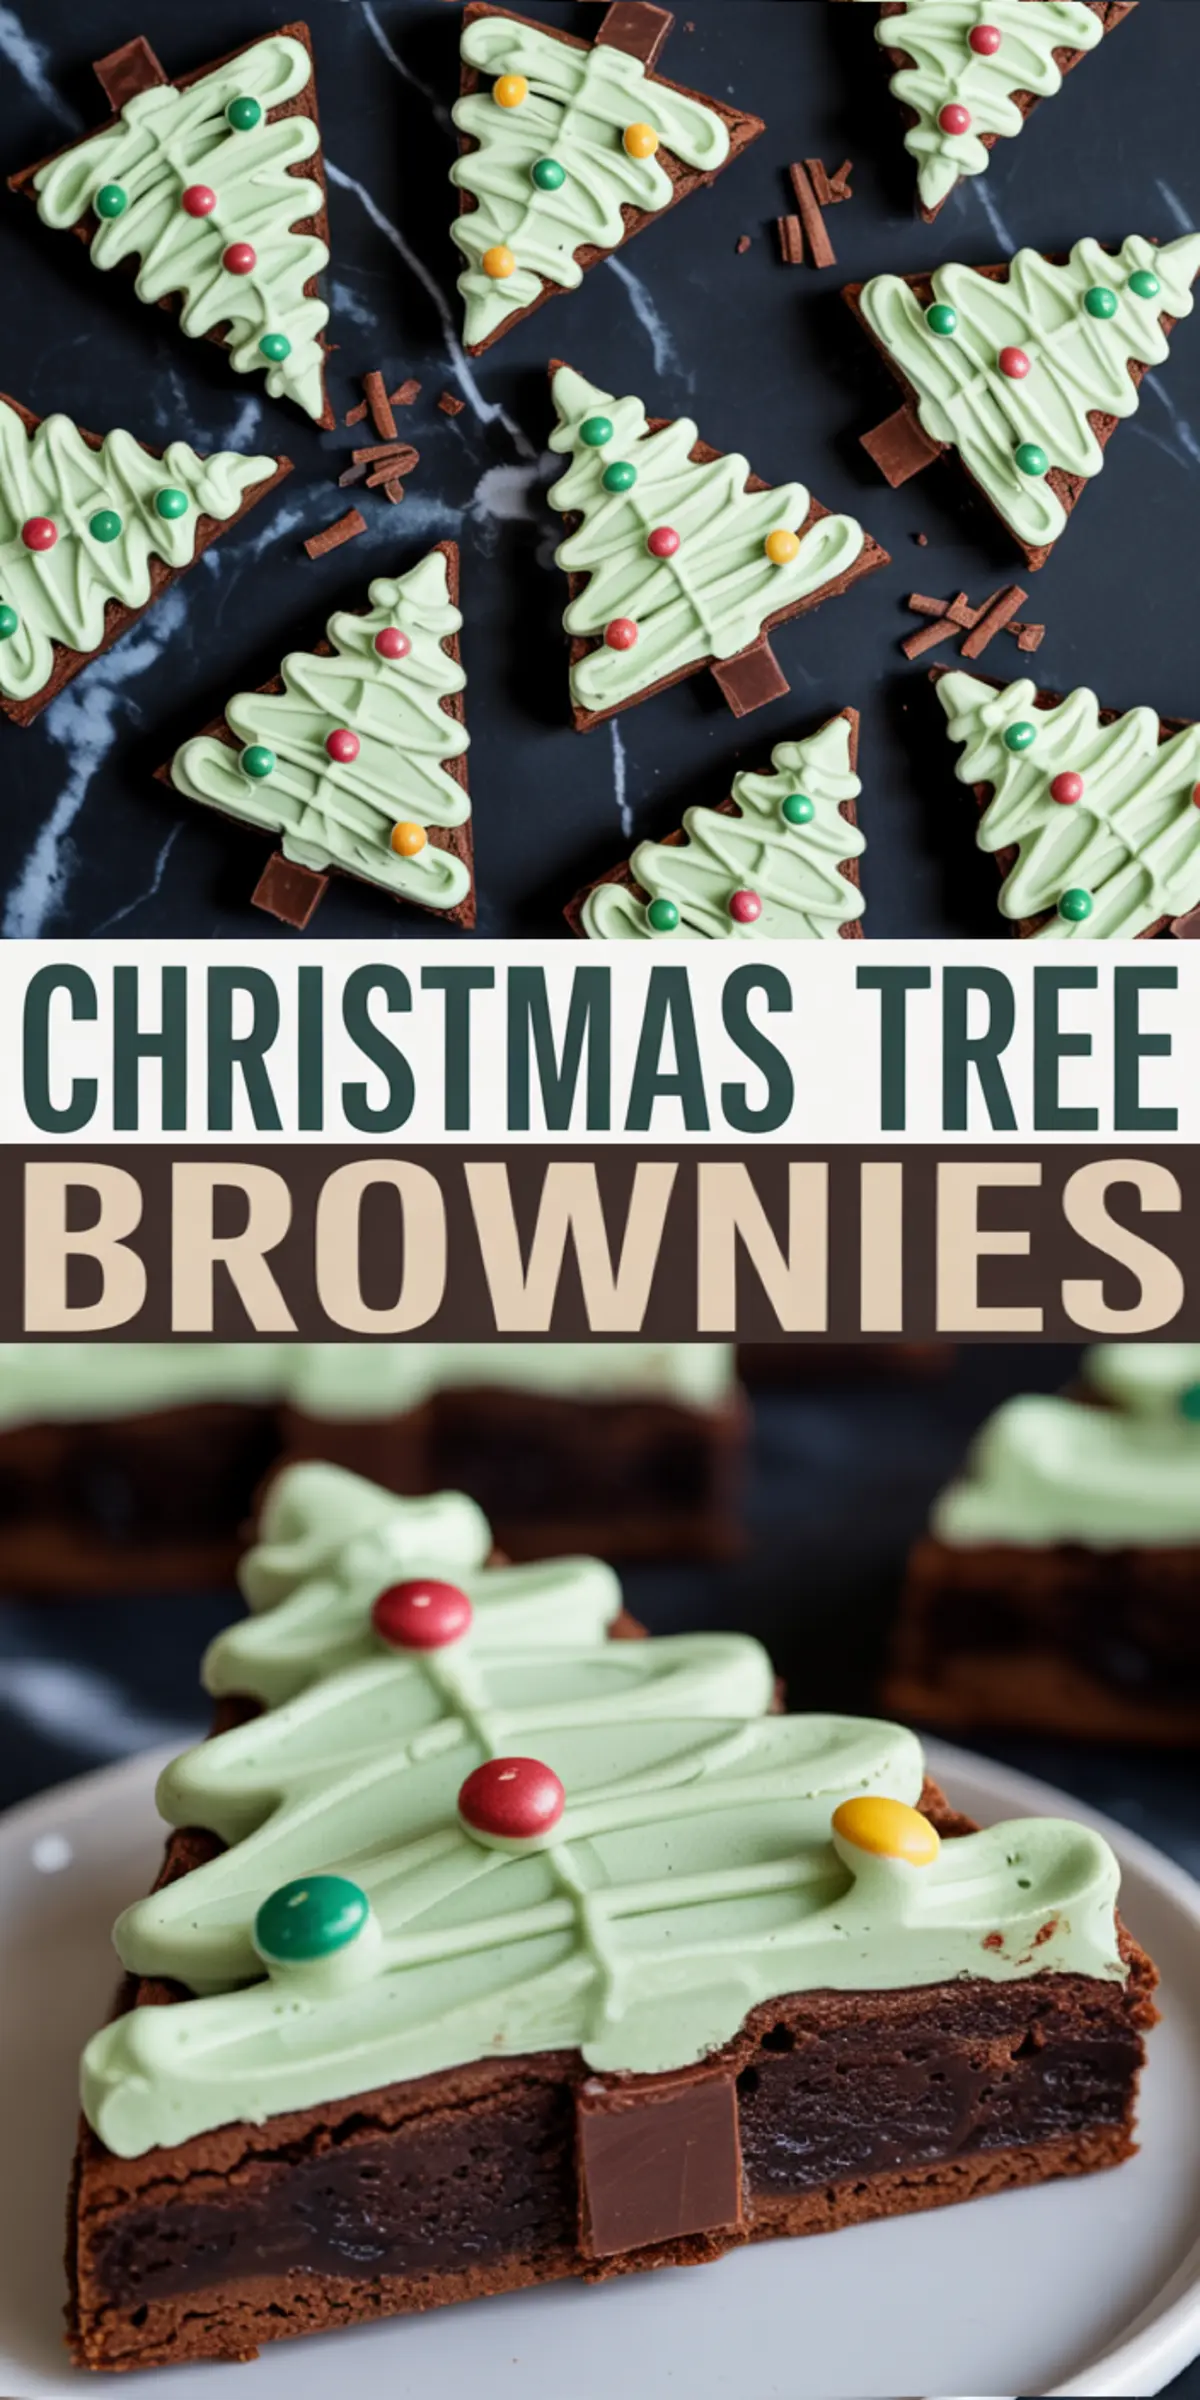
Brownie trees don’t need to be tricky. These Christmas brownies slice sharp, decorate easily, and always look festive.
If you make them, I’d love to know how it went. Leave a comment below with your decorating twist, or share how many made it to the party.
And don’t forget to pin this recipe to your Christmas desserts board. These decorated brownies are worth saving.
Christmas Tree Brownies Recipe
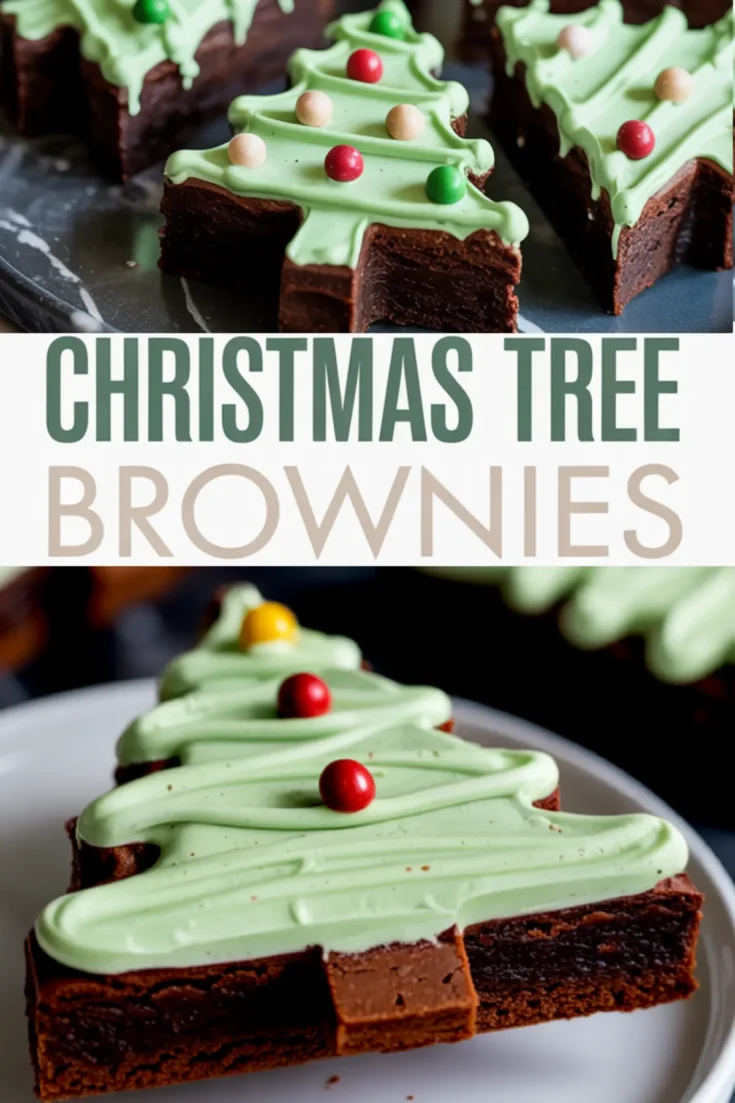
Christmas tree brownies start with a simple tray of fudgy brownies, sliced into triangles and decorated with green frosting, sprinkles, and a candy star on top. I press a mini candy cane into the base for a tree trunk, and suddenly it’s not just dessert—it’s the centerpiece. These frosted Christmas tree brownies are my favorite way to turn a basic pan into Christmas brownies that look festive without too much effort. If you’re making brownie Christmas trees for a party or classroom tray, this version stays neat and holds up well. I keep them in my go-to list for decorating brownies for Christmas. Add them to your list of Christmas brownies decoration ideas and easy Christmas tree desserts that kids love.
Ingredients
- For the brownie base:
- 1 cup (230g) unsalted butter, melted
- 1 cup (200g) granulated sugar
- 1/2 cup (100g) brown sugar
- 3 large eggs
- 1 tbsp vanilla extract
- 3/4 cup (75g) unsweetened cocoa powder
- 1 cup (125g) all-purpose flour
- 1/2 tsp salt
- 1/2 cup (90g) semisweet chocolate chips
- For the frosting:
- 1/2 cup (115g) unsalted butter, softened
- 2 cups (240g) powdered sugar
- 2 tbsp heavy cream or milk
- 1 tsp vanilla extract
- Green food coloring (gel preferred)
- For decorations:
- Red, yellow, and green candy-coated chocolates
- Optional: white sprinkles, edible glitter
- Mini pretzel sticks or small chocolate pieces (for tree trunks)
Instructions
- PREHEAT THE OVEN: Set oven to 325°F (165°C). Line a 9x13-inch baking pan with parchment paper, allowing some overhang on the sides for lifting the brownies out later.
- MIX THE WET INGREDIENTS: In a large mixing bowl, stir together melted butter, granulated sugar, and brown sugar until fully combined. Add the eggs and vanilla extract, then whisk until the mixture is smooth and glossy.
- ADD DRY INGREDIENTS: Sift in the cocoa powder, flour, and salt. Stir just until no dry streaks remain. Fold in the chocolate chips evenly throughout the batter.
- BAKE THE BROWNIES: Spread the batter into the prepared pan, smoothing the top. Bake for 28 to 32 minutes, or until the edges are set and a toothpick inserted in the center comes out with moist crumbs. Let the brownies cool completely in the pan.
- SLICE INTO TREE SHAPES: Once cooled, lift the brownies out of the pan using the parchment. Cut the slab into three equal long strips. From each strip, cut alternating triangles to form tree shapes. Expect 12 to 15 triangles in total.
- ADD THE TREE TRUNKS: Cut a small notch in the center of the bottom edge of each triangle. Insert a mini pretzel stick or a small chocolate piece into the notch. If using chocolate, apply a bit of frosting to help secure it. Press gently until the trunk is set.
- MAKE THE FROSTING: Beat the softened butter until light and fluffy. Add powdered sugar, vanilla extract, and heavy cream or milk. Mix until smooth. Add green food coloring and beat until the desired green color is achieved.
- DECORATE THE TREES: Transfer the frosting to a piping bag or a zip-top bag with the tip snipped off. Pipe zigzag lines across each tree to resemble garland. While the frosting is still soft, add candy-coated chocolates as ornaments and any optional decorations like sprinkles or glitter.
Notes
Let the brownies cool fully before cutting for cleaner edges. Use a sharp knife and wipe it clean between cuts for best results. If piping bags aren't available, a spoon or offset spatula can be used to apply frosting.
Nutrition Information:
Yield:
12Serving Size:
1Amount Per Serving: Calories: 144Total Fat: 6gSaturated Fat: 3gTrans Fat: 0gUnsaturated Fat: 3gCholesterol: 58mgSodium: 182mgCarbohydrates: 17gFiber: 1gSugar: 5gProtein: 4g
