
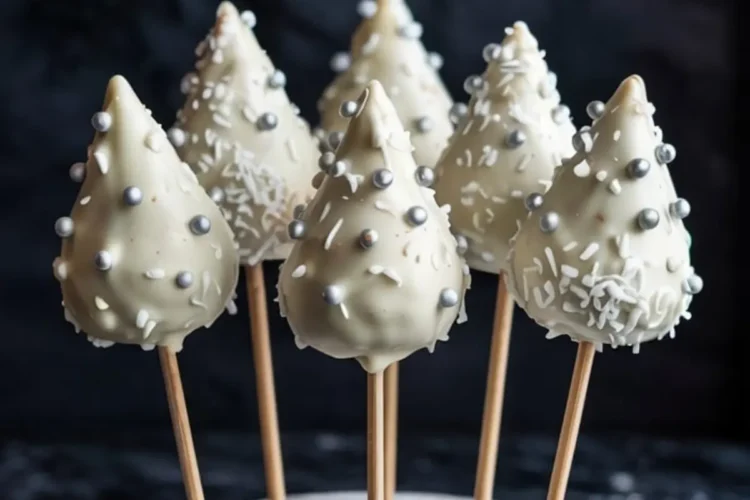
There’s a point in every December where the baking calendar starts to blur. Fudge here, cookies there, something sprinkled, something dipped.
But these Christmas Tree Cake Pops cut through the crowd.
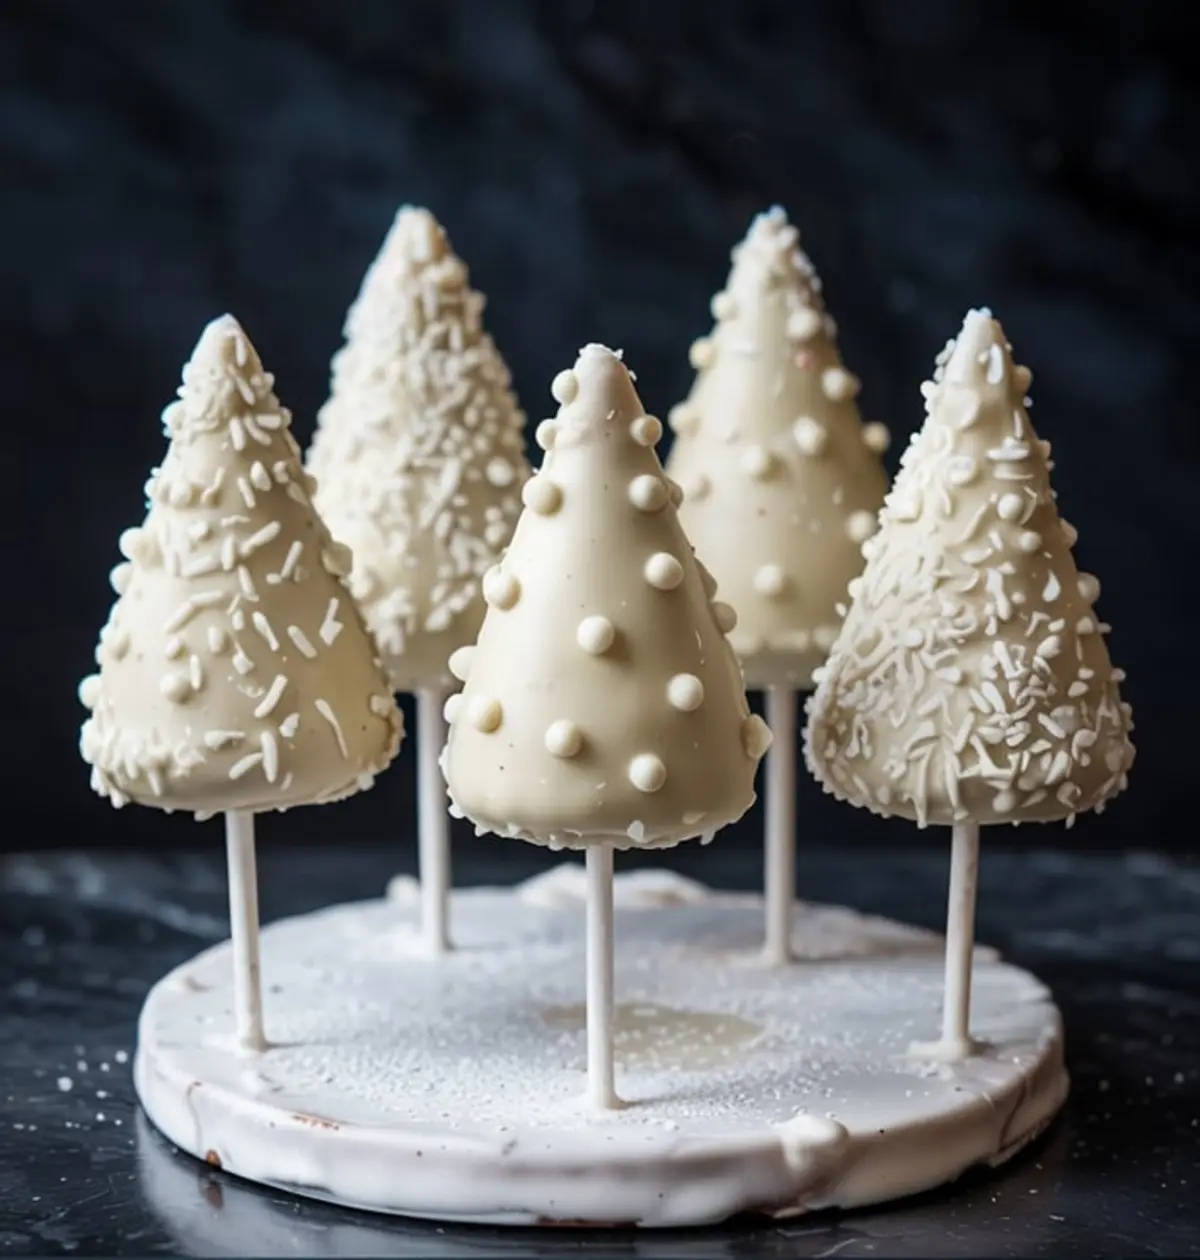
This recipe gives you a chocolate base pressed into soft cone shapes, dipped in white chocolate, and topped with a flurry of snow-like sprinkles. You’re not just making another cake pop. You’re making a small forest that actually looks like a Christmas tree display.

These tree cake pops don’t just sit on the tray. They stand on it. Kids grab them. Adults admire them. And the shape makes all the difference. You’ll see what I mean.
You’ll learn how to shape, dip, and decorate cake pops that hold their form, taste as good as they look, and last long enough to be prepped ahead. They work as party desserts, edible gifts, or centerpieces on your Christmas cake pops tray.
And somewhere in the middle of all the sprinkles, there’s one small decision that shifts the flavor completely. A quick change in the coating that adds depth without effort. I’ll share that part after we go through the steps.
Use Moist Cake, Not Just Fresh Cake
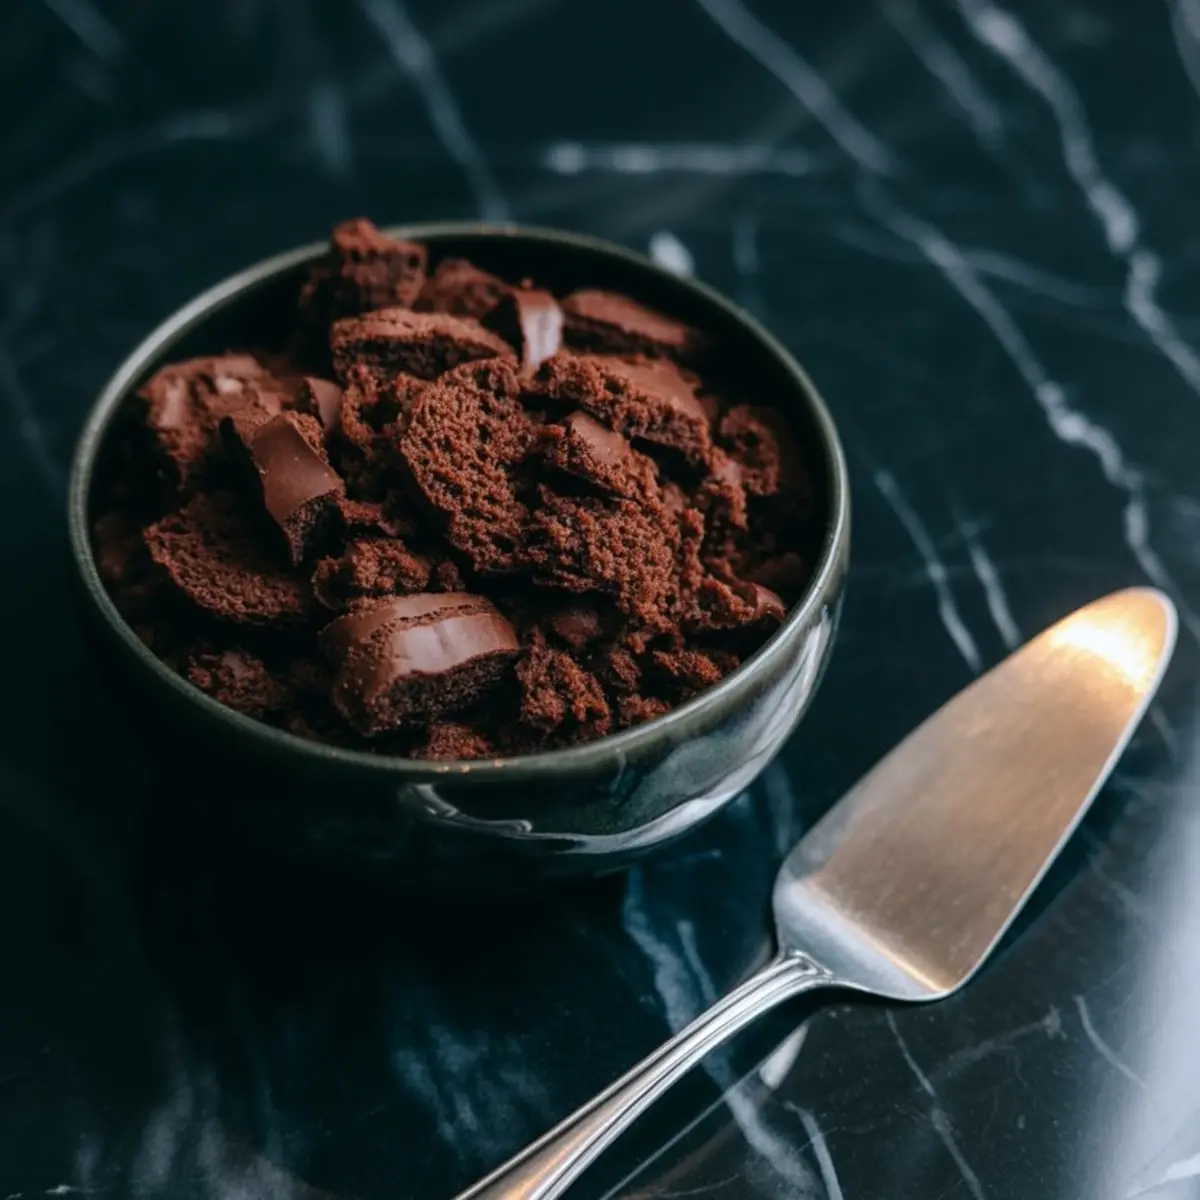
You can make this with your own chocolate cake or a boxed mix. The secret isn’t the brand or the recipe. It’s the texture after cooling.
Cakes that are too airy or dry don’t hold their shape when mixed with frosting. If the cake feels dry to the touch, wrap it in plastic overnight. Moisture returns, and that’s what you want.
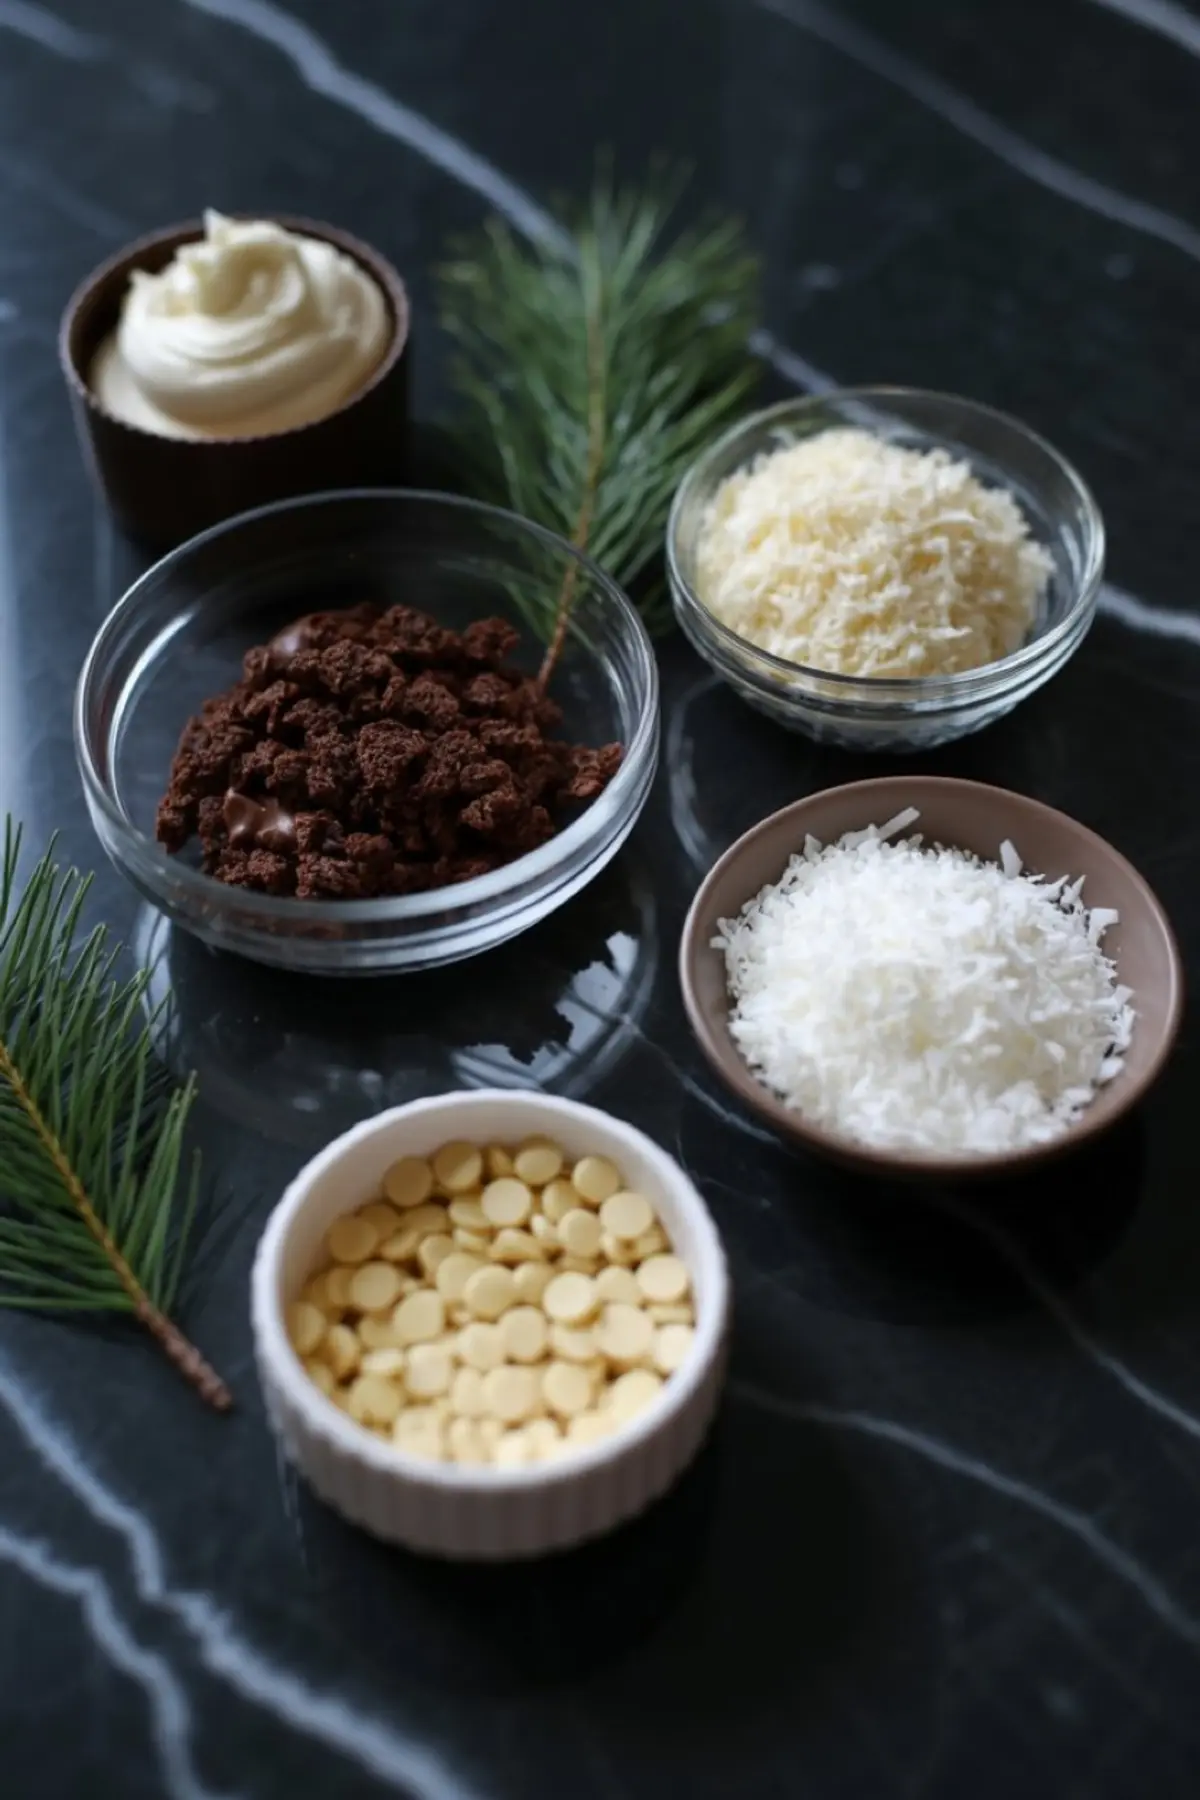
Break the cake into fine crumbs by hand. I’ve tried using a food processor, but the texture gets too tight. Hand-crumbled cake gives a gentler mix.
You’ll mix in the frosting slowly. One spoonful at a time. Stir and press with a spatula or your hands until the mixture holds shape without leaking oil or feeling too sticky.
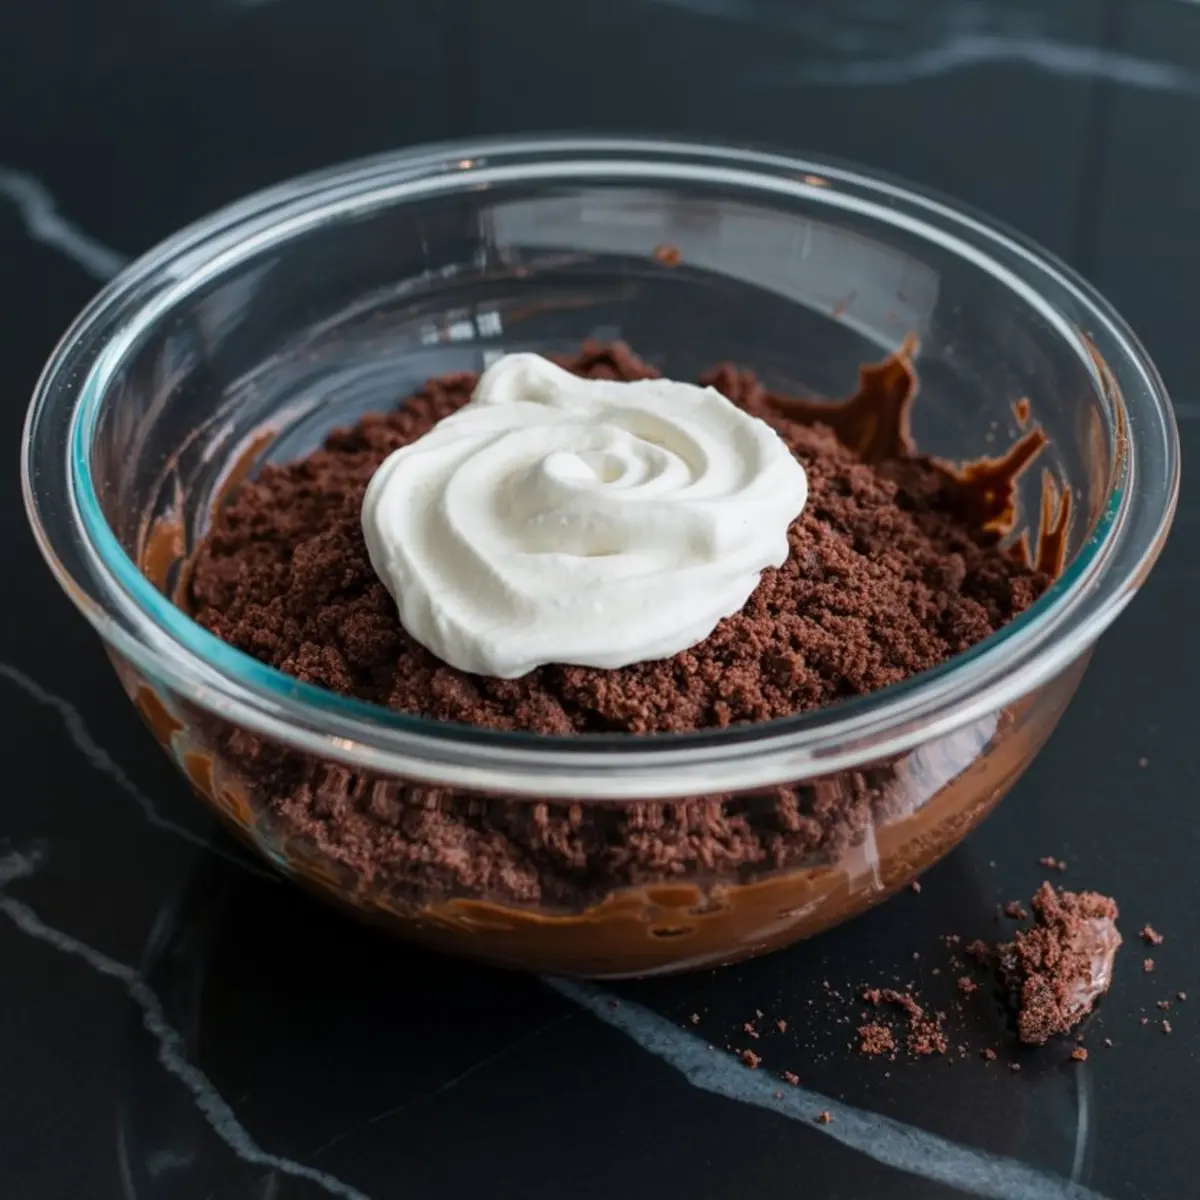
For about one full 9×13-inch cake, I usually stop at two-thirds of a cup of frosting. I use a simple buttercream.
Cream cheese frosting softens the structure and adds tang, but it needs longer chilling. I’ve found it works better for smaller ball-shaped pops like these Snowman Marshmallow Pops where less pressure is needed during shaping.
Shaping Christmas Cake Pops Into Trees
Here’s where things get playful.
Instead of rolling spheres, you shape cone-like mounds. Think of it like packing brown sugar. You’re pressing just enough to hold form, not too much to make them dense.
Size matters here. Go smaller than you think. About two inches high. Tall pops fall off their sticks more easily during coating.
Once shaped, lay them on parchment and chill them. One hour is the minimum. Overnight is better.
If you’re building a full cake pop tree as a table display, you can make these a few days ahead. They’ll stay fresh if stored in a covered container in a cool spot.
Chocolate Coating Comparison: Candy Melts vs Real Chocolate
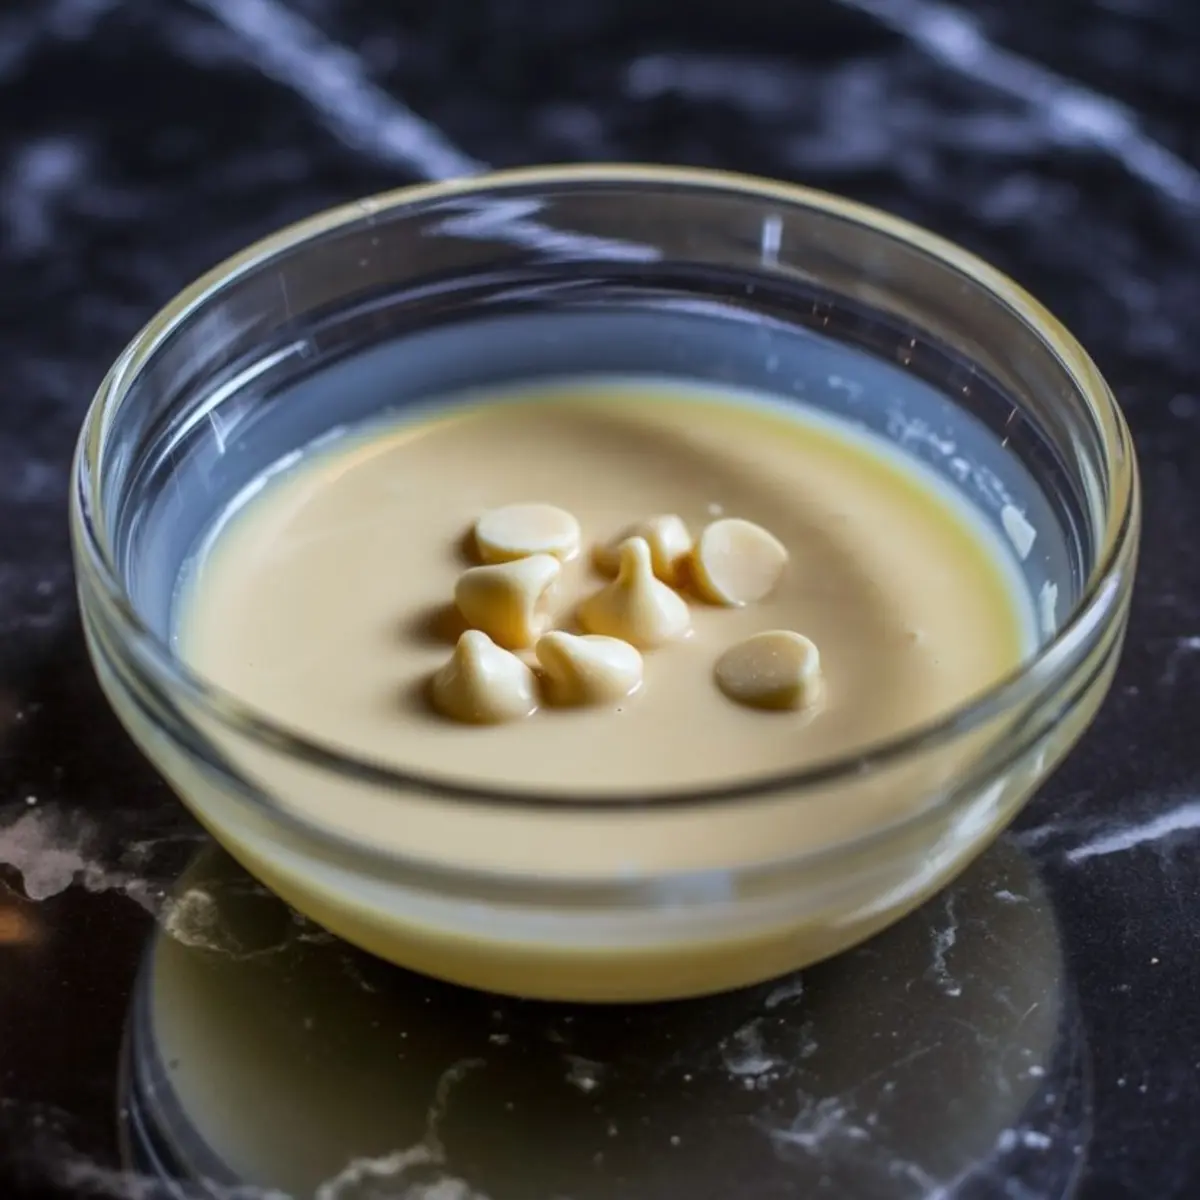
This is where I had to make a choice. I’ve dipped with real white chocolate and also with almond bark and candy melts.
Here’s what I found.
Real white chocolate wins on flavor every time. But it thickens fast, and it seizes easily if there’s any water or heat rush. If you’re working quickly and want to enjoy the finish, use the real stuff.
Candy melts or almond bark stay fluid longer. They coat more evenly. And for beginners, they’re much less stressful.
So if you’re hosting kids or making a large batch for a school bake sale, I’d say go for candy melts. If you’re gifting or plating for adults, white chocolate adds that rich, creamy bite.
How to Dip and Decorate Tree Cake Balls Without Smearing
Once chilled, insert the stick into the base of each cone. I dip the stick tip into melted chocolate before pushing it in. That seals the hold.
Spoon the coating over each tree slowly. Don’t dunk. Dunking risks melt or breakage. Let the extra chocolate drip, then stand each tree upright in a block of styrofoam or a colander’s holes.
While the coating is still glossy, sprinkle your toppings.
Shredded coconut gives the softest “snow” look. Nonpareils make it sparkle. Silver sugar pearls bring that snowy evergreen shine. Choose one or mix two.
I leave the trees to set uncovered for about 30 minutes, then store them in a container with parchment between layers.
The Quiet Twist That Makes Them Pop
Now here’s that ingredient I mentioned earlier.
A dash of peppermint extract in the melted white chocolate. Just a few drops.
It turns the bite into something closer to peppermint bark, but without overpowering the chocolate cake underneath. You get sweet, cool, and chocolatey all in one bite.
Skip it if you’re serving toddlers. Keep it in if you want to feel that holiday breeze on your tongue.
They Look Harder Than They Are
That’s the truth.
Once you’ve shaped and dipped your first few, the rhythm settles in. And honestly, the trees that lean a little or have crooked tops? They always get the best reactions.
These don’t need to be perfect. They need to be made. Shared. Bitten. Reached for again.
They belong on your list right alongside your go-to Christmas fudge.
Save and Share Your Christmas Cake Pop Tree Moments

You can pin this to your Christmas Desserts or Cakepops board so it’s right where you need it next year.
If you try them, I’d love to hear. Did you go coconut or sugar pearls? Did the peppermint surprise work? Share your questions or your photos in the comments.
These small trees leave big memories.
Christmas Tree Cake Pops

Christmas tree cake pops are shaped like little trees, dipped in chocolate, and decorated with festive sprinkles. I press slices of Christmas tree cake onto sticks, chill them, and coat them in melted candy or chocolate. They look great on a tray and stand out next to classic Christmas cake pops. The shape makes them fun to decorate—I use piped lines for garland and mini candies for ornaments. You can make these with homemade cake or grab boxed Christmas cake for a shortcut. They’re always the first gone at parties and add color to any dessert spread. If you’re making tree cake pops this year, or building a cake pop tree display, this version keeps it simple and sweet. Add them to your Christmas cakepops list now.
Ingredients
- FOR THE CAKE AND FILLING
- 1 baked 9x13-inch chocolate cake (homemade or box mix, fully cooled)
- 1/2 to 3/4 cup buttercream frosting (store-bought or homemade)
- FOR THE COATING AND DECORATION
- 16 ounces white chocolate or candy melts
- Shredded coconut, white nonpareils, or silver sugar pearls, for decoration
- Lollipop sticks or skewers
Instructions
- BAKE AND COOL THE CAKE: Prepare a 9x13-inch chocolate cake according to package directions or your preferred recipe. Allow the cake to cool completely before proceeding. Warm cake will not mix properly with frosting.
- CRUMBLE THE CAKE: Break the cooled cake into fine crumbs using your hands or a fork. Transfer to a large mixing bowl and ensure the texture is even throughout with no large pieces.
- MIX IN FROSTING: Add frosting one spoonful at a time, mixing thoroughly between additions. Stop once the mixture holds together when pressed but isn’t overly soft or greasy. You may not need all the frosting.
- SHAPE INTO TREES: Use your hands to form cone-shaped portions of the mixture, mimicking the shape of small Christmas trees. They don’t need to be perfectly symmetrical. Place them on a lined baking sheet.
- CHILL THE SHAPED CAKES: Refrigerate the shaped cones for at least 1 hour, or up to overnight. Chilling helps them firm up and hold their shape during dipping.
- MELT THE WHITE CHOCOLATE: Gently melt the white chocolate using a double boiler or in the microwave in short 20-second bursts, stirring frequently to prevent burning. Work slowly for a smooth consistency.
- DIP THE CAKE POPS: Insert a stick into the base of each chilled cone. Hold by the stick and use a spoon to coat the entire surface with melted white chocolate. Let excess drip off, then stand the coated pops upright in a foam block or colander to set.
- ADD DECORATIONS: While the coating is still soft, sprinkle with shredded coconut, sugar pearls, or nonpareils to give a snowy, festive appearance. Let them set at room temperature until fully hardened.
- STORE PROPERLY: Once set, store the cake pops in an airtight container in a cool place. They keep well for several days and can be made ahead for holiday gatherings or gift boxes.
Notes
Use real white chocolate for flavor, but candy melts or almond bark offer more stability when dipping. If using cream cheese frosting, allow for longer chilling time as it softens the cake mixture more than buttercream.
Nutrition Information:
Yield:
18Serving Size:
1Amount Per Serving: Calories: 223Total Fat: 12gSaturated Fat: 7gTrans Fat: 0gUnsaturated Fat: 4gCholesterol: 13mgSodium: 68mgCarbohydrates: 27gFiber: 1gSugar: 24gProtein: 2g
