
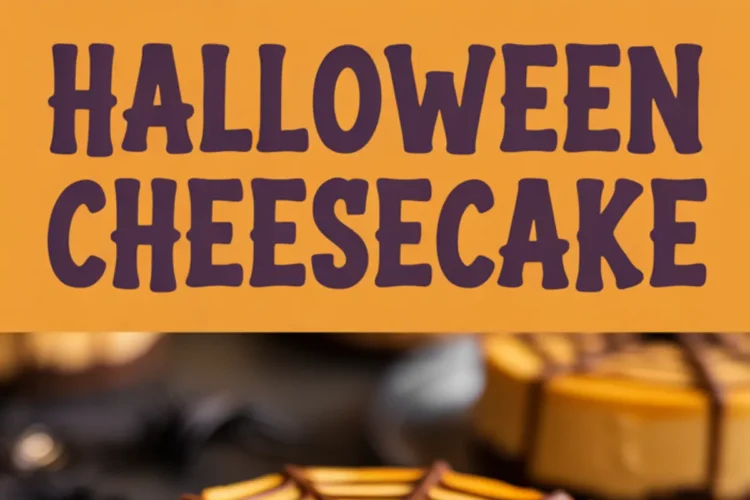
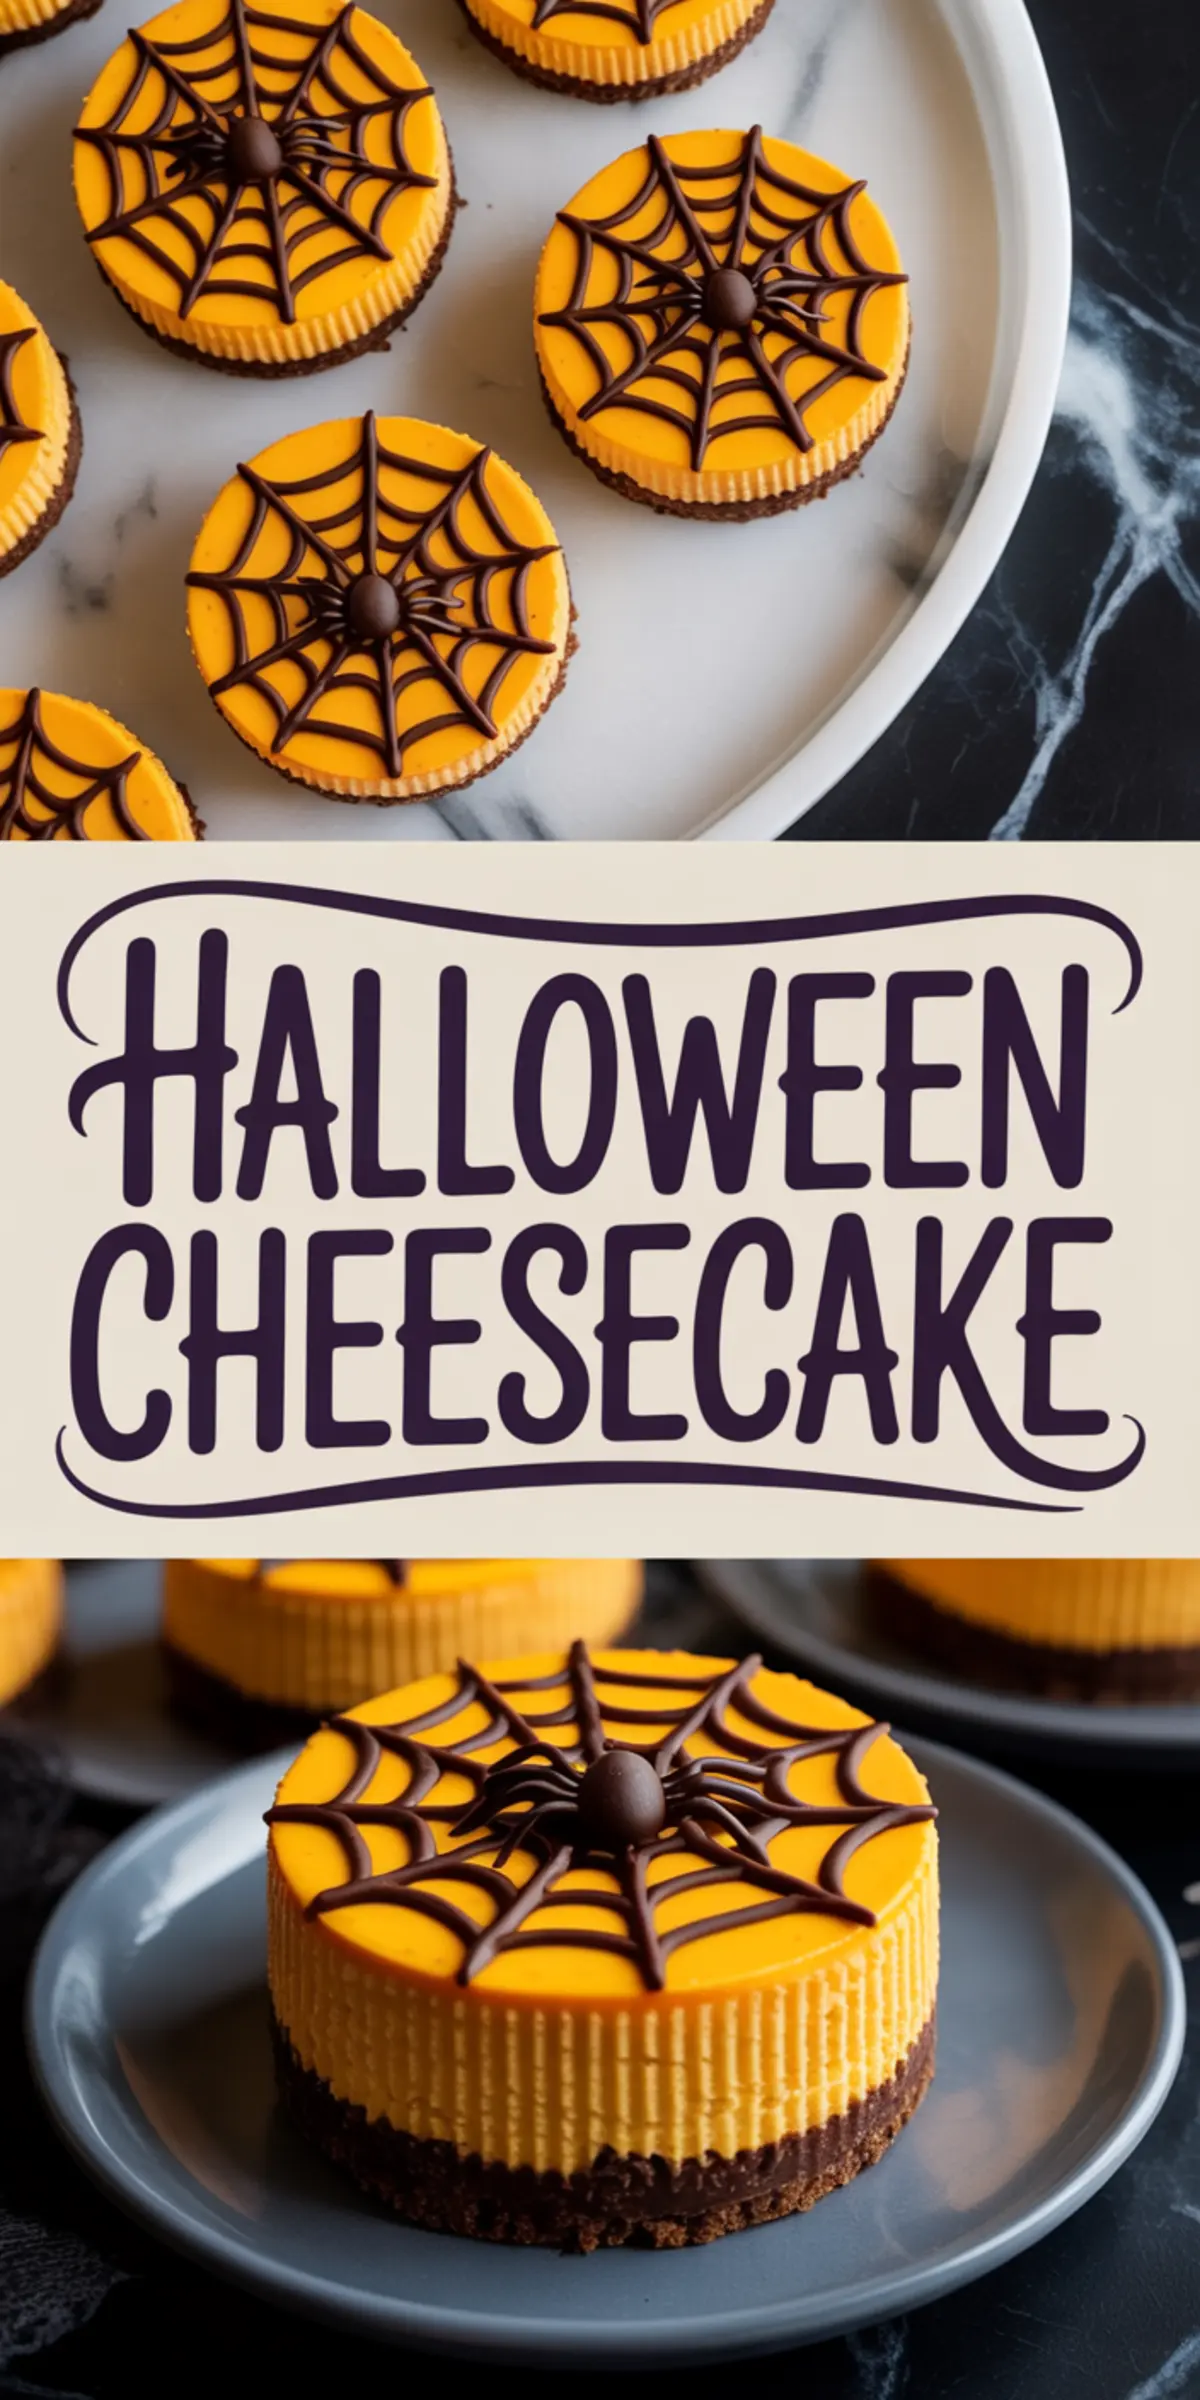
You don’t need a cauldron or a fog machine to bring Halloween magic to your table. You just need cream cheese, a little pumpkin, and a quiet moment with your muffin tin. These Mini Pumpkin Halloween Cheesecakes look like something out of a haunted bakery, but come together with familiar pantry ingredients and steady hands.
This post will walk you through every step of the recipe with confidence. You’ll learn how to make the smoothest pumpkin cheesecake base, how to avoid common mistakes like overbaking or cracking, and how to decorate each bite with a silky chocolate spiderweb that makes kids squeal and adults take a second glance.
These aren’t ordinary Halloween cheesecake ideas. This is about giving your guests a dessert that tells a little story. Something that says you thought about each detail. Something that looks dramatic but doesn’t demand advanced skills.
And there’s a little twist you’ll discover later. One thing inside the cheesecake filling that gives it a unique texture and glow. I’ll get to that.
How to Make the Chocolate Cookie Crust for Mini Cheesecakes
I always begin with the crust. It sets the tone, both in flavor and texture. For this recipe, chocolate cookies and melted butter are all you need. I’ve tested both sandwich cookies and plain chocolate wafers. The plain ones hold their shape better and don’t create oily bottoms.
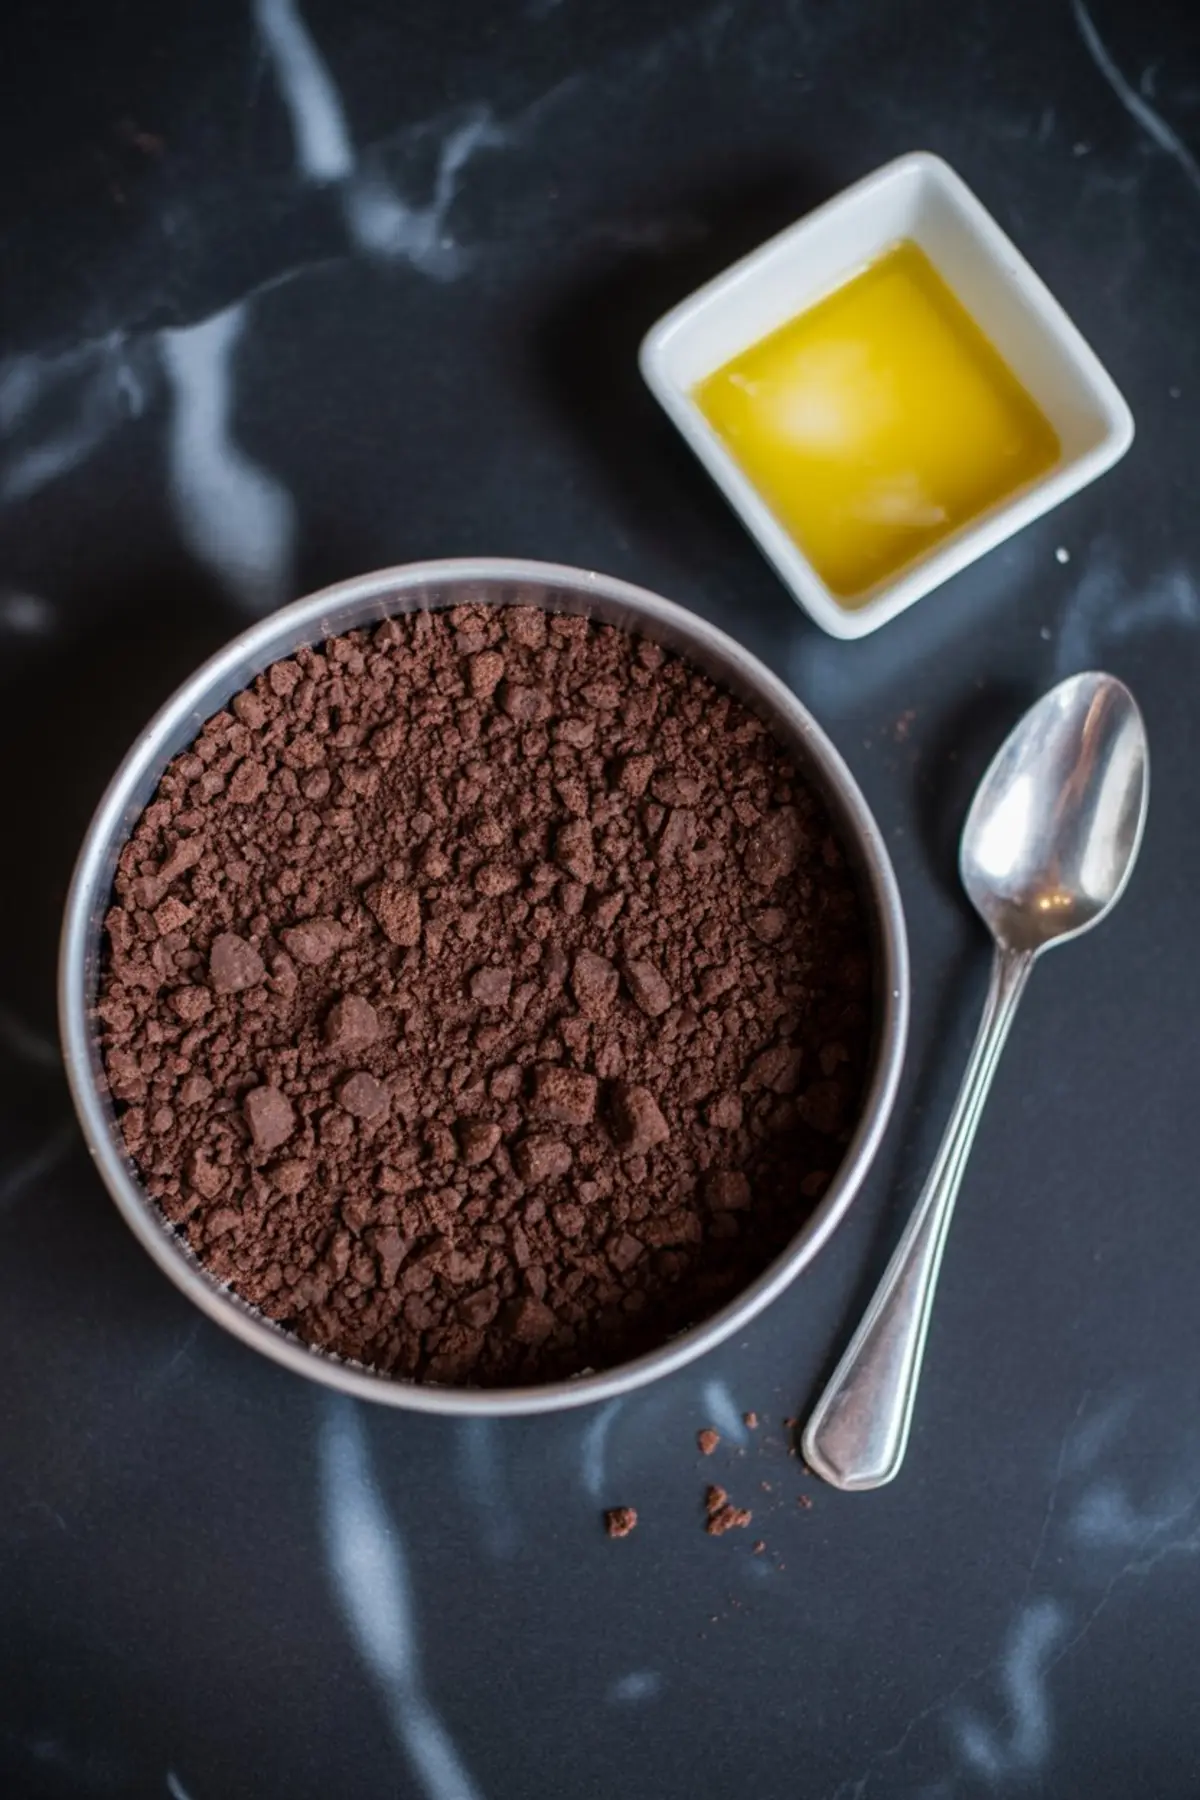
Crush them fine. Really fine. No chunks. Then stir in the melted butter until it resembles damp sand. You want it to press firmly and stay put. I scoop a tablespoon into each liner and use the back of a spoon to press it down evenly.
Bake for five minutes, then let them cool slightly. This step helps the crust set and keeps it from becoming soggy once you pour in the filling.
For more spooky dessert inspiration, visit my full collection of Spooky Desserts.
The Creamy Pumpkin Cheesecake Filling
This is where things get cozy. Cream cheese must be at room temperature, or you’ll end up with lumps that never quite smooth out. Beat it first, then add sugar, vanilla, and pumpkin puree. The pumpkin gives just enough flavor and soft warmth. It also deepens the color once you tint it with orange gel.
If you’re skipping food coloring, that’s fine. The pumpkin will still give it a soft autumn tone. But I like that vivid orange. It makes the chocolate webs pop.
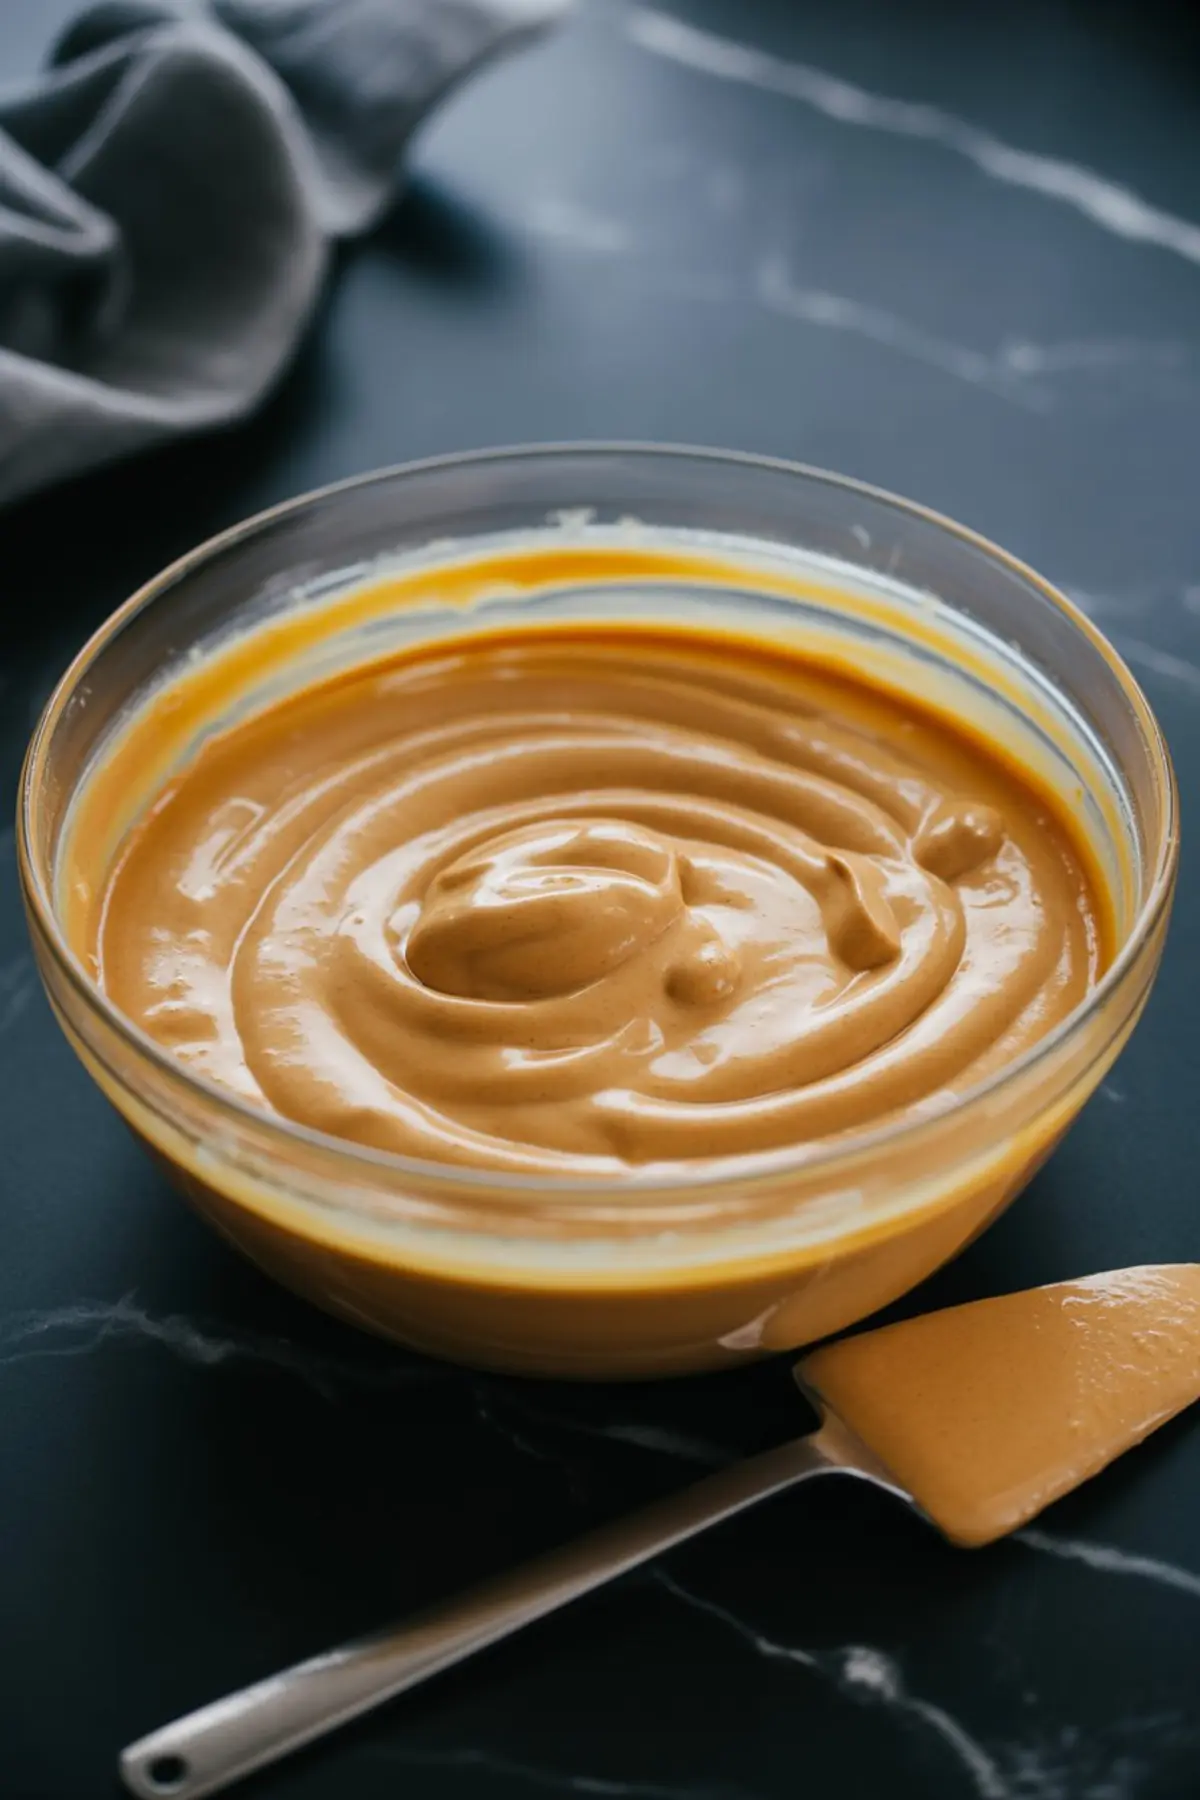
Next, I add eggs one at a time. Stir them gently. No need to whip air into this. You want it creamy, not airy. Then comes the quiet secret: a bit of cornstarch. This helps set the texture just right. Not too firm. Not too loose.
You’ll find a similar flavor story in my Halloween Coffee post, where pumpkin spice and rich textures meet.
Baking and Cooling Your Mini Cheesecakes
Pour the filling over the crust, about three-quarters full. Don’t overdo it. These rise just slightly and settle down flat as they cool.
Bake for about 20 to 25 minutes. The edges will look set. The centers will still wobble a bit, like set custard. That’s your signal to turn off the oven.
Crack the oven door and let them sit for 30 minutes. This slow cool prevents sudden temperature shocks, which often lead to cracks. Then bring them out to the counter to finish cooling before chilling for several hours or overnight.
If you’re looking for more single-serve inspiration, my Halloween Dip is another no-fuss idea worth saving.
Decorating with Chocolate Spiderwebs and Candy Spiders
Now comes the fun part. Melt dark chocolate and pour it into a piping bag with a fine tip. You can also use a zip bag with a snipped corner if needed. Pipe thin concentric circles on top of each cheesecake.
Take a toothpick and drag it from the center outward to create webs. Clean the tip after each pull for best results.
Finish each cheesecake with a truffle or small round chocolate candy. Then pipe eight tiny legs around it. They don’t need to be identical. In fact, a little wobble adds character. These chocolate spiders give personality to your spooky treats.
Looking for more creepy-cute Halloween themed desserts? My Halloween Strawberries might just make your next platter pop.
Cornstarch vs. Flour: Which Thickener Works Better?
I’ve tried both in mini cheesecakes. In my Pin Notebook, I once noted that flour made the texture slightly grainier when chilled overnight. Cornstarch gave a smoother, creamier bite.
It also prevents that slightly cakey result some cheesecakes can develop. So I stick with cornstarch for this recipe. It gives structure without sacrificing creaminess. If you’re making larger cheesecakes, you might prefer flour for strength, but for these minis, cornstarch wins.
Speaking of structure, I often recommend my Cheesecake Recipes collection for ideas on size, flavor, and seasonal tweaks.
The Hidden Touch That Makes a Difference
Remember that secret ingredient I mentioned at the start? It’s pumpkin puree. But more specifically, it’s using just the right amount. Sixty grams, no more. Too much, and your filling becomes heavy and wet. Too little, and the flavor fades.
This balance gives you that creamy glow and gentle earthiness that pairs with chocolate so well. It’s the detail that often gets overlooked, but it makes the whole thing come together. Just enough to whisper Halloween without shouting.
If you’re planning a full spread for your spooky dinner, try adding a lighter bite from my Healthy Halloween Treats to round things out.
Save and Share These Mini Spooky Cheesecakes
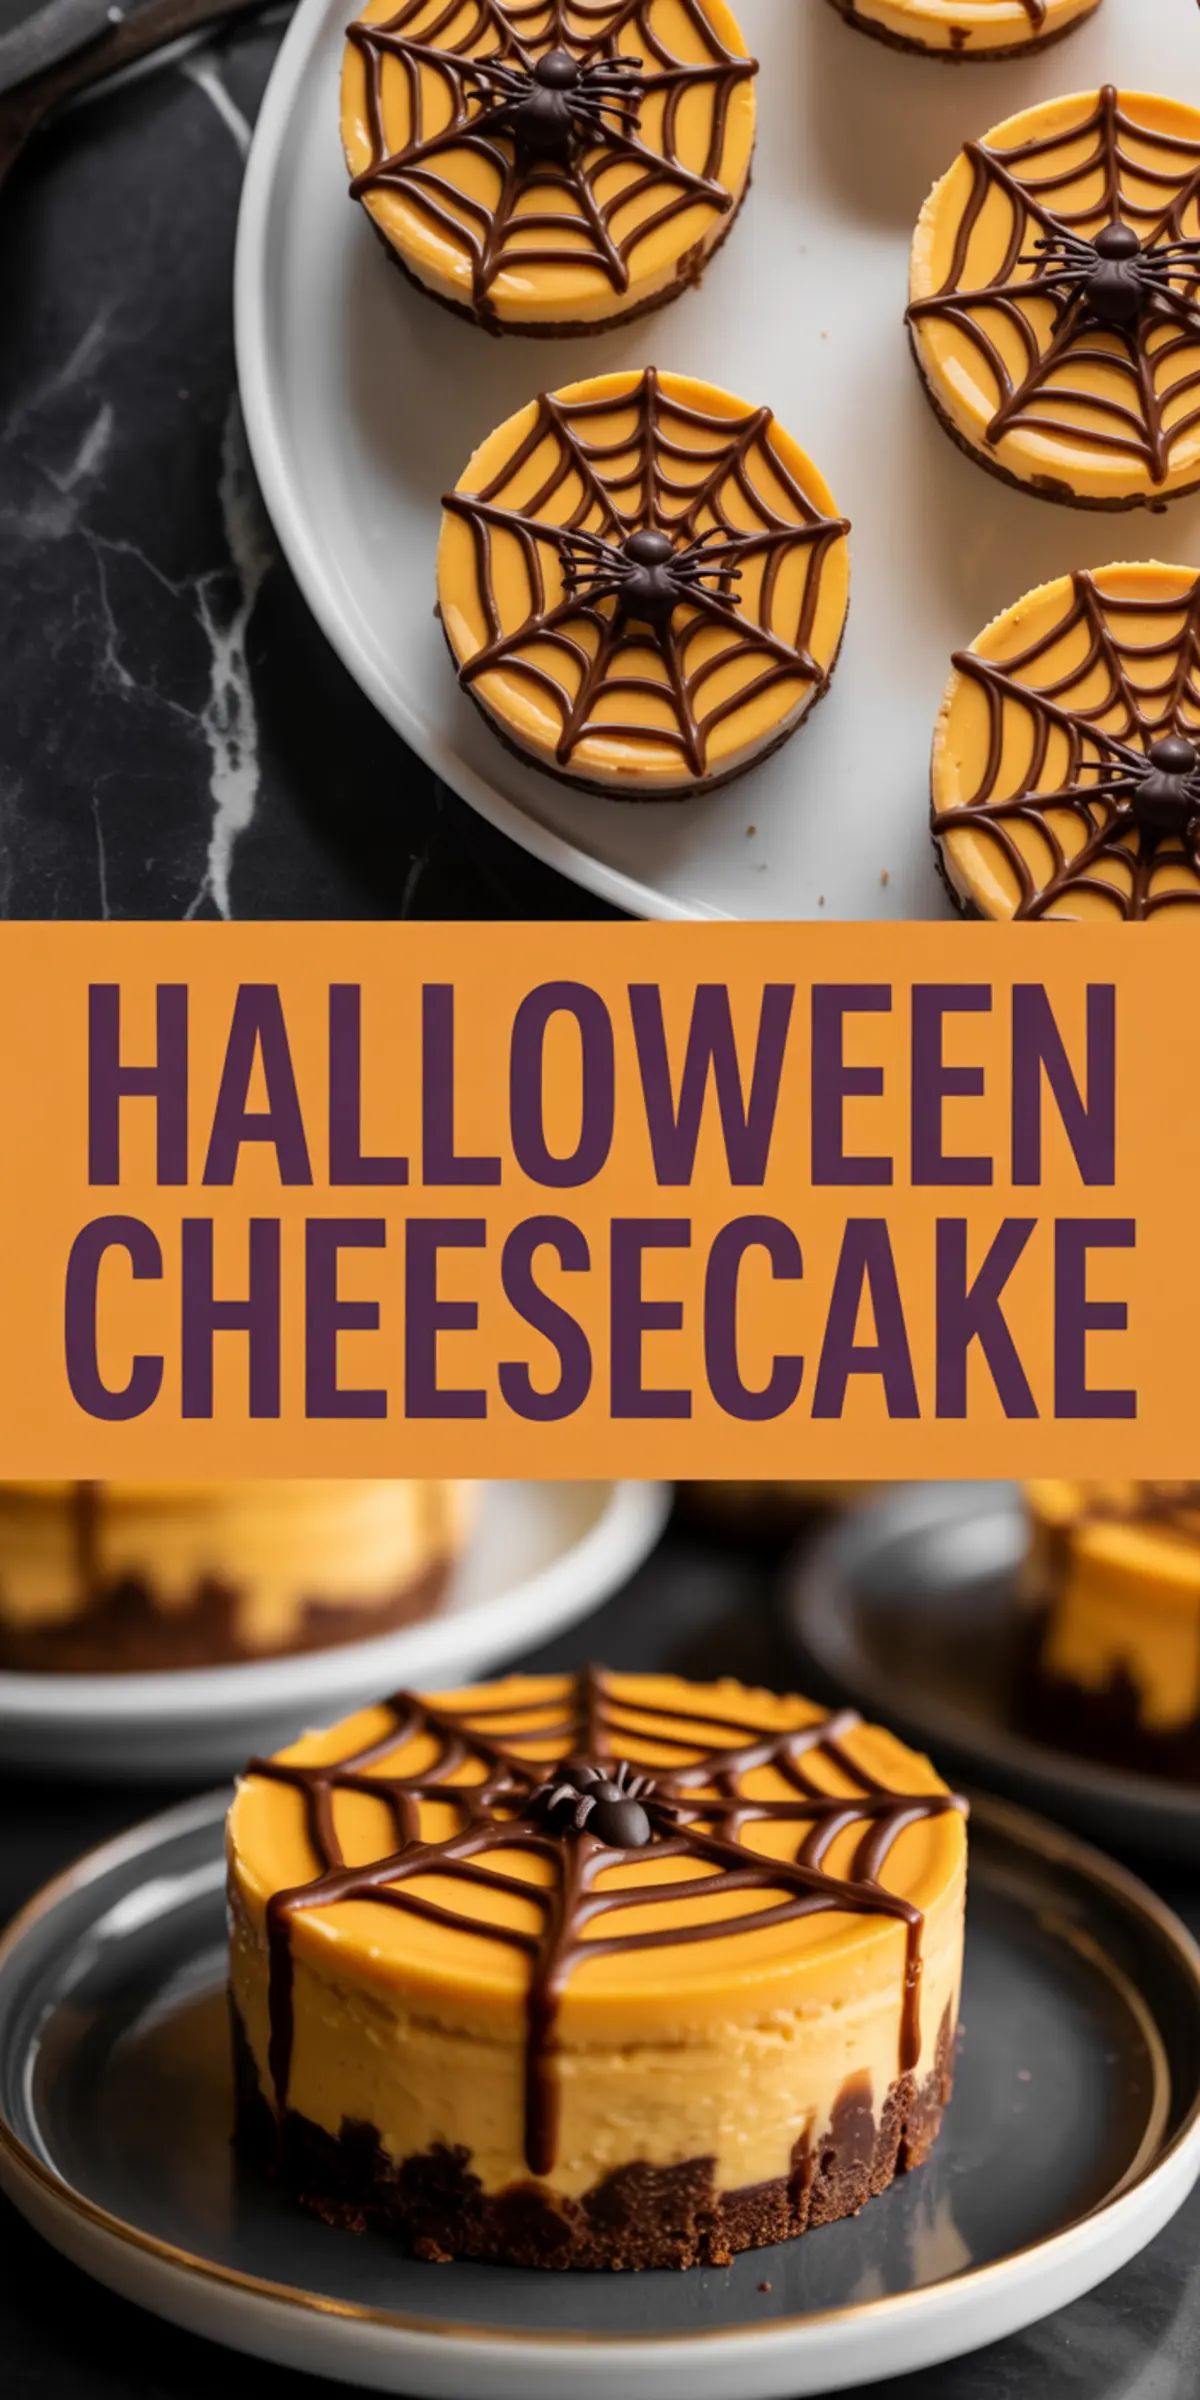
I hope these Halloween brownies and spooky cheesecake cups find a place on your party table. They might look fancy, but they’re friendly to make and even friendlier to eat. Each one is a small surprise.
If you make them, I’d love to know. Leave a comment below and share your favorite decorating twist. Did you use candy eyes? Purple drizzle? I’m always curious.
And if this post helped you, save it to your Halloween or Spooky Desserts board on Pinterest so others can try it too. Sharing helps more than you know.
Halloween Cheesecake Recipe
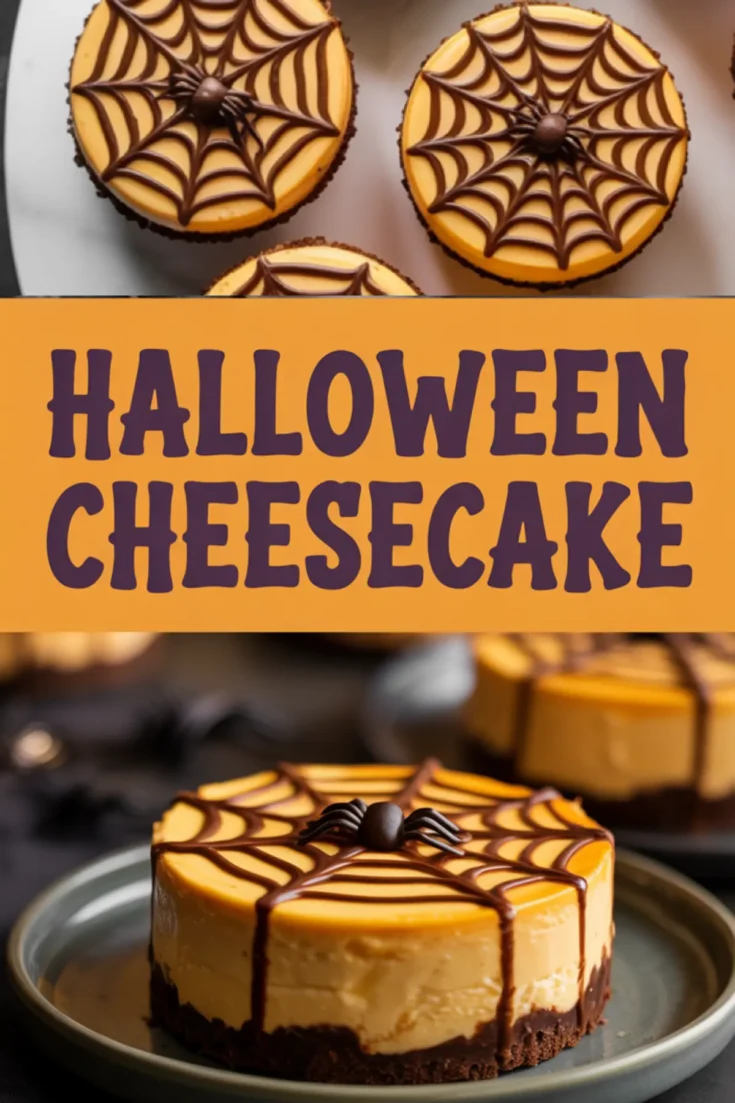
Individual cheesecakes with a crisp chocolate cookie crust, smooth pumpkin-infused orange cheesecake filling, and a dark chocolate spiderweb design topped with a chocolate candy spider. These small treats are perfect for serving as single portions while still delivering the creamy texture and striking Halloween look of a full-sized cheesecake.
Ingredients
- FOR THE CRUST
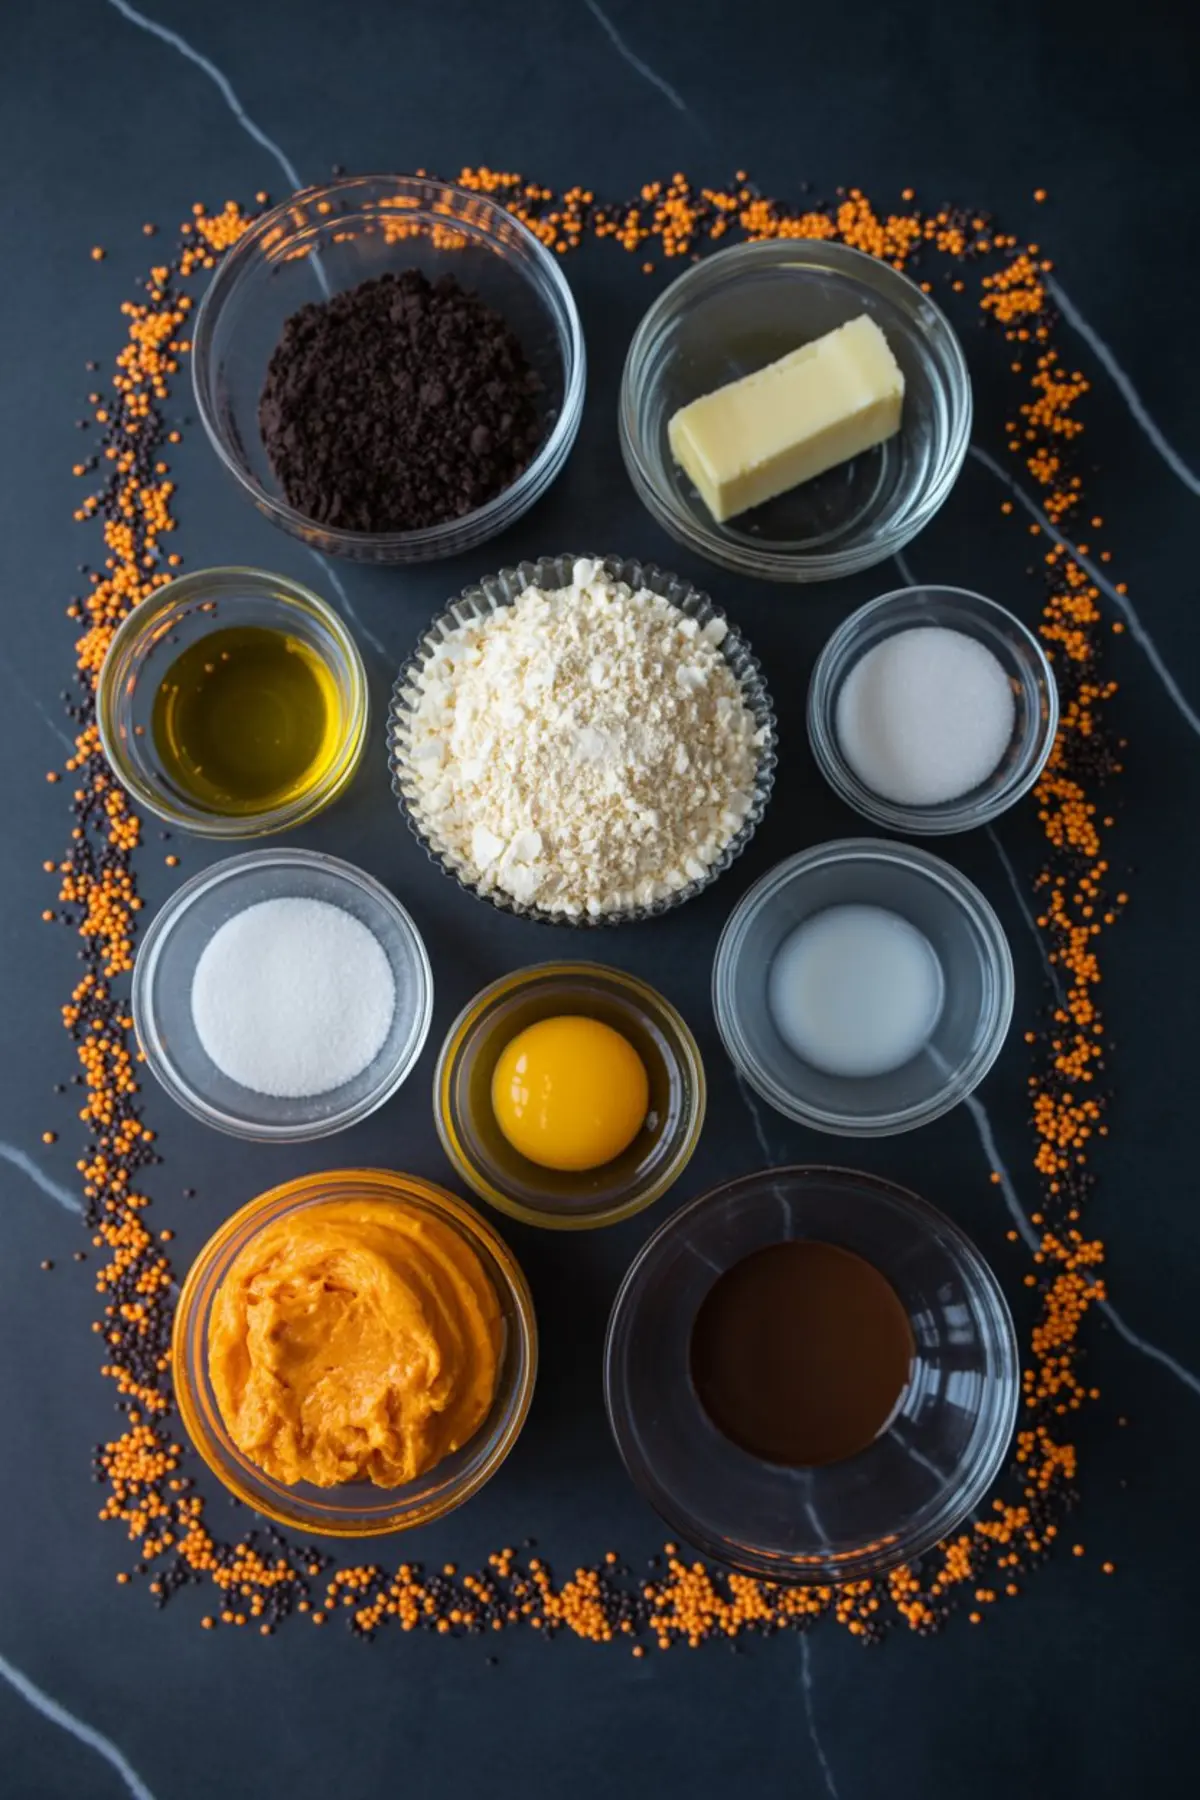
- 200g chocolate cookies, crushed into fine crumbs
- 75g unsalted butter, melted
- FOR THE FILLING
- 450g full-fat cream cheese, softened
- 100g granulated sugar
- 1 teaspoon vanilla extract
- 60g pumpkin puree
- 2 large eggs
- 1 teaspoon cornstarch
- Orange gel food coloring, optional
- FOR THE DECORATION
- 100g dark chocolate, chopped
- 12 small chocolate truffles or round candies
Instructions
PREHEAT AND PREPARE PAN: Preheat oven to 325°F (163°C). Line a standard muffin pan with 12 paper liners.
MAKE THE CRUST: Combine crushed chocolate cookies with melted butter until evenly moistened. Press about 1 tablespoon of the mixture into the base of each liner, pressing firmly. Bake for 5 minutes, then cool slightly.
MIX THE FILLING BASE: In a large mixing bowl, beat cream cheese until completely smooth. Add sugar, vanilla, and pumpkin puree, mixing until fully combined.
ADD EGGS AND CORNSTARCH: Add eggs one at a time, mixing on low speed after each addition. Stir in cornstarch until just combined. Add food coloring if desired and mix until even.
BAKE THE MINI CHEESECAKES: Divide the batter evenly among the muffin cups, filling each about three-quarters full. Bake for 20–25 minutes, or until edges are set and centers have a slight wobble.
COOL GRADUALLY: Turn off the oven, crack the door slightly, and let the cheesecakes cool inside for 30 minutes. Transfer to a wire rack, then refrigerate for at least 4 hours or overnight.
CREATE THE SPIDERWEBS: Melt dark chocolate and transfer to a piping bag with a fine tip. Pipe concentric circles on each cheesecake, then drag a toothpick from the center outward to form a web.
ADD THE SPIDERS: Place a truffle or round candy in the center of each cheesecake and pipe thin chocolate legs. Serve chilled.
Notes
The paper liners make it easy to remove mini cheesecakes from the pan without damage. For best results, ensure cream cheese is at room temperature before mixing.
Nutrition Information:
Yield:
12Serving Size:
1Amount Per Serving: Calories: 420Total Fat: 31gSaturated Fat: 17gTrans Fat: 0gUnsaturated Fat: 11gCholesterol: 106mgSodium: 201mgCarbohydrates: 31gFiber: 2gSugar: 27gProtein: 6g
