
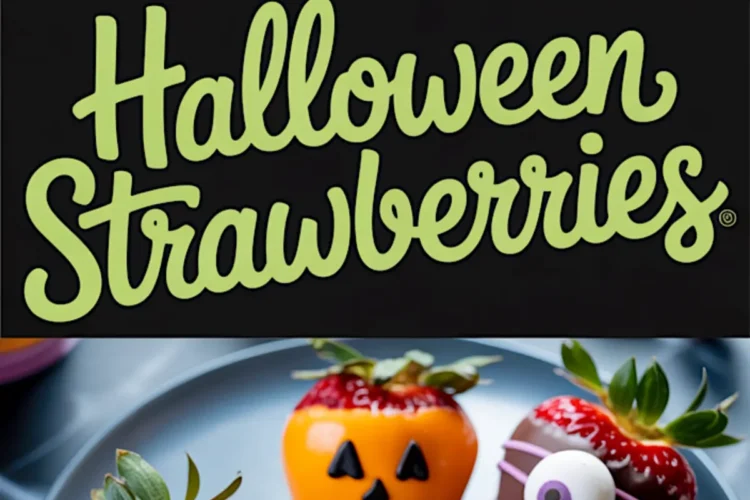
There’s something about a dessert that looks back at you.
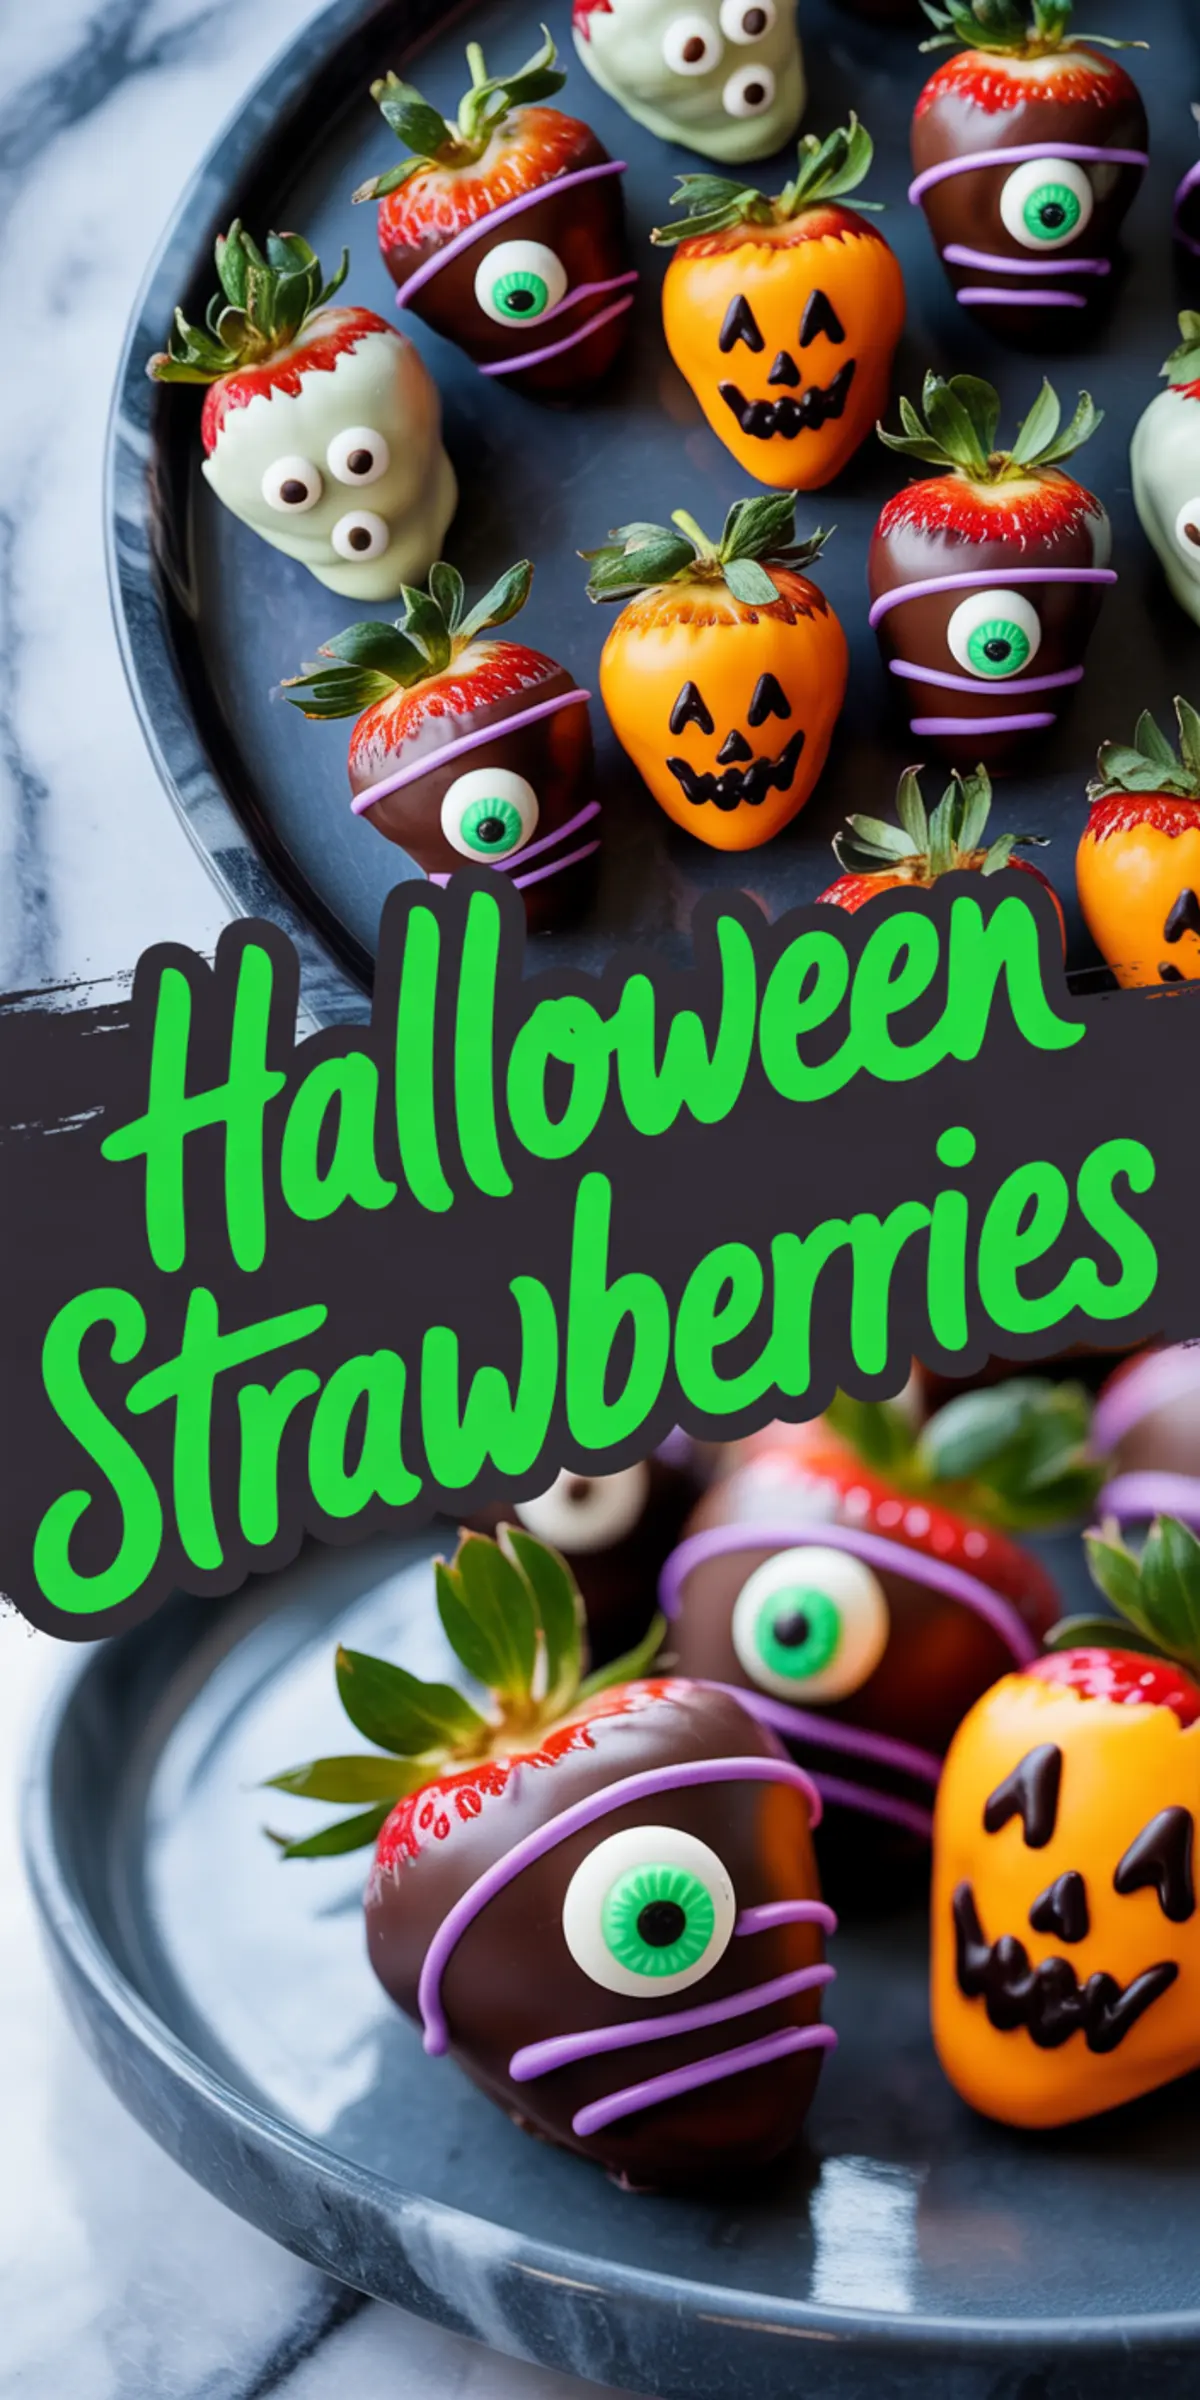
These Halloween Chocolate Covered Strawberries do more than just sit pretty on a platter. They grin, they stare, and in some cases, they even look a little worried. That’s part of the charm. And that’s why these ghost, mummy, and pumpkin strawberries have become one of my favorite Halloween themed treats to make every fall.
You’ll learn how to get that smooth coating, how to make the faces stick (literally), and how to turn candy melts and chocolate chips into characters with a single swipe of a spoon.
This idea came from a Halloween party where a child picked up one of my strawberries, looked it in the eye, and laughed. That’s when I knew these weren’t just fall snacks.
They had personality.
What You’ll Need to Make Halloween Chocolate Covered Strawberries
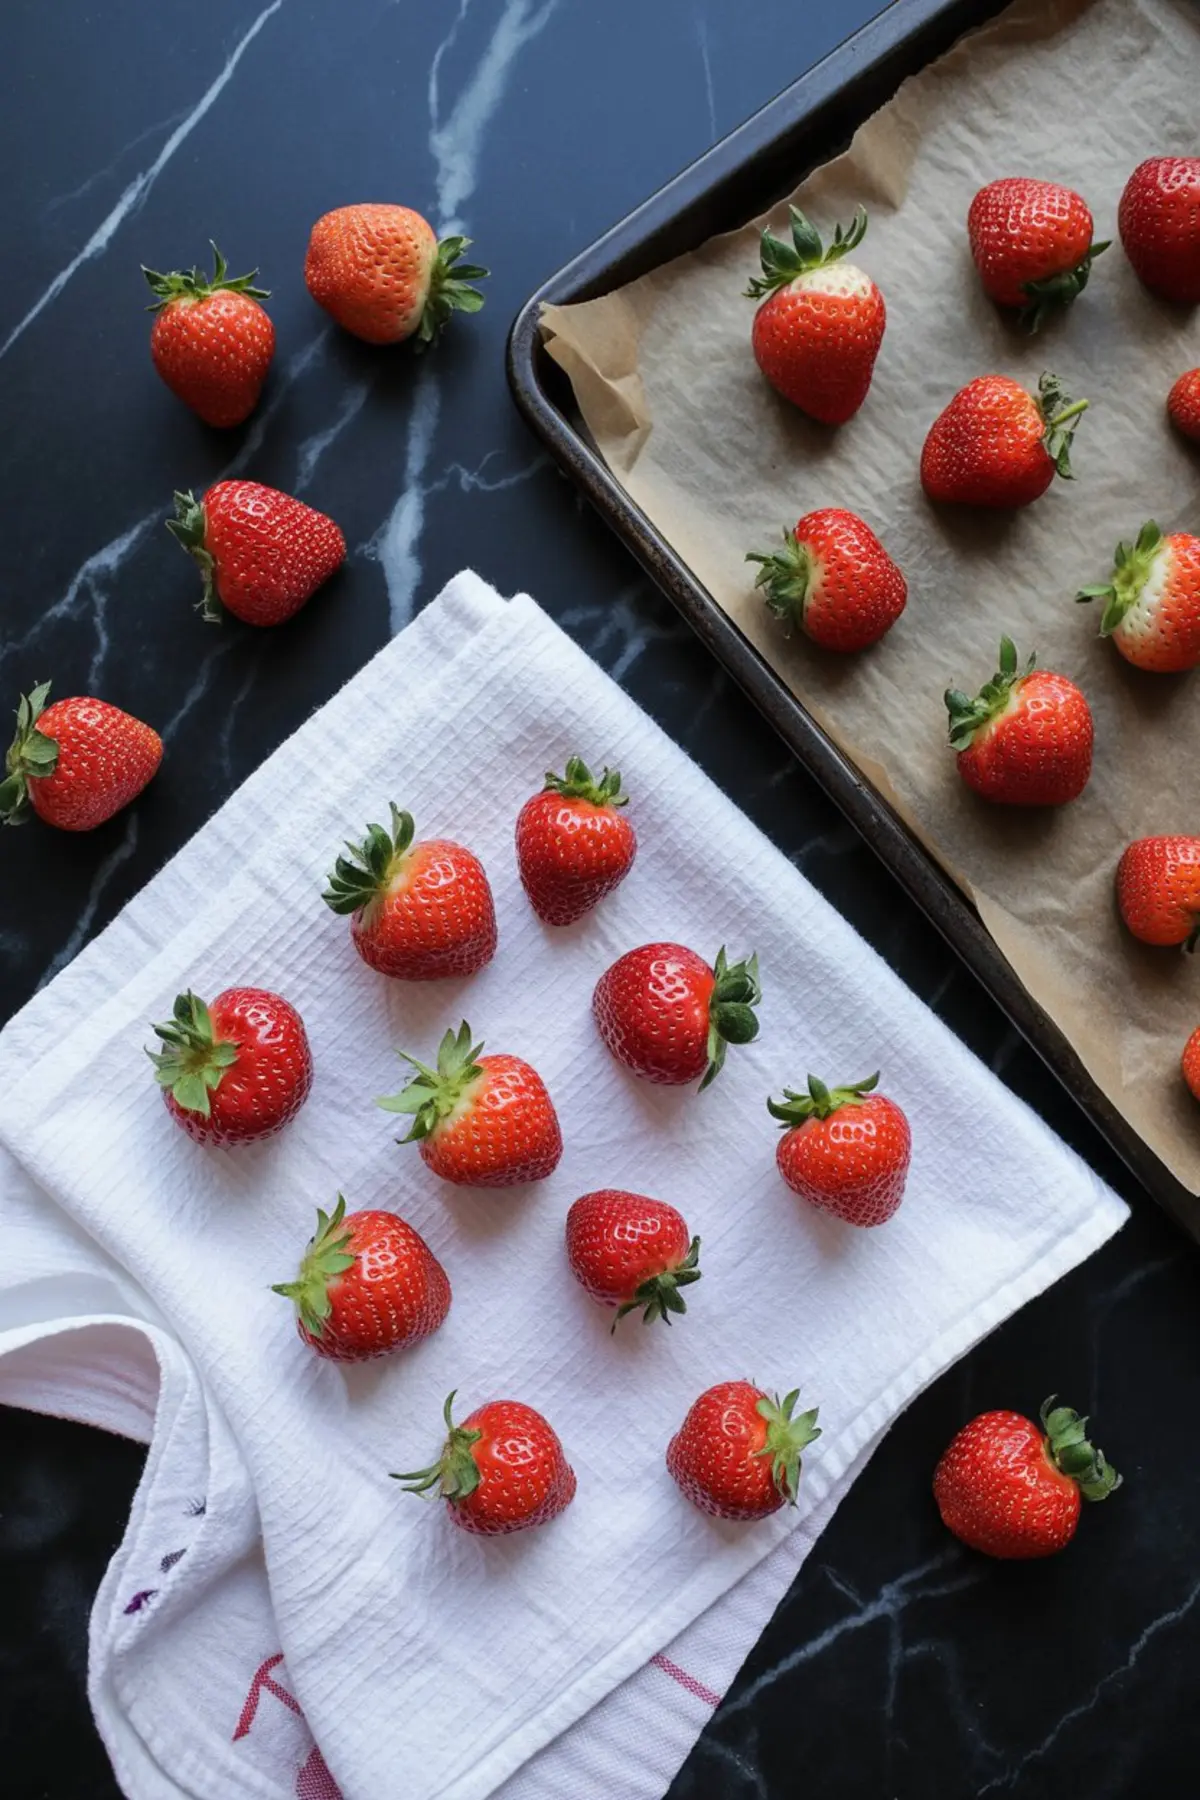
Strawberries should be fresh, dry, and completely stem-on.
That leafy top makes dipping easier and also gives the strawberries some contrast. I’ve found that skipping the coconut oil still works fine, but if you’re working with candy melts and want that drippy, smooth texture, the teaspoon makes a difference.
I’ve also tried both white chocolate chips and chopped bars. Chips hold their shape longer and don’t melt down as fast, which means you may need to stir more. Bars melt smoother, but the thinner texture can pool if you’re not quick.
Between the two? I prefer chopped bars for dipping. Chips work better for piping.
You can get candy eyes at most baking stores or online.
They bring the whole thing to life.
How to Dip and Decorate Halloween Strawberries
Start by lining a baking sheet with parchment.
Don’t skip this. Chocolate sets quickly, and once it cools, it hardens into whatever surface it touched first. Parchment makes sure it lifts off clean.
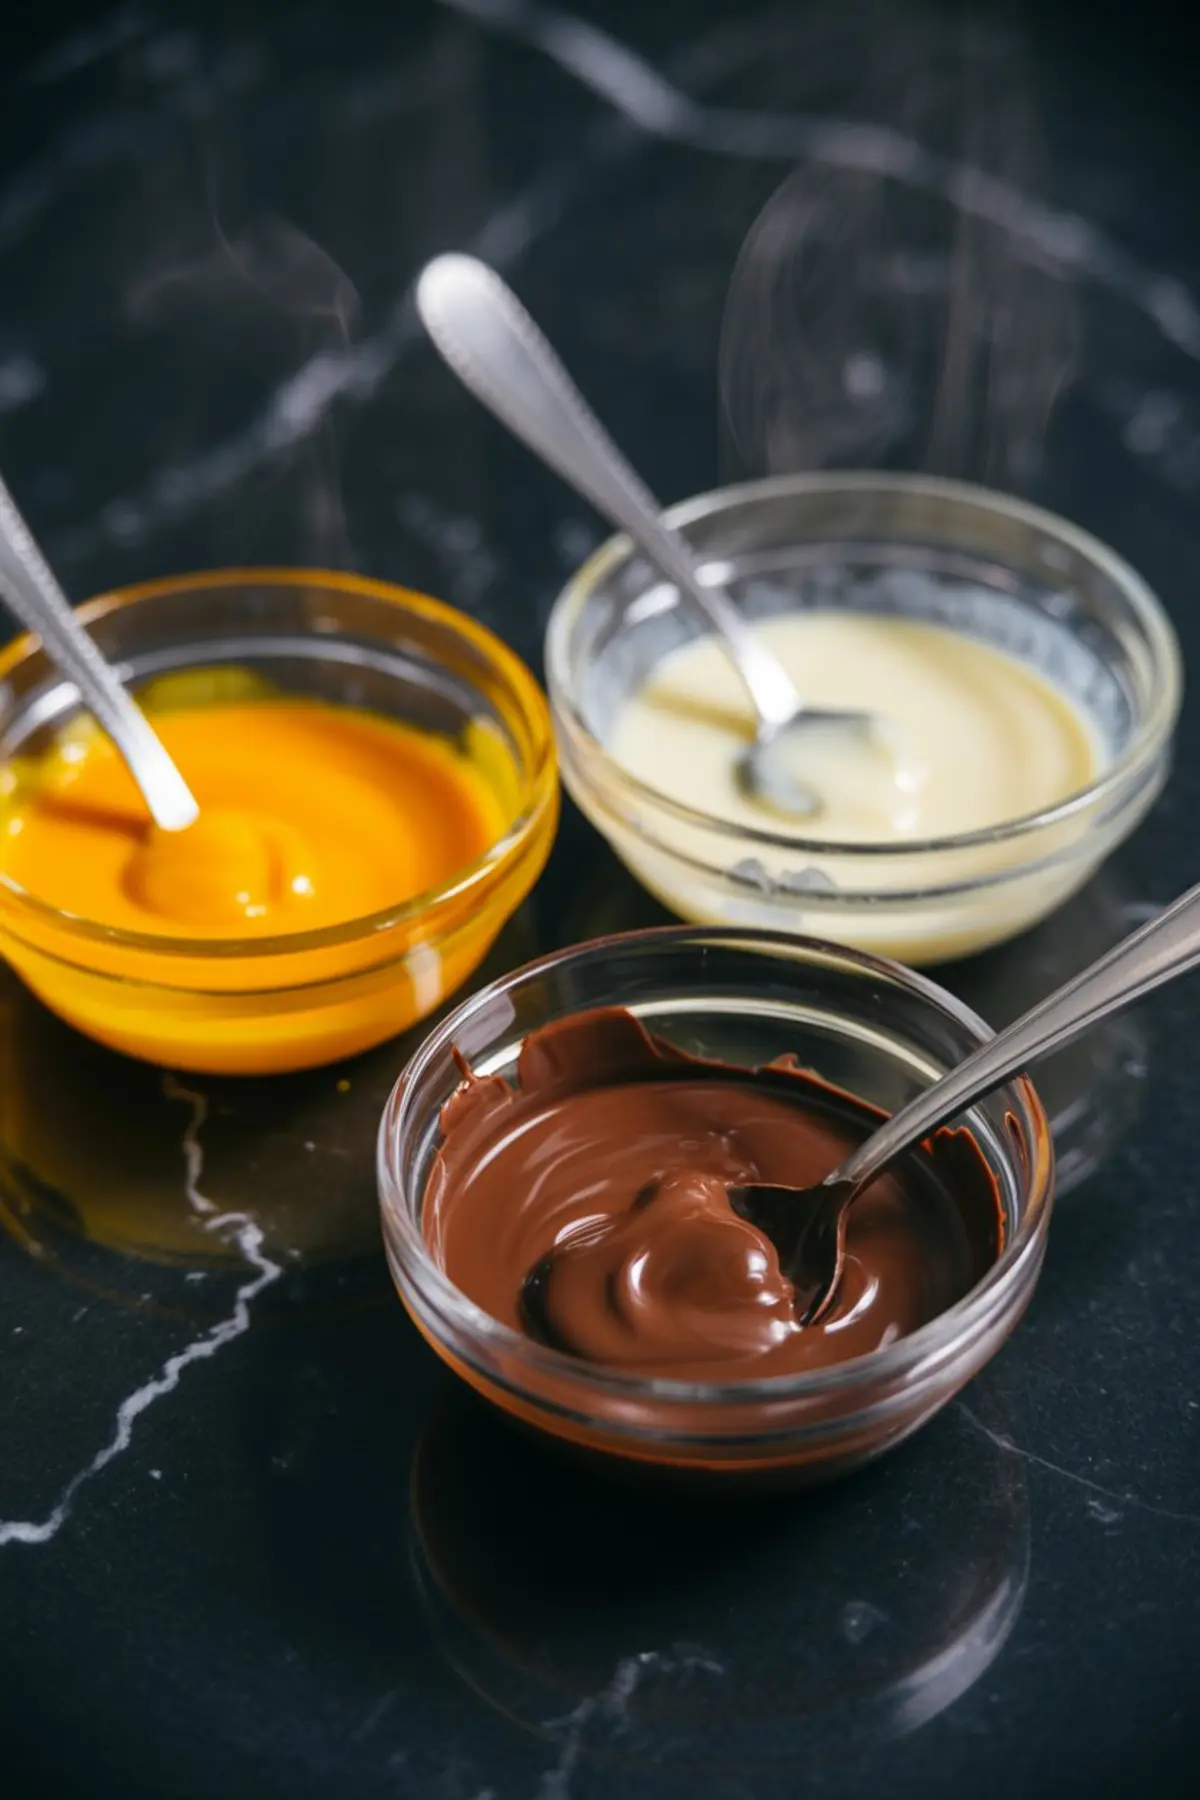
Melt each type of chocolate in a separate bowl.
Microwave in short bursts—20 seconds is enough. Stir well between each interval. This avoids scorching and keeps the chocolate glossy. If you’re using candy melts, add the coconut oil now to thin it out.
Dip the strawberries one by one.
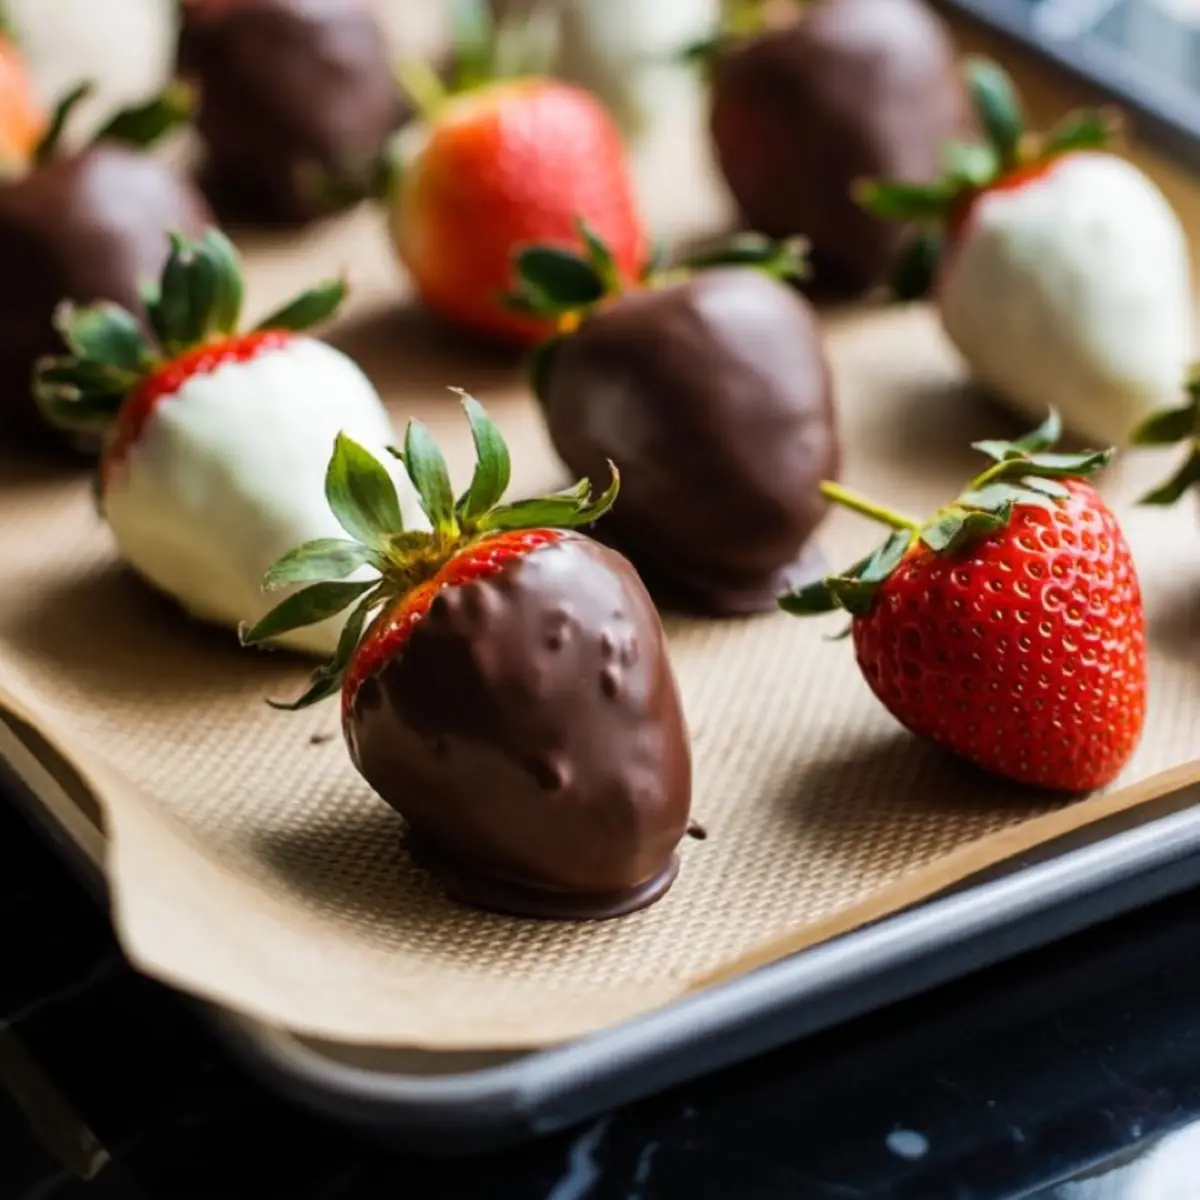
Hold by the green tops and swirl into whichever chocolate you like. You can go all in with the orange candy melts for pumpkins, milk chocolate for mummies, or white chocolate for ghosts. Tap gently to remove excess.
Let each strawberry sit for 3–4 minutes before decorating.
This pause helps the chocolate form a soft shell without setting completely.
Halloween Themed Food Ideas: Decorate Like a Pro
Pumpkin strawberries are dipped in orange, then finished with tiny jack-o’-lantern faces.
Use melted dark chocolate and a piping bag or a zip-top bag with the tip snipped off. Don’t stress about perfect symmetry. In fact, a slightly crooked grin feels more festive.
For ghost chocolate covered strawberries, dip in white, place two eyes, then dot a little dark chocolate for the mouth. I’ve seen kids mimic the expression while eating them. It’s a thing.
Mummy strawberries take a bit more layering.
After dipping in milk or dark chocolate, place the candy eyes, then drizzle lines of white chocolate across the surface to give the look of bandages. I always say it’s the messy mummies that end up the cutest.
For more spooky food inspiration that fits right into your Halloween charcuterie board, browse the Halloween Themed Treats roundup.
Tips That Actually Matter (Especially If You’re Short on Time)
Make sure strawberries are bone-dry.
Any moisture prevents chocolate from sticking. I dry mine with a clean kitchen towel, then let them air dry for a few minutes more. Even one drop of water can ruin the finish.
Work quickly once the chocolate is melted.
It starts to set as soon as it touches the cool berry, so dip with purpose. Let the faces and eyes go on while the coating is still slightly tacky. If it firms up too fast, hold a spoonful of warm chocolate nearby and use it as glue.
If you’re looking for more snackable Halloween chocolate treats, these Halloween Finger Cookies are always a hit with the same crowd.
Why These Make Great Fall Chocolate Covered Strawberries
They store well. They travel easily. And they set faster than cupcakes ever could.
You can line them up on a platter or tuck them into little boxes for party favors. Because they’re individually dipped and decorated, each one feels like its own treat. It’s that balance of color and character that makes them feel festive without needing extra props.
I’ve even used them as accents for larger trays alongside healthy Halloween treats.
They always get picked up first.
If you want to branch out with Halloween themed food this year, this recipe gives you the freedom to mix and match flavors and faces.
That’s the fun part.
The Tiny Ingredient That Makes a Big Difference
Now about that small unexpected twist.
I hinted earlier at something that makes the candy melts smoother, the piping easier, and the coating just that little bit glossier. That’s the coconut oil.
It doesn’t change the flavor. It doesn’t overpower. But it thins the candy melts enough to coat the strawberries with a silkier finish. I don’t always use it, but when I want cleaner lines and quicker setting, I stir in just a teaspoon.
You’ll notice it most on the pumpkin strawberries. They look more vibrant. That one drop really does make a difference.
Looking for more low-effort themed bakes? You might like these easy Halloween cookies. They’re a good match for the berries when served together.
Save This for Later and Share Your Creations
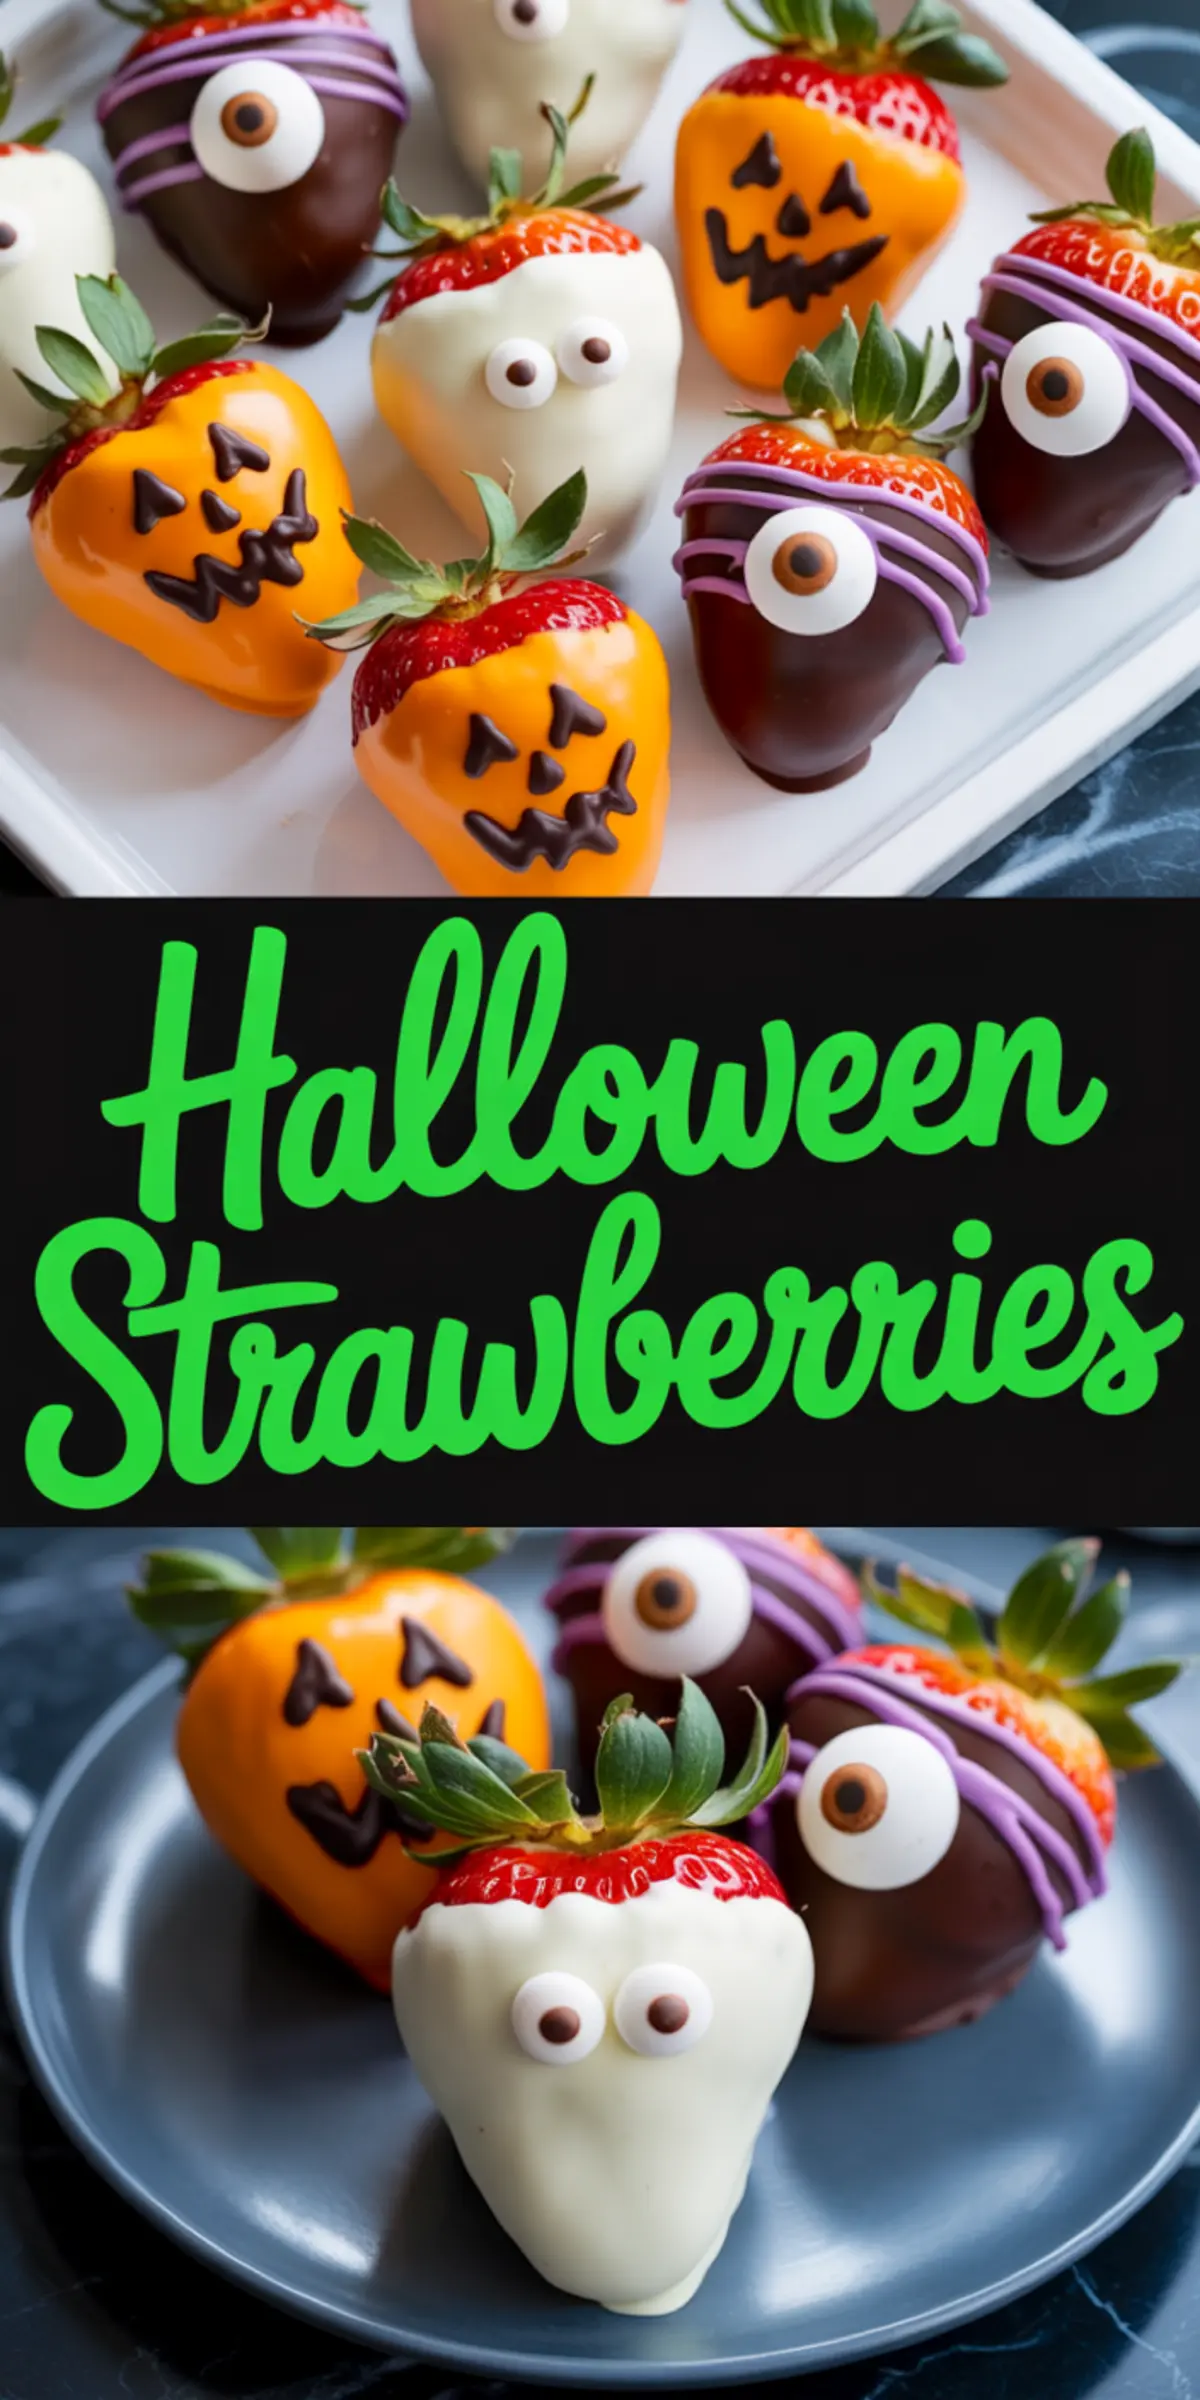
These spooky chocolate covered strawberries are just the kind of treat that gets people talking.
Save this idea to your Halloween board on Pinterest so you can come back to it next year, or even next weekend. It’s quick to pull off but feels special on the table.
If you try these, drop a note in the comments.
Let me know how your ghosts turned out—crooked eyes and all. Or ask a question if something went sideways. I always check back.
Halloween Strawberries Recipe
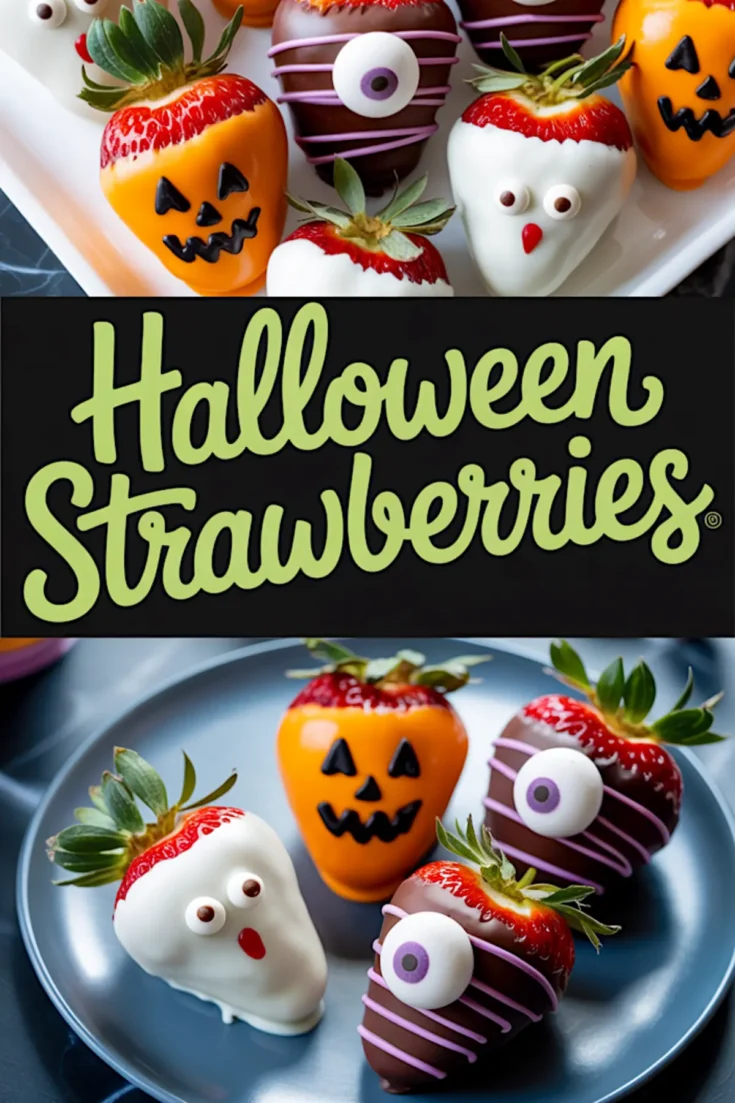
These Halloween Chocolate Covered Strawberries bring playful character and a festive touch to any October gathering. Each berry can be decorated as a pumpkin, ghost, or mummy, making them fun for both kids and adults to create. Juicy strawberries pair with smooth chocolate for a colorful treat that’s simple to prepare and quick to set.
Ingredients
- 20 large strawberries, washed and completely dried
- 1 cup orange candy melts
- 1 cup white chocolate, chopped or in chips
- 1 cup dark or milk chocolate, chopped or in chips
- 1 teaspoon coconut oil (optional, for thinning candy melts)
- 40 candy eyes
- Parchment paper
Instructions
PREPARE THE BAKING SHEET: Line a large baking sheet with parchment paper so the dipped strawberries will not stick as they set.
MELT THE CHOCOLATE: Place the orange candy melts, white chocolate, and dark or milk chocolate in separate microwave-safe bowls. Heat each in 20-second intervals, stirring after each burst until smooth. If using candy melts, stir in 1 teaspoon of coconut oil to help create a smooth dipping consistency.
DIP THE STRAWBERRIES: Hold a strawberry by the leafy green top and dip it into your chosen chocolate. Swirl gently to fully coat, then lift and let excess chocolate drip back into the bowl. Place the coated strawberry on the prepared baking sheet.
DECORATE AS PUMPKINS: Dip strawberries in orange candy melts. Allow them to set for 3 to 4 minutes, then pipe on small jack-o’-lantern faces using melted dark chocolate.
DECORATE AS MUMMIES: Dip strawberries in dark or milk chocolate. Place two candy eyes on the coated surface, then drizzle thin lines of white chocolate across the berry to create a bandaged look.
DECORATE AS GHOSTS: Dip strawberries in white chocolate. Add two candy eyes, then use a dot of melted dark chocolate to draw a small mouth.
SET THE STRAWBERRIES: Leave the tray at room temperature until the chocolate firms, or refrigerate for about 10 minutes to speed up the setting process. Once fully set, serve and enjoy.
Notes
Make sure strawberries are fully dry before dipping, as moisture will prevent the chocolate from sticking. If you don’t have a piping bag, use a small zip-top bag with the corner snipped off to pipe details.
Nutrition Information:
Yield:
20Serving Size:
1Amount Per Serving: Calories: 166Total Fat: 6gSaturated Fat: 3gTrans Fat: 0gUnsaturated Fat: 2gCholesterol: 4mgSodium: 34mgCarbohydrates: 26gFiber: 1gSugar: 19gProtein: 2g
