

Halloween cookies have a way of setting the mood for a party long before anyone bites into them. You’ll learn how to make sugar cookies that carry the fun spirit of Halloween with colors, playful designs, and a touch of surprise that delights both kids and adults. I’ll also share the one decorating trick that always gets people asking how I did it.
Baking these cookies doesn’t require years of decorating practice. You’ll see how a few simple tools and a patient approach can turn a plain cookie into a little piece of Halloween art. The process will feel manageable even if you’ve never piped icing before.
A strong sugar cookie base makes all the difference. These cookies hold their shape well in the oven, giving you a reliable canvas for pumpkin faces, ghostly smiles, and candy eyeball accents.

Ingredients That Build the Best Halloween Cookies
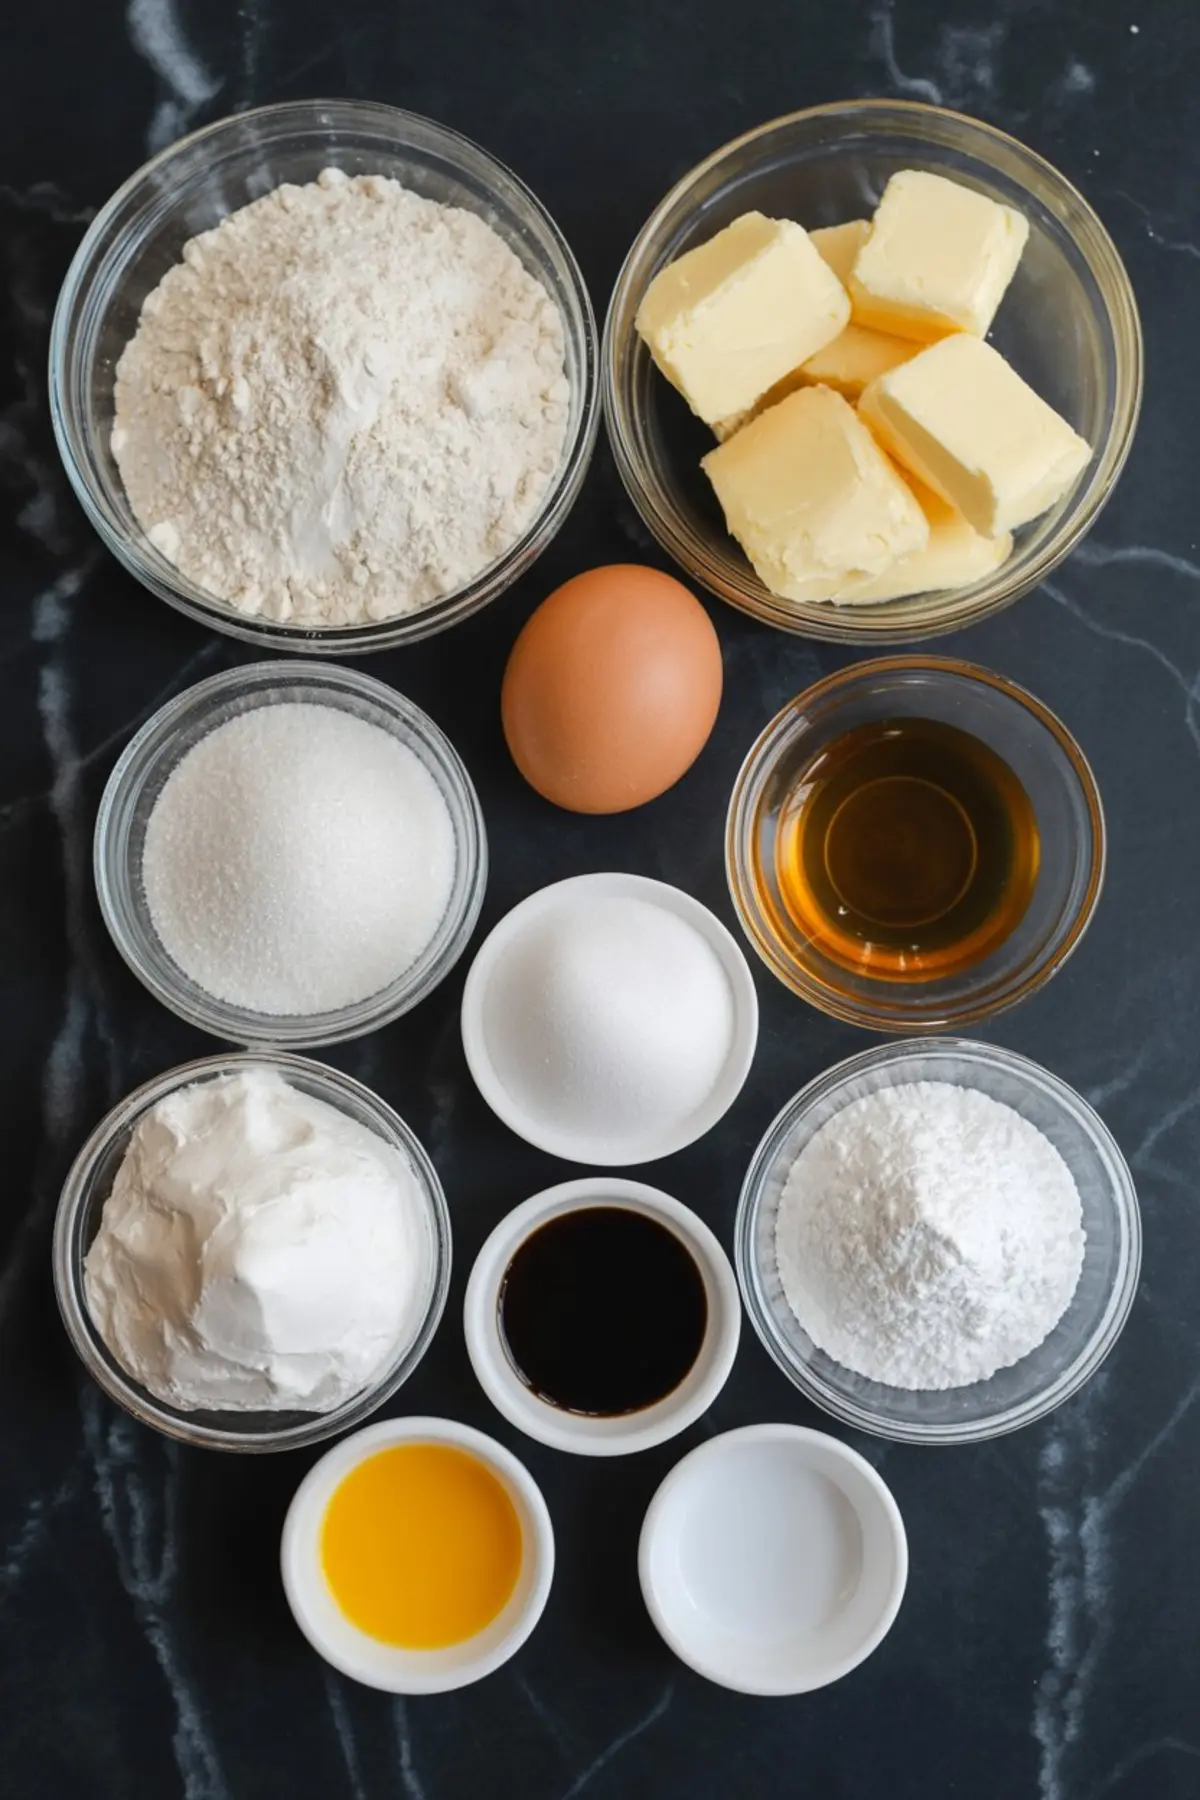
The dough begins with flour, butter, sugar, and vanilla. Softened butter creates the structure while granulated sugar keeps the edges tender. I’ve used both salted and unsalted butter in the past, but unsalted always gives me more control over the flavor. If you’ve ever had cookies taste a little too salty, that’s usually why.
You’ll also need meringue powder for the icing, which sets more smoothly than icing made with raw egg whites. I’ve compared the two in my own kitchen, and the meringue version gives a glossy finish and safer handling when serving kids.
If you want another pumpkin-themed treat while the dough chills, try these pumpkin white chocolate chip cookies. They keep the fall flavors alive in the sweetest way.
How to Shape and Bake Your Cookies
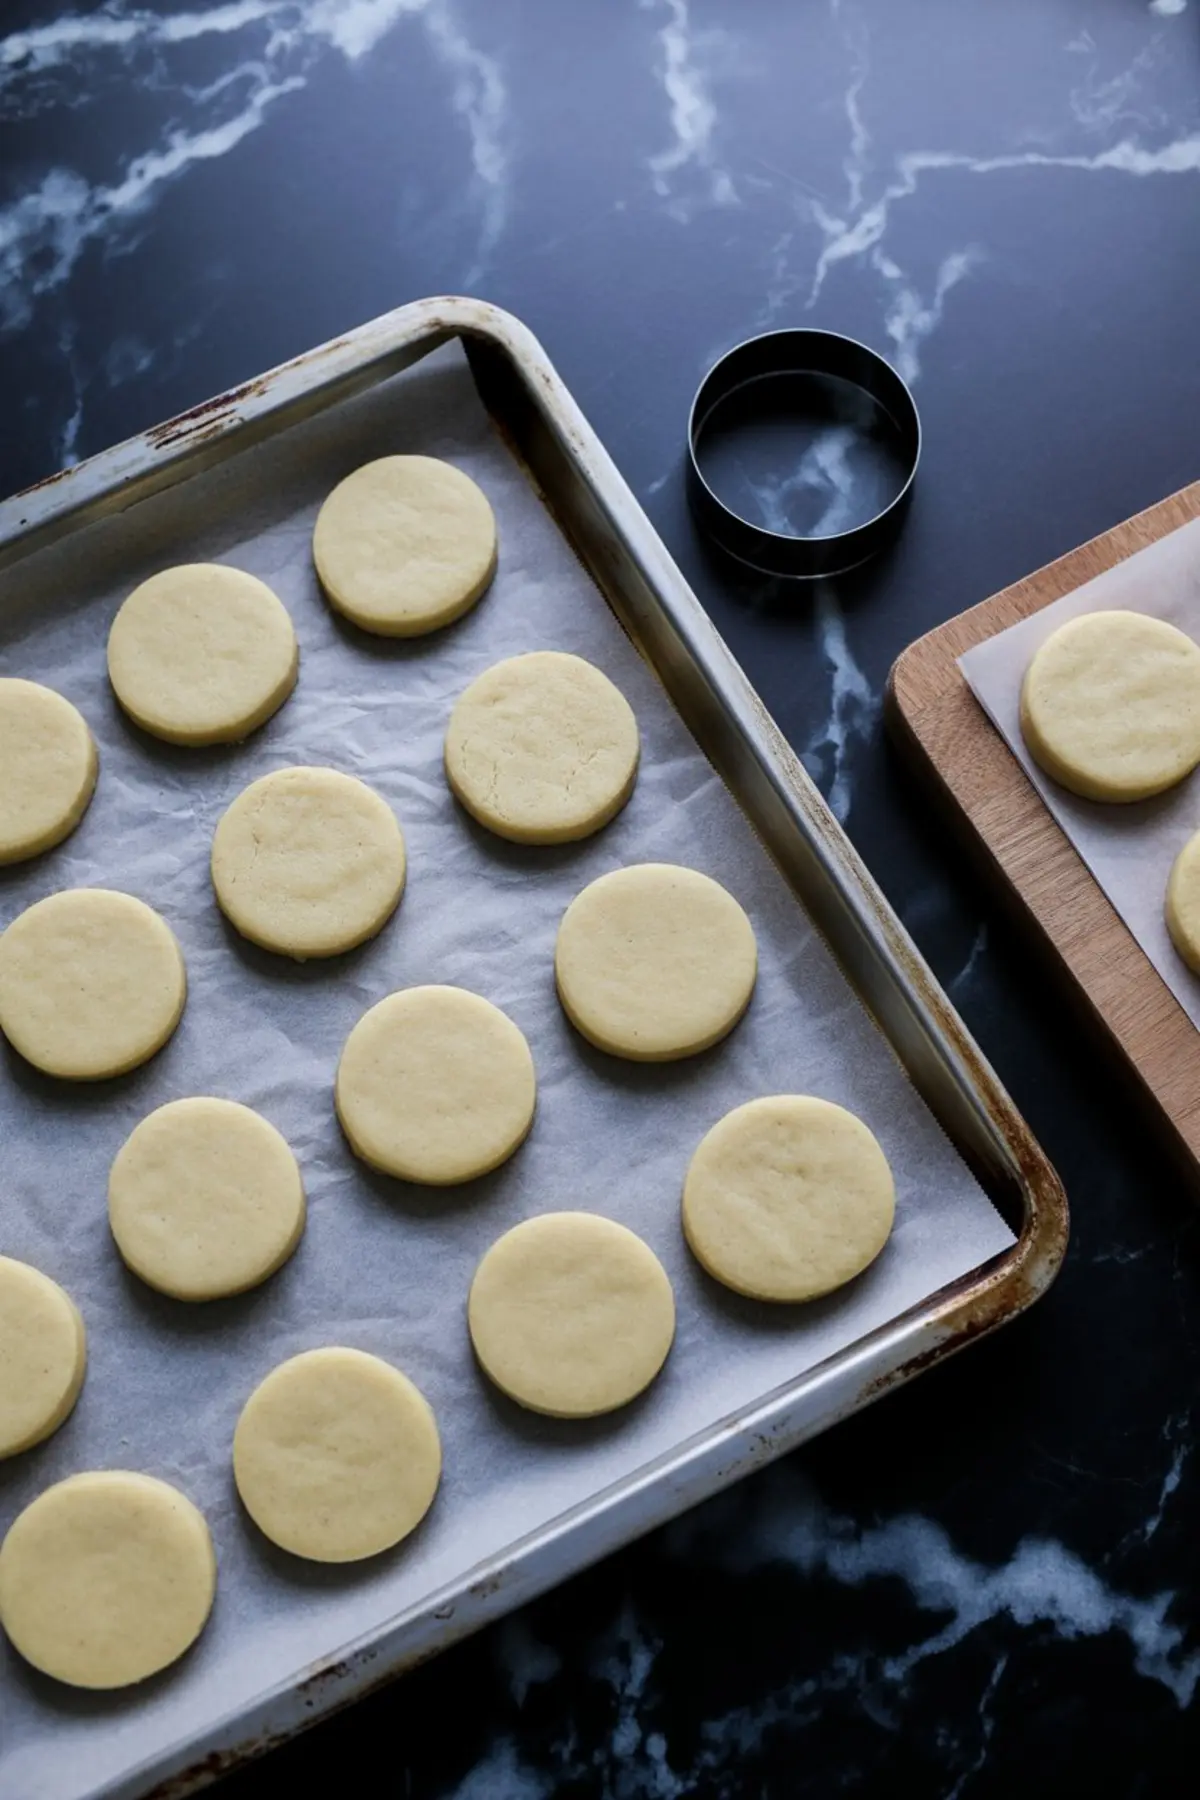
Chilling the dough is key. Without this step, the cookies spread too much and lose their shape. After a quick roll on a floured counter, use a round cutter to press out even circles. The first batch I ever made taught me that a thin cookie turns brittle, so aim for a quarter-inch thickness.
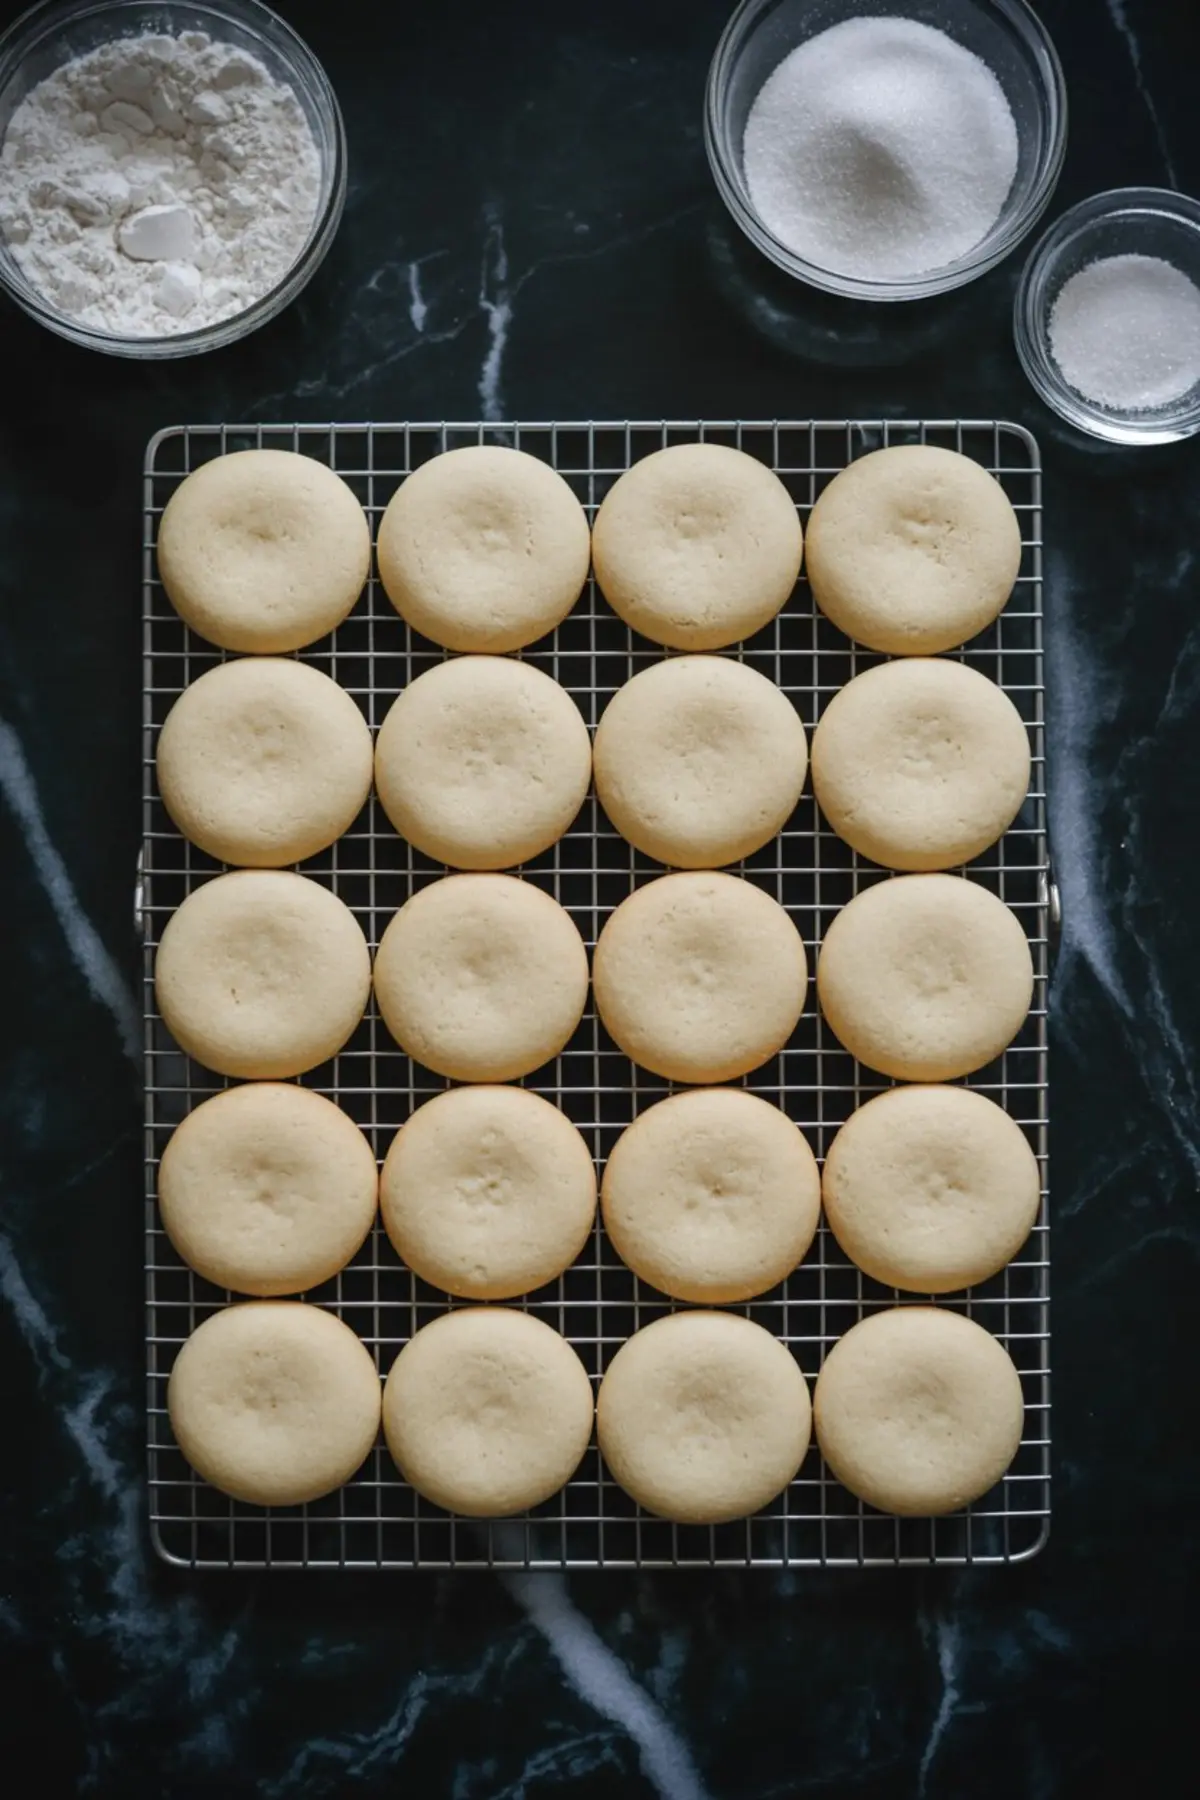
Bake at 350°F for about ten minutes. The edges should look lightly golden but not browned. Let them cool completely before decorating, or the icing will melt off. If you’re looking for a second Halloween baking project, these pumpkin oatmeal cookies give a softer, chewier bite and pair well with the crisp sugar cookies.
Decorating Ideas for Easy Halloween Cookies
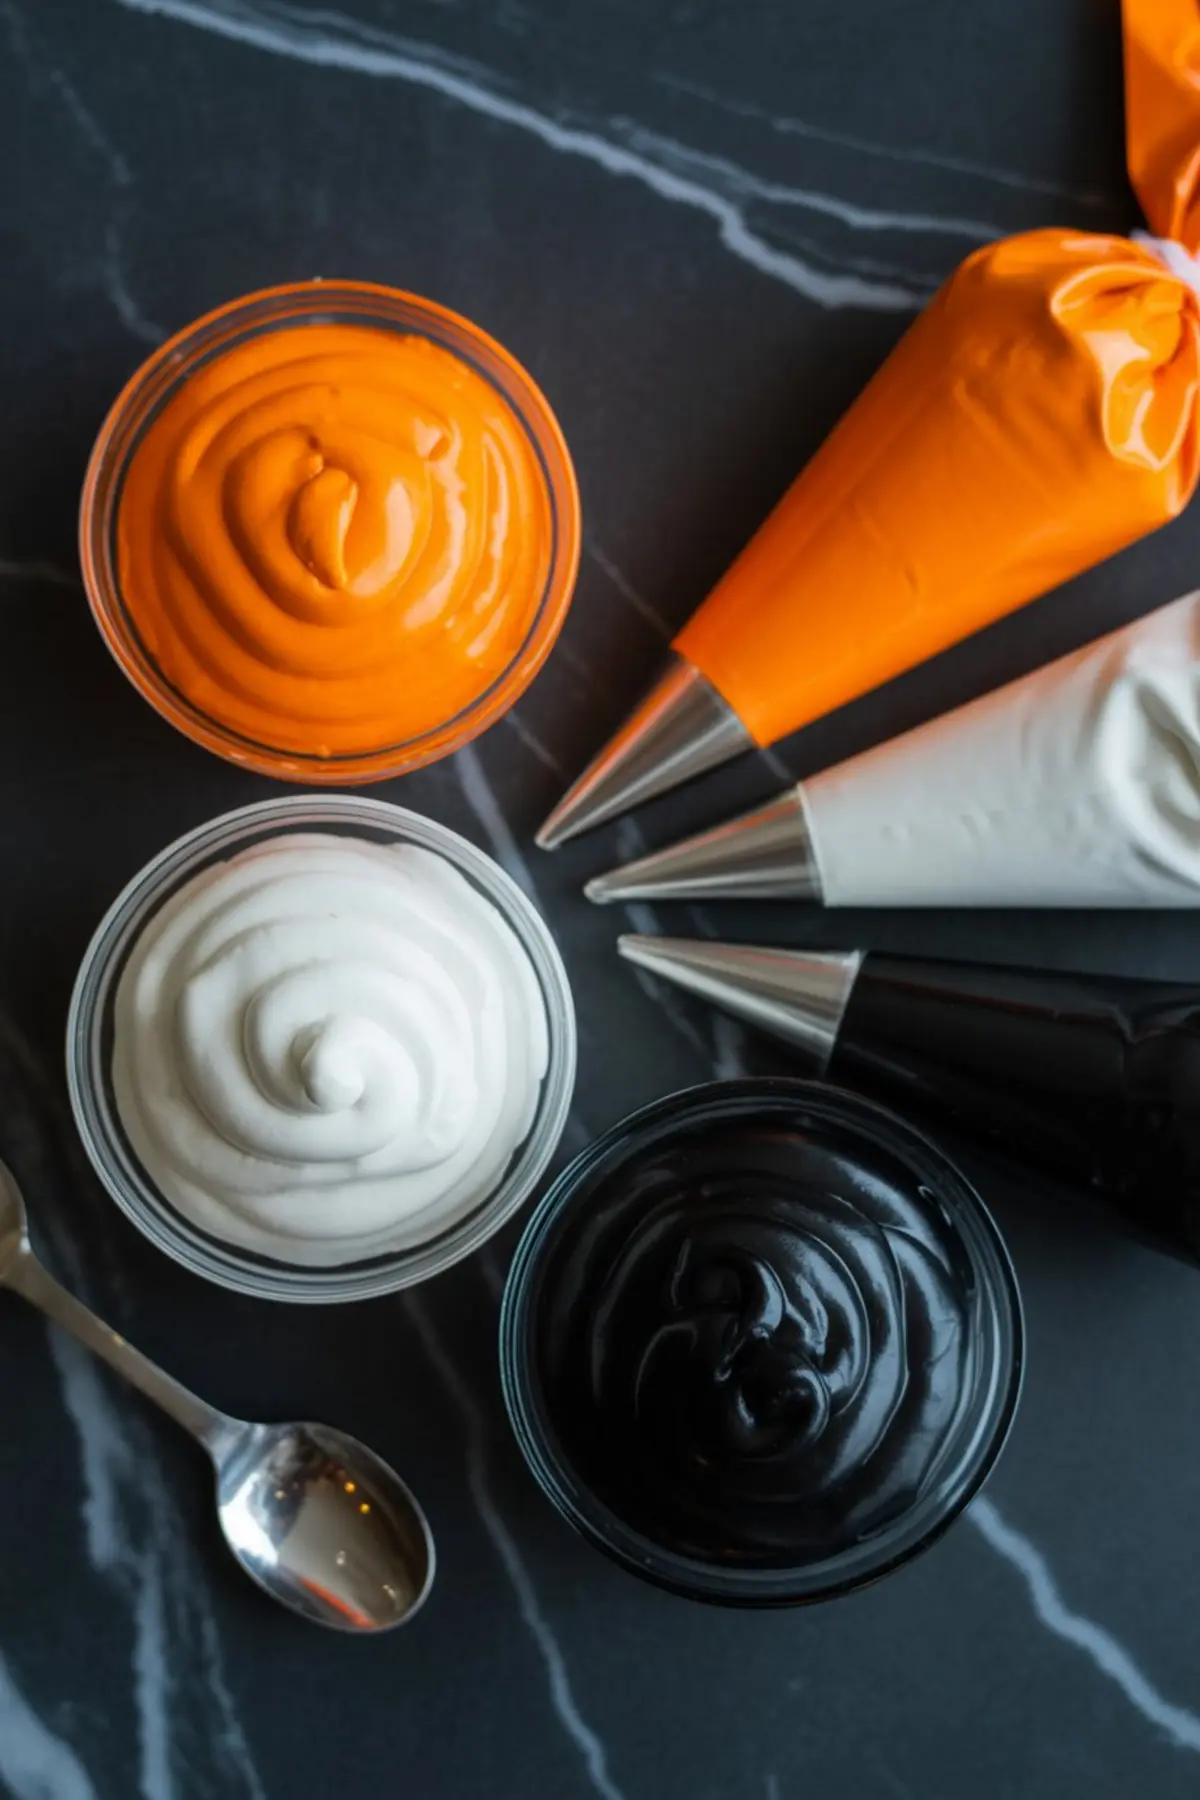
Royal icing takes these cookies from plain to playful. Divide the icing into bowls and tint them with gel food colors. White for ghosts, orange for pumpkins, purple for dipping, and brown for the base of spooky eyeballs. Keep a small bowl of black icing for details.
For ghosts, coat the surface in white, then add oval black eyes and a mouth. For pumpkins, use orange with black triangles for eyes and a jagged smile. Spooky eyeballs look fun when you place a candy eye in the center of a brown base, then draw tiny red or black lines that look like veins.
If you’d like something quick and colorful for a platter, dip the cookie edges into purple icing and leave the centers white. I often make half the batch this way when time runs short. While waiting for the icing to set, you can look into other Halloween baking ideas for your party table.
A Decorating Trick That Guests Always Ask About
Here’s the little surprise I hinted at earlier: purple-centered cookies. Start with a cookie coated in white icing, then pipe a neat circle of purple in the center while the base is still wet. The two colors flow together in a smooth, seamless design that looks more advanced than it is. I first tried this when experimenting for a Halloween potluck, and it’s been my most requested design ever since.
If you’d like a treat for your furry friend while baking, these pumpkin & oatmeal dog snack sticks are simple to prepare and keep them included in the fun.
Storage Tips and Serving Notes
Allow the decorated cookies to dry for at least an hour before stacking. Place parchment between layers so designs don’t smudge. Stored in an airtight container, they stay fresh for five days. I often bake a batch the evening before a party, which frees up time the next day for setting up other spooky food like Halloween sugar cookies decorated with candy webs or simple Halloween treats shaped like bats.
These cookies sit well alongside Halloween black velvet cookies or other Halloween themed food that adds to the playful mix on your dessert table.
Save and Share Your Easy Halloween Cookies

Pin this recipe now so you’ll have it ready for your next party platter. Share in the comments how your cookies turned out or what spooky cookie designs you tried. Did you go for ghosts, pumpkins, or the purple surprise? I’d love to hear about the spooky treats that made it onto your table.
Easy Halloween Cookies Recipe

Halloween baking feels more fun when the designs look playful but don’t take all day. These Easy Halloween Cookies use a sugar cookie base with colorful royal icing for designs like pumpkins, ghosts, purple-dipped edges, and spooky eyes. Candy eyeballs add an extra touch and make decorating simpler.
Ingredients
- INGREDIENTS FOR THE COOKIES
- 2 ½ cups all-purpose flour
- 1 teaspoon baking powder
- ¾ cup unsalted butter, softened
- 1 cup granulated sugar
- 1 large egg
- 1 teaspoon vanilla extract
- INGREDIENTS FOR THE ICING
- 4 cups powdered sugar
- 3 tablespoons meringue powder
- 6 tablespoons water (plus more if needed)
- Gel food coloring in white, orange, black, purple, and brown
- Candy eyeballs
Instructions
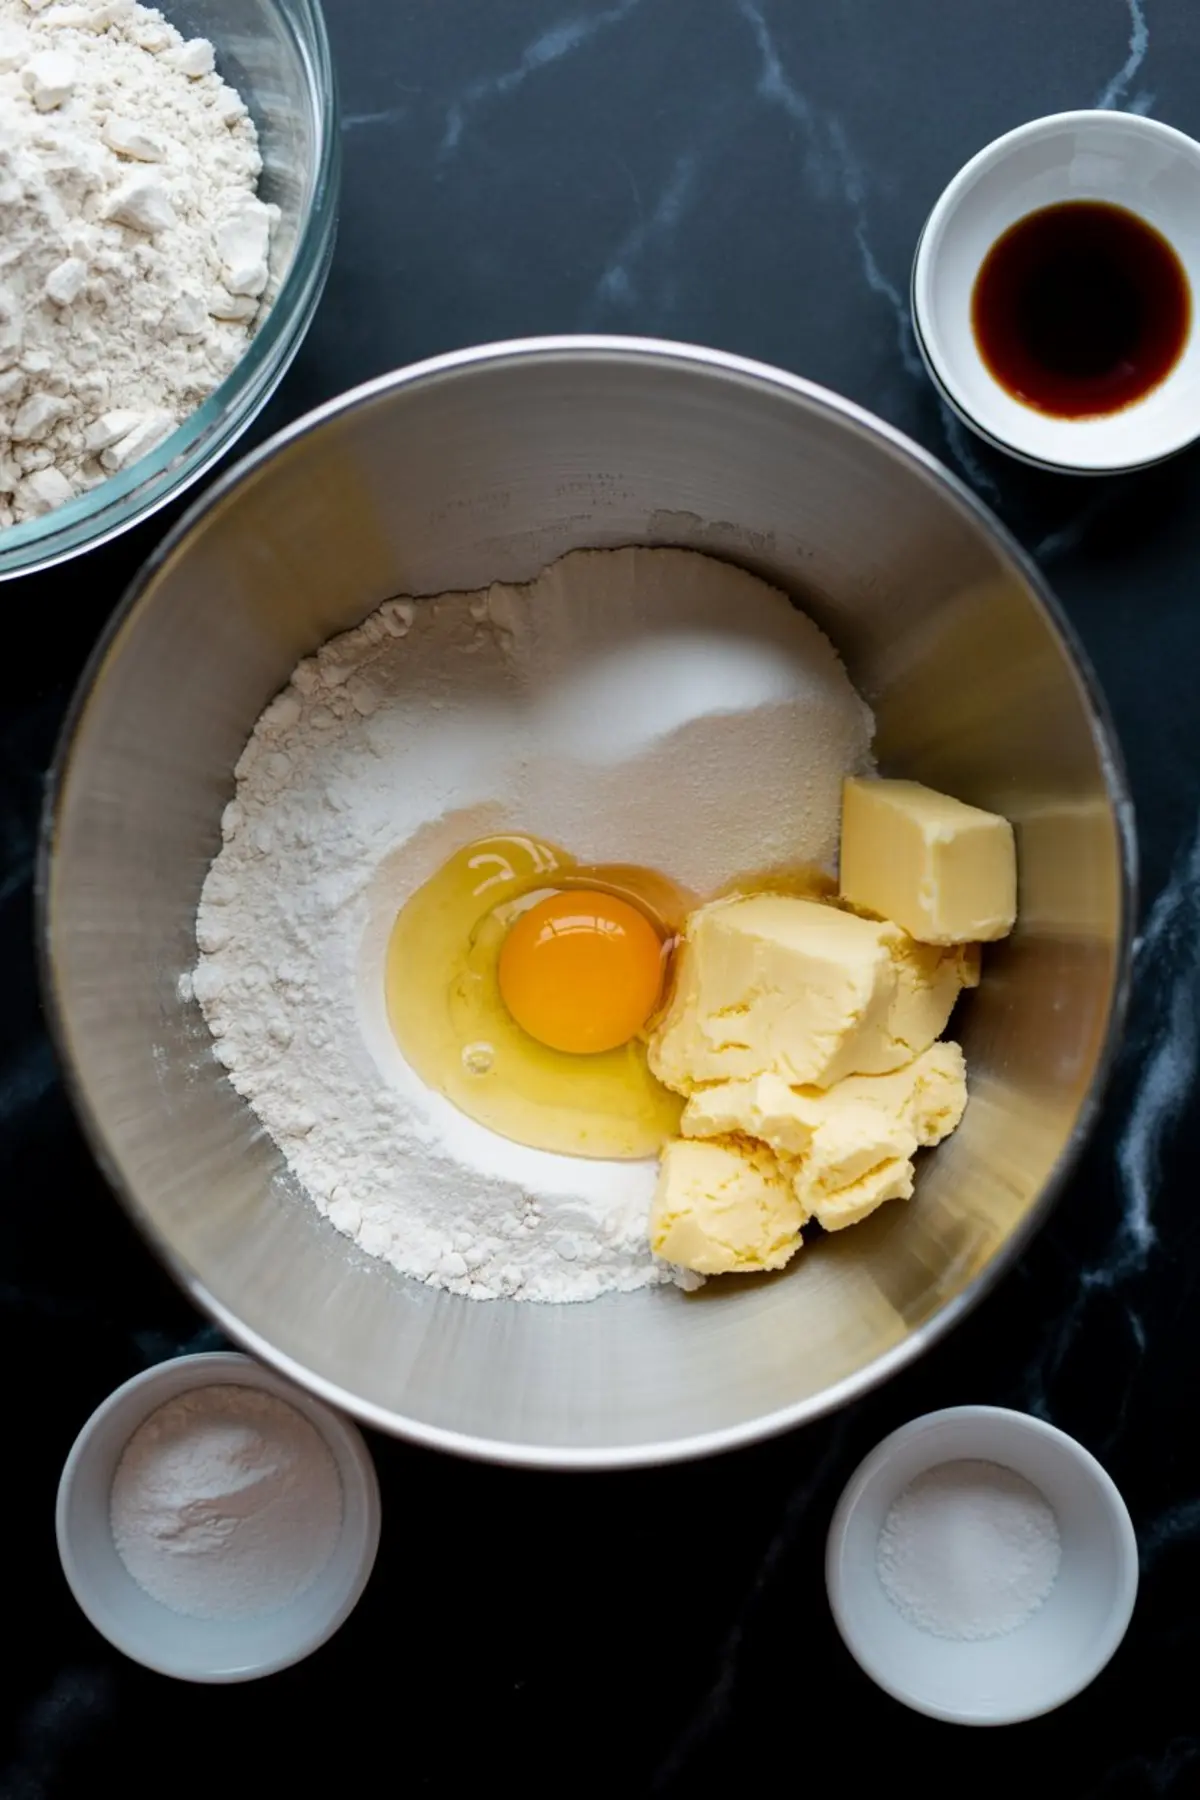
MAKE THE COOKIE DOUGH: Cream the softened butter and granulated sugar together until pale and fluffy. Beat in the egg and vanilla extract until smooth.
ADD DRY INGREDIENTS: In a separate bowl, whisk the flour and baking powder. Gradually mix into the butter mixture until a soft dough forms.
CHILL THE DOUGH: Shape the dough into a disc, wrap in plastic wrap, and refrigerate for at least 30 minutes to make rolling easier.
SHAPE THE COOKIES: Roll the chilled dough on a lightly floured surface to ¼ inch thickness. Cut into rounds using a cookie cutter. Place onto a parchment-lined baking sheet.
BAKE THE COOKIES: Bake at 350°F (175°C) for 8 to 10 minutes or until edges are lightly golden. Allow cookies to cool completely on a wire rack.
PREPARE THE ICING: In a bowl, whisk together powdered sugar, meringue powder, and water until smooth. Divide into bowls. Leave one white, tint one orange for pumpkins, one brown for eyeballs, and one purple for dipping and center designs. Set aside a small portion tinted black for details. Thin the purple icing slightly for dipping edges.
DECORATE GHOST COOKIES: Spread white icing smoothly over cookies. Pipe black ovals for eyes and a mouth.
DECORATE PUMPKIN COOKIES: Coat cookies with orange icing. Once set, use black icing to add triangular eyes and a jagged smile.
CREATE SPOOKY EYE COOKIES: Spread brown icing on the cookie base. While still wet, place a candy eyeball in the center. After it sets, pipe red or black lines for veins if desired.
MAKE PURPLE-DIPPED COOKIES: Dip cookie edges into thinned purple icing, leaving the centers white.
MAKE PURPLE-CENTERED COOKIES: Pipe a neat circle of purple icing in the middle of a cookie already coated with white icing, letting the two colors meet.
SET AND SERVE: Allow decorated cookies to dry for at least 1 hour until the icing hardens. Arrange on a festive platter and serve.
Notes
Cookies can be made one day in advance and stored in an airtight container for up to 5 days. If stacking, separate layers with parchment paper to protect icing designs.
