

Pumpkin & Oatmeal Dog Snack Sticks bring a cozy homemade feel to a canine-friendly dessert. This recipe hails from a long tradition of simple baking where real ingredients shine. I love it because it keeps my pup happy without any questionable extras, and it feels like a sweet moment of care.
My first attempt happened after a dog-themed baking session in my grandmother’s kitchen, where our pets waited patiently for a taste. I still recall the warmth of that moment and the delight I felt watching a wagging tail. Something about these sticks makes me smile whenever I whip them up.
There is a small secret that sets this recipe apart, and you might not suspect it at first glance. It creates a subtle aroma that keeps dogs on alert. Curious about the hidden twist?

Ingredients for Homemade Pumpkin & Oatmeal Dog Snack Sticks
Pumpkin purée adds fiber and moisture to the dough. Oat flour blends smoothly and gives a nice density that feels gentle on sensitive stomachs. Rolled oats bring chewy texture, so each bite offers more crunch.
Egg ties everything together with a simple binder. Applesauce adds a touch of natural sweetness. Some people leave out applesauce, but I include it for extra softness and appealing taste.
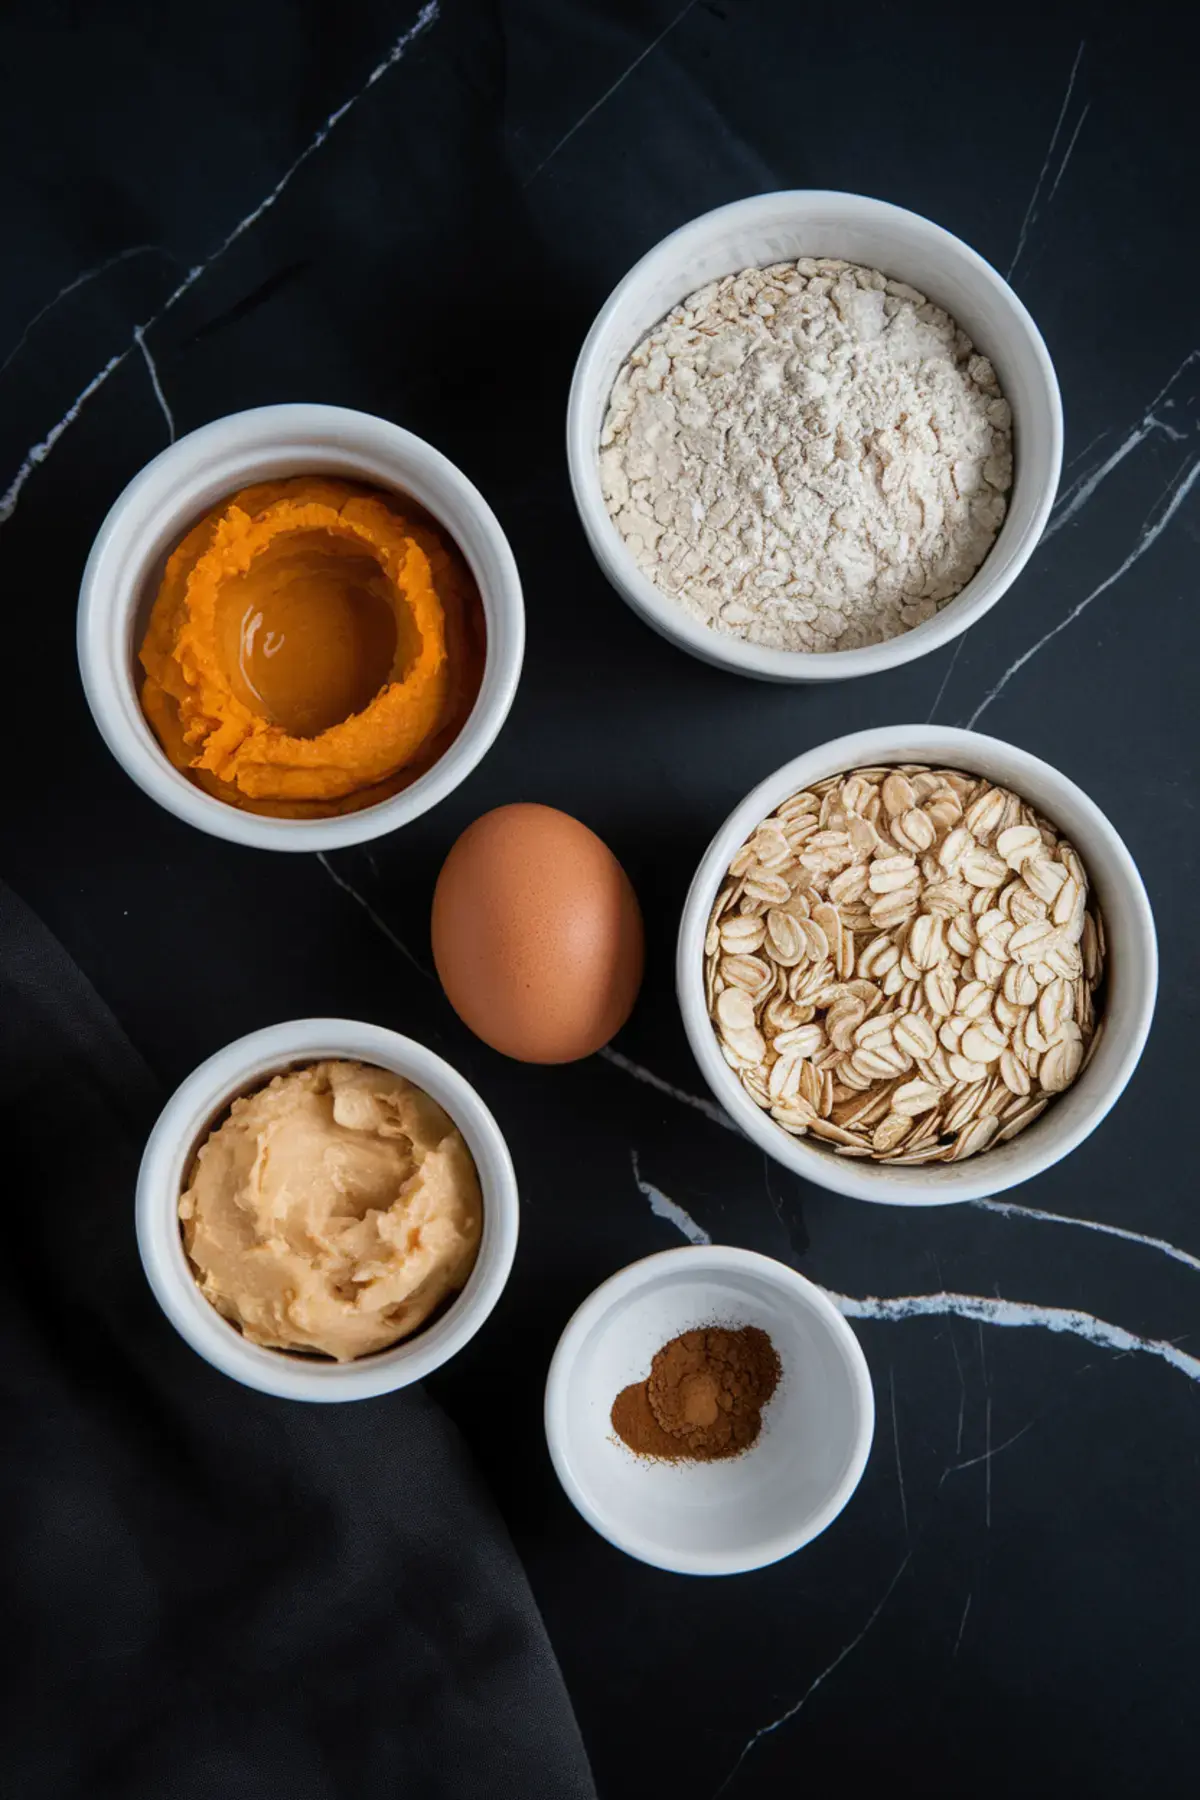
A simple dash of warm flavor can highlight the pumpkin essence. This recipe thrives on minimal fuss, so keep everything straightforward. Most dogs appreciate that pleasant consistency without too much complexity.
Steps to Make These Pumpkin & Oatmeal Dog Snack Sticks
Start by warming your oven to a standard 350°F (175°C). This ensures an even cook that firms up the dough. Spread parchment paper on a baking sheet to prevent sticking and reduce cleanup.
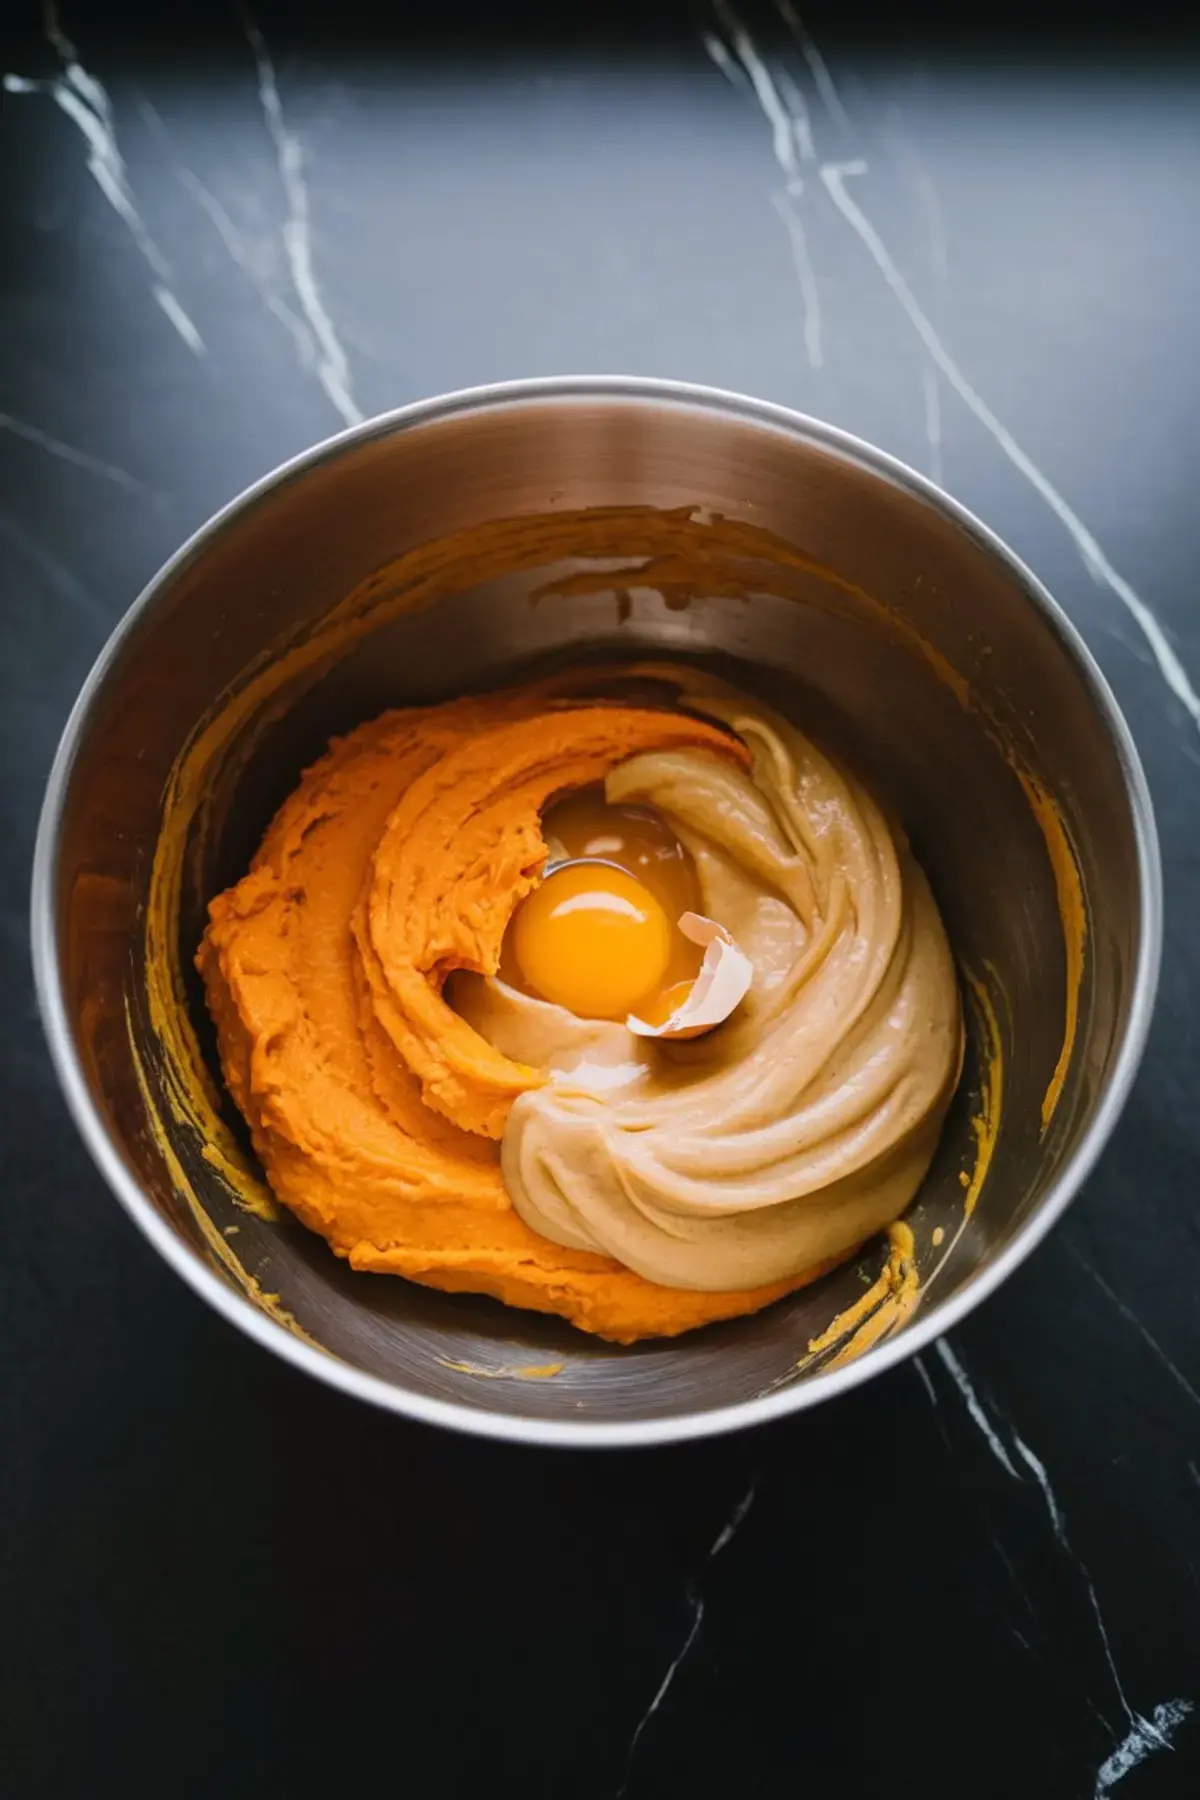
Combine your pumpkin purée, egg, and applesauce in a mixing bowl. Stir until the mixture becomes smooth, and note how the pumpkin’s color brightens as you blend it with the other wet ingredients. This step keeps the dough even, which helps the treats bake uniformly.
Slowly add the oat flour, then fold in rolled oats. The dough will appear sticky, but that’s normal. If it feels too stiff, a little water helps achieve a workable consistency, and if it gets too loose, adding extra oat flour helps restore balance.
Shaping and Baking the Dog Treats
Now comes my favorite part: shaping. I grab my Golden Spoon from Aunt Marian—passed down for years of kitchen adventures—and use it to scoop the dough onto a lightly floured surface. My cat Whiskers often lounges by my feet, watching with a flick of his tail, probably wondering if these treats might surprise him with some cat-friendly morsel.
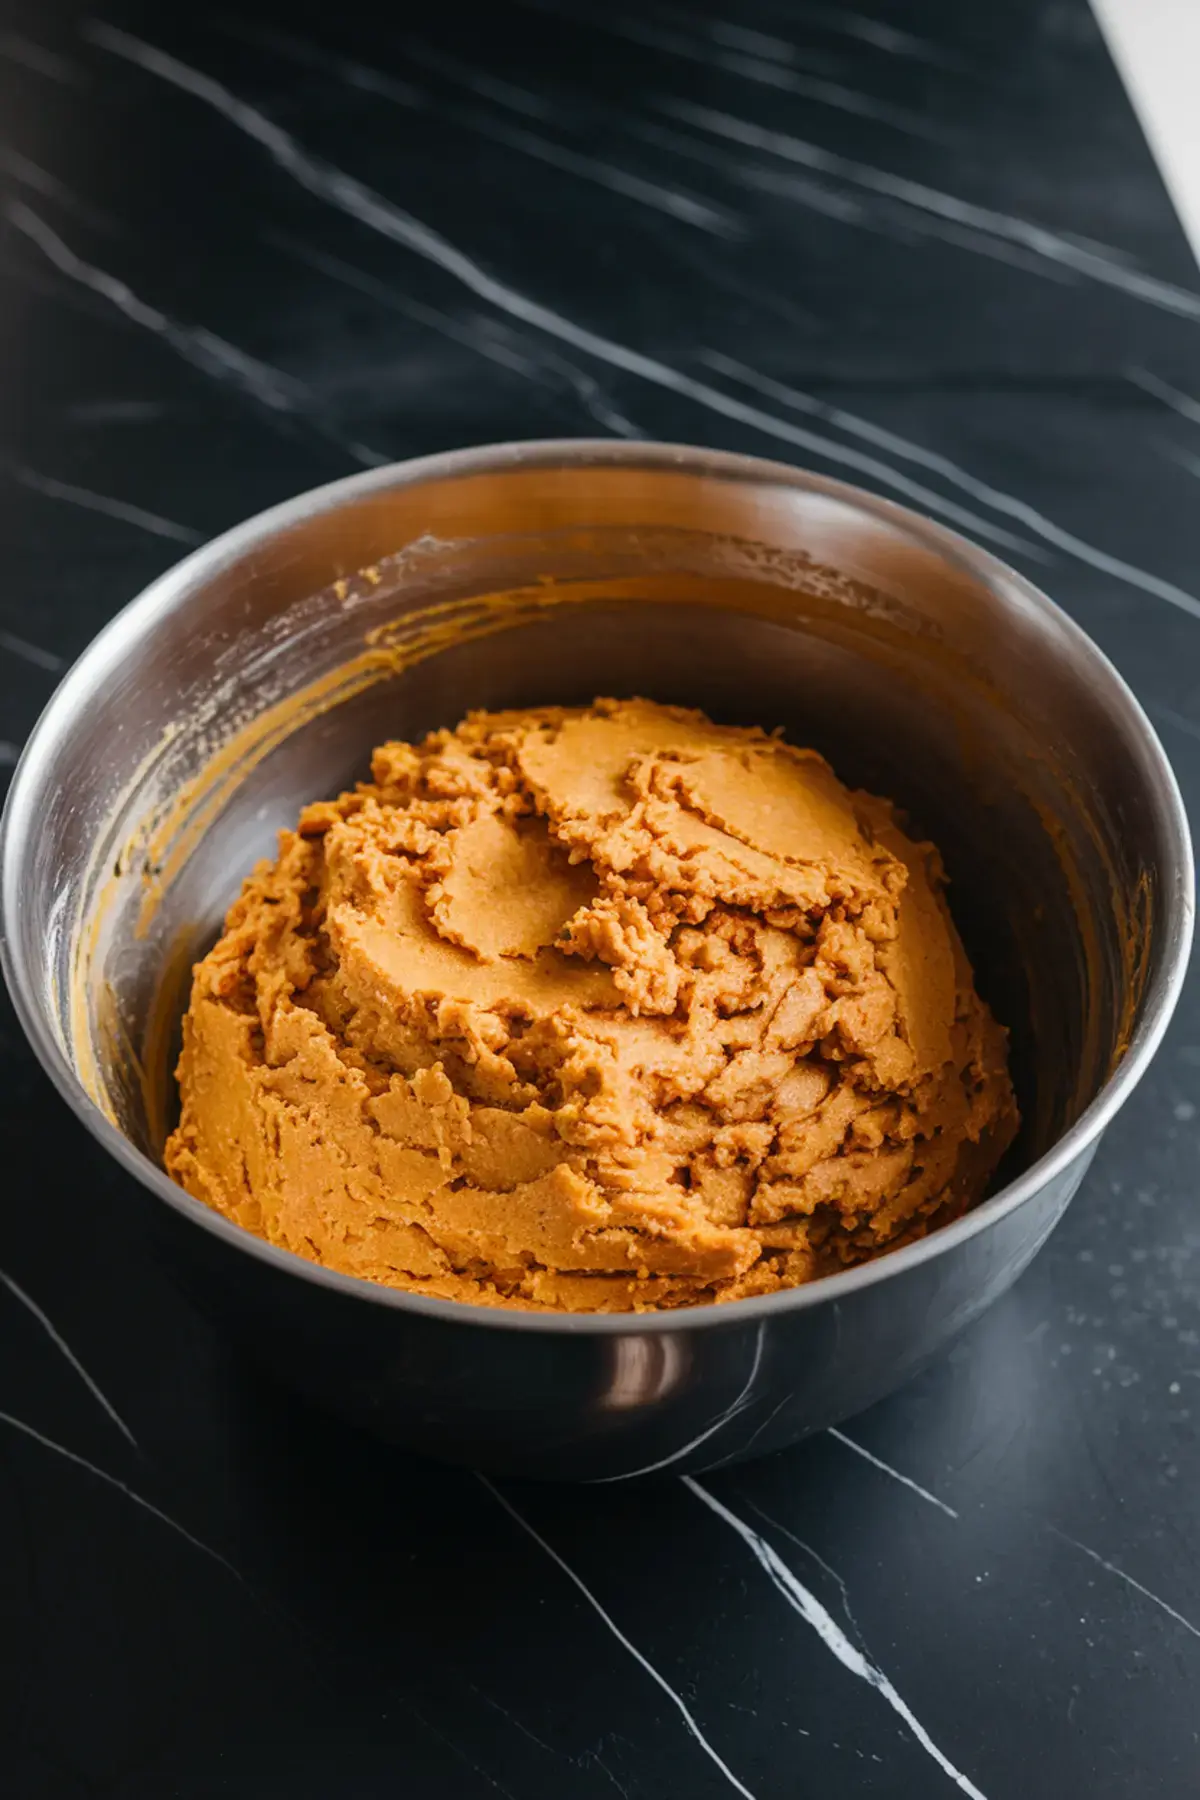
I flatten the dough to about half an inch thickness by gently pressing, then I cut out stick shapes. The shapes give a neat look, and they bake consistently. You could choose dog bone molds if you prefer a classic silhouette, but I keep it simple for quick rolling.
Place the shaped dough on your lined baking sheet, leaving a bit of space between each piece. The oven does the rest, and the gentle heat crisps them up. Time ranges between 30 and 35 minutes, though you can keep an eye out for a light golden color that suggests a firm treat.
Cooling and Storing the Treats
Cooling is essential. Let the treats rest completely, or they may crumble if served warm. Dogs can get excited by the tempting aroma, so be ready for a curious nose sniffing around the kitchen.
I jotted down my early mistakes and improvements in my Pin Notebook, a simple place where I track every minor tweak. Storing these sticks in an airtight container keeps them fresh for about a week on the counter or up to two weeks in the fridge.
The Secret Ingredient That Makes a Difference
Ready for the secret? A dash of cinnamon can lift the flavor in ways that dogs often appreciate. I keep it light to avoid overpowering the pumpkin, but that sprinkle remains my “magic dust.” My dog notices the difference right away.
Some pets respond well to small amounts of cinnamon, but you can skip it if you prefer a classic approach. I tested it on my pup in small increments, and he gave an enthusiastic wag each time. Have you tried a hint of spice in dog treats before?
Why I Keep Baking These Snack Sticks
Dogs deserve the same attention we give ourselves with fun bakes, but simpler ingredients serve them best. These snack sticks provide that homey feeling, much like a batch of Chocolate Caramel Thumbprint Cookies does for me when I crave a sweet pick-me-up. Sometimes, I bake Springtime Crinkle Cookies for family get-togethers too.
Part of the joy lies in knowing you avoided preservatives. My cousin once joked that these dog treats smell so cozy she wanted a taste for herself. She prefers Honey Butter Cornbread Poppers on her own plate, but she smiles when she sees the pup bounce around these pumpkin sticks.
Pets crave consistency and kindness. I see it every time I open my pantry, and my dog nudges my ankle in anticipation. Our four-legged companions appreciate a special creation that feels personal.
Closing Thoughts: Pin and Share
I enjoy seeing folks share snapshots of their baking process and their dog’s happy reaction. Feel free to save this post to your favorite board so you can return whenever you need it. You could even swap ideas in the comments if your dog likes different flavors.
Do you plan to experiment with these Pumpkin & Oatmeal Dog Snack Sticks soon? Let me know how the adventure goes. I welcome every question, story, and tip that can spark a community of caring dog owners.
Pumpkin & Oatmeal Dog Snack Sticks Recipe
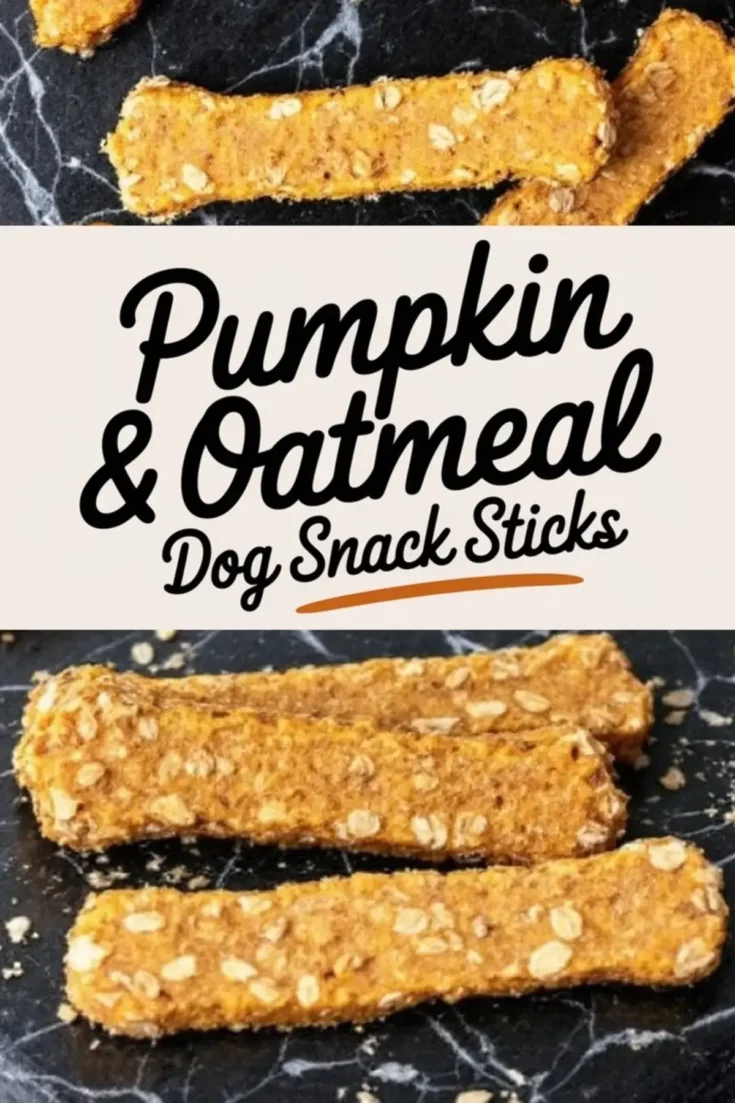
Homemade dog treats are a great way to control ingredients while providing a nutritious snack. These Pumpkin & Oatmeal Dog Snack Sticks use simple, wholesome ingredients that support digestion and provide fiber. Pumpkin purée and oats create a satisfying texture, while applesauce adds natural sweetness.
Ingredients
- 1 cup pumpkin purée (not pumpkin pie filling)
- 2 cups oat flour (or ground rolled oats)
- ½ cup rolled oats
- 1 egg
- ¼ cup unsweetened applesauce
- ½ teaspoon cinnamon (optional)
Instructions
- PREHEAT THE OVEN: Set the oven to 350°F (175°C) and line a baking sheet with parchment paper.
- MIX WET INGREDIENTS: In a mixing bowl, combine the pumpkin purée, egg, and applesauce. Stir until well blended.
- ADD DRY INGREDIENTS: Gradually mix in the oat flour, followed by the rolled oats and cinnamon, if using. Stir until a firm but slightly sticky dough forms.
- ROLL AND SHAPE: Lightly flour a surface with oat flour and roll out the dough to about ½ inch thick. Use a knife or cookie cutter to shape the treats into sticks or bones. Arrange them on the prepared baking sheet.
- BAKE: Place in the oven and bake for 30-35 minutes, or until the treats are firm and golden.
- COOL COMPLETELY: Let the treats cool fully before serving them to your dog.
Notes
Pumpkin purée is an excellent ingredient for homemade dog treats because it is rich in fiber, low in calories, and supports digestive health. Be sure to use pure pumpkin purée rather than pumpkin pie filling, which contains added sugars and spices that are not safe for dogs.
Oat flour is a great alternative to traditional wheat flour, especially for dogs with grain sensitivities. If you do not have oat flour on hand, you can make your own by blending rolled oats in a food processor until finely ground. The rolled oats in the recipe add a chewy texture and extra fiber, making these treats both satisfying and nutritious.
Cinnamon is an optional ingredient. While small amounts of cinnamon are safe for most dogs, it should be used in moderation. If your dog has never had cinnamon before, consider omitting it to ensure there are no adverse reactions.
The dough for these treats is slightly sticky but should hold together well. If it feels too dry, add a small amount of water or additional applesauce to help it come together. If it is too wet, sprinkle in more oat flour until it reaches a workable consistency.
When rolling out the dough, use a floured surface and rolling pin to prevent sticking. Cookie cutters shaped like bones or paws add a fun touch, but simple strips or sticks are easier to cut and just as enjoyable for your dog.
Baking time may vary slightly depending on the thickness of the treats and your oven. For a crunchier texture, bake the treats a few minutes longer, but be careful not to overbake, as they can become too hard for some dogs to chew comfortably.
After baking, allow the treats to cool completely before serving. Storing them properly helps maintain freshness. Keep them in an airtight container at room temperature for up to a week, or store them in the refrigerator for up to two weeks. For longer storage, freeze them in a sealed container for up to three months.
These treats are a great way to provide a healthy snack for your dog without unnecessary additives. Always introduce new treats gradually and observe how your dog reacts. If you have concerns about allergies or dietary needs, consult with your veterinarian before introducing new ingredients.
Nutrition Information:
Yield:
20Serving Size:
1Amount Per Serving: Calories: 59Total Fat: 1gSaturated Fat: 0gTrans Fat: 0gUnsaturated Fat: 1gCholesterol: 9mgSodium: 6mgCarbohydrates: 10gFiber: 1gSugar: 1gProtein: 2g
