

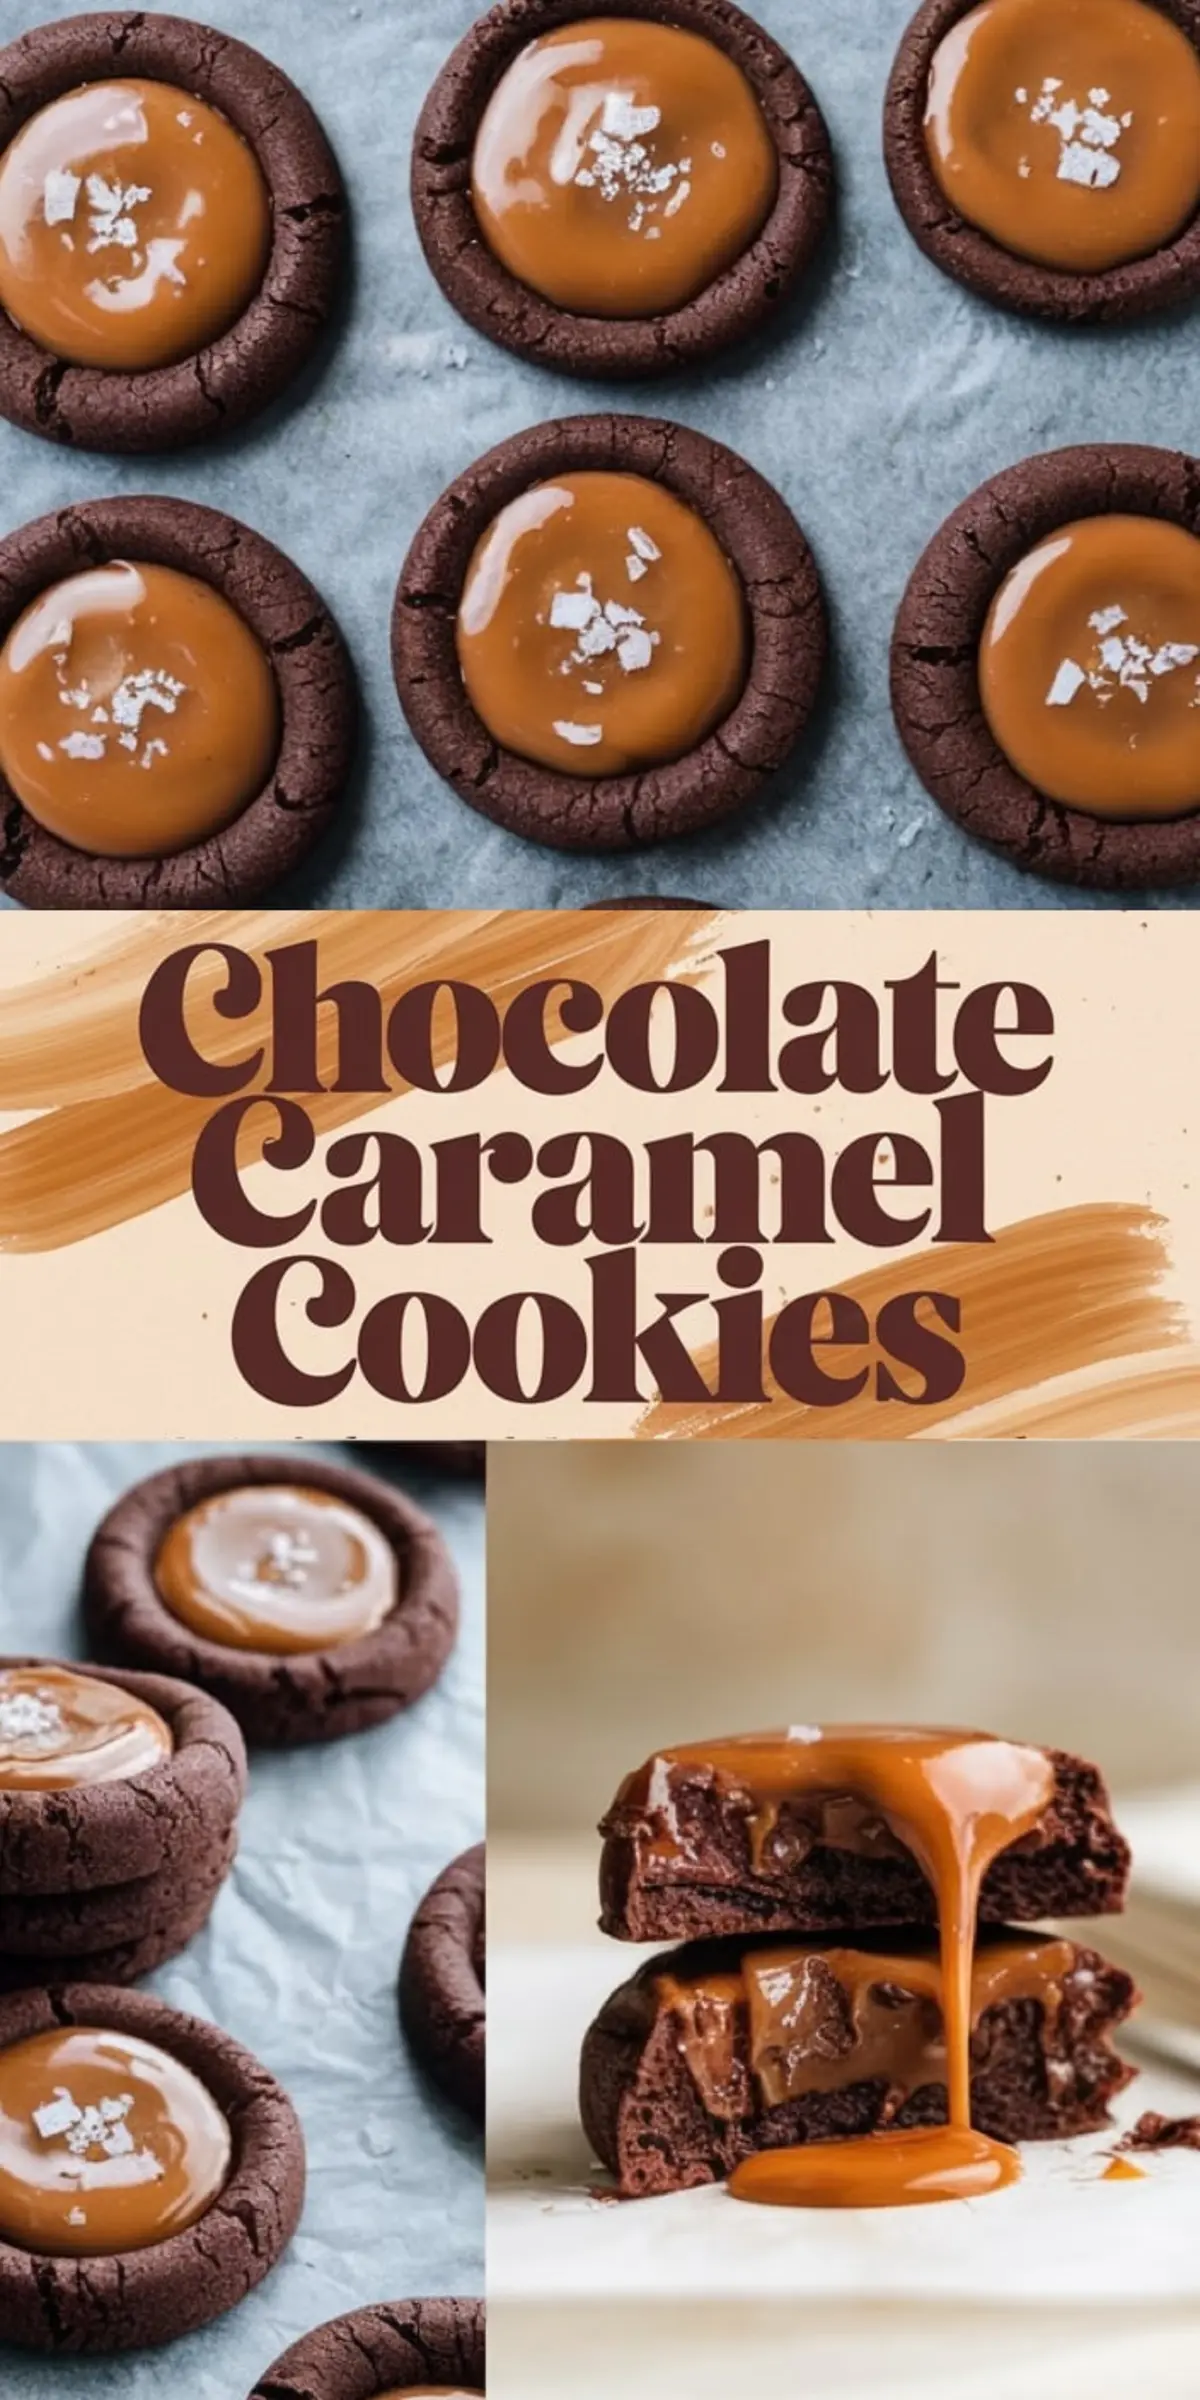
I discovered these chocolate caramel thumbprint cookies in a small cafe near my childhood home. They reminded me of simpler days when sweet aromas filled the air and folks gathered around the kitchen table for a friendly chat. My cat Whiskers stayed by my feet last weekend, watching me recreate these cookies in my own kitchen and meowing with anticipation.
I decided to share this story because these cookies hold a comforting memory that keeps me grounded. I plan to reveal a simple trick that adds a subtle yet surprising flavor note. You might guess it’s a common pantry item, but I assure you the effect surprises many dessert enthusiasts.
Chocolate Caramel Thumbprint Cookies Dough Essentials
The dough begins with softened unsalted butter, granulated sugar, and a bit of brown sugar for extra depth. I beat these ingredients in a large bowl, which creates a light, airy base that merges well with the cocoa powder. Eggs and vanilla extract then come along, bringing a smooth texture and a sweet aroma.
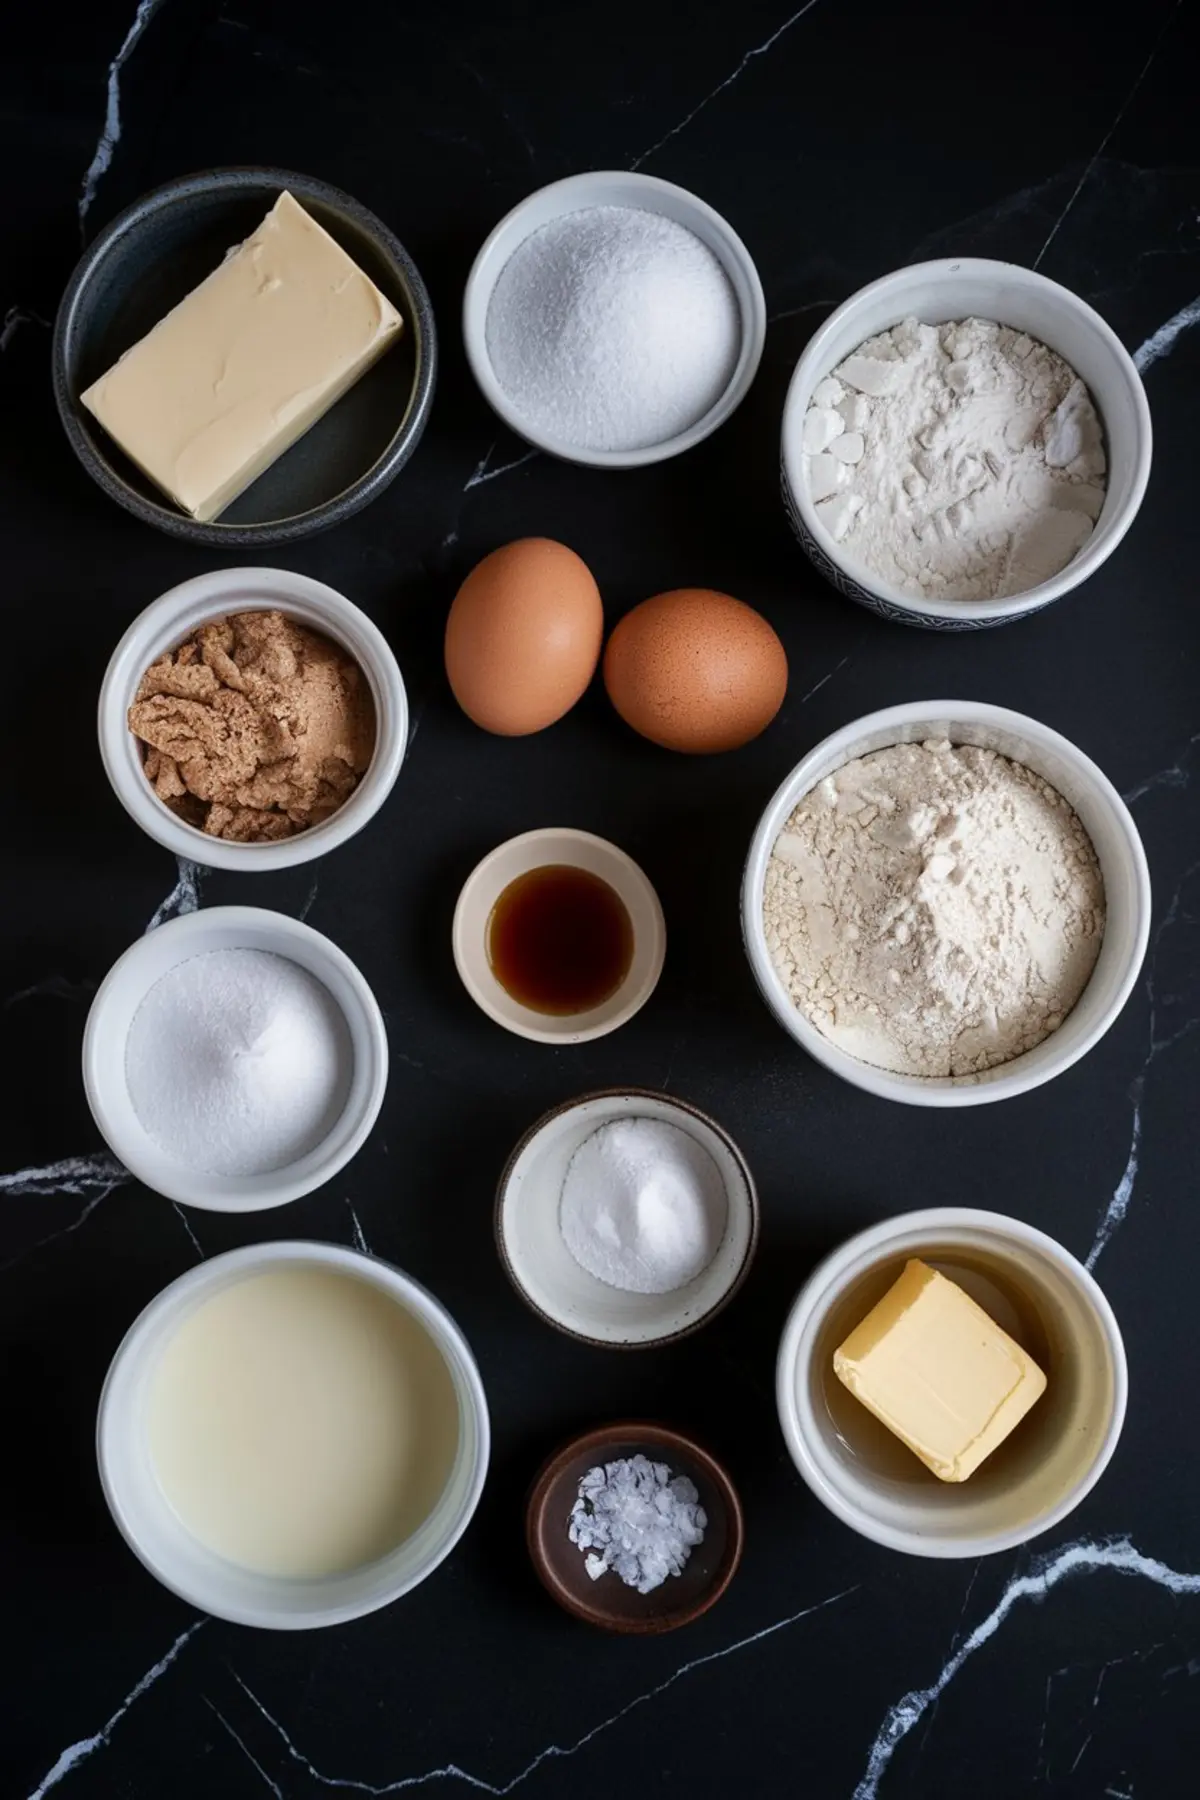
The dry elements include all-purpose flour, unsweetened cocoa powder, baking soda, and a small amount of salt. I fold these into the wet mixture slowly, which prevents lumps and keeps the dough moist. The final result is a thick, slightly sticky dough that shapes well in your palms.
Creating The Caramel Center
Caramel usually begins with heavy cream and a separate pot where sugar and water heat together. I warm the cream gently, so the heat melds smoothly with the sugar mixture later without a harsh sizzle. The sugar bubbles and changes into a deep amber color, signaling the right moment to remove it from direct heat.
A slow pour of warm cream meets the caramelized sugar, followed by a swirl of butter and a sprinkle of salt. I stir in a bit of vanilla extract, which brings balance to the sweetness and creates that signature caramel aroma. The scent often lures curious passersby into the kitchen, hoping to score a sneaky taste before the cookies are even assembled.
Shaping And Baking The Cookies
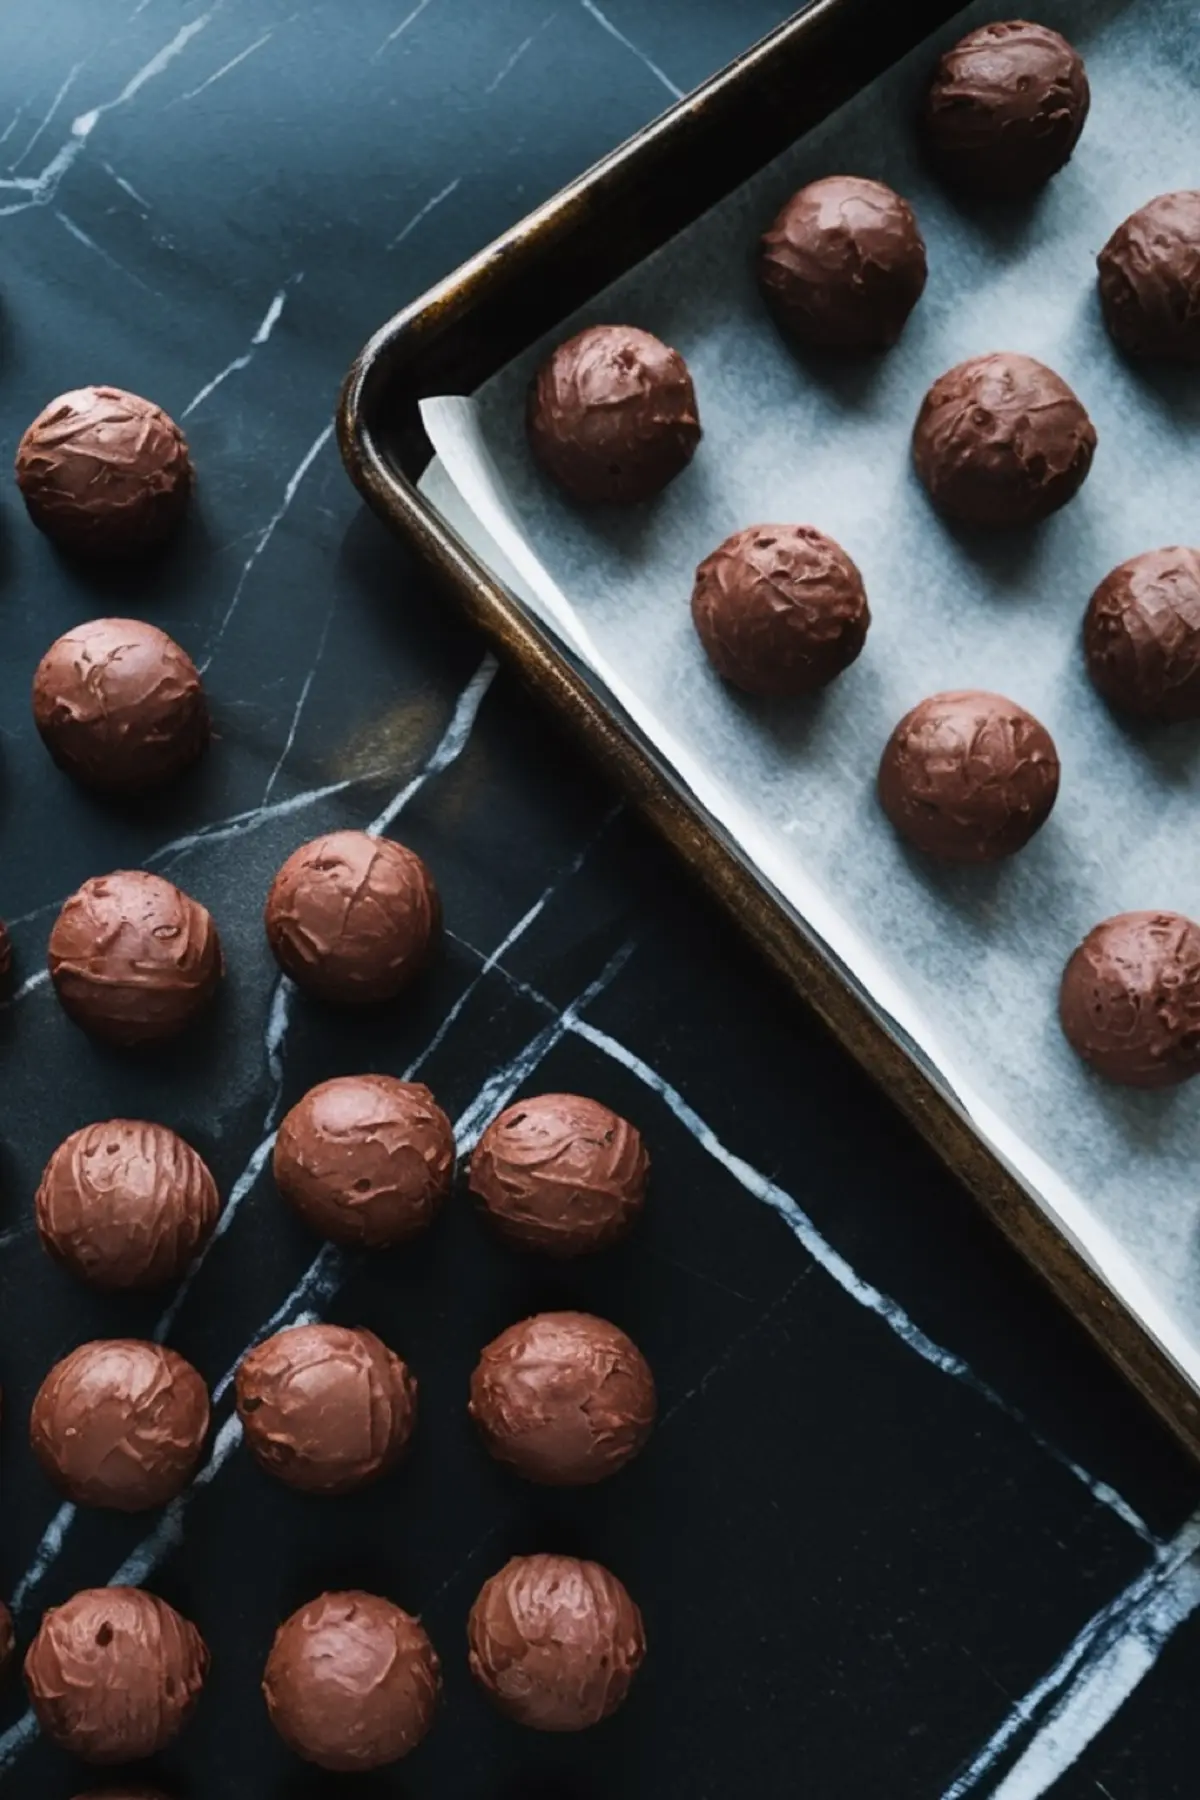
I preheat the oven to 350°F and line a baking sheet with parchment paper. I roll tablespoon-sized balls of dough and place them a couple of inches apart, which allows them to expand without merging into each other. A gentle press from my thumb makes the classic indentation that will cradle the caramel.
The cookies bake for about nine to eleven minutes, and they emerge slightly soft in the middle. I press down on each indentation again as soon as they leave the oven, which ensures a good dip for the caramel. They rest on the tray for five minutes before I transfer them to a wire rack for complete cooling.
Filling Each Cookie

I give the caramel about ten minutes to cool and thicken before I spoon it into the cookies. This step prevents caramel from running off the edges and keeps things tidy. Flaky sea salt on top offers a bright accent that enhances the deep chocolate flavor.
I set the cookies aside for another fifteen minutes, which gives the caramel center a chance to set. That short wait also allows me a moment to clean up any sticky spots on the counter. Friends often say those last few minutes of waiting feel like a lifetime, especially if they can smell the cookies from another room.
The Magic Ingredient Finally Revealed
I promised to mention a hidden element that brings a gentle twist to this recipe. I keep a small jar of instant espresso powder in my cupboard, and I add half a teaspoon to the dry mixture. That tiny hint of coffee intensity boosts the chocolate flavor, giving a deeper richness without overpowering anything.
I discovered this tip while flipping through my Pin Notebook, where I record every little tweak and interesting insight. It nudged me to think beyond the usual additions, which led to this simple flavor upgrade. My Golden Spoon, inherited from my aunt Marian, stirred this mixture during its first test run and reminded me of the family traditions I carry forward.
A Few Personal Touches
Whiskers often finds a cozy spot near the warm oven, convinced his presence makes the cookies special. I believe he approves every dessert, from these chocolate caramel thumbprint cookies to my next batch of
Chocolate Cherry Thumbprint Cookies. That link offers another sweet option if you ever crave a fruity touch in your baked treats.
Friends sometimes request
Tiramisu Truffles for gatherings, which I also feature for fellow cookie lovers. I approach each recipe with curiosity, guided by the notes I jot down in my Pin Notebook. I add my mistakes and my victories, which reminds me that cooking involves a steady process of learning and tasting.
I feel a connection to anyone who tries these recipes, because we share a love for comforting desserts. I also enjoy the opportunity to hear fresh ideas from other home cooks. A small adjustment to an ingredient or timing can spark a new tradition in someone’s kitchen.
Conclusion And Sharing

I hope you enjoyed learning about my chocolate caramel thumbprint cookie routine. Please save this post on your Pinterest board for quick access, and share the results if you decide to make these cookies at home. I invite you to leave a comment about your experience or any questions, which can help others who might follow your lead in baking these sweet bites.
Chocolate Caramel Thumprint Cookies Recipe

Soft chocolate cookies with a rich caramel center. The cookies bake to a tender texture, while the homemade caramel adds a smooth, buttery filling. A sprinkle of flaky sea salt enhances the flavors.
Ingredients
- FOR THE CHOCOLATE COOKIES:
- 1 cup (226g) unsalted butter, softened
- 1 cup (200g) granulated sugar
- ½ cup (100g) brown sugar, packed
- 2 large eggs
- 2 teaspoons vanilla extract
- 2 cups (250g) all-purpose flour
- ¾ cup (75g) unsweetened cocoa powder
- 1 teaspoon baking soda
- ½ teaspoon salt
- FOR THE CARAMEL FILLING:
- 1 cup (240ml) heavy cream
- 1 cup (200g) granulated sugar
- ¼ cup (60ml) water
- 4 tablespoons (56g) unsalted butter
- ½ teaspoon salt
- 1 teaspoon vanilla extract
- Optional: Flaky sea salt for garnish
Instructions
- PREHEAT THE OVEN: Set the oven to 350°F (175°C). Line a baking sheet with parchment paper.
- CREAM THE BUTTER AND SUGARS: In a large mixing bowl, beat the butter, granulated sugar, and brown sugar together until light and fluffy, about 2-3 minutes.
- ADD EGGS AND VANILLA: Mix in the eggs one at a time, ensuring each is fully incorporated before adding the next. Stir in the vanilla extract.
- MIX DRY INGREDIENTS: In a separate bowl, whisk together the flour, cocoa powder, baking soda, and salt.
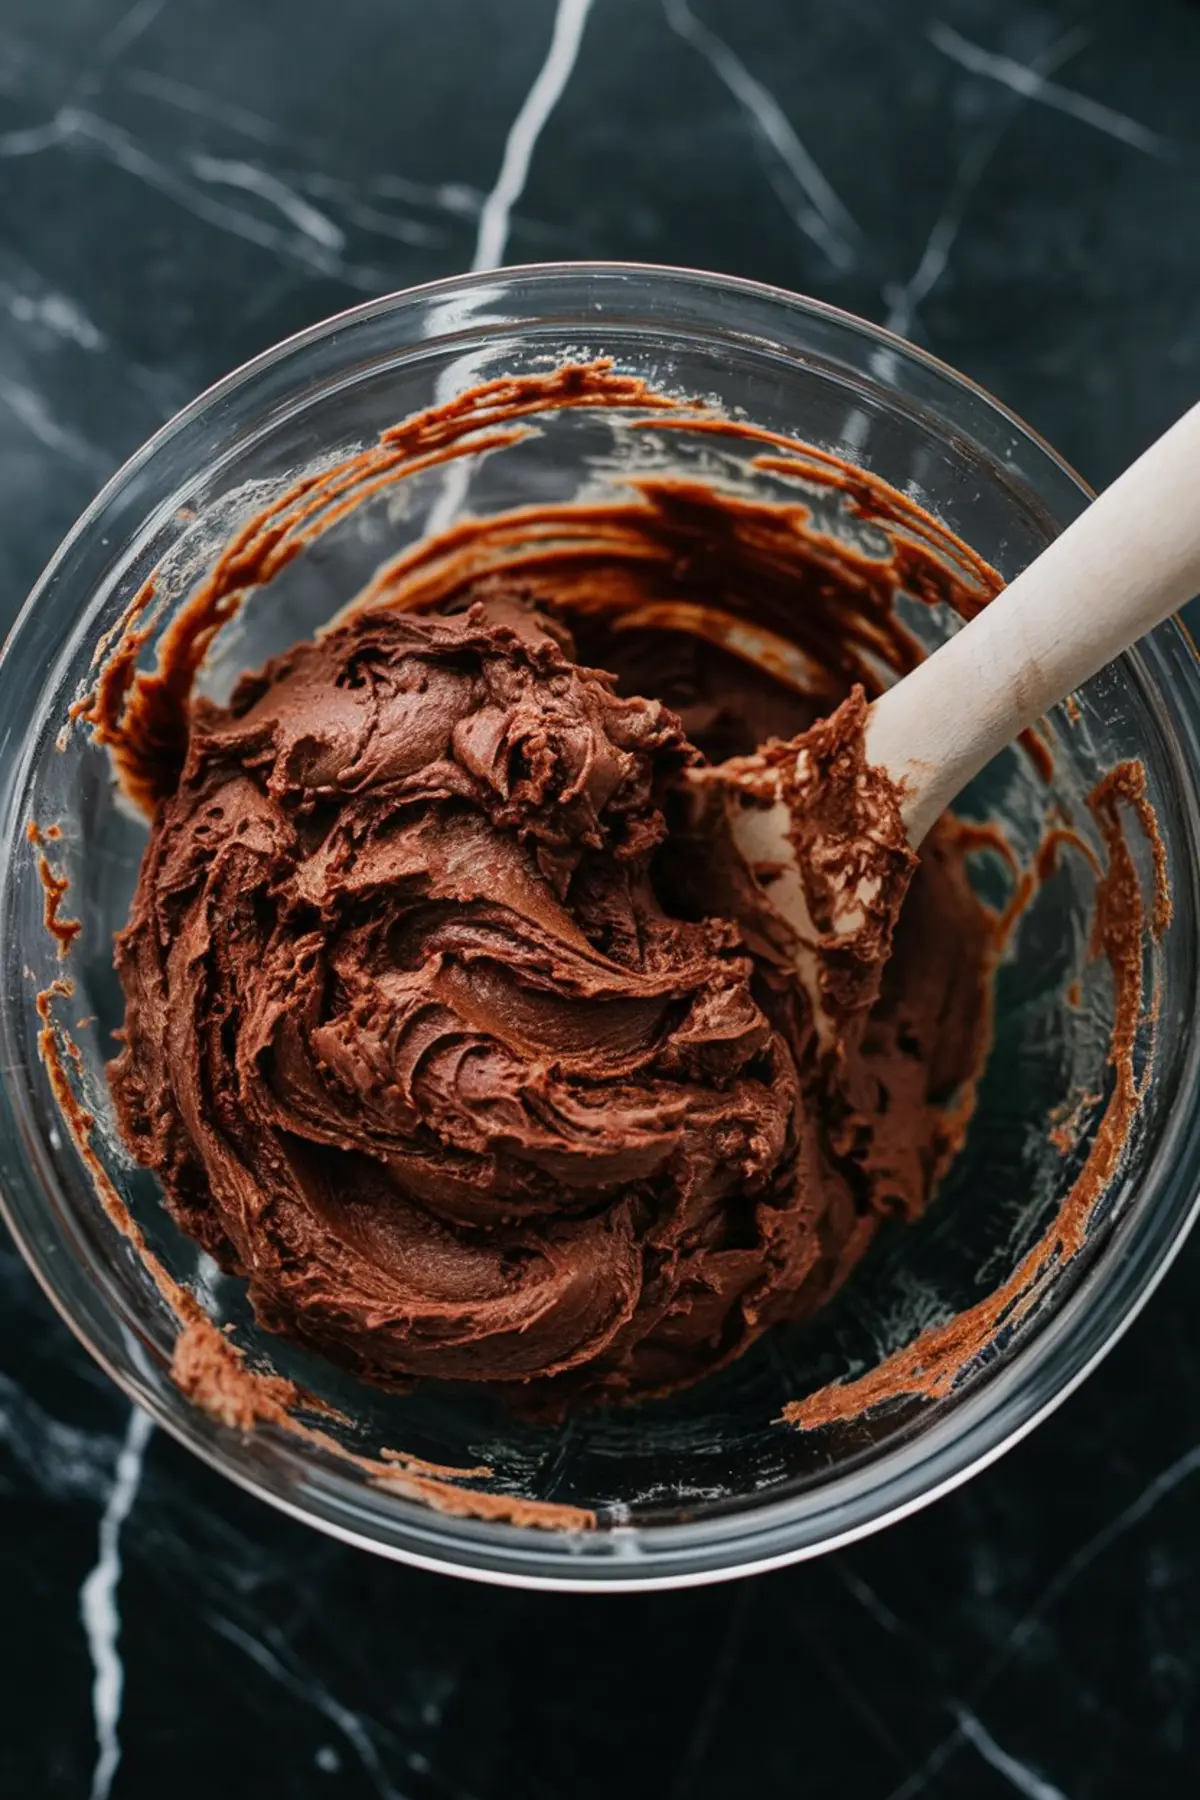
- COMBINE WET AND DRY INGREDIENTS: Gradually add the dry mixture to the wet ingredients, mixing just until combined. The dough will be thick and slightly sticky.
- SHAPE THE COOKIES: Roll the dough into tablespoon-sized balls and place them on the prepared baking sheet, spacing them about 2 inches apart.
- CREATE INDENTATIONS: Use your thumb or the back of a spoon to press an indentation into the center of each cookie.
- BAKE: Place the baking sheet in the oven and bake for 9-11 minutes, until the cookies are set but still soft in the middle.
- RESHAPE INDENTATIONS: Immediately after removing the cookies from the oven, gently press down the indentations again, as they may have puffed up during baking. Let the cookies cool on the baking sheet for 5 minutes, then transfer them to a wire rack.
- HEAT THE CREAM: In a small saucepan, warm the heavy cream over low heat. Do not let it boil.
- COOK THE SUGAR: In a separate saucepan, combine the sugar and water over medium heat. Stir just until the sugar dissolves, then stop stirring.
- MAKE THE CARAMEL: Let the sugar cook until it turns a deep amber color, swirling the pan occasionally to ensure even caramelization. This takes about 7-10 minutes.
- ADD CREAM TO CARAMEL: Remove the caramel from the heat and carefully whisk in the warm cream. It will bubble up, so stir cautiously.
- FINISH THE CARAMEL: Stir in the butter, salt, and vanilla extract, mixing until smooth. Let the caramel cool for about 10 minutes until slightly thickened but still pourable.
- FILL THE COOKIES: Spoon the slightly cooled caramel into the center of each cookie indentation.
- LET CARAMEL SET: Allow the cookies to sit for about 15 minutes so the caramel can firm up.
- GARNISH: If desired, sprinkle a small pinch of flaky sea salt on top before serving.
Notes
Store cookies in an airtight container at room temperature for up to 3 days or in the refrigerator for up to a week.
If the caramel thickens too much before filling the cookies, gently reheat it over low heat until pourable.
For a firmer caramel center, refrigerate the cookies for 15-20 minutes after filling.
To prevent the caramel from crystallizing, avoid stirring once the sugar has dissolved. Swirl the pan gently instead.
If using salted butter, reduce the added salt in both the cookie dough and caramel filling.
Nutrition Information:
Yield:
24Serving Size:
1Amount Per Serving: Calories: 78Total Fat: 3gSaturated Fat: 2gTrans Fat: 0gUnsaturated Fat: 1gCholesterol: 23mgSodium: 196mgCarbohydrates: 10gFiber: 0gSugar: 2gProtein: 2g
