
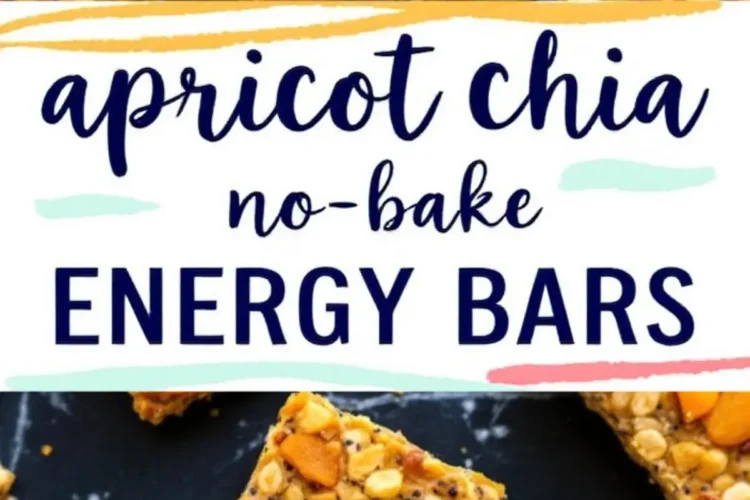
Years ago, I faced a week so busy I barely had time to breathe, let alone bake. I craved a snack that gave me energy without needing an oven, something simple yet satisfying. That’s when these no-bake apricot chia energy bars came into my life, born from a mix of dried apricots, oats, and a hint of something unexpected that I’ll share later—keep reading, because this little twist makes all the difference.
You might love no-bake treats already, like my Pumpkin Spice Balls or Strawberry Mochi. These bars fit right in, offering a quick, healthy bite that fuels your day. I promise you’ll find them as handy as I do.
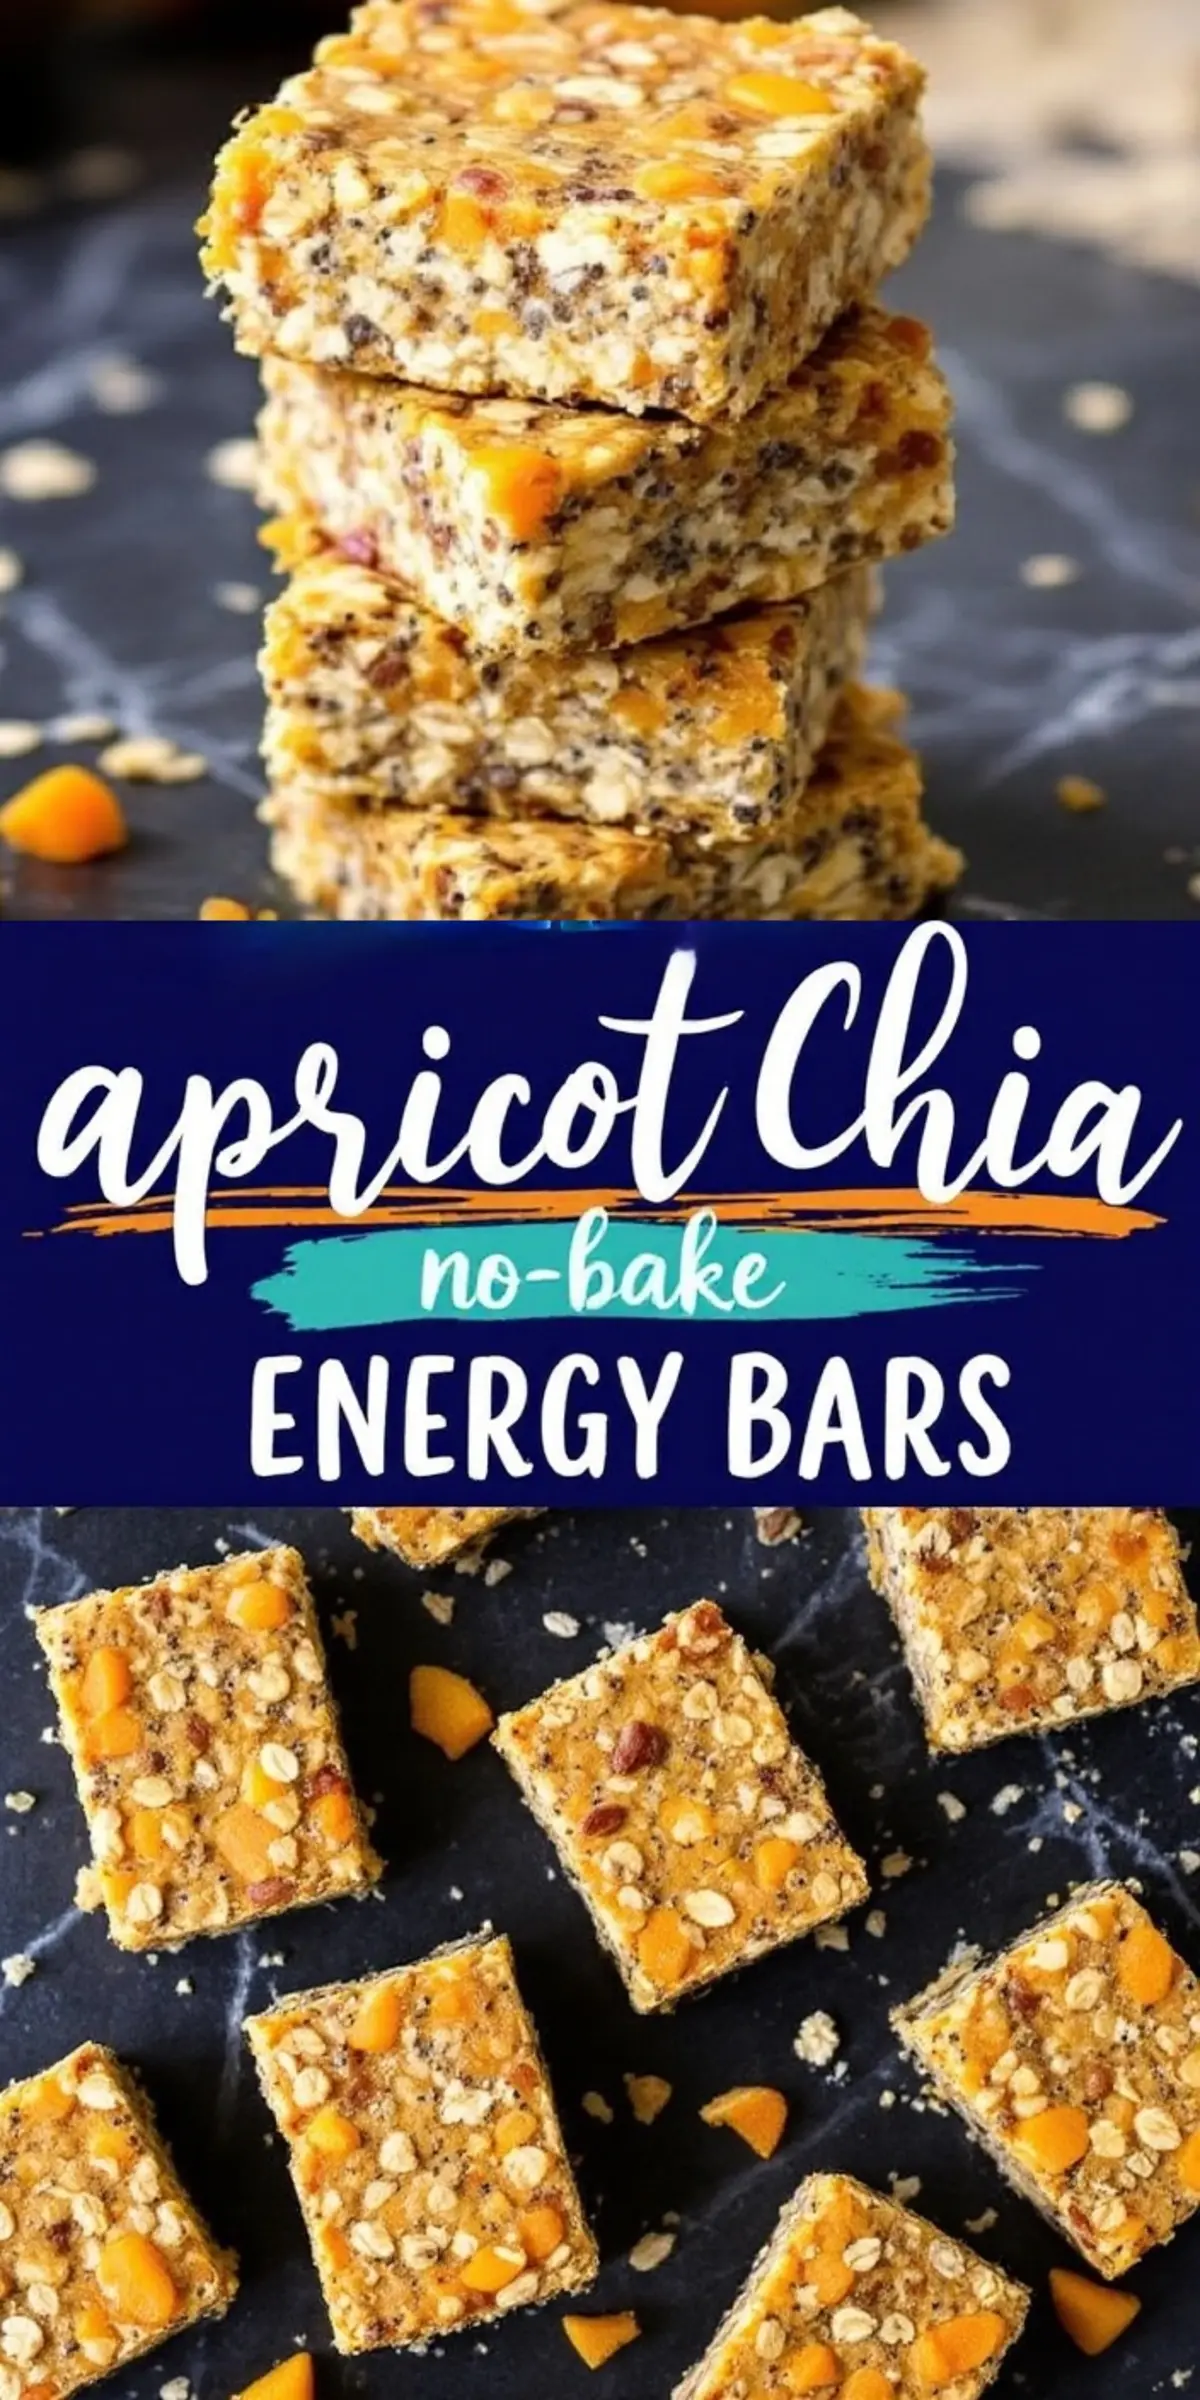
Why You’ll Love These No-Bake Energy Bars
These bars save time on frantic days. You mix them up fast, skip the baking, and get a snack loaded with good stuff like oats and nuts. Honey or maple syrup sweetens them naturally, so you enjoy every bite without guilt.
They work for any moment—after a workout or during a midday slump. You’ll reach for them again and again, trust me. Have you ever needed a boost but had no time to cook? These solve that problem.
The Best Ingredients for No-Bake Energy Bars
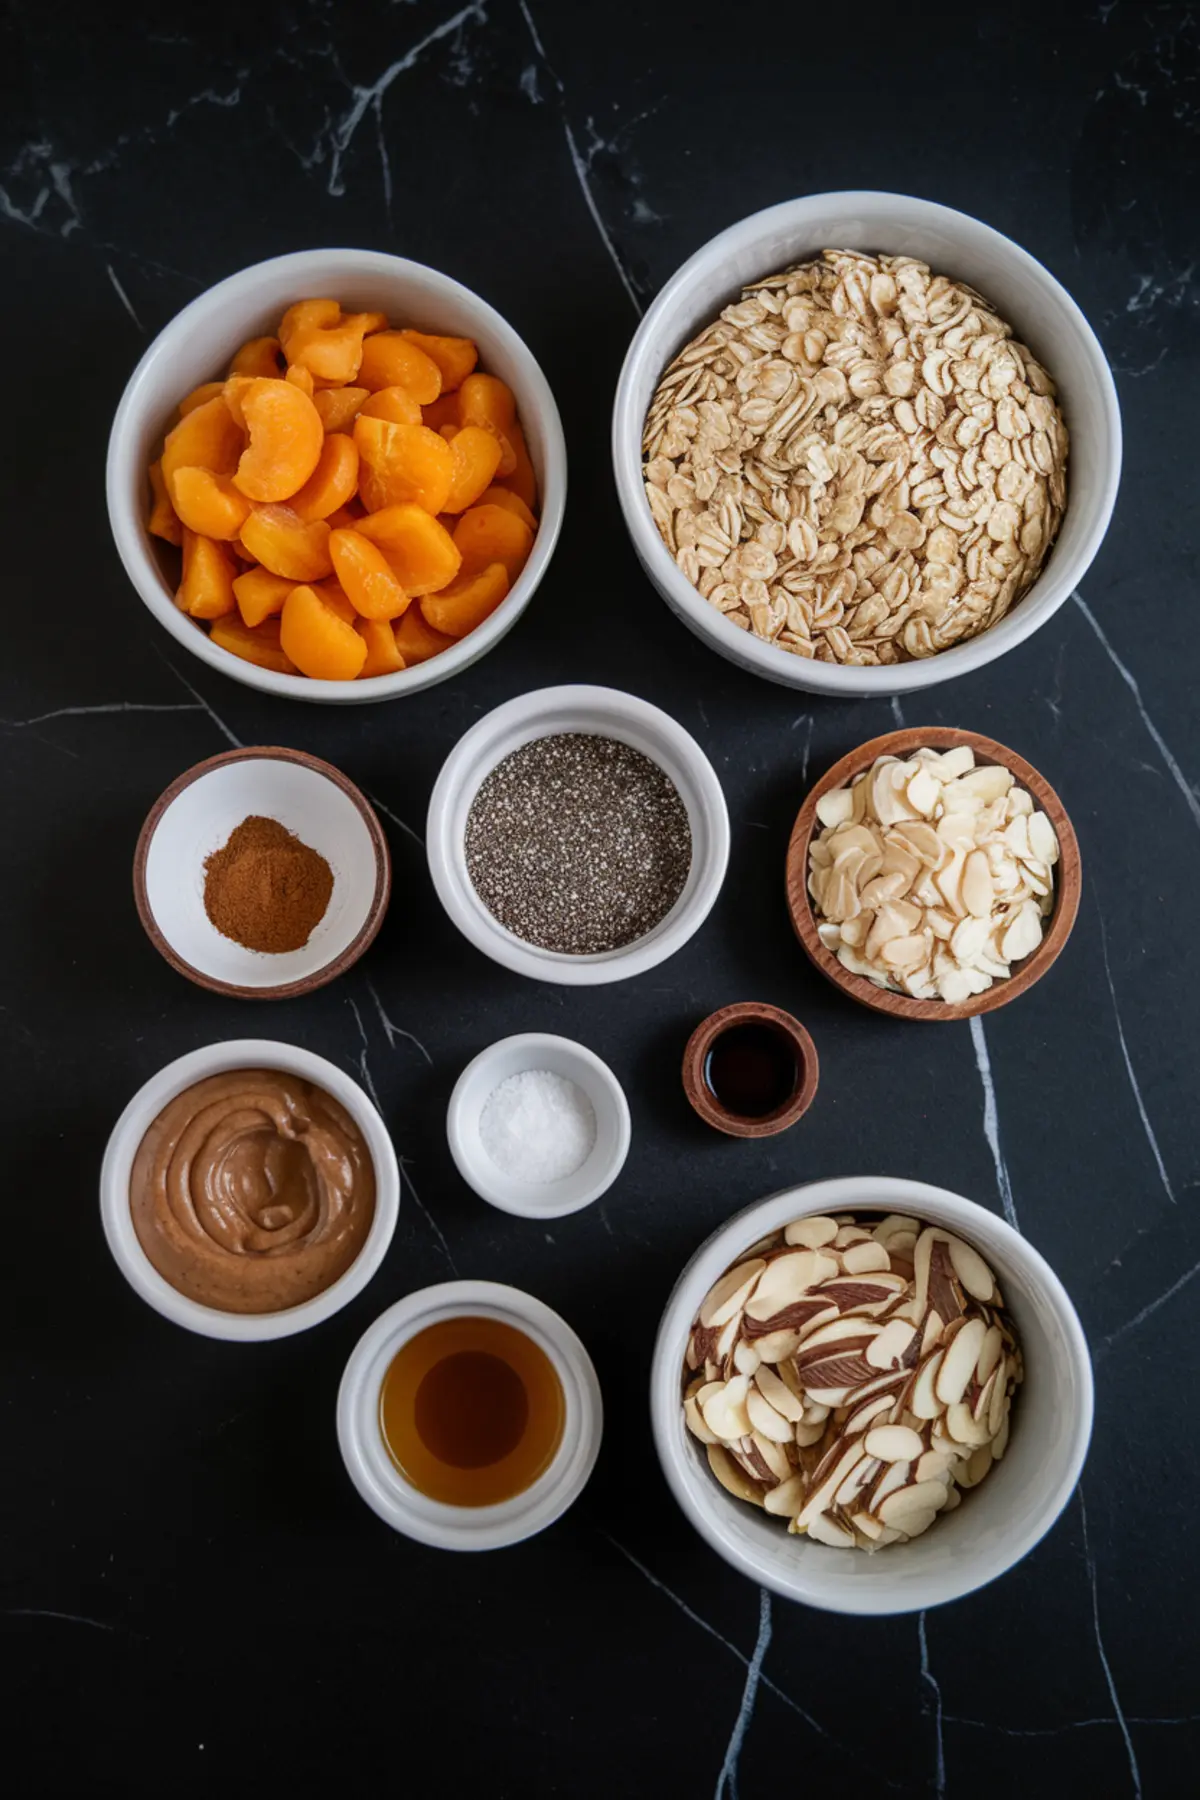
Picture a bowl brimming with chopped dried apricots, rolled oats, almonds, and chia seeds. The apricots bring a sunny sweetness and a chewy bite, while oats give you steady energy from their fiber. Almonds add crunch and good fats, and chia seeds pack in protein and omega-3s.
A dash of cinnamon warms things up—I never skip it. Salt lifts every flavor, making each bite pop. These ingredients team up to create a bar that’s both tasty and filling.
Then come the wet players: almond butter, honey, and vanilla extract. You warm them together, and the almond butter turns creamy, the honey flows sweet, and the vanilla weaves in a cozy scent. This trio binds everything, holding the bars together with sticky goodness.
Want a change? Swap in peanut butter, like I use in my 3-Ingredient Peanut Butter Fudge or Peanut Butter Dates. It shifts the taste but keeps the magic.
How to Make No-Bake Apricot Chia Energy Bars
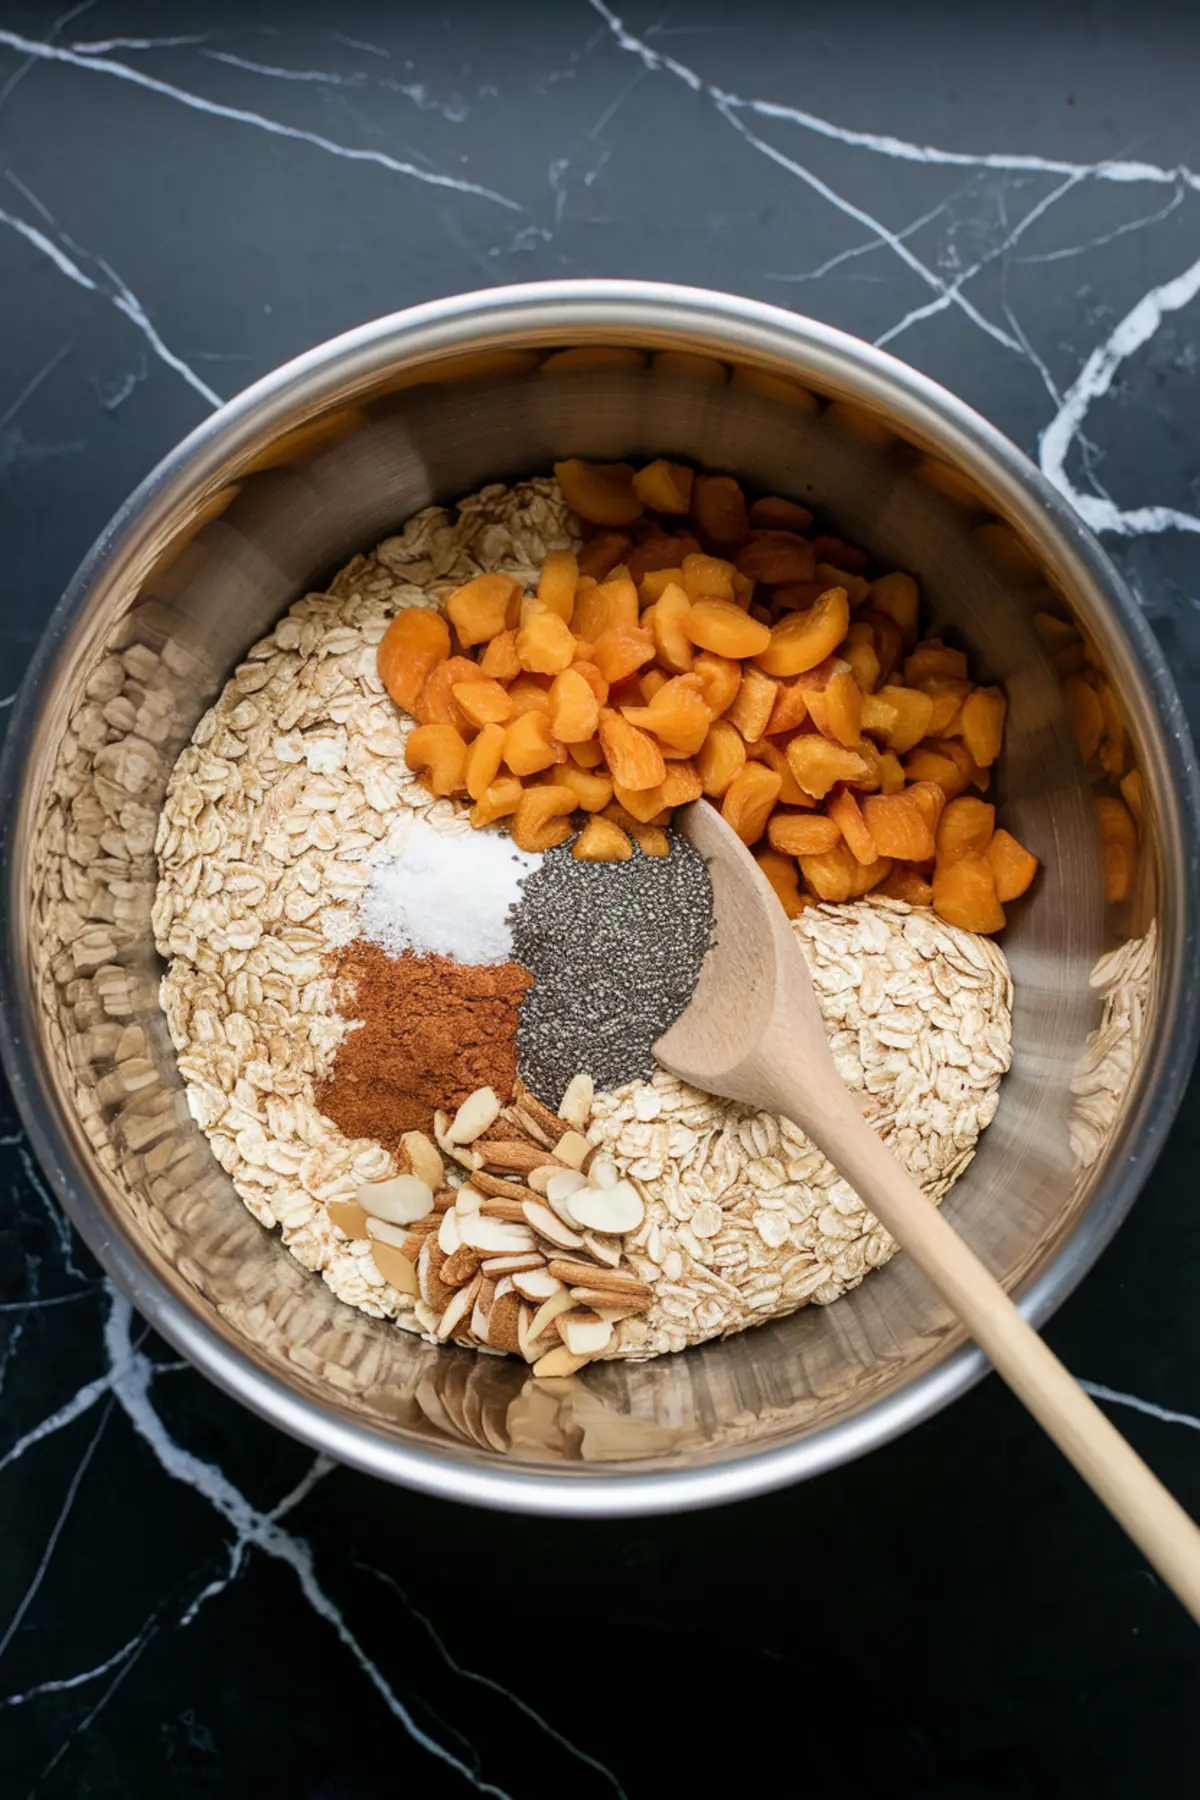
Start with a big bowl and toss in the chopped apricots, oats, almonds, chia seeds, cinnamon, and salt. You stir them until they mingle evenly, and already the mix looks promising with its bright colors and textures. I love this part—it’s like setting the stage for something great.
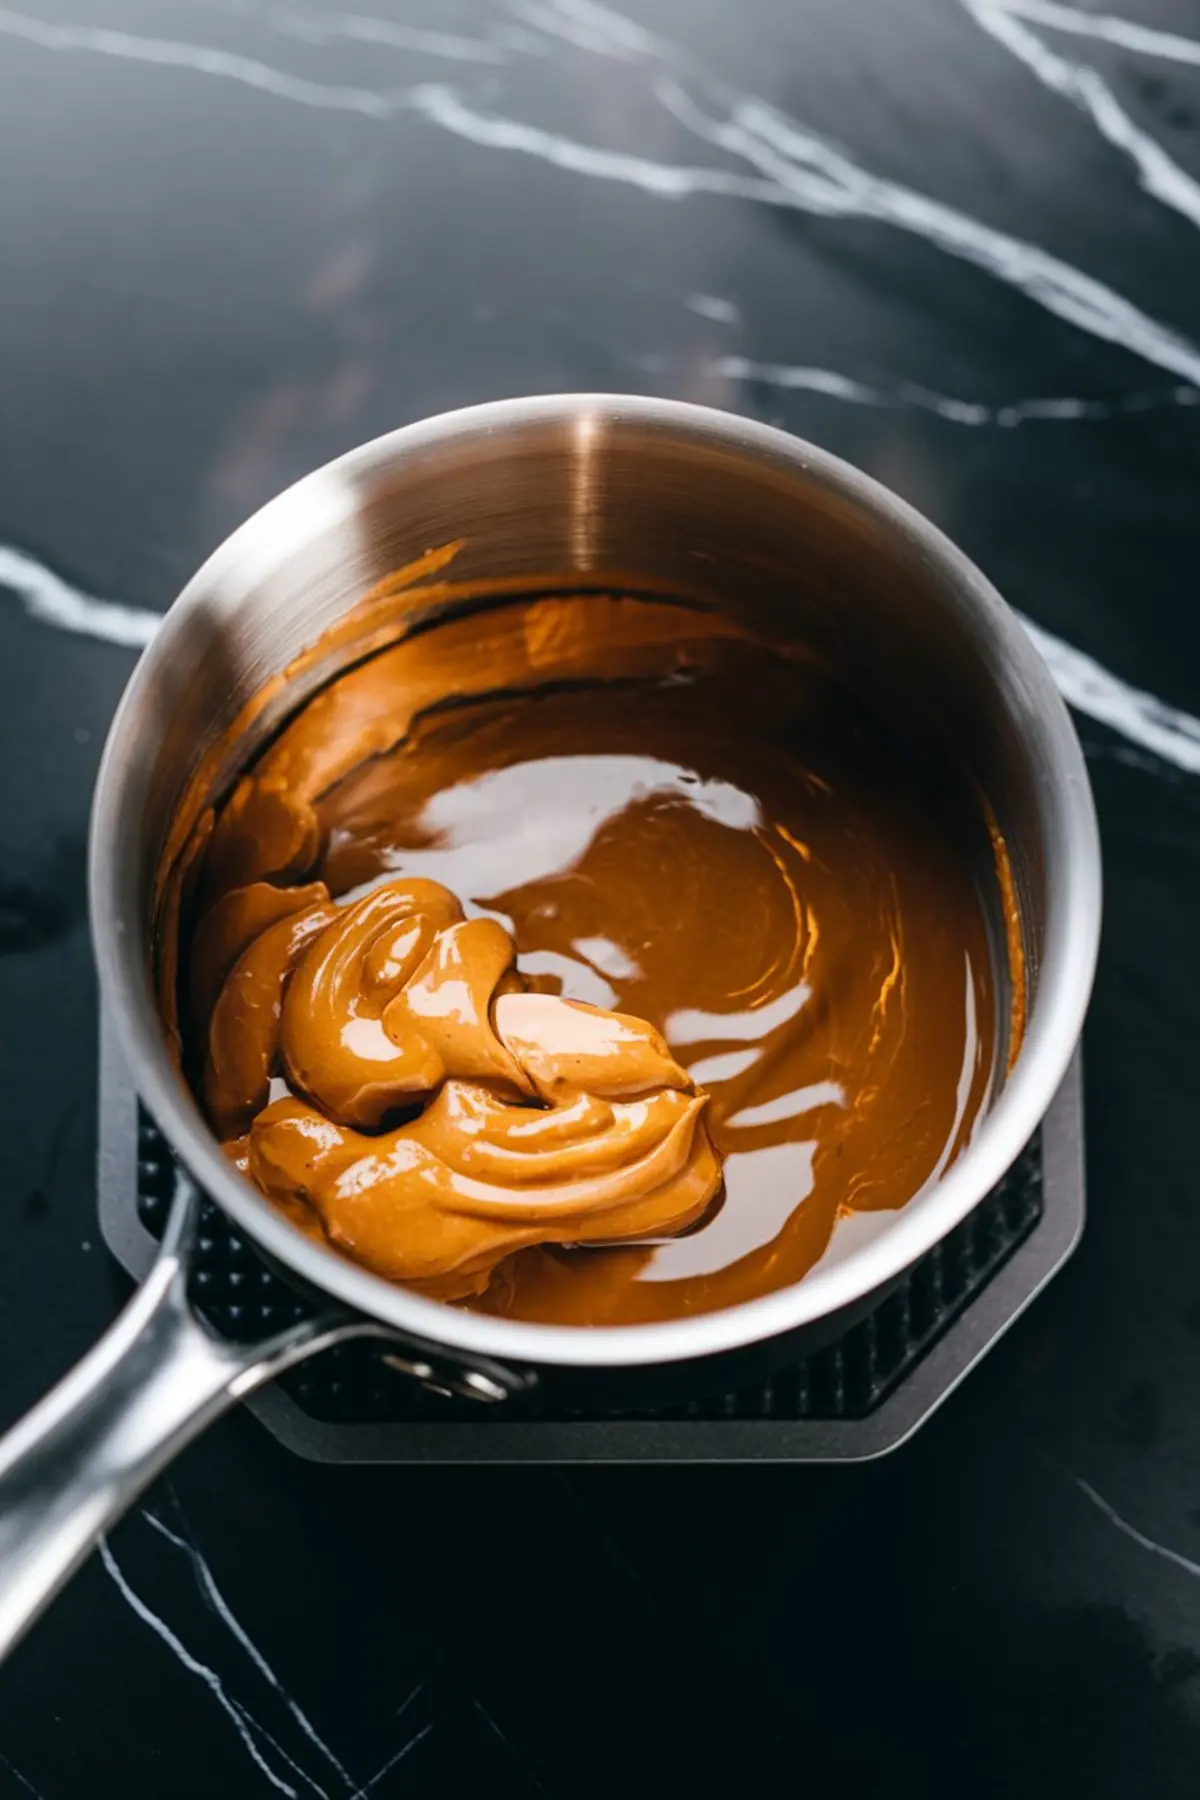
Next, grab a small saucepan and set it over low heat. Add the almond butter, honey, and vanilla, then stir until they melt into a smooth, warm blend. That smell hits you—sweet and nutty—and you know you’re on the right track.
Pour that warm mix over the dry ingredients. You stir it all together with a spatula or your hands—grease them lightly if it sticks. My cat, Whiskers, hopped up once while I mixed, sniffing the air like he wanted a taste, but I shooed him off with a laugh.
The sticky mess should hold when you press it. If it feels dry, drizzle in a bit more honey. I use my Golden Spoon, a treasure from my Aunt Marian, to blend it well—it’s been with me through every recipe since I got it.
Line an 8×8-inch dish with parchment paper—don’t skip this, or you’ll wrestle the bars out later. Scrape the mixture in and press it down hard. That Golden Spoon comes out again here, packing it tight so the bars don’t crumble.
Pop the dish in the fridge for an hour. The bars firm up, and you lift them out with the parchment, slicing them into squares. Run your knife under warm water if it sticks—my Pin Notebook, where I scribble all my tweaks, taught me that one.
My Secret Twist for Amazing Energy Bars
Here’s the surprise I hinted at: sprinkle flaky sea salt on top before chilling. It sharpens the sweetness and adds a fancy edge. Or, drizzling melted dark chocolate over the set bars takes them somewhere divine—I tried it once and couldn’t stop eating them.
Both tricks came from my Pin Notebook, a battered little thing full of my recipe secrets. Which would you try first? The salt’s subtle, but the chocolate’s a game-changer.
Need a nut-free version? Use sunflower seed butter and swap almonds for pumpkin seeds. It’s a fix I’ve made for friends, and they love it just as much.
Storing Your No-Bake Energy Bars
After chilling, cut the bars and store them in an airtight container in the fridge—they stay good for a week. You can freeze them too; wrap each one up and thaw when you need a quick bite. I stash some in the freezer for busy mornings.
They travel well—toss one in your bag or a lunchbox. Ever tried a snack that’s this easy to keep on hand? You’ll wonder how you managed without them.
If these hit the spot, check out my Creamsicle Cheesecake. It’s another no-bake gem that’s creamy and cool.
Pin This Recipe and Share Your Story

These No-Bake Apricot Chia Energy Bars deserve a spot on your Pinterest board—save them for the next time you need a fast, healthy snack. I’ve pinned them myself, right next to my favorite recipes. You’ll thank yourself later, I swear.
Drop a note in the comments and tell me how they turned out. Did you add salt or chocolate? Got any questions? I’d love to hear your twists and build a little crew of no-bake fans right here.
No-Bake Apricot Chia Energy Bars Recipe
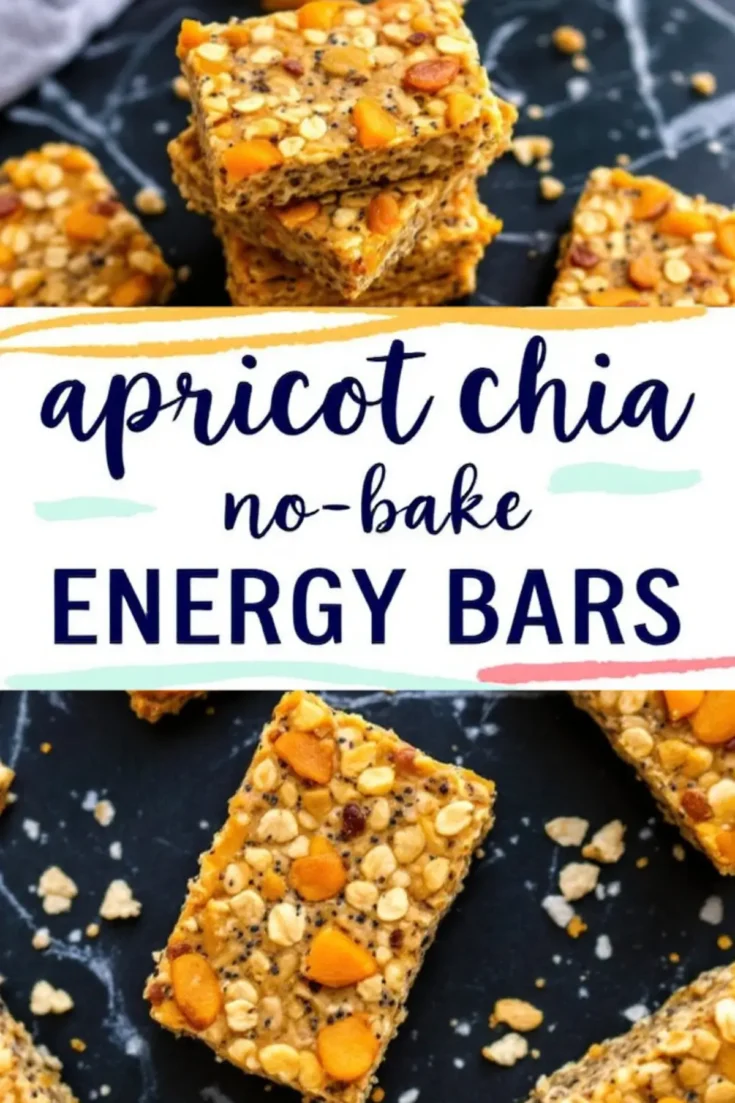
These no-bake apricot chia energy bars combine dried apricots, oats, nuts, and chia seeds with a smooth almond butter and honey mixture. The bars are naturally sweetened, full of texture, and easy to prepare.
Ingredients
- FOR THE DRY INGREDIENTS
- 1 cup dried apricots, chopped
- 1 ½ cups rolled oats
- ½ cup almonds, chopped (or any preferred nuts)
- 2 tablespoons chia seeds
- ½ teaspoon cinnamon (optional)
- ¼ teaspoon salt
- FOR THE WET INGREDIENTS
- ½ cup almond butter (or peanut butter)
- ⅓ cup honey or maple syrup
- 1 teaspoon vanilla extract
Instructions
- PREPARE THE DRY INGREDIENTS: In a large mixing bowl, combine the chopped apricots, rolled oats, almonds, chia seeds, cinnamon, and salt. Stir until evenly mixed.
- MELT AND MIX THE WET INGREDIENTS: In a small saucepan over low heat, combine the almond butter, honey, and vanilla extract. Stir continuously until smooth and well combined. Do not let the mixture boil; it should be just warm enough to mix easily.
- COMBINE EVERYTHING: Pour the warm wet mixture over the dry ingredients. Use a spatula or lightly greased hands to mix until fully combined. The mixture should be slightly sticky and hold together when pressed.
- SHAPE AND SET: Line an 8x8-inch baking dish with parchment paper. Transfer the mixture into the dish and press it down firmly using the back of a spoon or your hands. Compacting the mixture well helps the bars hold together.
- CHILL AND SLICE: Refrigerate for at least 1 hour to allow the bars to firm up. Once set, remove from the dish and cut into squares or rectangles.
- STORE: Keep the bars in an airtight container in the refrigerator for up to one week or freeze for longer storage.
Notes
For a nut-free version, substitute sunflower seed butter for almond or peanut butter and use pumpkin or sunflower seeds instead of almonds. If the mixture feels too dry, add an extra tablespoon of honey or maple syrup. To make slicing easier, run a sharp knife under warm water before cutting the bars.
Nutrition Information:
Yield:
12Serving Size:
1Amount Per Serving: Calories: 202Total Fat: 10gSaturated Fat: 1gTrans Fat: 0gUnsaturated Fat: 8gCholesterol: 0mgSodium: 72mgCarbohydrates: 26gFiber: 4gSugar: 15gProtein: 5g
