
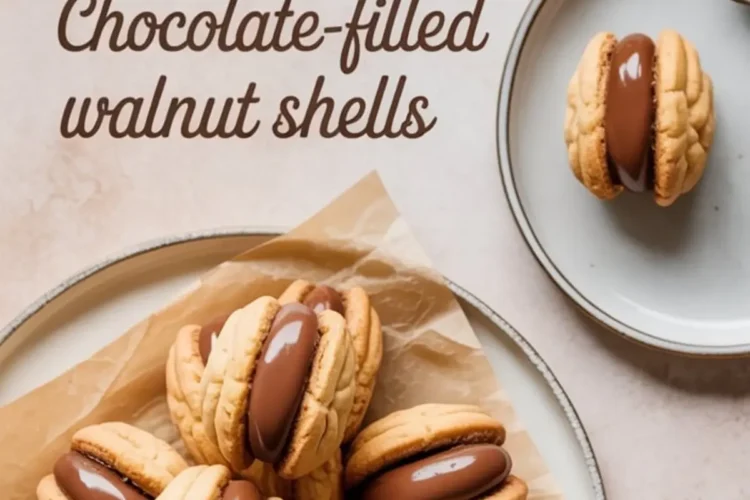
A quiet holiday classic with deep roots and a tender shell
I’ve always believed that holiday cookies carry their own kind of memory. Some hum softly with vanilla. Others whisper spice. These walnut shell cookies speak in the language of time, of hands that shaped dough beside a stovetop mold and voices that paused between each clink of the latch.
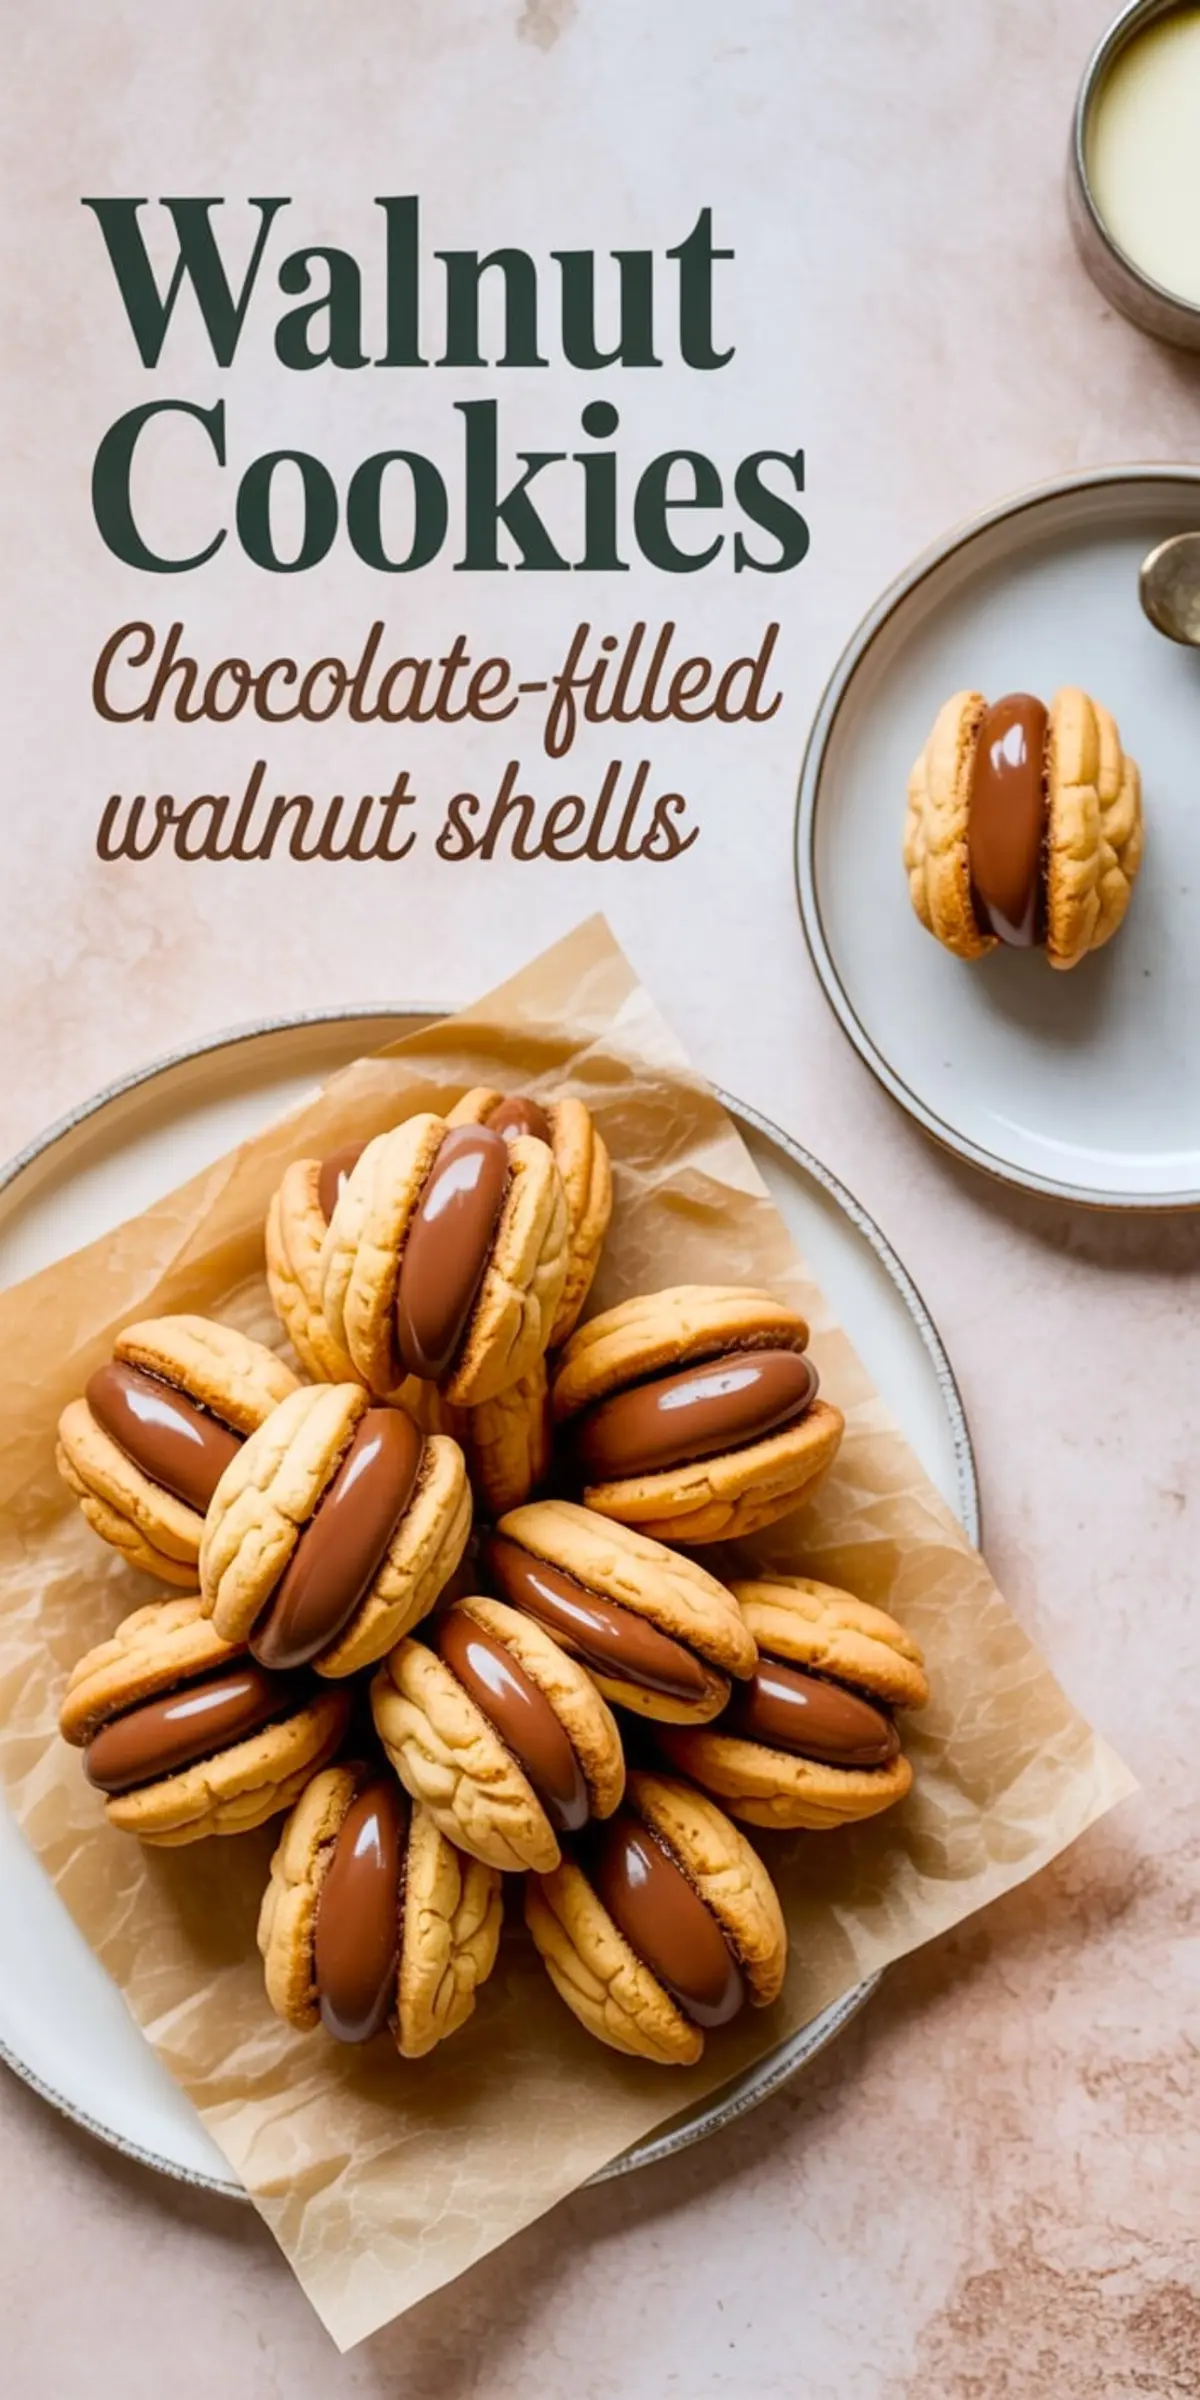
Among walnut cookies, these chocolate-filled halves—oreshki cookies—have their own presence. Molded in small metal presses, each piece becomes a shell. The filling, a slow-cooked blend of sweetened condensed milk and melted chocolate, rests inside like a tucked-away note. You may hear them called molded walnut cookies or walnut shell cookies. In my handwritten notebook, they are simply called “oreshki.”
Many Eastern European desserts hold quiet traditions, but this one has never left my winter table.
These belong among holiday cookies, but they don’t demand ceremony. Just care, patience, and a mold that’s been passed down or borrowed.
A Buttery Dough That Holds Its Shape
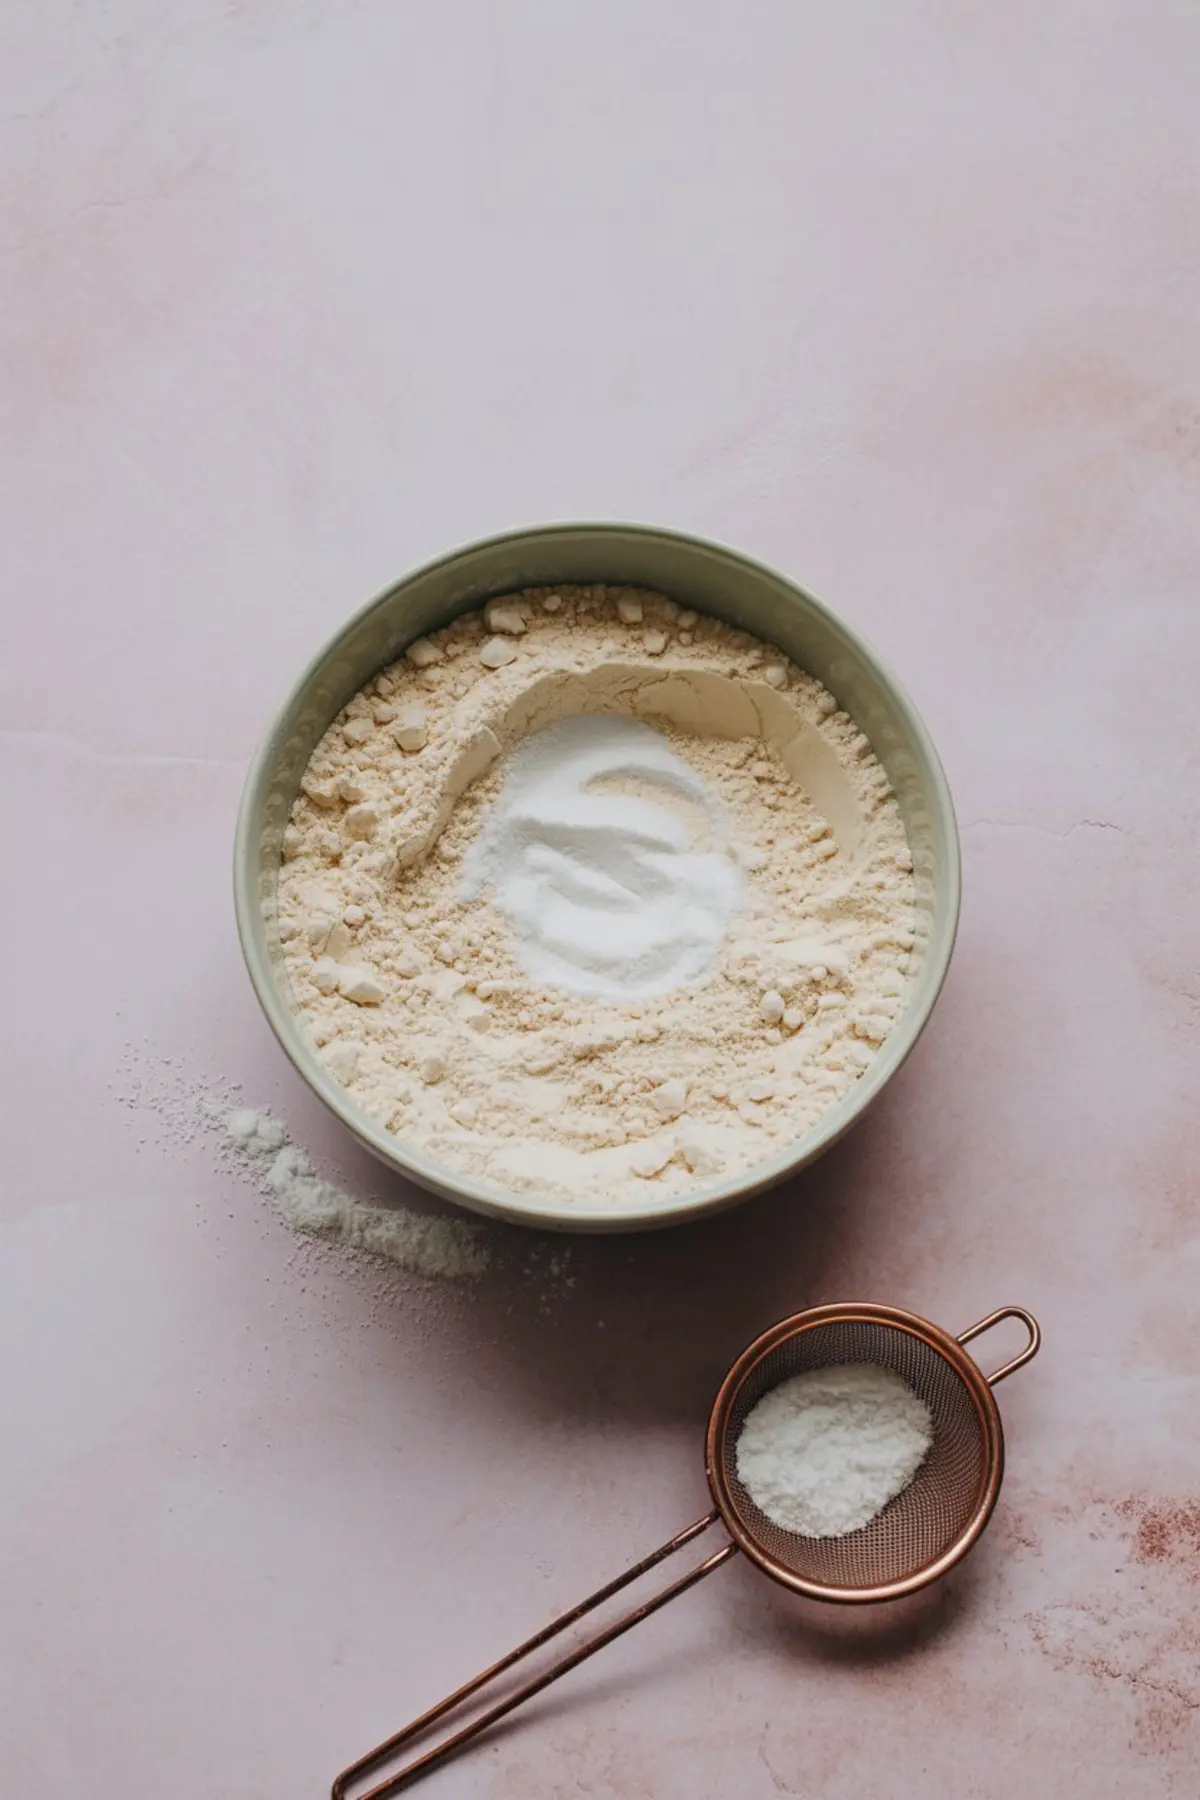
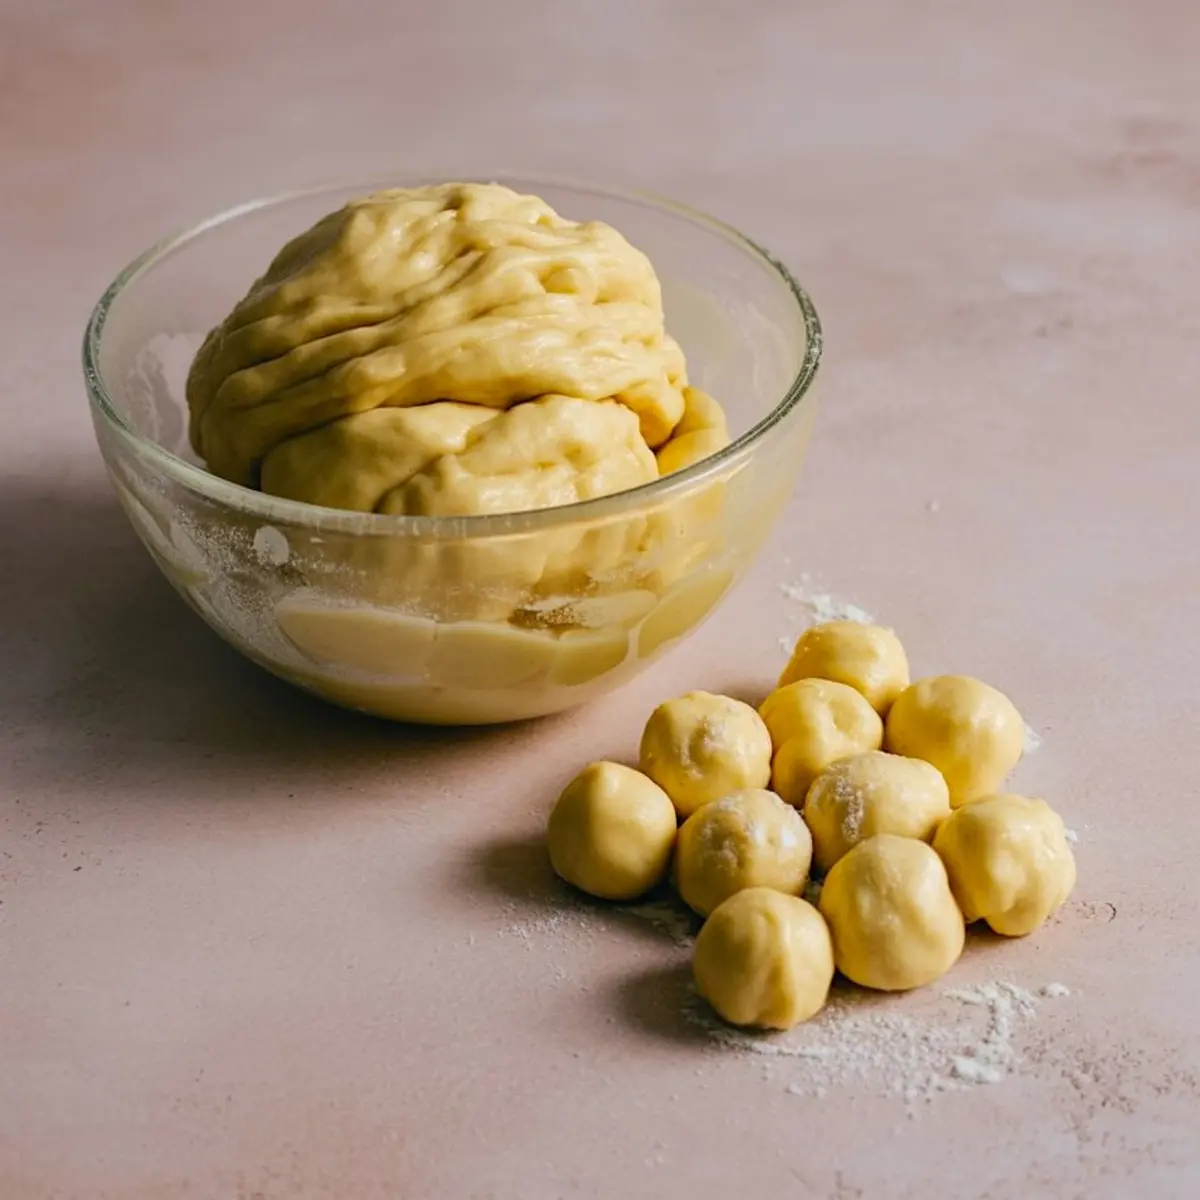
This dough calls for softened butter, not melted. The structure begins with creamed butter and sugar, followed by egg yolks and vanilla. The flour should be added with a sifted hand. I’ve always written down the phrase “soft but not sticky” next to this one. If your dough clings to your fingers, add a touch more flour.
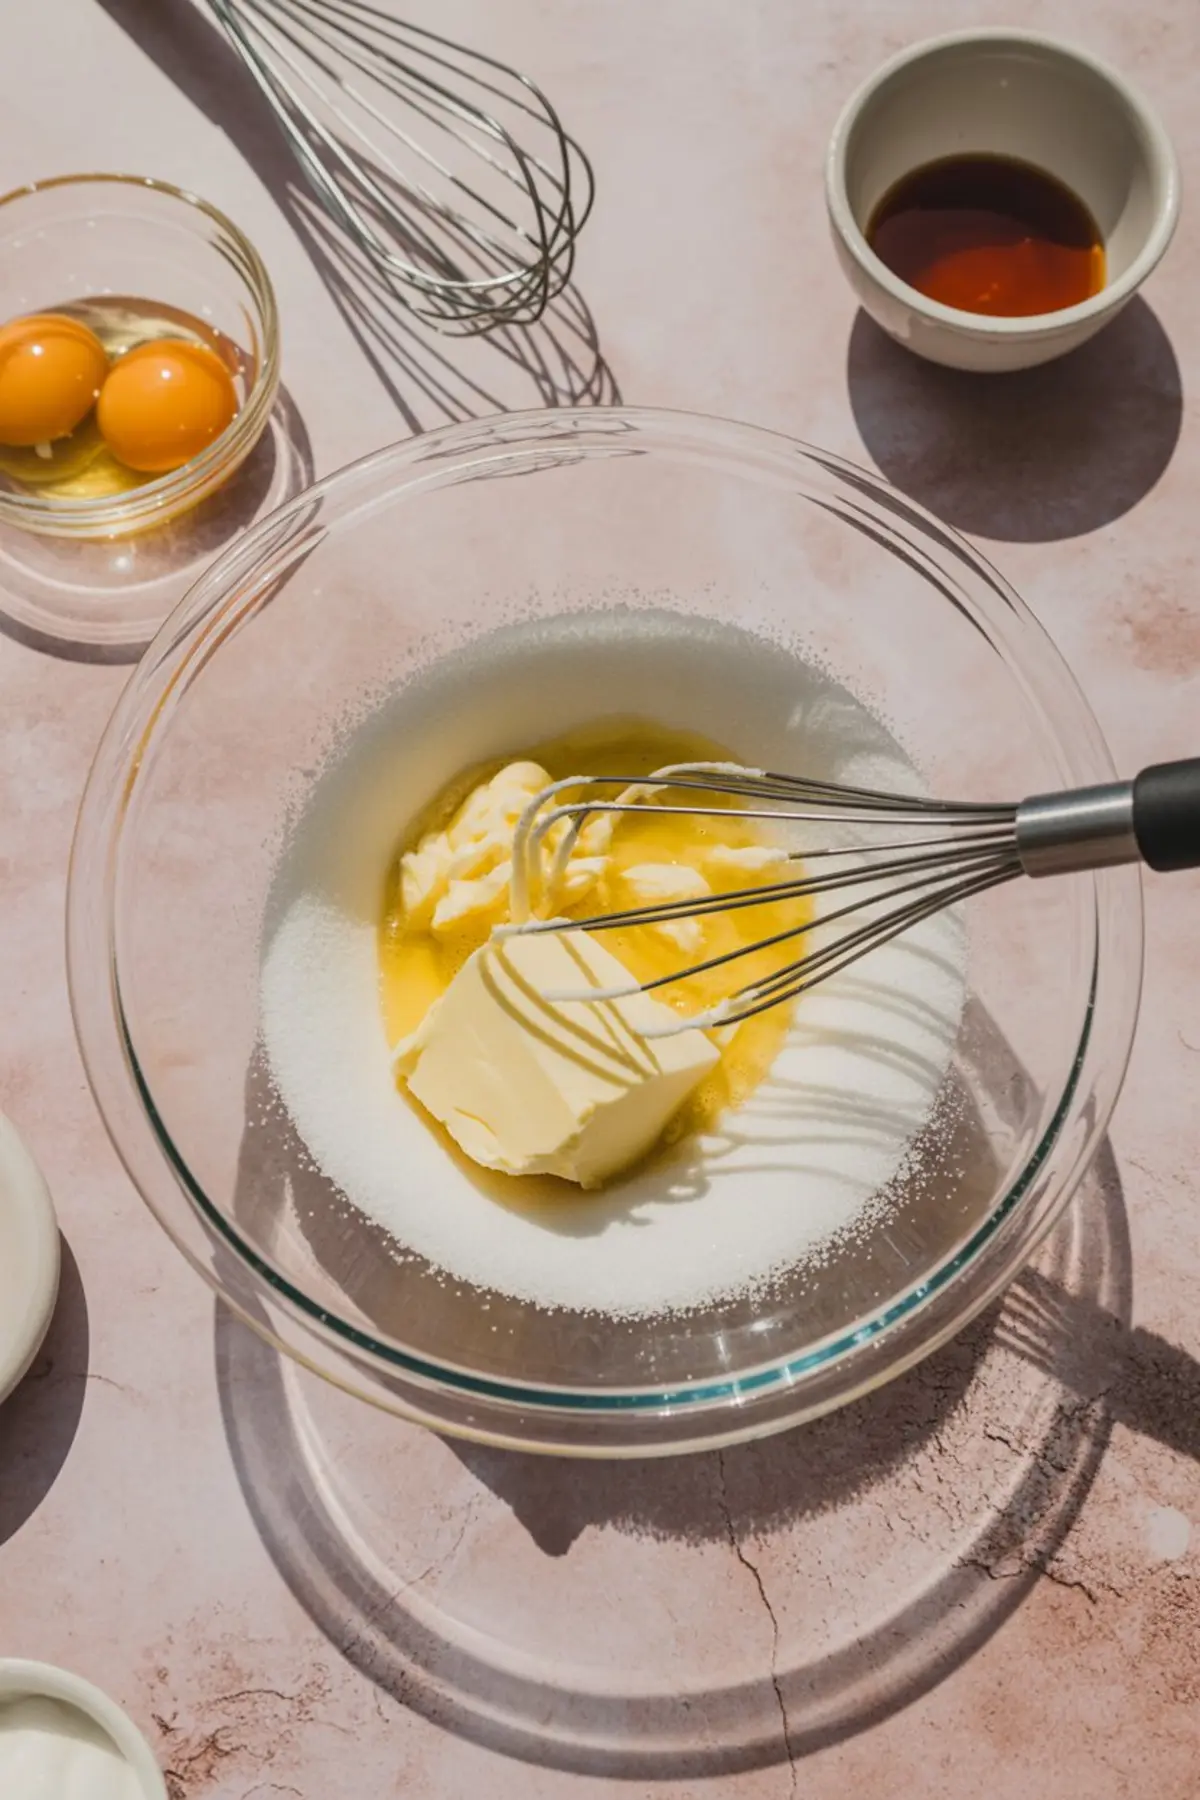
Some bakers prefer whole eggs. I’ve found that using only the yolks creates a dough that crisps more evenly in the mold. Whole eggs can make the shells puff, and puffed shells won’t press together as neatly.
This is the first choice to make—yolks or whole eggs. I’ve tried both. In my notes, yolks make the shells lighter and more structured, which makes them easier to fill and less prone to cracking at the seam.
Using a Walnut Mold on the Stove or Electric Press
You’ll want the mold fully preheated before shaping. I still use my original stovetop press, the one with worn wooden handles and shallow half-spheres. If you’re using an electric version, it may take a few extra minutes to reach full heat.
Pinch the dough to the size of a small marble. Shape gently and press it into the mold’s cavity. Leave room at the center, especially at the edges, so the dough bakes thin and even. Too thick, and the shells become heavy. Too thin, and they may crack when unmolding—but if one breaks, don’t worry. I always bake a few extra for just this reason.
Cook each batch until golden brown. I lift the edge of one shell to peek. It should look toasted at the edges but pale gold at the center.
Stirring the Chocolate Filling Low and Slow
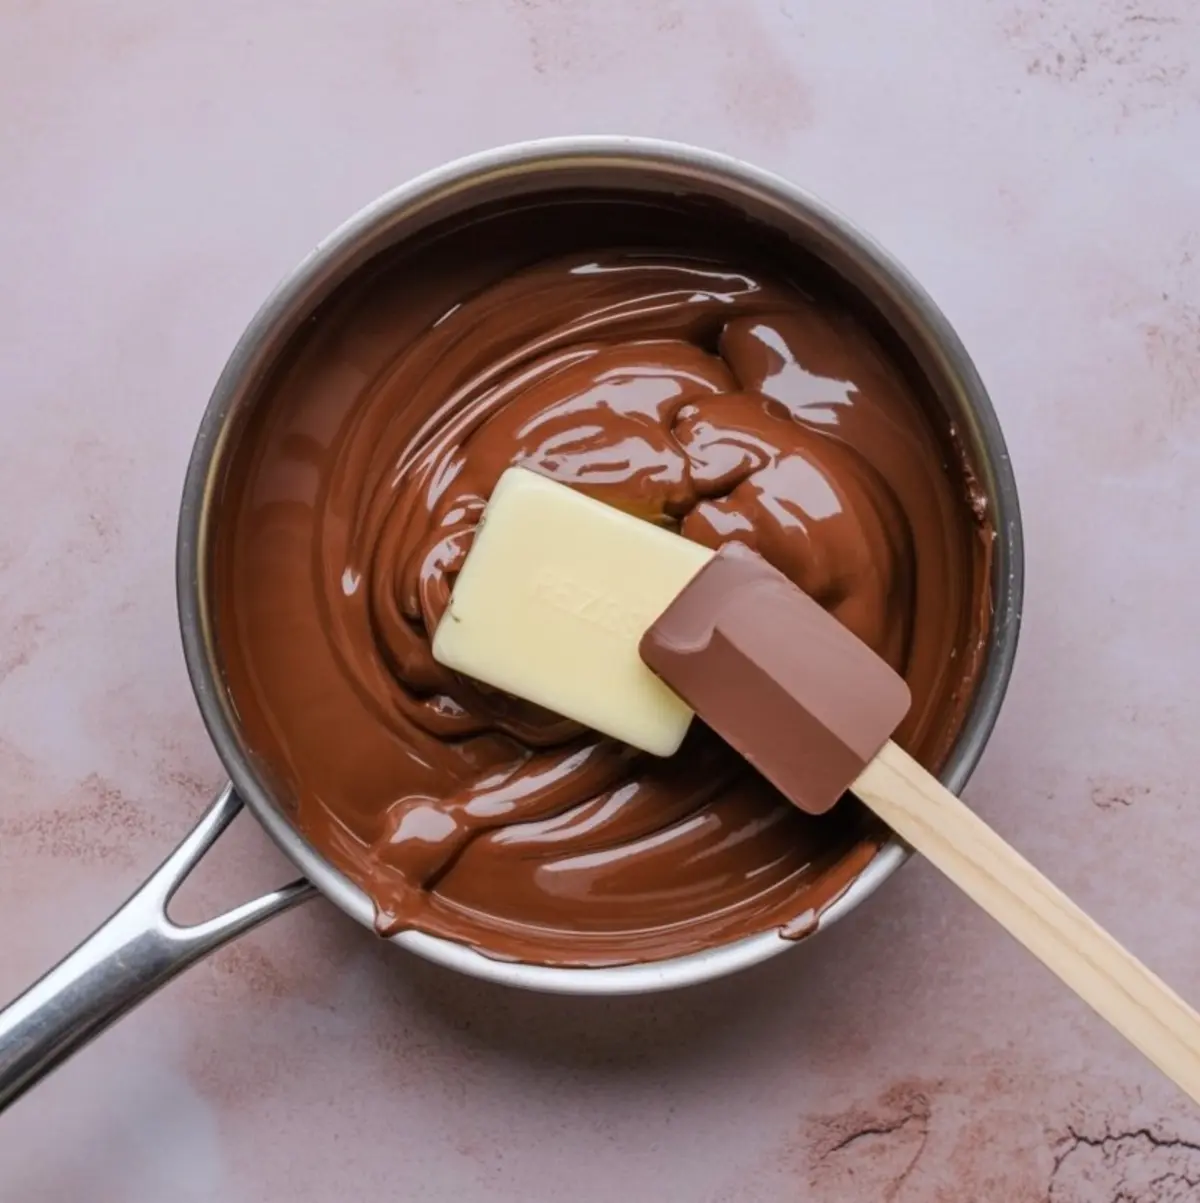
This filling comes together in a saucepan. I use a spoon worn smooth from years of stirring. The sweetened condensed milk, chocolate, and butter melt together gently, never rushed.
Let it cool before spooning it in. If it’s too warm, it will soften the shells and may leak. After cooling, the texture will thicken and hold its shape as you press the halves together.
Some days, I stir in a spoonful of finely chopped walnuts. Other times, I leave the filling smooth. Both are good. The added walnuts give a little chew and remind me of the cranberry walnut bread I always make the same week. That recipe is here if you’d like to try it: Cranberry Walnut Bread
Shaping the Walnut Shell Cookies and Letting Them Set
Match the shells by size before you fill them. Some pairs fit better than others. I keep them in rows as they cool, which helps later. Use a teaspoon to fill one half, then press the second gently on top. If any filling spills, use your fingertip to smooth it back into place.
Once filled, they should rest. You can refrigerate them briefly or let them set at room temperature. I prefer room temperature unless it’s particularly warm in the kitchen.
I often store them next to my Mexican hot chocolate cookies in the same tin. The scents mingle slightly, which I like. You can find that recipe here: Mexican Hot Chocolate Cookies
A Cookie with Memory in Every Shell
These are more than chocolate-filled cookies. They carry quiet stories. A grandmother’s mold. A holiday kitchen. A young Chloe, curious and careful, shaping her first batch with steady hands. She made me proud that day, and many since.
Oreshki cookies don’t ask much. They ask you to press with patience, stir with care, and allow space for uneven edges. If a shell cracks or a filling slips, don’t worry. It means your hands were there. That’s what matters.
If you want to try another soft-spoken recipe from the same season, my apple walnut salad brings crunch and contrast in each forkful: Apple Walnut Salad
And if you’ve never worked with molded cookie presses before, you might also enjoy chocolate dipped pistachio cookies. There’s no mold required, just slow dipping and a quiet hand. Chocolate Dipped Pistachio Cookies
One Last Note Before You Bake
These oreshki cookies keep well in a tin for several days. I wrap mine in parchment and layer them gently. They travel well and soften slightly over time.
They belong with Eastern European desserts, but they speak to anyone who’s ever shaped something by hand and watched it become more than dough.
You can also tuck them alongside simpler bakes like pear dump cake if you’re looking for a holiday table that includes both crisp and soft: Pear Dump Cake Recipe
I hope this one finds a place in your collection. Save it, ask questions if you need, and let me know how your batch turns out. If one cracks, don’t worry. They still hold plenty.
Chocolate-Filled Walnut Cookies

Chocolate-filled walnut cookies, also known as oreshki cookies, are a traditional Russian treat made with molded walnut shells filled with creamy chocolate. I love using an oreshki recipe with buttery dough that bakes into crisp walnut shell cookies, then sandwiching them together with rich filling. Some call them molded walnut cookies, others chocolate-filled cookies or simply traditional Russian cookies, but they’re always a favorite on holiday cookie trays. Among walnut cookies and Eastern European desserts, these stand out for their beautiful shape and nostalgic flavor. Perfect for holidays, special gatherings, or anyone wanting to try a classic from Russian baking traditions.
Ingredients
- FOR THE COOKIE SHELLS
- 200g unsalted butter, softened
- 100g granulated sugar
- 2 large egg yolks
- 1 tsp vanilla extract
- 300g all-purpose flour
- 1/2 tsp baking soda
- 1/4 tsp salt
- FOR THE CHOCOLATE FILLING
- 150g sweetened condensed milk
- 100g dark chocolate (or milk chocolate), chopped
- 50g unsalted butter
- (optional) 1 tbsp finely chopped walnuts
Instructions
- MAKE THE DOUGH: In a large bowl, cream the softened butter and sugar until the mixture is light and fluffy. Add the egg yolks and vanilla extract, then mix until smooth and fully combined.
- ADD DRY INGREDIENTS: Sift in the flour, baking soda, and salt. Mix using a wooden spoon or your hands until a soft dough forms. It should not feel sticky; if it does, add a small amount of flour as needed.
- PREHEAT THE MOLD: If using a stovetop walnut mold, place it over medium heat to preheat. If using an electric mold, preheat according to the manufacturer’s instructions.
- SHAPE THE SHELLS: Pinch off small pieces of dough about the size of a marble. Press each piece thinly and evenly into the mold cavity. Avoid overfilling to keep the shells crisp and not too thick.
- COOK THE SHELLS: Close the mold and cook the shells for 2 to 3 minutes per side if using a stovetop mold, or as directed for electric molds. The shells are ready when golden brown. Remove and let cool completely on a wire rack.
- MAKE THE FILLING: In a small saucepan over low heat, combine the sweetened condensed milk, chopped chocolate, and butter. Stir constantly until fully melted and smooth. Remove from heat and let cool for 10 to 15 minutes until slightly thickened.
- ASSEMBLE THE COOKIES: Pair up the cooled shells by size. Spoon about 1 teaspoon of filling into one half of each pair. Gently press the other half on top to form a complete walnut. Repeat with all shells.
- LET SET: Allow the filled cookies to set at room temperature or refrigerate briefly to firm up the filling. Store in an airtight container.
Notes
You can stir finely chopped walnuts into the chocolate filling for extra texture. Store cookies in a cool place for up to 5 days. For best results, prepare the dough and filling on the same day you plan to assemble.
Nutrition Information:
Yield:
25Serving Size:
1Amount Per Serving: Calories: 196Total Fat: 11gSaturated Fat: 7gTrans Fat: 0gUnsaturated Fat: 4gCholesterol: 46mgSodium: 68mgCarbohydrates: 21gFiber: 1gSugar: 10gProtein: 3g
