

Every December, I find myself circling back to gingerbread. Not just the scent of it, or the spices that warm the air, but the quiet joy of building something that makes people stop and smile. That’s what this Christmas Gingerbread Castle does.
This recipe takes those classic gingerbread house designs you see at gingerbread house parties and turns them into something taller, bolder, more festive. It balances charm and structure with simple tools and steady hands. And you don’t need architectural plans or special molds to pull it off. Just flour, spices, icing, and a bit of candy magic.
You’ll get a gingerbread mansion that holds its shape, tastes good, and glows under twinkle lights. That’s the promise.
But there’s a little secret in the dough that gives it more depth than usual. I’ll tell you what it is once we’ve built the castle. That’s where the quiet magic lives.

Making the Gingerbread Dough for a Sturdy Gingerbread Castle
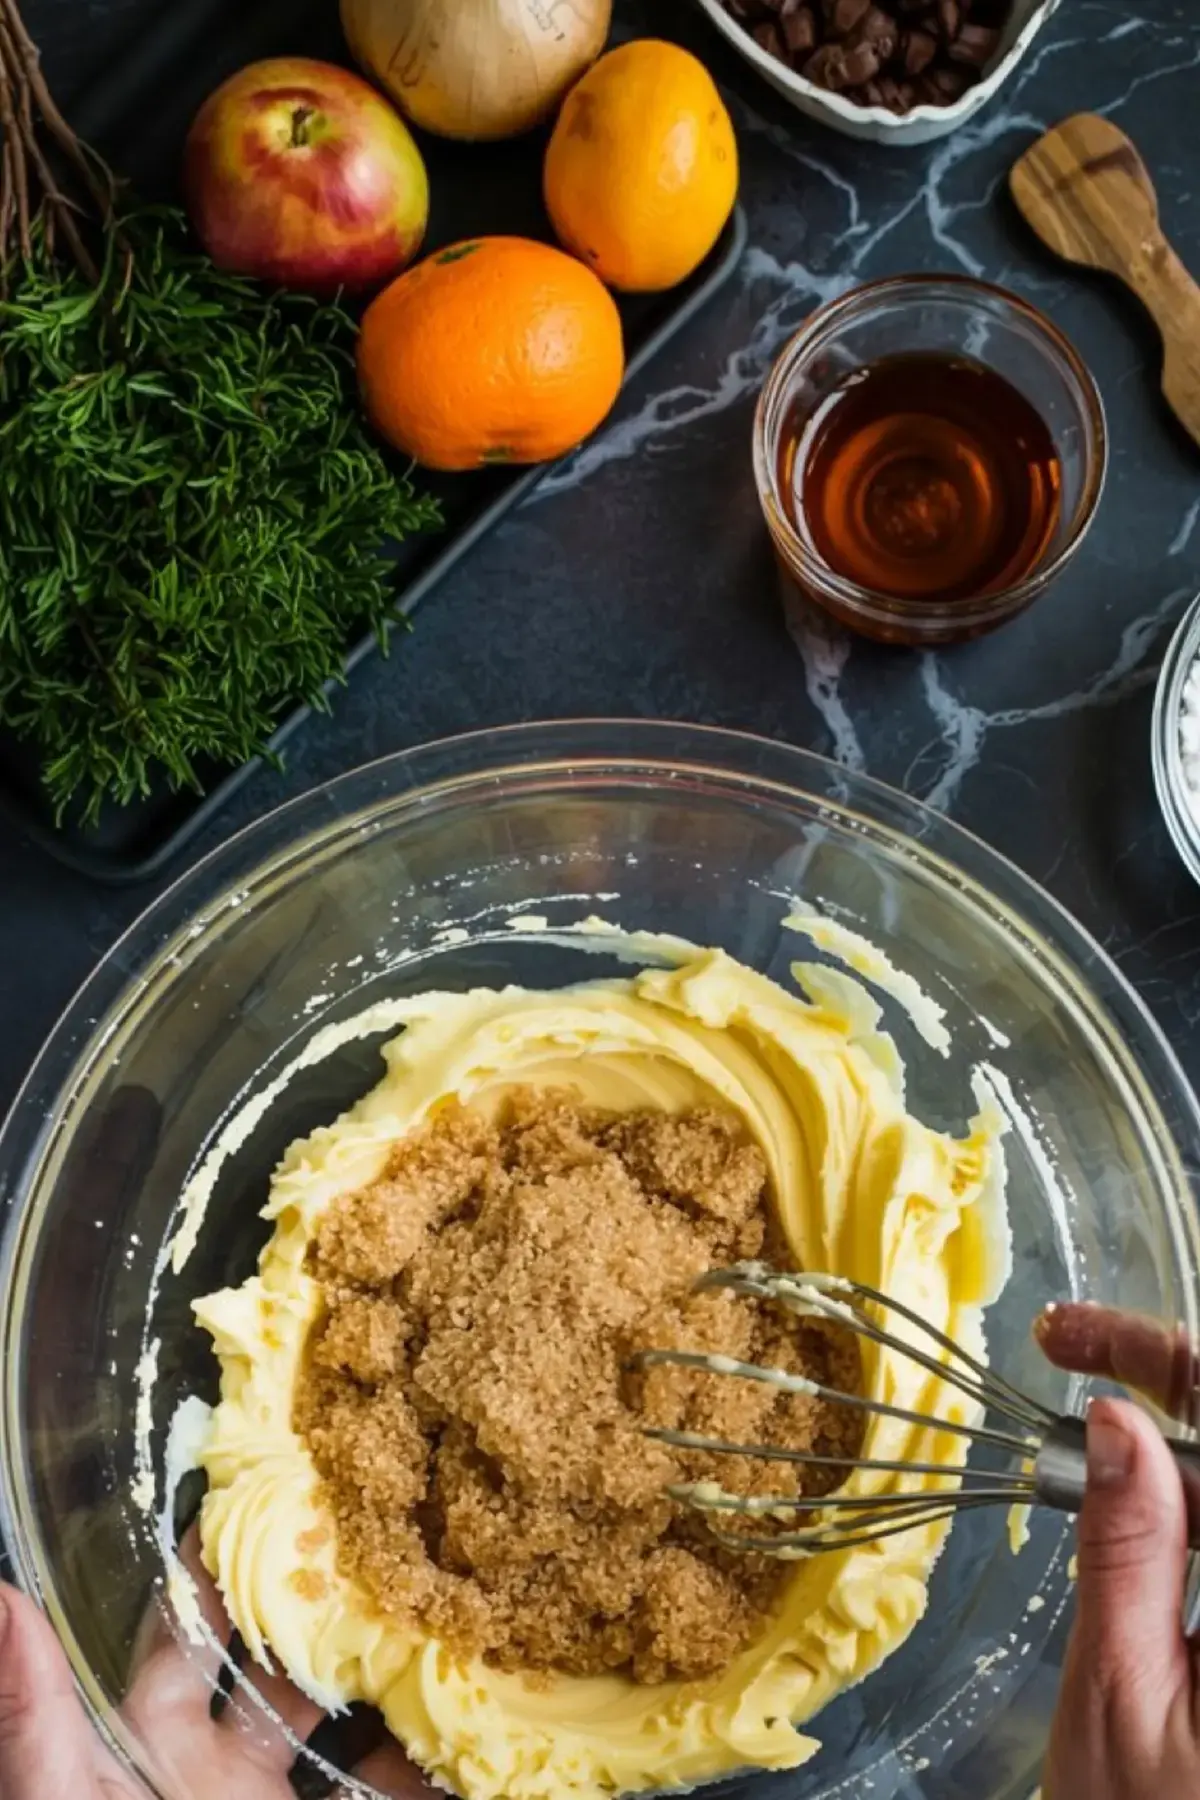
Start with butter, brown sugar, and molasses. Creaming them properly makes a difference here. You want the butter soft but not oily. Once the eggs go in, the batter should look smooth, shiny, and slightly sticky.
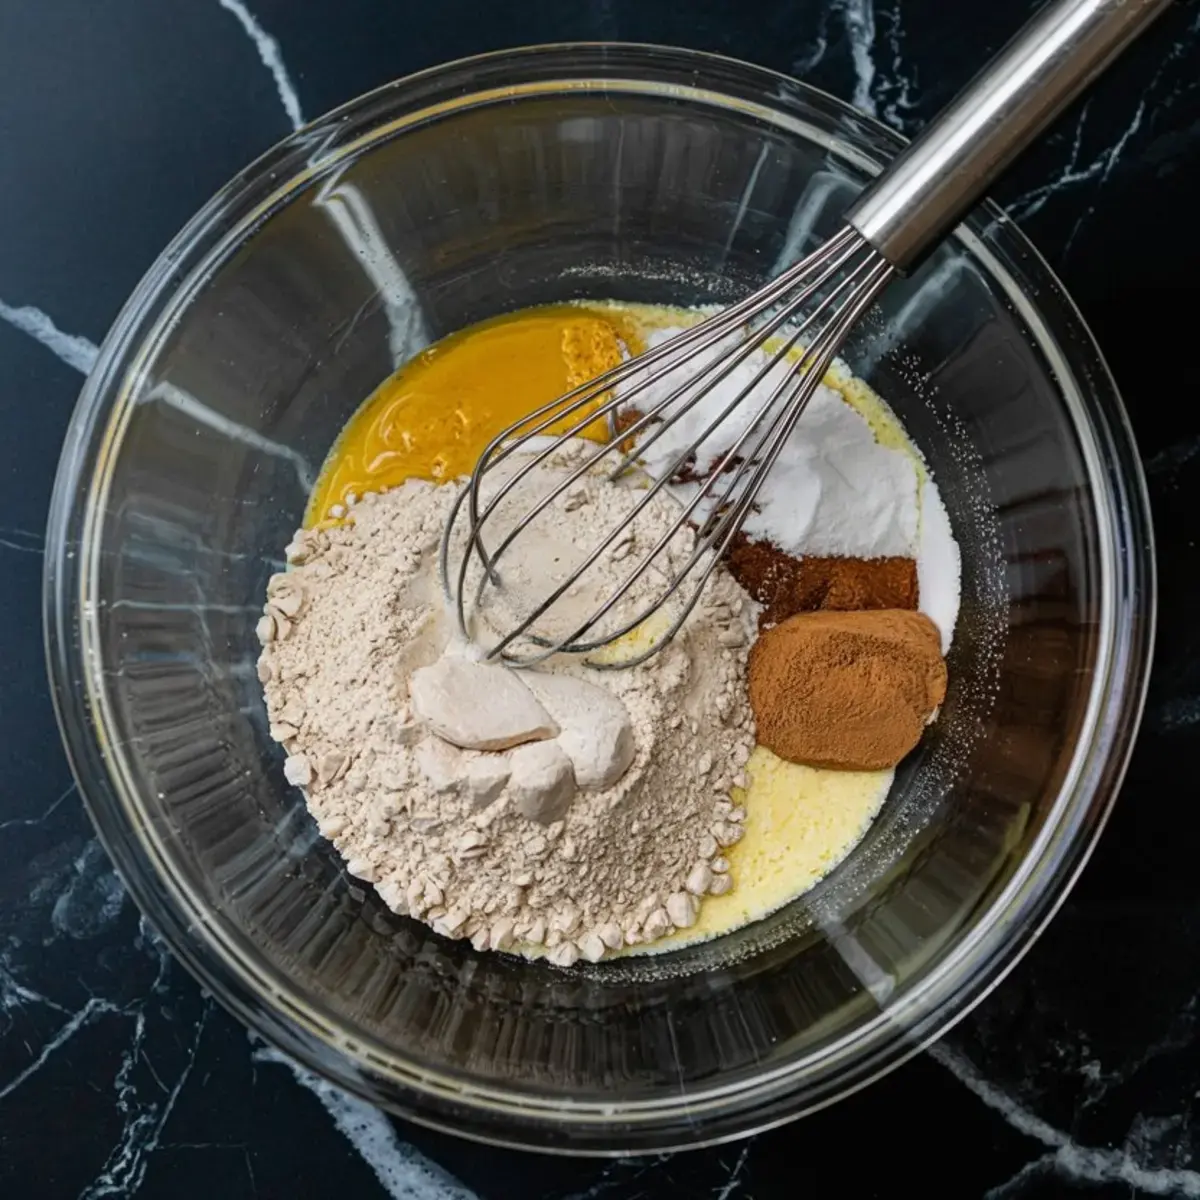
Now comes the flour and spice. I use a full tablespoon each of cinnamon and ginger, with ground cloves to anchor it. This dough isn’t faint or overly sweet. It smells like December mornings. The baking soda helps it rise just enough, but the chill time is what locks the structure in place. Don’t skip it.
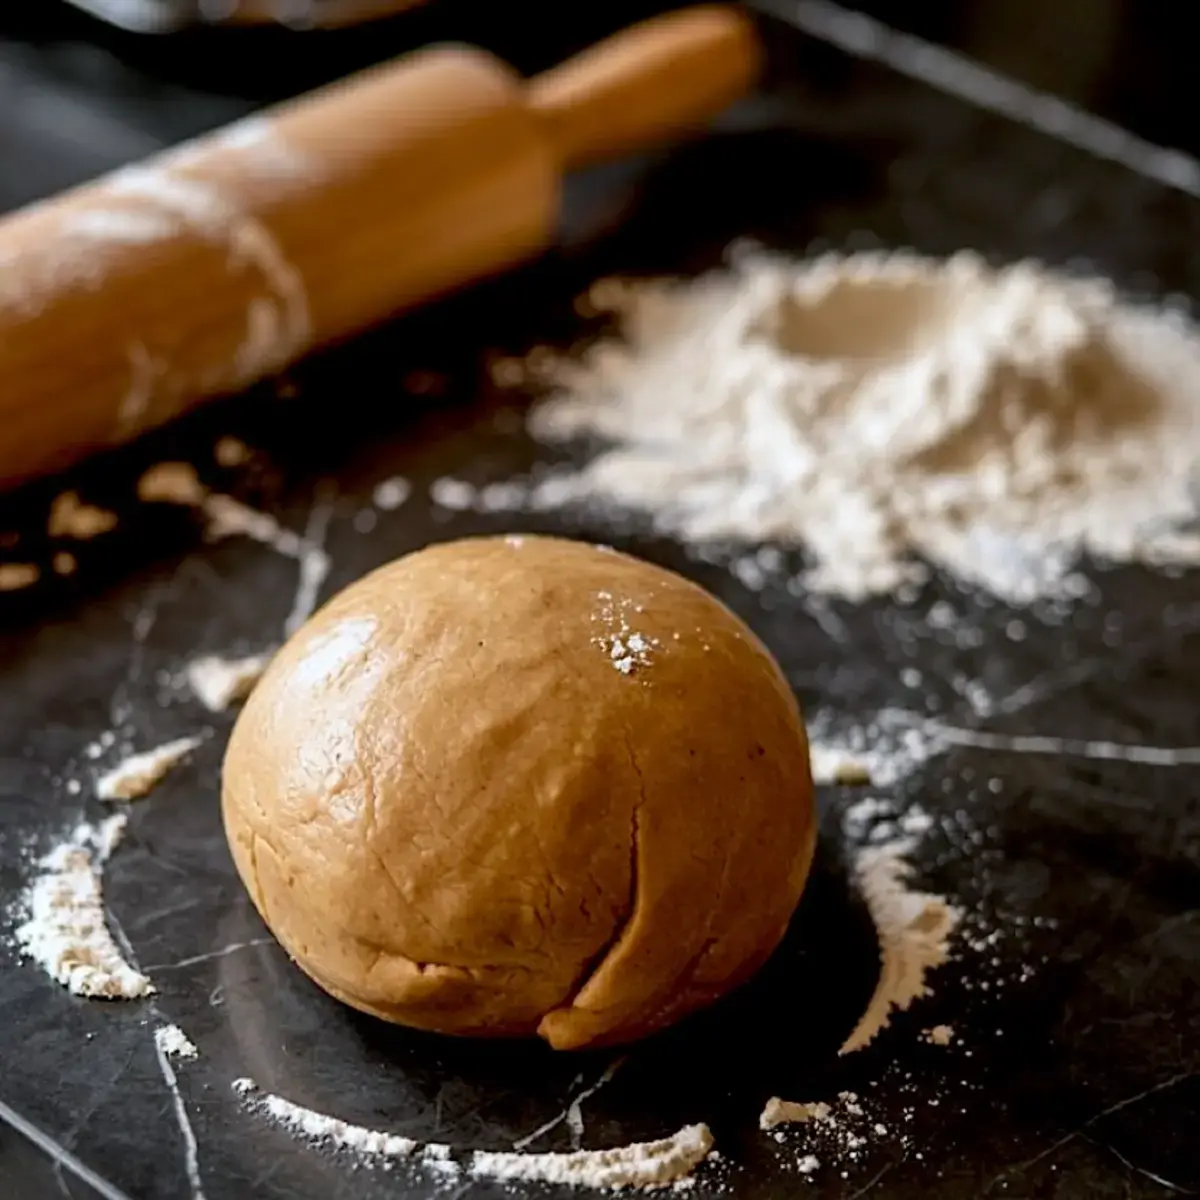
Wrap the dough tight and let it rest overnight. I’ve rushed this part before, and my walls sagged slightly when baked. With a longer chill, the pieces hold their shape from cut to bake.
Cutting and Baking the Gingerbread Castle Panels
Roll the dough between parchment sheets. Not wax paper. Not straight on the counter. Parchment. About a quarter inch thick. Use cardboard templates to sketch your castle shapes: towers, walls, rooftops, and base.
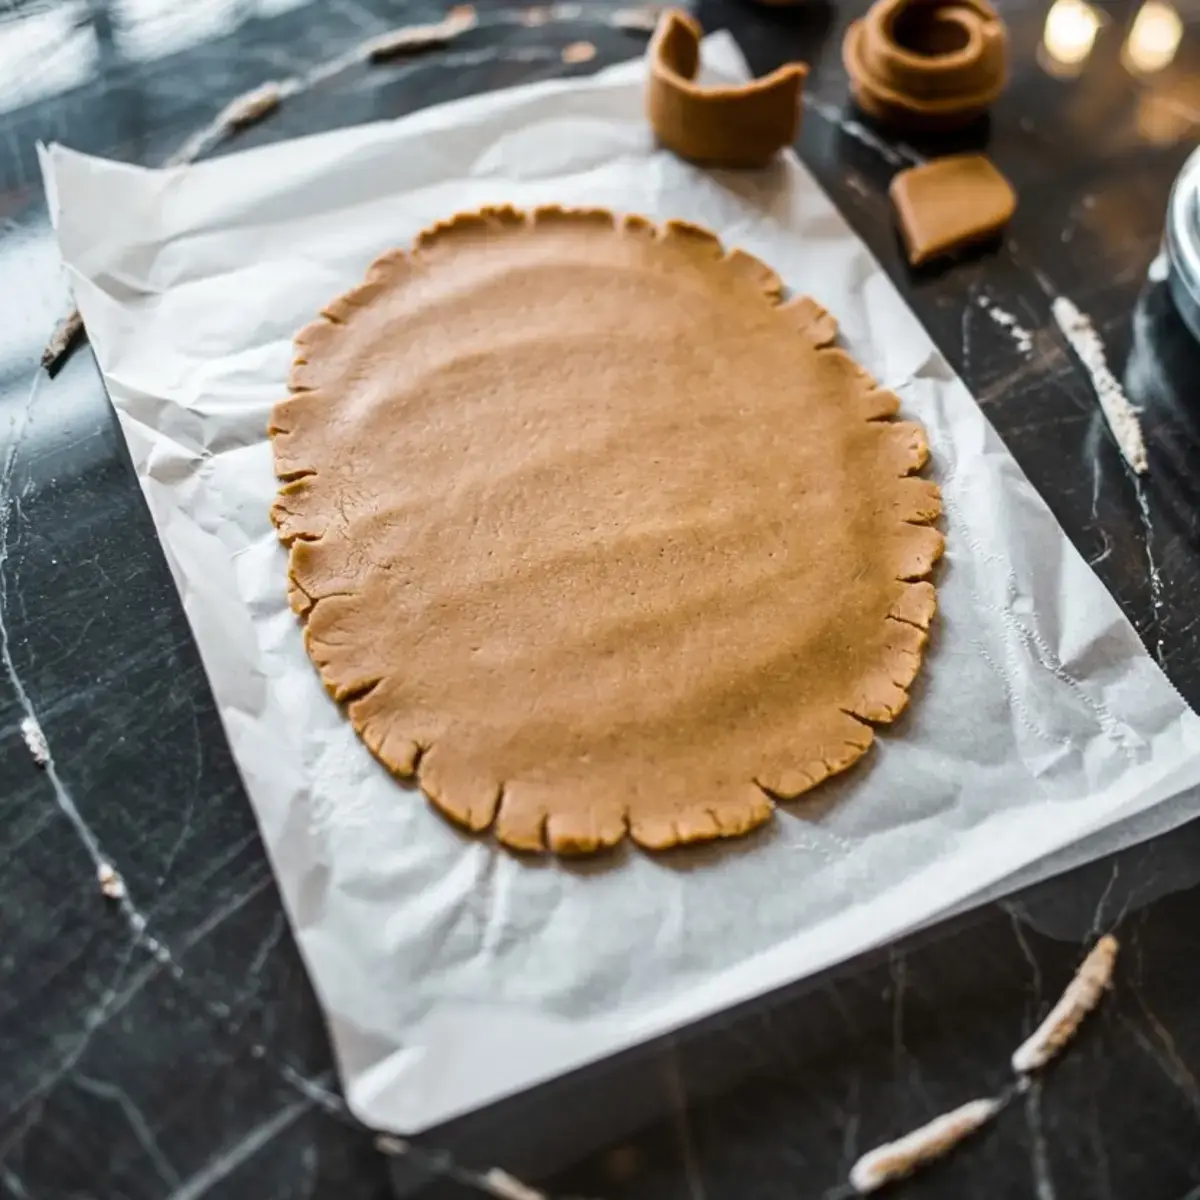
Trim edges cleanly before lifting onto baking sheets. I bake them in batches, always watching the edges. You want the corners set but not too dark. A golden brown edge tells you it’s baked enough to stay strong but soft enough to nibble later.
Cool the panels flat on wire racks. No stacking. No rushing. The pieces must be completely cool before icing, or the whole thing melts apart.
For more holiday sweets that hold their shape, I often pair this bake with my Christmas Tree Brownies.
Making Royal Icing That Acts Like Glue
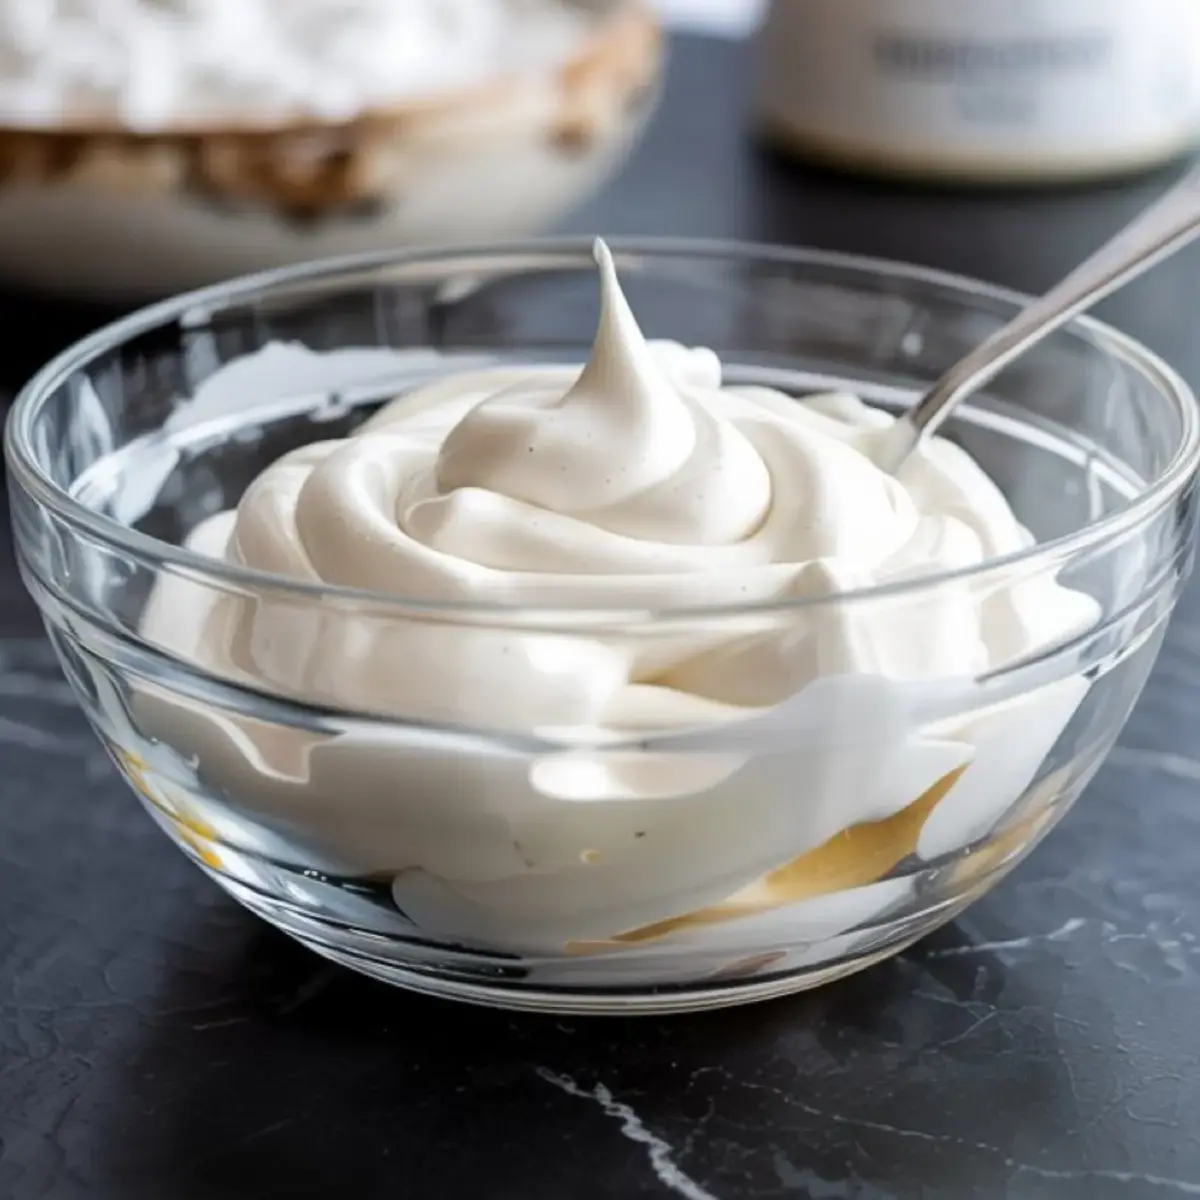
In a large bowl, mix powdered sugar and meringue powder, then slowly add warm water. Beat until stiff peaks form. That part matters. If the icing is too loose, the walls collapse. If it’s too dry, it won’t spread right.
I keep a damp cloth over the bowl when I’m not using it. The icing dries fast in the air, and once it crusts, it won’t pipe cleanly.
Use a thick consistency for assembly, then thin it slightly for decoration.
Assembling Your Christmas Gingerbread Castle Step by Step

Start with the base walls. Pipe icing along the seams and press gently into place on your board. I use soup cans or mugs to hold the walls steady while they dry. Give them at least three hours, but overnight is better.
Once the base dries, add your towers and rooftops. I like using upside-down ice cream cones for the tower tops. They take icing beautifully and make the castle look like it’s out of a storybook.
Let each section dry before moving to the next. Patience here gives you strength. I’ve learned that the hard way more than once.
If you’re planning a themed dessert table, this pairs well with Snowman Marshmallow Pops for a playful mix of scale and whimsy.
Decorating Ideas for a Decorative Gingerbread Castle
Once everything sets, it’s time to decorate. I separate candies by color in small bowls before starting. Peppermints for the gate. Gumdrops for the windows. Sprinkles for rooftops. Red and green M&M’s for little accents.
Color your royal icing with food coloring for contrast. Use it to pipe outlines around windows and doors. Dust the whole thing with edible glitter or sanding sugar for sparkle.
One year, I added candy canes as bridge rails between towers. It was a hit with the kids and gave it that big gingerbread castle feeling without any engineering.
This display has become the centerpiece of our gingerbread village setup. It fits perfectly alongside simpler houses or mini Christmas Tree Cake Pops.
Ingredient Comparison: Molasses Matters
Over the years, I’ve tested this dough with both blackstrap molasses and regular unsulphured molasses. The difference is dramatic. Blackstrap makes the dough too bitter and dry. Regular molasses gives depth without overwhelming the other spices.
In my notes, every batch that held its shape and still tasted warm used standard molasses. Not fancy, just balanced. That’s the version that belongs in a gingerbread mansion.
For a smoother fudge-style treat that also works as a gift, check out this Christmas Fudge recipe I shared last week.
My Favorite Part: The Secret Ingredient
The secret to this gingerbread dough is a touch more salt than usual. Just half a teaspoon, but enough to make the spices pop.
I found this out accidentally, measuring wrong during a rush. But something about the contrast sharpened the ginger and deepened the sweetness. It brought the dough to life. Now I never skip it.
It’s small, but it matters. Especially in recipes that rely on spice more than sugar.
Save and Share Your Gingerbread Creations
If you’ve ever felt overwhelmed by elaborate gingerbread house ideas, this castle gives you both structure and freedom. It looks detailed, but the steps stay clear. Each panel leads to something joyful. Something edible and delightful.
Save this idea to your Gingerbread Castle Ideas board so it’s ready for your next gingerbread house party. Or pin it for a snowy afternoon when you need something cozy to build with friends.
And please, share in the comments how it turned out for you. Did your gumdrops hold up? Did your tower lean? I’d love to hear what you added or swapped. We all build better together.
Christmas Market Gingerbread Castle

Christmas market gingerbread castle builds on classic gingerbread house designs with tall towers, arched windows, and candy-covered rooftops. I use royal icing to hold the structure, then decorate with gumdrops, peppermints, and sparkly sugar. It’s part gingerbread mansion, part centerpiece, and always a showstopper. I’ve added it to gingerbread house parties as the main attraction, and it anchors any gingerbread village setup beautifully. If you’re searching for big gingerbread castle inspiration or decorative gingerbread castle ideas that still feel homemade, this version balances charm and detail. Save it with your gingerbread castle ideas or cool gingerbread houses for holiday displays that wow.
Ingredients
- FOR THE GINGERBREAD:
- 1 cup (2 sticks) unsalted butter, room temperature
- 1 cup packed dark brown sugar
- 1 cup molasses (not blackstrap)
- 2 large eggs
- 5 cups all-purpose flour
- 1 tablespoon ground ginger
- 1 tablespoon ground cinnamon
- 1 teaspoon ground cloves
- 1 teaspoon baking soda
- ½ teaspoon salt
- FOR THE ROYAL ICING (THE GLUE):
- 4 cups powdered sugar
- 3 tablespoons meringue powder
- 6 tablespoons warm water
- DECORATIONS:
- Peppermint candies
- Candy canes
- Gumdrops
- Mini M&M’s
- Sprinkles
- Red and green food coloring (for colored icing)
- Ice cream cones (optional, for tower roofs)
Instructions
- MIX THE DOUGH: Cream the butter and brown sugar together in a large bowl until light and fluffy. Add the molasses and eggs, mixing until fully combined. Stir in the flour, ginger, cinnamon, cloves, baking soda, and salt. Mix until a stiff, pliable dough forms and pulls away from the bowl.
- CHILL THE DOUGH: Wrap the dough tightly in plastic wrap and refrigerate for at least 2 hours, preferably overnight, to help the dough firm up and hold its shape during baking.
- ROLL AND CUT: Preheat the oven to 350°F (175°C). Roll the dough between two sheets of parchment paper to ¼-inch thickness. Use cardboard templates to cut out castle walls, doors, towers, rooftops, and a base panel. Transfer the shapes to parchment-lined baking sheets.
- BAKE THE PIECES: Bake each sheet for 10–14 minutes, depending on the size of the pieces. Look for edges that are lightly browned but not overdone. Allow all pieces to cool completely on wire racks before assembly.
- MAKE THE ROYAL ICING: In a stand mixer or large bowl, combine powdered sugar and meringue powder. Gradually add warm water while beating on medium-high speed. Continue beating until stiff peaks form. Keep the icing covered with a damp cloth when not using to prevent drying.
- ASSEMBLE THE BASE STRUCTURE: Start with the base walls. Pipe icing along the edges and join the walls together on your chosen base. Use small cans or cups to support the pieces as they dry. Let set for several hours or overnight before continuing.
- ADD TURRETS AND ROOFS: Once the base is stable, attach towers and rooftops using generous amounts of icing. Allow each section to dry before moving to the next. Ice cream cones can be placed upside down for tower tops and piped with icing for a snow-covered effect.
- DECORATE THE CASTLE: After the full structure has dried, use colored icing and candies to decorate windows, doors, and rooflines. Add sprinkles, peppermint details, and festive candy flags for a cheerful finish.
Notes
For best results, plan to build over two days: bake and cool on the first day, assemble and decorate on the second. Keep extra icing covered to avoid drying out. Royal icing sets quickly once piped.
Nutrition Information:
Yield:
1Serving Size:
1Amount Per Serving: Calories: 7399Total Fat: 52gSaturated Fat: 26gTrans Fat: 1gUnsaturated Fat: 21gCholesterol: 459mgSodium: 3019mgCarbohydrates: 1660gFiber: 25gSugar: 1069gProtein: 87g
