

Some recipes don’t ask for skill. They ask for joy.
And these Snowman Marshmallow Pops ask for just that—a moment of joy between cold fingers, melted chocolate, and candy bits that somehow make it all feel like December again.
You’re here because you want something festive.
You don’t want a rolling pin. You don’t want a sink full of bowls. You want a holiday treat that feels like a win, looks like a smile, and doesn’t eat up your afternoon. You’ll get all of that here, along with a small surprise I keep tucked away in my notes—a tiny twist that gives these snowman treats a touch of winter magic.
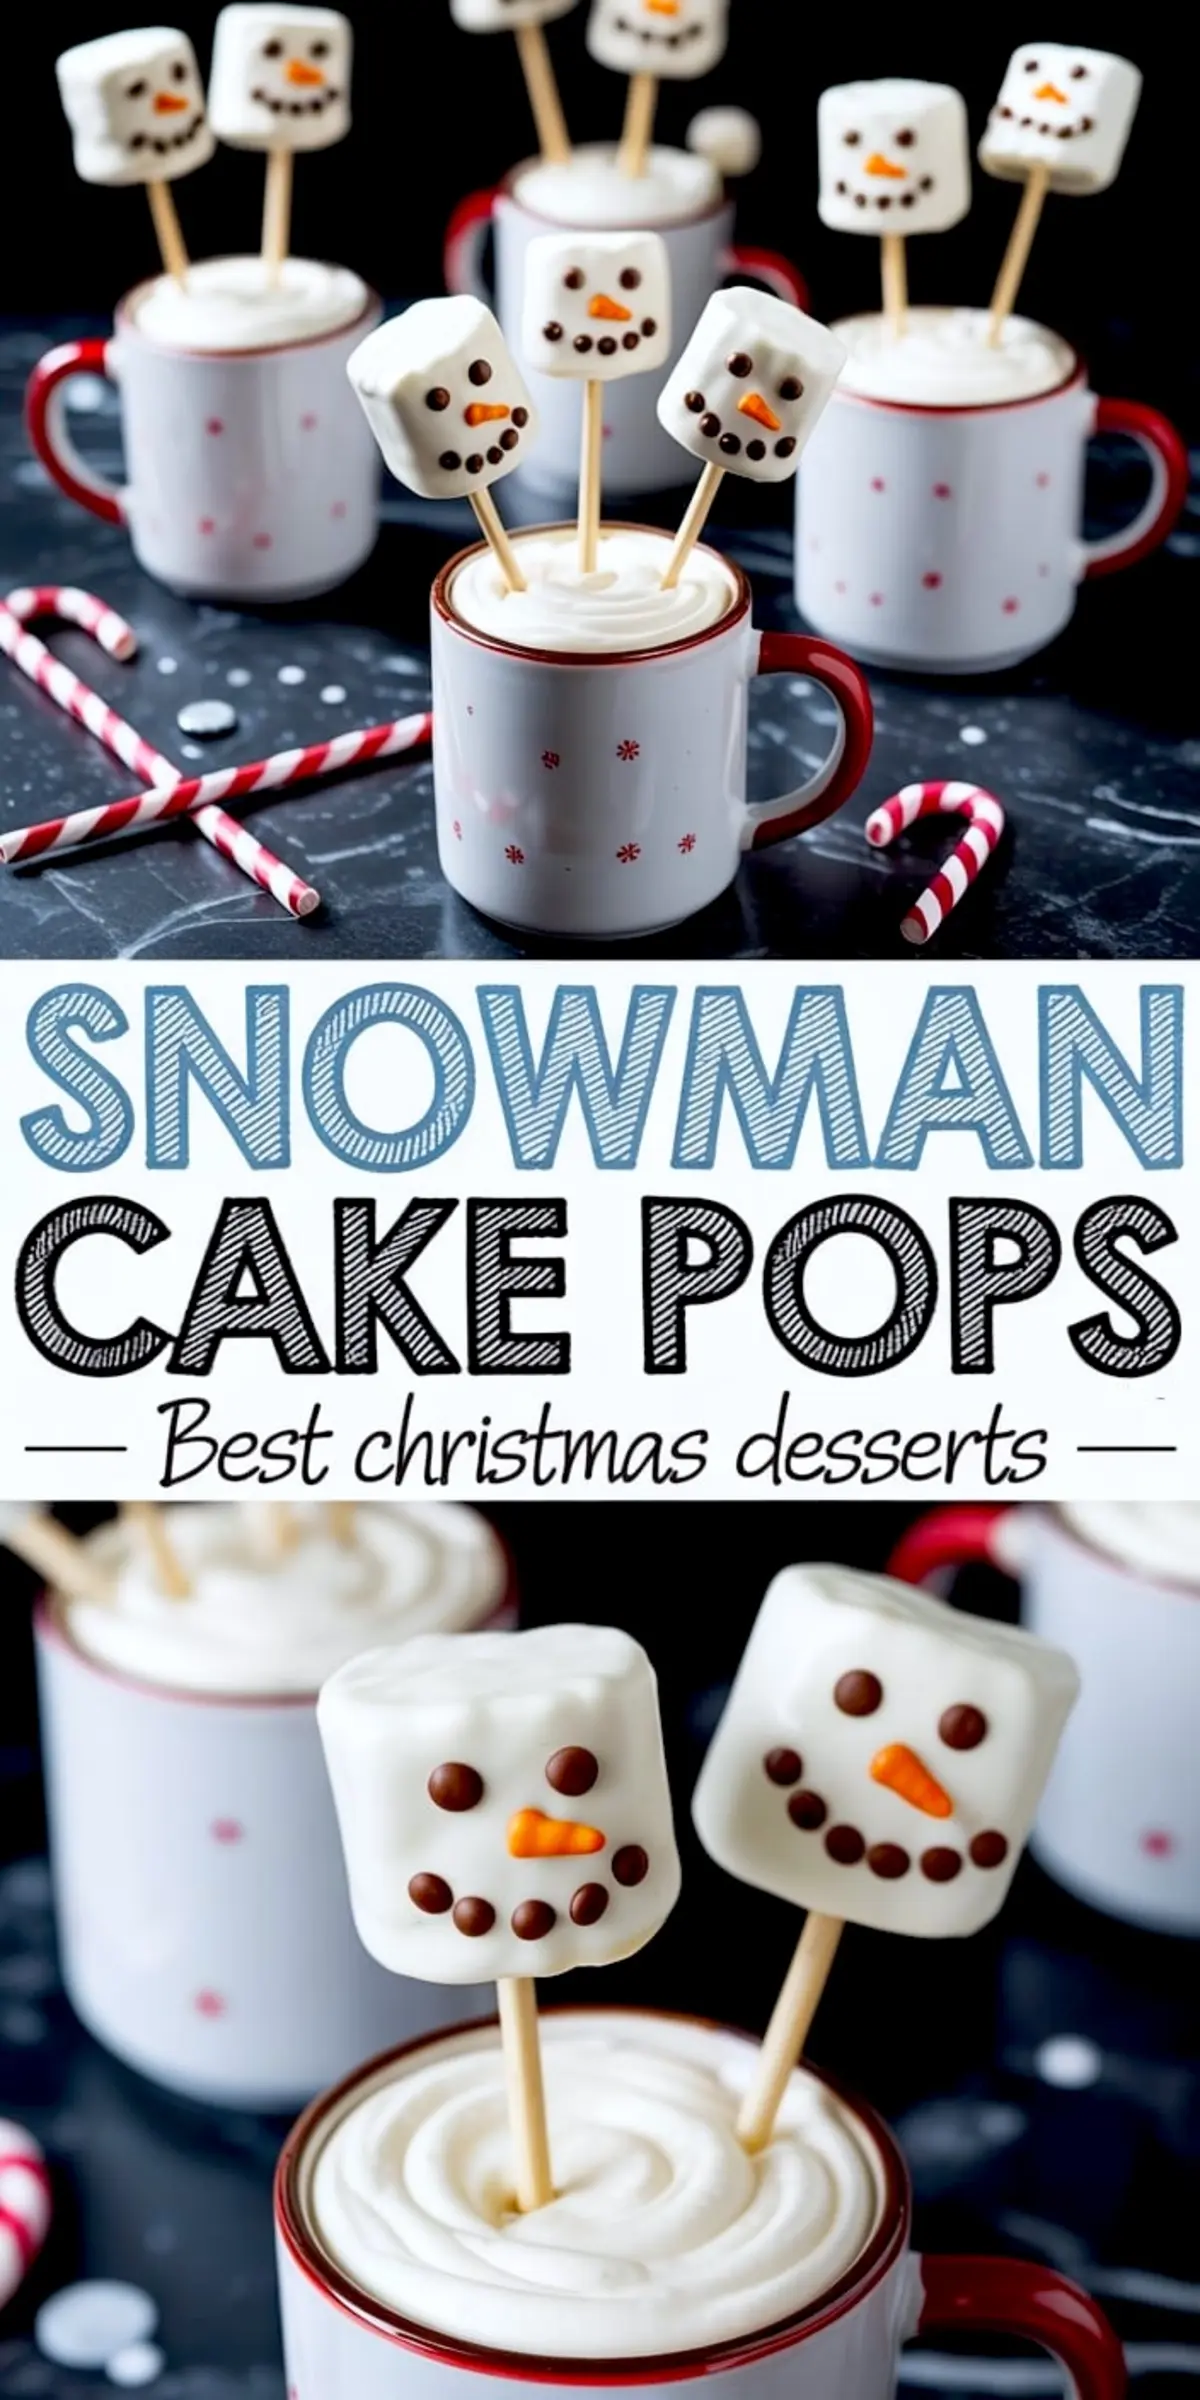
You’ll learn how to make marshmallow snowmen on a stick. You’ll discover the small things that make them pop—how the placement of a candy eye or the drizzle of vanilla melt turns a simple treat into a holiday memory. And before we finish, I’ll let you in on my favorite way to change the base flavor without using any new ingredients. But we’ll get to that later.
So go ahead. Stack your marshmallows. This one’s worth it.
Why I Keep a Bag of Marshmallows in My Holiday Pantry
The moment the first snow hits, I find myself reaching for hot cocoa and a bag of jumbo marshmallows.
Not just for drinks, but for building. You’d be surprised how quickly a snowman comes to life with a stick, a few candies, and the quiet focus of decorating in a warm kitchen.
These Marshmallow Snowman Pops don’t need baking. They don’t even need much measuring.
You just need a workspace, a bit of wax paper, and a little room to get creative.
In my experience, these snowman treats land somewhere between dessert and decor. They sit well at the edge of a hot cocoa bar. They nestle into party bags. They wrap up as edible gifts.
And unlike gingerbread, they don’t stale in a day.
You can use them alongside other Christmas sweets like these Cranberry Bliss Bars, or set them next to a warm batch of Christmas Fudge for a no-bake contrast.
They hold their own either way.
The Ingredients You Actually Need for These Snowman Pops
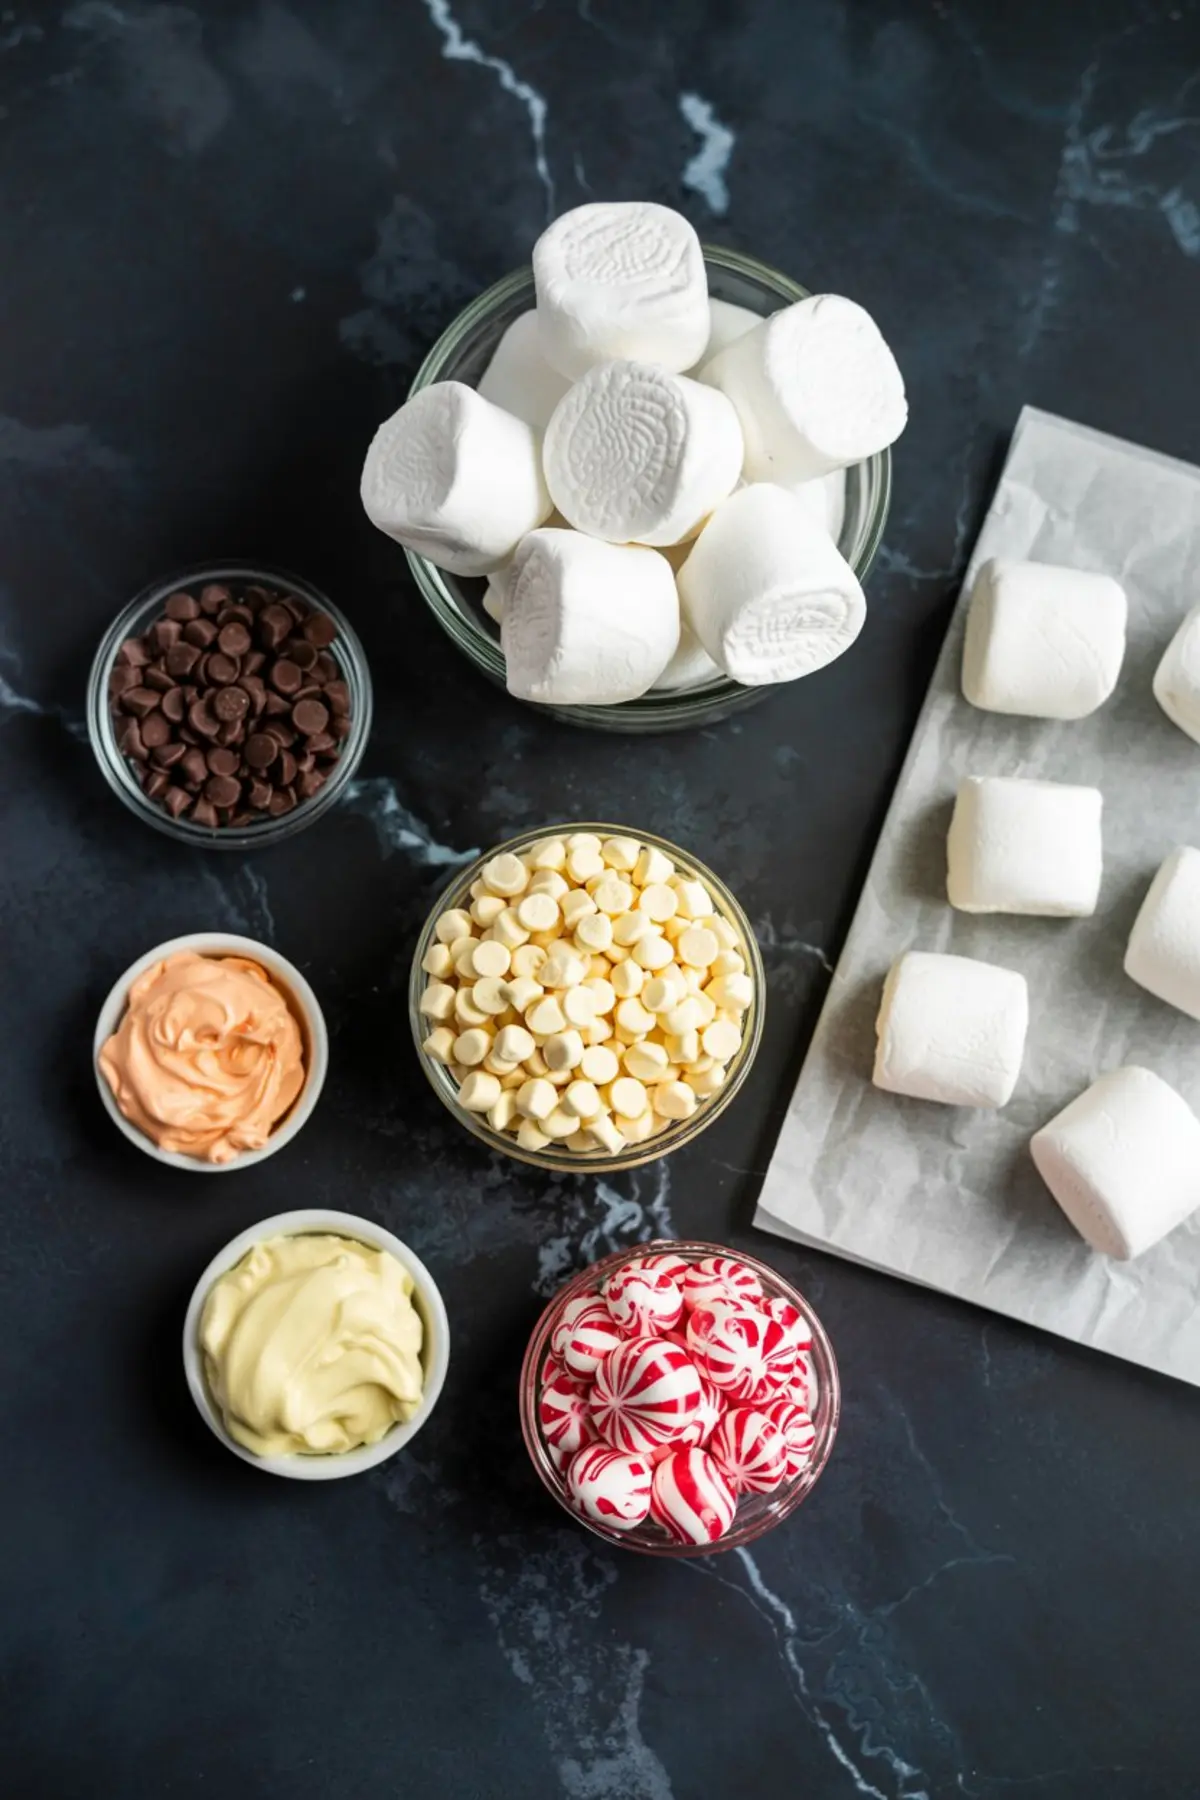
Start with marshmallows. Jumbo ones give you a strong snowman base.
Stack two or three, depending on how tall you want your snowman to stand.
Add chocolate chips for eyes and a smile. I like using mini ones so they sit snugly into the marshmallow surface.
If I don’t have chocolate chips, I’ll use round chocolate-covered candies like brown Sixlets or even a halved M&M.
For the nose, orange icing in a tube works well. But if you have time, melted orange candy melts give a bolder color and a firmer finish.
A toothpick helps with precision, especially if you’re decorating with kids or doing several at once.
Sticks matter too. Lollipop sticks give a cleaner look, but paper straws add more personality. I’ve used both.
Sometimes I even let the kids pick. The striped red-and-white straws always win.
And if you want a glossy shell? Melted white chocolate or vanilla candy melts will coat each marshmallow with a soft candy finish.
It’s optional—but I’ll explain later why it’s worth trying at least once.
The Assembly Process: What Works and What Doesn’t
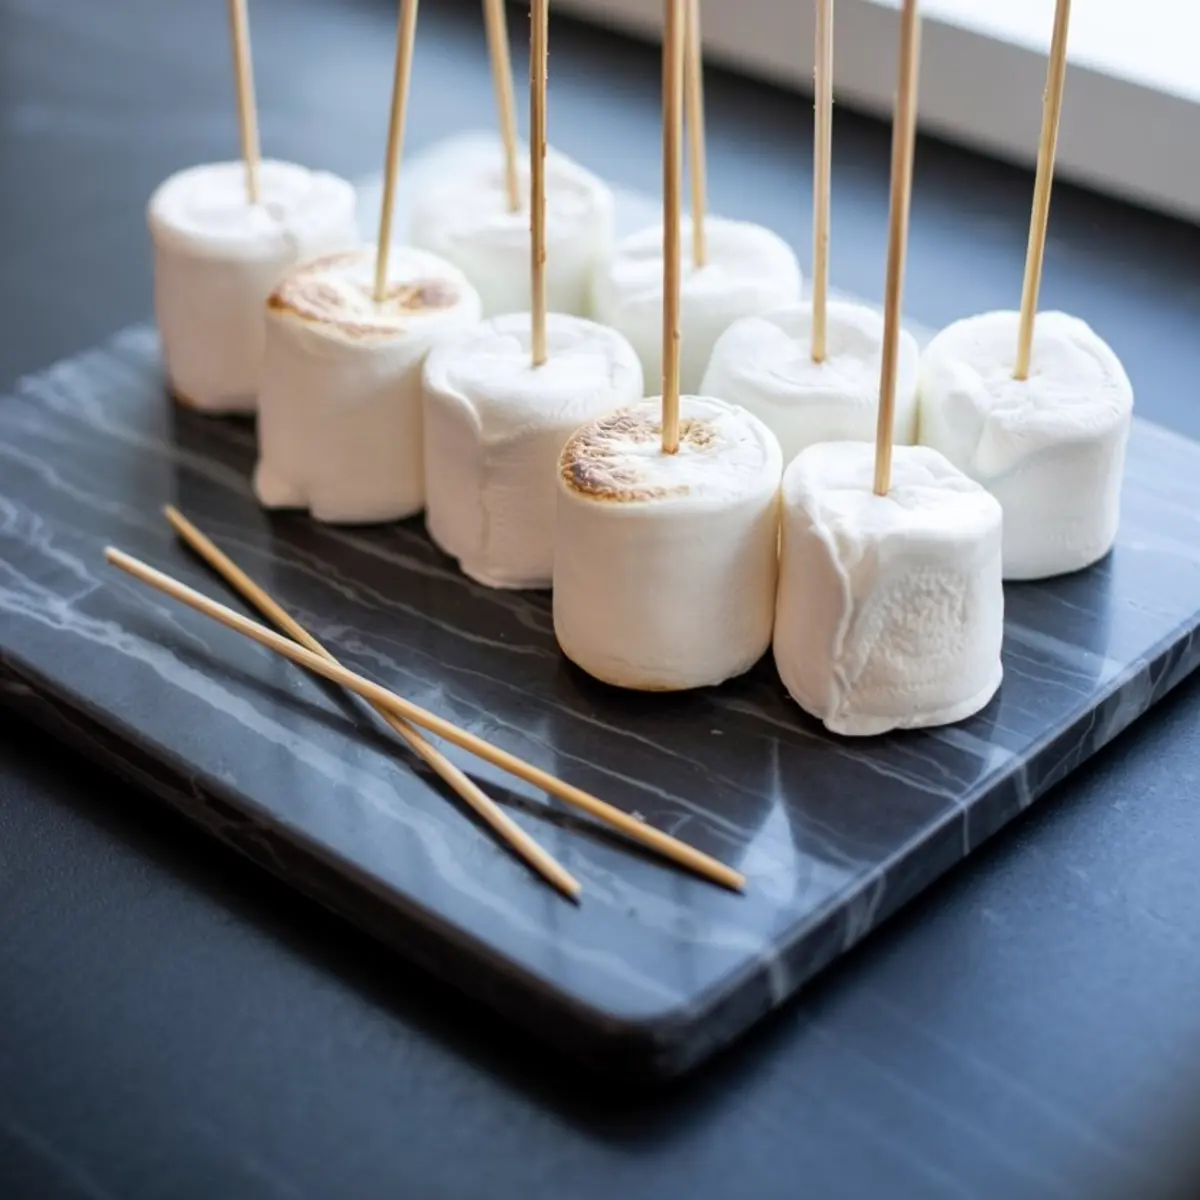
Start by lining your surface. Parchment paper makes cleanup simple and keeps everything upright while drying.
Insert the sticks into your marshmallows. Don’t push all the way through.
If your marshmallows are too soft, give them five minutes in the freezer first. They’ll hold their shape better.
Dipping in white chocolate creates a base that sets firm.
If you skip this step, your snowman stays pillowy and soft.
But if you want them to last longer as gifts or party favors, dipping gives structure.
Once dry, decorate the face. I press in the chocolate chips gently, but you can also use a dab of melted white chocolate if you want them to stay put overnight.
Pipe or dot the nose. A small triangle or dot of orange is all you need.
Then let the pops sit for about 15 minutes.
They don’t need a fridge just a quiet corner to set.
You’ll know they’re ready when the chocolate feels firm and the eyes don’t slide when touched.
What’s Better: White Chocolate or Candy Melts?
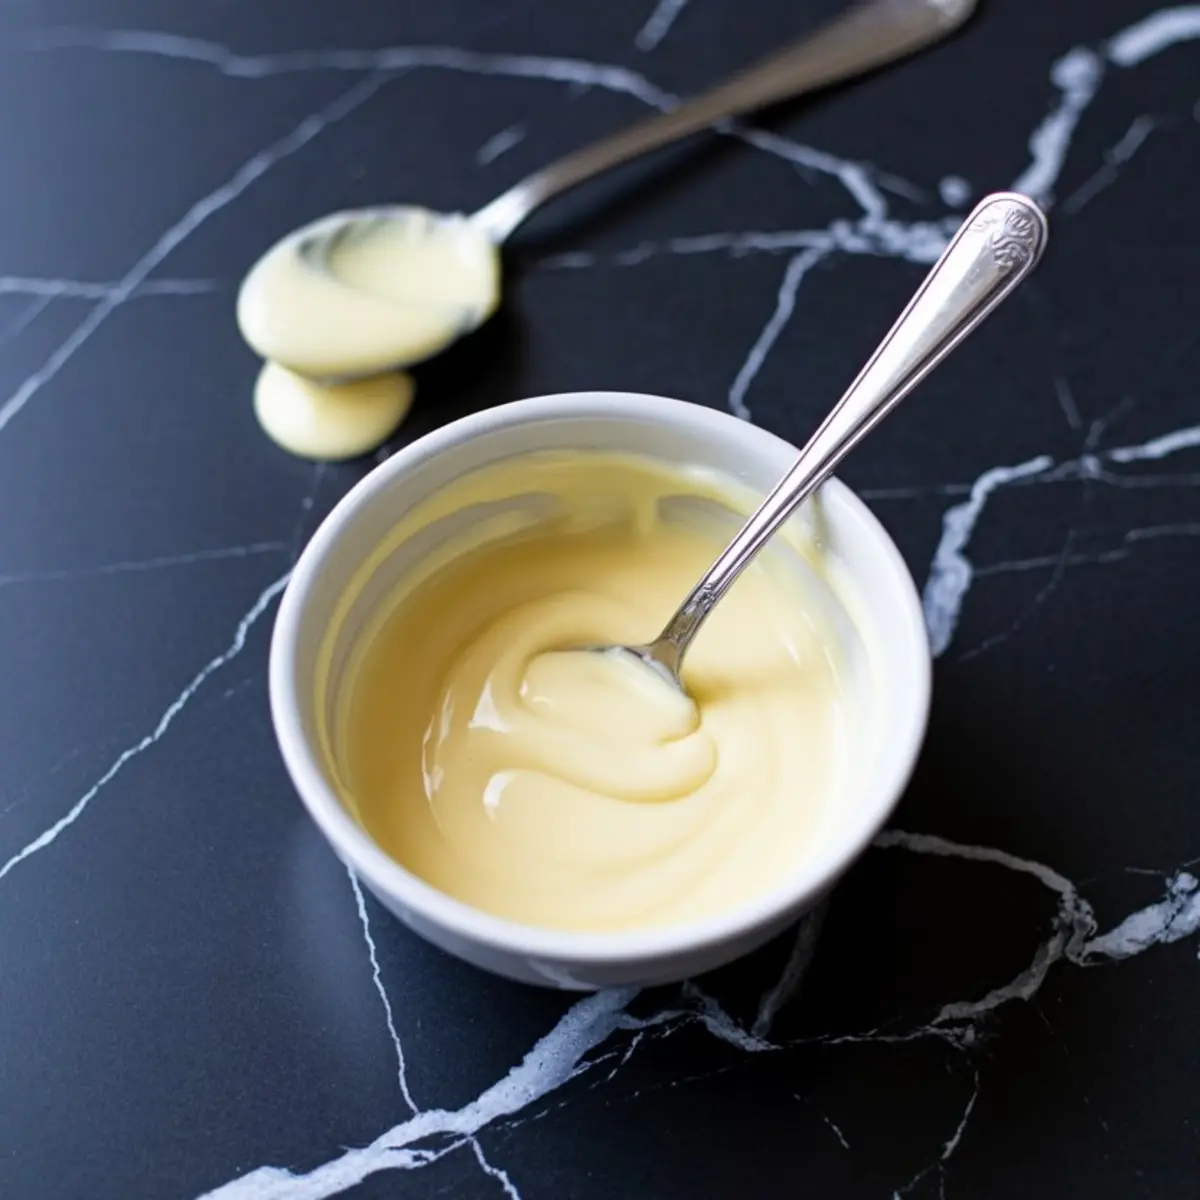
I’ve tested both.
White chocolate gives a creamy flavor and a soft bite. It melts slower, but the finish feels smoother and tastes familiar.
Candy melts dry quicker and coat more evenly, but they lack that real chocolate taste.
If you’re making snowman mini marshmallows or pops in bulk—say, for a classroom or holiday party—candy melts win on speed and consistency.
But if the goal is flavor, especially with just a few made for your own family, I’d go with real white chocolate every time.
In my Pin Notebook, I’ve noted that dipping in white chocolate also helps the decorations stick better, especially when setting out these treats beside pie or fudge recipes like this Christmas Pie Recipe.
My Secret Addition to These Snowman Pops
Now about that unexpected twist I mentioned earlier.
Here’s what I do.
Before decorating, I sometimes roll the bottom marshmallow in crushed candy cane dust. Just a little.
The peppermint sparkle on the base makes it feel extra wintry, and it balances the sweetness of the marshmallow with a cool finish.
It’s subtle. But if you plan to serve these snowman cake pops at a hot cocoa bar or alongside coffee, that peppermint edge gives a small contrast that cuts through the sugar.
It’s one of those things you don’t always plan—but once you try it, it sticks.
How to Store and Share Your Snowman Marshmallow Treats

Once set, these marshmallow pops keep well in an airtight container. I usually store mine upright in a jar or laid flat on parchment.
They hold for about three days at room temperature.
And while they can technically go in the fridge, the moisture can make the marshmallows rubbery—so I don’t recommend it.
If you’re gifting them, wrap each in a small cellophane bag with a ribbon twist.
They travel well and don’t smudge if the chocolate has cooled fully.
I’ve brought these to school parties, holiday brunches, and cookie swaps where they always got more attention than expected.
People love the idea of something playful that still shows thought.
Save This Holiday Treat for Later and Share Your Snowmen
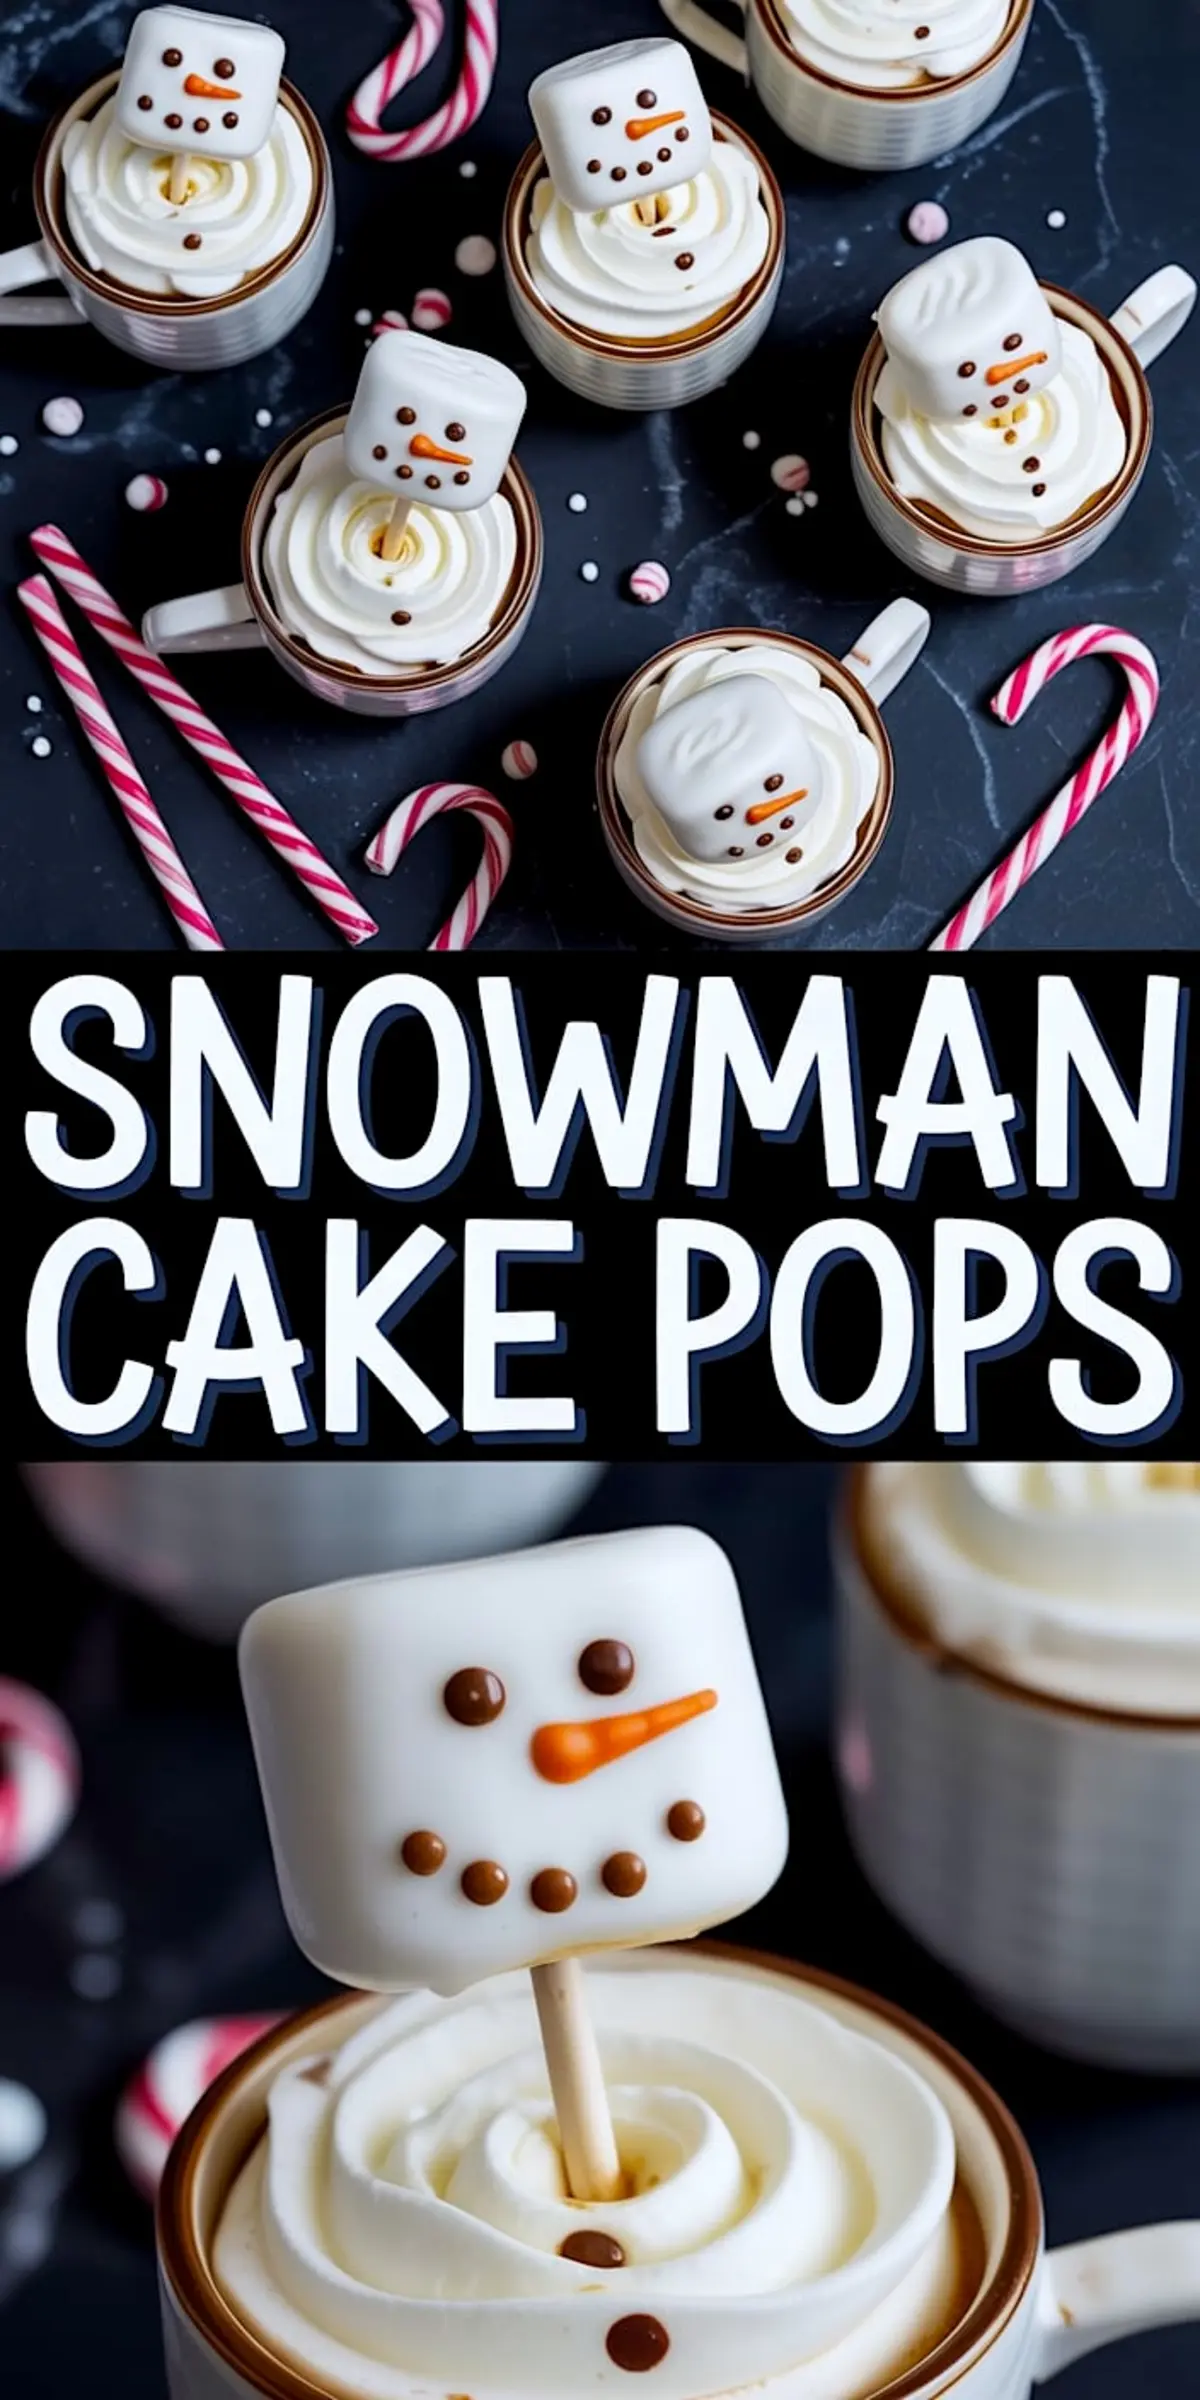
If you’re already picturing your holiday table, pin these Snowman Marshmallow Pops to your Christmas Sweets board now so you don’t forget them.
And if you end up making a batch tag your photos, drop a comment, or let me know how it went.
What candies did you use? Did you dip them or leave them bare? Did someone eat the head before it was fully set?
I’d love to hear your twist on it.
Let’s make this sweet season brighter together.
Snowman Marshmallow Pops

Snowman marshmallow pops are one of my favorite no-bake Christmas sweets. Stacked marshmallows become little snowmen with pretzel arms, candy scarves, and chocolate chip buttons. They look adorable on a holiday dessert table and double as fun edible decorations for hot cocoa bars. The best part is how quick they are to make—you only need marshmallows, a few candies, and lollipop sticks. They’re a festive take on marshmallow pops, perfect when you don’t want to fuss with baking but still want something cheerful and creative. Use them as edible gifts, party favors, or just a playful treat for your holiday season. Kids and adults both light up seeing these marshmallow snowmen on a stick—it’s the kind of Christmas recipe that instantly spreads joy.
Ingredients
- Jumbo marshmallows
- Mini chocolate chips or chocolate-covered candies (such as Sixlets or brown M&Ms)
- Orange icing in a tube or melted orange candy melts
- Lollipop sticks, straws, or wooden skewers
- White chocolate or vanilla candy melts (optional, for dipping)
- Toothpick (for applying decorations)
- Wax paper or parchment paper
- Microwave-safe bowl
Instructions
- PREP YOUR WORK SURFACE: Line a counter or baking sheet with parchment paper to keep the area clean and allow the snowmen to dry in place.
- INSERT STICKS: Press a lollipop stick or straw into the center of each jumbo marshmallow. Insert gently and stop before it pokes through the top. For softer marshmallows, chill them in the freezer for 5 minutes to firm up before inserting sticks.
- DIP IN COATING (OPTIONAL): If using white chocolate or candy melts, melt them in a microwave-safe bowl in 30-second intervals, stirring between each, until smooth. Dip each marshmallow halfway or fully into the coating, then let the excess drip off. Stand them upright on the parchment to dry.
- DECORATE THE FACE: Once dry, attach mini chocolate chips for eyes by gently pressing them in or using a dab of melted chocolate. Arrange 5 to 6 chips in a curved line to make a smile. Pipe a small carrot-shaped nose with orange icing, or attach a prepared candy nose with a bit of melted chocolate.
- LET THEM SET: Allow the decorated pops to sit at room temperature until the chocolate and decorations are fully set, about 10 to 15 minutes.
Notes
If using melted chocolate to attach decorations, work in small batches to keep it from hardening. For cleaner placement, use a toothpick to apply the chocolate before pressing in the candies. Store finished pops in an airtight container at room temperature for up to 3 days.
Nutrition Information:
Yield:
10Serving Size:
1Amount Per Serving: Calories: 176Total Fat: 9gSaturated Fat: 5gTrans Fat: 0gUnsaturated Fat: 3gCholesterol: 2mgSodium: 19mgCarbohydrates: 26gFiber: 2gSugar: 22gProtein: 2g
