
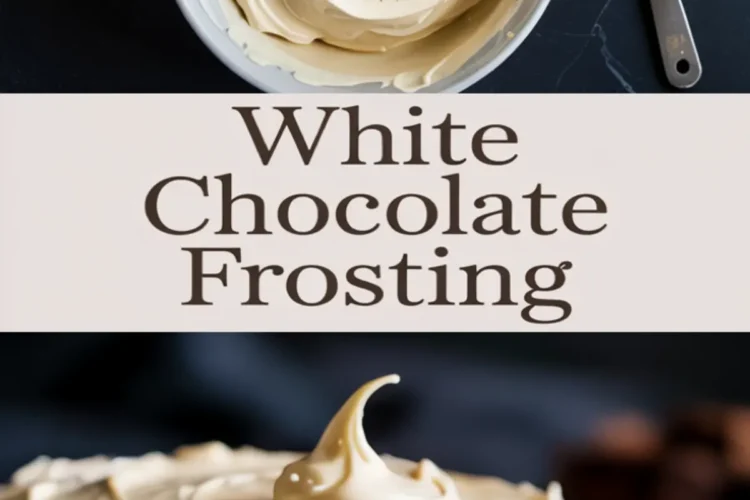
There’s a reason white chocolate frosting often ends up as the afterthought in the frosting world. It either turns out too sweet, too loose, or simply bland. That was my experience too. until I started testing what made a white chocolate buttercream frosting actually taste like white chocolate.
This frosting changed everything. It’s rich and creamy, yes, but more than that, it’s structured. It spreads like a dream and pipes without losing its shape. I’ve used it as white chocolate cake frosting, layered it inside cookie sandwiches, and once swirled it over an entire tray of cinnamon cupcakes for a baby shower. Every time, someone asked me what frosting it was and then looked surprised when I said white chocolate.
If you’ve searched for how to make white chocolate frosting or tried to create a version that holds up on cupcakes without melting or cracking, this recipe gives you the confidence to try again.
But here’s the unexpected part. The ingredient that makes the difference, the one I hadn’t expected. it’s not sugar, or butter, or even technique.
We’ll get there soon.

Why This White Chocolate Buttercream Works When Others Fail
This frosting gets its strength from structure, not excess sugar. The key is in the order, the texture of the butter, and the quality of the white chocolate. It doesn’t start with powdered sugar. It starts with a bowl of chopped white chocolate real bars, not chips and the patience to melt it slow and smooth.
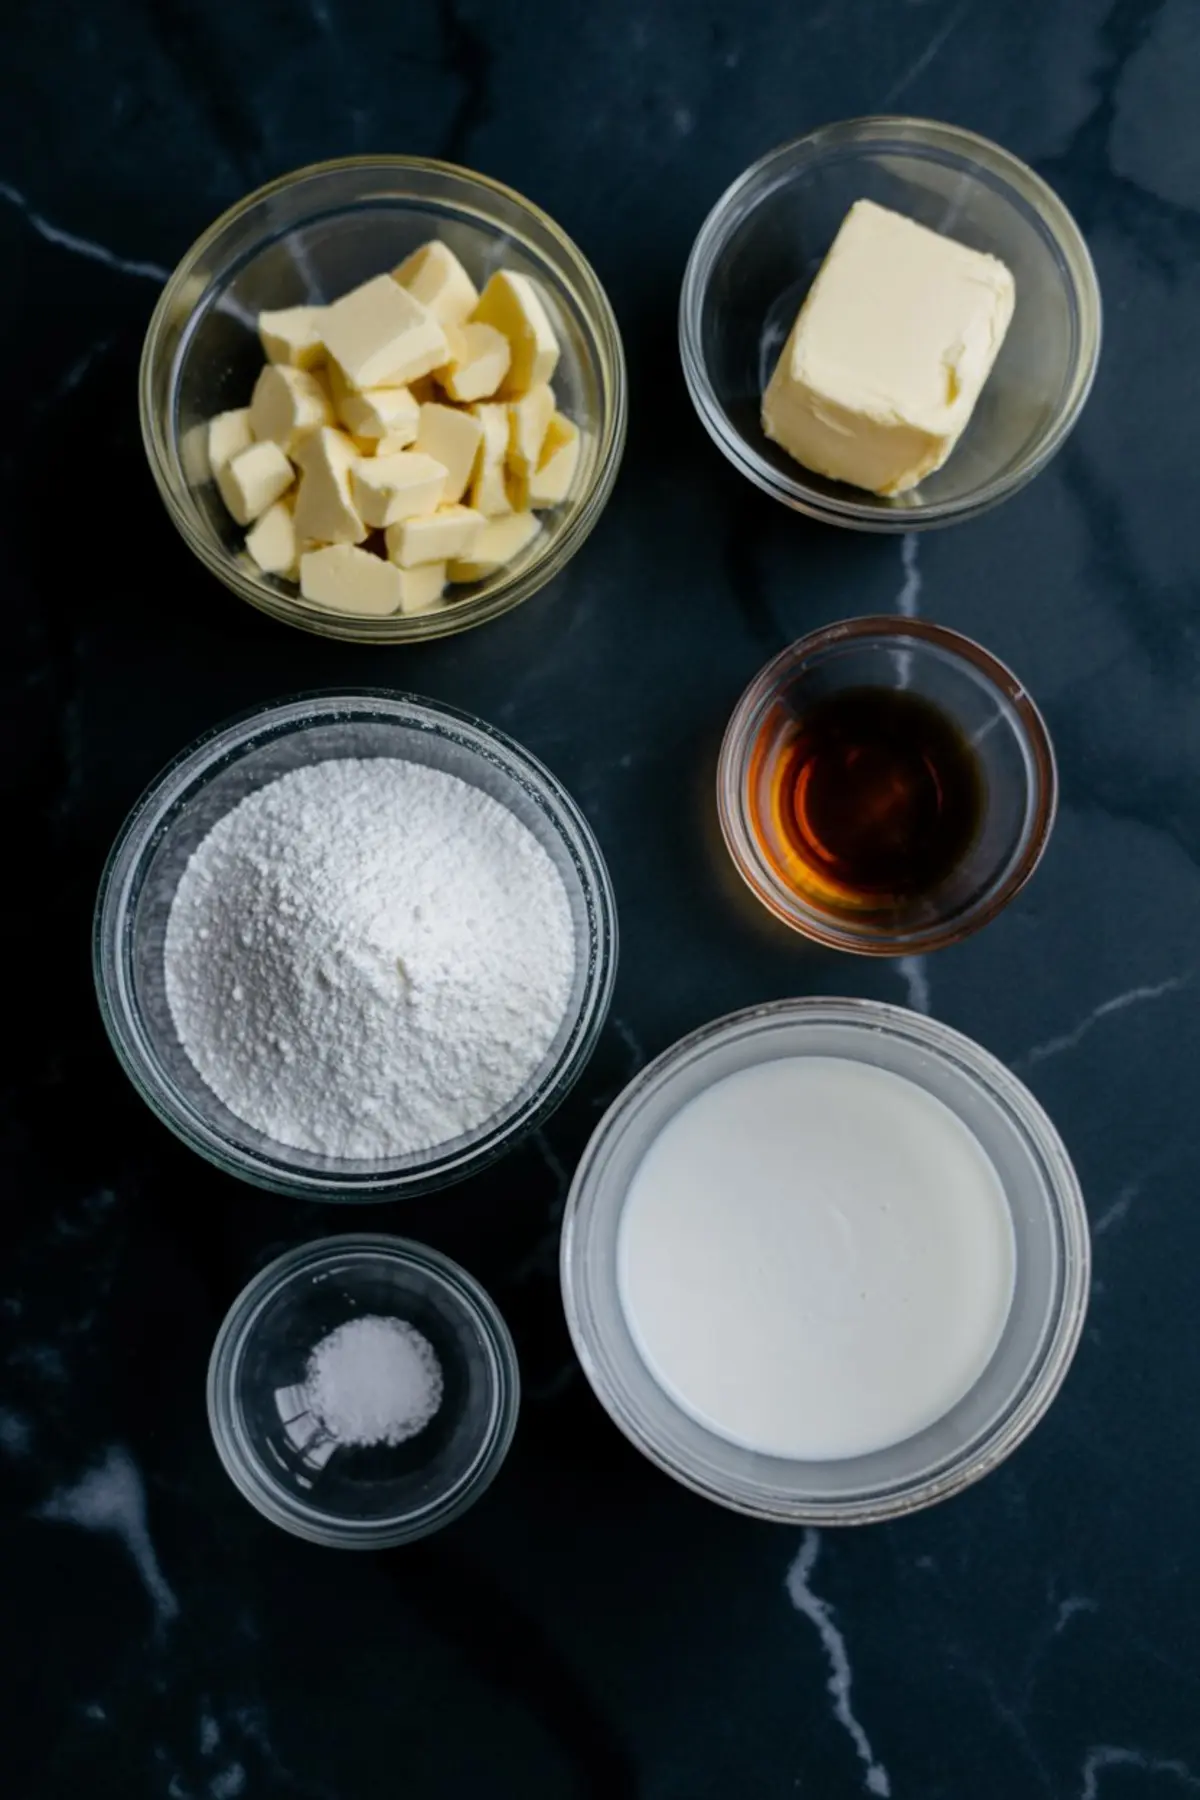
I’ve tested this side-by-side with recipes that use white chocolate chips. The difference was immediate. White chocolate bars melt into silk. Chips, on the other hand, seize or leave behind a dull paste. In my notes, the chip version tasted cloying and stuck to the teeth. The bar version melted clean, tasted nuanced, and whipped into the butter without splitting. So if you’re wondering whether the brand matters here—it does.
Once that chocolate is melted and cooled just enough, it slides into the butter like a ribbon. The butter, by then, should be whipped to a soft, pale fluff. This step makes all the difference in how light the frosting feels in the end. The result? A balanced, pipeable frosting that tastes like what it’s made of.
And if you’re curious about what other frostings offer that this doesn’t, here’s a link to try a different texture: Cream Cheese Frosting.
Ingredients That Build the Flavor and Hold the Shape
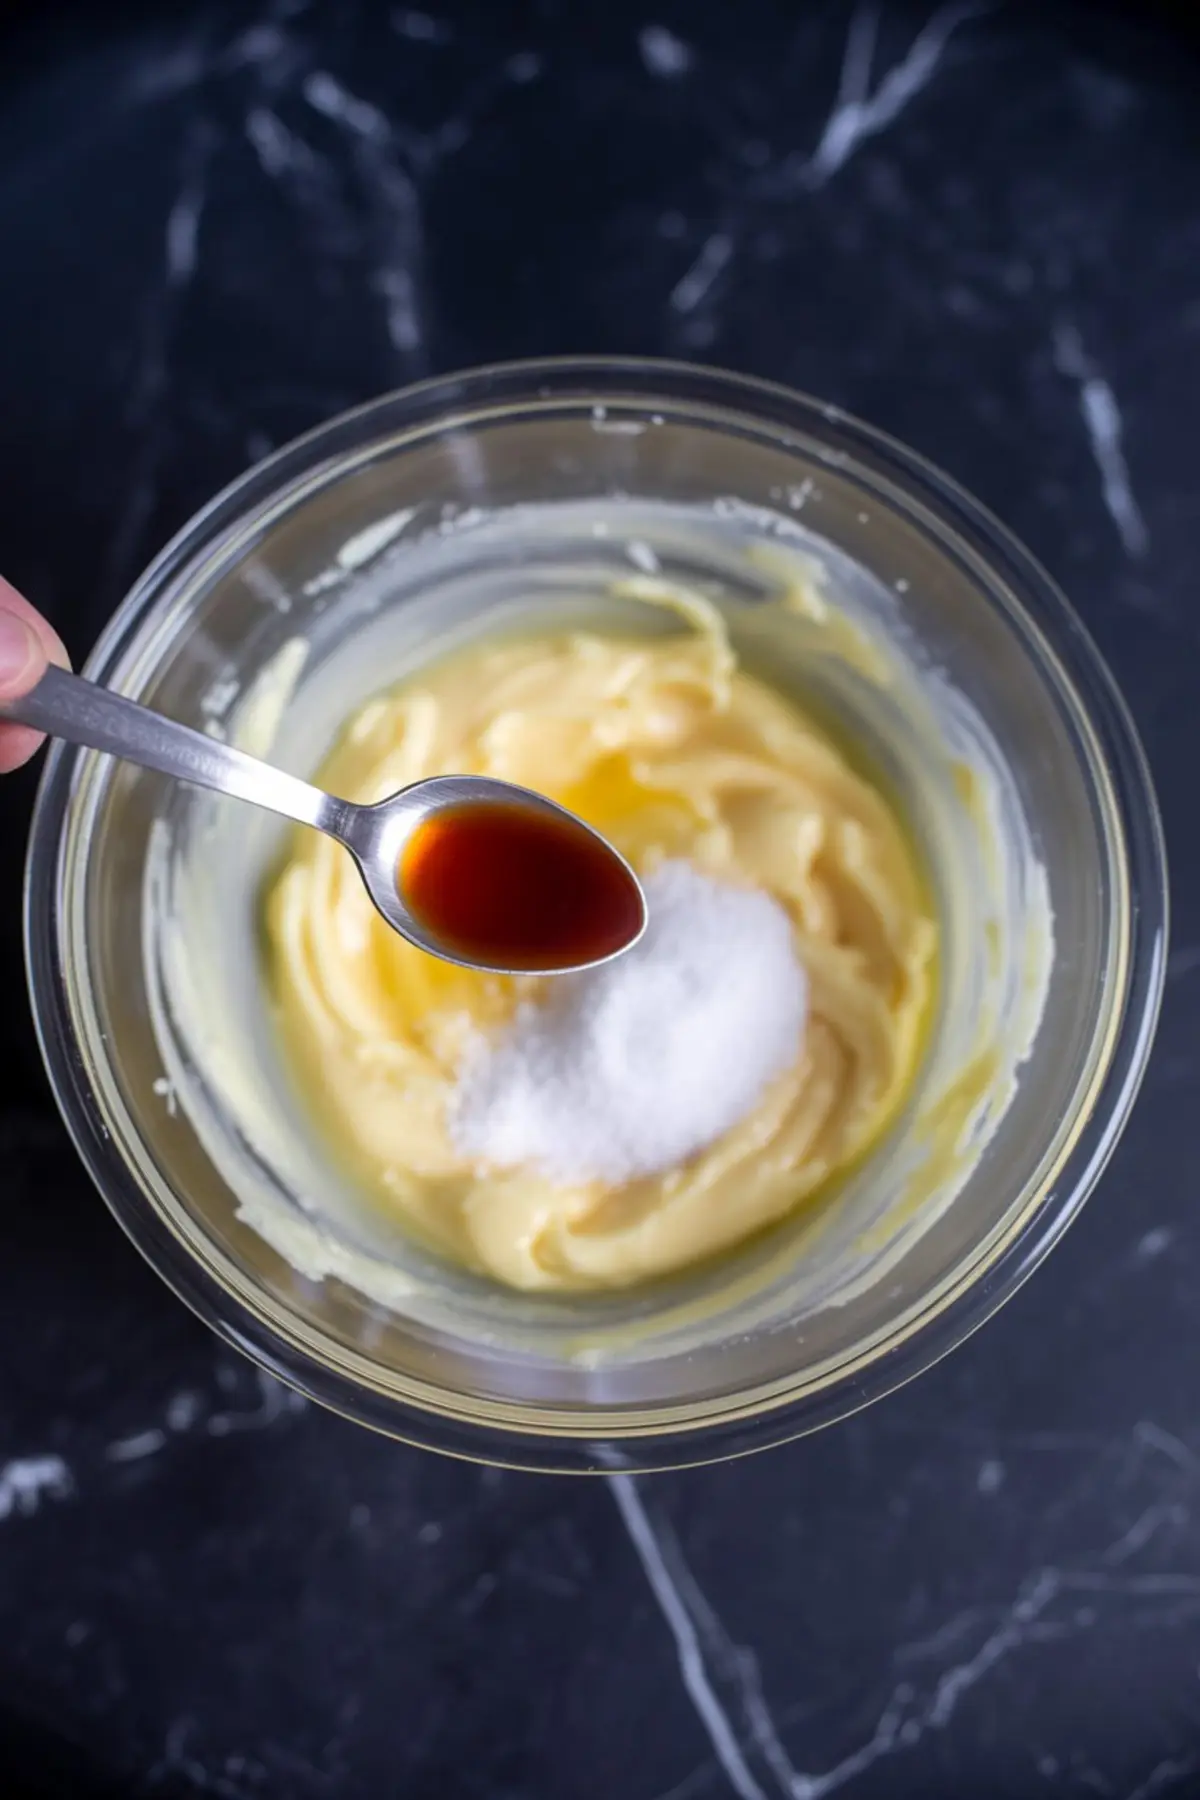
Start with high-quality white chocolate. I usually grab bars from the baking aisle, anything that lists cocoa butter in the top ingredients. If you use a good one, the frosting will carry that creamy cocoa note through every bite.
The butter needs to sit out long enough to be truly room temperature. Not soft around the edges. Fully, evenly soft. I once tried to rush it in the microwave and regretted it immediately the texture never recovered.
Powdered sugar brings structure, but I always sift it first if it looks clumpy. A little heavy cream loosens the mix just enough without making it too soft. Vanilla balances the sweetness. And here’s where that quiet pinch of salt sneaks in.
Don’t skip it.
That tiny pinch keeps the frosting from tasting like confectioners’ sugar and nothing else.
If you’re curious about a lighter version, something you could use on fruit-forward bakes or layered summer cakes, here’s one that stays cool: Whipped Cream Frosting.
Step-by-Step Texture, Not Just Taste
Once the chocolate melts and cools, it’s all about timing.
The butter should whip for at least three minutes. I mean really whip pale, airy, and doubled in volume. It might feel like too long, but trust the process.
Then comes the part where the chocolate meets the butter. Pour it slowly. A little at a time. Beat well after each addition. I once dumped it all in, and the result looked marbled and oily. You want smooth, even, seamless.
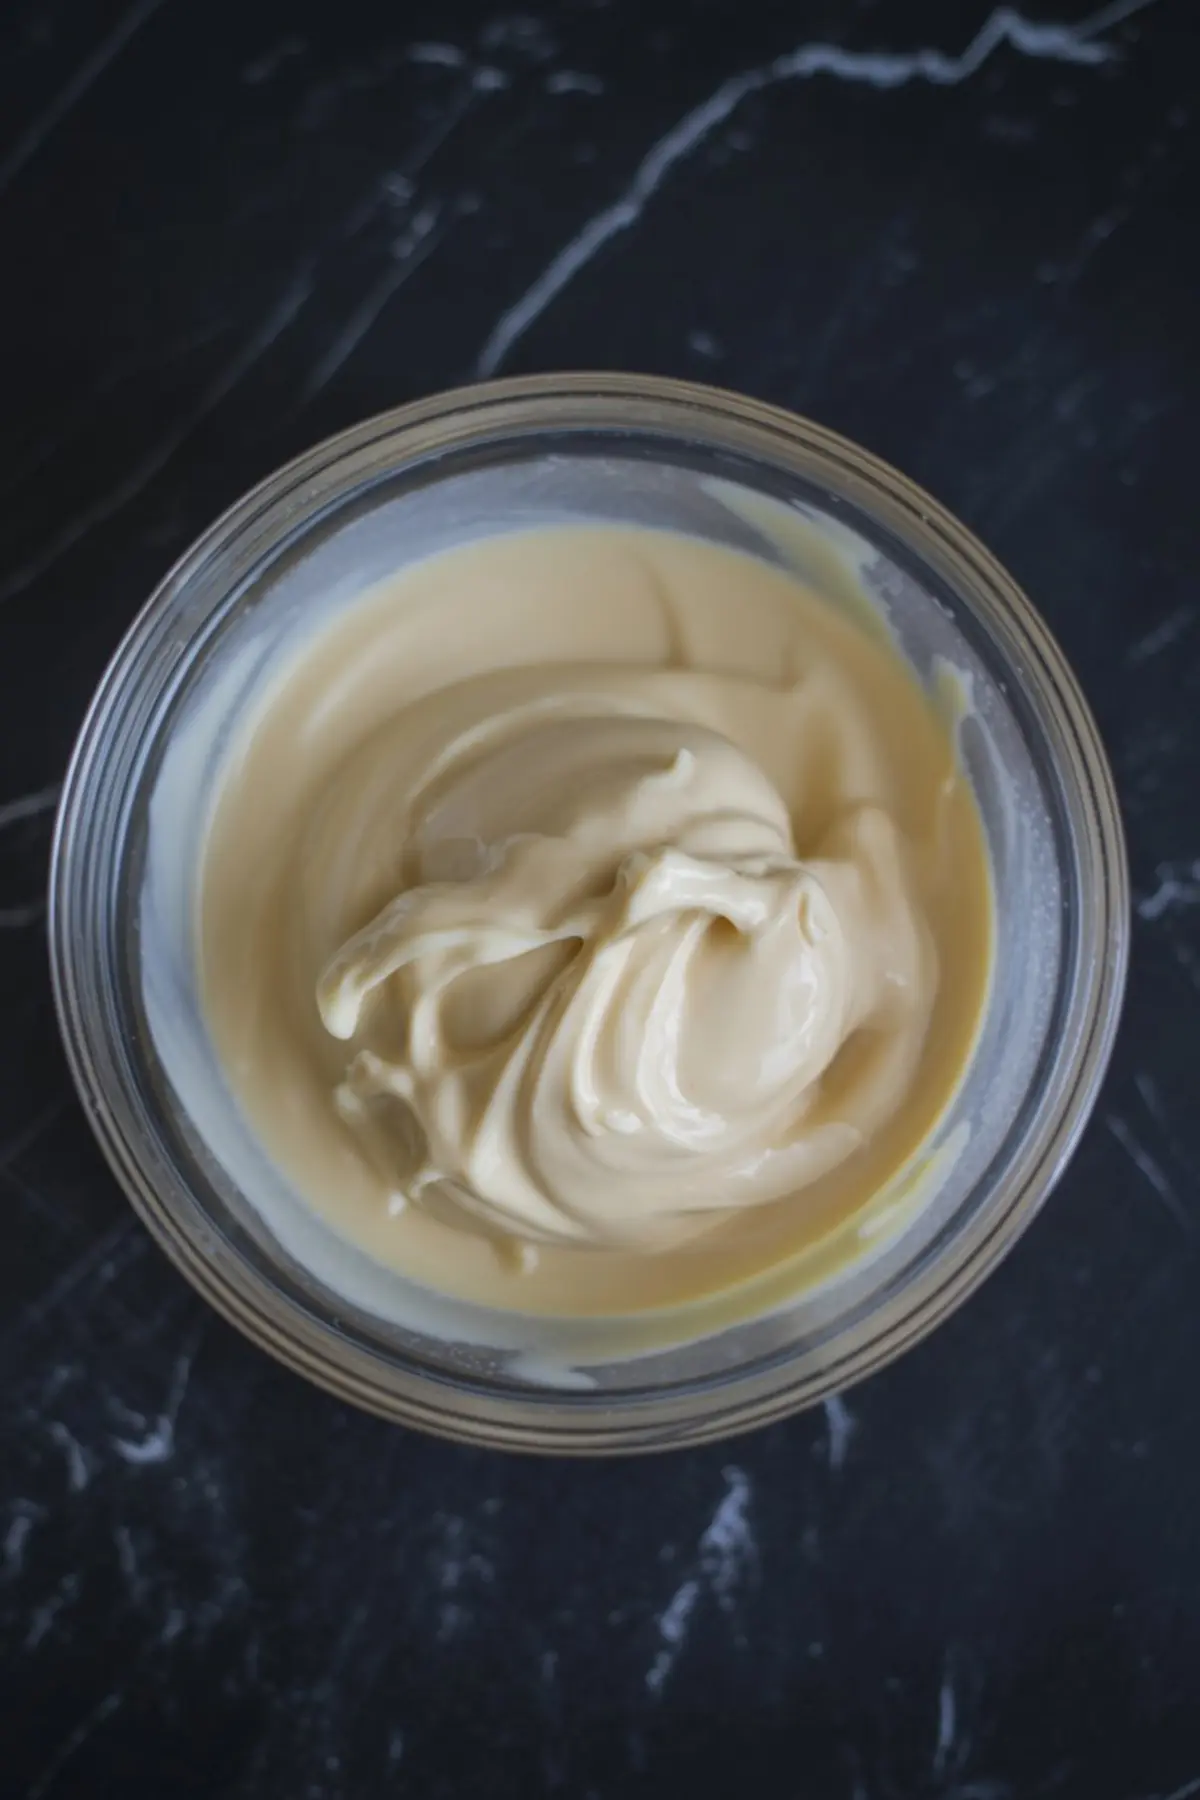
Once you add the vanilla and salt, it smells incredible.
Now the sugar. Add it in stages, alternating with small splashes of cream. Keep an eye on the consistency. If it stiffens too much, that cream will save you.
Beat it again at the end—two, maybe three more minutes. The texture changes. It fluffs. It becomes easy to spread and even easier to pipe.
If you’re feeling like something with a deeper flavor instead, maple offers a lovely switch: Maple Frosting.
Chloe’s Comparison: White Chocolate vs. Ganache Base
I’ve tried making this with a white chocolate ganache base too. The kind where you heat cream and pour it over chopped white chocolate. While that version works in certain cases, like fillings or quick toppings, it lacks the volume and stability I need for cupcakes or celebration cakes.
In ganache buttercream, the fat content runs higher and it softens quickly. It pipes well for a short while, but it doesn’t hold shape overnight. This butter-based version, on the other hand, stays firm and beautiful even after a day in the fridge.
If you’re frosting something that needs detail swirls, rosettes, or stacked layers stick to this version. It behaves. It holds. And it tastes better.
For a darker, richer frosting comparison, try my favorite Chocolate Frosting.
When to Use This White Chocolate Icing
You can spread it thick over a cooled cake. You can pipe it high on a cupcake. You can even sandwich it between cookies for an afternoon treat.
It layers beautifully with vanilla, almond, or raspberry flavors. I once used it as the filling in a four-layer almond sponge, and the balance was just right. Not too sweet, not too soft.
Need a more classic base for comparison? Here’s a good one: Buttercream Frosting. It’s more traditional but less nuanced in flavor.
The Secret That Makes This Recipe Work
Here it is. The secret ingredient isn’t something unusual. It’s salt.
A single pinch.
When added just after the chocolate and butter meet, that salt sharpens the flavor. It makes the chocolate more pronounced, the butter more mellow, and the sugar feel less aggressive. Without it, the frosting tastes like something’s missing. With it, everything clicks into place.
It’s the smallest detail in the whole recipe, but the one I never leave out.
Save It, Share It, Ask Me Anything

If you love a frosting that truly tastes like white chocolate—this one belongs in your Pin board. Save it for your next celebration cake or cupcake tray.
And if you try it, I’d love to hear. Did you swirl it high or keep it minimal? Was the chocolate smooth? Let me know in the comments. I always check back to see what you’re baking.
Let’s keep the baking conversation going.
White Chocolate Frosting

White chocolate frosting recipe means smooth, creamy frosting that actually tastes like white chocolate. I melt it low and slow, then beat it into softened butter until it turns into white chocolate buttercream frosting that spreads like a dream. You can pipe it too, and it holds shape beautifully. I’ve used it as white chocolate cake frosting, swirled it over cupcakes, and even sandwiched it between cookies. If you’re wondering how to make white chocolate frosting that isn’t too sweet, I balance mine with a pinch of salt and a splash of vanilla. It also works as white chocolate Russian buttercream or even a shortcut white chocolate ganache buttercream. I use this white chocolate icing for birthdays and bake sales alike.
Ingredients
- White chocolate – 8 oz, finely chopped (use bars, not chips)
- Unsalted butter – 1 cup (2 sticks), room temperature
- Powdered sugar – 2 ½ cups, sifted if lumpy
- Heavy cream – 3 tablespoons, plus more if needed
- Vanilla extract – 1 ½ teaspoons
- Salt – a small pinch
Instructions
- MELT THE WHITE CHOCOLATE: Place the chopped white chocolate in a heatproof bowl set over a pot of simmering water, making sure the bowl doesn’t touch the water. Stir gently and consistently until the chocolate is fully melted and smooth. Remove from heat and let it cool for 10–15 minutes, until it is fluid but no longer warm.
- BEAT THE BUTTER: In a large mixing bowl, beat the room-temperature butter with an electric mixer on medium-high speed for 3–5 minutes, until it becomes pale, smooth, and fluffy. This step builds the structure of the frosting, so don’t rush it.
- ADD THE CHOCOLATE: Slowly pour the cooled white chocolate into the whipped butter in small additions, beating well between each to fully incorporate. Do not add the chocolate all at once, as this can cause separation or streaking.
- INCORPORATE FLAVORINGS: Mix in the vanilla extract and salt until evenly combined.
- ADD POWDERED SUGAR AND CREAM: Gradually beat in the powdered sugar, adding a bit at a time. If the mixture becomes too thick as you mix, add a small splash of heavy cream between sugar additions to loosen it slightly. Continue until all the sugar is incorporated.
- WHIP UNTIL FLUFFY: Once everything is added, beat the frosting for another 2–3 minutes, until it’s light, smooth, and easy to spread or pipe. Adjust consistency as needed with a teaspoon of cream at a time.
- TASTE AND ADJUST: Sample the frosting and adjust to your preference. For more sweetness, add a bit more powdered sugar. If the texture is too thick, mix in a small amount of cream until it reaches the desired consistency.
Notes
For the best flavor, use high-quality white chocolate bars. Avoid white chocolate chips, which contain stabilizers that affect texture and melting. Store leftovers in an airtight container in the refrigerator for up to 5 days. Bring to room temperature and re-whip before using.
Nutrition Information:
Yield:
1Serving Size:
1Amount Per Serving: Calories: 4090Total Fat: 273gSaturated Fat: 169gTrans Fat: 1gUnsaturated Fat: 88gCholesterol: 586mgSodium: 379mgCarbohydrates: 411gFiber: 0gSugar: 405gProtein: 17g
