

Every gingerbread house recipe begins with two things. The first is sturdy gingerbread. The second is a frosting strong enough to hold it all together. I have used many forms of gingerbread house icing, from quick sugar glues to slow-setting royal icing recipes, and this one has stayed with me through the years.
A gingerbread house frosting should dry quickly, pipe smoothly, and act as the best icing for gingerbread houses that children can decorate without waiting hours for the walls to set. Some call it gingerbread house glue icing, others know it as royal icing. I think of it as the frosting that carries both weight and memory.

Why This Gingerbread Icing Matters
The icing has a simple list of ingredients, yet it carries responsibility for the whole homemade gingerbread house. Without the right gingerbread house frosting glue, walls slide and roofs collapse. The right icing holds panels steady and leaves room for decorating with candies, sprinkles, or even sugar windows.
I keep a handwritten recipe card tucked into my notebook, marked with sugar dust and a faint ring from a teacup. The note reads in my script: “fast drying, glossy, strong.” Each time I see those words, I remember building with my children on cold December nights, and later showing Chloe how to hold the piping bag steady. She took to it with the same patience she used in my literature classes.
If your house tilts a little or a seam cracks, do not worry. Gingerbread house designs look more charming when they lean with character.
A Look at the Ingredients
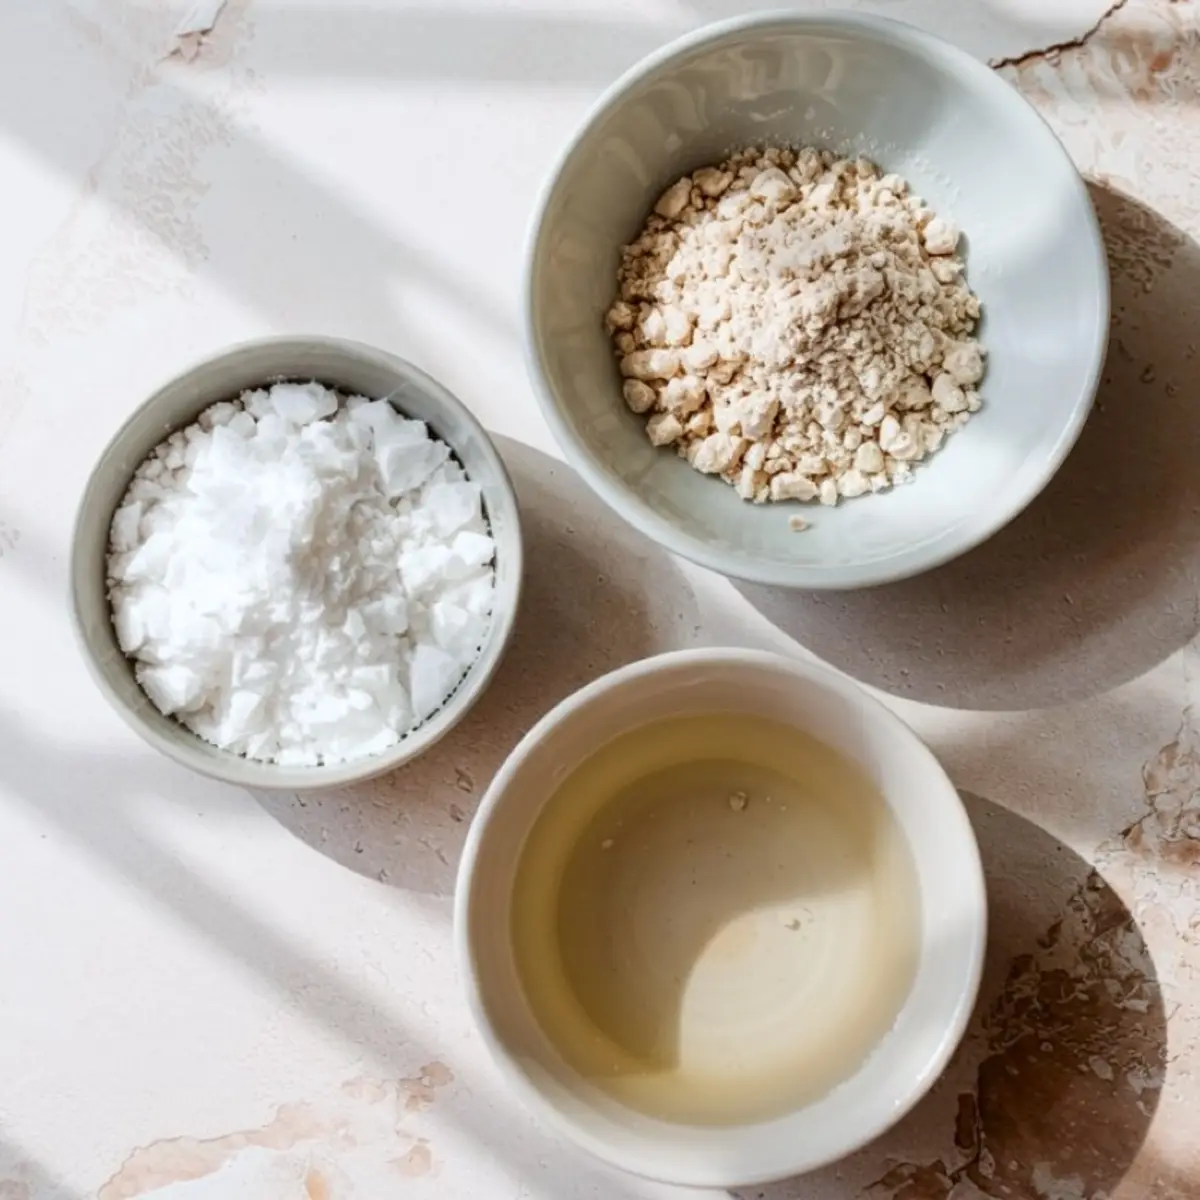
This icing begins with meringue powder or egg whites. Both give strength, though I prefer meringue powder for its reliability. Egg whites bring a softer shine, but they do not keep as long. In my notes, I have compared both, and while egg whites give a slight warmth of tradition, meringue powder offers the ease of storage and safety when little hands are helping.
Powdered sugar, sifted well, brings sweetness and body. Water loosens the mixture, and you can adjust it drop by drop to reach the texture you need. For piping decorations, keep it smooth like toothpaste. For holding walls, keep it stiffer, almost like wet clay.
I never add extracts or oils, since even a trace of fat softens the icing and prevents it from drying hard. Grease-free bowls and clean beaters matter more than people realize.
Mixing and Whipping the Icing

The first step is always to set your bowl and tools clean. A hint of grease can undo the structure. I whisk the meringue powder with warm water until frothy. This activates the proteins, giving the icing strength before sugar joins in.
Gradually adding powdered sugar is the part where patience pays. If you rush, clumps form and the icing loses its smooth finish. A slow addition, with the mixer on low, makes a glossy base that can then be beaten to stiffness. I usually keep the mixer running for five to seven minutes until peaks hold straight.
Cover the bowl with a damp cloth if you pause. Royal icing crusts quickly, and once it does, it loses the soft edge needed for clean piping.
Using the Icing for Construction and Design

I often think of gingerbread house icing as both glue and paint. Thick icing seals the house. Slightly thinner icing traces windows, shingles, and doors. Children enjoy watching the lines harden into glossy frames.
If you plan to build a large gingerbread castle, you will need even more strength. A gingerbread castle calls for icing that sets faster and thicker, since tall walls put pressure on the seams.
For smaller projects, like a pink gingerbread house, you can soften the icing slightly to allow smoother piping of swirls and lace. Both styles rely on the same base recipe, only adjusted by drops of water.
Memories and Patience in the Process
I still remember one winter when the roof of my gingerbread house slid halfway down before the icing dried. We laughed, propped it up with a spoon, and let the icing harden overnight. By morning, it held firm. The spoon left a dent, but that dent reminded us that homemade projects carry stories in their flaws.
If your icing runs or your walls lean, you will still have a house worth keeping. Every homemade gingerbread house carries its own story, even if it looks different than the picture in your mind.
When I make a gingerbread loaf, I use the same notes to remind myself: recipes are guides, not rules. The same applies here. If it cracks, do not worry. Sugar glues better than pride.
Decorating Beyond the Basics
Once the house stands steady, you can use the remaining icing to pipe snow on rooftops, icicles on eaves, and trim around doors. A stiff icing holds gumdrops and candy canes in place, even on a slant.
I have seen children cover entire roofs with icing and press cereal squares on top, turning them into shingles. Others prefer neat rows of candies, with frosting tracing every line. Both bring joy, and both use this icing as the base.
For a festive table, I sometimes place a few Christmas tree cake pops beside the house. They give color and balance, while the house remains the centerpiece.
A Final Word of Encouragement

This easy royal icing recipe has stayed with me across many Decembers. It works for grand gingerbread house designs and for simple cottages made on a quiet evening. It works for frosting glue and for piped details.
Keep your notes, write down what works, and pass it along. Your icing may end up in a butter-smudged card, like mine, ready for the next hands that need it.
Save this recipe, and if you try it, leave me a comment. I would be glad to know how your gingerbread house turned out, slants and all. And do save this pin so you can find it again when winter comes back around.
Gingerbread House Icing Recipe

Gingerbread house icing needs to be thick, strong, and fast drying—and this recipe checks all the boxes. I use egg whites or meringue powder, powdered sugar, and just enough water to make a smooth, pipeable consistency. This gingerbread house frosting holds walls in place and sets up fast, making it the best icing for gingerbread houses when you don’t want to wait hours. It also works beautifully for adding details and decorations. Whether you’re building a homemade gingerbread house or creating intricate gingerbread house designs, this easy royal icing recipe makes the process simple. Save it as your go-to gingerbread house glue icing or best royal icing recipe for sturdy results that actually last.
Ingredients
- 3 tablespoons meringue powder
- 4 cups powdered sugar, sifted
- 5–6 tablespoons warm water, more or less as needed
Instructions
- PREPARE YOUR MIXING EQUIPMENT: Use a clean, grease-free bowl and either a stand mixer or hand mixer. Any trace of fat can prevent the icing from setting properly.
- WHISK THE MERINGUE POWDER AND WATER: In the mixing bowl, combine the meringue powder and 5 tablespoons of warm water. Whisk until the mixture is frothy, about 1 minute. This step activates the proteins in the meringue powder to help build structure.
- ADD THE POWDERED SUGAR: Sift the powdered sugar directly into the bowl, adding it gradually while mixing on low speed. This prevents clumping and reduces mess.
- BEAT UNTIL STIFF AND GLOSSY: Increase the mixer speed to medium-high and continue beating for 5 to 7 minutes. The icing should become glossy, thick, and form stiff peaks. If the texture is too thick for your needs, add warm water ½ teaspoon at a time until it reaches the desired consistency. For piping, aim for a toothpaste-like texture; for construction, keep it slightly thicker.
- STORE WHILE USING: If not using the icing immediately, cover the bowl with a damp cloth to prevent it from crusting. When filling piping bags, seal the tip with plastic wrap if stepping away to keep the icing from drying out.
Notes
For best results, avoid adding flavor extracts or oils, as fats will prevent the icing from drying hard. Always use grease-free tools and containers when working with royal icing. This recipe is best used the same day it's made but can be stored covered in the refrigerator for up to one day. Stir before reusing.
