

If a gingerbread house could wear a dress, this one would twirl in blush pink, dotted with candy pearls and trimmed in white ruffles. It’s soft, charming, and unapologetically playful.
This Pink Gingerbread House isn’t just for display. It’s a fully edible centerpiece built from a spiced, sturdy cookie dough, designed to hold its shape and carry that delicate frosting with ease. You’ll learn how to make a house that’s not only photogenic but genuinely delicious too.
Whether you’re going for full Christmas dreaming or want a gingerbread Christmas decor moment that feels light and joyful, this pastel gingerbread house checks every box. The gingerbread itself bakes firm with clean edges. The royal icing sticks like a dream. And that hint of pink? There’s a reason I keep a note beside it in my Pin Notebook with one word: magic.
You’ll see why. But first, let’s build it together, step by step. There’s a secret in the icing I save for later. You’ll want to know that part.

Why I Choose Each Ingredient in This Pink Xmas Classic
The flour sets the structure. I use all-purpose because it gives just enough strength to keep the walls straight without turning the house rock-hard.
Brown sugar brings in that deep, toffee flavor I associate with traditional gingerbread. Combined with molasses, it creates a bold, earthy base that stands up to the sweet decorations.
Molasses is where the house gets its color, its scent, and most of its chew. I use unsulphured molasses, nothing too dark, to avoid bitterness. The balance matters here more than most cookies.
The trio of ground ginger, cinnamon, and cloves is what gives this gingerbread its backbone. I lean a little heavier on the ginger than some do. It makes the scent snap to attention when the dough hits the oven.

The butter and egg bind it all. I always let the butter soften fully so it creams smoothly with the brown sugar. Cold butter will give you cracks or uneven texture, and this dough needs to hold shapes like doors and windows without breaking.
The royal icing is made with egg whites, powdered sugar, and a touch of cream of tartar. The cream of tartar isn’t there for flavor. It stabilizes the egg whites and keeps the icing firm and shiny as it dries. That’s your edible glue. Without it, the house won’t stay up.

And that pink food coloring? I use a gel version so the color stays soft and doesn’t water down the icing. Just a toothpick’s dip makes the difference.
This exact balance of spice and structure is what makes it stand out next to more traditional builds like the classic Gingerbread Layer Cake. The cake is warm and spongy, while this dough is made to snap, stack, and sparkle.
Rolling, Cutting, and Shaping Without Losing Precision
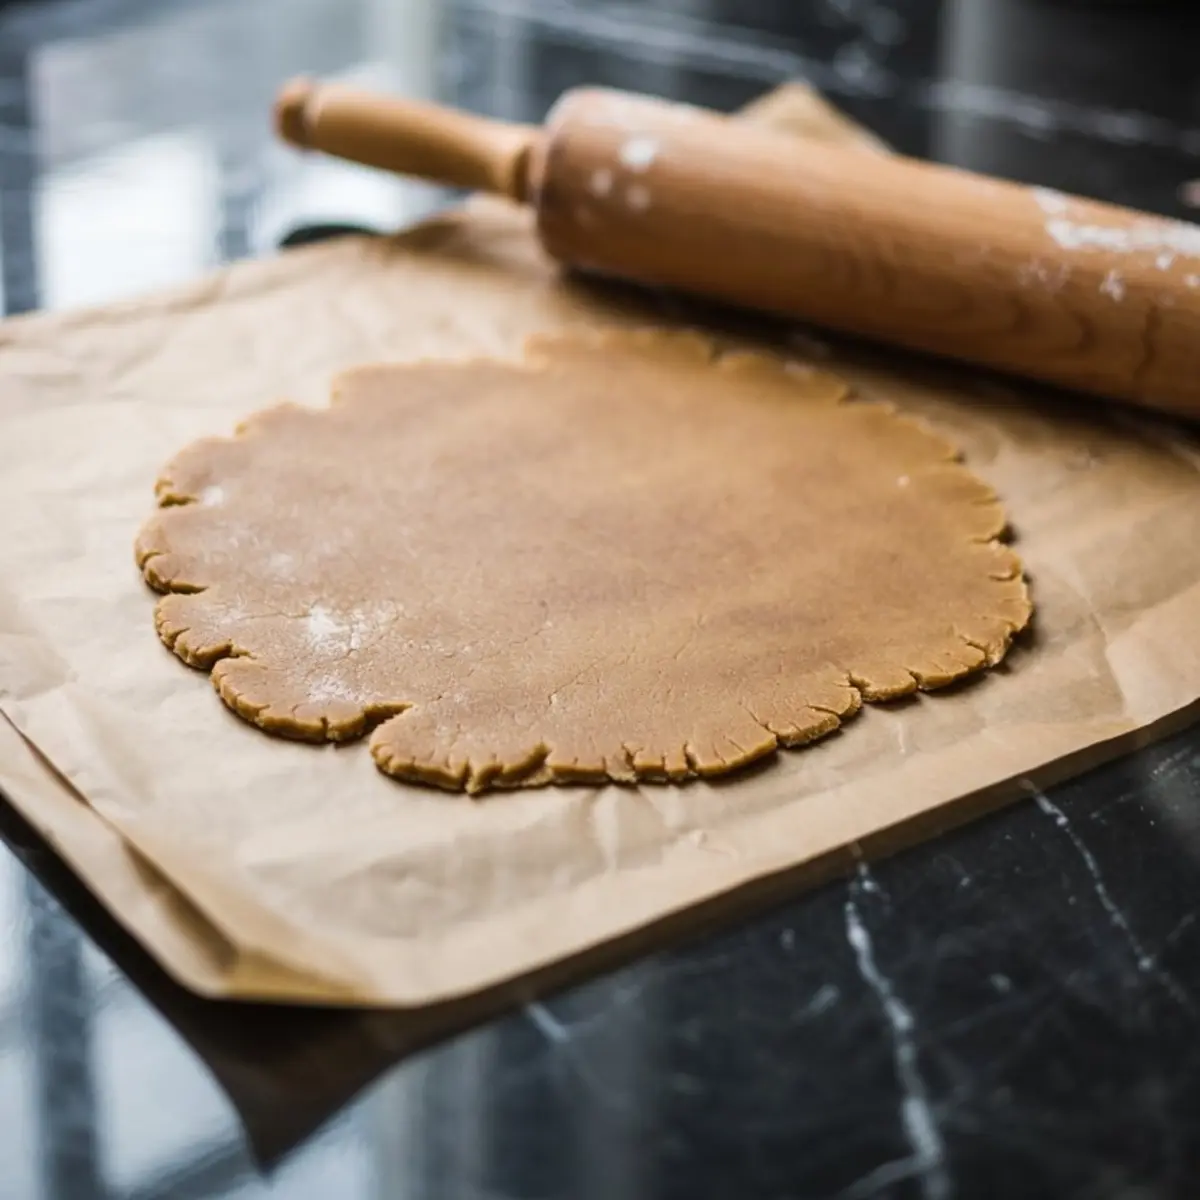
After chilling the dough, I work directly on parchment. It keeps the shape clean and lets me transfer each house panel to a baking sheet without distortion.
I keep the dough thickness consistent around a quarter-inch. Thinner pieces warp or brown too fast, while thicker ones puff and shrink, which ruins alignment.
For cutting, I use a printed cardstock template. Nothing fancy. I trace, cut, and lift with a small offset spatula. That keeps the windows sharp and the roof lines clean.
This dough rerolls well once. After that, it can get tough, so I try to batch my cuts smartly. Scraps become chimney pieces or stars for the yard.
Baking Notes and the One Comparison That Changed My Method
Here’s where I used to get stuck. I’ve tried both convection and standard baking, and in my notes, I marked this: standard heat at 350°F bakes flatter panels with fewer air bubbles.
Convection gives you more browning on the edges, but it can lift the centers if your oven runs hot. For me, standard heat keeps the color even and the shape stable.
Letting the pieces cool completely on the tray is essential. If you try to move them too soon, even by five minutes, they’ll bend or warp. I leave them be and start mixing icing while they cool.
This same technique carries over if you’re planning to build a smaller version or use the dough for something more whimsical like Christmas Tree Cake Pops. Structure comes first. Always.
Making and Tinting the Royal Icing
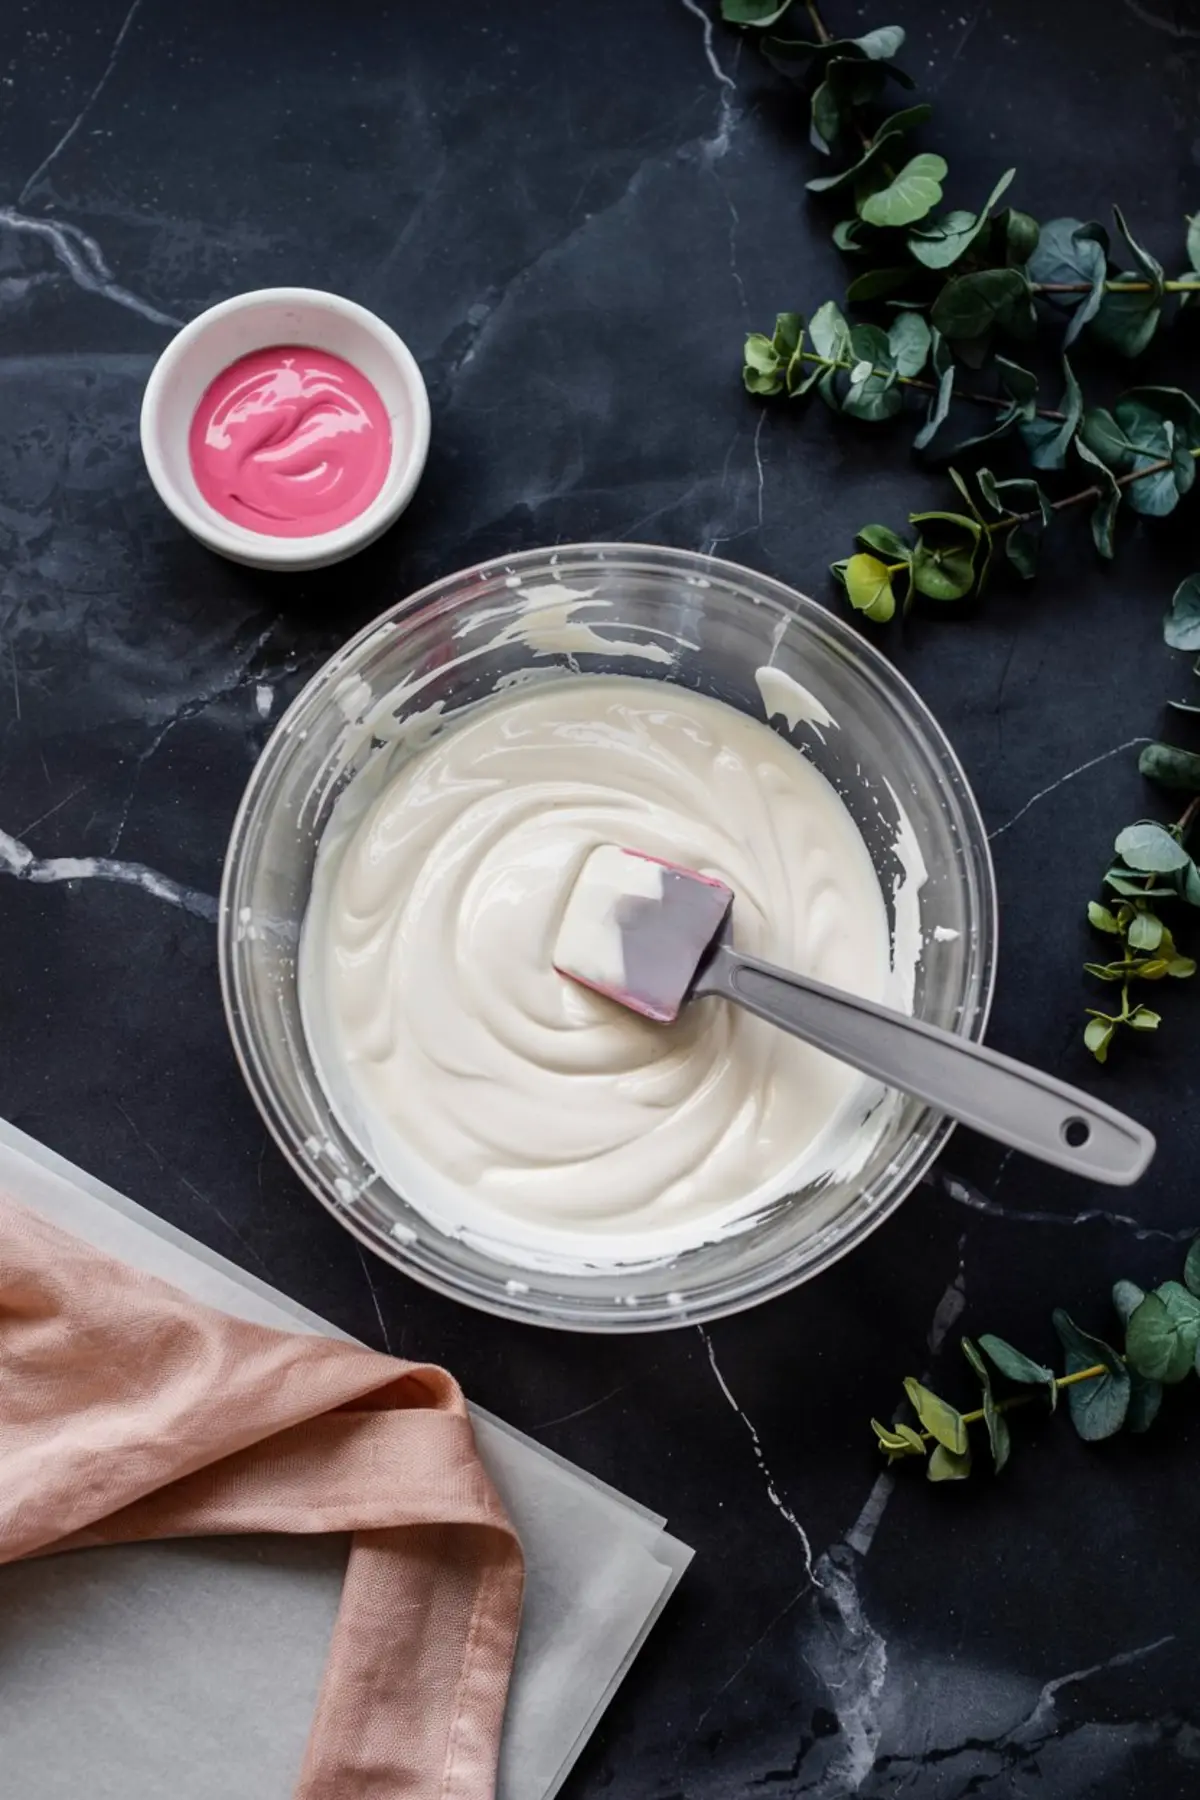
Egg whites must be fresh and at room temperature. I’ve used pasteurized ones from a carton, but the texture is different. Fresh whites give you a thicker, shinier finish that dries faster.
I add the sugar slowly and switch to high speed once the base starts looking glossy. I divide the icing and keep one bowl white, the other pink.
Here’s where I give myself permission to be playful. I test the pink on a small cookie scrap before committing. That little test square tells me everything. Too bright? Add more white. Too pale? A micro-dot more color.
Keep a damp paper towel over the bowl when not in use. Royal icing dries faster than you think, especially under warm kitchen lights.
The icing is the same kind I use for decorating small holiday pieces like Christmas Tree Brownies, but here it needs to work twice as hard. It has to hold up the walls and look pretty doing it.
Assembly Tips for a No-Slide, No-Collapse Gingerbread House
This part can be stressful if you’re in a rush, but trust me, slower is smoother.
I pipe a thick line of icing at the base and inner edge of each wall piece. I hold the pieces together gently, counting in my head until I can feel the icing grip. Sometimes I use jars or cans to keep things upright for the first 10 minutes.
Once the walls set, I attach the roof panels. They tend to slide, especially if the icing is too soft. You’ll know it’s ready when it holds its shape in the piping bag without sagging.
After attaching the roof, I leave the house to dry for at least 2 hours before adding any decorations. That stability window makes decorating so much easier later.
And if you’re feeling ambitious, make a few extra walls to craft something more elaborate, like a Gingerbread Castle. The base recipe holds its own even in multi-tiered builds.
Decorating Your Girly Gingerbread House with Pastel Candy and White Piping
The pink icing goes on first. I start with the roof, adding swirls or shingles, then move to the front siding. White icing trims the windows and base like fresh-fallen snow.
Pastel gumdrops, edible glitter, soft white stars, and pink sprinkles bring that pastel gingerbread house vibe to life. There’s something almost storybook about the result.
I keep the design light and airy, not overcrowded. That lets each color and detail show without fighting for space. Some years I add a mini sugar tree outside. Other times I sprinkle edible pearl dust on the roof like frost.
This is where it becomes yours. There’s no wrong way to decorate, just your way.
The Secret That Brings the Magic
Let’s talk about that unexpected element I mentioned.
It’s not in the dough. It’s not in the candy. It’s in the royal icing.
Before mixing, I scent the powdered sugar with just a pinch of crushed freeze-dried strawberry. Not enough to color the icing. Just enough to give the pink sections a hint of berry on the tongue.
It’s subtle. Most people can’t place it, but they always lean in after the first bite. It turns the decoration into a flavor, not just a finish.
That’s the dash of magic I save for last.
Save This Pink Christmas Idea and Share Your Build
If you’re planning a girly gingerbread house party or looking to mix up your gingerbread house designs, this pastel version is one to bookmark.
It works as Christmas decor, as a baking activity, or as a candy-colored gift. And yes, it holds up overnight with no collapsing. That’s what four test houses in December taught me.
Feel free to drop your questions or share how yours turned out in the comments. I always read them, and I love seeing your creations. Did you try the berry icing trick?
And don’t forget to pin this pink xmas idea to your board for later.
Pink Gingerbread House

Pink gingerbread house designs start with soft pastel icing, candy details, and a little imagination. I use classic gingerbread for the structure, then decorate with light pink frosting, white piping, and pastel candies to keep the look clean and bright. It’s the kind of girly gingerbread house that feels playful without going overboard. This pastel gingerbread house works beautifully for pink xmas themes or anyone dreaming of a soft holiday palette. I keep it in my rotation of gingerbread house decorations that double as table decor. Whether you’re after gingerbread Christmas decor or just collecting Christmas inspo, this pink gingerbread house adds charm to any setup.
Ingredients
- FOR THE GINGERBREAD:
- 3 cups all-purpose flour
- 1/2 tsp baking soda
- 1 tbsp ground ginger
- 1 tbsp ground cinnamon
- 1/2 tsp ground cloves
- 1/2 tsp salt
- 3/4 cup unsalted butter, softened
- 3/4 cup packed brown sugar
- 1/2 cup molasses
- 1 large egg
- FOR THE ROYAL ICING (HOUSE GLUE & DECORATIONS):
- 3 large egg whites
- 4 cups powdered sugar
- 1/2 tsp cream of tartar
- Pink gel food coloring (use sparingly for light color)
- OPTIONAL DECOR:
- White royal icing for detailing
- Mini candies, pink sprinkles, pastel gumdrops
- Sugar trees, mini cookie stars
- Edible glitter or pearl dust
- Optional chimney pieces (cut from scraps or use a template)
Instructions
- MAKE THE DOUGH: In a large bowl, whisk together the flour, baking soda, ground ginger, cinnamon, cloves, and salt. In a separate bowl, beat the softened butter and brown sugar until creamy, about 2 minutes. Add the molasses and egg and mix until the batter is smooth and fully combined.
- FORM AND CHILL: Slowly add the dry ingredients to the wet mixture, stirring until the dough comes together. If the dough is sticky, add a small amount of flour. If it’s crumbly, press it gently by hand to bring it together. Divide the dough into two portions, flatten into disks, and chill for at least 1 hour.
- ROLL AND CUT: Preheat the oven to 350°F (175°C). Roll out the chilled dough on parchment paper to about 1/4-inch thickness. Use a house template to cut out 2 side panels, 2 roof panels, and 1 front and 1 back. Use dough scraps to cut windows, a door, and a chimney if desired. Transfer cut pieces on parchment to baking sheets.
- BAKE AND COOL: Bake the pieces for 12–14 minutes until edges are firm. Let all pieces cool completely on the baking sheets to prevent warping before assembling or decorating.
- MAKE ROYAL ICING: In a clean bowl, beat the egg whites with cream of tartar until foamy. Add powdered sugar one cup at a time. Beat first on low, then on high speed until the icing is thick and glossy. Divide the icing into bowls. Tint one portion with a small amount of pink gel food coloring. Keep remaining icing white for details.
- ASSEMBLE THE HOUSE: Pipe thick lines of icing along the base and edges of each wall panel. Press the panels together and hold in place for several minutes until they stand on their own. Use canned goods or jars to prop up walls if needed. Once stable, attach the roof panels with more icing. Let the house dry for at least 2 hours before decorating.
- DECORATE: Use the pink icing for siding and roof accents. Pipe swirls, dots, or shingles as desired. Add white icing for snow details around the roof edges, windows, and base. Decorate with mini candies, pastel gumdrops, edible glitter, and other decorations. Attach the optional chimney now or leave the roof clean.
Notes
Dough can be made and chilled up to 2 days in advance. Royal icing dries quickly—cover bowls with damp paper towels when not in use. Templates for the house panels can be printed or drawn on cardstock for easy cutting.
Nutrition Information:
Yield:
1Serving Size:
1Amount Per Serving: Calories: 6713Total Fat: 171gSaturated Fat: 95gTrans Fat: 0gUnsaturated Fat: 66gCholesterol: 574mgSodium: 2688mgCarbohydrates: 1250gFiber: 21gSugar: 844gProtein: 67g
