
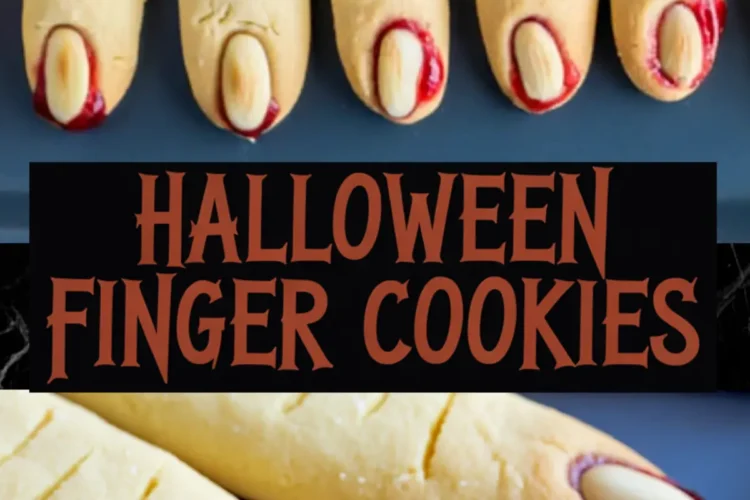
You might have seen Halloween finger cookies before, but these have something most versions don’t texture that bites back just enough, and a flavor that keeps people grabbing for more, even after the initial shock.
This isn’t a cookie that just looks spooky. It holds up well at room temperature, sets beautifully without needing a lot of extra decoration, and gets people talking. You’ll learn exactly how to shape each one, how to make the jam trick look more gruesome than messy, and how to get the texture just right without overbaking.
I’ve made these for costume parties, fall bake sales, and my niece’s school potluck, and they always vanish faster than the ghost cupcakes. You’ll see why in the steps, but there’s one secret I always come back to—and it isn’t the jam. I’ll show you where that little magic twist comes in. Let’s just say, it’s hiding in plain sight.
These are more than Halloween cookies. They’re spooky snacks with just the right amount of playfulness and surprise. So if you’re looking for Halloween dessert ideas that stand out, you’ve found the right one.
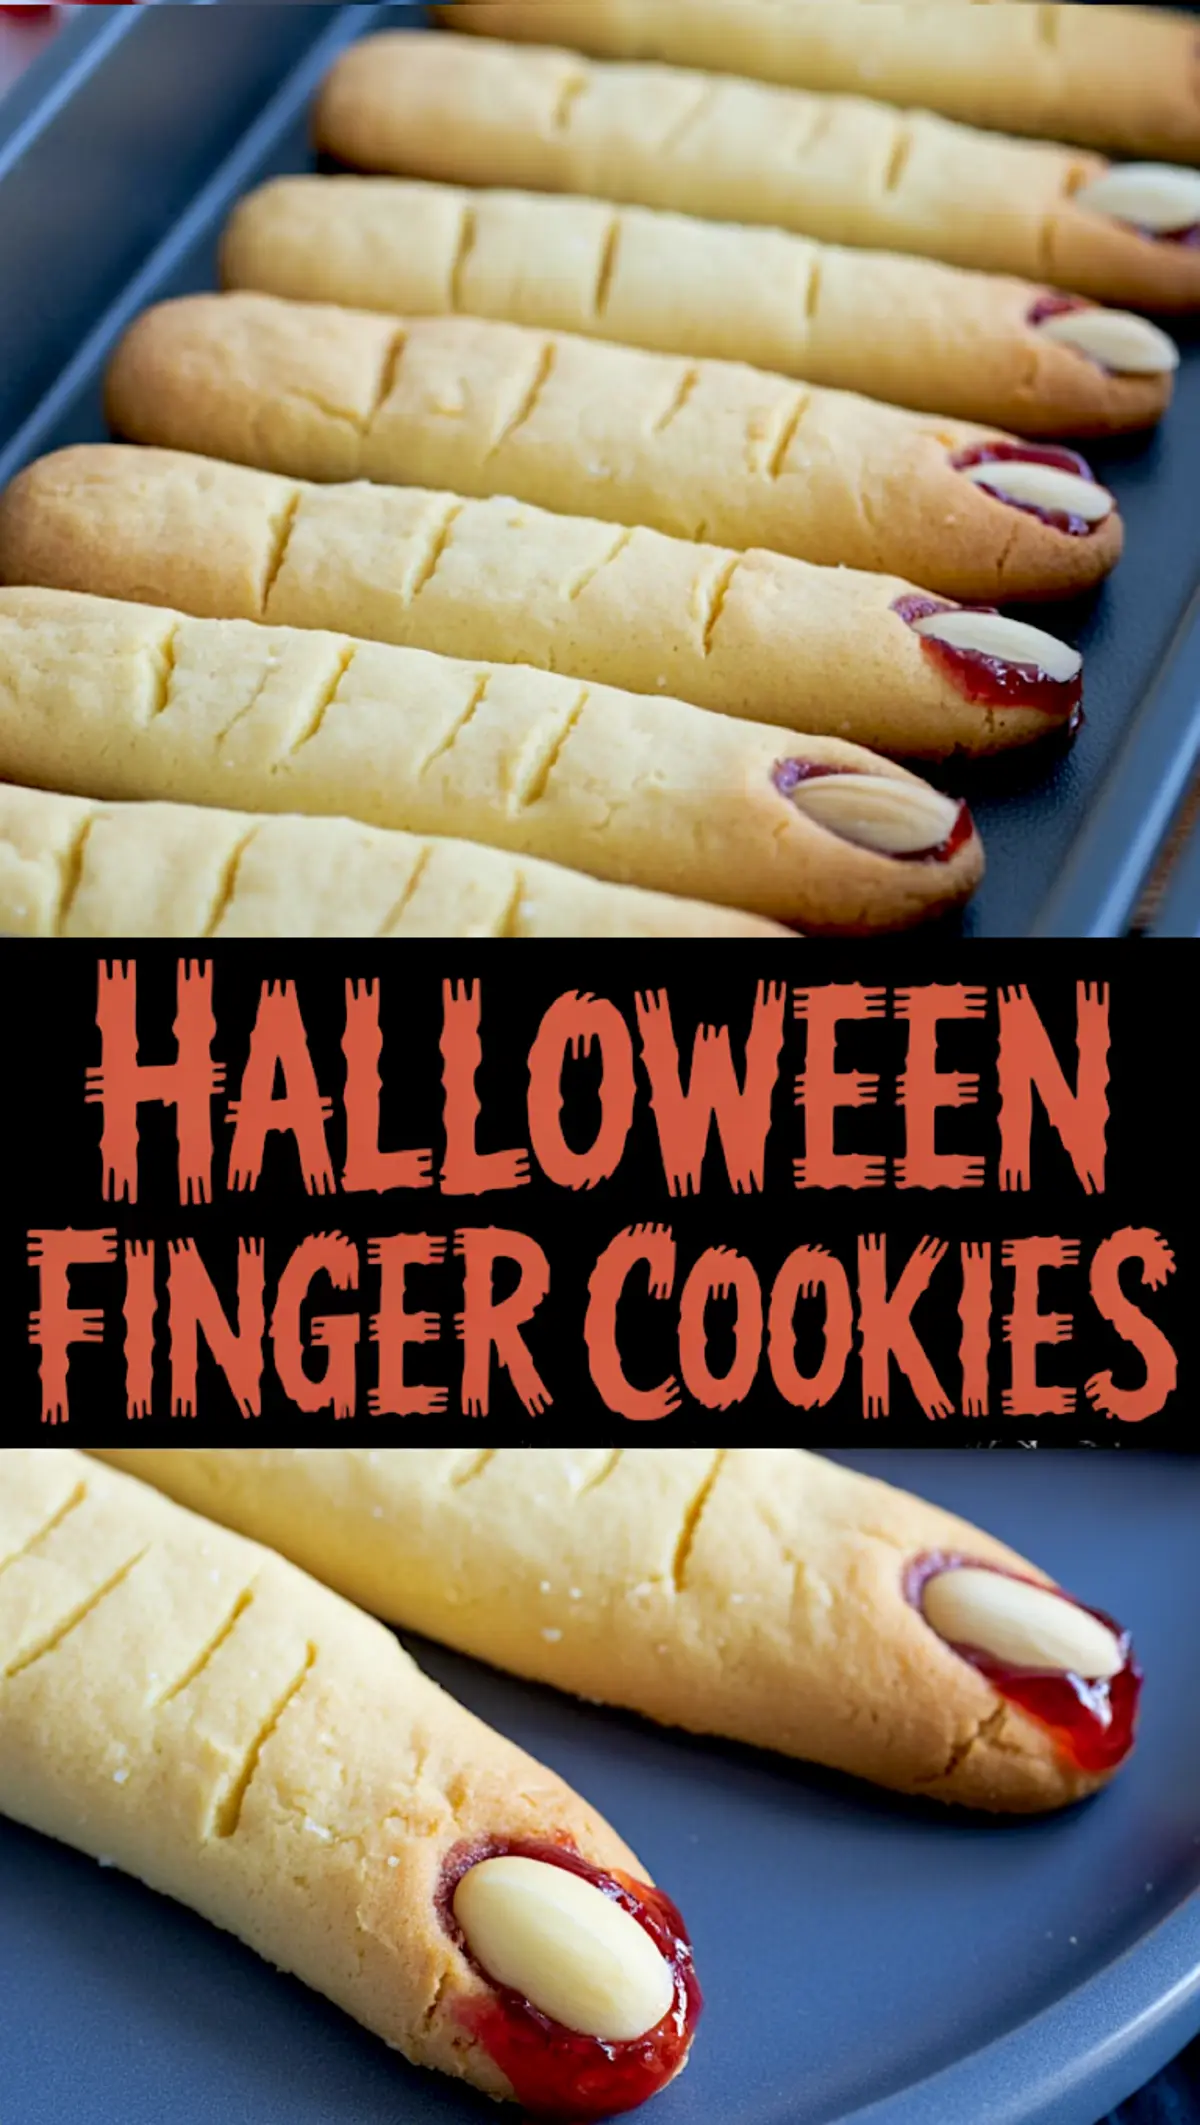
Ingredients That Shape and Hold Their Form
The base starts with softened unsalted butter and powdered sugar. This combo creates a smooth dough that stays light but still holds the fingerprint details after baking.
Powdered sugar is key here. Granulated sugar makes the dough spread more, softening the details. In my notes, I’ve found the powdered version makes cleaner edges, especially when you press in those knuckles.
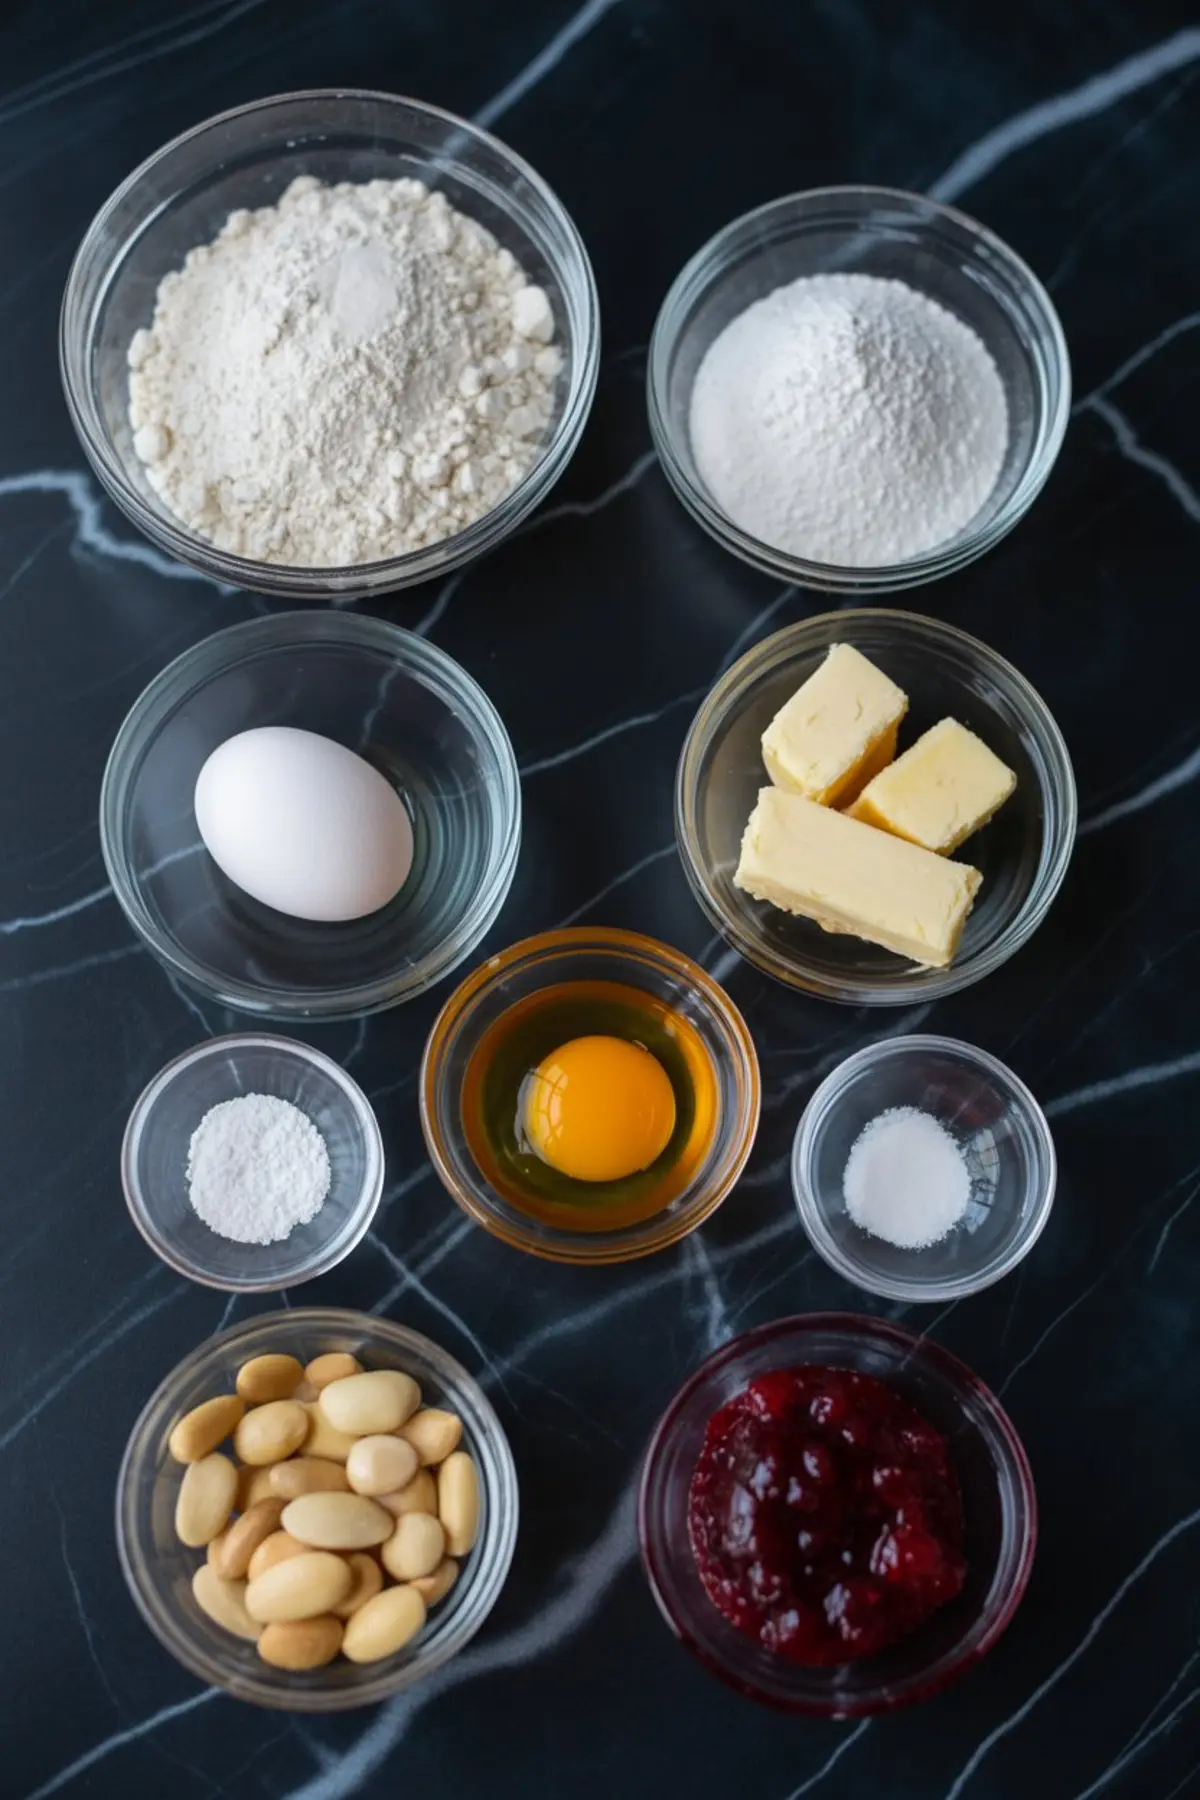
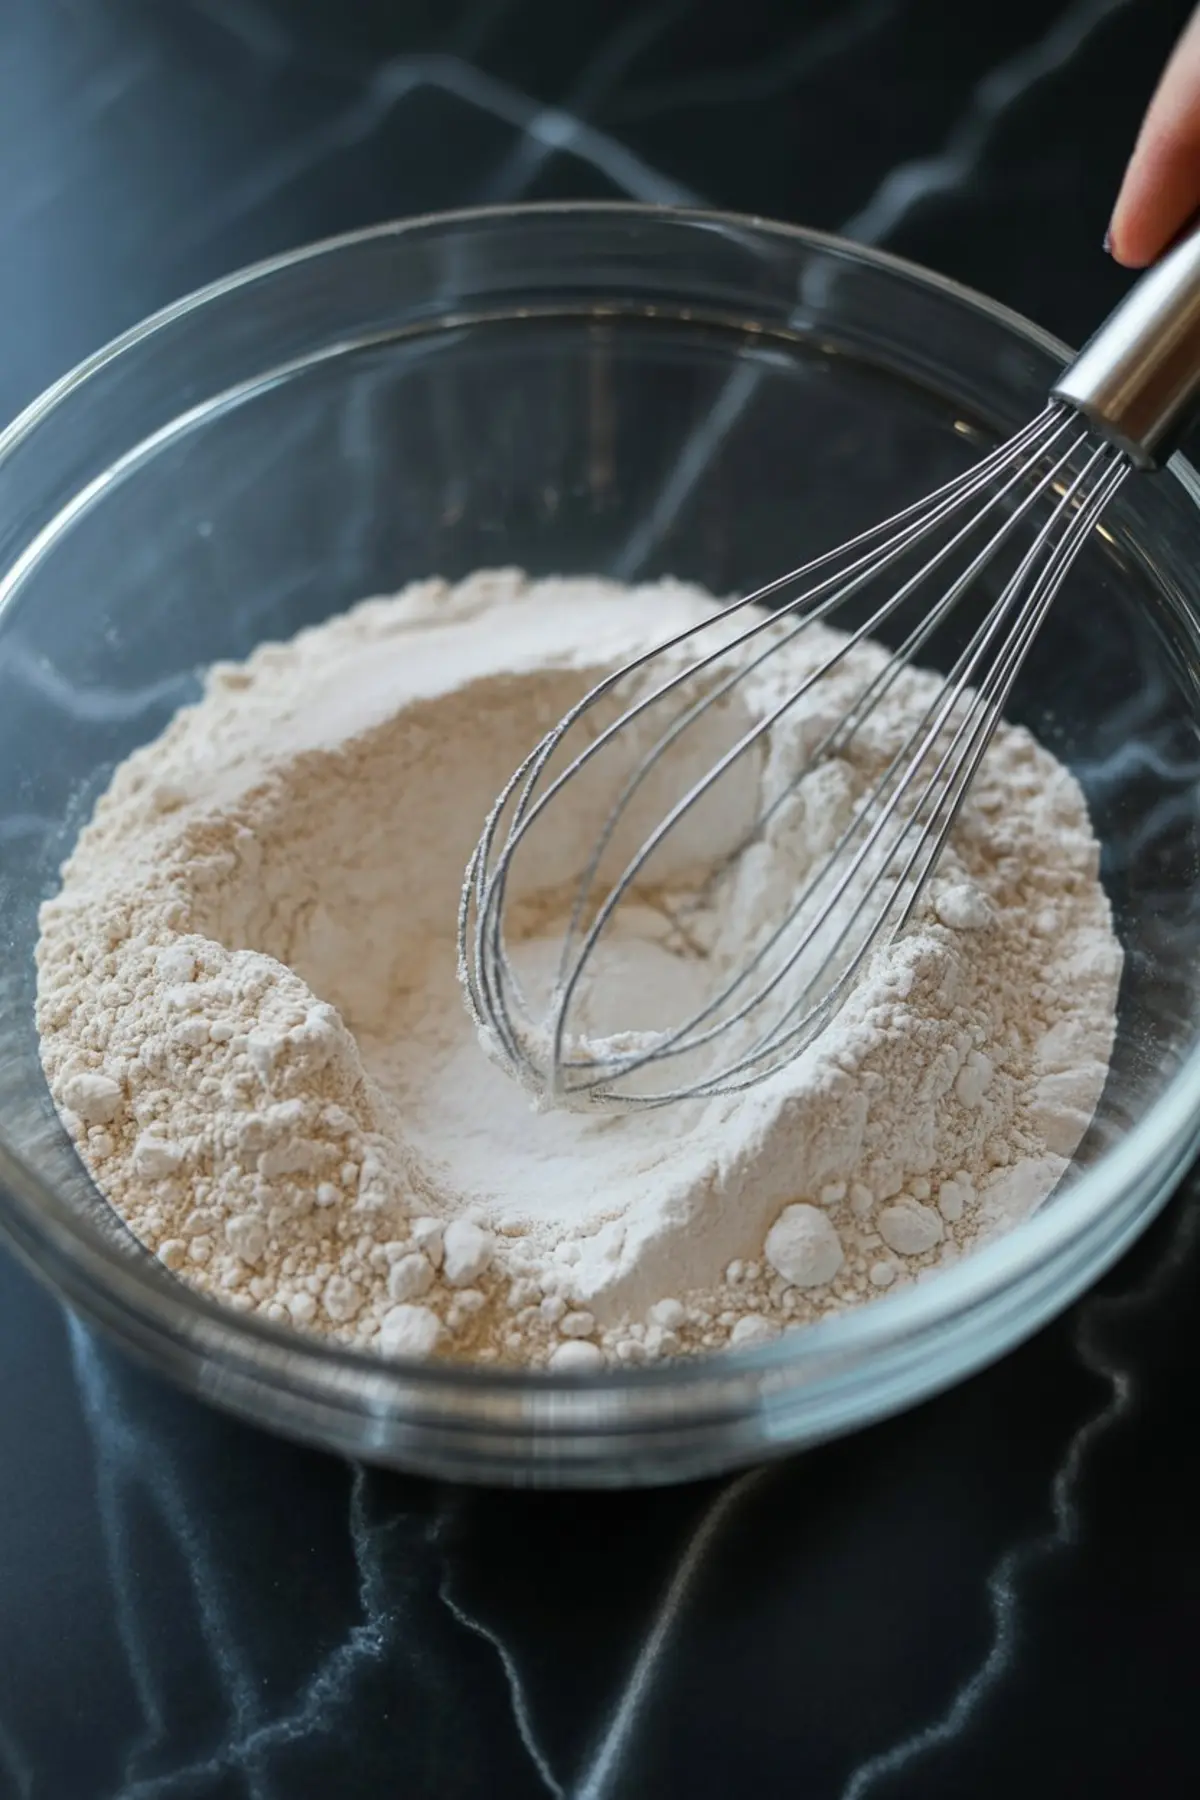
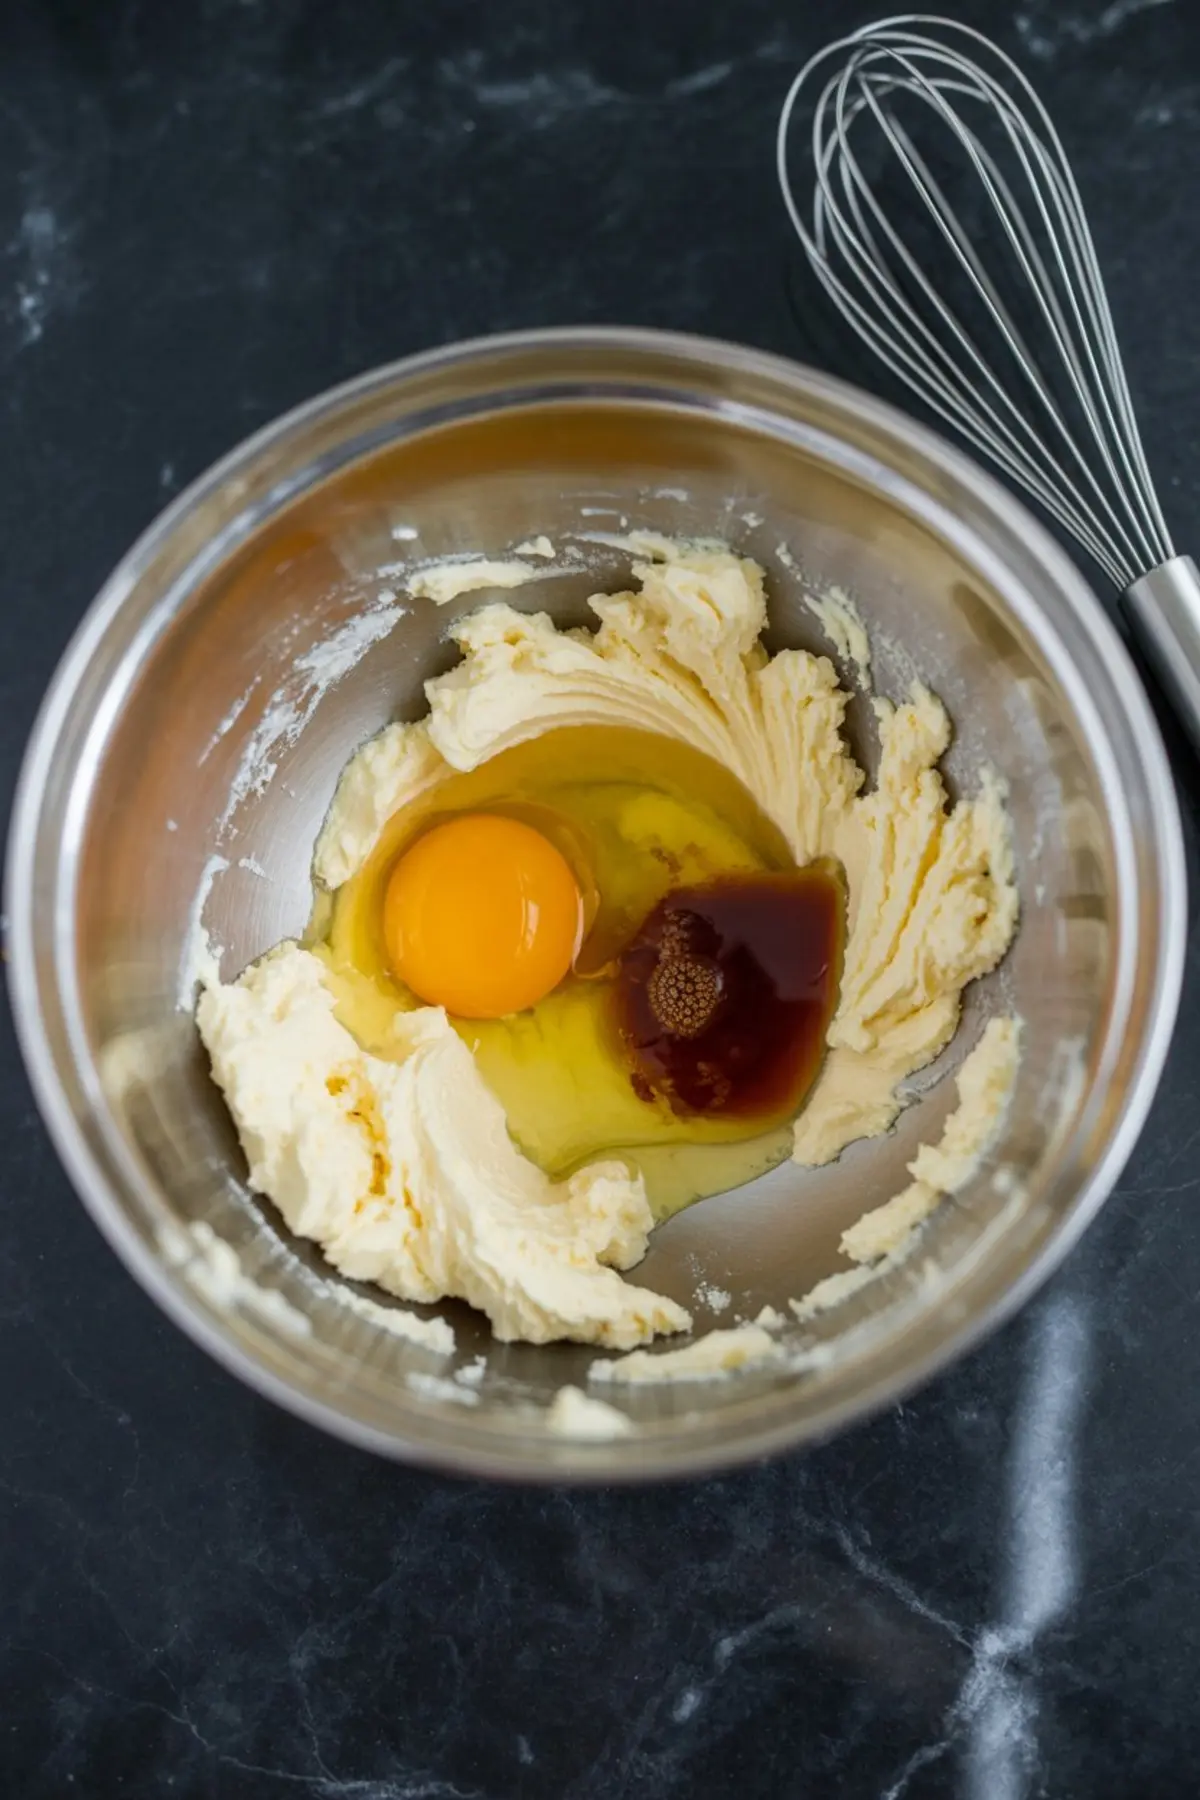
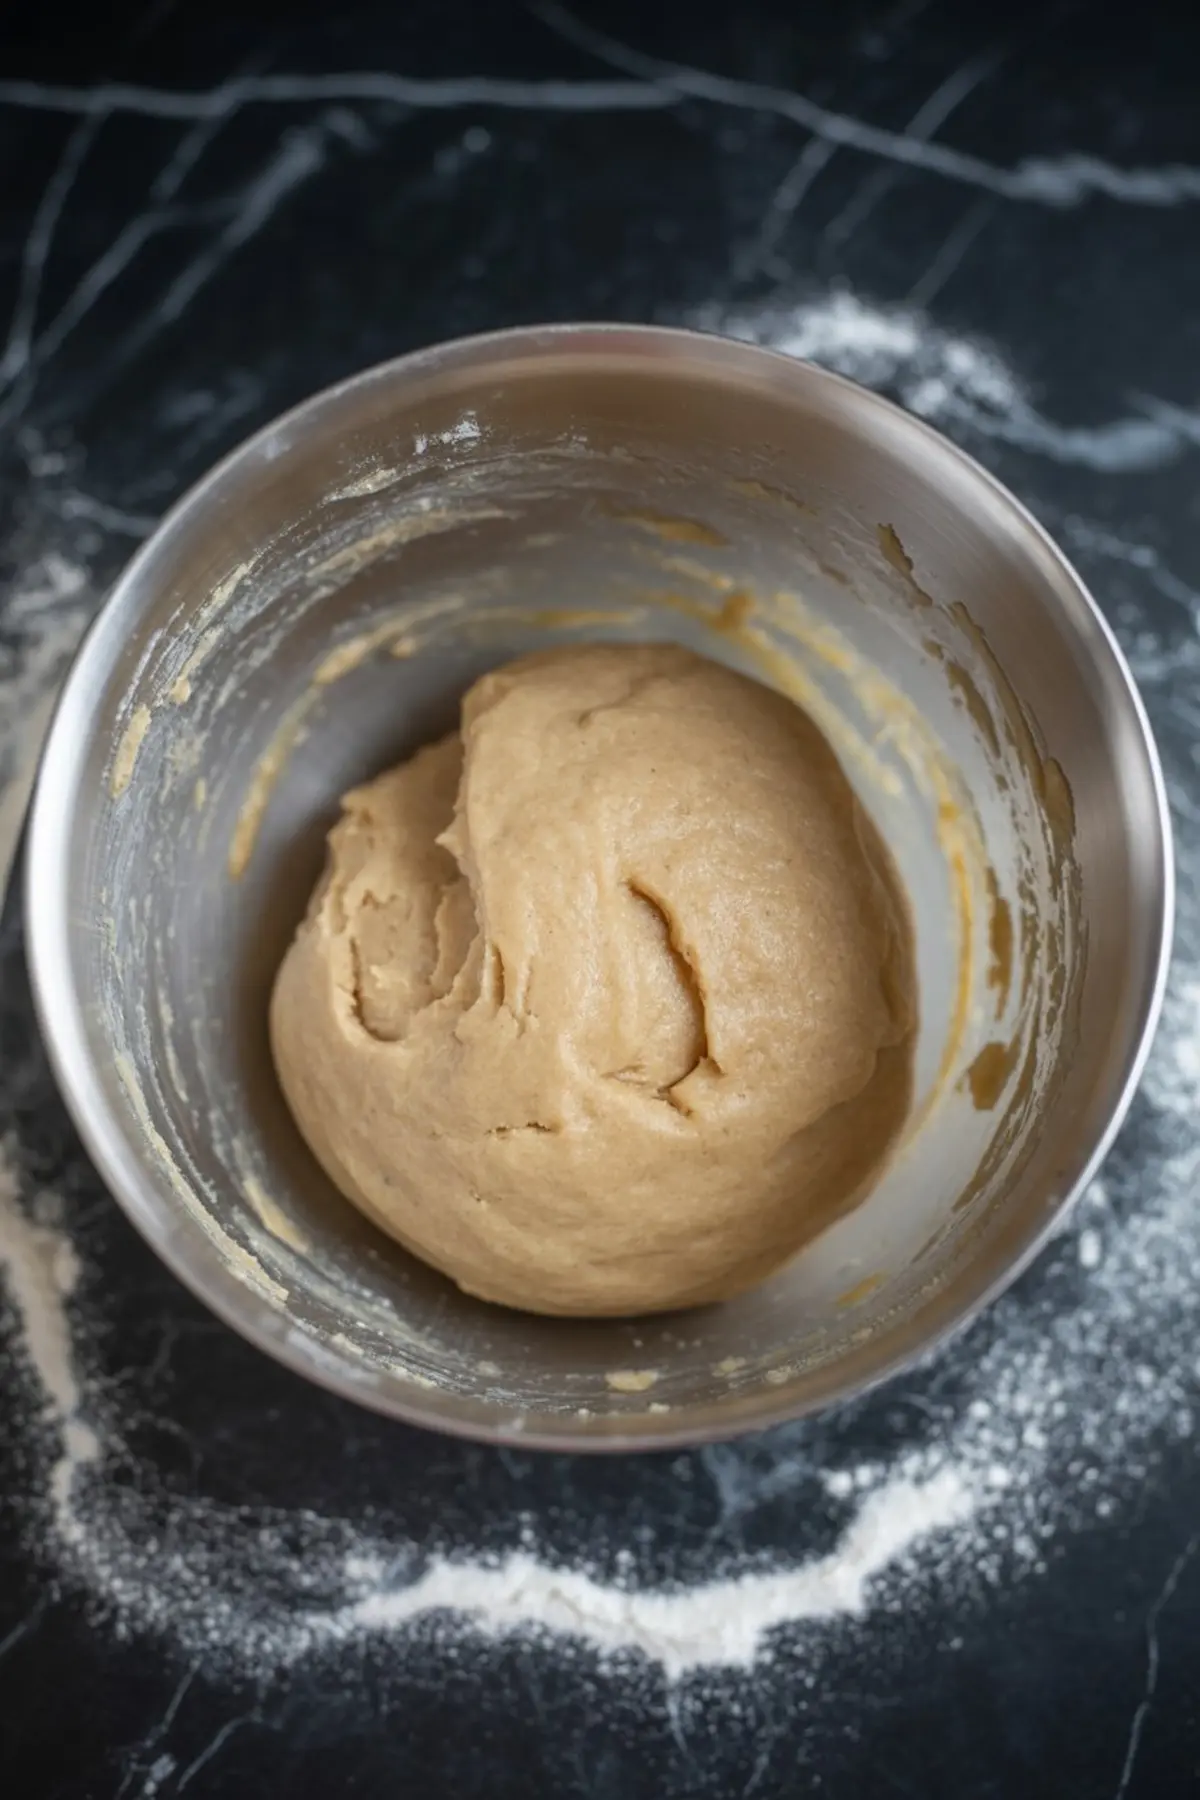
Once the egg and vanilla go in, the dough starts to come together in a silky, almost whipped form. The dry mix—flour, baking powder, and salt—gets folded in next. It might feel a little soft at first. If it does, don’t skip the chill. Even 20 minutes in the fridge firms it up just enough to shape cleanly.
I’ve tested these with both strawberry and raspberry jam. Raspberry looks more realistic if you want a bloodier touch, but I usually stick to strawberry for the flavor and easier cleanup. Either works, depending on the vibe you’re going for.
How To Shape Halloween Finger Cookies That Actually Look Real
This step is where things get fun. Each piece of dough should be rolled roughly finger-length, but not too wide. Keep in mind they’ll puff a little in the oven. Use a butter knife not a sharp one to gently indent knuckle lines in two places.
If you want to go all-in on creepy, press the dough slightly unevenly in a few places to make the fingers look gnarled. I like adding a little curve to mine. It adds character and they stack better on a tray.
Before baking, press a blanched almond at the tip for the nail. You can add a dab of jam underneath it for that unsettling effect, but don’t overdo it. Too much jam before baking and the cookie will slide around. Keep that detail for later, when the cookies have cooled slightly.
You can find more spooky cookie ideas like this in my post on healthy Halloween treats. Some are even gluten-free, in case you’re balancing different diets at your Halloween party.
Bake Time, Texture, and the Small Details That Matter
Set your oven at 350°F and use parchment-lined sheets. These bake fast—about 15 to 18 minutes—and you’ll know they’re done when the bottoms turn a light golden color.
Don’t wait for a hard edge. These should stay soft in the center. If they bake too long, they crack deeply and lose their shape. One tray always finishes faster in my oven, so I rotate halfway through.
Let the cookies cool slightly before adding the final touch. That’s the bloody detail. Spoon a little jam around the almond “nails” and drag it slightly down the cookie if you want more drama. It clings better once the cookies aren’t hot.
If you’re pulling together a whole snack table, these cookies go well with other spooky finger foods, especially bite-size savory items. It’s good to balance sweet and salty when hosting.
My Secret Ingredient for a Cookie That Surprises
Now, about that magic twist I mentioned.
It’s not in the flour or the jam—it’s the almond itself. But not just the look of it. I soak the blanched almonds for a few minutes in hot water with a splash of vanilla extract. Sounds small, but it makes them slightly softer and adds just enough fragrance that the “nail” doesn’t taste flat when someone bites into it.
The result is subtle. The almond still holds its shape, but it doesn’t feel out of place in a buttery cookie. And when someone bites into it thinking it’s just a prop? You’ve got them.
These small tricks turn Halloween food for party guests into something memorable. It’s not about making things difficult—it’s about paying attention to texture, scent, and just enough surprise to make people come back for seconds.
If you’re looking for more scary Halloween cookies to serve alongside these, I’d pair them with something chocolate-based like Halloween chocolate chip cookies or a spooky cookie bar. Keeps the tray colorful and varied.
Final Tips and One Handy Comparison
A quick note on the butter. I’ve made these with both European-style butter and standard sticks from the store. European butter has higher fat and gives a richer flavor, but spreads just a little more. If you want sharper definition, go with regular. If you want melt-in-your-mouth results with a slightly more delicate edge, go with the good stuff.
That said, use what’s already in your fridge. These don’t need to be fancy. They need to be fun, flavorful, and firm enough to pick up without breaking.
Try pairing these with other fall treats like pumpkin bars or spooky snacks that kids can help decorate. The full spread becomes a conversation starter without much extra work.
Save This Recipe and Share Your Version
Planning a Halloween party? Save this recipe on your Pinterest board so you can find it later. I’d love to hear how yours turned out—did you go spooky or funny with the look?
Tell me in the comments if you used strawberry or raspberry jam, or if you added a little food coloring for extra drama. And if you’ve got questions about shaping, chilling, or adjusting the texture, ask away. I check in often and I’m always curious how others give these their own twist.
Happy baking, and keep the jam off your sleeves.
Halloween Finger Cookies
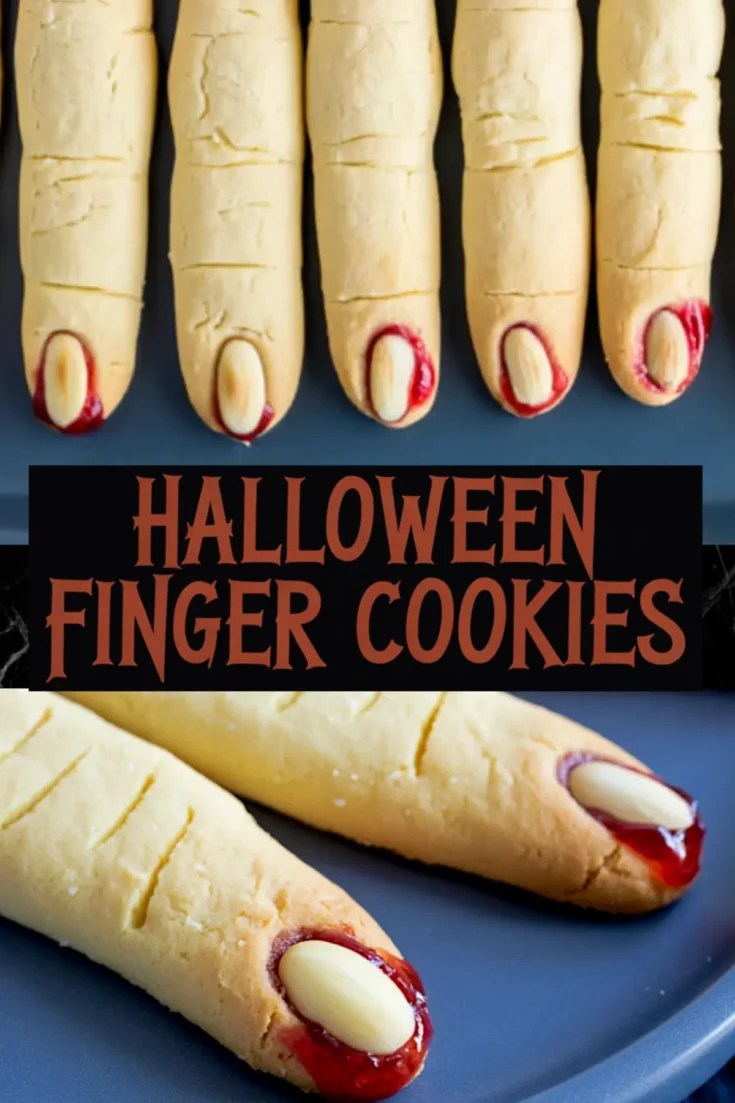
Halloween Finger Cookies look frighteningly real but taste buttery and sweet. These cookies are shaped like fingers with almond “nails” and strawberry jam for a spooky, bloody effect. They make a fun and playful treat for Halloween gatherings.
Ingredients
- 1 cup unsalted butter, softened
- 1 cup powdered sugar, sifted
- 1 large egg
- 1 teaspoon vanilla extract
- 2 ¾ cups all-purpose flour
- 1 teaspoon baking powder
- ¼ teaspoon salt
- 24 whole blanched almonds
- ½ cup strawberry jam
Instructions
PREHEAT OVEN: Preheat the oven to 350°F (175°C). Line two baking sheets with parchment paper.
CREAM BUTTER AND SUGAR: In a large bowl, beat the softened butter and powdered sugar together until light and fluffy.
ADD WET INGREDIENTS: Beat in the egg and vanilla extract until fully combined.
MIX DRY INGREDIENTS: In a separate bowl, whisk together the flour, baking powder, and salt. Gradually add the dry mixture to the butter mixture, mixing until a soft dough forms. If the dough is sticky, chill it in the refrigerator for 20 minutes.
SHAPE THE FINGERS: Scoop tablespoon-sized portions of dough and roll each into a log about the length and width of a finger. Use a butter knife to press shallow lines across each log to create knuckles.
ADD THE NAILS: Press a blanched almond into one end of each log to form a fingernail. For added effect, spread a small amount of strawberry jam under the almond before pressing it in.
BAKE THE COOKIES: Arrange the fingers on the prepared baking sheets and bake for 15–18 minutes, until the edges are lightly golden.
ADD THE BLOODY DETAIL: Let the cookies cool slightly, then spoon a little strawberry jam around the almond nails for a bloody effect. Allow to cool completely before serving.
Notes
For a darker effect, use raspberry jam instead of strawberry.
Nutrition Information:
Yield:
24Serving Size:
1Amount Per Serving: Calories: 168Total Fat: 9gSaturated Fat: 5gTrans Fat: 0gUnsaturated Fat: 3gCholesterol: 28mgSodium: 55mgCarbohydrates: 20gFiber: 1gSugar: 8gProtein: 2g
