
You won’t need a second backup crust with this one. This gluten free pie dough delivers both the structure and the flake. I’ve tested it across sweet fillings, savory bakes, and even on a warm July afternoon when the butter tried to fight back. It still held. And tasted like it belonged on a bakery shelf.
Today, you’ll get my method for a golden, crisp crust that bends without breaking. You’ll understand why cold butter matters, and how to adjust the dough if it looks too dry or too sticky. You’ll also find out what I quietly add to my flour before the water hits. It’s small, but it changes everything.
Let’s start with confidence. This isn’t just another gluten free pie crust recipe that leaves you with crumbles in your pie pan. You can roll this one out, shape it, lift it into the dish, and it won’t fall apart. I’ve walked readers through many crusts before, and this one finally hit the mark. One crust pie recipes need a dough like this: strong enough to bake solo, yet delicate enough to let fillings shine.
Cold Butter in Gluten Free Dough Makes or Breaks the Crust
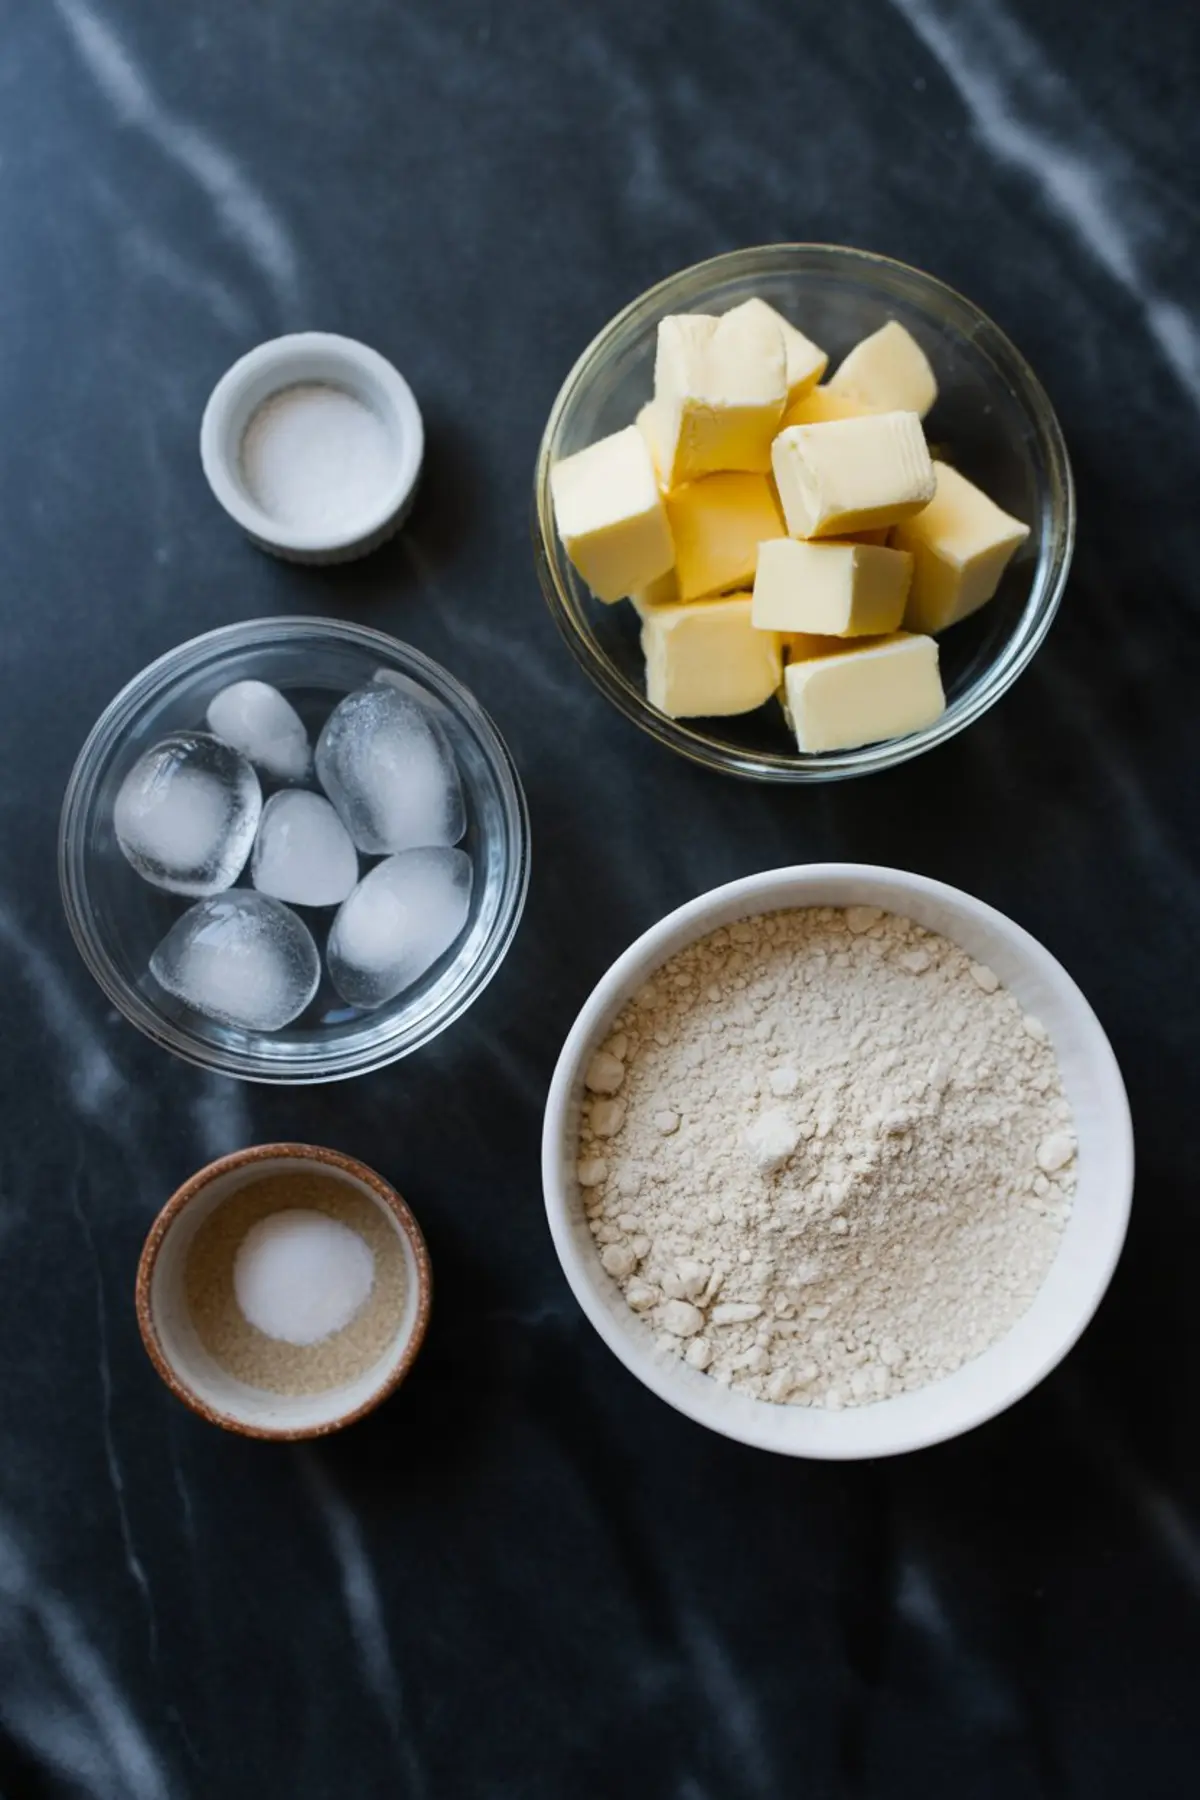
The texture starts with how you prep the butter. I cube it first, then chill it again. That second chill makes a big difference. If the butter starts melting while you mix, the dough turns heavy and flat.
Gluten free flours don’t absorb fat the same way wheat does. The butter needs to stay solid long enough to create pockets of air as it melts in the oven. That’s what gives you those golden flakes. My own notes show that anything warmer than fridge-cold yields a softer edge, less defined.
I’ve tried melting the butter into the flour for a short-cut method. It made the dough easier to press into the pan, but the result lacked lift. If you’ve ever made a dairy free pie crust, you might’ve noticed how hard it is to get that light, buttery texture. Cold butter gets you closest.
Choose the Right Flour Blend for Structure and Flavor
Not all gluten free flours behave the same. For this gf pie crust recipe, I use a blend that includes rice flour, tapioca, and potato starch. It gives structure without tasting gritty. I avoid anything with too much bean flour—it can take over the flavor.
Add a bit of sugar to the dry mix if you’re going for a dessert crust. Leave it out if you’re filling this with quiche. This makes a great base for savory recipes too, especially if you’re looking for a gluten free quiche crust that doesn’t sink or crack.
If you’re curious about fillings, try pairing this with the creamy spiced filling in my vegan pumpkin pie recipe.
Add Ice Water Gradually to Avoid Gummy Dough
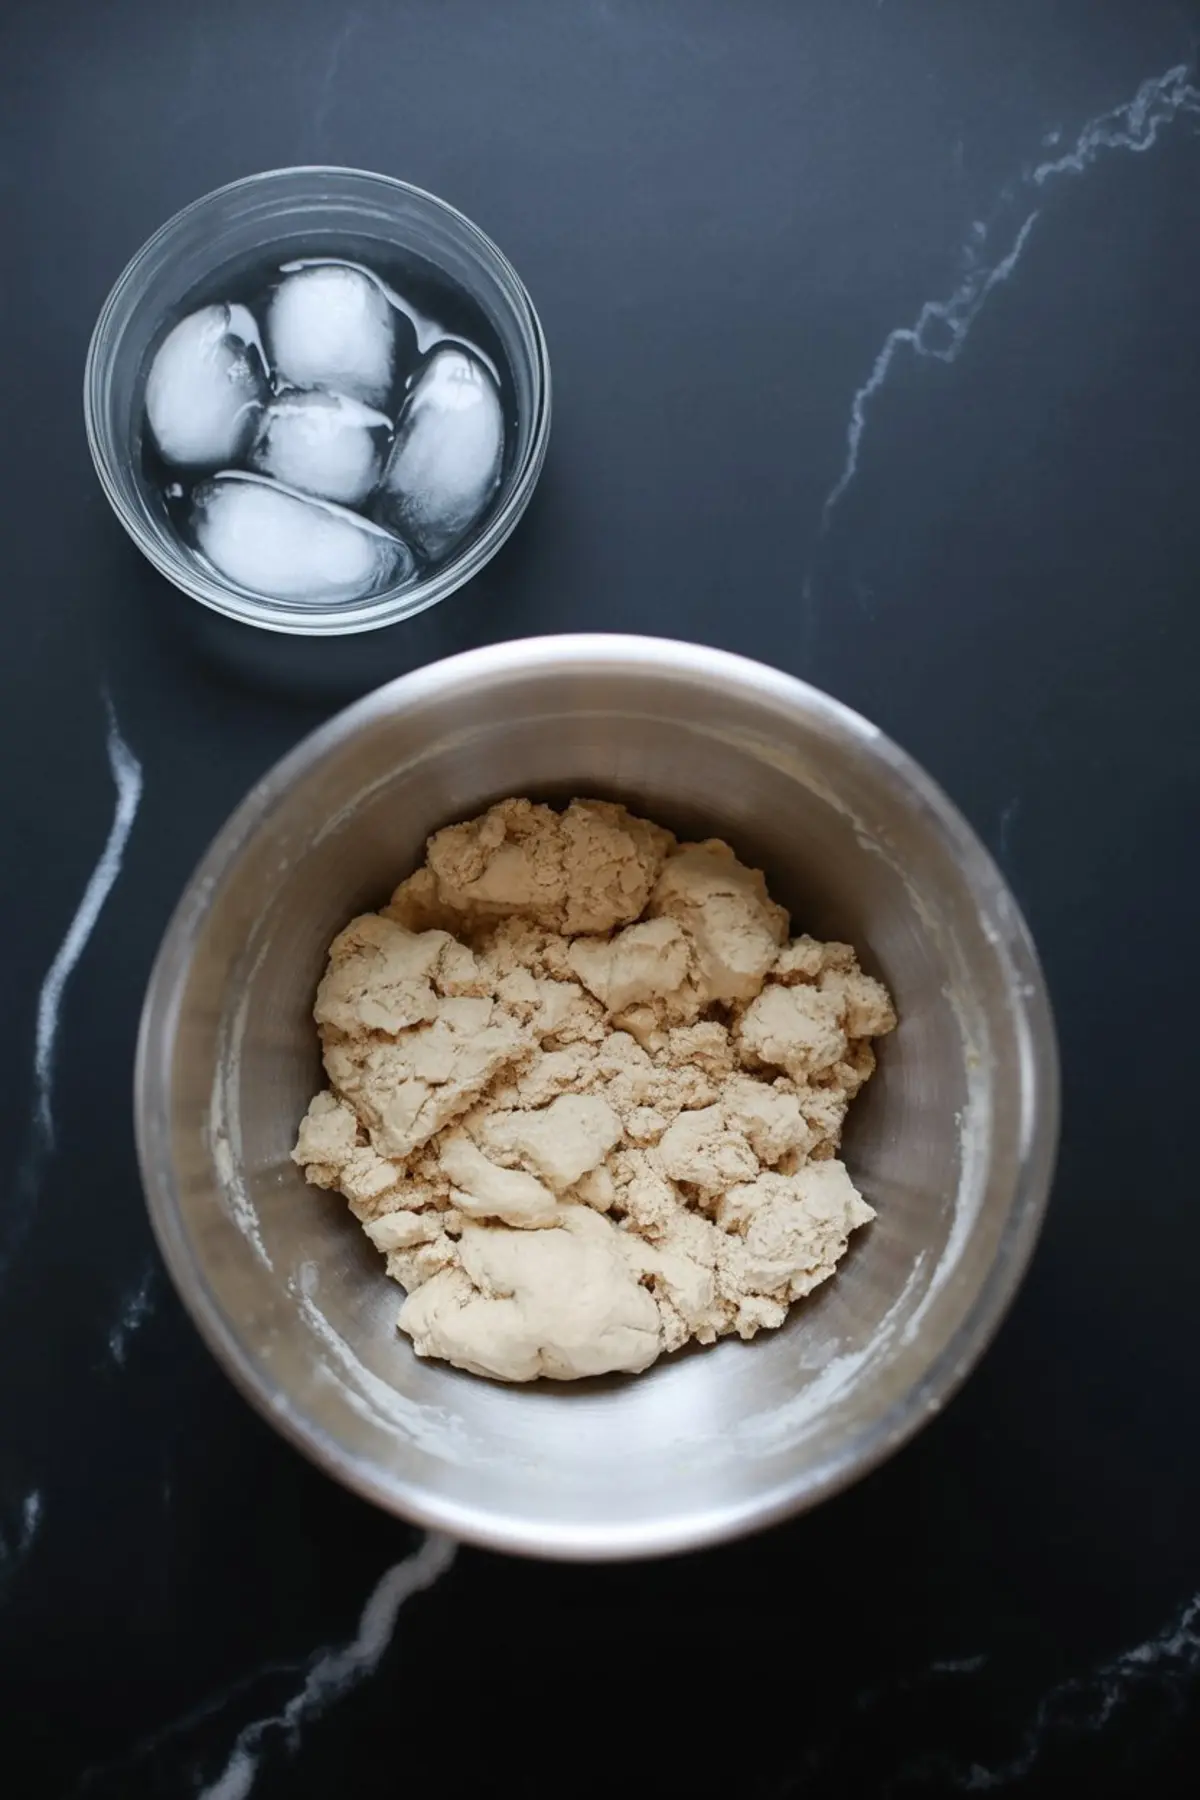
The water part trips up a lot of bakers. Four tablespoons usually do the trick, but the humidity that day matters. I always start with three, then stir gently and add more only if the mix still looks powdery.
If you overdo the water, you’ll get a sticky dough that clings to the parchment and rips. Too dry, and it won’t hold together when you try to form the disk. You’re looking for a shaggy texture that clumps when pressed.
Let it chill fully before rolling. That rest time is part of what makes this dough forgiving. And if it cracks? Press it gently back together. Don’t worry.
This is also a good place to mention a comparison I made last fall. I tested this crust against a coconut oil version while prepping a batch of keto cheesecake. The coconut oil worked fine for flavor, but the structure collapsed under heat. Butter wins here. Every time.
Rolling and Shaping Your Gluten Free Pastry Dough
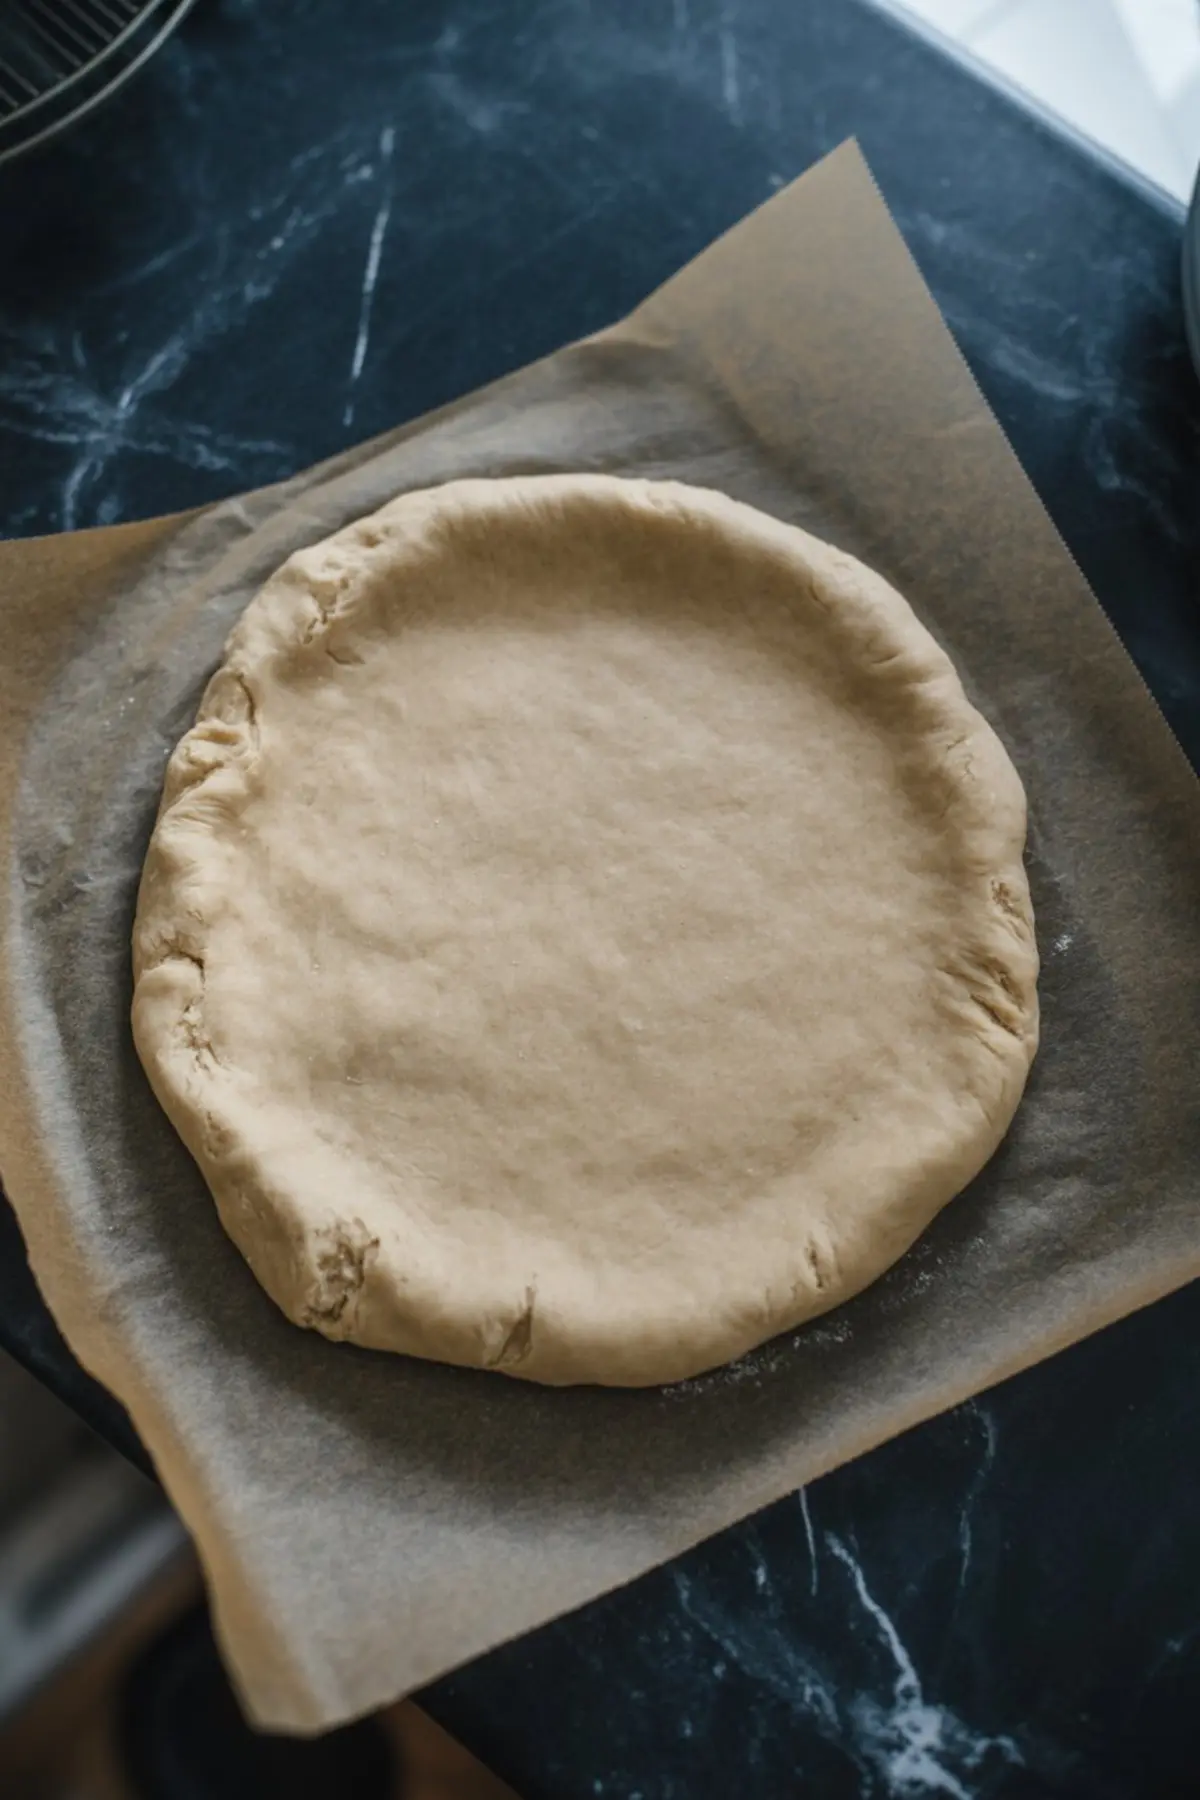
Rolling between parchment sheets solves a lot of common problems. You don’t need to flour the surface, and the dough doesn’t stick. I aim for a thickness just under 1/8 inch. It should feel flexible, not stiff.
Once it’s in the pie dish, trim and crimp as you like. This crust plays nice with decorative edges too. For blind baking, make sure to prick the base and use parchment with weights. This step stops bubbling and shrinkage.
Curious how it holds up to heavier fillings? Try it with a fruit filling that has more moisture. Or use it to anchor something custardy. It holds.
For a reliable base that pairs well with anything from spiced pumpkin to fresh berries, you can always count on this pie crust recipe to deliver.
The Secret Dash: Almond Flour for a Nutty Boost
Here’s what I hinted at earlier. A small spoon of almond flour added to the dry mix changes the entire flavor profile. It’s subtle, but you get a warm, toasted note that feels more like a bakery crust than a substitute.
I don’t always include it, but when I do, it reminds me of the pies my aunt used to bake—always nutty, always brown-edged, always good. If you’re working with a simple pie crust recipe, almond flour adds that something extra without complicating the texture.
Try it once and see. You might never skip it again.
Save This Recipe for Later and Share Your Crust Wins
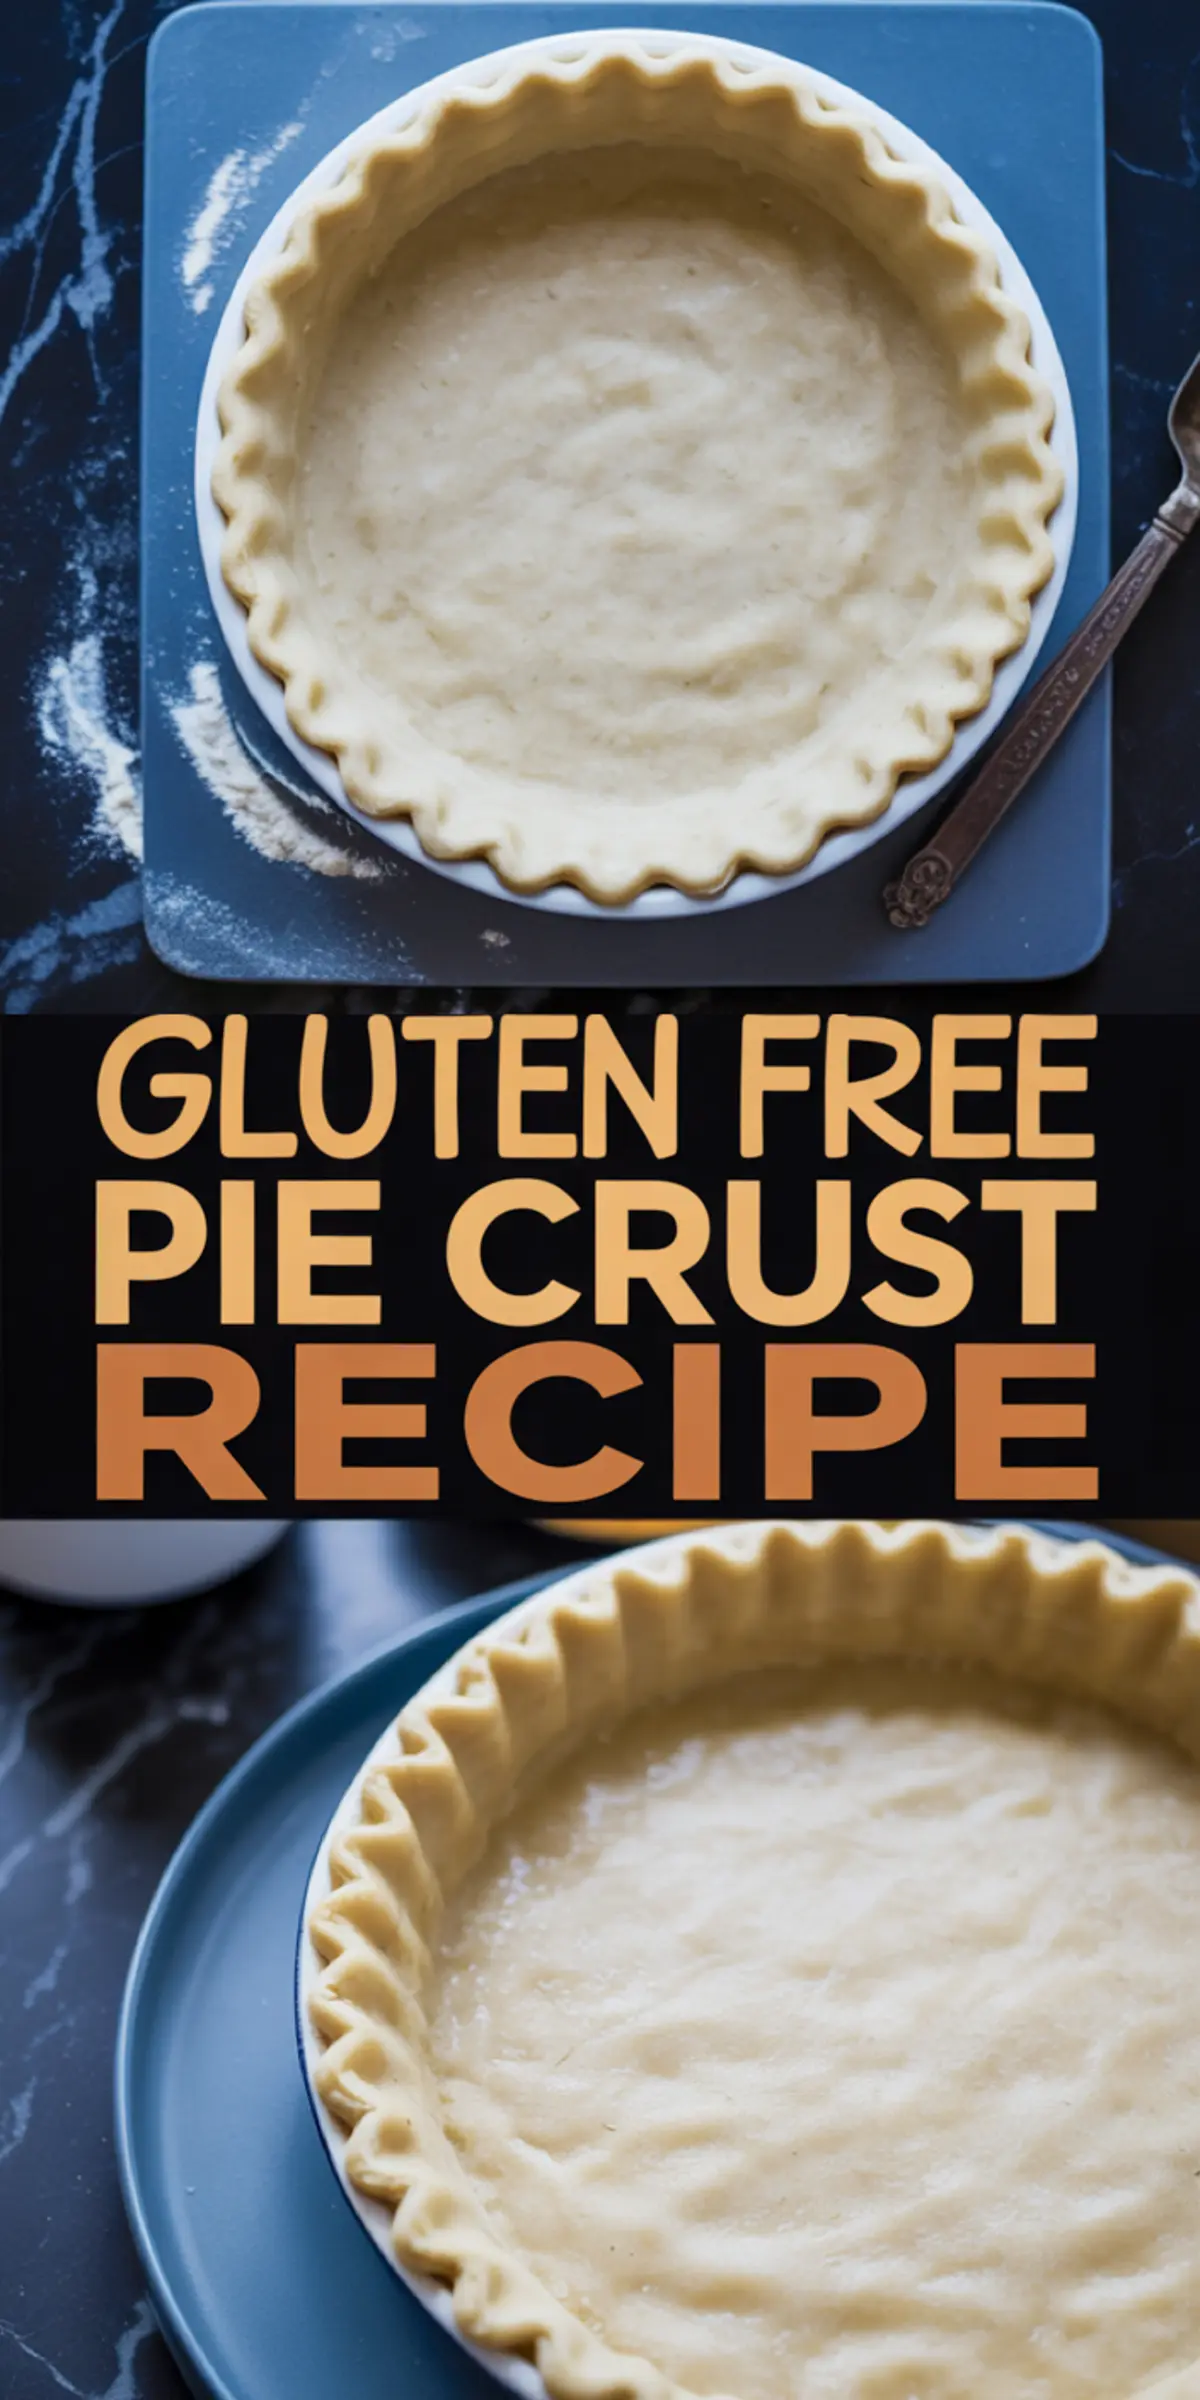
If you’ve been searching for a gluten free pie crust that holds its shape, flakes just enough, and doesn’t crumble on the way to the table, this is the one to pin.
Save it now to your board so you’re ready for every pie season. And I’d love to know how it worked for you—drop a comment if you added the almond flour, or if you tried it with a different filling. Let’s share tips and make gluten free baking easier for everyone.
Gluten Free Pie Crust Recipe
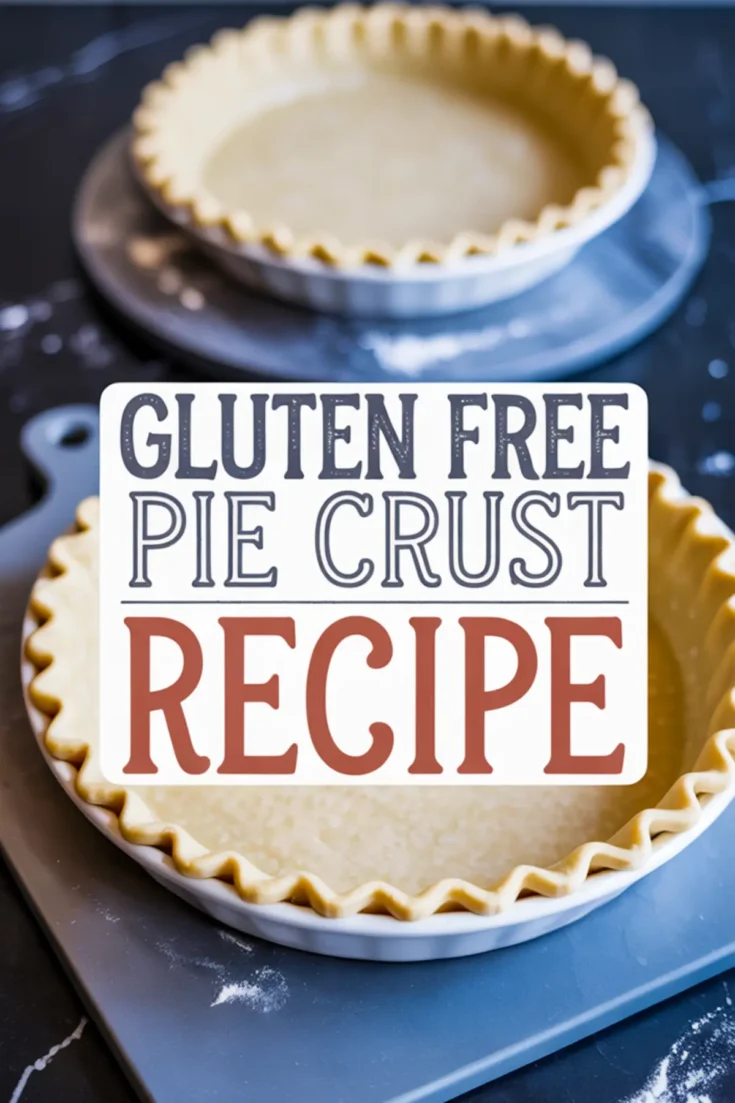
A golden, flaky pie crust that’s gluten-free and sturdy enough for any filling. Cold butter and a touch of ice water make the dough workable while keeping the texture tender and crisp.
Ingredients
- 1 ½ cups gluten-free all-purpose flour blend
- ½ teaspoon salt
- 1 tablespoon sugar (optional)
- ½ cup unsalted butter, cold and cut into small cubes
- 4–6 tablespoons ice water
Instructions
PREPARE THE BUTTER: Cut the butter into small cubes and place it back in the refrigerator while preparing the dry ingredients. Keeping the butter cold helps create a flaky crust.
MIX THE DRY INGREDIENTS: In a large mixing bowl, whisk together the gluten-free flour blend, salt, and sugar if using. This ensures the ingredients are evenly distributed.
CUT IN THE BUTTER: Add the chilled butter to the flour mixture. Use a pastry cutter or your fingertips to work the butter into the flour until the mixture resembles coarse crumbs with some pea-sized pieces.
ADD THE WATER: Drizzle in the ice water one tablespoon at a time, stirring gently with a fork after each addition. Continue until the dough just begins to come together. It should look slightly shaggy but hold together when pressed.
FORM THE DOUGH: Gather the dough into a ball, then press it into a disk shape. Wrap it tightly in plastic wrap and refrigerate for 45 minutes to allow it to firm up and rest.
ROLL OUT THE DOUGH: Place the chilled dough between two sheets of parchment paper. Roll it out into a circle about ? inch thick, large enough to fit a 9-inch pie dish.
FIT INTO THE DISH: Carefully transfer the rolled dough to the pie dish, pressing it gently into the bottom and sides. Trim any excess and crimp the edges as desired.
BLIND BAKE (IF NEEDED): For recipes that require a pre-baked crust, prick the bottom of the dough with a fork. Line the crust with parchment paper and fill with pie weights. Bake at 375°F (190°C) for 15 minutes, then remove the parchment and weights before filling.
Notes
For a nuttier flavor, substitute part of the flour blend with almond flour. If the dough cracks while rolling, press it back together gently with your fingers.
Nutrition Information:
Yield:
1Serving Size:
1Amount Per Serving: Calories: 1545Total Fat: 94gSaturated Fat: 58gTrans Fat: 0gUnsaturated Fat: 31gCholesterol: 244mgSodium: 1101mgCarbohydrates: 156gFiber: 5gSugar: 13gProtein: 20g
