

There are recipes that whisper, and then there are the ones that stay with you like a voice in your kitchen. This pie crust falls into the second group. It’s the kind of crust that finally taught me the difference between making a pie and baking one that people remember. If you’ve ever stared at a cracked dough or a soggy bottom, I promise this one is worth learning. You’ll walk away with a crust that holds its shape, flakes beautifully, and tastes buttery without being greasy.
This post will show you exactly how I build this pie crust from the ground up. You’ll learn how to keep your butter cold, how much water to add (and when to stop), and why your hands matter more than the timer. There’s also one quiet trick I keep in my Pin Notebook that most recipes skip entirely. We’ll get there soon.
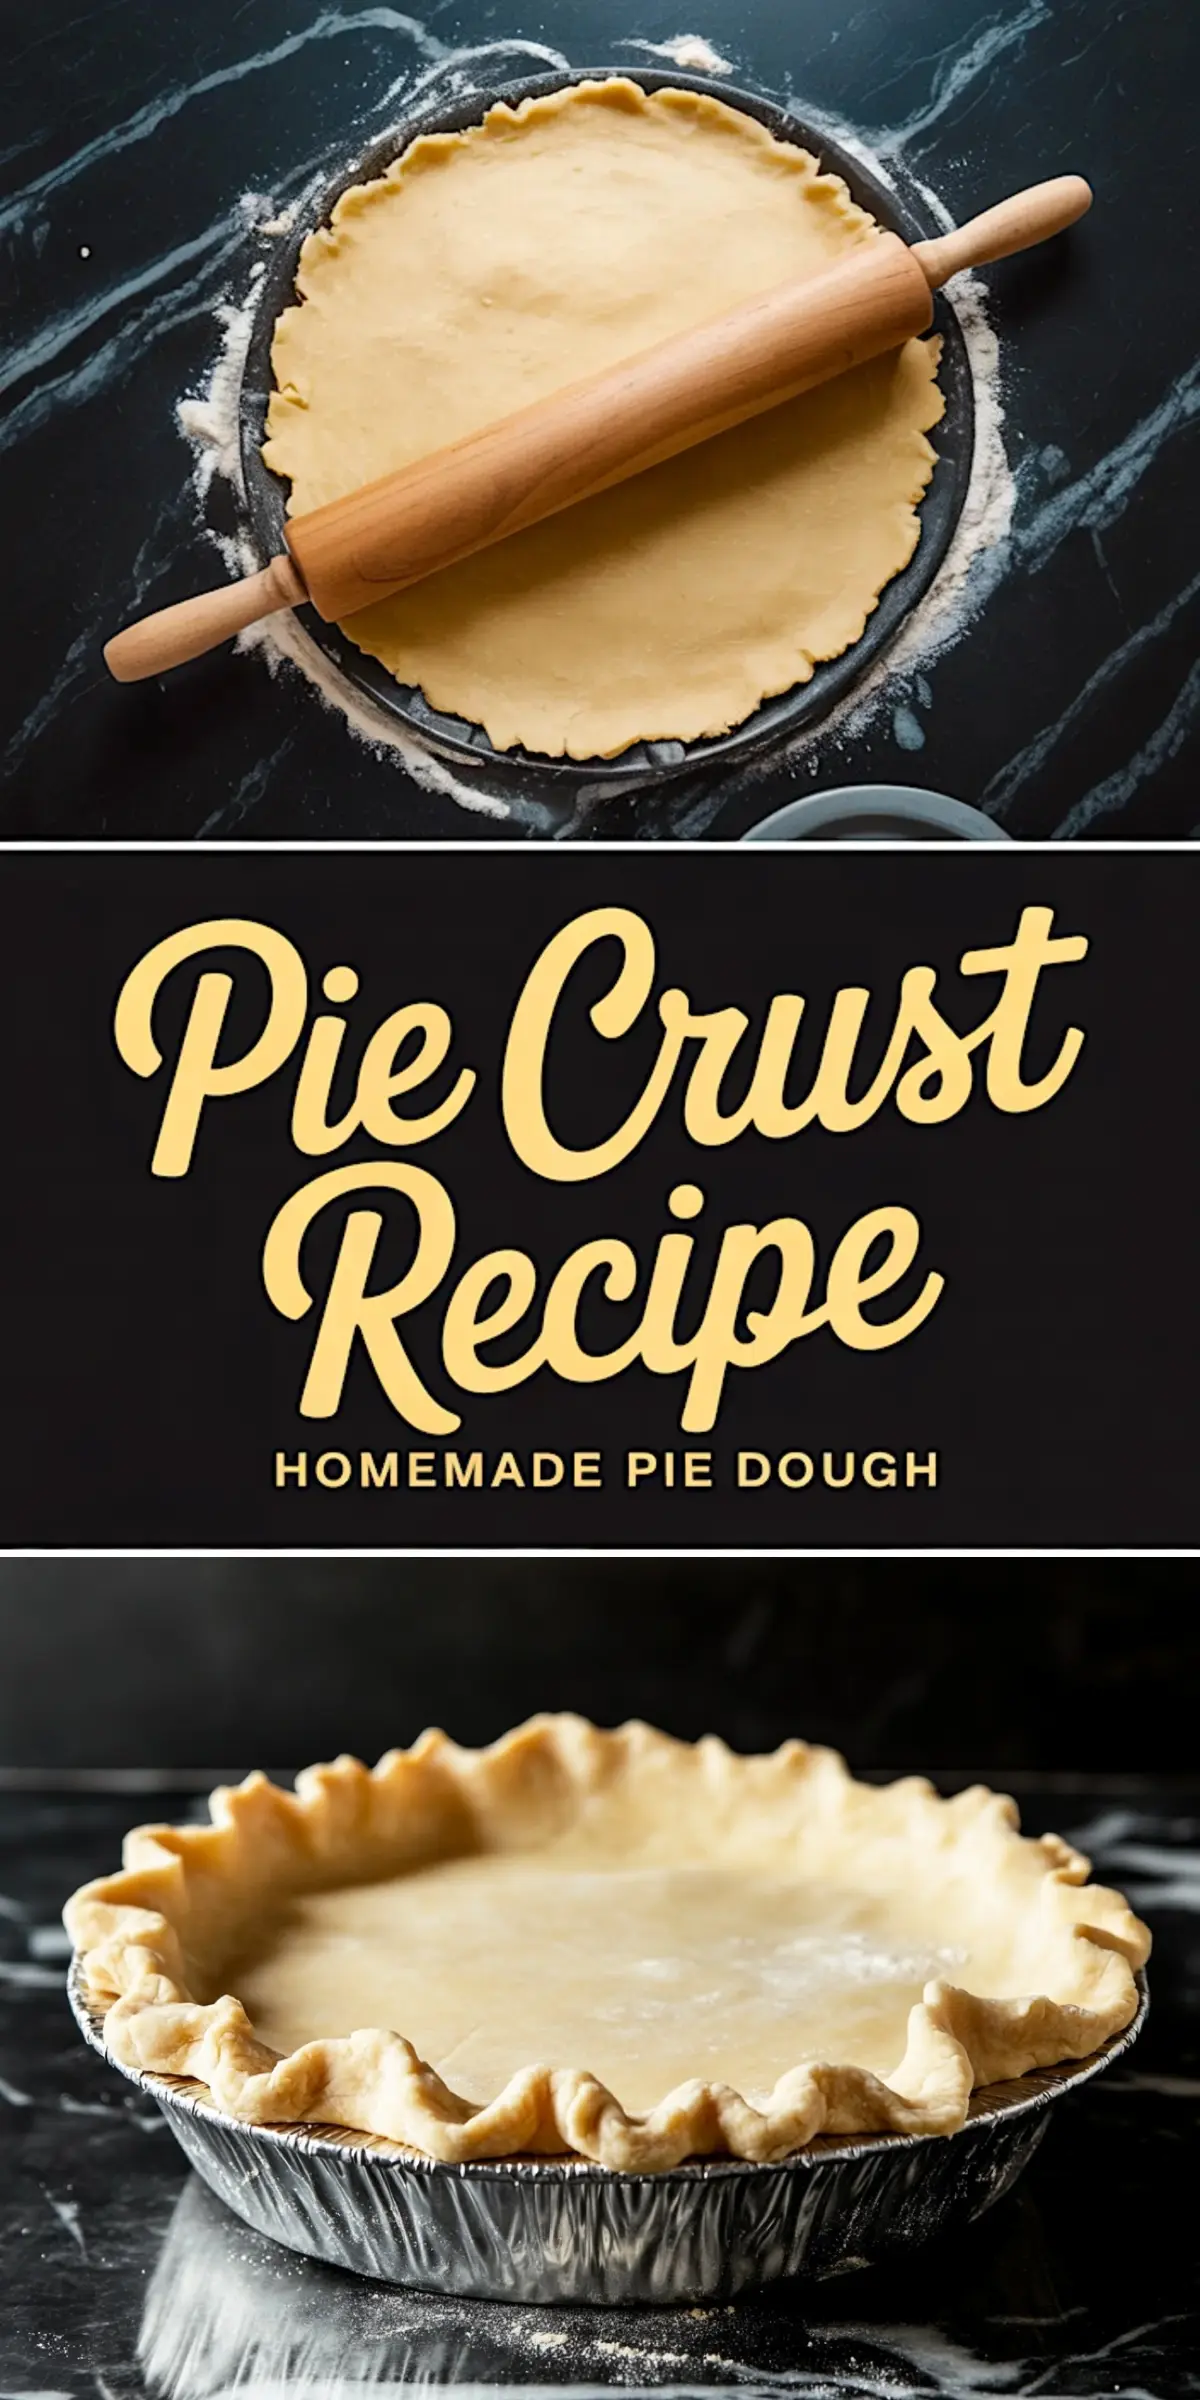
Why This Pie Crust Works Better Than Store-Bought
Most pie crusts from the freezer section lean too heavily on shortening or come out bland. They roll out easily, sure, but they bake up flat. Lifeless. I’ve tested dozens of crusts, including all-butter, half-shortening mixes, and even some with vinegar or vodka. But this version, made with cold butter and just enough ice water, always returns the best results. The difference shows up on the fork and again when someone asks for seconds.
If you’ve tried my Chocolate Cream Pie, then you know how much I care about a crust that supports without stealing the spotlight. That balance matters, especially with cream pie recipes and fruit-based pies alike.
Mixing the Dry Ingredients for the Crust
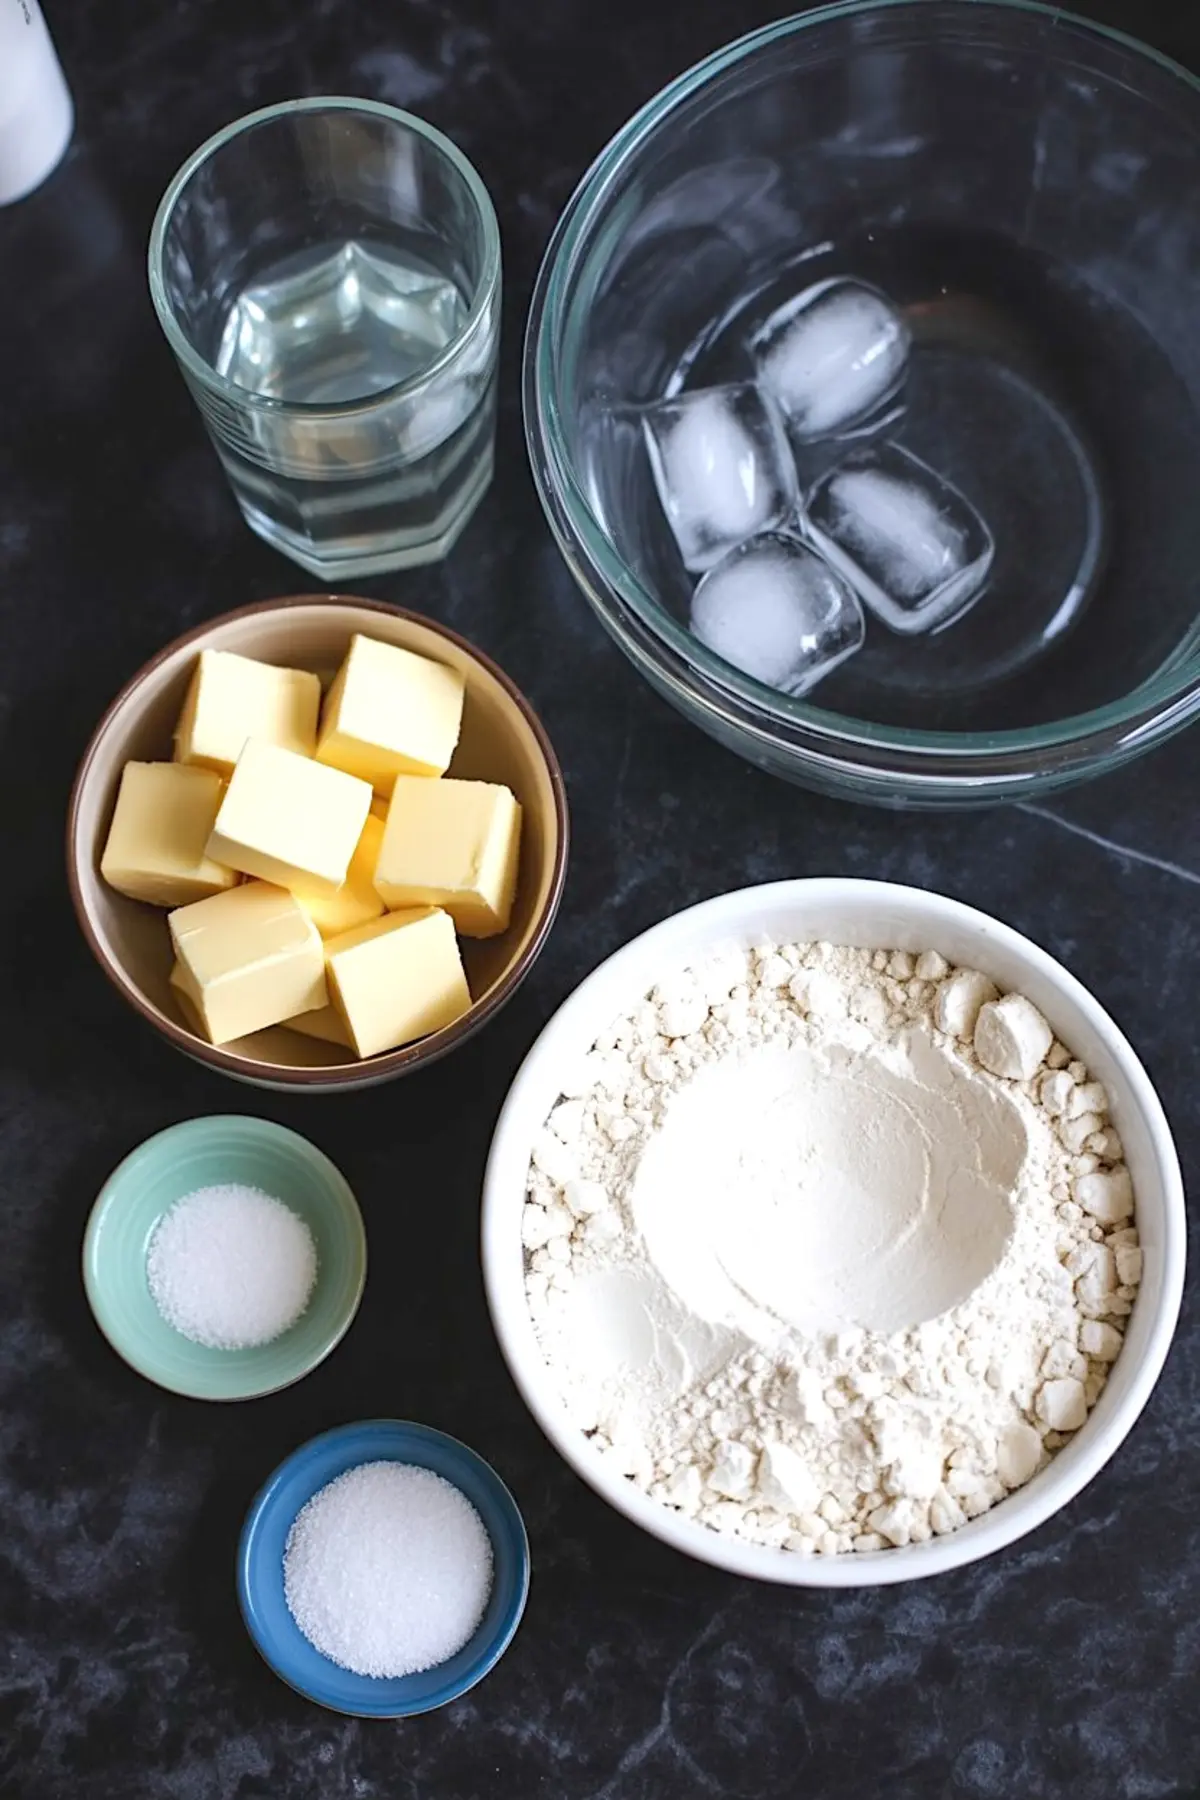
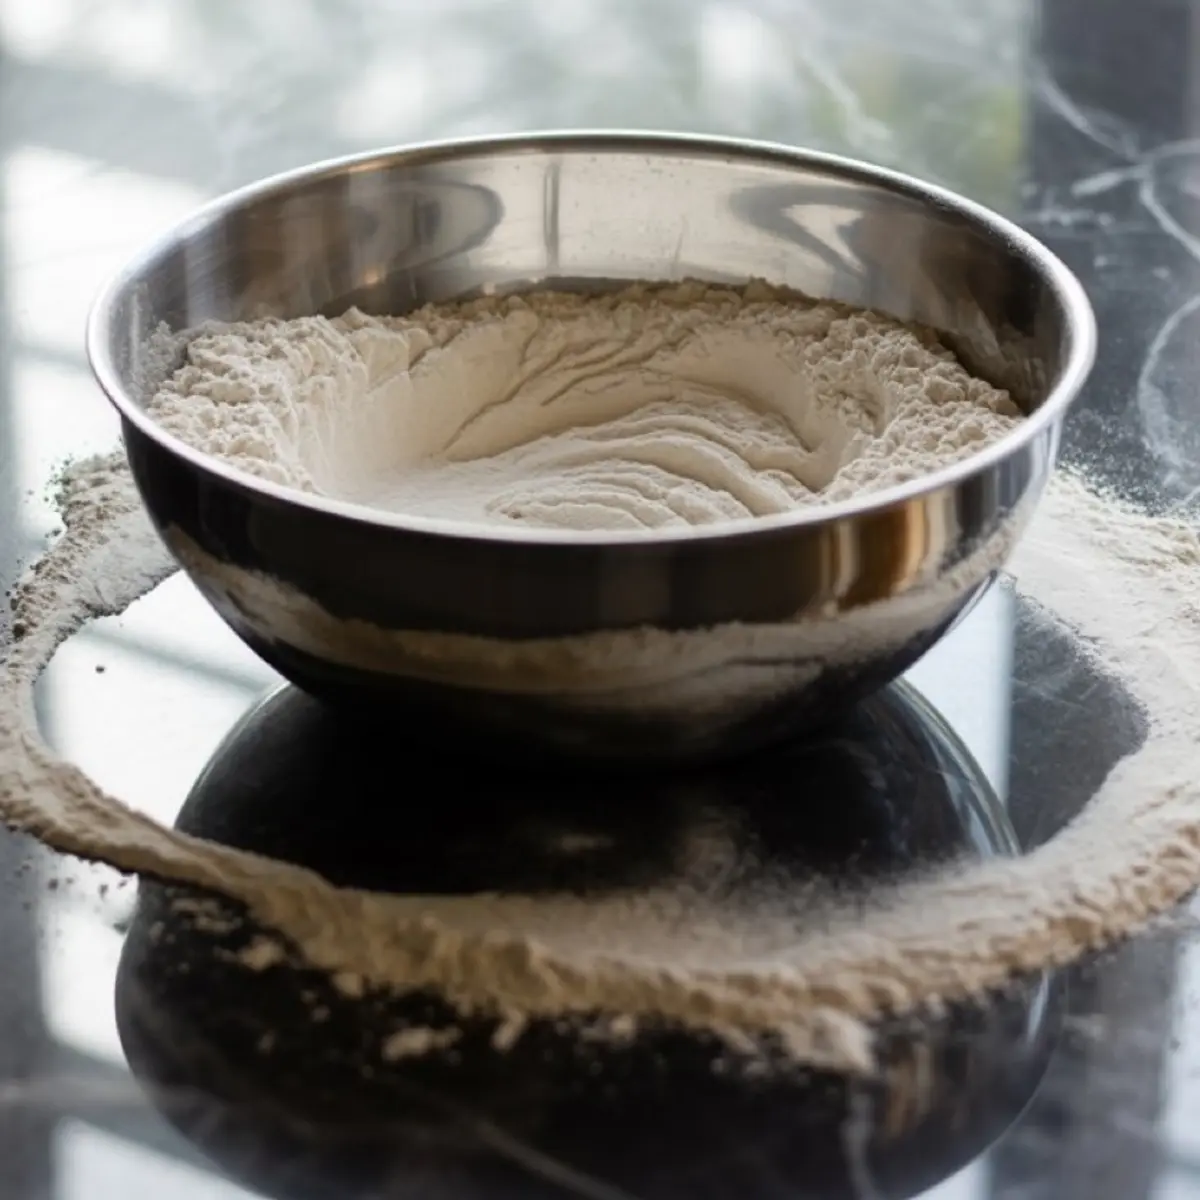
The base starts with flour, salt, and sugar. Just a fork and a bowl. I stir them to spread the salt evenly, which prevents salty patches in the finished crust. It’s a small step, but one I never skip.
I also sometimes chill the flour for ten minutes if the kitchen feels warm. It helps keep the butter cold longer and stops the dough from getting sticky too early.
Working the Butter Into the Flour
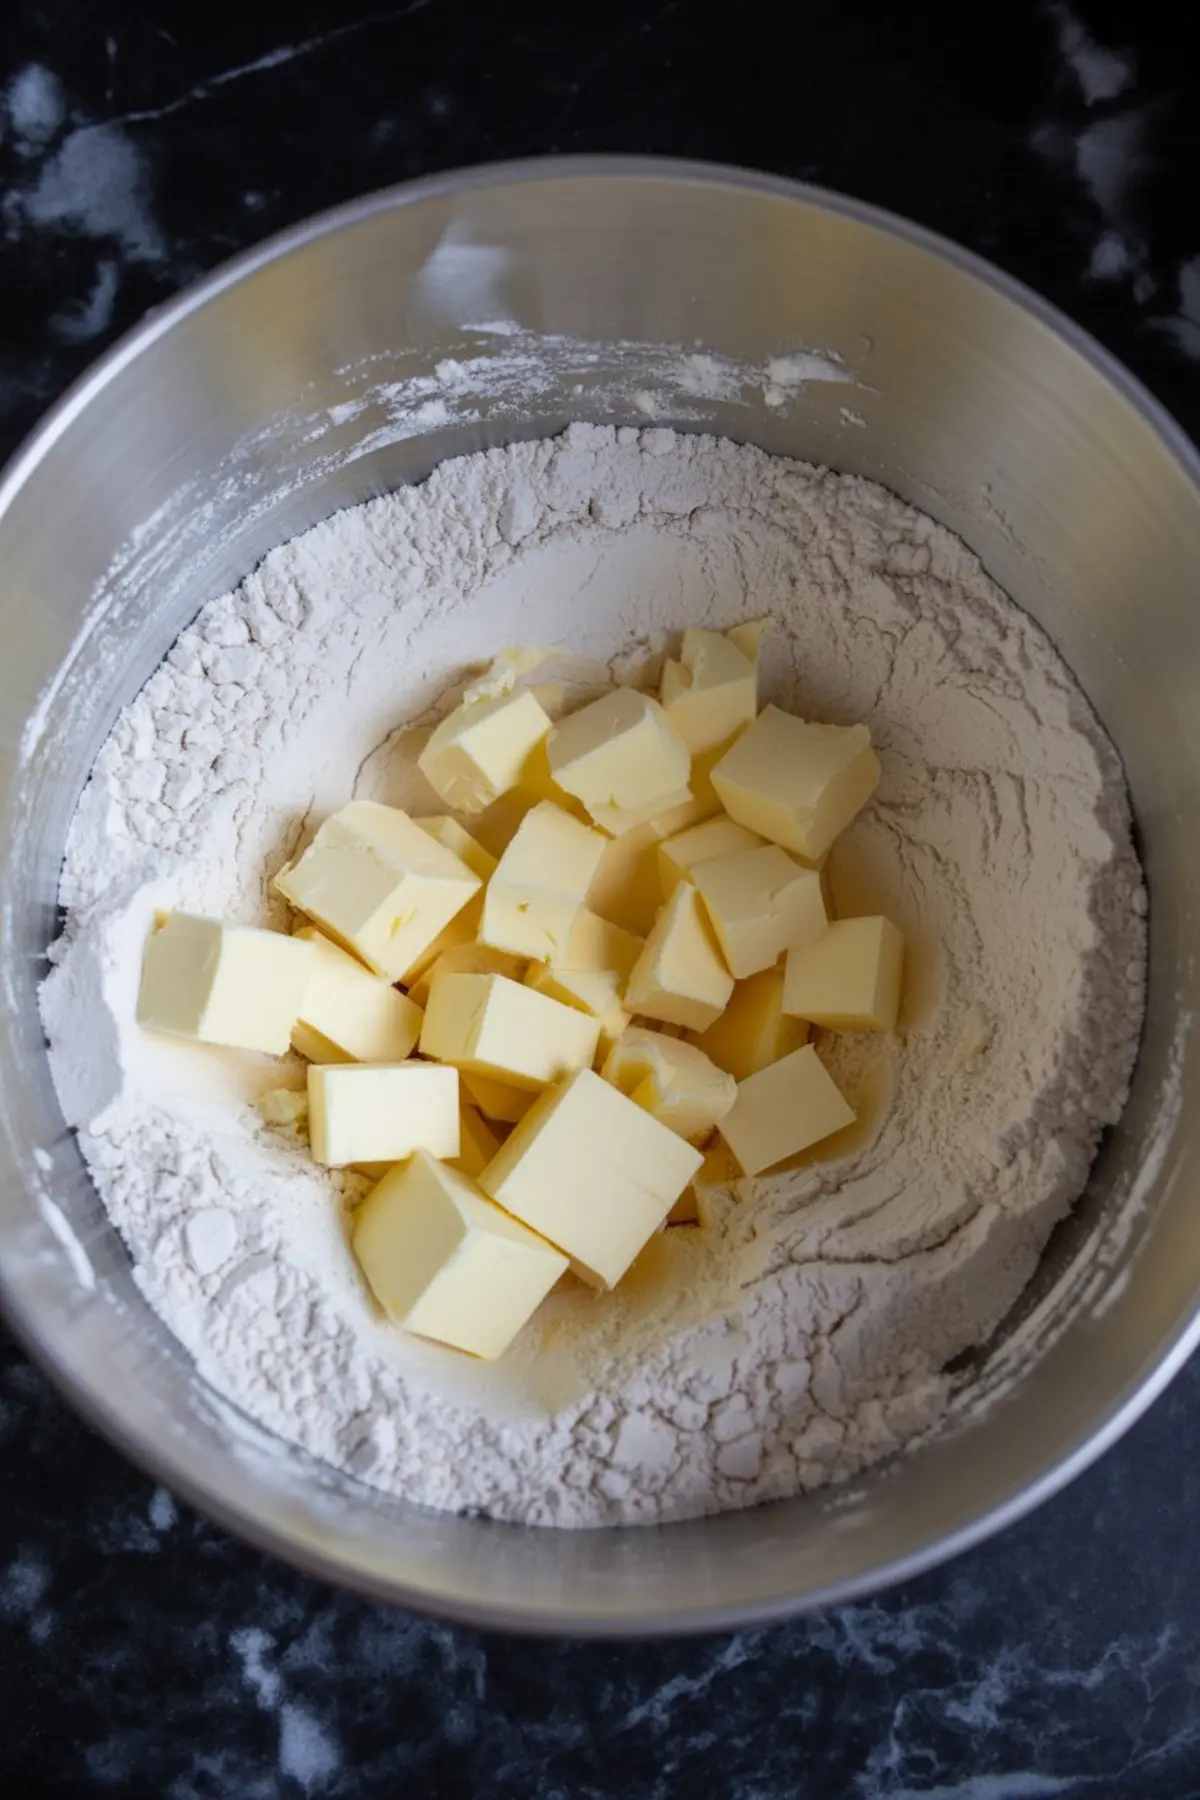
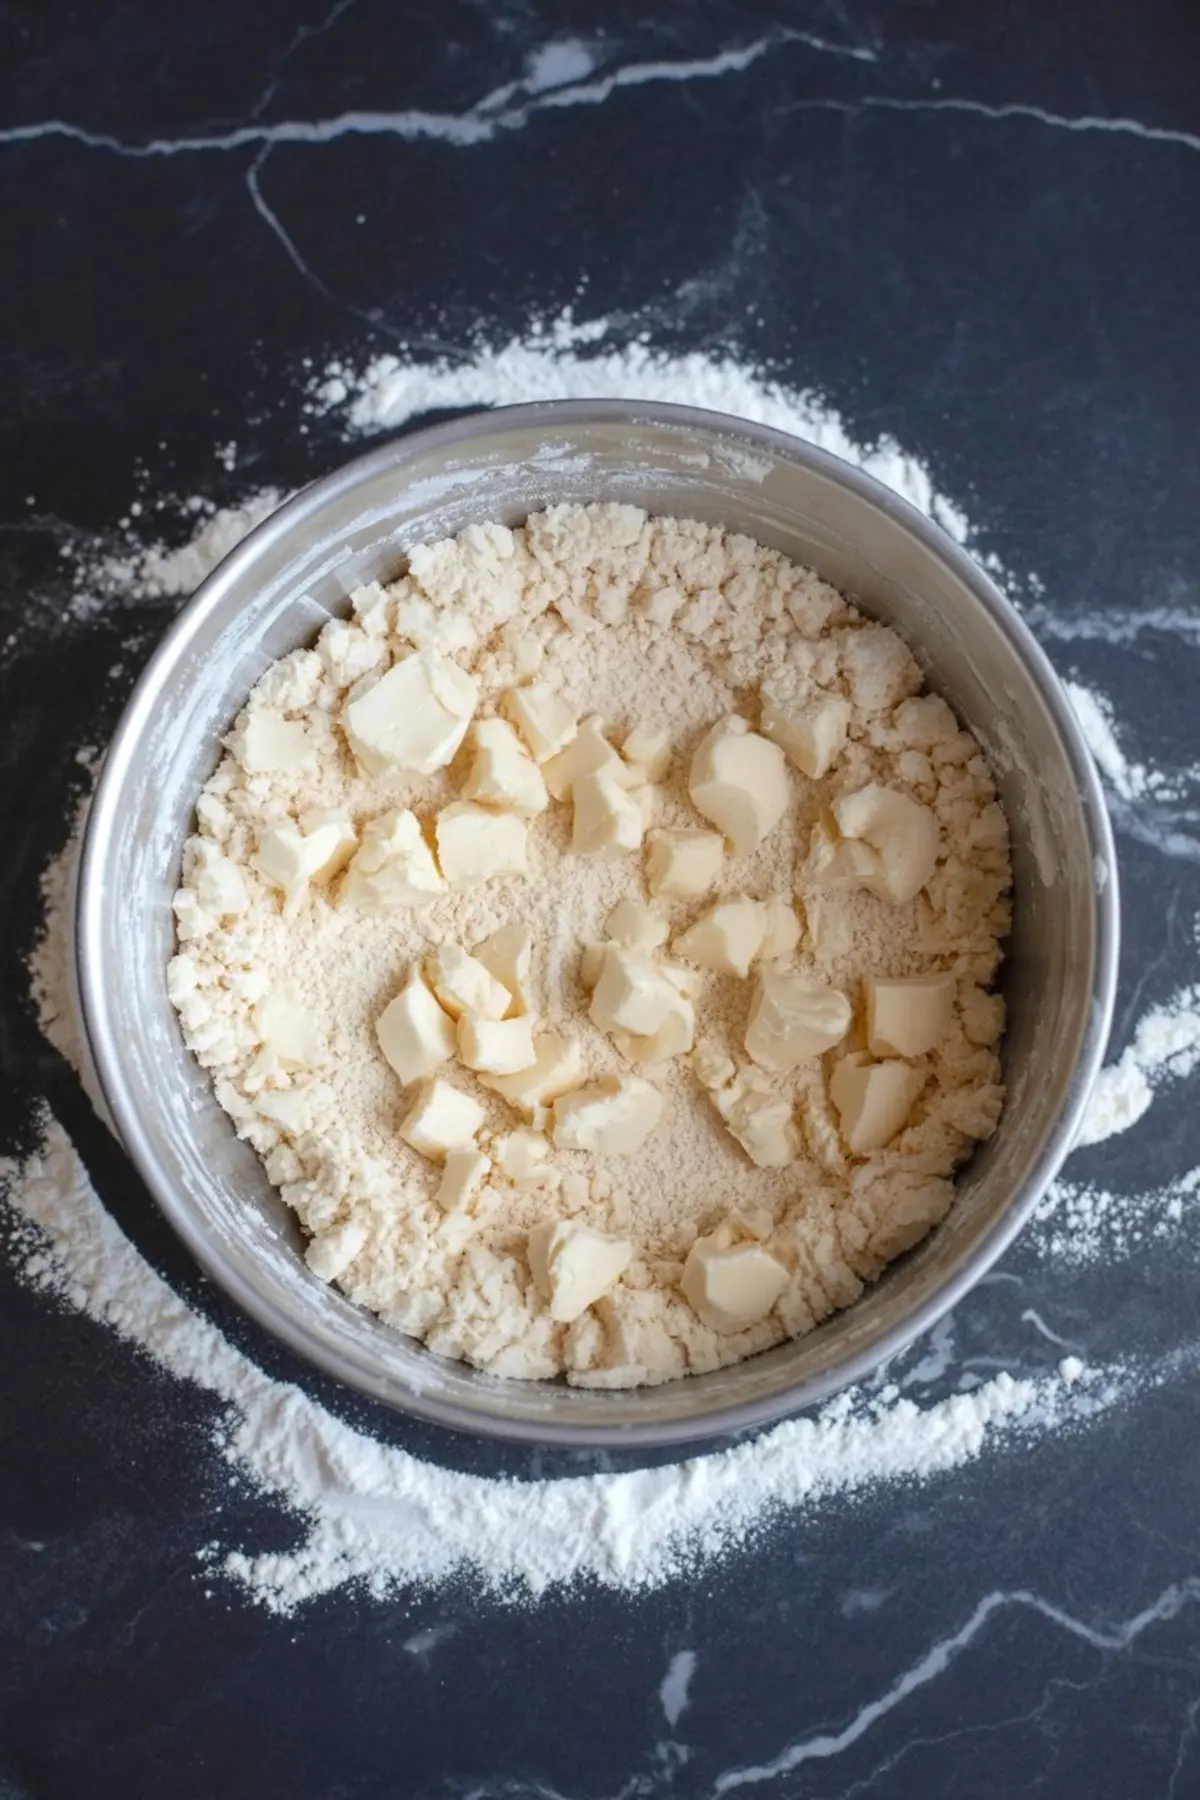
This step is where things shift from ingredients to intuition. The butter has to be cold. No shortcuts here. I cube it right before adding, then rub it into the flour with my fingertips. You want a coarse, crumbly texture with some visible butter chunks. Those chunks become steam pockets in the oven. That’s what gives you a flaky crust.
If you’ve ever tried Frozen Blueberry Pie, you’ll know how important a crisp base is under that soft filling. This crust holds its own.
Adding Ice Water Without Overmixing
I start with four tablespoons and add more only if the dough looks dry. You want just enough water to hold the dough when you press it. It should come together without feeling wet. Don’t knead. Don’t overthink. Press and fold. Let the dough stay a little shaggy.
In my notes, I’ve found that people often overdo the water because they fear cracks. But pie dough welcomes a few rough edges. That’s where the flake hides.
Shaping, Wrapping, and Resting the Dough
Once the dough holds, I divide it. Two discs. One for the base and one for the top or a second pie. I press each into a one-inch-thick round and wrap them tightly in plastic. Refrigeration matters. That hour in the fridge allows the flour to hydrate fully and gives the gluten a moment to relax.
Resting also means your dough won’t spring back when you roll it. You’ll get clean edges and fewer tears.
If you love Homemade Pie Recipes like I do, this step becomes second nature. It’s quiet prep that pays off later.
Rolling the Dough Without Breaking It
Before rolling, I let the dough sit for ten minutes. Just to soften slightly. I dust the surface and the pin, then roll from the center out, turning the dough often. That movement keeps it round and even. You’re aiming for a 12-inch circle, not a perfect one. Let the dough speak for itself.
This method also works beautifully for Chocolate Pie, especially when you need a base that won’t sag or lose its bite.
Fitting the Dough Into the Pie Dish
I always lift gently and drop the dough into the pie plate. Never stretch it. Stretching causes shrinkage. I press it lightly along the sides, trim the edge, and either crimp or fold it under. I treat the dough like fabric—no pulling, just shaping.
I’ve had readers ask me how to stop crusts from sliding down the pan. This step, and a little chilling before baking, solves that.
You can explore more Easy Pie Recipes that build from this base. Once you master this crust, the fillings become the fun part.
Why You Should Chill Before Baking
The last chill, twenty minutes in the fridge before baking, keeps the butter firm and the shape sharp. You’ll avoid puffing, shrinking, or cracking. It’s the kind of small pause that gives a big reward.
This makes a huge difference in both fruit and cream-based Pie Crust Desserts. It also gives your decorative edges a better chance of staying neat.
Butter vs. Shortening: What Actually Works Better?
I’ve tried both. Shortening gives you structure, but at the cost of flavor. Butter gives you both flavor and flake, but only if it stays cold. In my Pin Notebook, I’ve written again and again: flavor wins. That’s why I always return to butter. For pie crust ideas that work with savory or sweet fillings, this one always stands up.
The Quiet Trick That Changes Everything
And now, the little secret I mentioned earlier. I freeze the cubed butter for ten minutes before I start. It sounds unnecessary, but it changes the texture. The butter stays colder during mixing, so you get a better flake without overworking the dough.
This small step came from a failed batch in August heat. Since then, I’ve added a note in my Pin Notebook to remind myself every summer. It works.
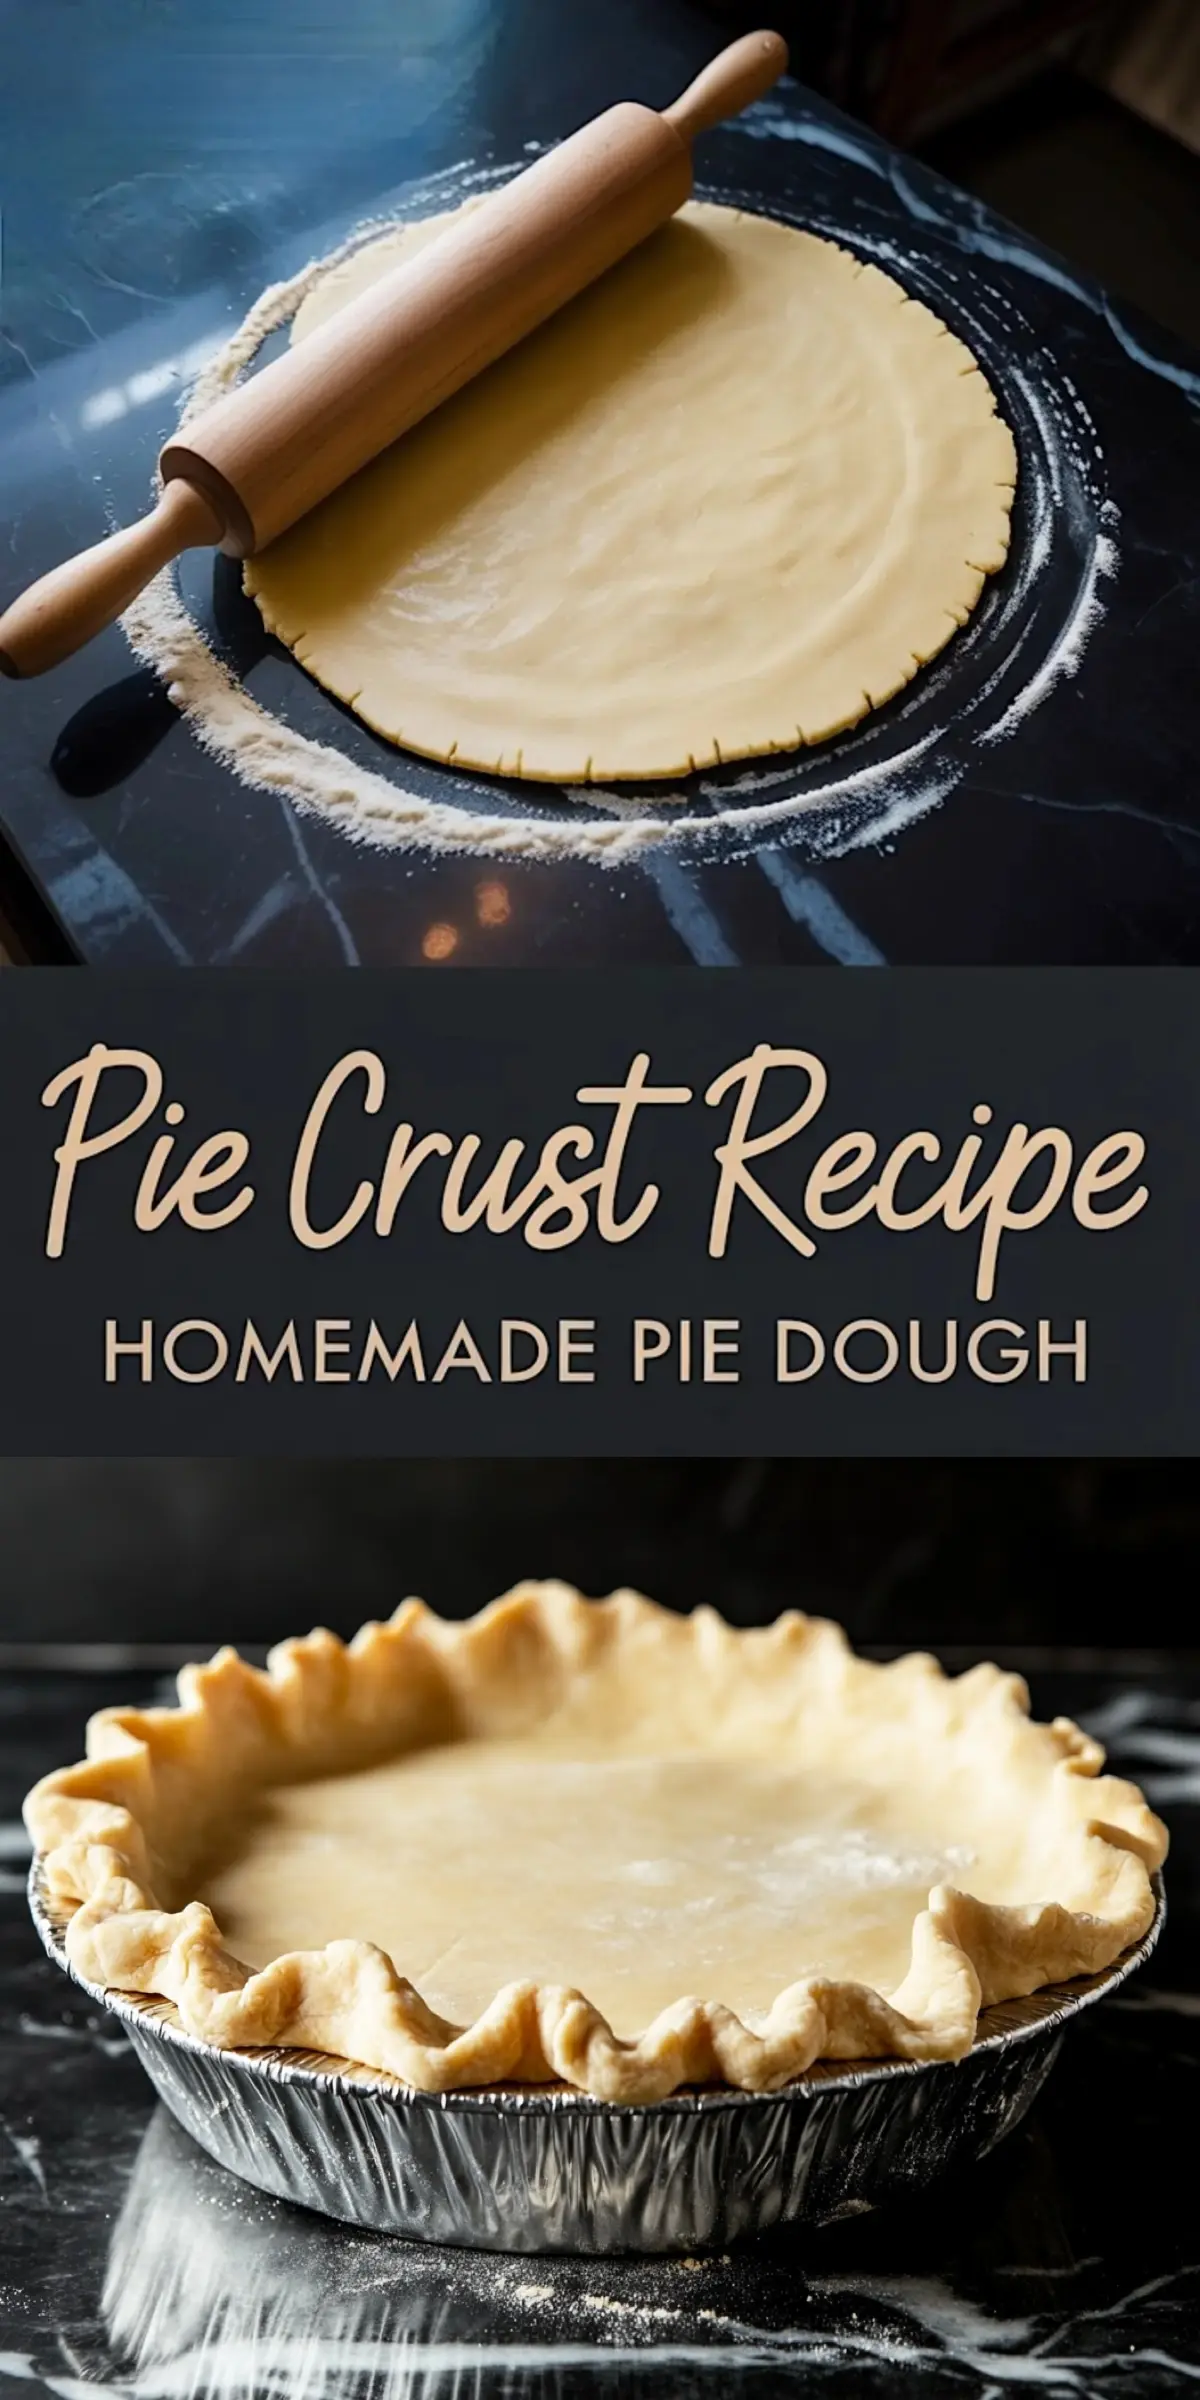
Save and Share Your Pie Wins
I’d love to hear how your crust turns out. Did you chill your butter? Did it hold its shape? Tell me in the comments—I always read them. And if you’re proud of the pie you made, save this to your Pinterest board so you can find it again.
If you’re craving more, take a look at my full guide to Easy Pie Recipes and let your next dessert begin with a crust that actually matters.
Pie Crust Recipe
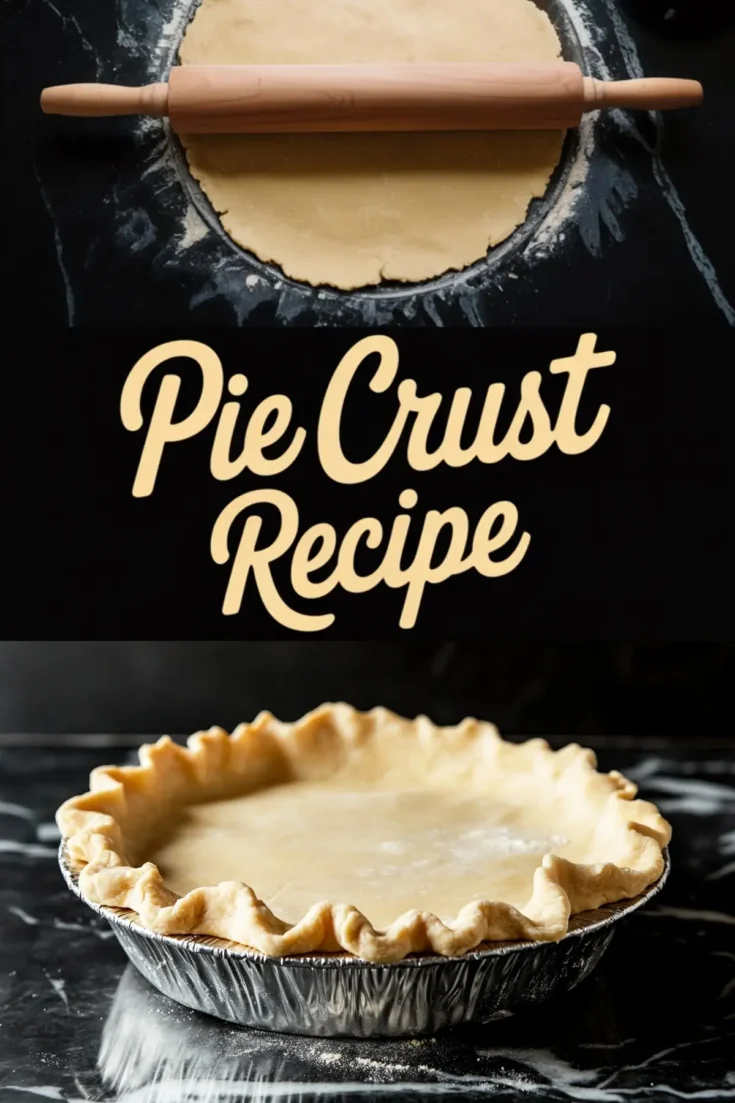
This homemade pie crust is tender, flaky, and easy to work with. Made with cold butter and simple ingredients, it bakes up golden and crisp, perfect for sweet or savory pies.
Ingredients
- 2½ cups all-purpose flour
- 1 teaspoon salt
- 1 tablespoon granulated sugar
- 1 cup (2 sticks) unsalted butter, cold and cut into cubes
- 6 tablespoons ice water (plus more as needed)
Instructions
- MEASURE AND MIX DRY INGREDIENTS: In a large bowl, combine the flour, salt, and sugar. Stir with a fork to distribute evenly.
- INCORPORATE BUTTER: Add the cold, cubed butter to the bowl. Use your fingertips or a pastry cutter to rub the butter into the flour until the mixture resembles coarse crumbs with some pea-sized pieces remaining.
- ADD ICE WATER: Drizzle in 4 tablespoons of ice water and gently mix with a fork. Add additional water 1 tablespoon at a time until the dough just holds together when pressed. Avoid overmixing. The dough should not be sticky, and you should still see visible butter pieces.
- DIVIDE AND CHILL: Turn the dough out onto a clean surface. Divide it into two equal portions. Flatten each into a disc about 1 inch thick. Wrap tightly in plastic wrap and refrigerate for at least 1 hour or up to 2 days.
- ROLL OUT DOUGH: When ready to use, let the dough sit at room temperature for 10 minutes to soften slightly. Lightly flour your surface and rolling pin. Roll one disc into a 12-inch circle, turning the dough a quarter turn after every few rolls to maintain even thickness.
- TRANSFER TO PIE PLATE: Gently lift the rolled dough and place it into a 9-inch pie plate. Press it into the bottom and sides without stretching. Trim excess dough, leaving a ½-inch overhang, and fold or crimp the edges as desired.
- CHILL BEFORE BAKING: Place the prepared crust in the refrigerator for 20 minutes before baking. This helps prevent shrinking during baking.
Notes
If your kitchen is warm, chill the flour or freeze the butter cubes for 10 minutes before starting. The dough can be frozen, tightly wrapped, for up to 3 months. Thaw in the refrigerator overnight before using.
Nutrition Information:
Yield:
2Serving Size:
1Amount Per Serving: Calories: 644Total Fat: 7gSaturated Fat: 4gTrans Fat: 0gUnsaturated Fat: 2gCholesterol: 15mgSodium: 1108mgCarbohydrates: 126gFiber: 4gSugar: 7gProtein: 16g
