
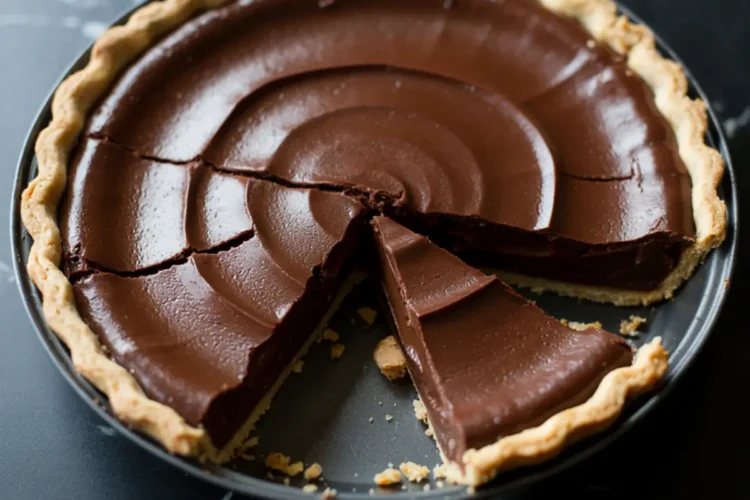
A deep chocolate ganache, a buttery crust, and one quiet surprise
There’s chocolate pie, and then there’s this chocolate pie—the kind that doesn’t ask for attention but earns it anyway. You cut into it thinking you know what you’re in for. Then you pause. The crust crackles. The filling holds, then yields. The flavor lands slow and steady.
This isn’t just a dessert. It’s a commitment to depth, to waiting, to real cocoa flavor—without shortcuts. You’ll learn how to make a dense, sliceable chocolate ganache pie with crisp edges, soft centers, and the kind of flavor that deepens overnight. Yes, it gets better with time. Like all good things.
And there’s one unexpected ingredient that changes everything. I’ll get to that. But first, let’s walk through this together—crust to filling—with confidence. I’ll show you what to expect at each stage so nothing catches you off guard.
Even Whiskers sat quietly by the oven for this one. And he never does that unless it’s serious.

How to Make the Flakiest, Most Reliable Chocolate Pie Crust
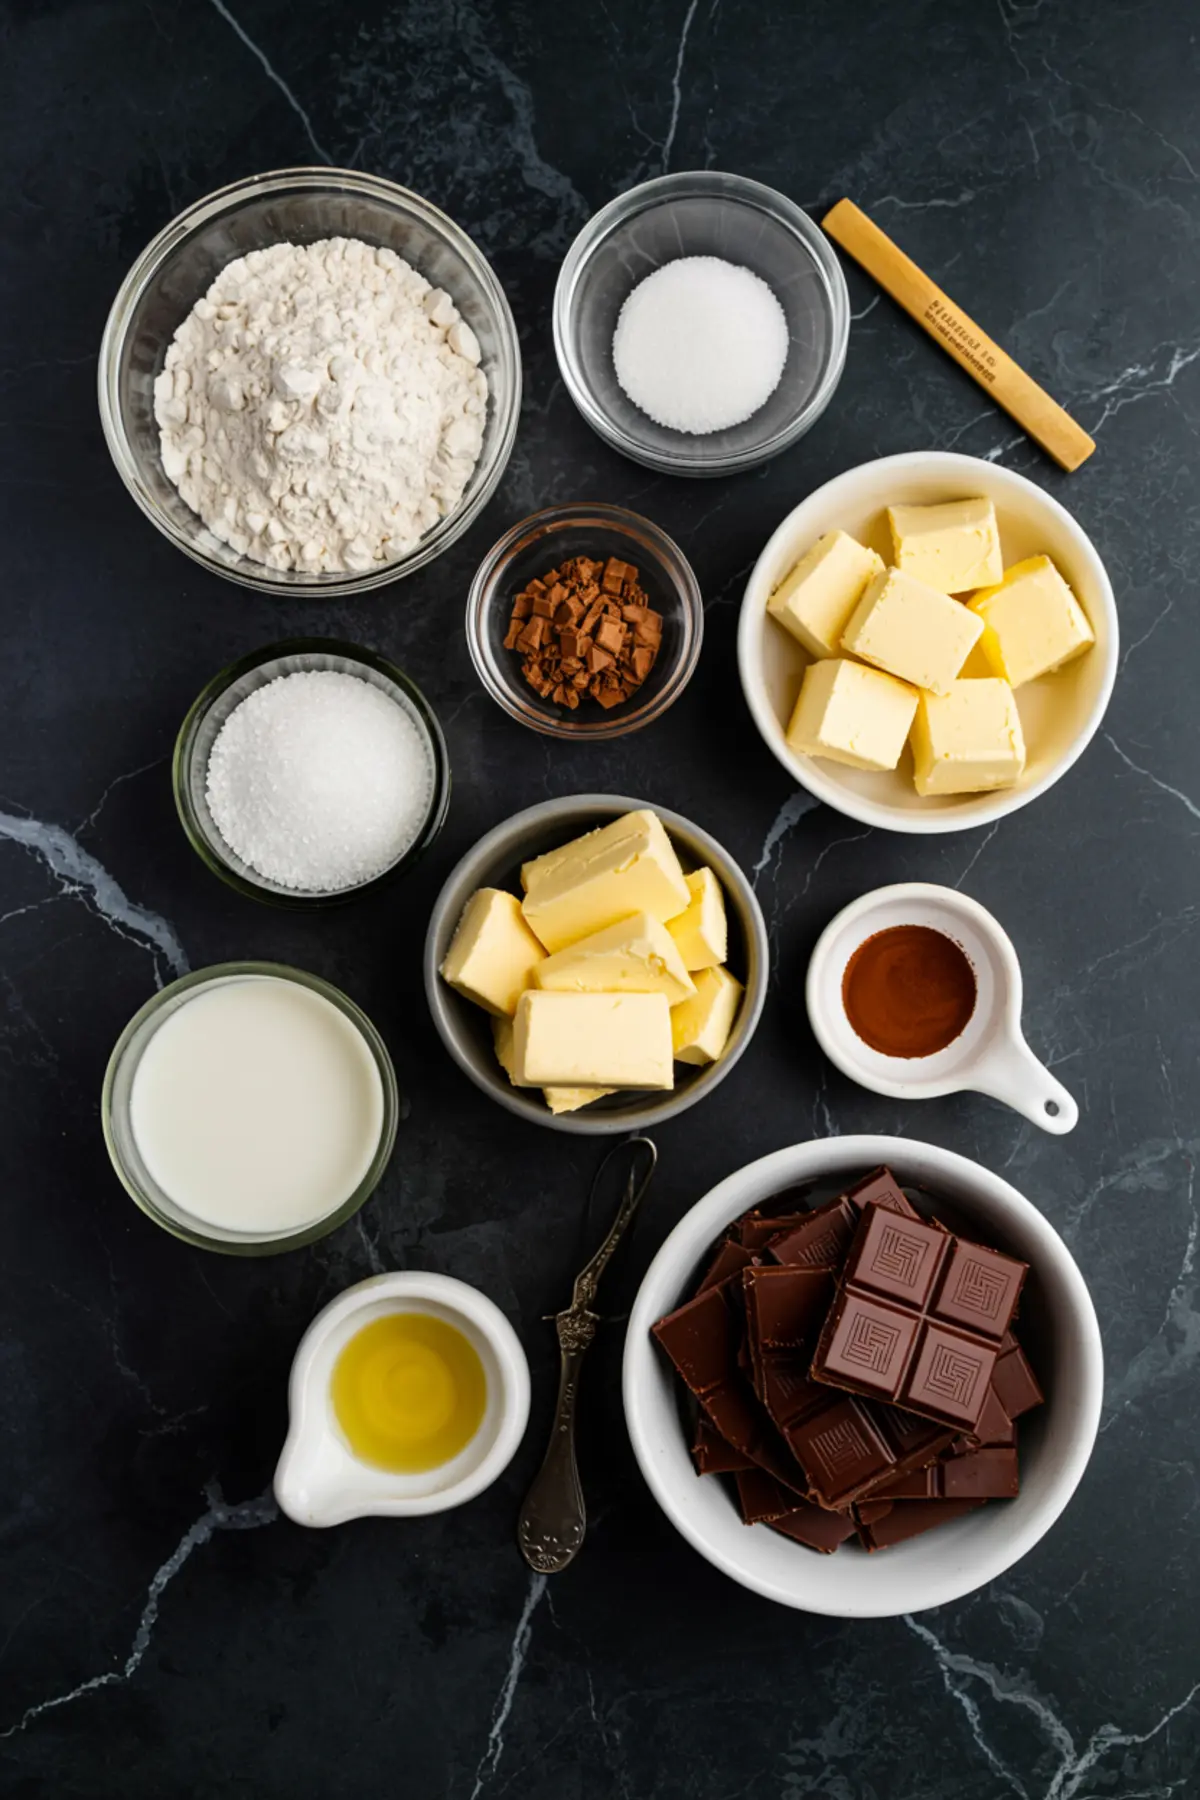
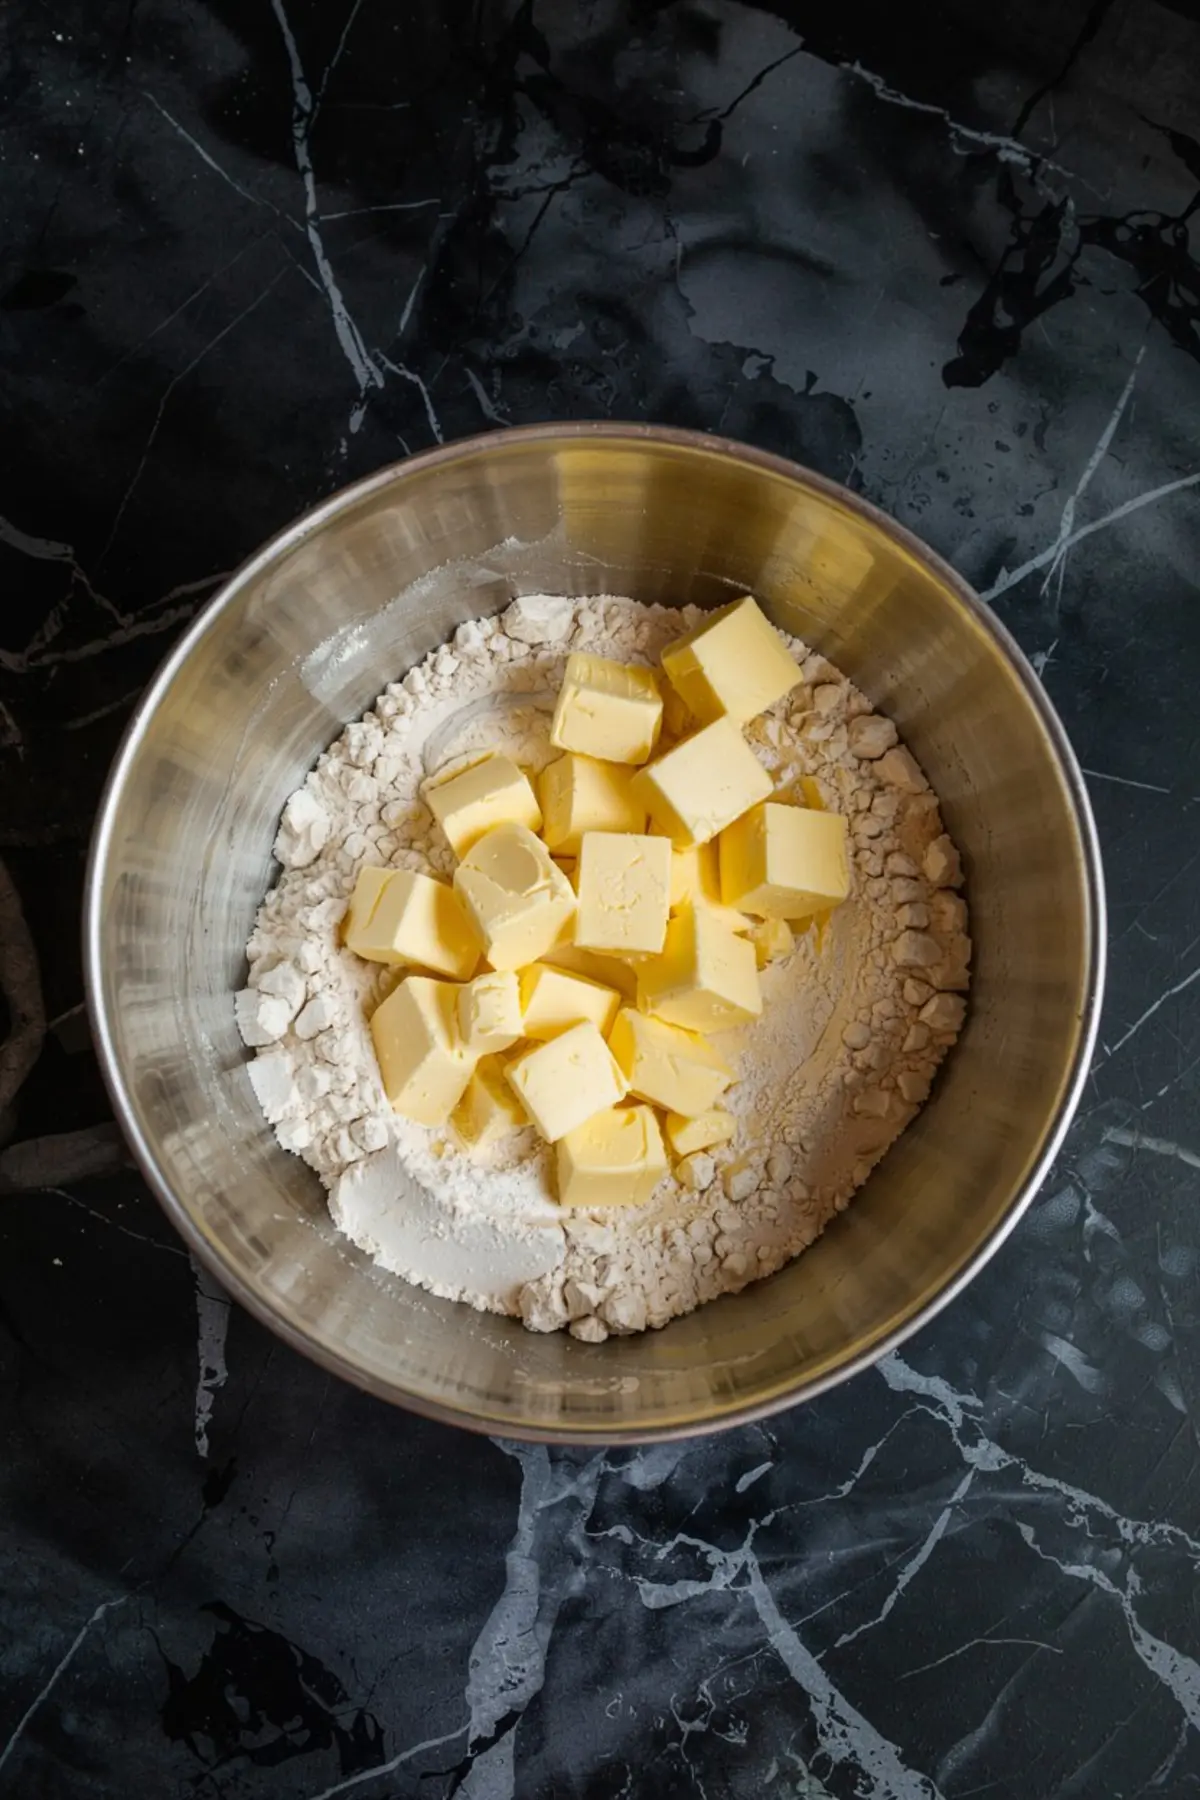
The crust starts simple. You mix all-purpose flour with a spoonful of sugar and a pinch of salt. Cold, cubed butter goes in next. You work it in fast. Use your fingers or a pastry cutter, whichever keeps the butter from melting. You’re after a sandy texture—crumbly, not clumpy.
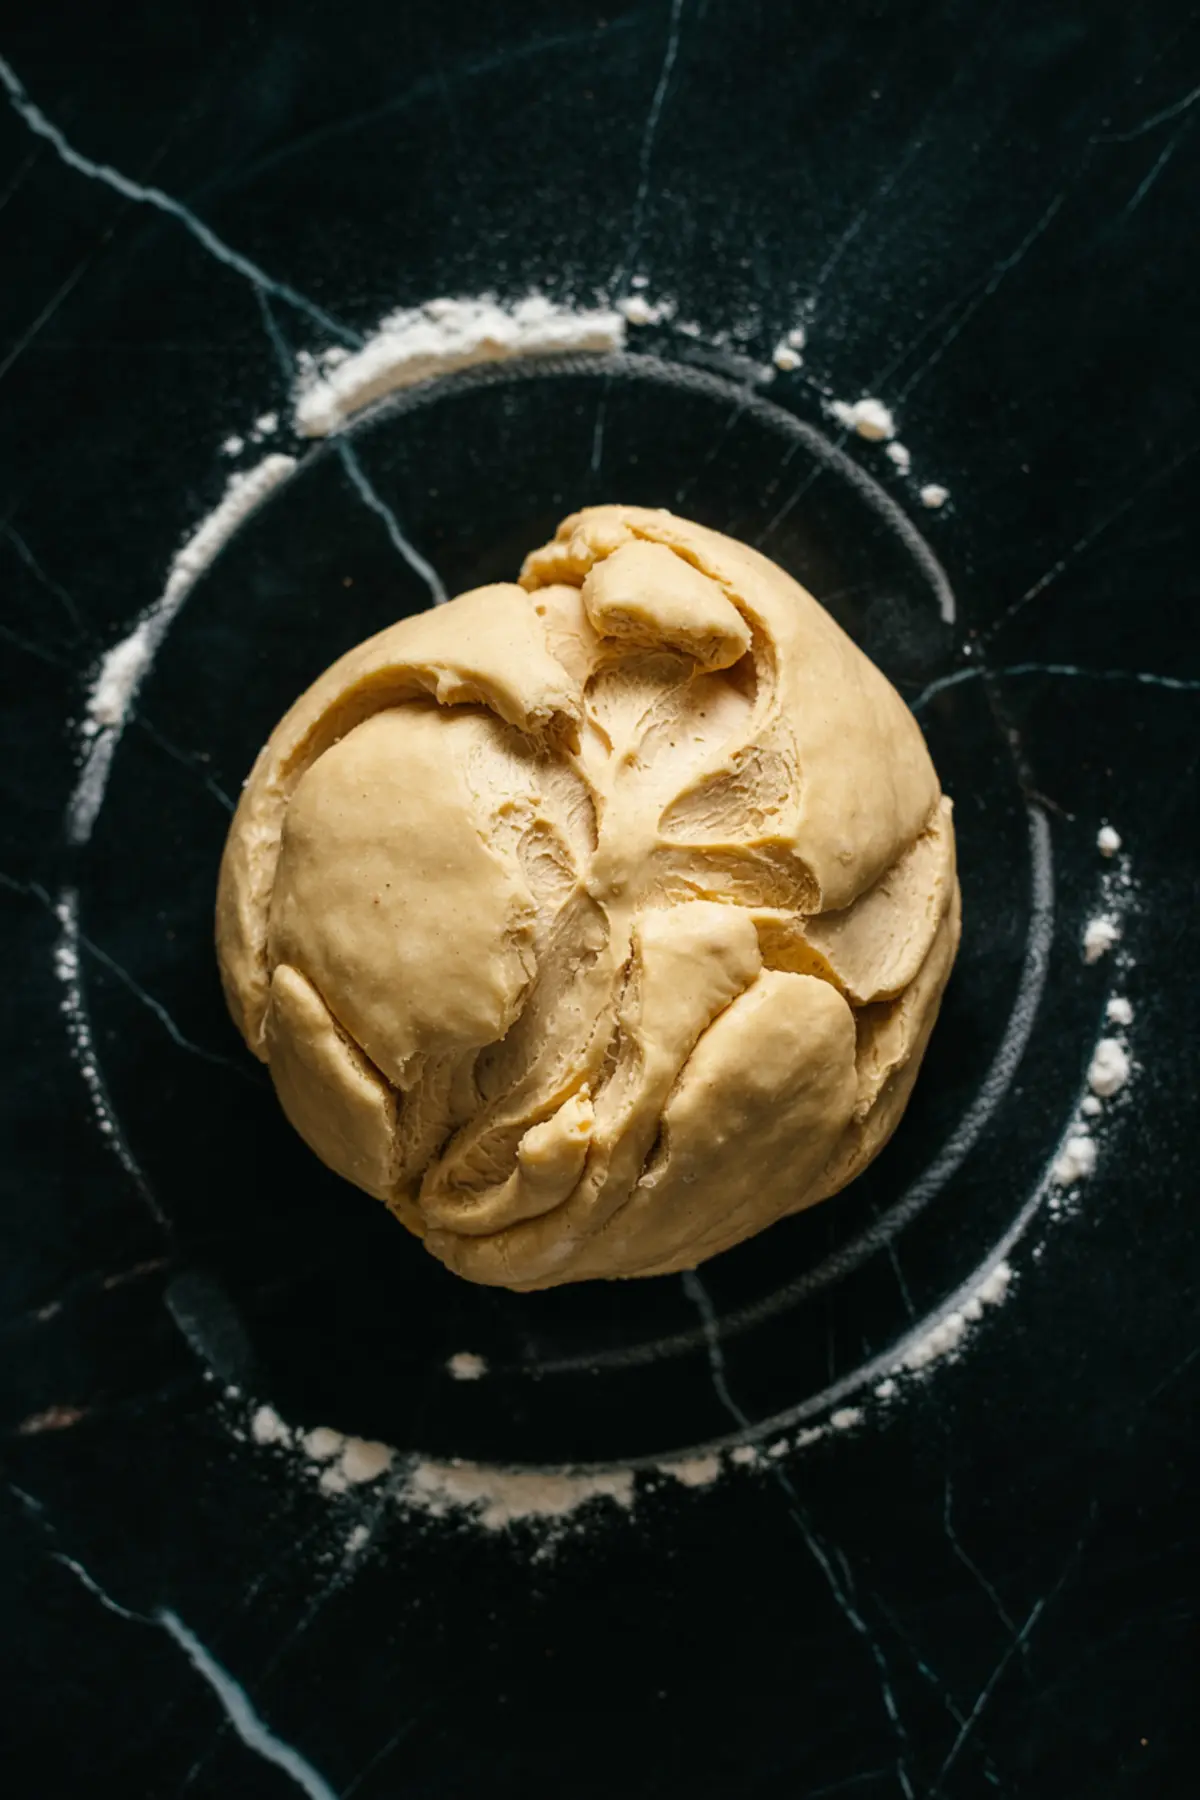
Then, ice water. Not cold. Ice cold. I go tablespoon by tablespoon, mixing gently until it just holds together. I never overmix. That’s in my Pin Notebook: “The moment it holds, stop.” I press the dough into a flat disc, wrap it tight, and slide it into the fridge. At least 30 minutes. More if I’m not in a rush.
I’ve tried store-bought crusts. They’re fine. But they don’t sing like this one does. This crust crackles when sliced. It holds up under ganache. It doesn’t go soggy.
Roll, Chill, and Blind Bake the Crust for Structure
Once chilled, the dough rolls out smooth. A bit of flour on the board and rolling pin helps. I keep the circle even, about ⅛-inch thick, and ease it into a 9-inch pie pan. I trim the edges, crimp lightly, and chill it again. Just 15 minutes while the oven heats.
Blind baking matters here. You need a fully baked crust before the filling goes in. I line mine with parchment and fill it with dried beans. Twenty minutes later, I lift out the weights and return it to the oven to finish. Another ten minutes and it’s golden at the edges.

This step builds the contrast. Crisp shell, silky middle. It matters more than most people think.
The Ganache Filling That Holds Its Shape and Melts Just Right
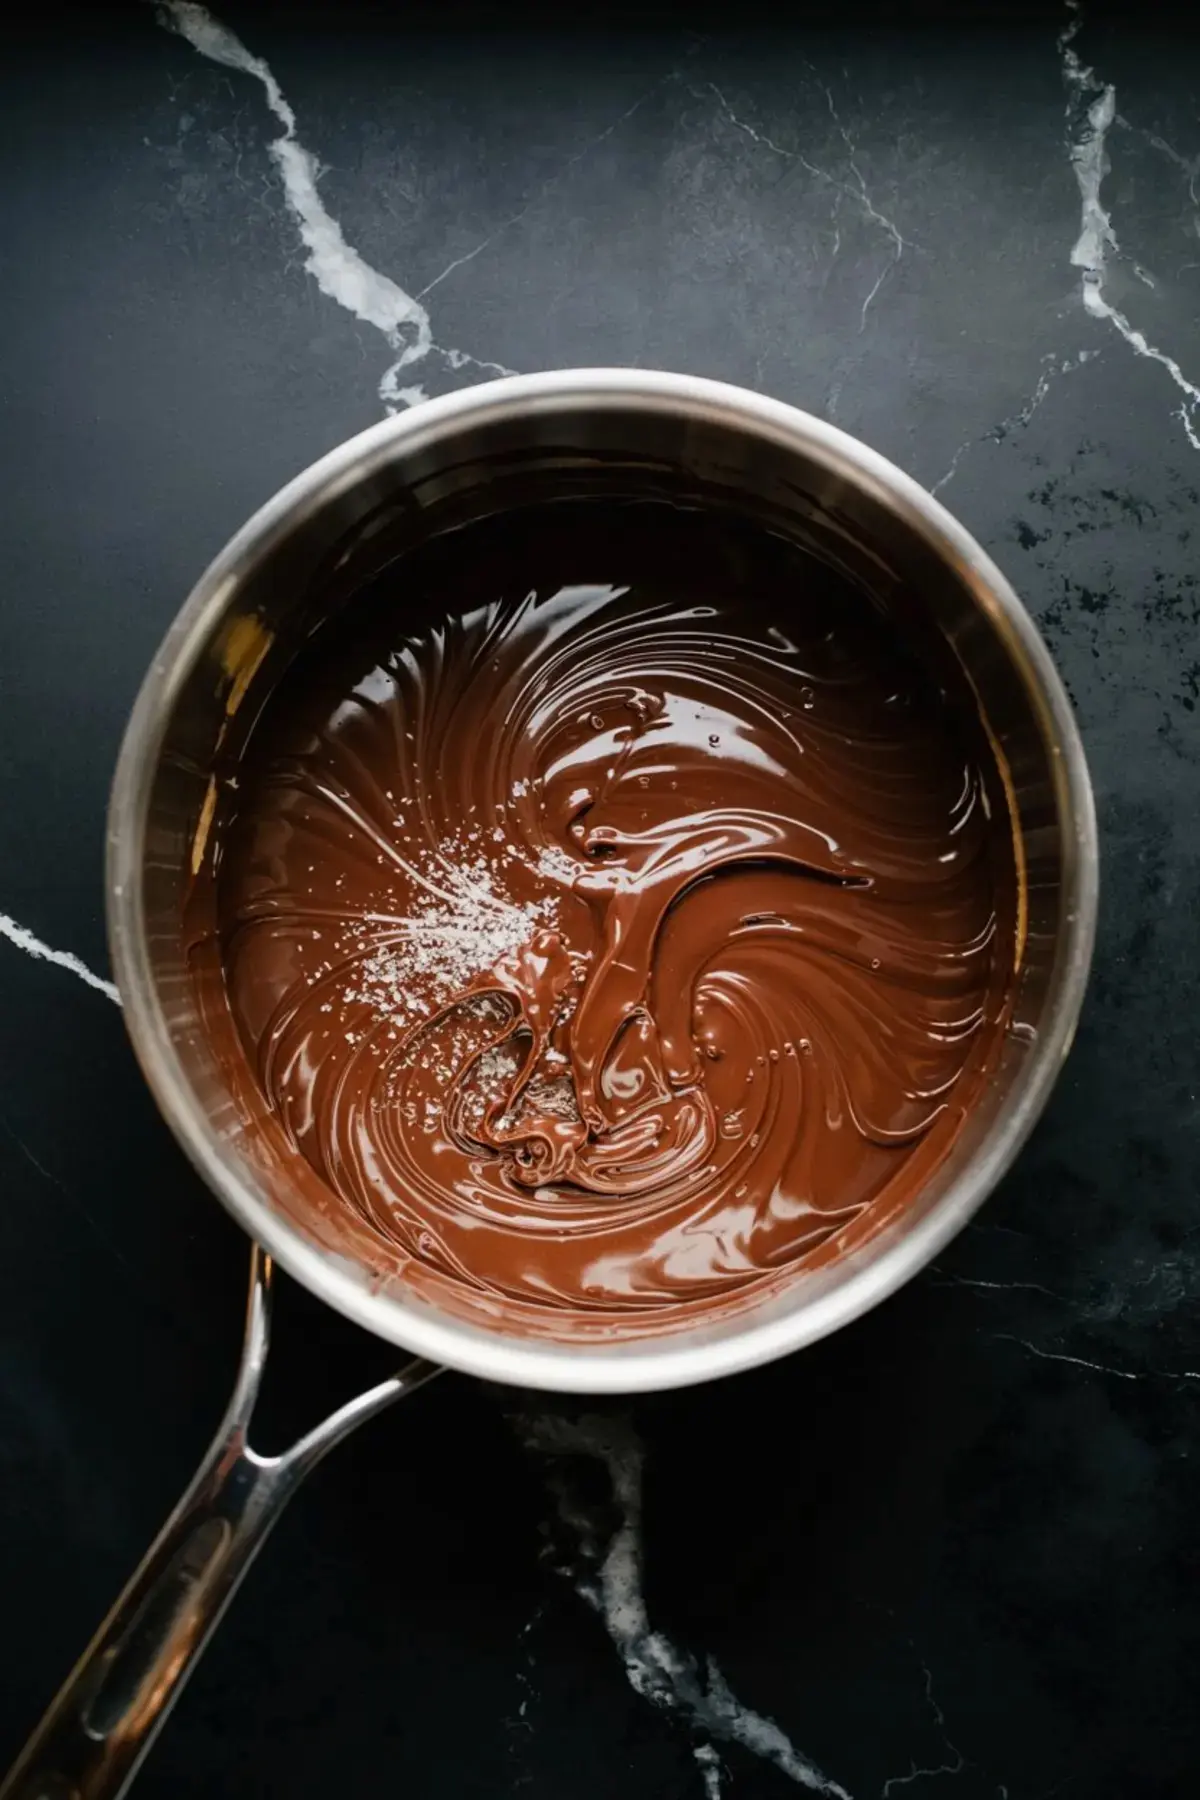
The filling comes together fast. Cream and milk go into a saucepan until just steaming—never boiling. I pull it off the heat, then stir in finely chopped bittersweet chocolate. At least 60%, no more than 70%. That’s the range that delivers depth without tipping into bitterness.
Butter goes in next, along with sea salt and vanilla. I wait one minute before whisking. That’s another Pin Notebook note: “Wait, then whisk.” It melts smoother that way.
The result is glossy, warm, and smells like promise.
Here’s the twist: a spoonful of espresso powder. Just one. Not for coffee flavor—but for focus. It pulls the chocolate into sharper relief, adds dimension, and balances the richness. I don’t always tell people it’s there. But they know something’s different. Better.
Lena, my old literature teacher and still the steadiest baker I know, makes a chocolate cream pie that feels like Sunday afternoon. It’s softer, gentler—layered with pudding and cream. She stands by it, and I don’t blame her.
Chill the Pie Properly for the Best Texture
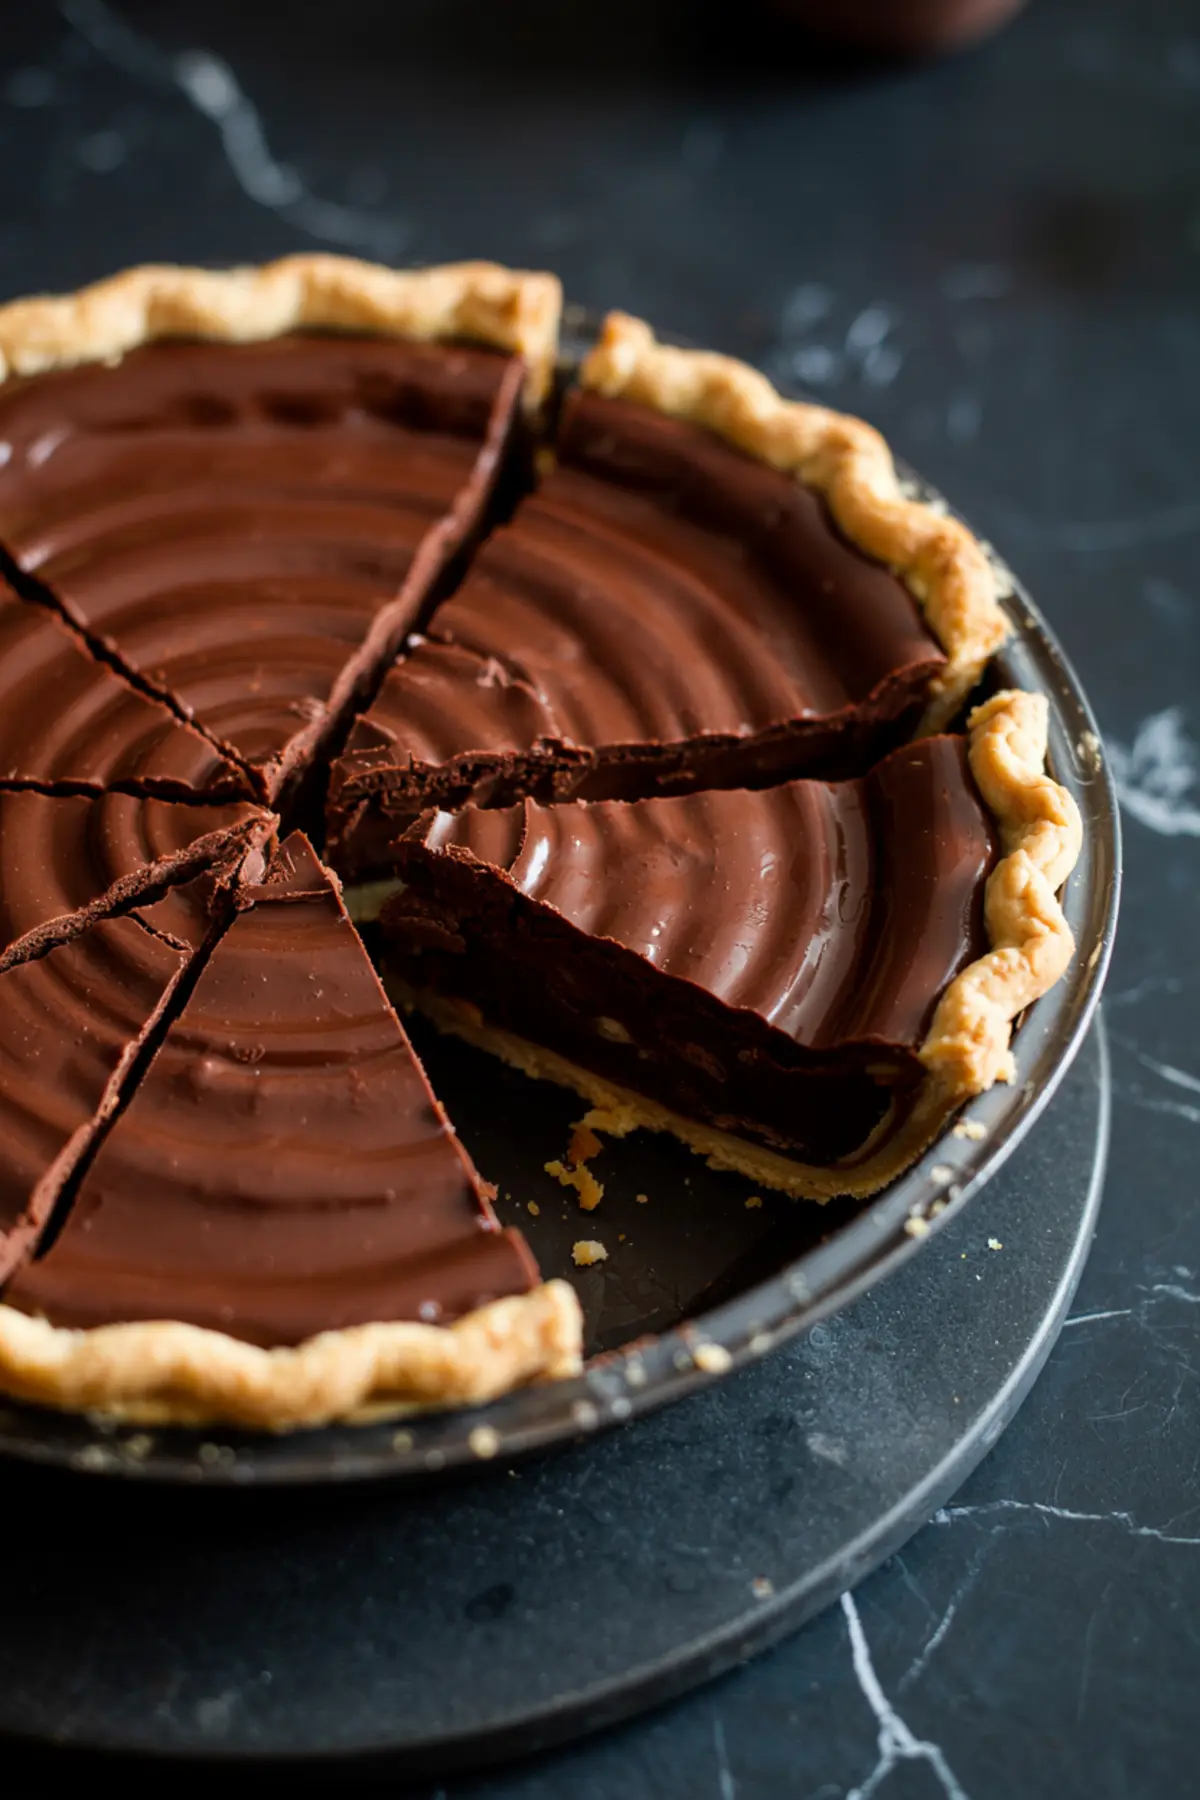
I pour the warm ganache into the cooled crust. I tap the pan gently to release bubbles. Then, into the fridge—uncovered—for a few hours. It sets firm but not stiff. The center should jiggle slightly if you nudge it.
Don’t rush this part. The texture depends on the wait.
Right before serving, I finish it with a pinch of flaky sea salt. That touch on top makes the chocolate speak louder.
I use a warm knife for slicing. Clean it between cuts. It makes a difference.
Why This Chocolate Pie Is Worth Making Again and Again
This pie holds its own next to cakes and cookies. It stores beautifully and slices cleaner on the second day. It’s rich but not heavy. It’s simple but not plain.
It’s the kind of recipe that teaches you patience and rewards you for it.
If you’re building a chocolate dessert board, add this to your lineup along with my Chocolate Hummus or Chocolate Zucchini Bread. Each one offers something different. Together, they say you know what you’re doing.
Want something even more interesting? Try it after a slice of Chocolate Sourdough Bread. Trust me, it works.
Save This Recipe for Later and Share Your Experience
If this pie made you pause mid-bite or got a quiet nod from someone hard to impress, I’d love to know. Drop a comment below and tell me how it went—or what you did differently.
And don’t forget to save this to your “Chocolate Desserts” board on Pinterest. That way, you’ll find it again when you’re craving something honest, deep, and easy to serve.
I’ll be here, with Whiskers, probably testing another recipe.
Silky Salted Chocolate Pie Recipe

A smooth, sliceable chocolate pie that balances deep, rich cocoa notes with a crisp, buttery crust and a final sprinkle of flaky sea salt. The ganache filling is dense yet soft, holding its shape while melting slowly on the tongue. This pie is simple to make but deeply satisfying, and it improves in flavor over a day or two in the fridge.
Ingredients
- FOR THE CRUST
- 1 ¼ cups all-purpose flour
- 1 tablespoon granulated sugar
- ½ teaspoon salt
- ½ cup (1 stick) cold unsalted butter, cut into cubes
- 3 to 4 tablespoons ice water
- FOR THE FILLING
- 12 ounces bittersweet chocolate (60–70% cacao), finely chopped
- 1 cup heavy cream
- ½ cup whole milk
- 2 tablespoons unsalted butter
- ¼ teaspoon sea salt (plus extra for topping)
- 1 teaspoon vanilla extract
- Optional: 1 tablespoon espresso powder
Instructions
- MAKE THE DOUGH: In a large bowl, mix the flour, sugar, and salt. Add the cold cubed butter and cut it in using a pastry cutter or your fingertips until the mixture resembles coarse crumbs. Add ice water 1 tablespoon at a time, mixing just until the dough holds together when pressed. Form into a disc, wrap tightly in plastic, and chill for at least 30 minutes.
- ROLL AND SHAPE THE CRUST: On a lightly floured surface, roll the chilled dough into a circle about ⅛ inch thick. Fit it into a 9-inch pie pan, trimming any excess and crimping the edges. Chill the shaped crust for 15 minutes while preheating the oven to 375°F.
- BLIND BAKE THE CRUST: Line the crust with parchment paper and fill with pie weights or dried beans. Bake for 20 minutes, then carefully remove the weights and parchment. Return to the oven and bake for another 10 minutes or until lightly golden. Let the crust cool completely before filling.
- MAKE THE FILLING: In a medium saucepan, combine the cream and milk. Heat over medium until steaming but not boiling. Remove from heat and add the chopped chocolate, butter, sea salt, and vanilla extract. Let sit for 1 minute, then whisk until completely smooth and glossy. If using espresso powder, whisk it in now.
- FILL THE PIE: Pour the warm ganache into the cooled crust. Tap the pan gently on the counter to release any air bubbles. Chill the pie uncovered for 2–3 hours, or until the center is set but still slightly wobbly.
- FINISH AND SERVE: Just before serving, sprinkle the top with a small pinch of flaky sea salt. Slice with a clean, warm knife for neat pieces, wiping between cuts if needed.
Notes
Use high-quality bittersweet chocolate between 60–70% cacao for the best flavor. The pie can be made a day ahead and stored covered in the refrigerator. Let it sit at room temperature for 15–20 minutes before slicing for a smoother texture.
Nutrition Information:
Yield:
8Serving Size:
1Amount Per Serving: Calories: 494Total Fat: 37gSaturated Fat: 23gTrans Fat: 0gUnsaturated Fat: 12gCholesterol: 46mgSodium: 225mgCarbohydrates: 30gFiber: 8gSugar: 4gProtein: 9g
