
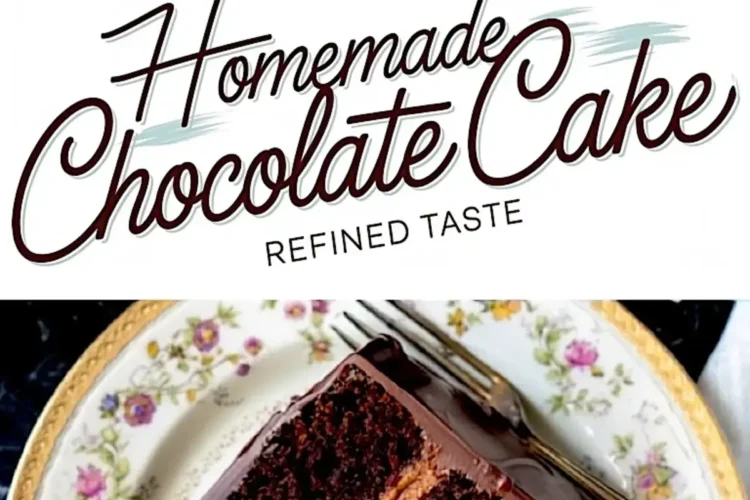
Every baker has a homemade chocolate cake recipe that means more than just dessert. For me, this one holds years of trial and notes inked in my Pin Notebook—some smudged with ganache, others underlined by Lena’s steady advice: keep it simple, but make it yours.
This cake does exactly that.
It’s not your standard one-bowl bake-and-go. It’s built to impress structurally and flavor-wise, without being showy. A moist base, mousse-like filling, and glossy ganache crown—each layer made to carry the next without collapsing or overwhelming.
You’ll leave today with the know-how to make a strong, moist chocolate cake that slices clean, holds its shape, and keeps its flavor intact. And we’ll talk about the dash of magic I slipped in, too. But let’s get our layers down first.

Start with a Solid Chocolate Cake Foundation
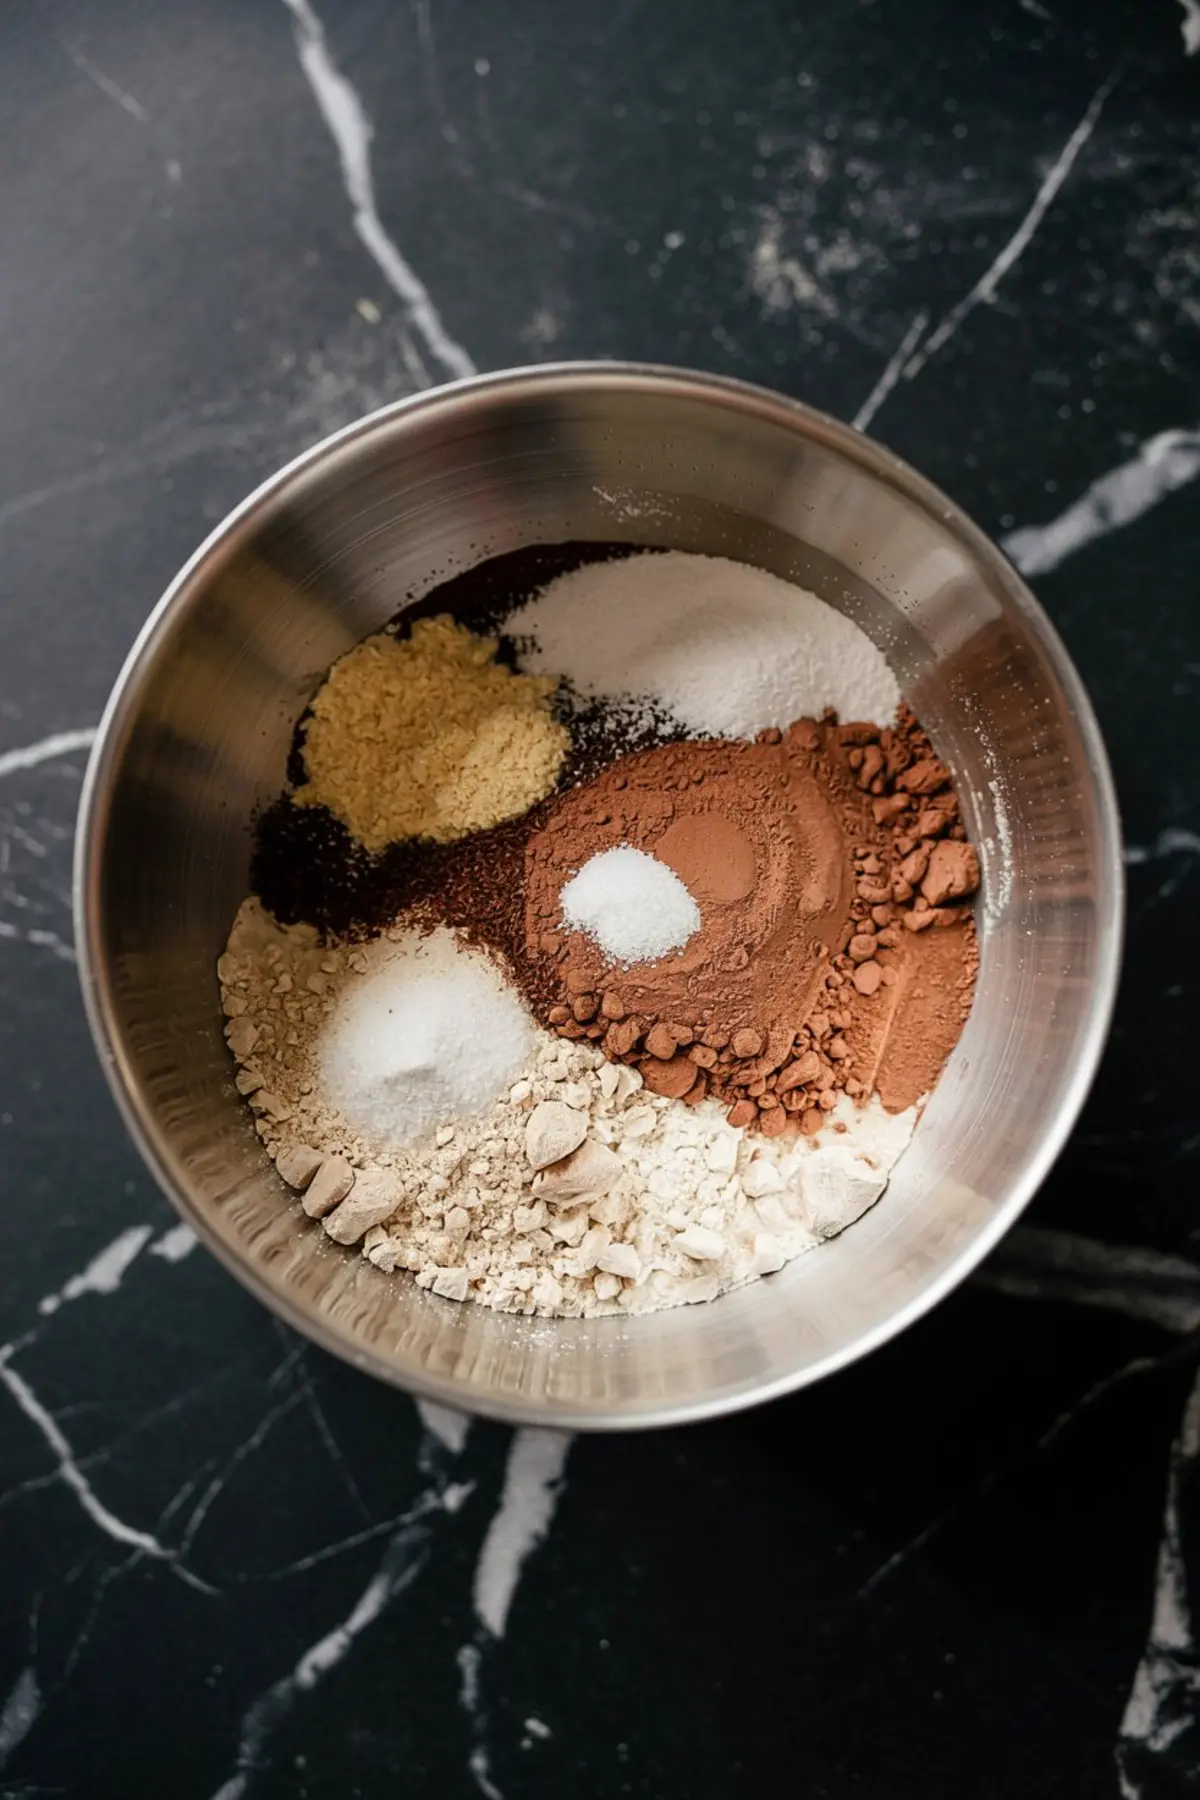
I combine flour, cocoa powder, sugar, baking powder, soda, and salt first. This gives you a consistent dry base without pockets of cocoa or rising agents.
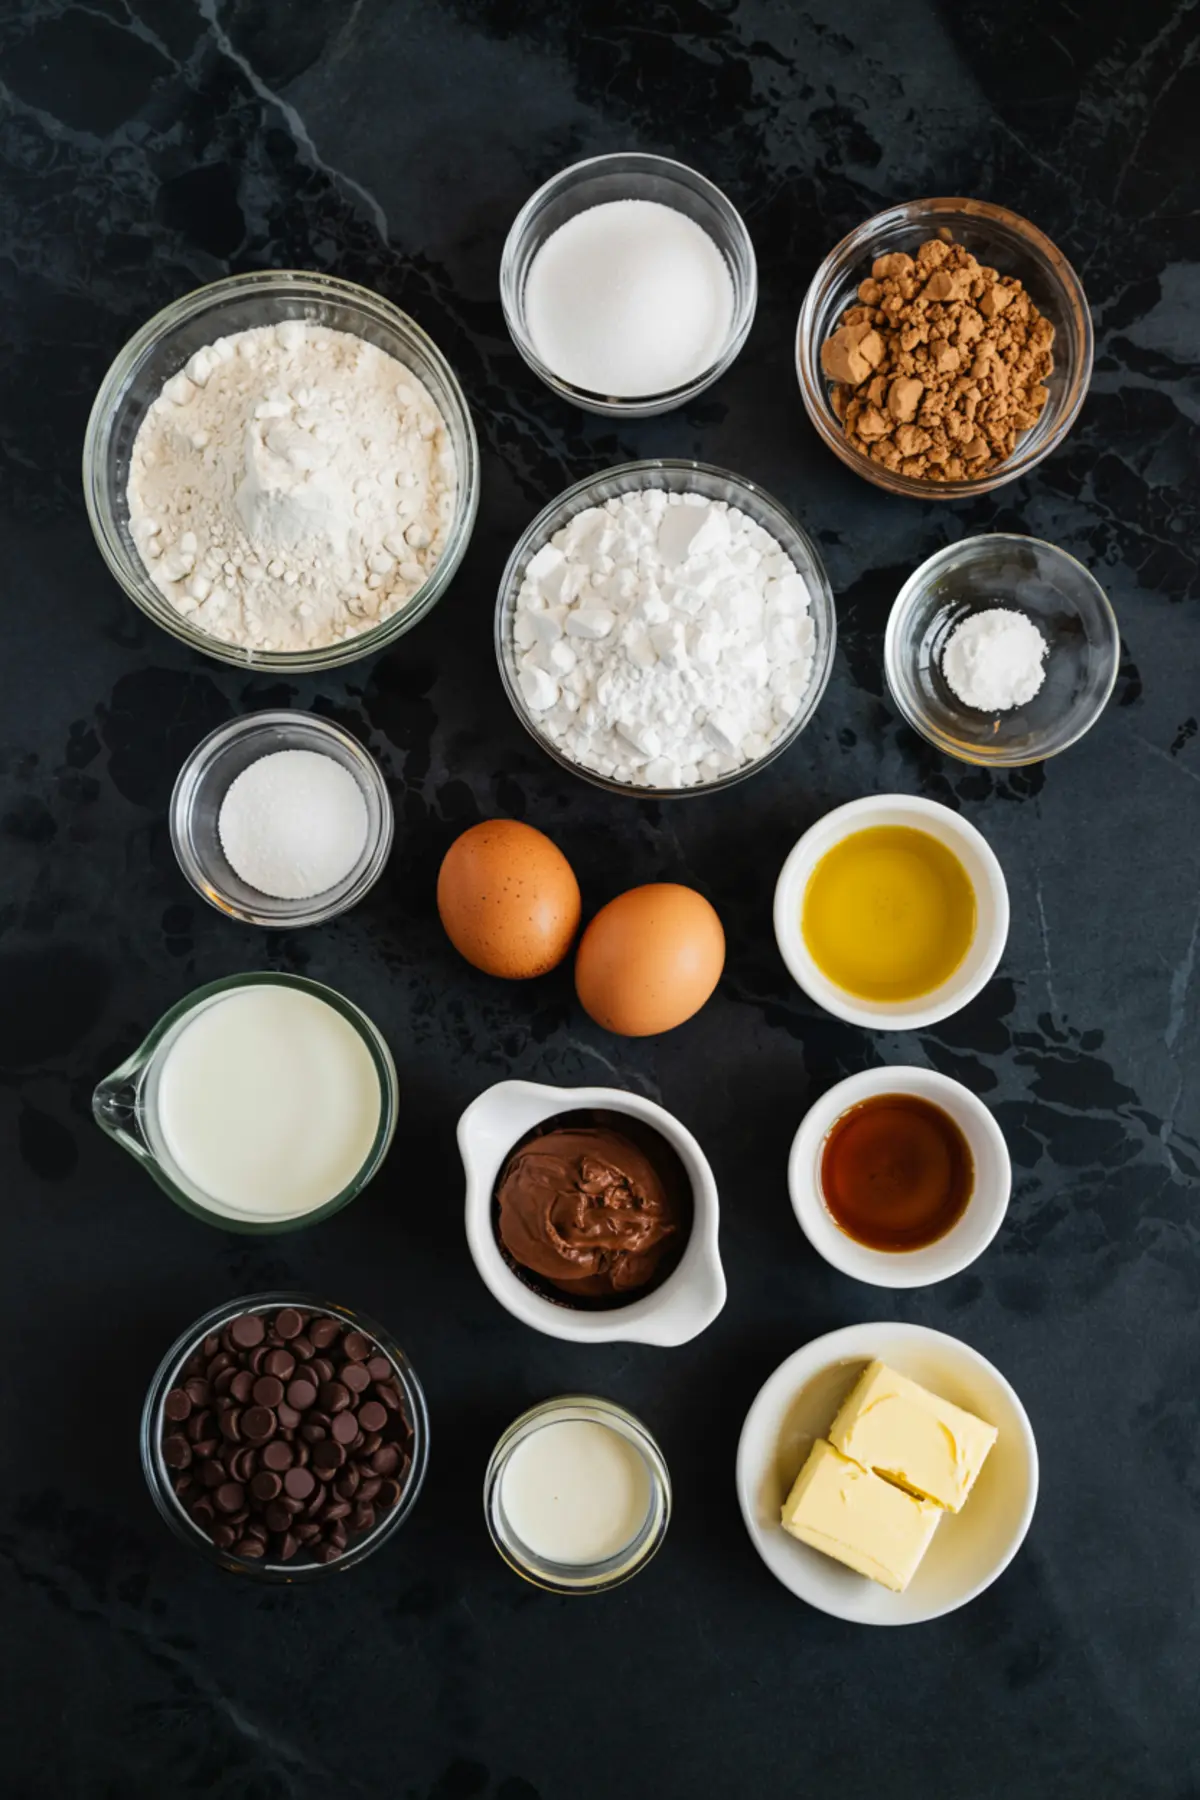
Separately, I whisk eggs with buttermilk, vegetable oil, and vanilla until smooth. Then I marry both bowls with a slow pour of hot coffee.
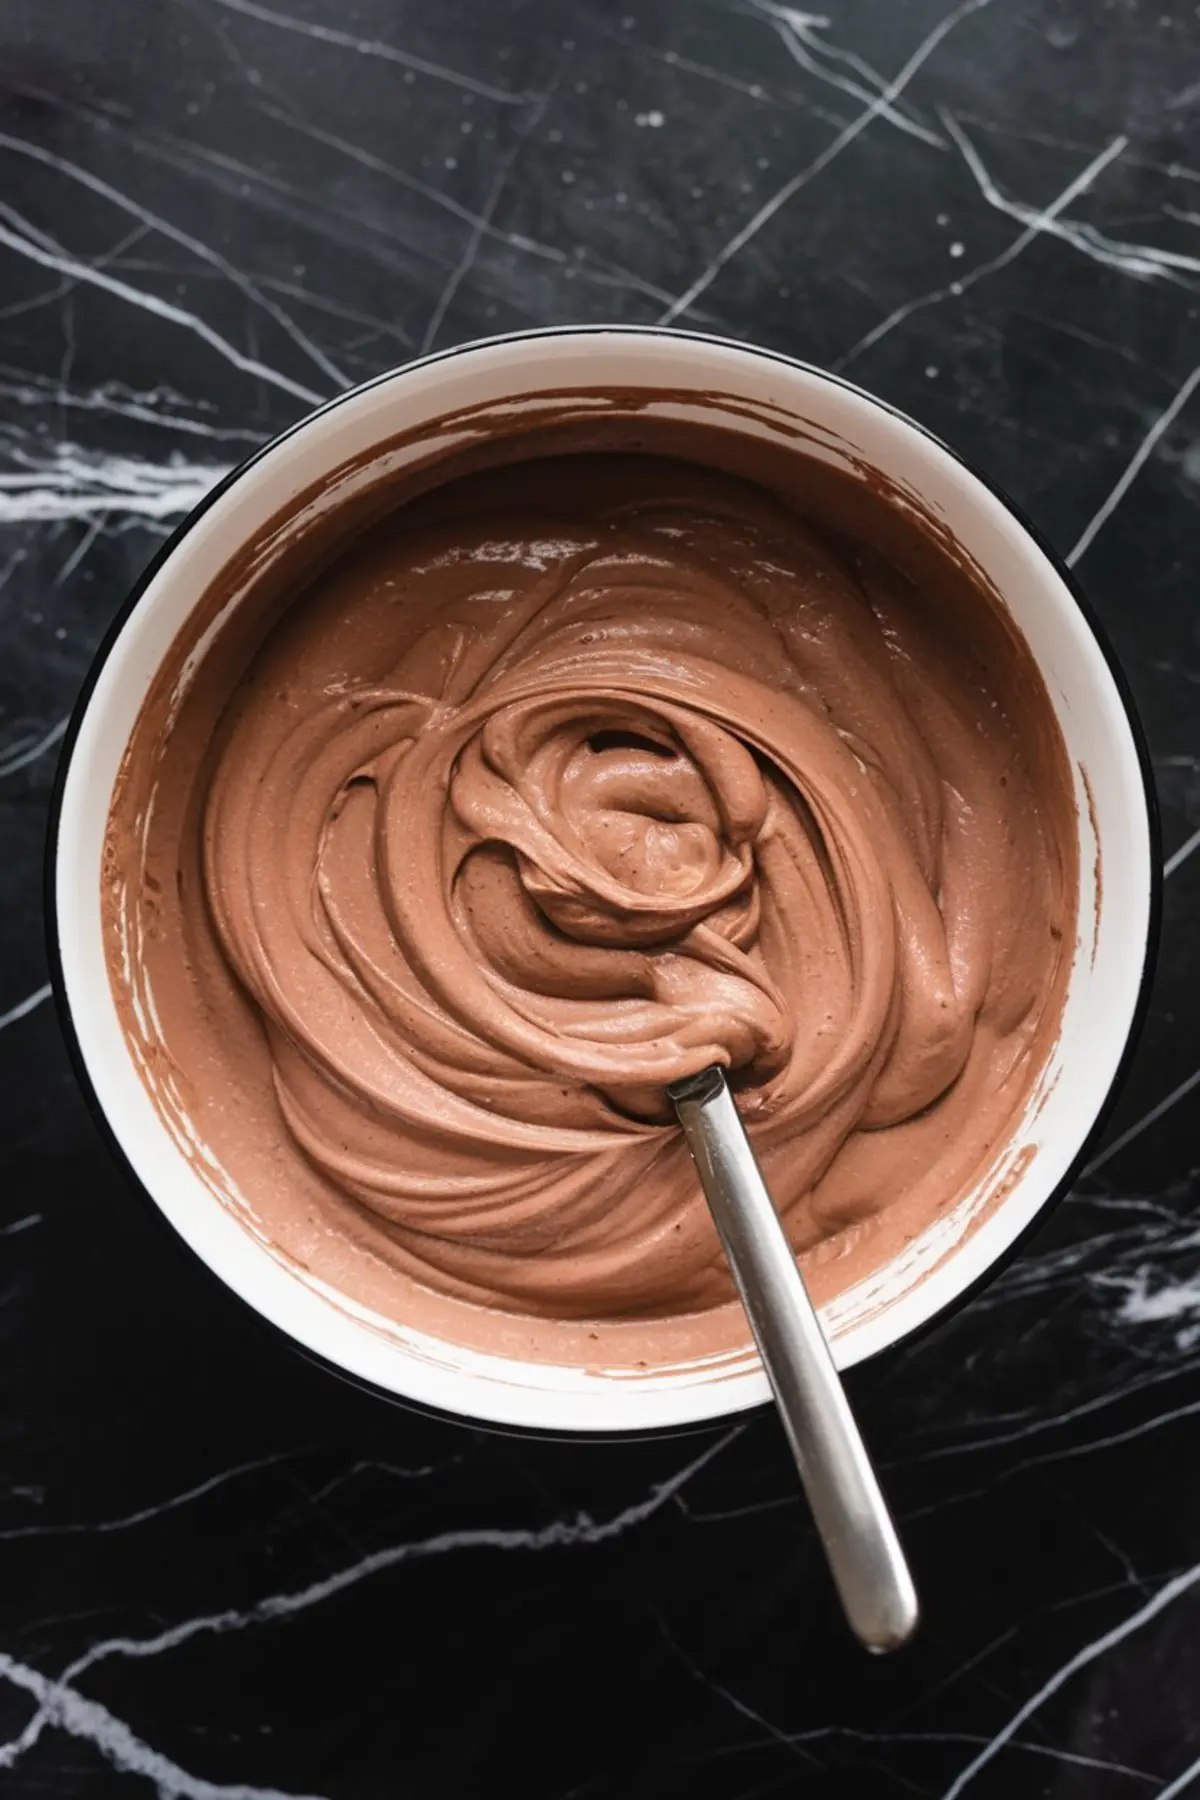
That’s the moment the batter thins—and that’s exactly what you want. Thin batter leads to an even, moist crumb that bakes up sturdy yet tender.
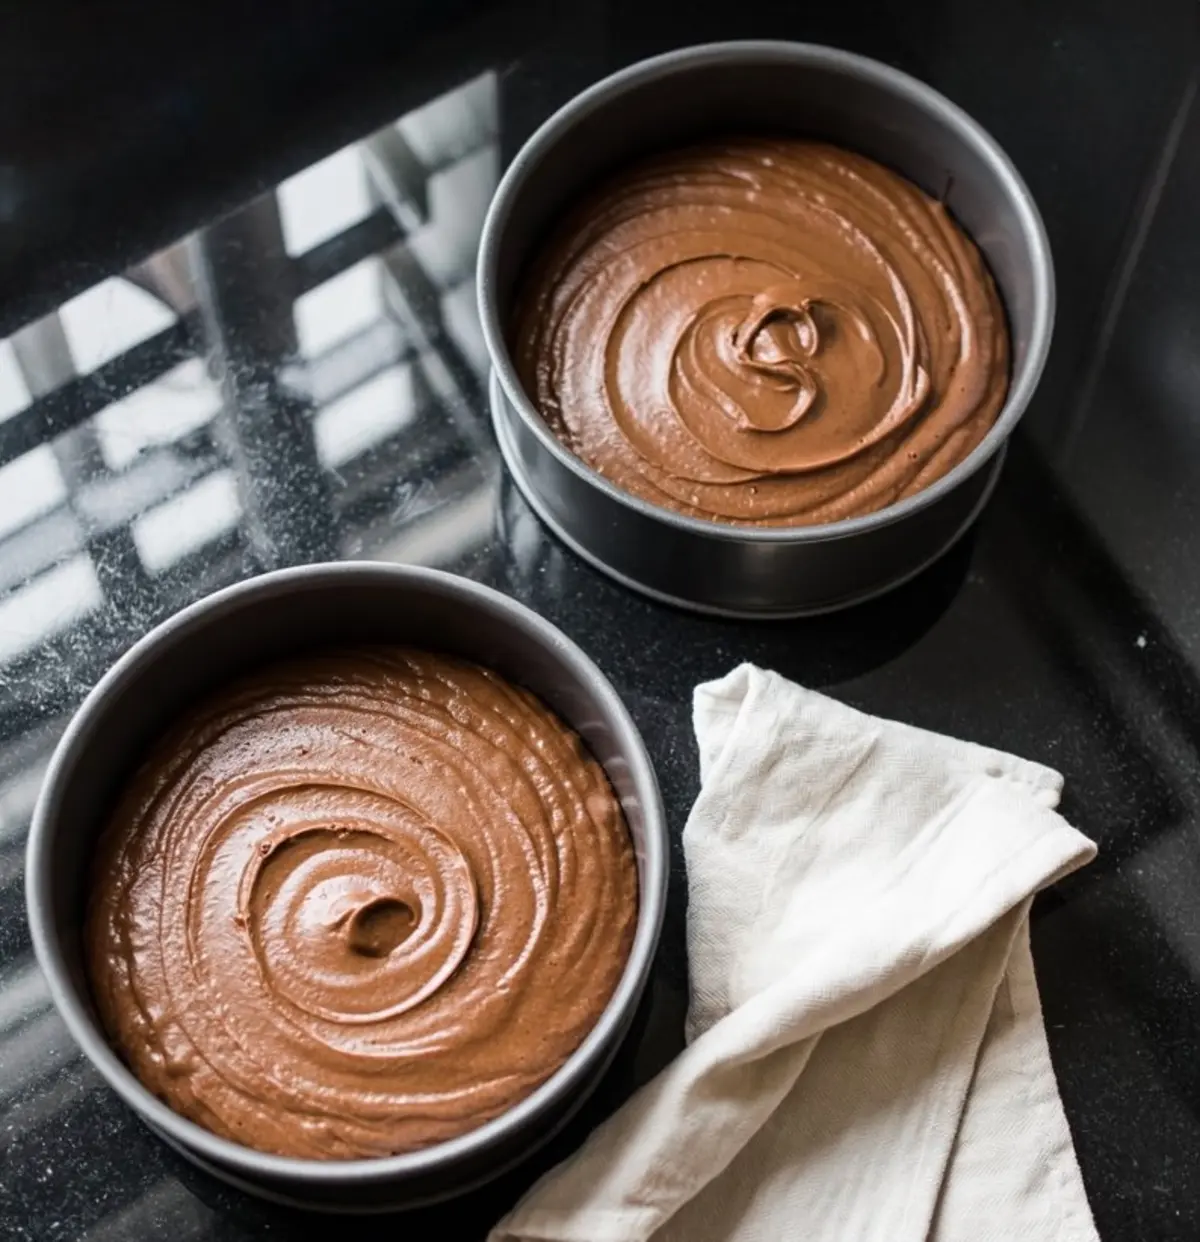
Once poured evenly into two pans, bake until the toothpick tells you it’s time. A few crumbs sticking to it? Good. That means you didn’t overbake it.
The Filling That Makes the Difference
This is where things shift.
Instead of stacking this cake with frosting alone, I layer it with a whipped chocolate cream filling. It tastes like chocolate mousse but spreads like buttercream.
I melt chocolate chips with butter over steam. Once melted and slightly cooled, I whip heavy cream to soft peaks and fold everything together gently with vanilla and a pinch of salt. The texture should remind you of soft pillows—light but structured.
Let it rest for 15 minutes in the fridge. It’ll thicken enough to hold your layers without sliding.
How to Stack It Without Collapse
You can slice your cake into four thinner layers if you want more filling between bites. I often do two only and that’s enough.
Start with a layer on your plate. Spread a thick ribbon of cream across. Repeat until you’ve used them all.
Don’t rush this part. Press gently between layers and chill the assembled cake for 20 minutes. This short rest sets the structure before ganache enters the picture.
Pour the Ganache Like You Mean It
Warm your cream until it simmers. Pour it over chocolate chips and let it sit for a moment. Don’t stir too soon—let the heat do its job.
Then stir until smooth and shiny. Cool it just slightly until it flows like warm syrup but thick enough to sit on the cake without running off.
Pour it over the top and use a spatula to gently push it outward. Let it drip naturally. I rarely smooth the sides too much—I like the honest finish.
Now let it sit for about an hour at room temp.
That Dash of Magic I Promised
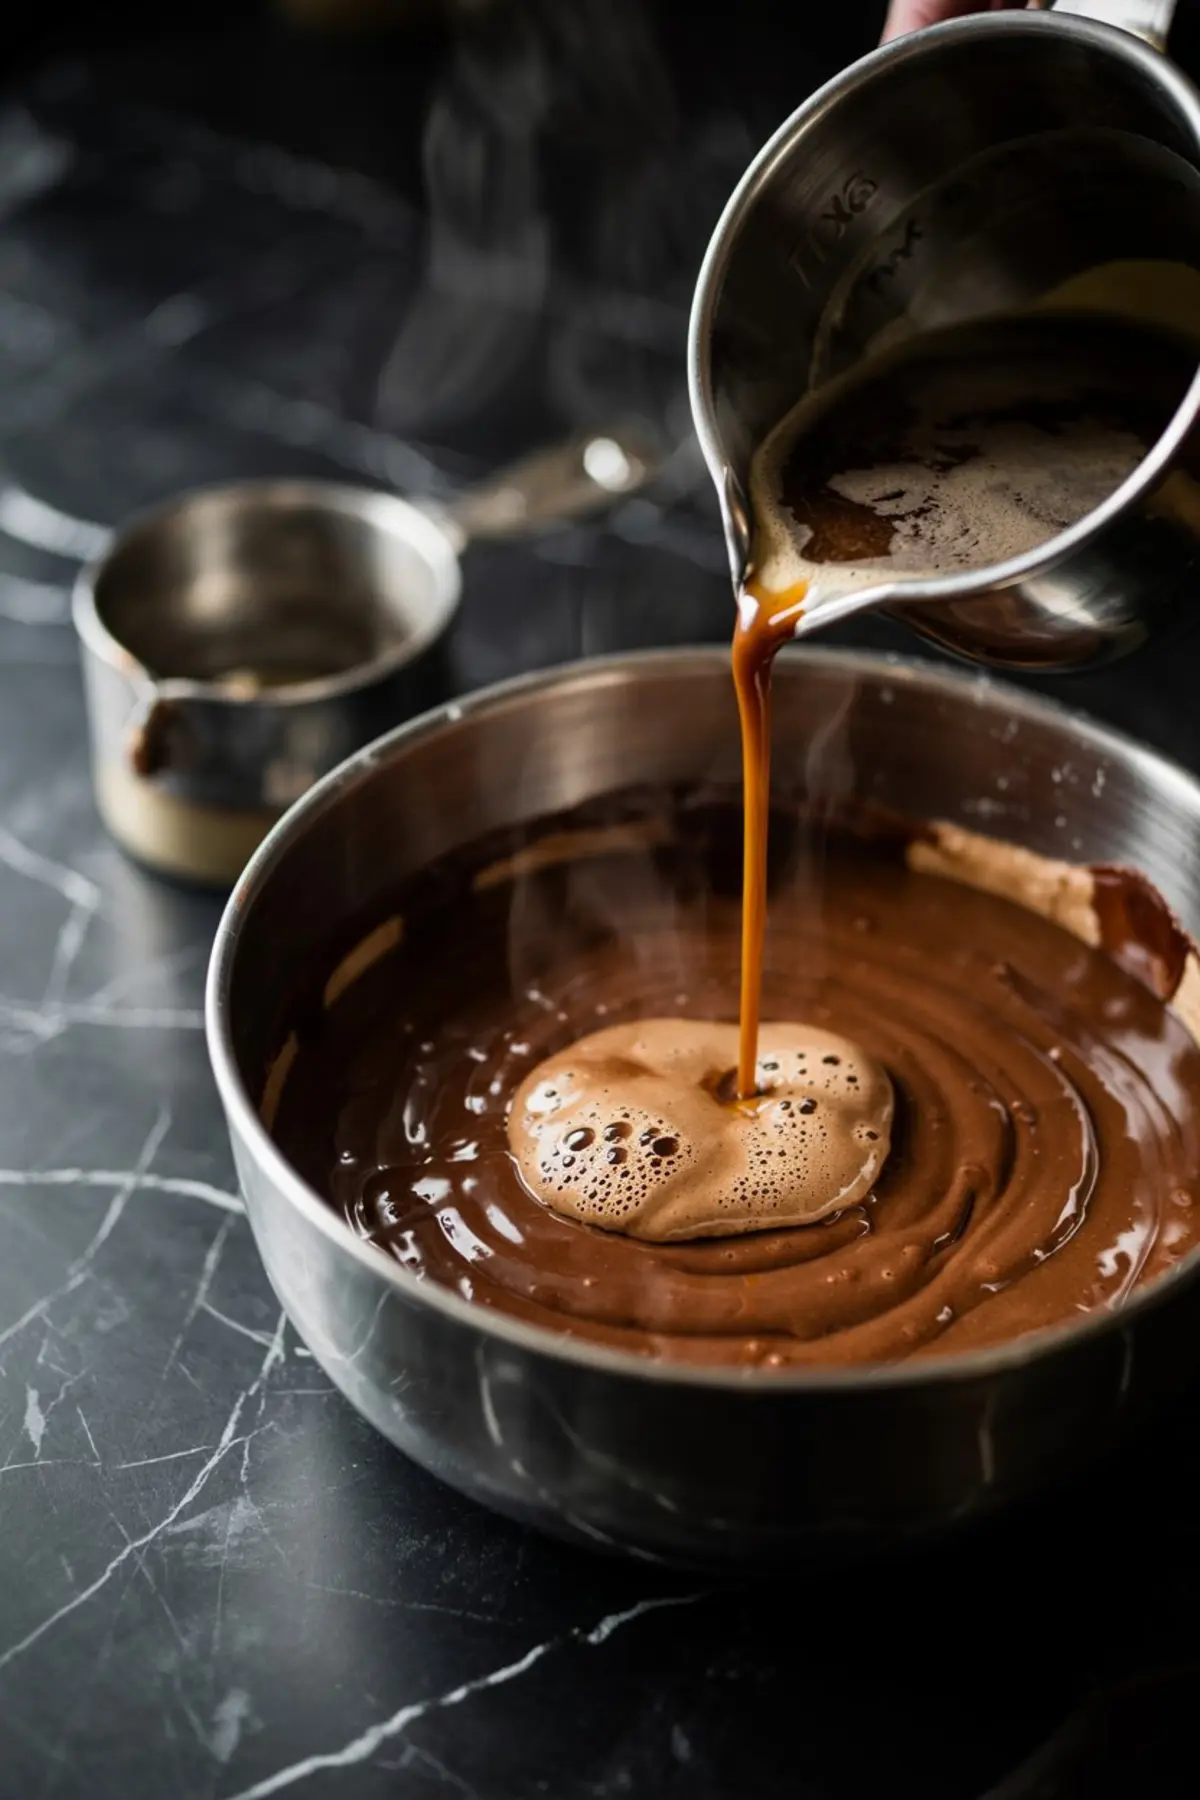
I hinted earlier that this cake holds a twist. Here it is: the coffee.
It’s not just filler. The hot coffee wakes up the cocoa and deepens the flavor more than water or milk ever could.
It doesn’t make the cake taste like coffee. It makes it taste more like chocolate.
Lena taught me that trick when I was still using tap water in cocoa cakes. I’ve never gone back.
Store It and Slice It Like You Mean Business
Once set, this cake holds up well in the fridge. Cover it loosely. Let it come to room temperature before slicing—about 30 minutes. Use a knife dipped in hot water and wiped dry for clean cuts.
Serve with nothing, or maybe a dollop of cream. That’s all it needs.
And if you’re curious how this compares to a more traditional frosting approach, you might enjoy reading through my chocolate frosting method.
More Chocolate Ideas for Layer Lovers
Want another rich dessert that’s great for layering or slicing? Take a look at this silky salted chocolate pie. Or if you’re feeling playful, bake my chocolate chip cookie cake for a thick, chewy take.
And if you need extra shine, you’ll love my chocolate ganache recipe—it’s the same one used here.
Save This Cake and Tell Me How It Went
If this cake finds its way into your kitchen, I hope it becomes one you come back to. Save it to your dessert board on Pinterest, so you don’t forget where to find it.
And let me know—did you try the cream filling? Did the ganache set just right?
Leave a comment below. I check them all and love hearing how it turns out.
Let’s make this space one where we share notes, like Lena and I used to.
Homemade Chocolate Cake with Chocolate Cream Filling
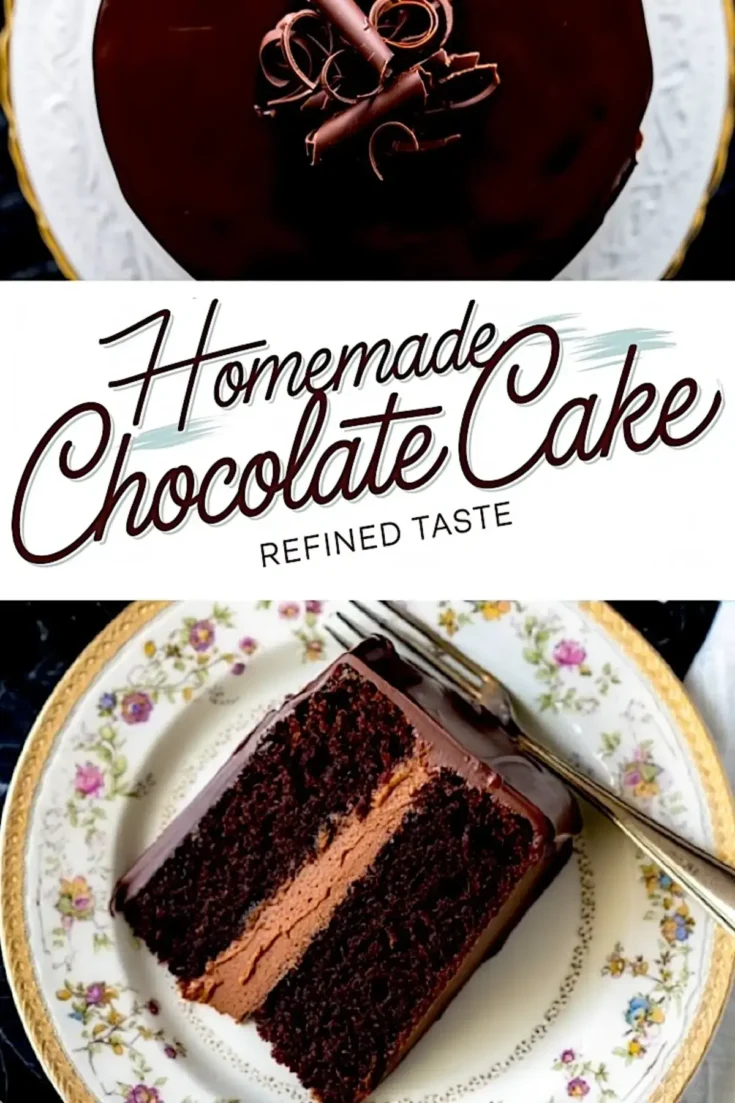
A rich, layered chocolate cake filled with a smooth chocolate cream and finished with a glossy ganache. Each layer is structured and moist, designed to hold the filling without collapsing. The chocolate cream is whipped to a mousse-like consistency, and the ganache provides a shiny, flavorful finish that seals in moisture.
Ingredients
- FOR THE CHOCOLATE CAKE LAYERS
- 1 ¾ cups (220g) all-purpose flour
- ¾ cup (65g) unsweetened cocoa powder
- 2 cups (400g) granulated sugar
- 1 ½ tsp baking powder
- 1 ½ tsp baking soda
- 1 tsp salt
- 2 large eggs
- 1 cup (240ml) buttermilk
- ½ cup (120ml) vegetable oil
- 2 tsp vanilla extract
- 1 cup (240ml) hot coffee
- FOR THE CHOCOLATE CREAM FILLING
- 1 cup (240ml) heavy cream
- 1 ½ cups (260g) semi-sweet chocolate chips
- 4 tbsp unsalted butter, room temperature
- 1 tsp vanilla extract
- Pinch of salt
- FOR THE CHOCOLATE GANACHE TOPPING
- 1 cup (170g) semi-sweet chocolate chips
- ¾ cup (180ml) heavy cream
Instructions
- PREPARE THE CAKE PANS: Preheat the oven to 350°F (175°C). Grease and line two 9-inch round cake pans with parchment paper to prevent sticking and ensure clean removal.
- MIX DRY INGREDIENTS: In a large mixing bowl, whisk together the flour, cocoa powder, sugar, baking powder, baking soda, and salt until well combined and no clumps remain.
- COMBINE WET INGREDIENTS: In a separate bowl, whisk the eggs, buttermilk, vegetable oil, and vanilla extract until smooth and uniform in color.
- CREATE THE BATTER: Pour the wet mixture into the dry ingredients and stir until fully incorporated. Gradually add the hot coffee, mixing until the batter is smooth and thin. This consistency is key to a moist cake.
- BAKE THE CAKE: Divide the batter evenly between the prepared pans. Bake for 30 to 35 minutes, or until a toothpick inserted in the center comes out with a few moist crumbs. Let the cakes cool in the pans for 10 minutes before transferring to a wire rack to cool completely.
- MAKE THE CHOCOLATE CREAM FILLING: In a heatproof bowl set over simmering water, melt the chocolate chips and butter, stirring until completely smooth. Remove from heat and let cool slightly. In another bowl, whip the heavy cream to soft peaks using a hand mixer. Add vanilla and salt, then gently fold in the cooled chocolate mixture until fully combined and mousse-like. Chill for 15 minutes to thicken.
- ASSEMBLE THE LAYERS: If desired, slice each cake layer in half horizontally for four layers total. Two will be totally enough. Place one layer on a serving plate and spread a thick, even layer of chocolate cream filling over it. Add the next layer and repeat as needed. Gently press each layer down and chill the assembled cake for 20 minutes to set the filling.
- MAKE THE GANACHE: Heat the heavy cream in a small saucepan over medium heat until it begins to simmer. Pour it over the chocolate chips in a heatproof bowl. Let sit for 3 minutes, then stir until smooth and glossy. Let the ganache cool for about 10 minutes so it thickens slightly but remains pourable.
- FROST THE CAKE: Pour the ganache over the center of the cake and gently push it outward using a spatula, allowing it to coat the top and drip slightly down the sides. Smooth the surface and sides as needed. Let the cake sit at room temperature for 1 hour to allow the ganache to set before serving.
Notes
For clean cake slices, use a sharp knife dipped in hot water and wiped dry between cuts. Cake can be stored covered in the refrigerator for up to 4 days. Let it sit at room temperature for 30 minutes before serving.
Nutrition Information:
Yield:
12Serving Size:
1Amount Per Serving: Calories: 232Total Fat: 13gSaturated Fat: 7gTrans Fat: 0gUnsaturated Fat: 5gCholesterol: 51mgSodium: 472mgCarbohydrates: 26gFiber: 1gSugar: 10gProtein: 4g
