
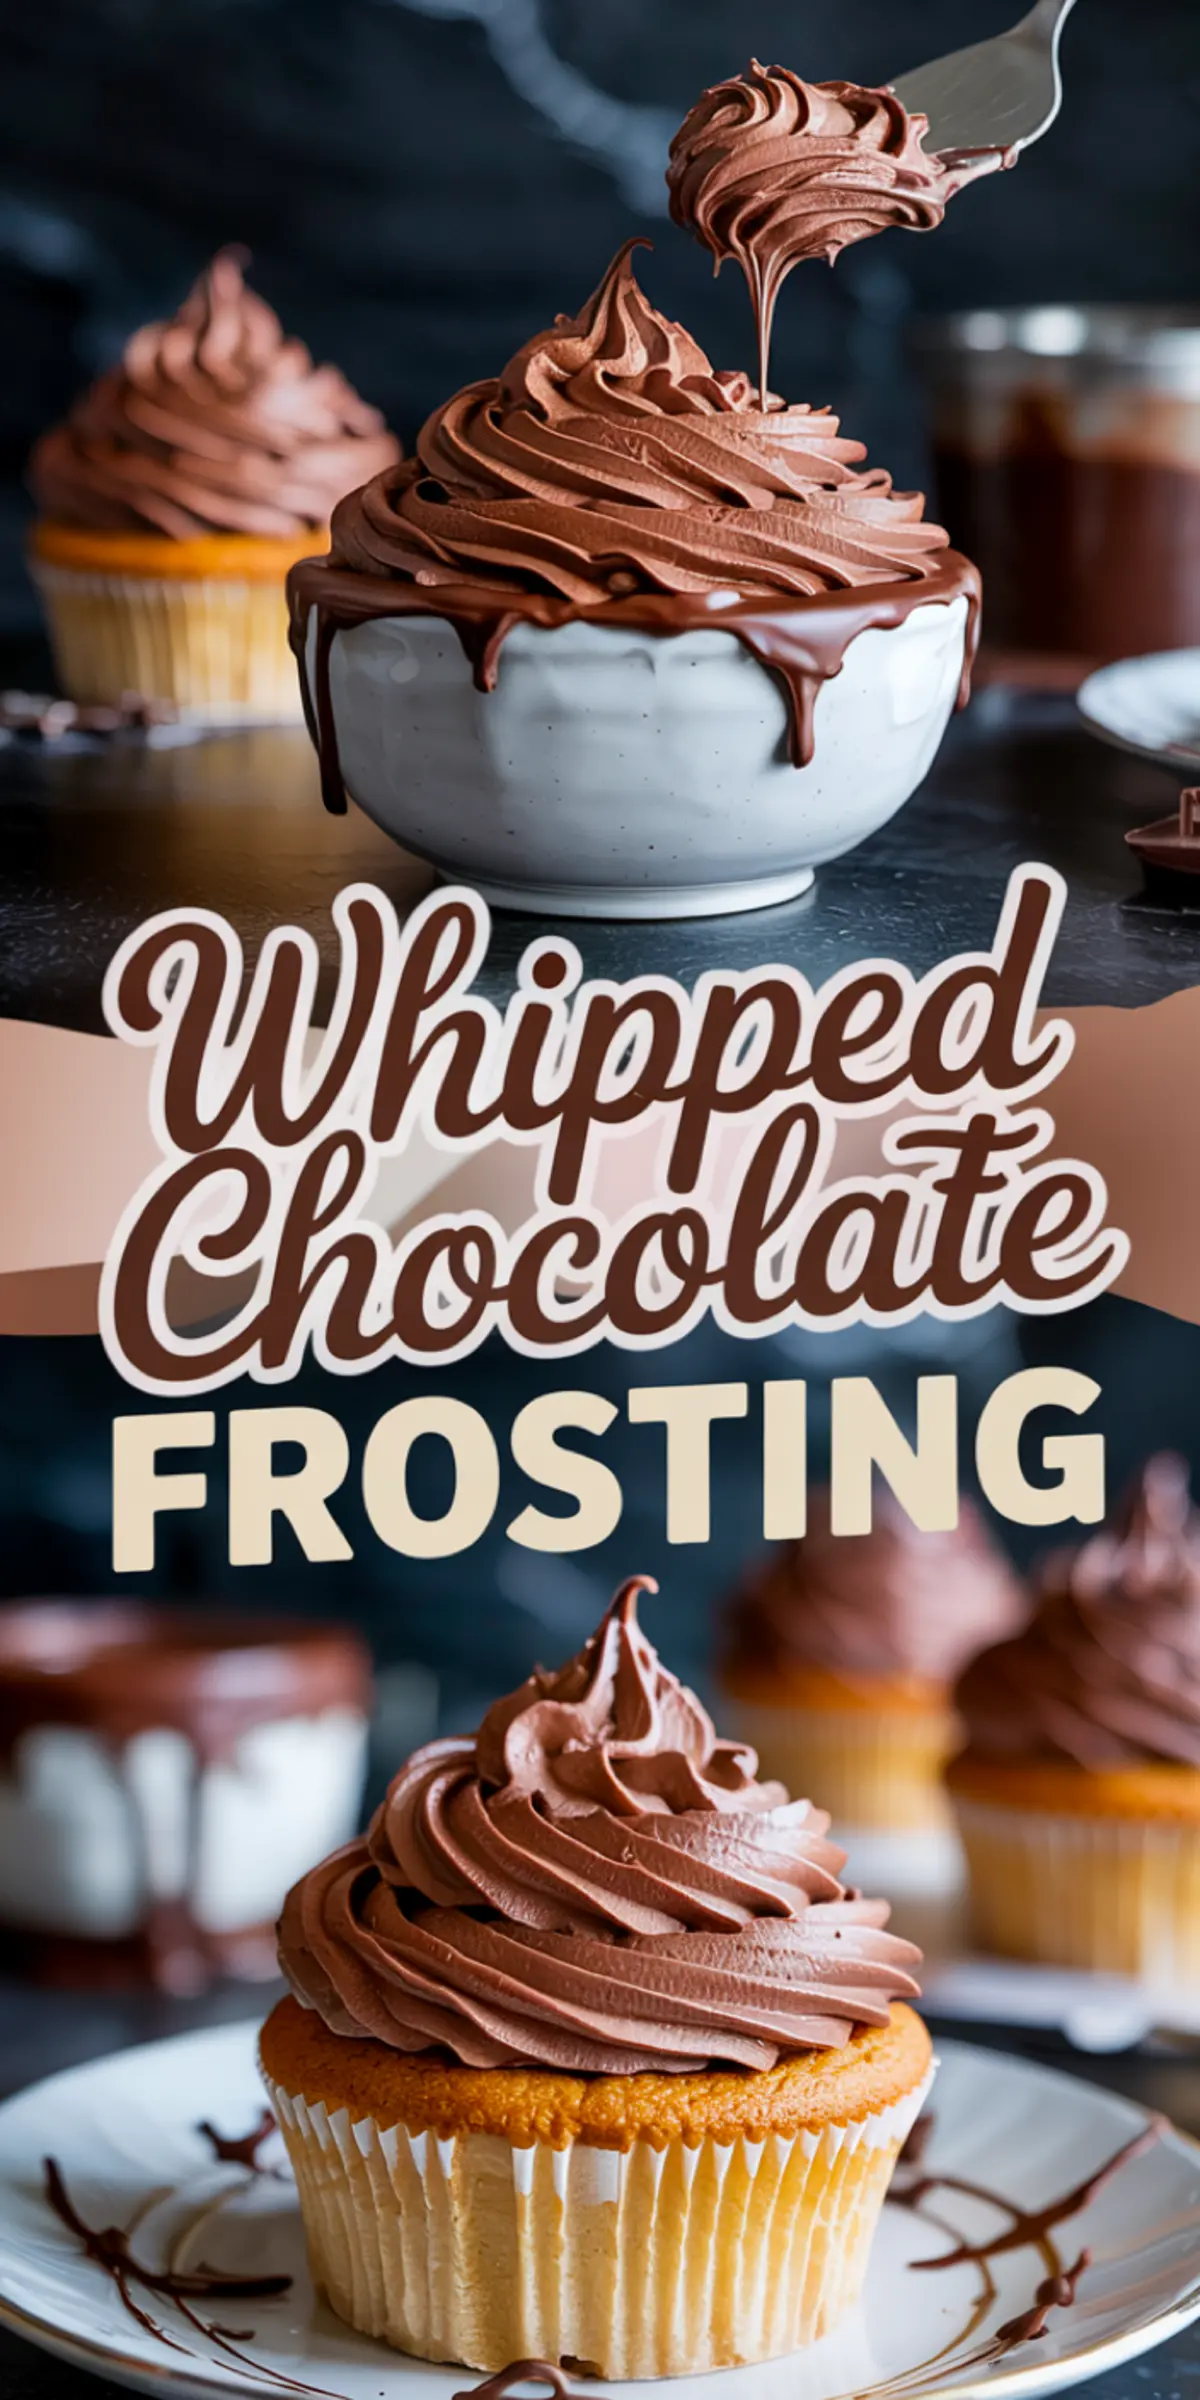
A buttercream can feel too heavy. A whipped cream too airy. But somewhere in the middle lies this whipped chocolate frosting recipe.
You’ll learn how to create a light, pipeable texture that spreads like silk but still holds a pretty peak. This frosting skips the heavy finish of classic buttercream and offers a softer touch. Still sweet, still chocolate, but it won’t weigh your cake down.
Think of it as a frosting that behaves like a mousse but pipes like a dream.
We’re working with cocoa, butter, sugar, and cream but there’s a quiet ingredient that changes the texture. Something subtle that lifts the whole bowl. I’ll come back to that.
Why These Ingredients Work Together
The butter carries the base. I use unsalted, always. It gives full control over the balance. Room-temperature butter, whipped long enough, creates volume without stiffness. It should look pale and feel cloud-soft when ready.
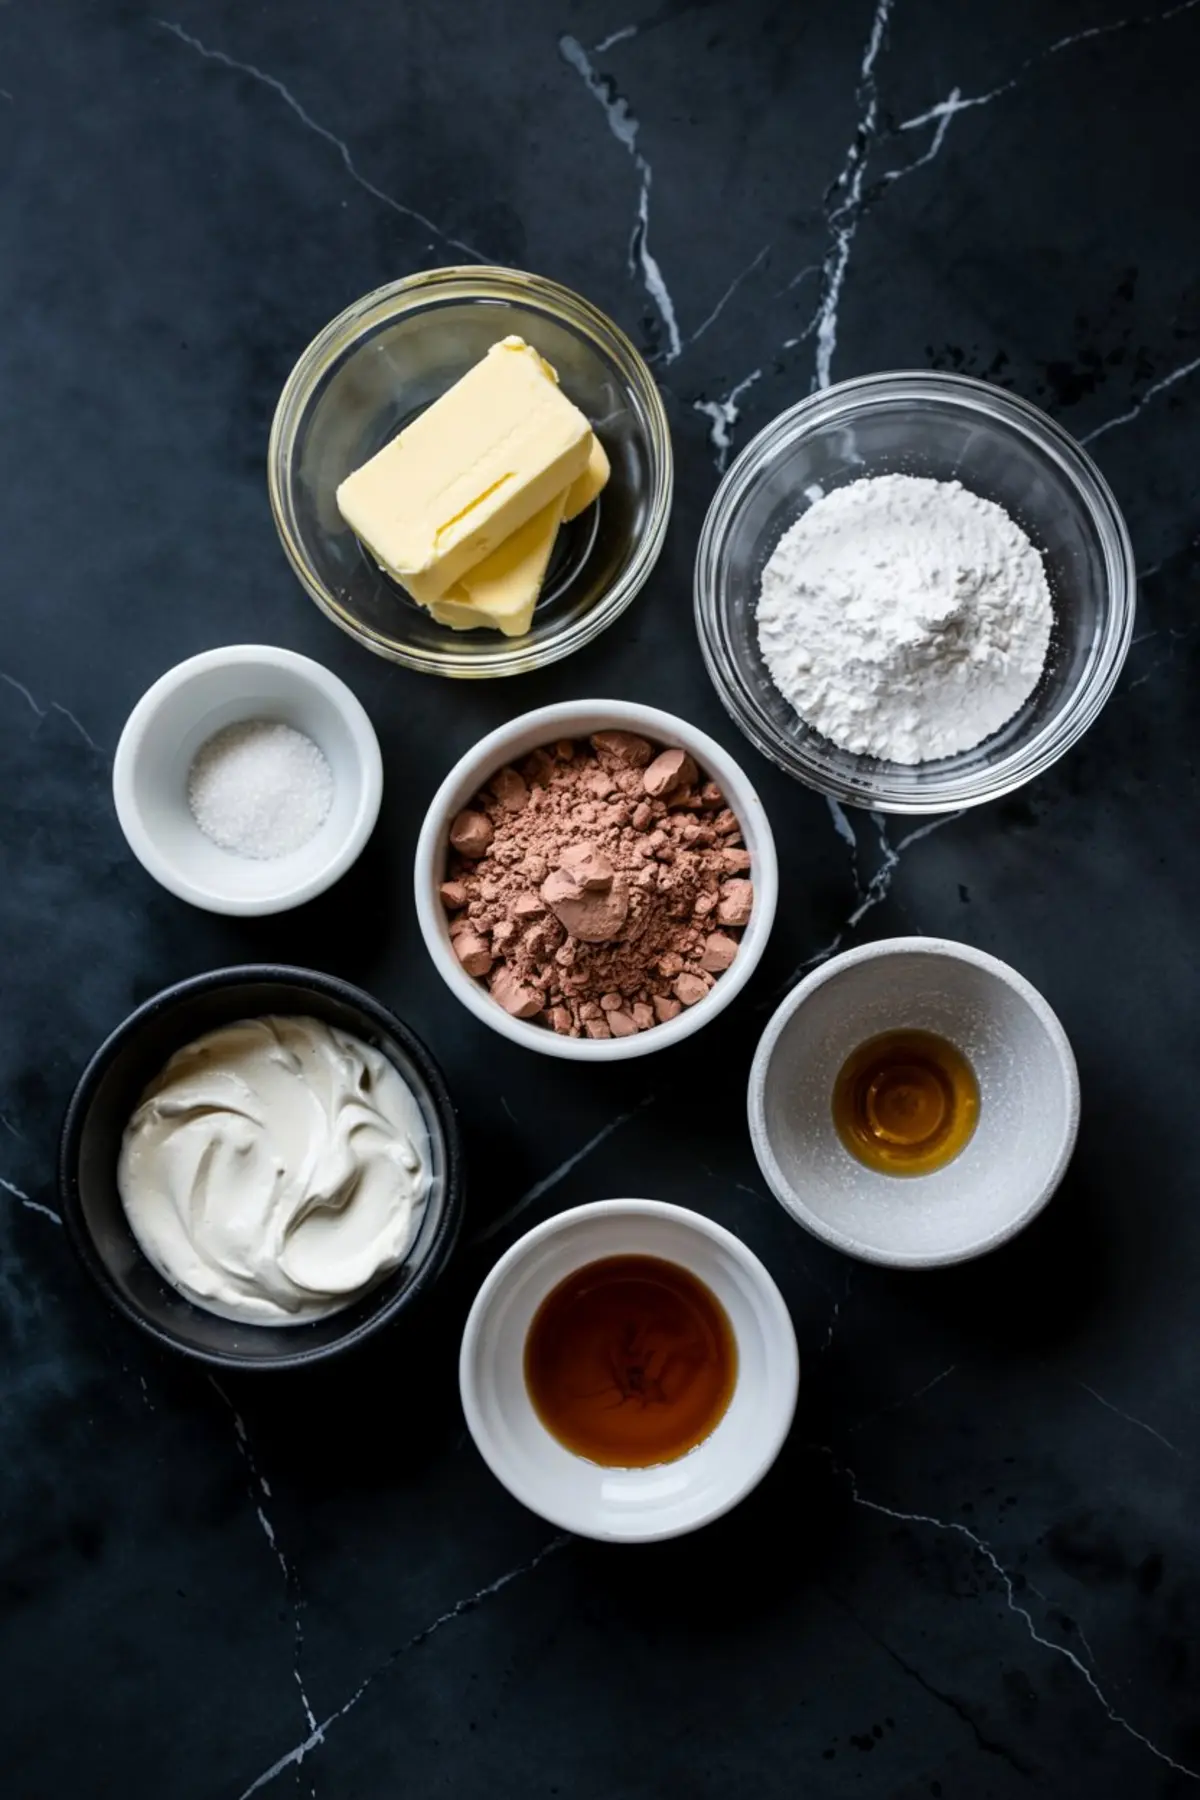
Powdered sugar adds the sweetness, but sifting matters. Lumps can ruin the texture. Cocoa powder deepens the flavor. I prefer natural cocoa when I want that nostalgic chocolate taste. Dutch-processed gives a smoother result, more adult, less playful. Both work. I reach for whichever matches the dessert it’s frosting.
Vanilla rounds the sharp edge of the cocoa. A little sea salt keeps it from tasting flat. Just a pinch. More than that and it becomes noticeable. This frosting should whisper, not shout.
And then there’s the cream.
Heavy cream makes the magic. It’s what takes this from basic chocolate buttercream into whipped chocolate buttercream. It adds lift. It gives the frosting that airy finish, soft enough to melt on the tongue, firm enough to swirl on cupcakes.
How the Mixing Method Affects Texture
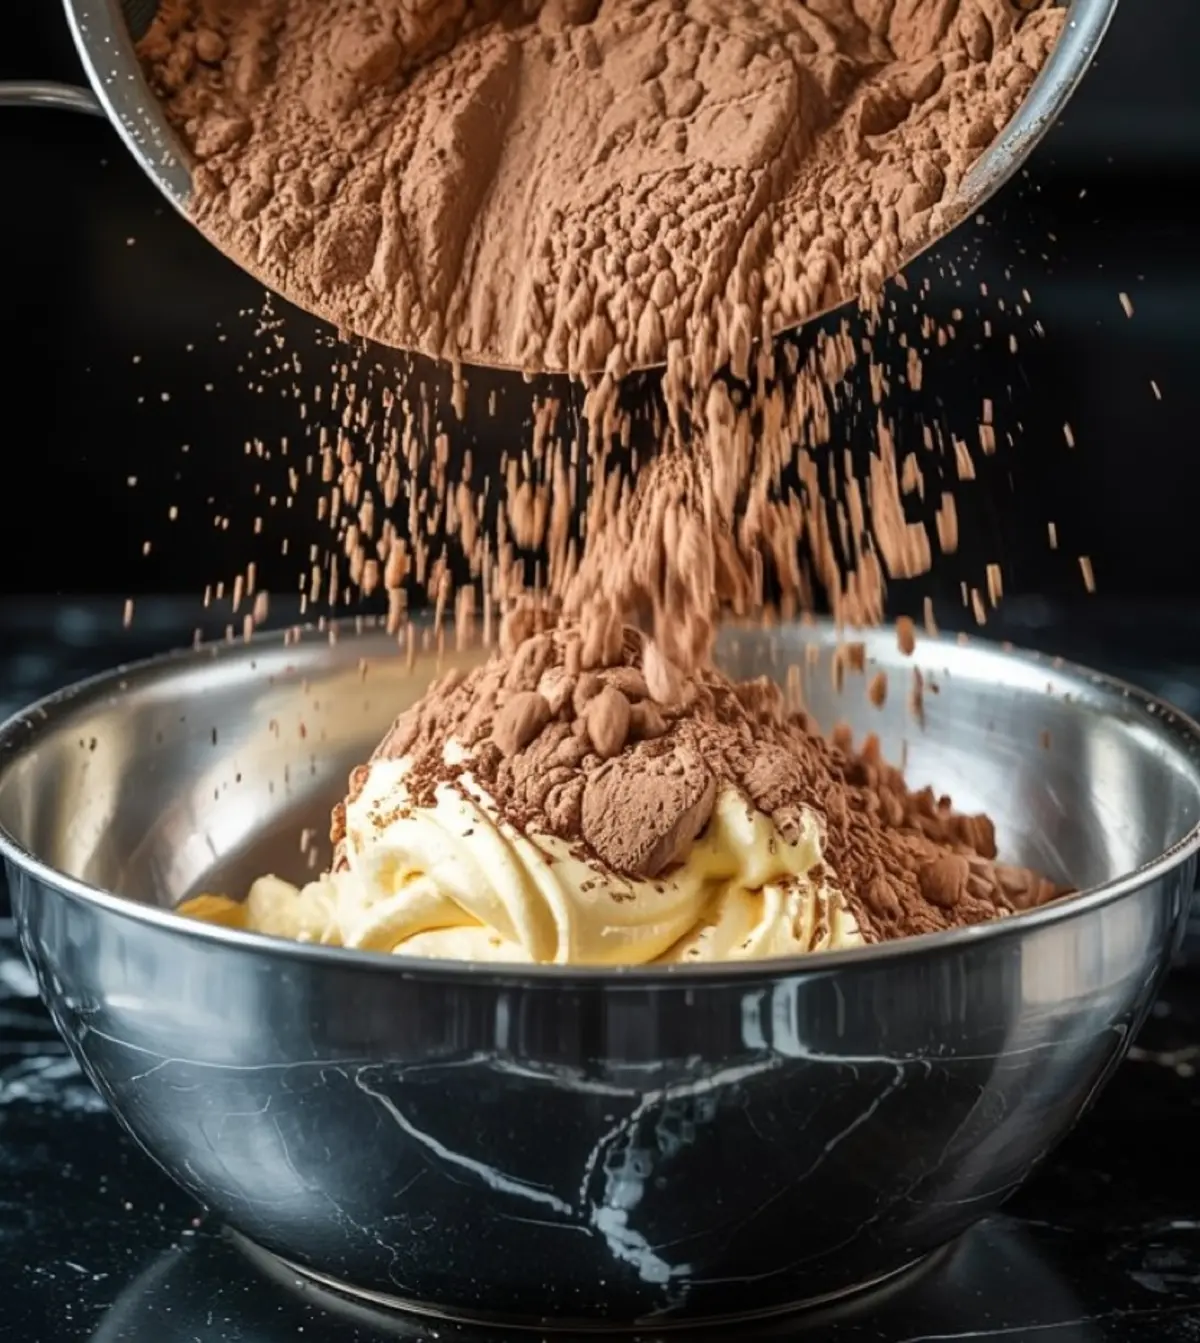
Start by beating the butter until it’s pale and fluffy. I don’t rush this part. Four full minutes sometimes. The color should shift from yellow to ivory. This base determines the final texture.
Once the dry ingredients go in, mix gently at first. If I start too fast, cocoa powder ends up in the air. Once incorporated, I increase speed. It needs a strong whip to bring in lightness. The mixture will look thick — almost too thick — before the cream arrives.
Adding the cream slowly changes everything. A tablespoon at a time gives me control. I stop at four if I want to pipe roses. I go to six if I want something I can spread with an offset spatula.
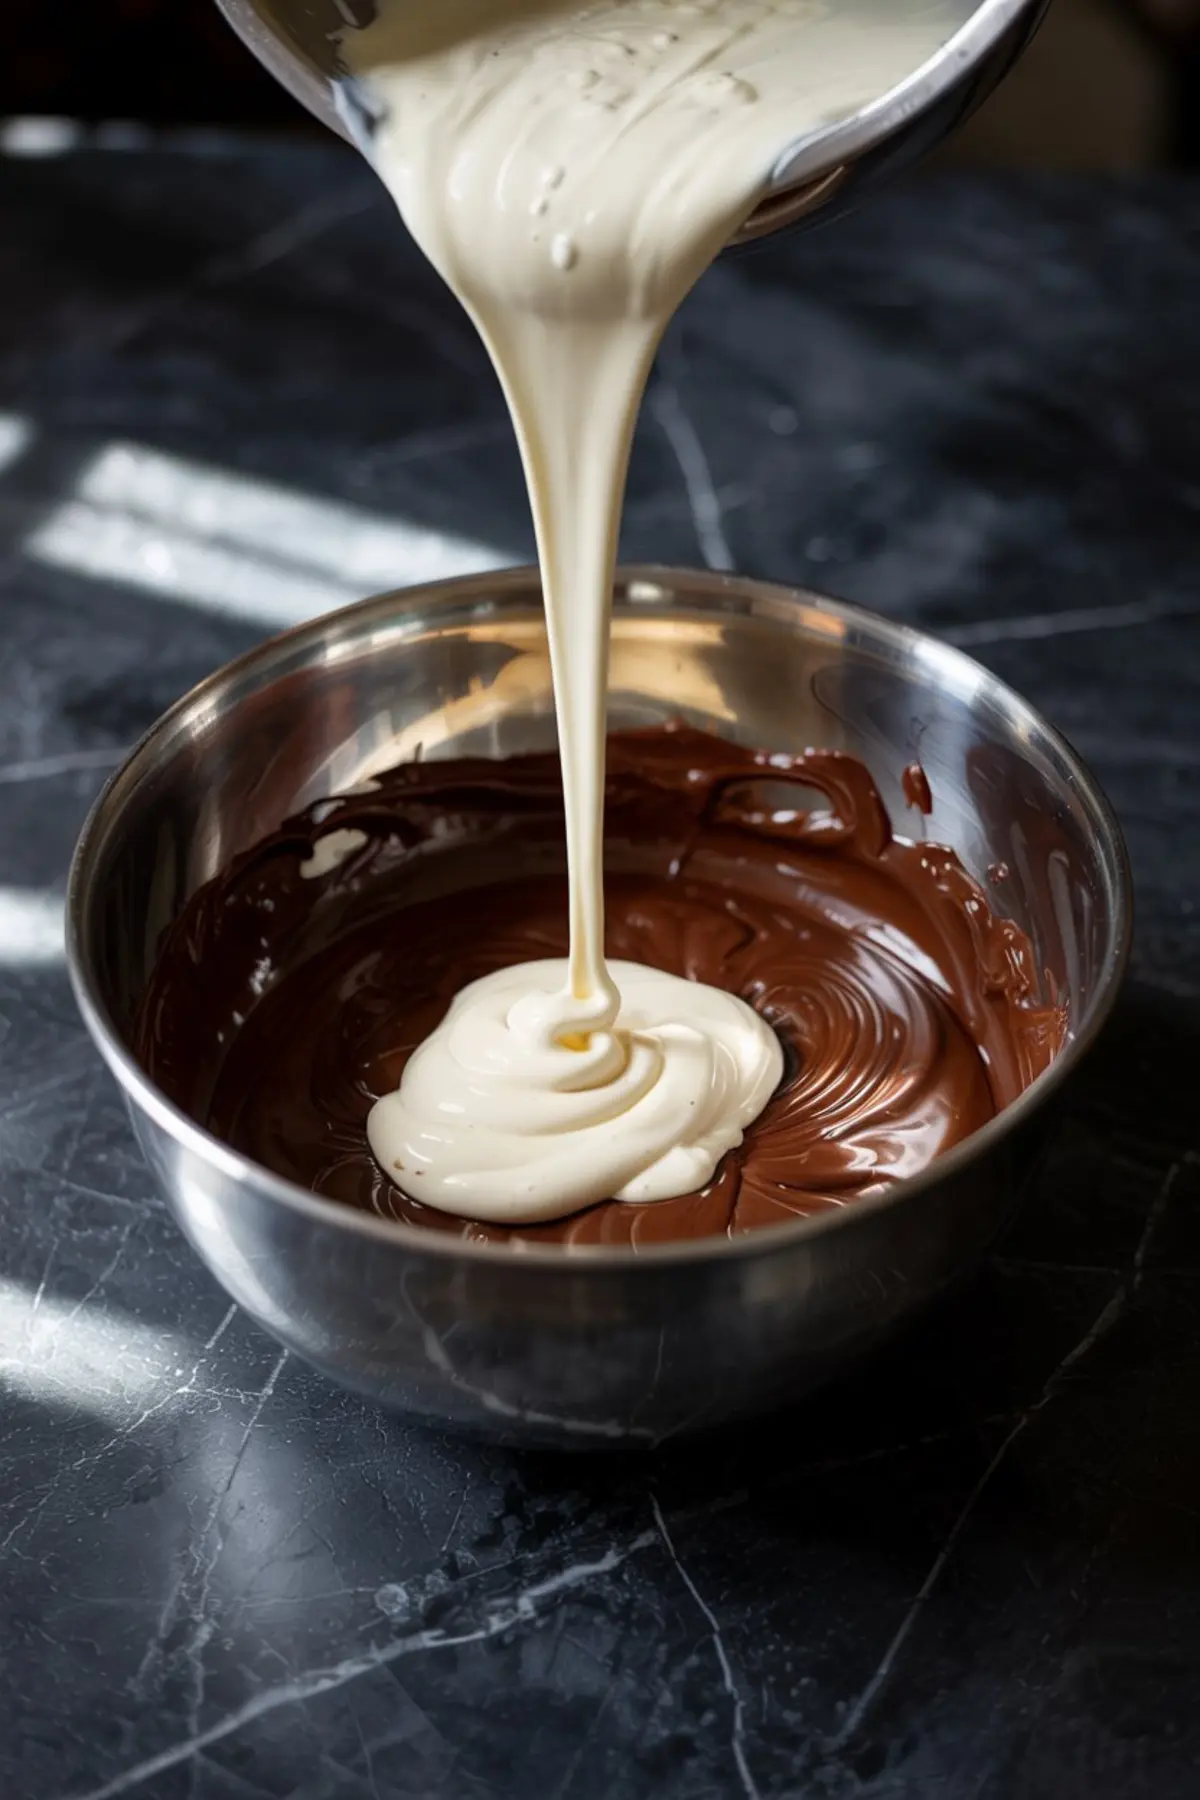
After the cream, I whip again, hard. This is where the frosting comes alive.
Comparison: Cocoa Powder Choice Changes Flavor Profile
I’ve made this frosting with both natural and Dutch-processed cocoa. Here’s the difference.
Natural cocoa tastes brighter, almost tangy, like boxed chocolate cake from childhood. Dutch-processed is deeper, smoother, and feels more elegant.
If I’m pairing this with chocolate ganache frosting, I match the cocoa types so the layers feel cohesive. For a vanilla cake, I might use natural cocoa so the contrast feels playful. The choice depends on mood and pairing. But whichever you use, sift it. Always sift.
You can read more about cocoa-based frostings in my chocolate ganache frosting notes here.
Whip Cream Chocolate Frosting for Cupcakes or Layer Cakes
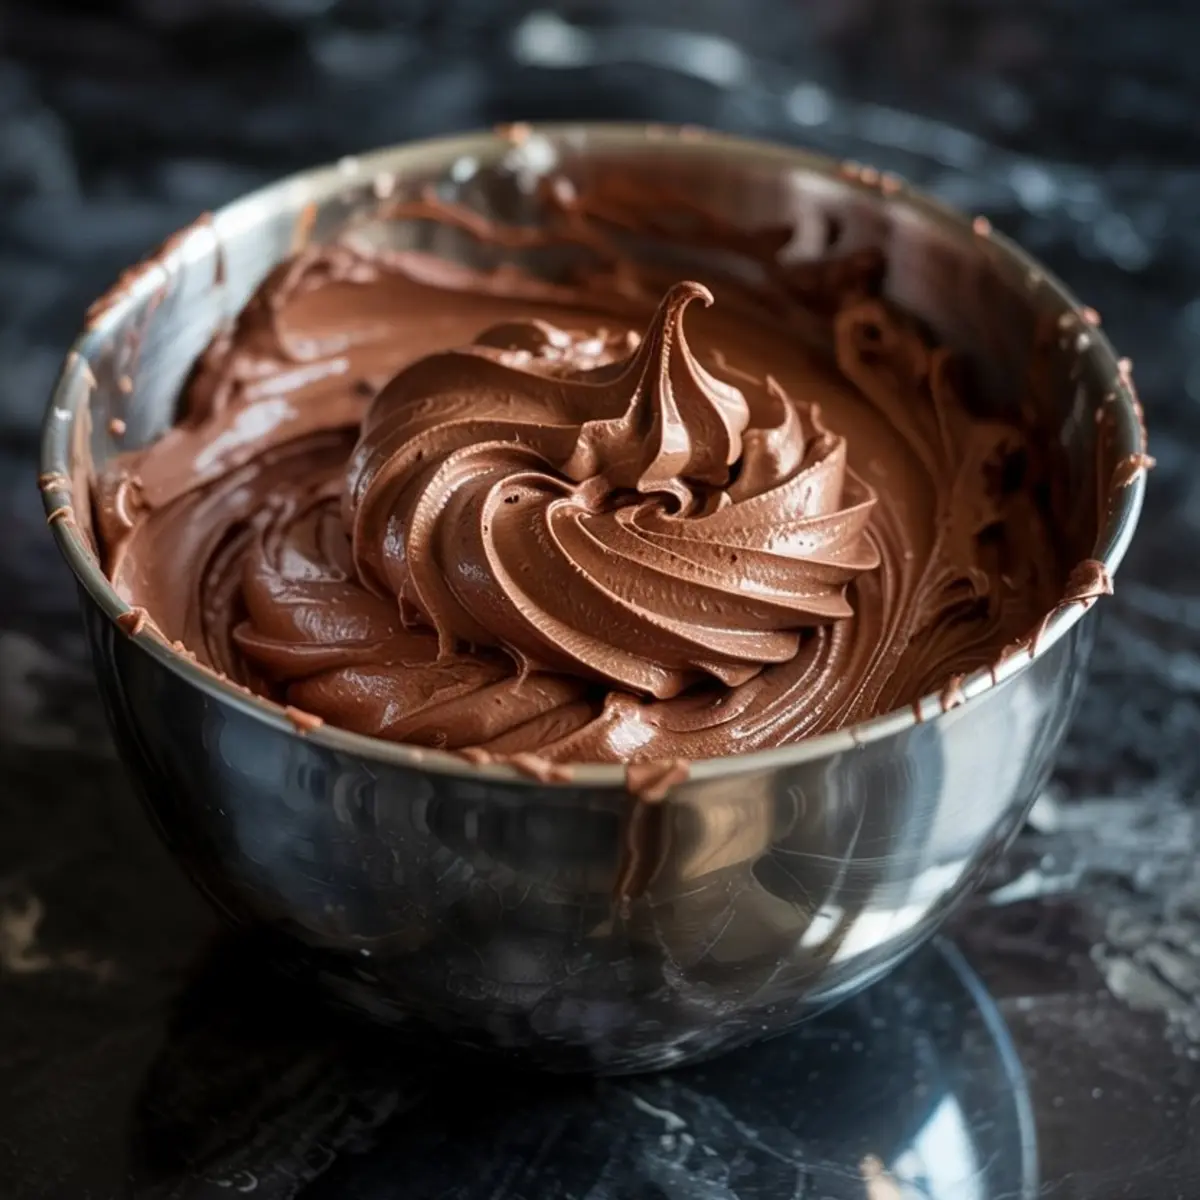
This chocolate whipped cream frosting finishes light but holds its shape. That’s why it works for both cupcakes and layered cakes. If you need something softer, more mousse-like, go closer to six tablespoons of cream. For more structure, keep it to four.
I use it when I want a middle ground. When I don’t want chocolate buttercream’s density, but I want more substance than chocolate whipped cream frosting.
You’ll find it spreads easier than chocolate fudge frosting. That one’s thicker and shinier, more like truffle filling. I love both, but each has its place. You can try that variation here.
Cream Cheese or Buttercream Base? Why I Pick Butter Here
Some ask why I don’t use cream cheese as a base. I love cream cheese frosting on carrot cake, but it pulls tangy. That would compete too much with the cocoa here.
Butter gives a smoother finish. No sharpness. Just clean, light chocolate flavor. If you want something sharper, add a spoonful of sour cream or swap in whipped mascarpone for part of the butter. But that changes the feel.
When I need a more classic pipeable frosting, I turn to buttercream frosting. It’s firmer, more predictable. But this whipped chocolate version feels gentler.
When to Use It and How to Store
I use this frosting on cupcakes, soft sponge cakes, even brownies. It’s one of those in-between frostings that matches casual and elegant bakes equally well.
You can store it in the fridge, covered, up to three days. Just let it come to room temperature before rewhipping. It fluffs right back.
And if you’re using it for cupcake decorating ideas, chill it slightly before piping. Just ten minutes helps the swirls stay firm.
The Hidden Ingredient I Swear By
Earlier, I hinted at something quiet in the mix. It’s the salt. Just a quarter teaspoon.
You might think it doesn’t matter. But skip it, and you’ll notice. The frosting will taste sweet, but flat. With salt, it opens up. Everything tastes more balanced.
It’s not bold. It doesn’t announce itself. But it changes the way the chocolate comes through. Softens the sugar’s edge. Lets the cocoa speak.
That’s the kind of detail I keep in my Pin Notebook — little things that make a difference.
Save and Share This Whipped Chocolate Frosting Recipe
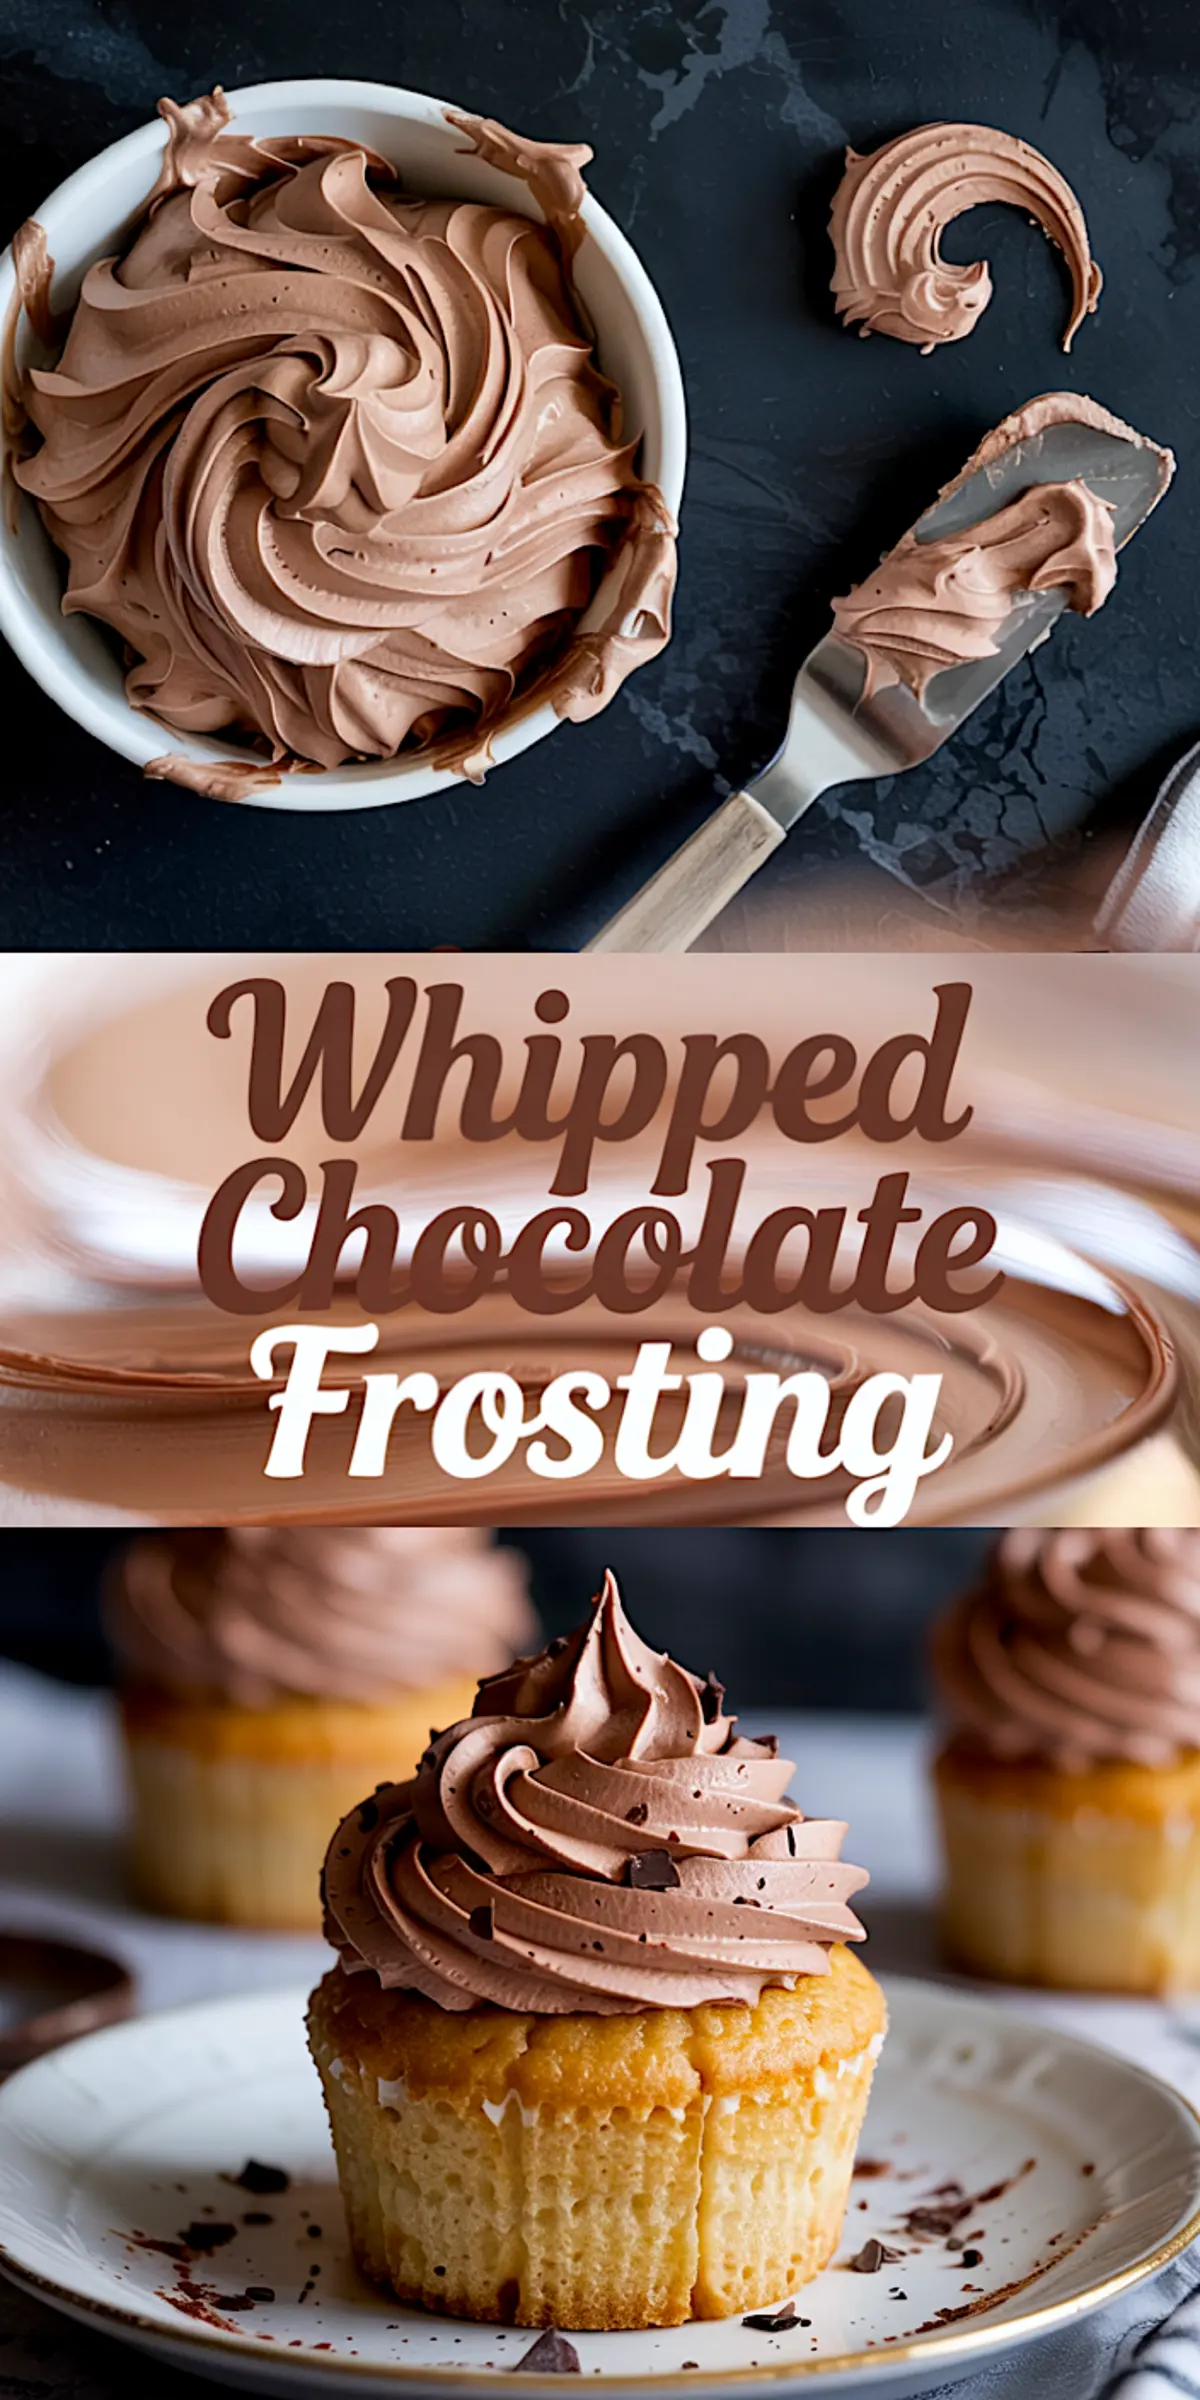
If this chocolate whipped icing made something click, save it to your Pinterest board so you can find it next time. You can pin it under whipped chocolate buttercream, chocolate cool whip frosting, or anything in between.
Have you made it? Did you change the cocoa or adjust the cream? Let me know in the comments. I’d love to hear what you swirled it over.
Whipped Chocolate Frosting
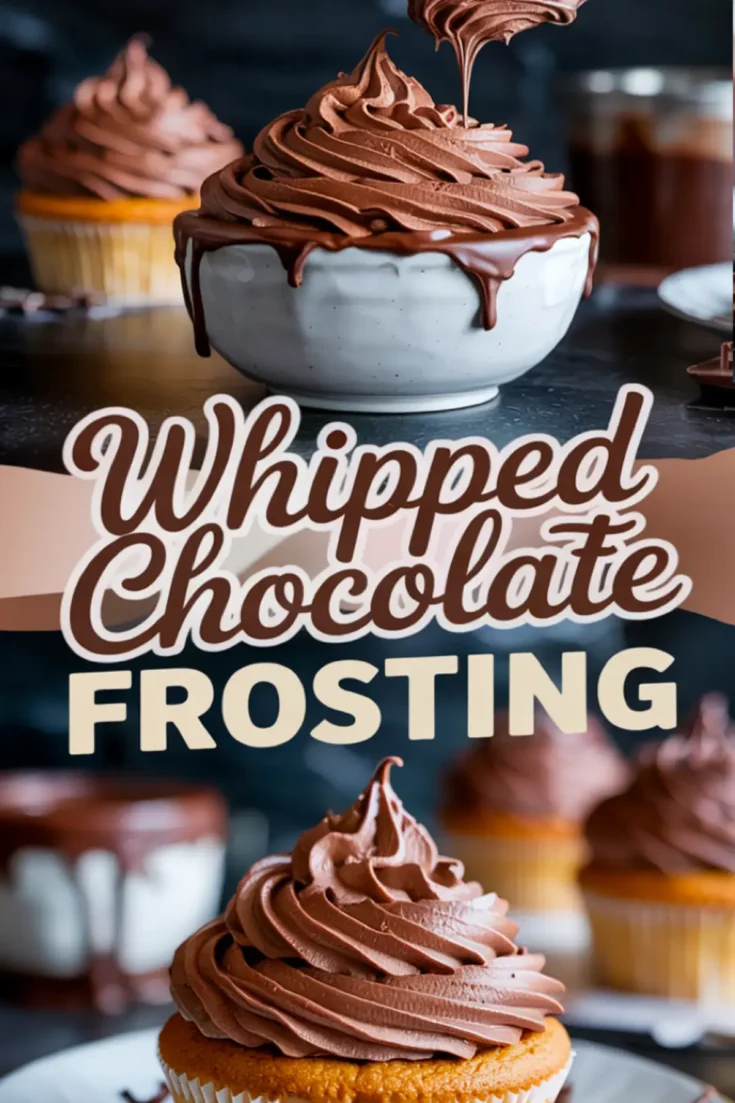
Whipped chocolate frosting is light, fluffy, and easy to spread over cakes or cupcakes. I make it with heavy cream and melted chocolate or cocoa powder for a smooth texture that’s not too sweet. This whipped chocolate frosting recipe gives you a pipeable consistency without feeling dense like buttercream. It’s a great option for cupcake decorating ideas when you want something softer but still holds shape. Use this chocolate whipped icing on layered cakes or swirl it over brownies and cookies. You can chill it slightly for more structure or whip it just before serving for a soft, cloud-like texture.
Ingredients
- 1 cup (226 grams) unsalted butter, softened
- 2 ½ cups (300 grams) powdered sugar, sifted
- ½ cup (42 grams) unsweetened cocoa powder, sifted
- ¼ teaspoon fine sea salt
- 1 ½ teaspoons vanilla extract
- 4–6 tablespoons heavy cream, cold
Instructions
- BEAT THE BUTTER: Place softened butter in a large mixing bowl. Beat on medium-high speed for 3–4 minutes until pale, fluffy, and creamy in texture. This step builds the base structure of the frosting.
- SIFT AND ADD DRY INGREDIENTS: Sift the powdered sugar and cocoa powder directly into the bowl. Add the salt and vanilla extract. Begin mixing on low speed to avoid powder splatter, then increase to medium-high and beat until fully combined, about 1–2 minutes.
- ADD THE CREAM GRADUALLY: With the mixer on medium speed, add heavy cream one tablespoon at a time. Continue whipping the frosting as you add cream, adjusting the amount to reach your desired consistency. Use 4 tablespoons for a thicker frosting or up to 6 for a lighter, more whipped texture.
- WHIP TO FINAL TEXTURE: Once all cream is added, beat the frosting on high speed for 3–5 minutes until soft peaks form. The frosting should look smooth, airy, and hold its shape without being stiff. Stop and taste; adjust with a pinch more salt or splash of cream if needed.
- USE OR STORE: Use immediately to frost cakes or cupcakes, or store in an airtight container in the refrigerator for up to 3 days. Bring to room temperature and rewhip before using.
Notes
Natural cocoa gives a classic chocolate flavor, while Dutch-processed cocoa creates a deeper, smoother result. You can substitute plant-based cream for a dairy-free version, but texture may vary slightly.
Nutrition Information:
Yield:
1Serving Size:
1Amount Per Serving: Calories: 2505Total Fat: 259gSaturated Fat: 165gTrans Fat: 9gUnsaturated Fat: 77gCholesterol: 806mgSodium: 806mgCarbohydrates: 32gFiber: 1gSugar: 31gProtein: 20g
