
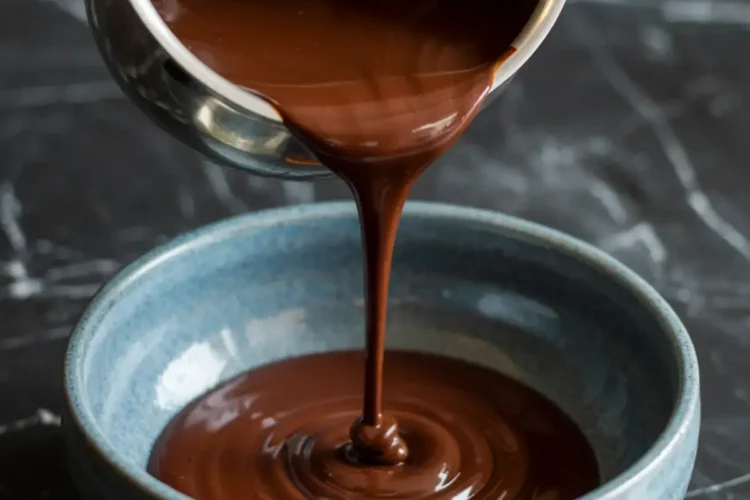
There’s something comforting about a recipe that works every single time. No drama. No surprises. Just smooth, glossy, spoon-licking success.
This chocolate ganache doesn’t pretend. It’s two ingredients. No fancy steps. Just the right heat, the right chocolate, and a moment of patience. But what gives it real staying power—the kind that moves from a one-time treat to a staple in your baking—is what I learned holding my aunt Marian’s golden spoon.
You’ll get more than just a ganache recipe here. You’ll learn how to use it three ways. And you’ll find out why a spoon—yes, one old spoon—still reminds me what makes a dessert unforgettable.
And as promised, there’s one tiny trick I never leave out. A pinch of something unexpected. We’ll get to that soon.
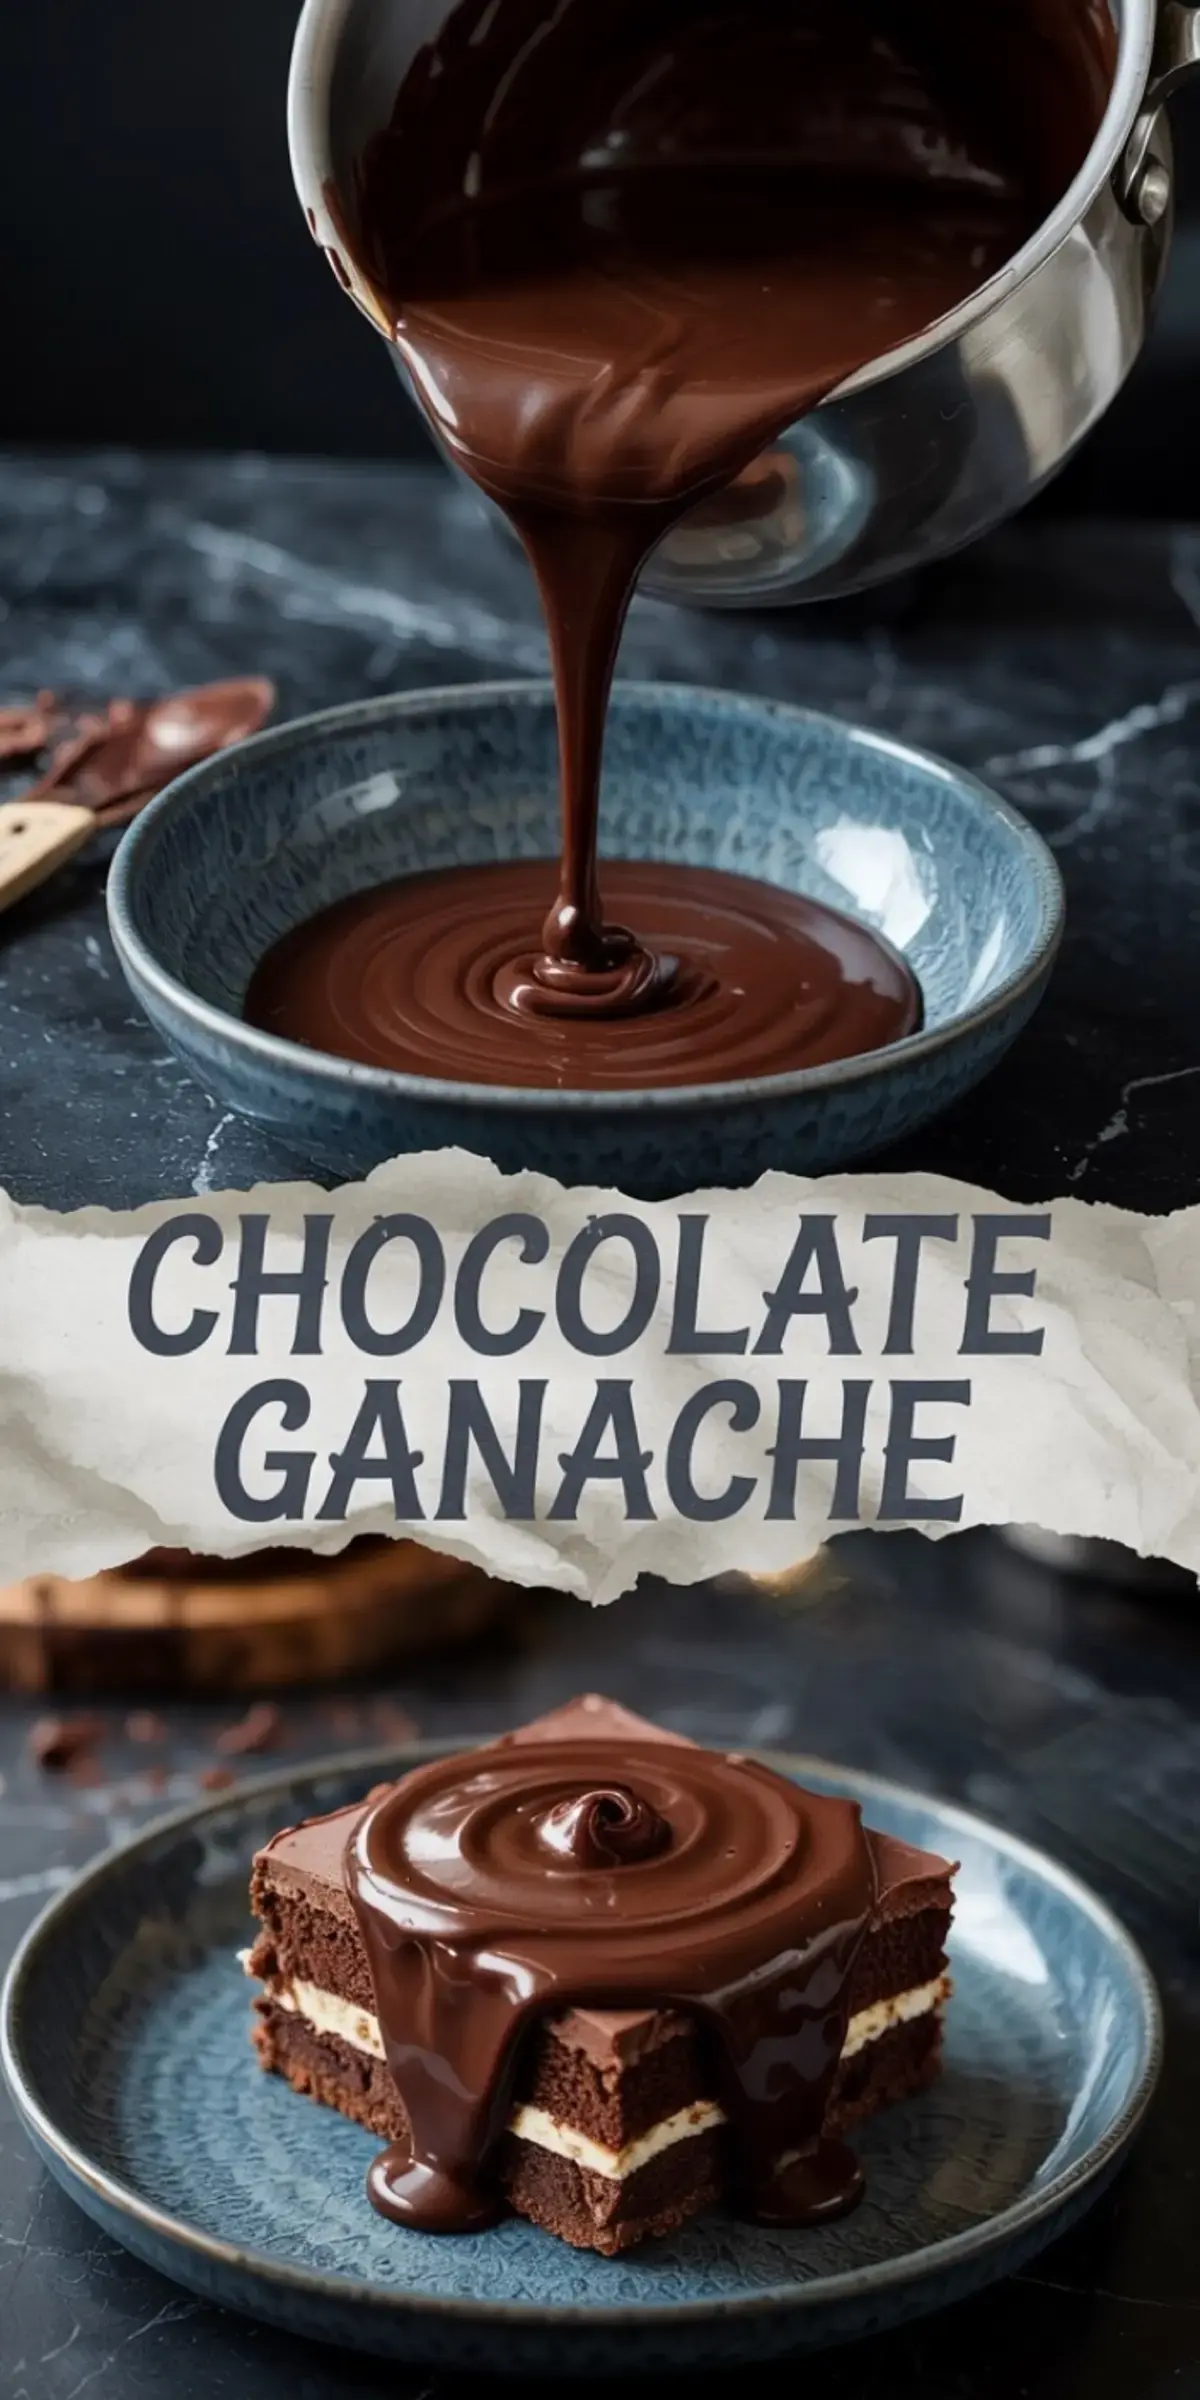
Let’s start with the base.
How to Make Chocolate Ganache with Two Ingredients
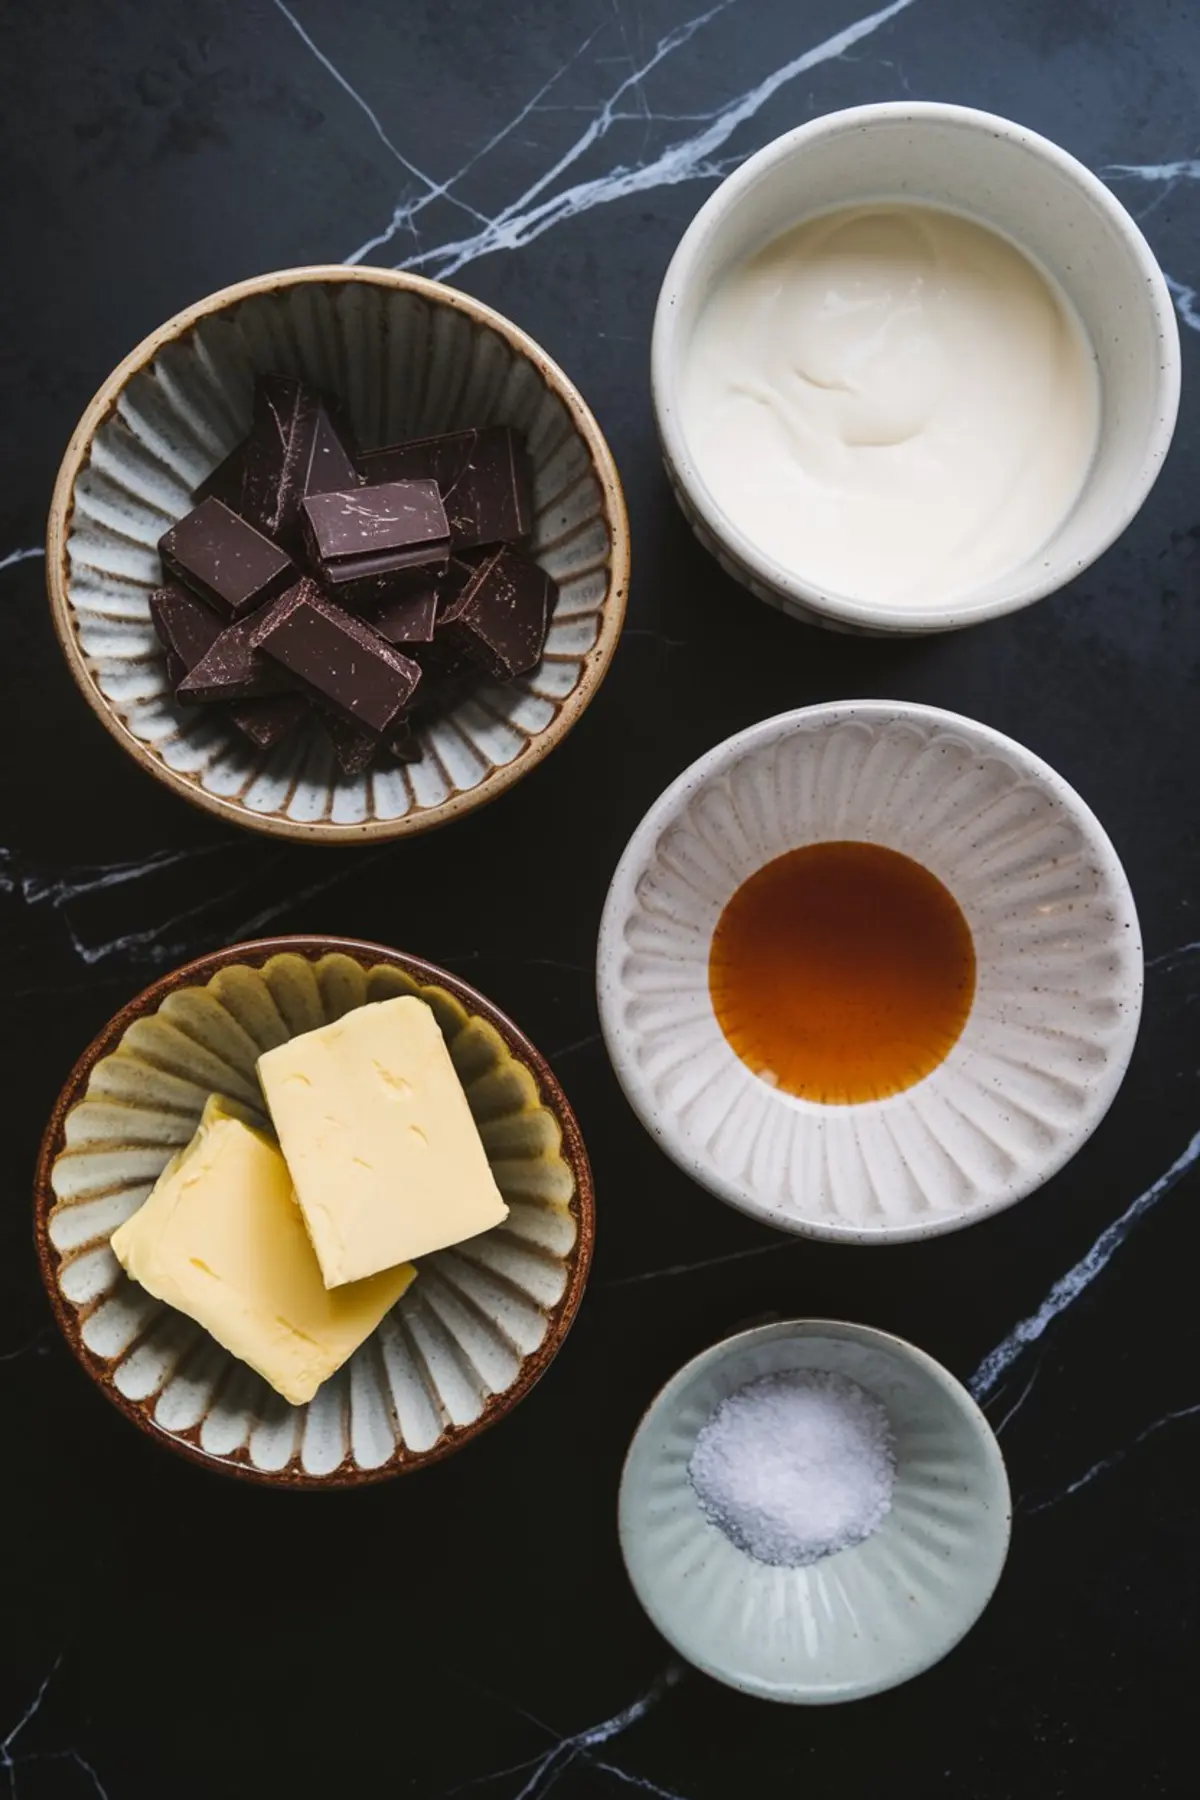
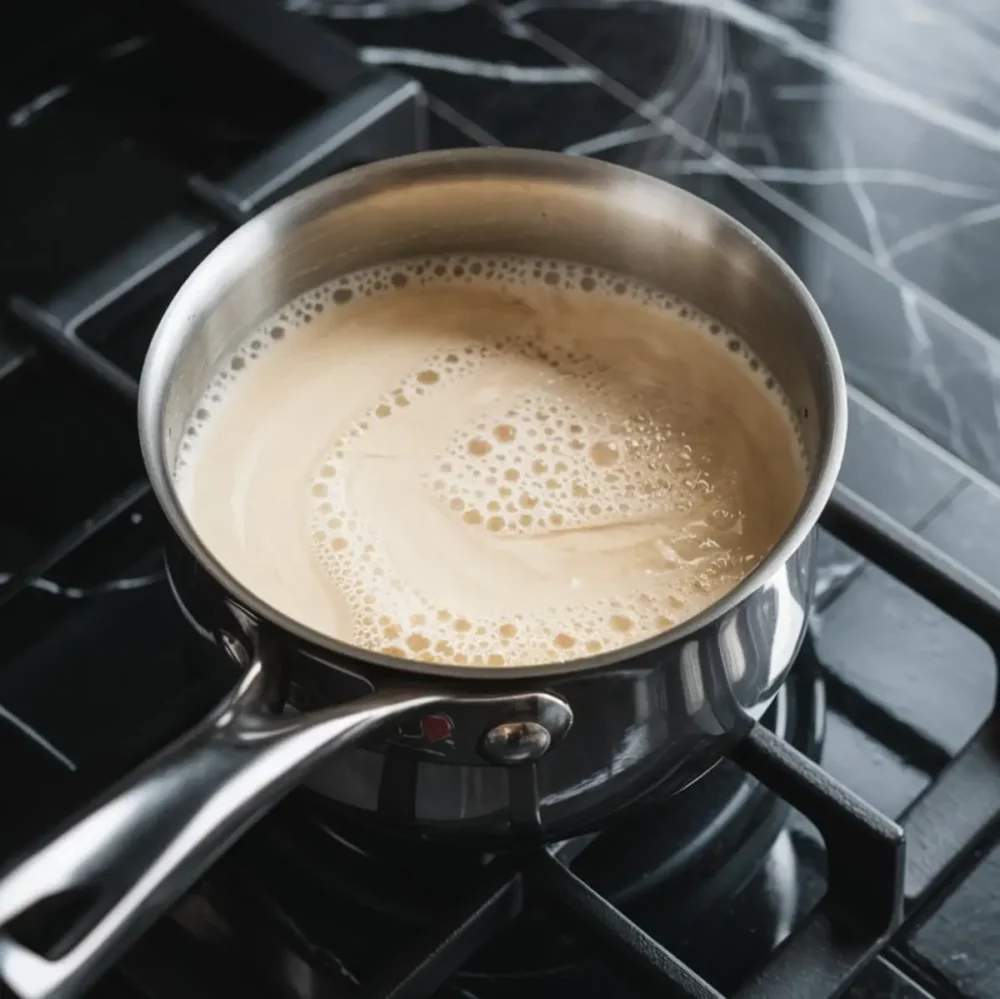
Chocolate and cream. That’s it. But how you treat them matters. I always start with full-fat heavy cream in a small saucepan. Medium-low heat, never more. You want to see steam and small bubbles at the edge—no boiling. Boiling breaks things here.
Once the cream is ready, I pour it over the chopped chocolate. Always use a serrated knife to chop—it grips better and doesn’t skate across the surface. I don’t stir. I let it sit. Exactly one minute.

That minute is everything.
During that pause, I usually wipe down the counter or open the window. It gives the heat time to sink into every bit of chocolate evenly. Then, I start whisking from the middle in small slow circles, letting the swirl grow naturally. Smoothness comes from patience, not force.
If you add butter, do it after the emulsion forms. It melts in fast and turns the ganache almost satiny.

Tips for Getting the Right Ganache Texture Every Time
Ganache changes as it cools. If you need a glaze, use it while it’s still warm and fluid—about 15 minutes after mixing. For a spreadable texture or whipped ganache frosting, let it cool at room temperature, then chill it slightly and beat it until fluffy.

Chocolate type matters more than most realize. I use dark chocolate with around 65% cocoa—bittersweet but not harsh. Baking chocolate melts cleanly. Chips tend to contain stabilizers that resist melting. That resistance can ruin the final texture.
If you’re working with milk chocolate, cut the cream slightly—¾ cup instead of a full one. Too much cream makes it soupy. I’ve learned that the hard way.
For piping or layering between macarons, let the ganache cool entirely. Then chill for 10 minutes before using. It firms up into something dreamy.
How to Fix Broken Ganache or Avoid It Altogether
I’ve messed up enough ganache to know what not to do. Stirring too early, rushing the heat, or using chunky chocolate all lead to the same end: a dull, separated mess.
If it splits—looks oily or gritty—don’t panic. Place the bowl over simmering water (a double boiler setup) and whisk gently. A splash of warm cream can help smooth things out again. It’s never too late unless you’ve scorched it. Burnt chocolate can’t be rescued.
How to Store, Reuse, and Freeze Ganache
Ganache keeps well in the fridge for a full week. Just cover it tightly. Let it come to room temp before using it again. Or gently warm it over a bowl of hot water until it softens.
I sometimes freeze it if I’ve made a large batch for a party. Wrapped well, it lasts about a month. Thaw in the fridge overnight, then bring it to room temperature before using. A quick stir brings back the shine.
Best Ways to Use Chocolate Ganache in Other Desserts
This ganache holds its own across desserts. You can pour it over a tart shell filled with almond crust like I do here: Chocolate Ganache Tart Recipe.
You can sandwich it between delicate chocolate macarons: Chocolate Ganache Macarons
And sometimes, I just spread it over cooled brownies with the back of my aunt Marian’s spoon. That gold-plated handle has pressed more love into chocolate than any tool I own.
The Secret Flavor Boost That Changes Everything
Now let’s circle back to that hint I dropped earlier. My unexpected extra: a tablespoon of espresso liqueur. I stir it in right after the ganache turns glossy. It doesn’t taste like coffee—it just deepens the chocolate, the way shadows give shape to light.
If you don’t have liqueur, try a few drops of vanilla or a pinch of flaky sea salt. It doesn’t take much. But it rounds out the flavor in a way that people remember. They won’t know what you did. But they’ll want another bite.
Final Thoughts and Your Turn to Bake

Once you’ve made ganache like this, it sticks with you. You’ll stop buying frosting. You’ll stop wondering how bakeries get that glossy finish. You’ll just grab your cream and your chocolate and feel sure of yourself. I always do.
If you try it, I’d love to hear how it went. Did you glaze, whip, or chill it firm? Did you add a splash of something secret? Tell me in the comments—I read every one.
And don’t forget to save this to your favorite chocolate board on Pinterest. This ganache belongs in your collection. So do your stories. Let’s share them.
Chocolate Ganache

A classic chocolate ganache made with just two ingredients: chocolate and cream. This recipe yields a smooth, glossy finish that works beautifully as a glaze, filling, or whipped frosting. The texture is balanced—pourable while warm and firm enough to whip once cooled. Great results come from simple technique and quality ingredients.
Ingredients
- 8 ounces chopped chocolate (dark, semi-sweet, or bittersweet; 60–70% cocoa recommended)
- 1 cup heavy cream (full-fat only)
- Optional: 1 tablespoon unsalted butter, pinch of salt, vanilla extract, or liqueur
Instructions
- HEAT THE CREAM: In a small saucepan, warm the heavy cream over medium-low heat until it just begins to simmer. Watch closely for small bubbles forming around the edges and steam rising. Do not let it boil.
- COMBINE WITH CHOCOLATE: Place the chopped chocolate in a heatproof bowl. Pour the hot cream evenly over the chocolate. Let it sit undisturbed for 1 minute to allow the heat to melt the chocolate gently.
- WHISK UNTIL SMOOTH: Begin whisking from the center of the bowl in small circles, gradually working outward. Continue until the ganache is completely smooth and glossy. If using butter or flavorings, stir them in now until fully incorporated.
- LET IT REST: Allow the ganache to sit at room temperature for 15 minutes before using as a glaze. For frosting, cool to room temperature, then chill slightly and whip with a hand mixer until light and fluffy.
Notes
The key to successful ganache lies in temperature control and gentle mixing. Always chop your chocolate finely and evenly—large chunks won’t melt uniformly and can lead to a lumpy texture. Use a serrated knife for easier chopping, especially with firmer chocolates.
Choose high-quality chocolate for the best flavor and consistency. Bars labeled “baking chocolate” or couverture chocolate tend to melt more smoothly than chips, which often contain stabilizers that resist melting. Aim for chocolate with 60–70% cocoa solids for a balanced ganache that’s neither too sweet nor too bitter. If using milk chocolate, reduce the cream slightly (around ¾ cup) to prevent it from becoming too runny, as milk chocolate contains more fat and sugar.
Always use full-fat heavy cream. Avoid half-and-half, light cream, or dairy alternatives unless the recipe is specifically tested for them. The fat in the cream is essential to creating that rich, glossy texture and a stable emulsion.
Letting the hot cream sit on the chocolate without stirring for a full minute is a small but important step. It gives the chocolate time to soften evenly from the residual heat before you begin whisking. Stirring too early can cool the mixture prematurely and result in a dull or broken ganache.
If you’d like to add flavorings—like a teaspoon of vanilla extract, a pinch of sea salt, or a tablespoon of liqueur (such as Grand Marnier or espresso liqueur)—stir them in after the ganache has fully emulsified. For extra richness, a tablespoon of unsalted butter can be added at the end. It melts in easily and gives the ganache a velvety finish.
Ganache thickens as it cools. For pouring over cakes, use it while it’s still fluid but not hot—about 15 minutes after mixing. For spreading or piping, let it cool completely at room temperature, then refrigerate briefly before whipping or applying.
If your ganache looks grainy, oily, or split, it may have overheated or been stirred too aggressively. To fix it, place the bowl over a pan of gently simmering water (double boiler) and whisk until it comes back together. You can also stir in a small splash of warm cream to help re-emulsify the mixture.
Store ganache in an airtight container in the refrigerator for up to 1 week. Let it come to room temperature before using again, or gently warm it in a heatproof bowl set over warm water until it reaches the desired consistency. It can also be frozen for up to 1 month—thaw in the refrigerator, then bring to room temperature and stir before using.
