

I used to think brown butter was a fussy extra step. A bit overhyped. Until I made these cookies. Then something shifted.
In this post, you’ll learn exactly why brown butter changes the cookie game, how to use it without ruining it, and the small decisions that make these cookies feel like a bakery secret handed down in whispers.
This isn’t just another chocolate chip cookie. The butter is toasted. The sugar is deep. The centers stay soft. And somewhere between the mixing and the cooling, magic happens.
But the ingredient that seals the deal? I’ll get to that soon. It’s unexpected. And it makes all the difference.

How to Brown Butter for Cookies Without Ruining It
The first step in this recipe is also the one that makes the biggest difference.
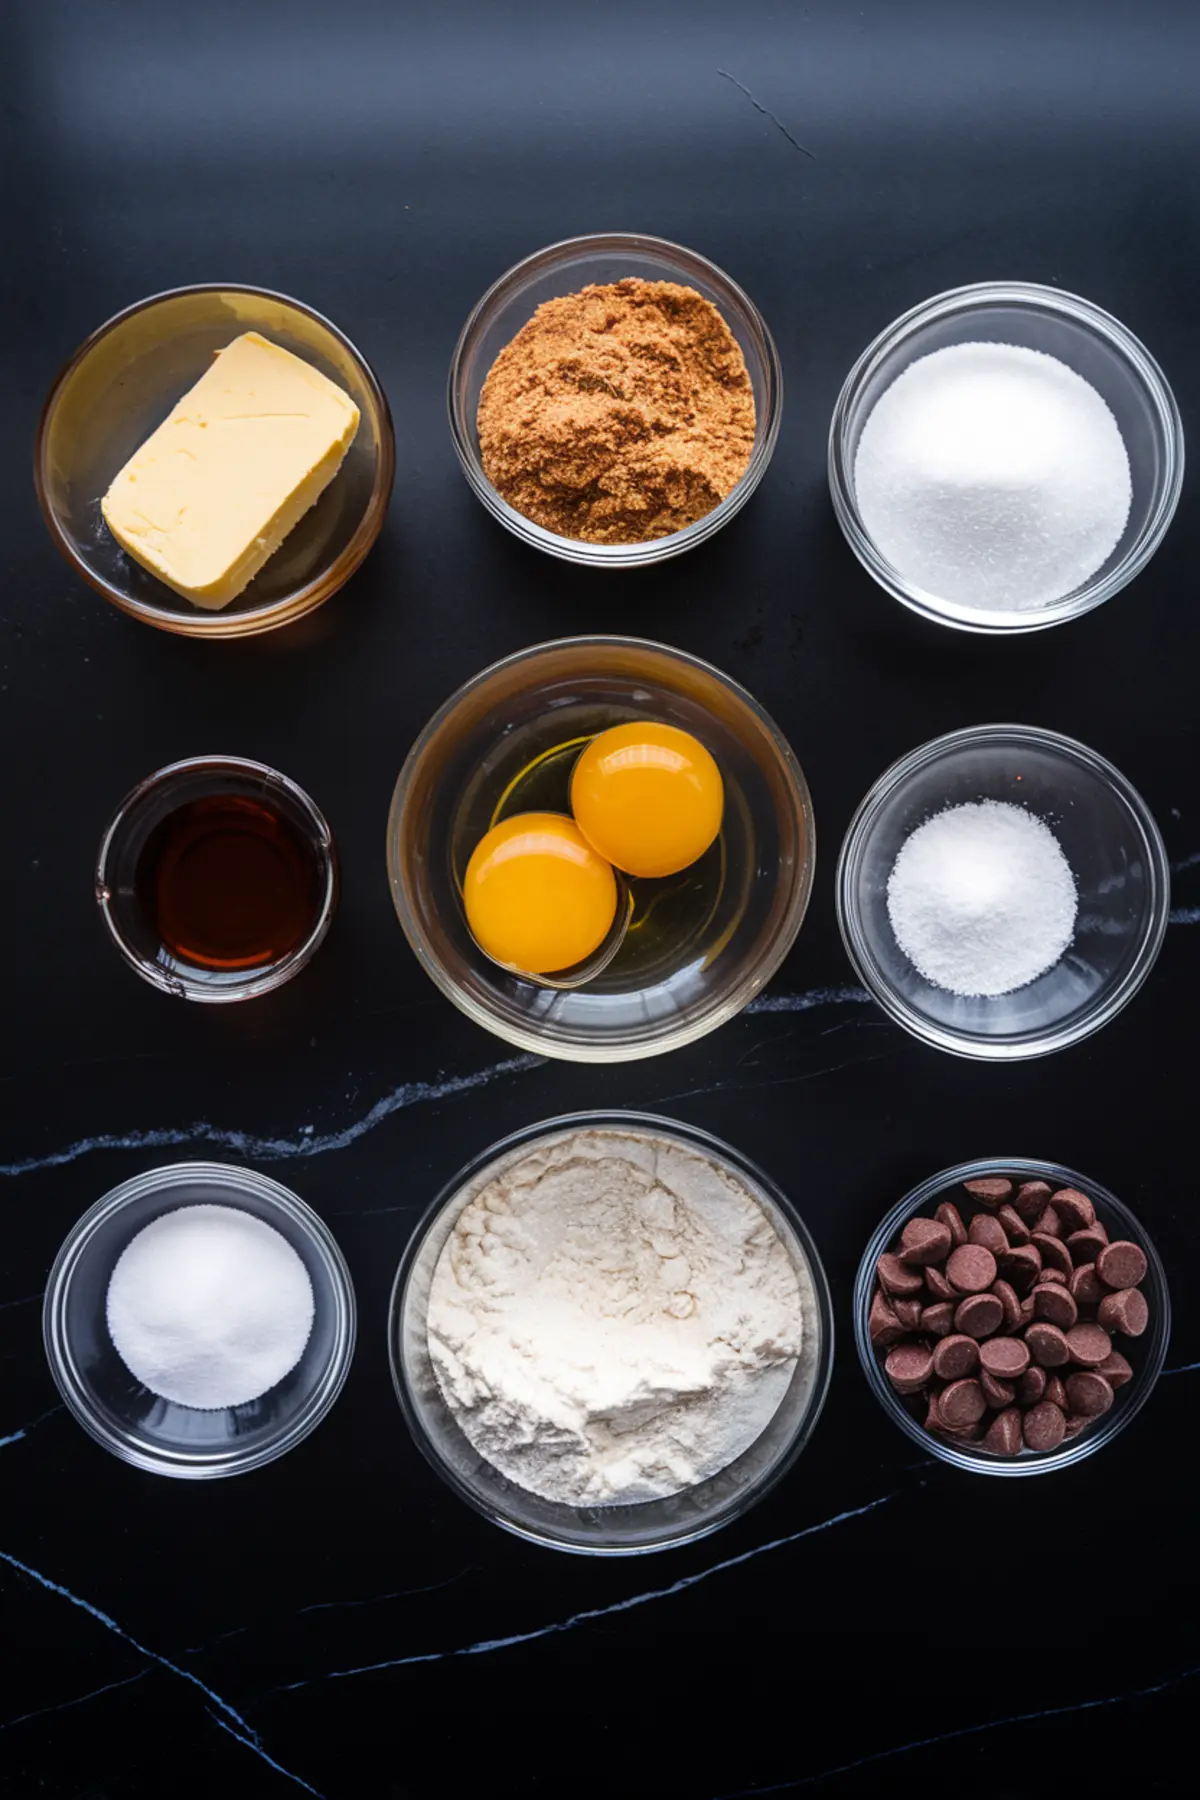
You start with a stick of unsalted butter in a saucepan. Melt it over medium heat, and stir constantly. You’re not melting for the sake of it. You’re looking for color, for scent. Golden brown. Nutty. A bit loud.
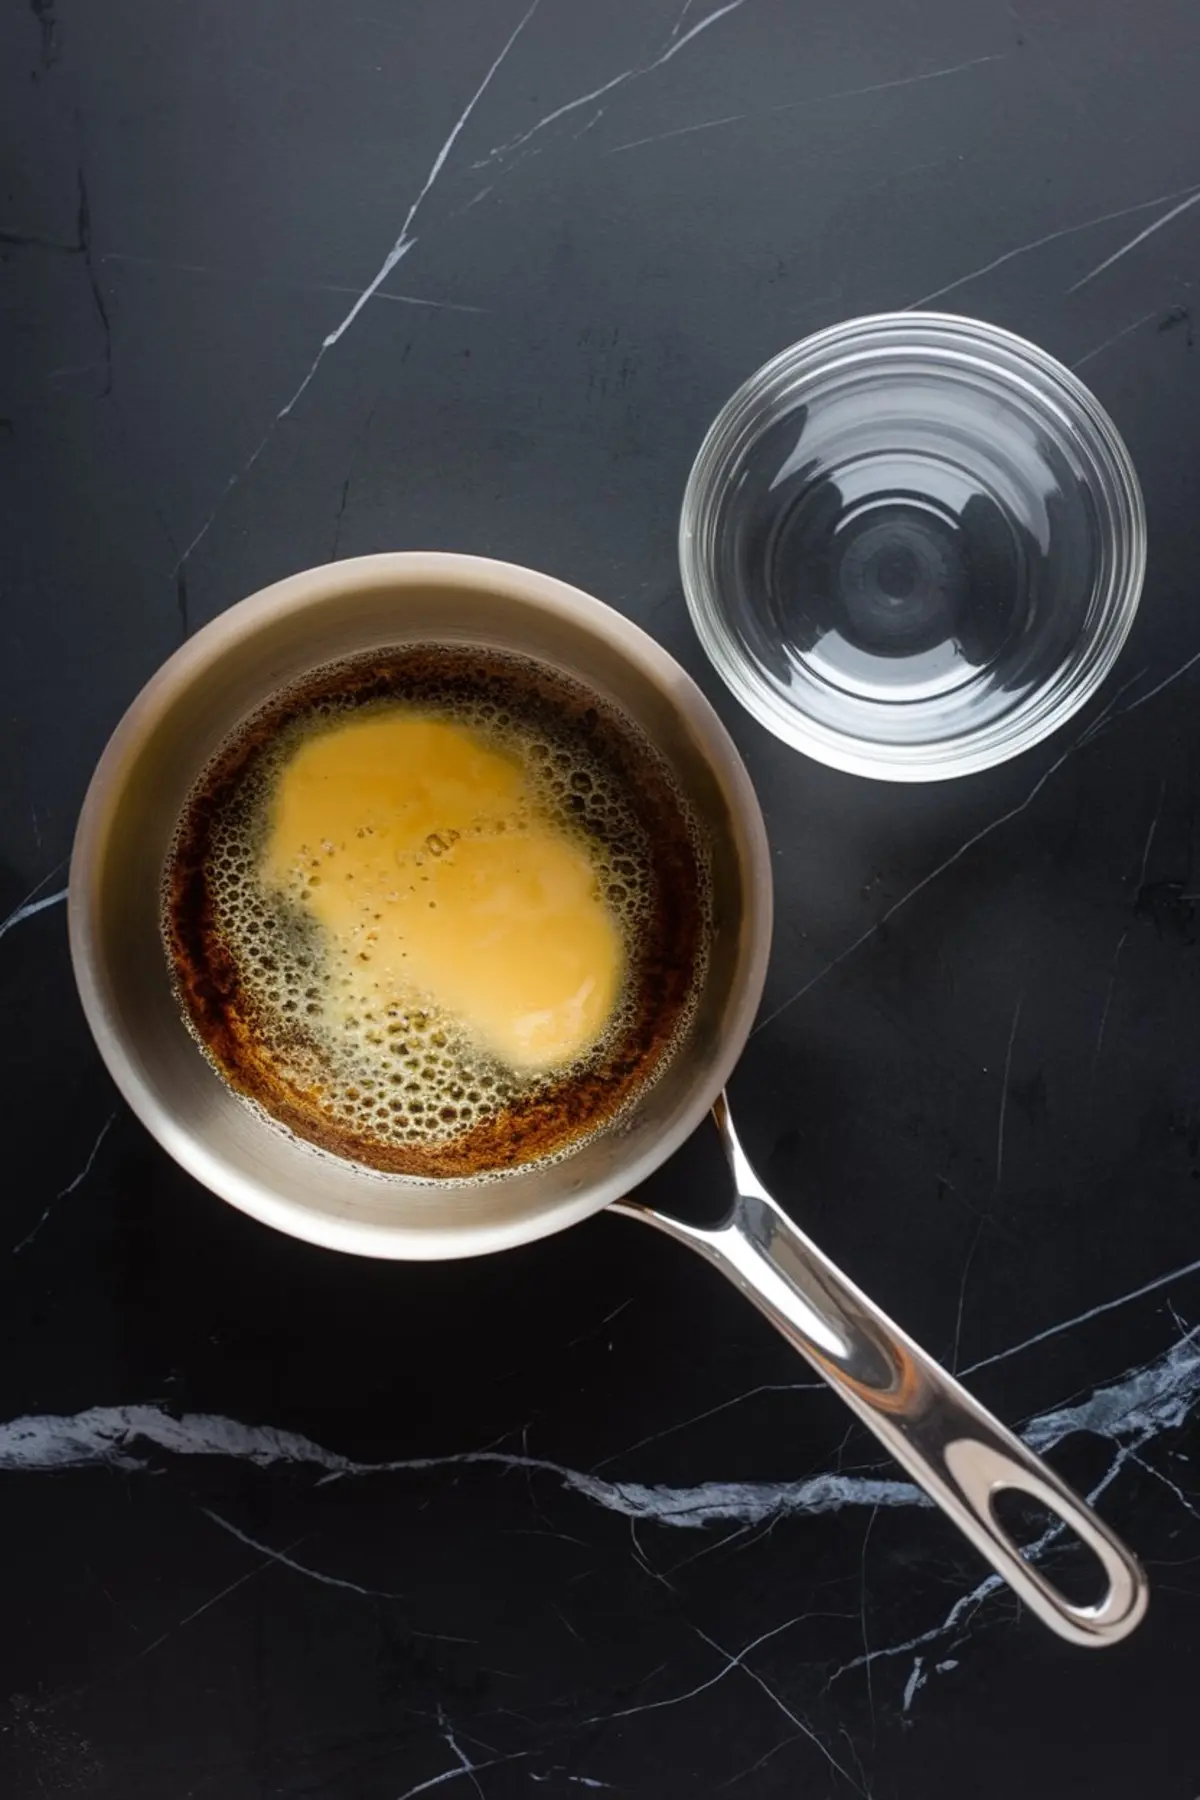
When it smells like toasted hazelnuts and the bottom of the pan has flecks that look like they could belong in a pie crust, you’ve made it.
Remove it fast and pour it into a bowl so it doesn’t keep cooking. Let it cool.
Mixing Sugars and Building Flavor Layers
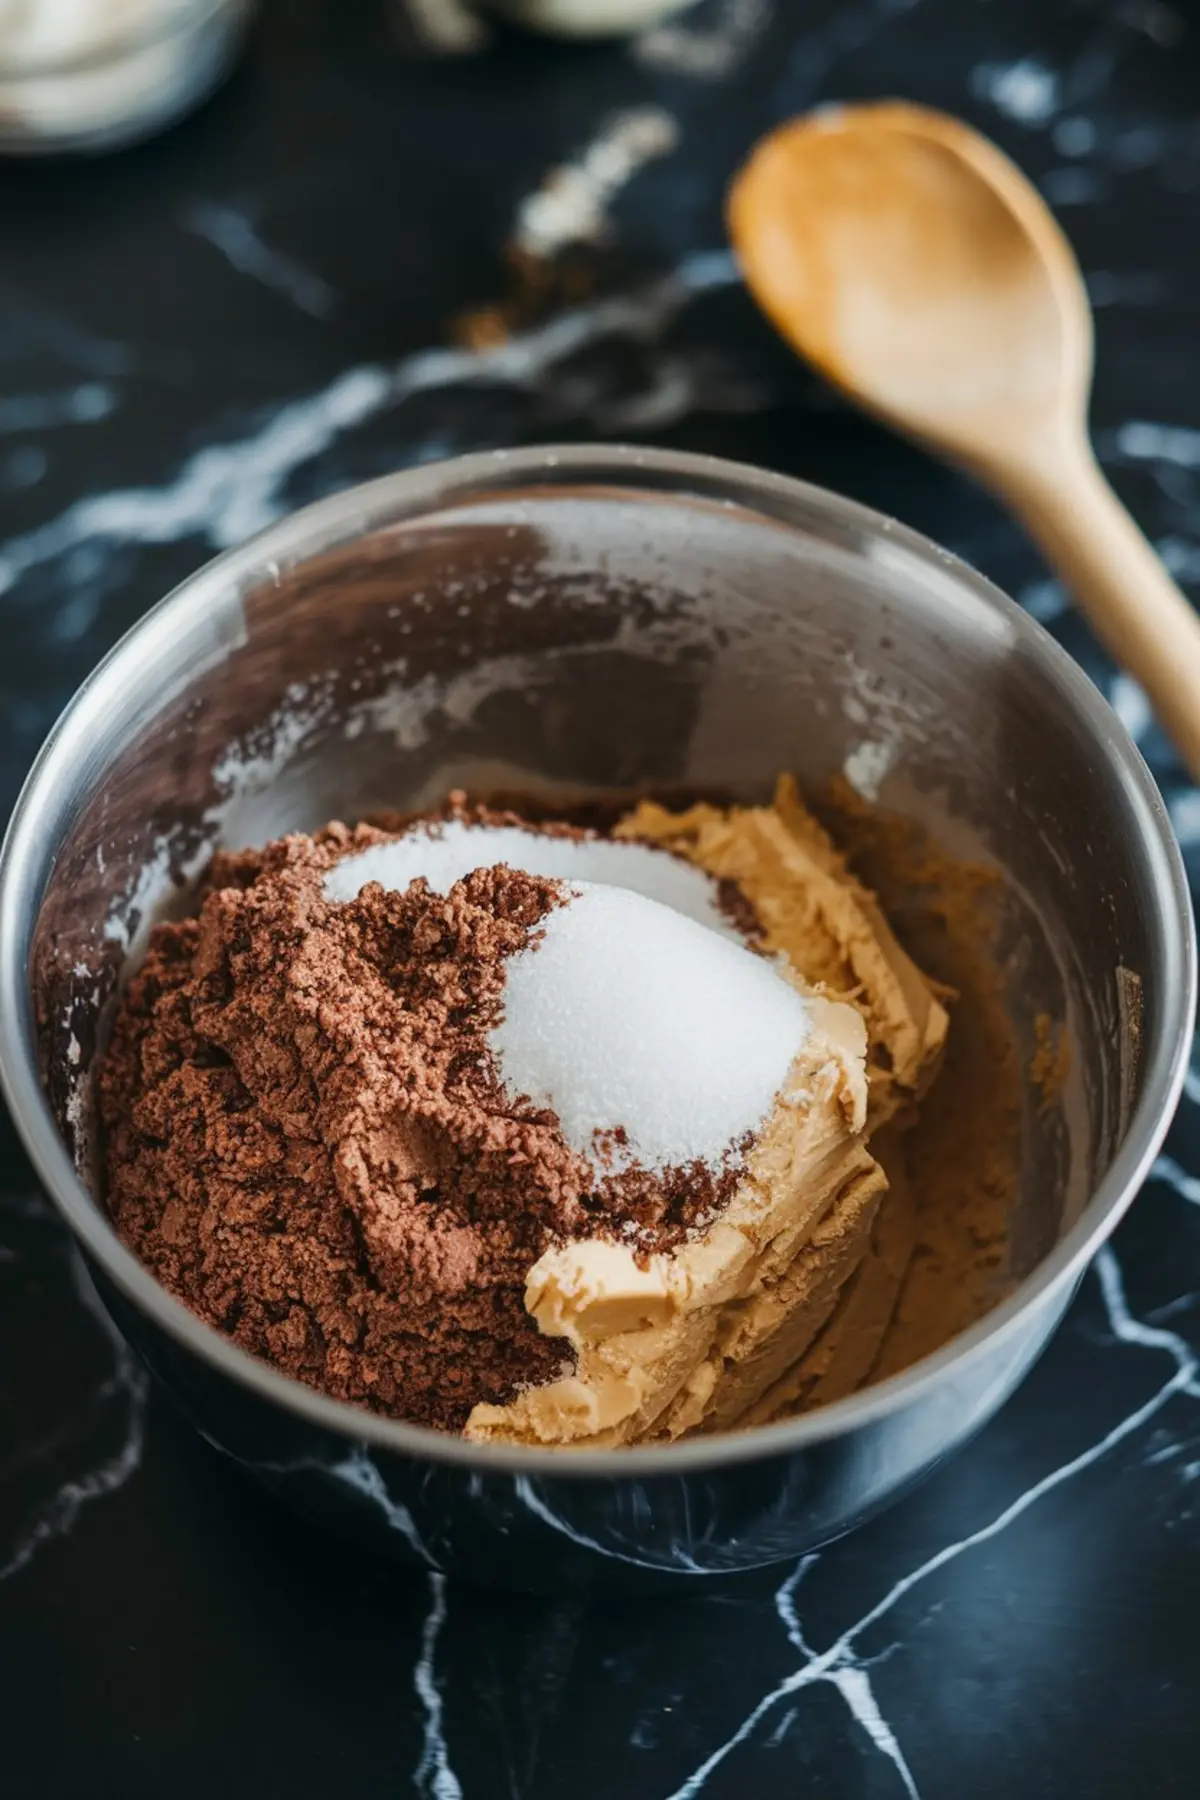
While the butter cools, grab your mixing bowl. Combine dark brown sugar with white sugar. The mix matters. Dark brown sugar adds depth. White sugar balances it with sweetness and crispness.
Once the brown butter is cool to the touch, stir it into the sugar mix. It should look like wet sand. Not grainy, not runny.
Add the eggs one at a time. Then comes the vanilla.
The batter should be thick, shiny, and smell like it already wants to be a cookie.
Why the Dry Ingredients Are Less Boring Than You Think
In another bowl, whisk together flour, baking soda, and salt. Nothing wild here. But the ratio—and how you mix it in—matters.
You add it gradually, not all at once. Use a rubber spatula or wooden spoon. Stir just until the flour disappears. No more.
This is where most cookies go wrong. Overmix, and you build too much gluten. The cookies get tough.
The Chocolate Matters More Than You Think

Two cups of chocolate chips might sound basic, but your choice here matters. I use bittersweet for contrast. Semisweet works too. Even chopped chocolate bars are fair game.
Fold them in. Not stir. Not whip. Fold. Until every scoop of dough has some chocolate.
At this point, you’ll be tempted to bake. But hold on.
Why Chilling the Dough Is Non-Negotiable
Cover the bowl with plastic wrap. Put it in the fridge. Minimum one hour. Overnight if you can.
The dough changes in the fridge. The flour hydrates. The butter firms up. And the flavors get time to settle and deepen.
Skip this step and you’ll still get cookies. But they won’t have the chewy edge or thick bite you’re looking for.
This came straight from my Pin Notebook, by the way. One of the oldest notes I have: always chill cookie dough.
Bake at the Right Time, Not Just the Right Temperature
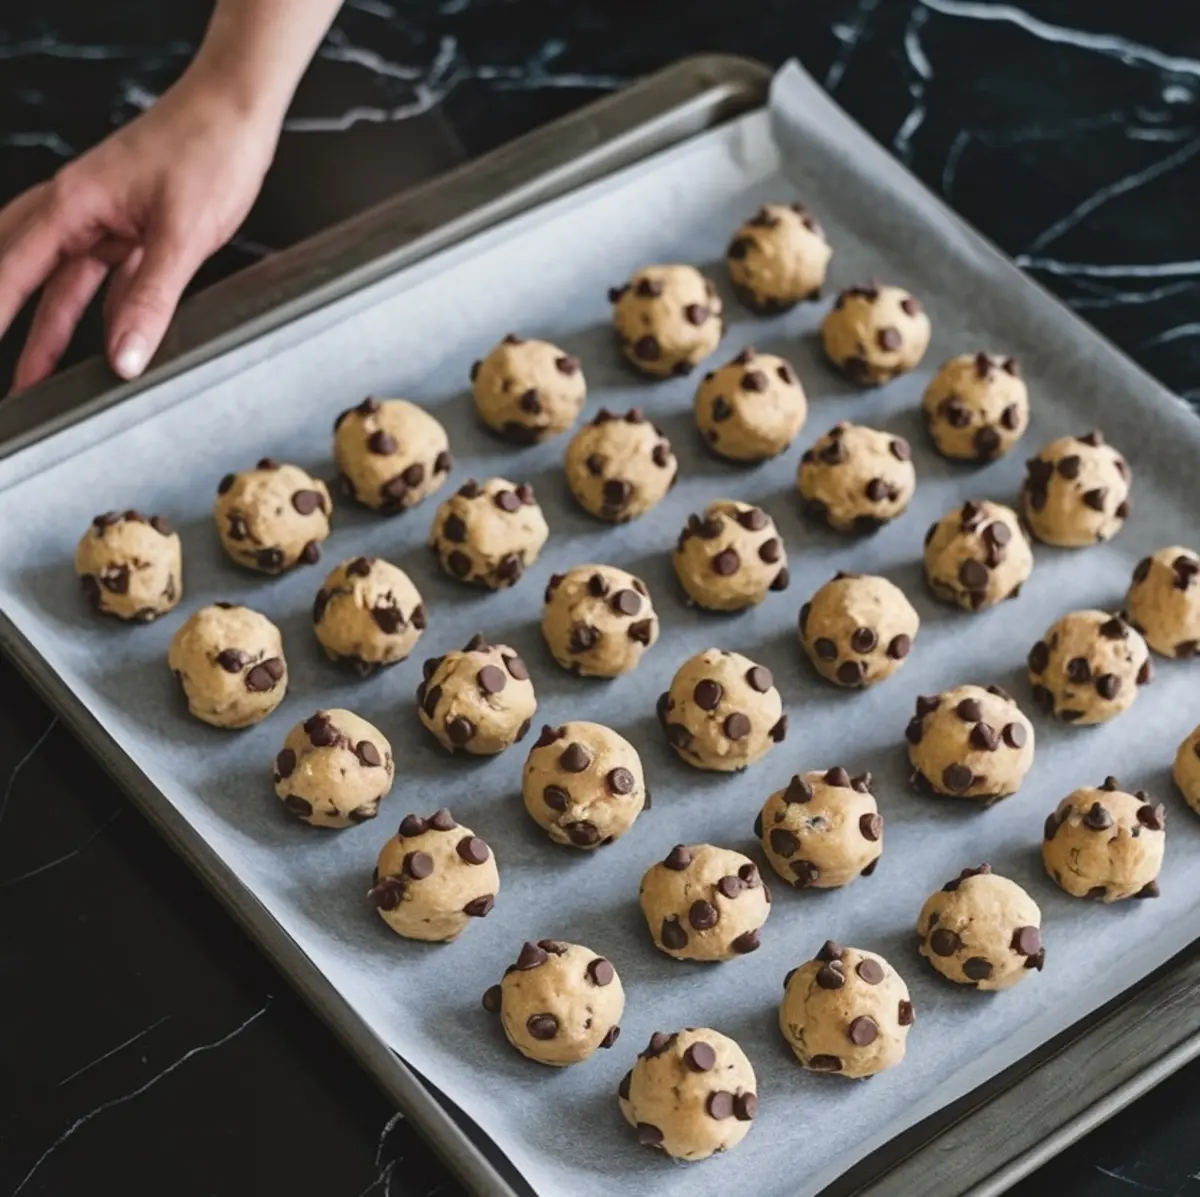
Preheat your oven to 350°F. Line a tray with parchment.
Scoop the dough into balls, 2 to 3 tablespoons each. Leave room—they spread. Bake for 10 to 12 minutes.
Watch them. Don’t walk away. The edges should turn golden, the centers should look slightly underdone.
Take them out before they look ready.
Let them sit on the tray for five minutes. Then transfer to a rack to cool completely.
The Secret Ingredient I Promised You
Remember how I mentioned a twist?
It’s the dark brown sugar. Not a shocking ingredient, but one that’s often swapped out. I never do.
It brings molasses depth that no light brown sugar can replicate. Moisture. Chew. That deep toffee-like note that hits after the chocolate melts away.
You could make these cookies with light brown sugar. But they won’t taste like these cookies.
If you want to explore other cookie recipes that play with similar deep flavors, try my Chocolate Chip Cookie Cake. Or go for the Confetti Chocolate Cookies if you want something fun. For a more hearty chew, these Oatmeal Chocolate Chip Cookies never disappoint.
Save and Share Your Cookie Wins

If you bake these, let me know. Did the brown butter win you over like it did for me?
Leave a comment below or share your twist. I always check.
And if this post helped you, save it to your cookie board on Pinterest—so it’s there next time the craving hits.
Brown Butter Chocolate Chip Cookies Recipe

Brown butter adds a rich, nutty depth to classic chocolate chip cookies. These bake up with crisp edges, soft centers, and a flavor that comes from a few extra minutes of care at the stove. Letting the dough chill enhances the texture and makes every bite more satisfying.
Ingredients
- 1 cup (226 g) unsalted butter
- 1 cup (200 g) packed dark brown sugar
- 1/2 cup (100 g) granulated sugar
- 2 large eggs
- 2 teaspoons vanilla extract
- 2 1/2 cups (315 g) all-purpose flour
- 1 teaspoon baking soda
- 3/4 teaspoon kosher salt
- 2 cups (340 g) semisweet or bittersweet chocolate chips
Instructions
- MAKE THE BROWN BUTTER: Place the unsalted butter in a medium saucepan over medium heat. Stir often as it melts and foams. Continue cooking until the butter turns golden brown and smells nutty, with toasted milk solids at the bottom of the pan. Immediately remove from heat and pour into a heatproof bowl. Let it cool for 20 minutes.
- MIX THE WET INGREDIENTS: In a large mixing bowl, whisk together the brown sugar and granulated sugar. Pour in the cooled brown butter and mix until fully combined and the texture resembles wet sand. Add the eggs one at a time, whisking well after each. Stir in the vanilla extract and mix until the batter looks glossy and cohesive.
- ADD THE DRY INGREDIENTS: In a separate bowl, whisk together the flour, baking soda, and salt. Gradually add this to the wet mixture, stirring with a rubber spatula or wooden spoon until just combined. Do not overmix.
- FOLD IN THE CHOCOLATE CHIPS: Stir in the chocolate chips until they are evenly distributed throughout the dough.
- CHILL THE DOUGH: Cover the bowl tightly with plastic wrap and refrigerate for at least 1 hour, or overnight for best texture and flavor.
- PREPARE TO BAKE: Preheat the oven to 350°F (175°C). Line a baking sheet with parchment paper. Scoop 2- to 3-tablespoon portions of chilled dough and roll into balls. Place them 2 inches apart on the prepared baking sheet.
- BAKE THE COOKIES: Bake for 10 to 12 minutes, or until the edges are golden brown and the centers look slightly underbaked. Avoid overbaking to maintain a soft center.
- COOL THE COOKIES: Let the cookies rest on the baking sheet for 5 minutes before transferring them to a wire rack to cool completely.
Notes
For best flavor and texture, chilling the dough is key. Allowing the dough to rest for at least 1 hour—and ideally overnight—gives the flour time to hydrate and the brown butter time to infuse the dough more deeply. This results in a richer taste, a chewier bite, and thicker cookies that spread more evenly in the oven.
When browning the butter, pay close attention to the color and smell. The butter will go from golden to deep amber quickly, and the milk solids at the bottom should look toasted but not burnt. If you’re unsure, err on the side of slightly underbrowning rather than overbrowning, as burnt butter can introduce a bitter flavor.
Use a rubber spatula or wooden spoon to fold in the dry ingredients and chocolate chips. Overmixing once the flour is added can lead to tough cookies, so mix just until the dough comes together and the chips are evenly distributed.
The type of sugar matters. Dark brown sugar adds extra moisture and a more pronounced molasses note compared to light brown sugar. If you only have light brown sugar, the cookies will still work, but the flavor will be slightly lighter.
For consistent sizing and even baking, use a cookie scoop or weigh the dough balls. Two to three tablespoons of dough per cookie yields a bakery-style cookie with crisp edges and a soft, chewy middle. If you prefer smaller cookies, reduce baking time slightly.
Before baking, you can press a few extra chocolate chips onto the tops of the dough balls for a more polished look. This also helps ensure some chips remain visible on the surface after baking.
Cookies will look slightly underbaked in the center when you take them out of the oven—that’s intentional. They will continue to cook slightly on the hot tray during the resting period and settle into a soft, chewy texture.
Once completely cooled, cookies can be stored in an airtight container at room temperature for 3 to 4 days. For longer storage, freeze the dough balls on a baking sheet, then transfer them to a zip-top bag. Bake directly from frozen, adding 1 to 2 minutes to the bake time.
Nutrition Information:
Yield:
24Serving Size:
1Amount Per Serving: Calories: 81Total Fat: 3gSaturated Fat: 1gTrans Fat: 0gUnsaturated Fat: 1gCholesterol: 17mgSodium: 109mgCarbohydrates: 12gFiber: 1gSugar: 0gProtein: 2g
