
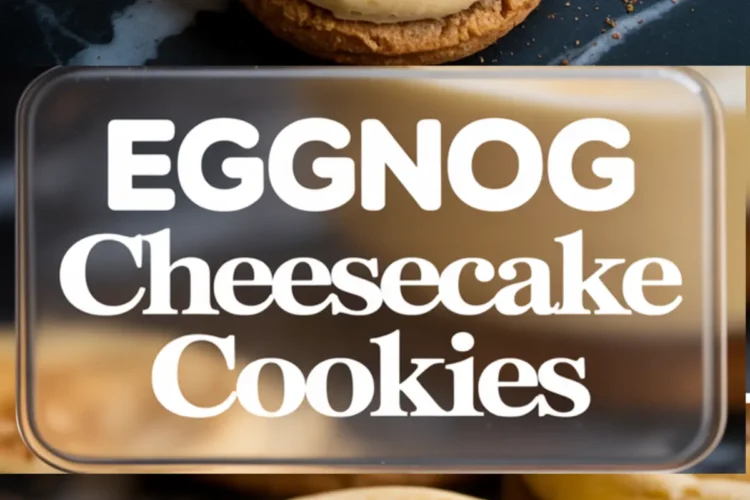
A Cozy Holiday Dessert with a Cheesecake Center and Spiced Eggnog Custard Surprise
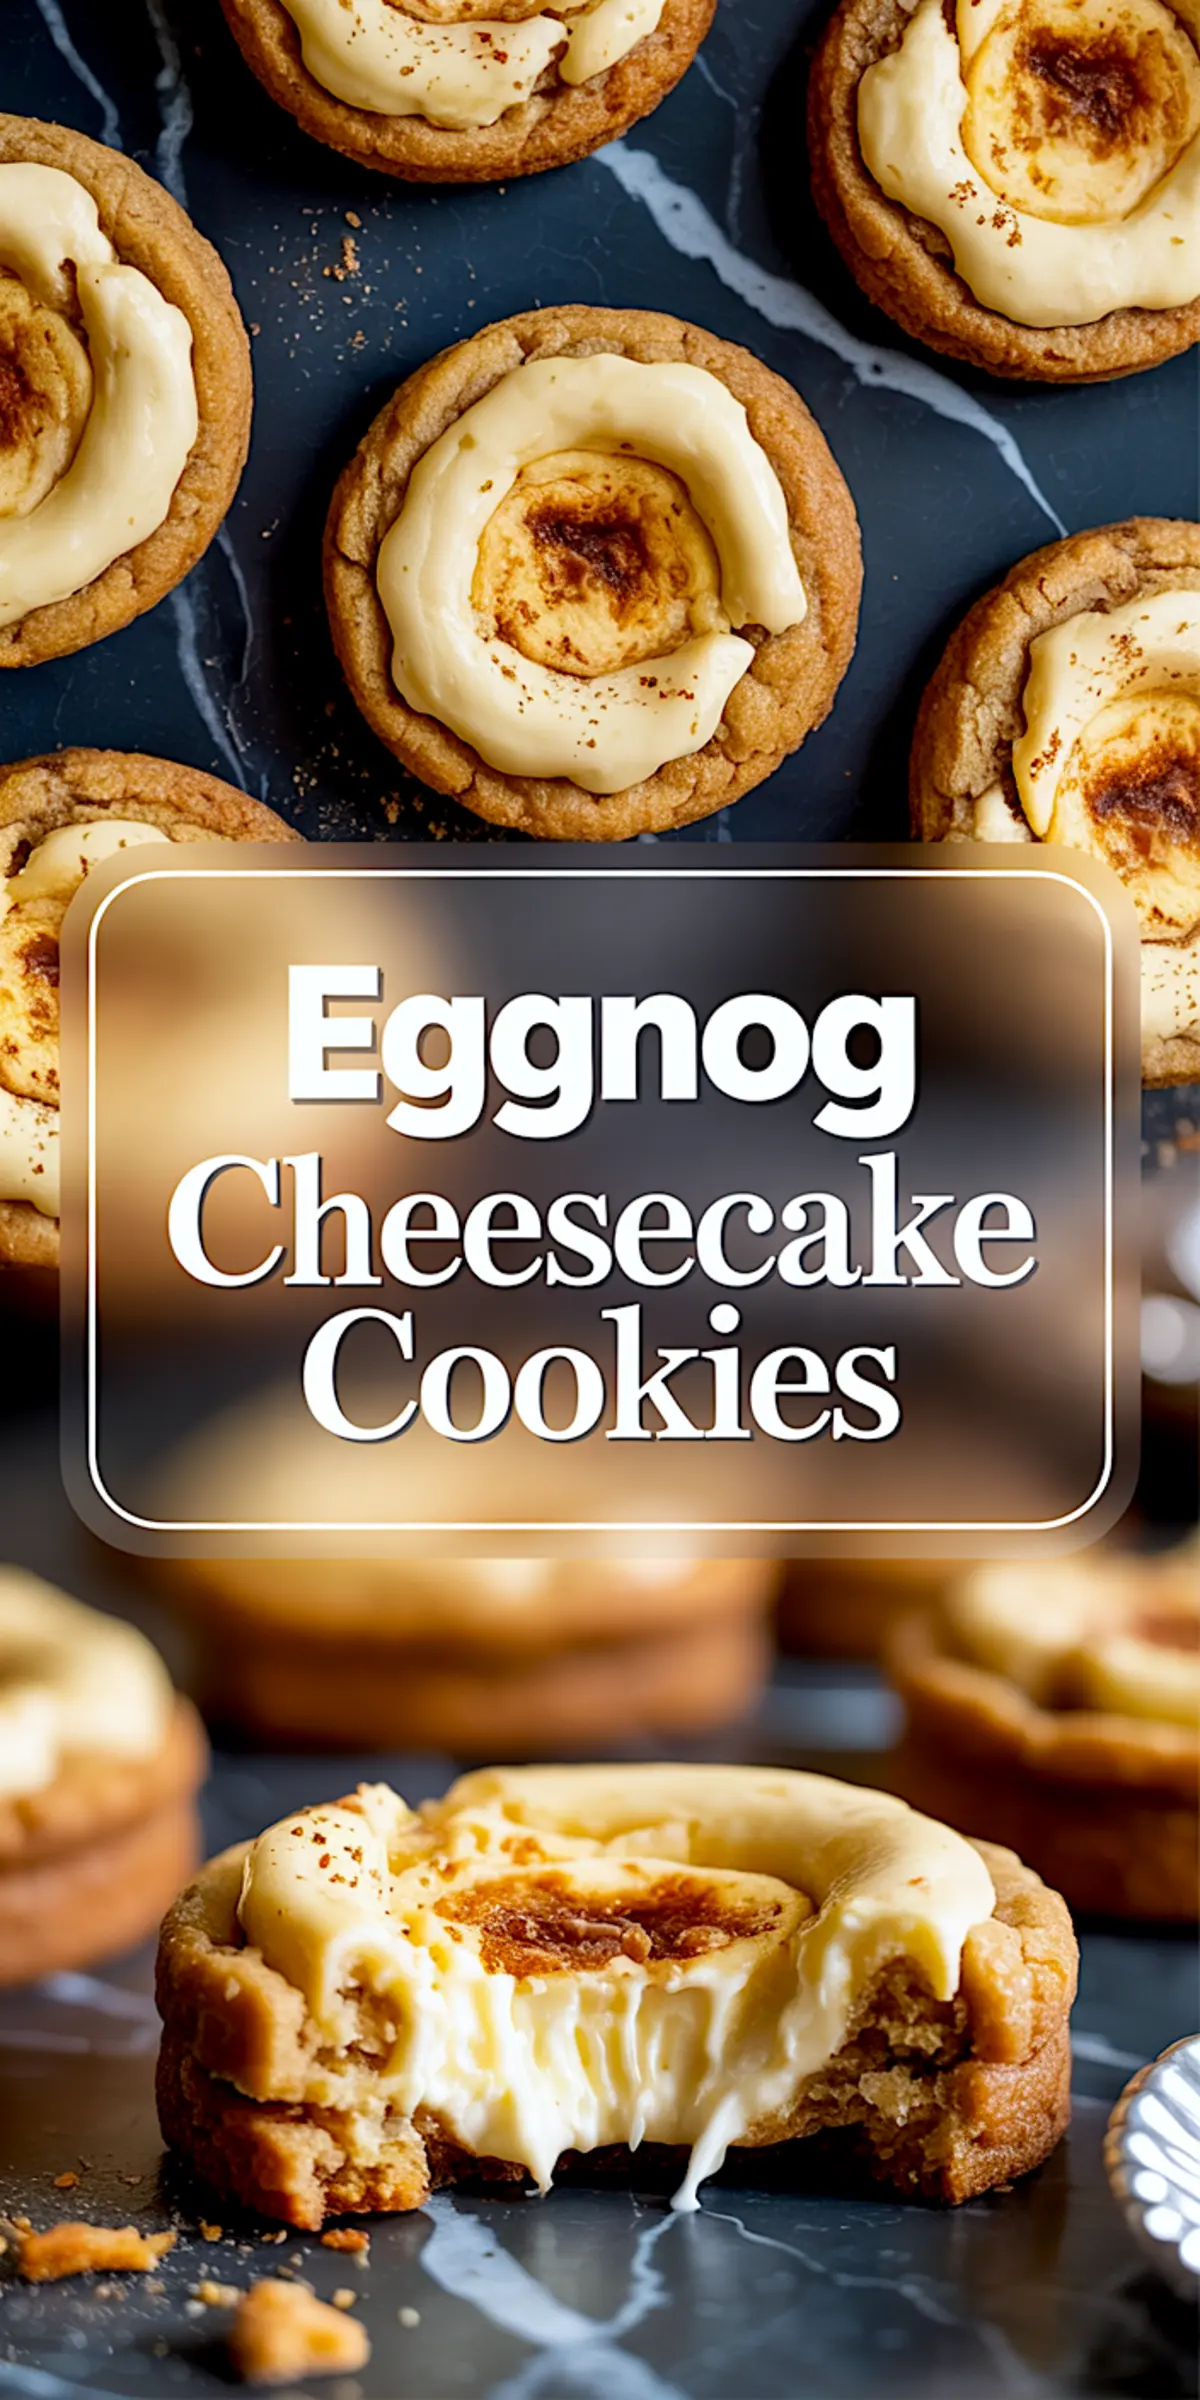
You’re looking at a Christmas cookie that tastes like it came from your favorite holiday memory. These Eggnog Cheesecake Cookies combine three textures in one bite. You get the soft crumb of a spiced cookie base, a rich layer of cheesecake, and a gentle spoonful of creamy eggnog custard tucked in the center.
Each cookie holds the essence of eggnog desserts without feeling heavy. The layers are baked right into each other, so you taste everything at once—cinnamon warmth, cheesecake comfort, and the gentle hum of nutmeg.
That’s what makes this recipe different. You’re not frosting. You’re building flavor into the shape of the cookie itself.
If you’ve ever hesitated with eggnog recipes, this one gives you confidence. You’re not pouring a drink and hoping everyone likes it. You’re baking cookies. Soft. Chilled. Easy to share and even easier to explain.
And tucked inside is one quiet little detail I always smile about. The custard cooks right in. But not in the usual way. I’ll tell you how I got there soon.
Why I Chose Each Ingredient and What It Really Does
Brown sugar and cinnamon in the base
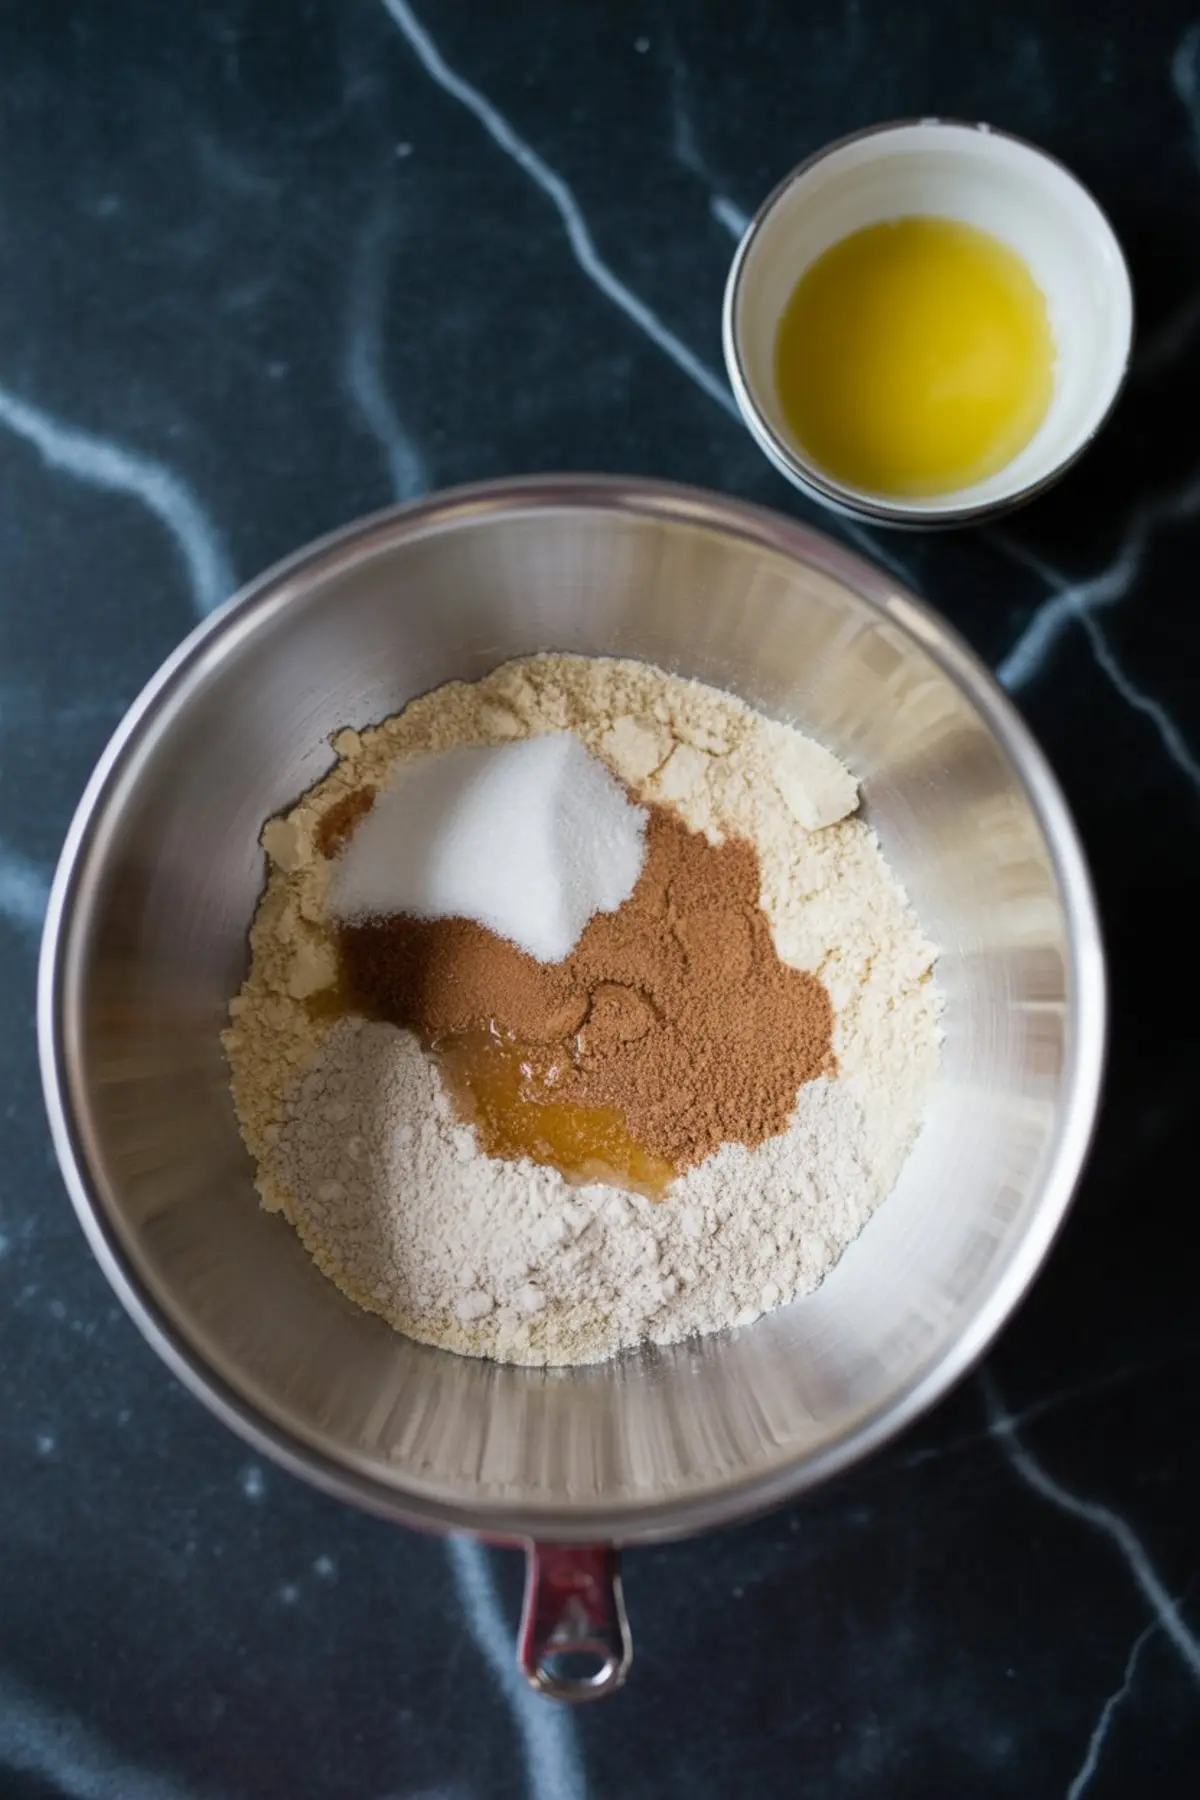
The base needed something deeper than just flour and butter. Brown sugar gives it that subtle caramel edge. Cinnamon helps it whisper holiday, not shout it.
A plain cookie base would have faded under the cheesecake. I’ve tried it. The flavor didn’t hold its own. This one does.
Melted butter, not creamed
Mixing in melted butter changes the texture entirely. You don’t want a fluffy cookie here. You want it to hold together like a firm crust that softens underneath cream.
I’ve done side-by-side tests using creamed butter versus melted. The creamed ones puffed too much, and the cheesecake sat uneven. Stick with melted.
Softened cream cheese and sour cream in the middle
The cheesecake layer is gentle. Not the dense kind. Sour cream lightens it, and a single egg yolk makes it set without turning rubbery.
That middle layer shouldn’t feel separate. It should blend into the base when you bite. Sour cream gives it that blend.
You’ll find a similar softness in these Eggnog Cheesecake Bars, but here it fits in your hand. Same creamy feel. Just smaller and more playful.
Real eggnog in the custard
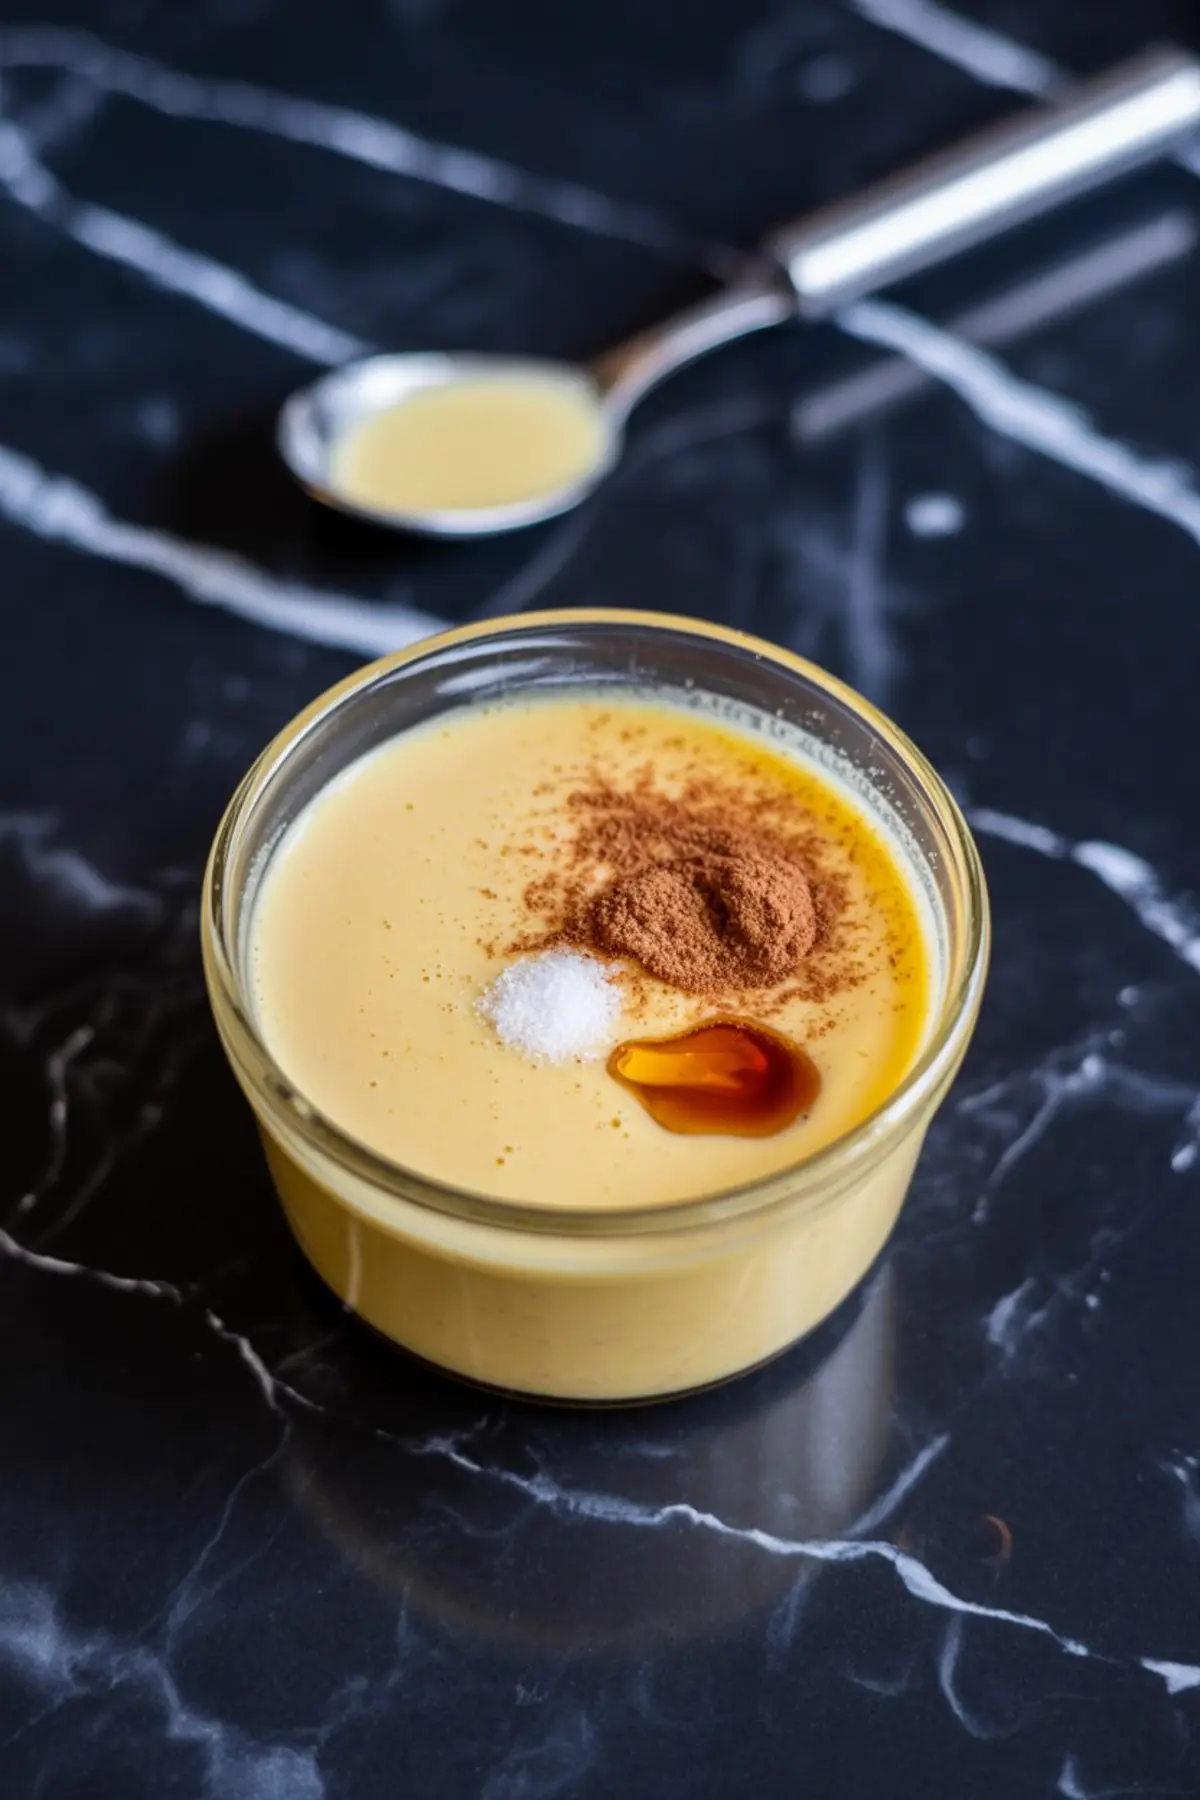
This is where I leaned in. Most recipes pour eggnog into the batter and call it done. I cooked it down slightly with egg yolk and cornstarch. It thickens gently, right inside the cookie.
It’s almost like making a tiny pastry cream, but simpler. The flavor sharpens just enough to taste like something you waited for.
Nutmeg and a touch of rum extract
I don’t always use the rum extract, but when I do, it deepens the scent. Almost like a bakery that only opens in December.
Fresh nutmeg makes a difference here. If you have whole nutmeg, grate it right before you bake. The scent blooms better than any jarred spice.
This soft custard idea actually started with a variation of Eggnog Panna Cotta. I wanted to bring the same richness into a smaller bite. And that’s how the custard center was born.
How the Cookie Layers Bake and Set Together
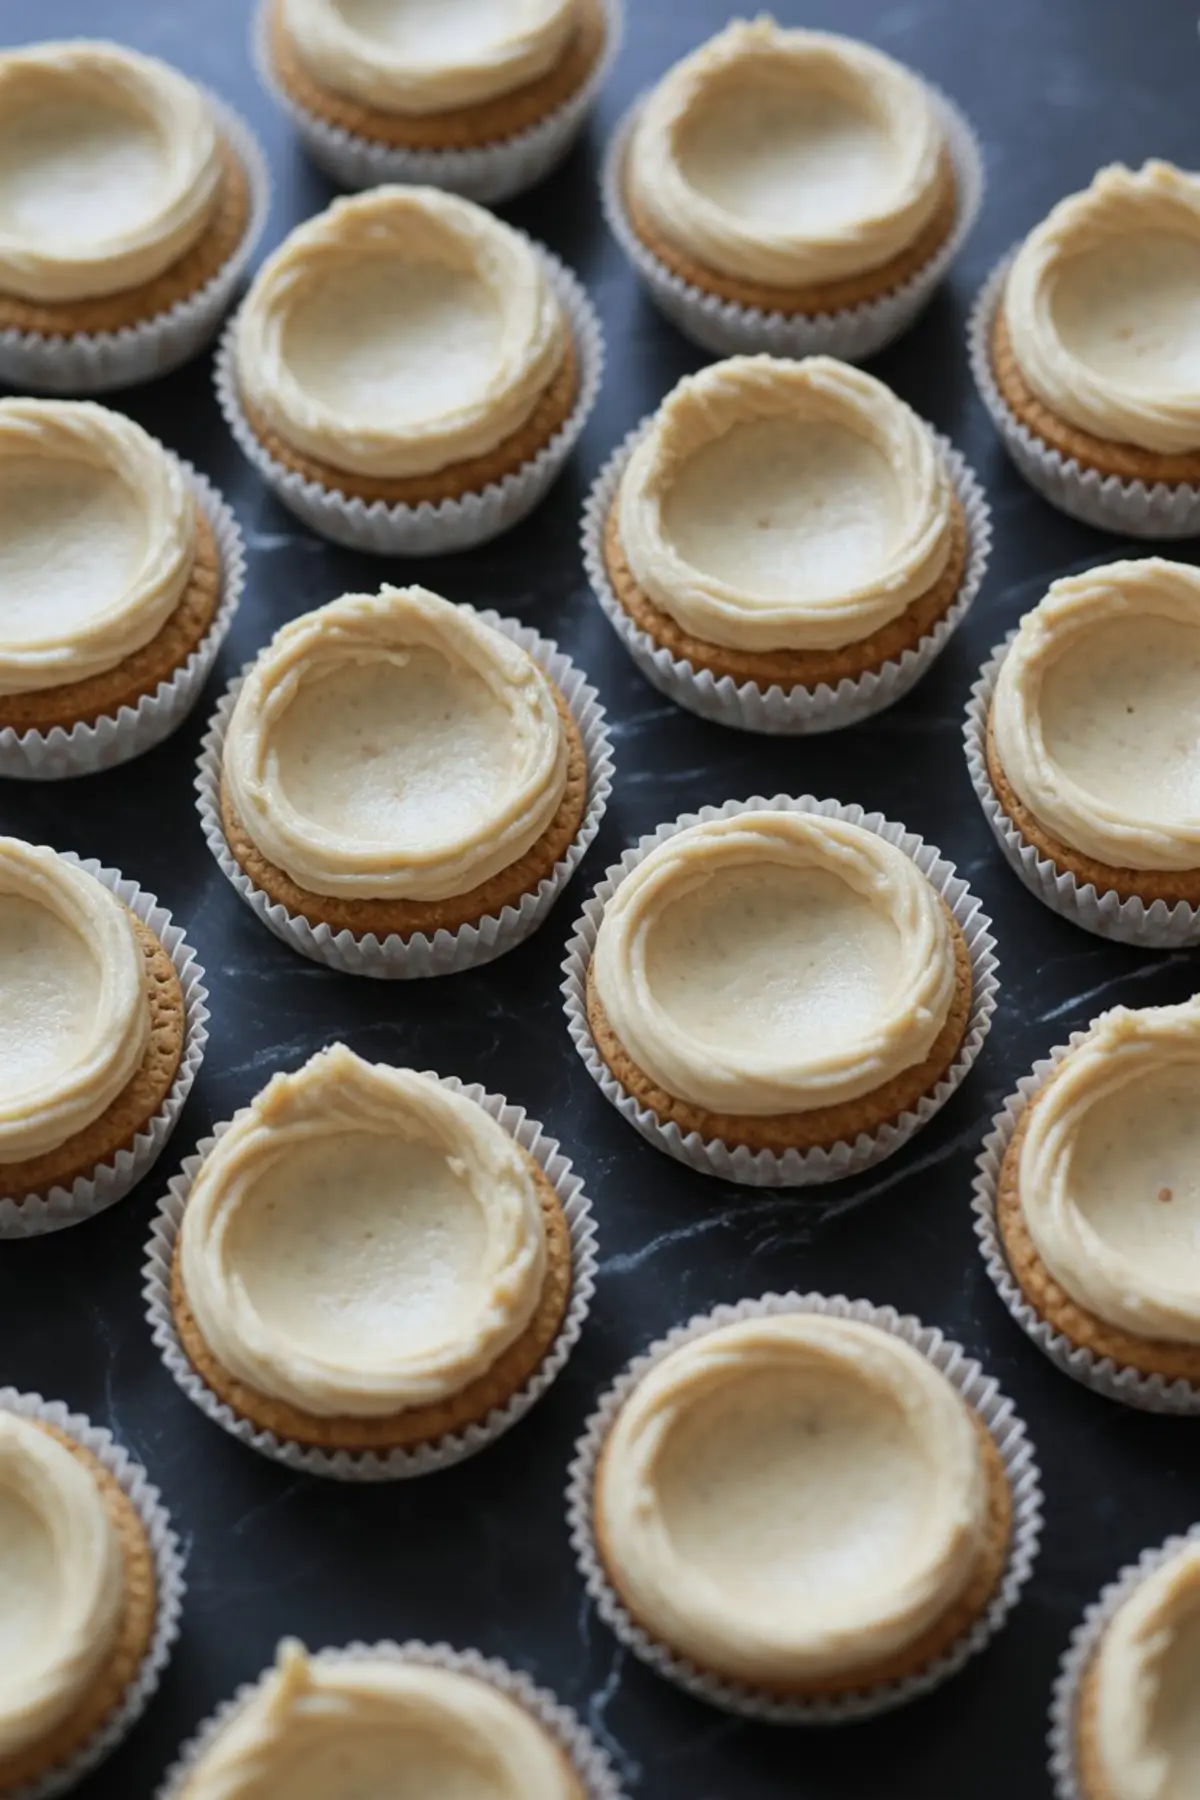
Pressing the base is key
I press the base into mini cupcake liners with a rounded tablespoon. Not flat. Not too loose. It needs that pressure to hold the shape.
If you skip this step, the base can crumble or puff. It won’t ruin the flavor, but the texture will feel off.
Cheesecake settles around the edges
When you spoon in the cheesecake, make a little well in the middle. It keeps the custard from spilling out. Just the back of a spoon will do.
If the batter sits too high, it overbakes before the custard finishes. You want a slight dip to cradle the eggnog layer.
I’ve used this same trick in my Eggnog Tiramisu Cups to help the custard set in layers. The idea works just as well here.
Chilling matters more than it seems
After baking, let them cool at room temperature for 10 minutes. Then straight into the fridge. That hour sets the custard and brings the cheesecake to full flavor.
I’ve served these warm before. They tasted soft but unfinished. The cold time makes everything come together.
Comparison That Might Help You Choose Wisely
Let’s talk about cookie base options for a second. I’ve made these with both graham cracker crust and the current spiced flour version.
Graham adds a nice toast, but it’s fragile. Too crumbly for holding the cheesecake and custard together. The brown sugar base here gives more chew and structure.
If you want something handheld and less messy, the flour-based cookie wins. Every time.
The Secret That Sets This Recipe Apart
Now back to the quiet little surprise I mentioned earlier. Most cookie recipes stop at cheesecake. Some swirl in flavor, but they stop short.
This one builds a custard inside a cookie without making a separate filling or topping. It cooks gently during the bake and settles into place while cooling.
You don’t see it coming. The center looks like a soft spot in the cheesecake. Then you taste it and realize it’s eggnog, made richer and smoother from the bake.
It’s like hiding a soft holiday sip inside a bite. No spoon. No glass. Just one cookie with everything folded in.
Keep This Recipe Handy and Share What You Baked
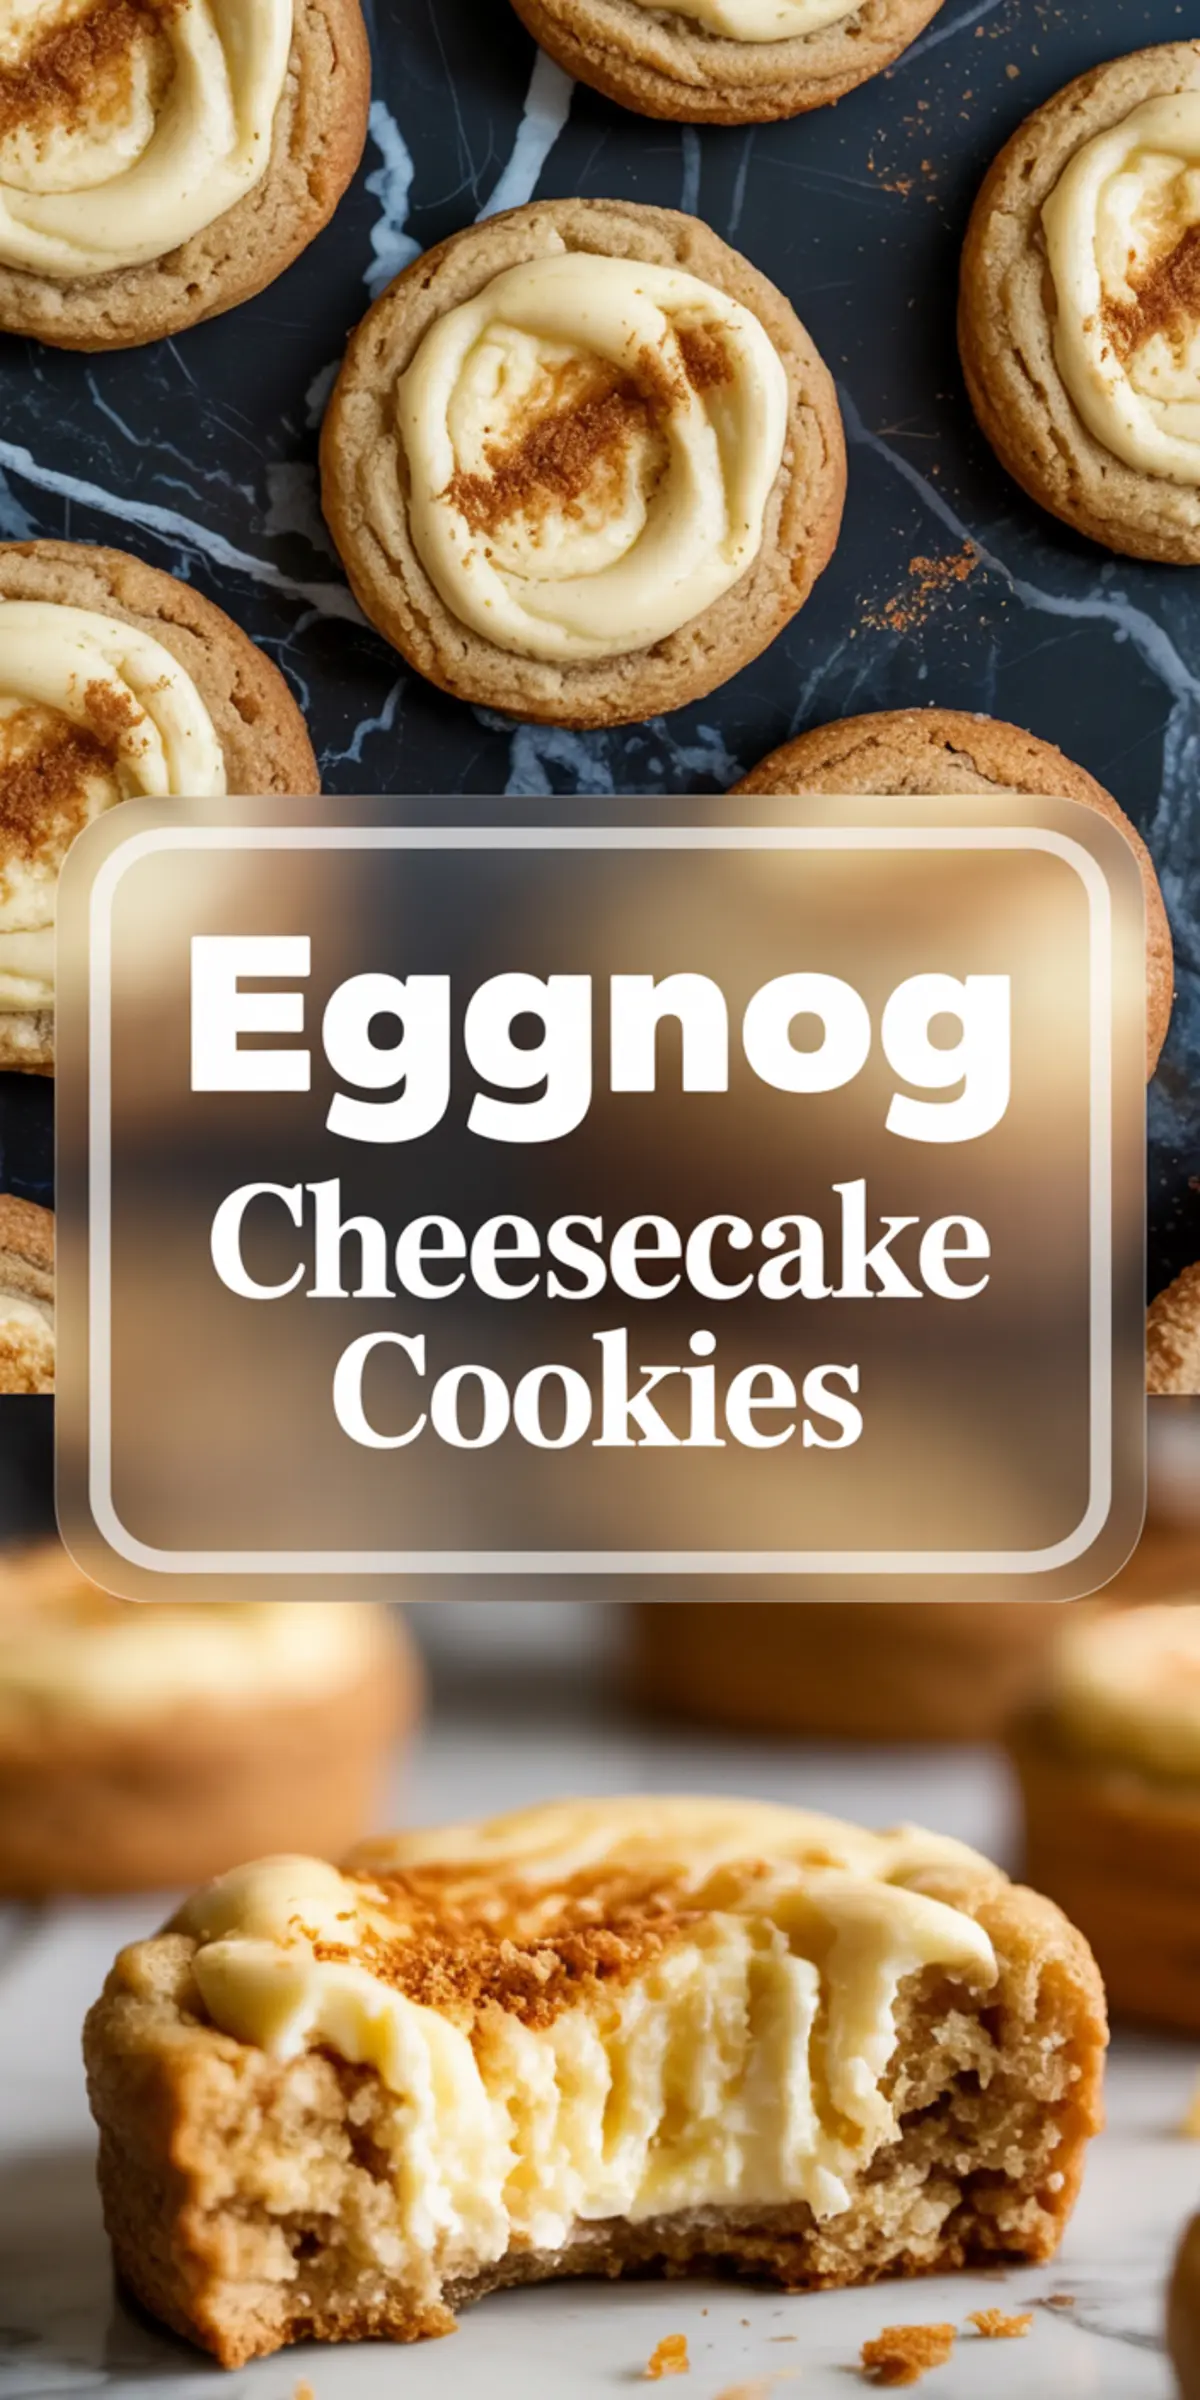
You’ll want to bake these again. Maybe for a cookie swap. Maybe for the neighbor who loves eggnog but never finds a dessert that balances it well.
Save this post to your Christmas Desserts board so it’s easy to find again. These cookies are easy to store and even better after chilling.
If you try them, let me know in the comments. Did you keep the rum extract? Did you go heavy on the nutmeg? Did they remind you of something unexpected?
I’d love to hear what twist you added. That’s how recipes grow.
Eggnog Cheesecake Cookies
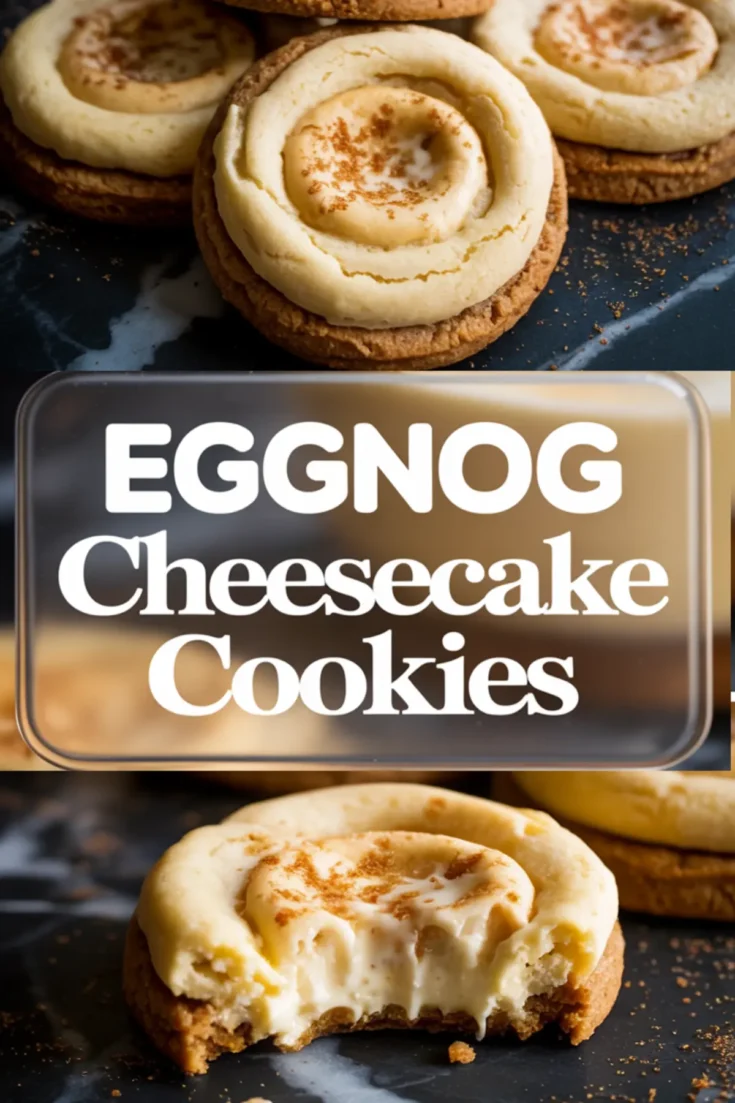
These soft-baked Eggnog Cheesecake Cookies feature a spiced eggnog cookie base filled with creamy eggnog cheesecake batter. Made with real eggnog and a hint of nutmeg, this eggnog dessert blends holiday flavor and cookie comfort. This festive recipe combines the rich taste of mini eggnog cheesecake with the simplicity of drop cookies. Add these to your Christmas baking or try them as an easy twist on a classic egg nog cookies recipe. Perfect for sharing, gifting, or enjoying with a cup of holiday cheer. Save this easy eggnog cheesecake recipe today.
Ingredients
- FOR THE BISCUIT BASE
- 1 cup all-purpose flour
- 1/3 cup packed brown sugar
- 1/2 cup unsalted butter, melted
- 1/4 teaspoon salt
- 1/2 teaspoon cinnamon
- FOR THE CHEESECAKE TOPPING
- 8 oz cream cheese, softened
- 1/4 cup granulated sugar
- 1 large egg yolk
- 1/2 teaspoon vanilla extract
- 2 tablespoons sour cream
- 1 tablespoon all-purpose flour
- FOR THE EGGNOG FILLING
- 1/4 cup eggnog
- 1 tablespoon sugar
- 1 teaspoon cornstarch
- 1 egg yolk
- 1/4 teaspoon freshly grated nutmeg
- 1/4 teaspoon rum extract (optional)
- YOU’LL ALSO NEED
- Extra nutmeg or cinnamon for dusting
- Mini cupcake liners or parchment for baking
Instructions
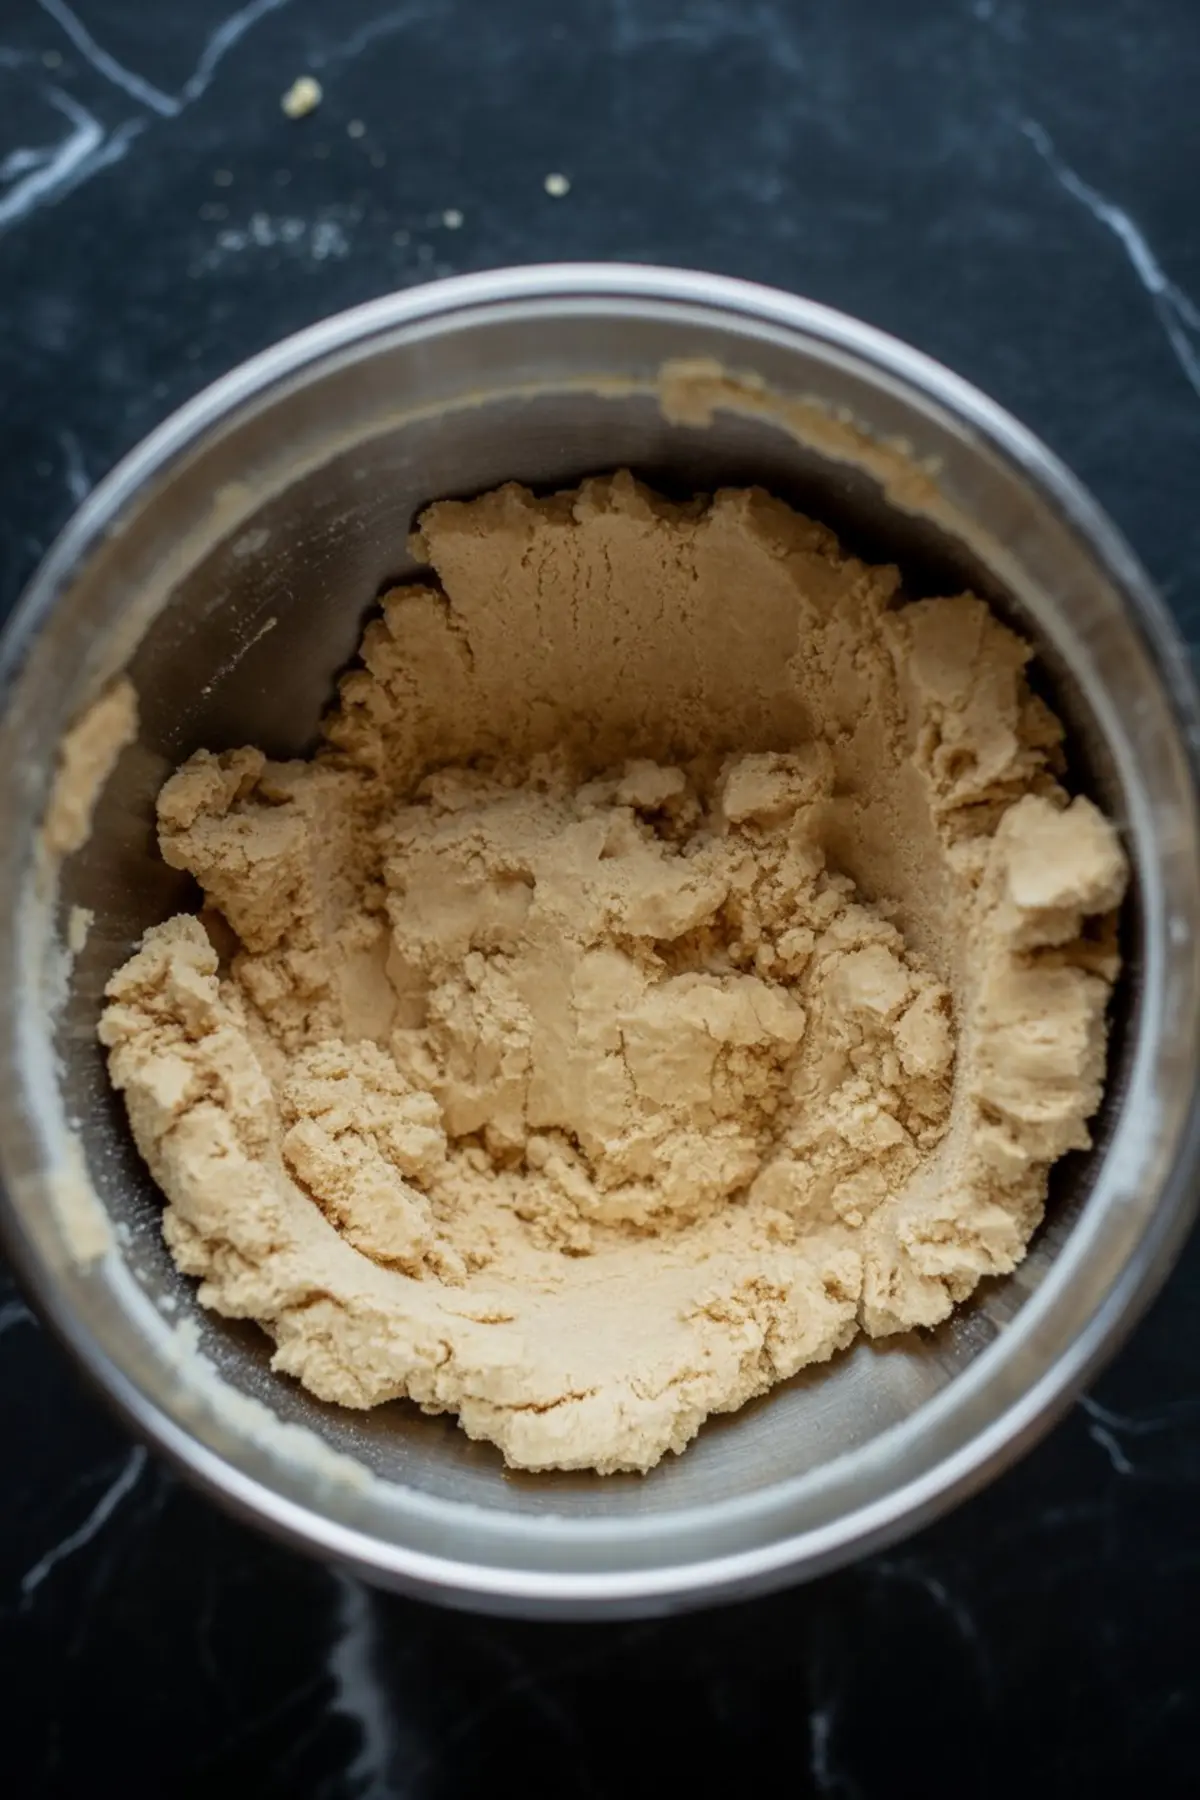
- MAKE THE BISCUIT BASE: In a mixing bowl, combine the flour, brown sugar, salt, and cinnamon. Pour in the melted butter and stir until the mixture resembles damp sand. Press a rounded tablespoon into the bottom of each lined mini cupcake cavity or onto a parchment-lined tray, pressing it firmly to form a flat, compact disk. Bake at 350°F (175°C) for 8 minutes. Remove from the oven and let cool slightly.
- PREPARE THE CHEESECAKE LAYER: In a separate bowl, beat the softened cream cheese and granulated sugar until smooth and creamy. Add the egg yolk, vanilla extract, and sour cream, mixing until fully incorporated. Stir in the flour until blended. Spoon about 1 tablespoon of cheesecake batter onto each baked biscuit base, then use the back of the spoon to create a shallow dip in the center for the custard.
- MAKE THE EGGNOG FILLING: In a small bowl, whisk together the egg yolk, eggnog, sugar, and cornstarch until smooth. Add nutmeg and rum extract if using. Spoon about 1 teaspoon of custard into the dip on each cheesecake-topped cookie, being careful not to overfill.
- BAKE AND FINISH: Bake the assembled cookies at 325°F (160°C) for 12–14 minutes. The cheesecake layer should look set around the edges but still soft in the center. The eggnog custard may puff slightly and will settle as it cools. Allow cookies to cool in the pan or on the tray for 10 minutes, then transfer to a wire rack. Chill in the refrigerator for at least 1 hour to set completely. Dust with cinnamon or nutmeg just before serving if desired.
Notes
Store cookies chilled in an airtight container for up to 3 days. The rum extract adds depth but is optional. For best texture, serve cold.
Nutrition Information:
Yield:
24Serving Size:
1Amount Per Serving: Calories: 155Total Fat: 10gSaturated Fat: 6gTrans Fat: 0gUnsaturated Fat: 4gCholesterol: 54mgSodium: 102mgCarbohydrates: 14gFiber: 0gSugar: 8gProtein: 3g
