

These candy cane fudge snowballs are what I reach for when I want chocolate, mint, and nostalgia to meet in a single bite.
You get a soft white chocolate fudge center wrapped in the crunch of crushed candy canes. There’s no baking involved. Just melt, chill, and roll.
Each one delivers that satisfying snap of peppermint with the slow melt of creamy fudge. If you’ve ever made a snowball cookie or peppermint truffle, this brings the two together with a seasonal spin. You’re going to learn exactly how to shape and coat them to keep the outside crisp without losing that rich center.
What sets these apart is how they hold their structure yet still feel like a treat that melts between your fingertips.
I’ve tested them with different finishes and versions over the years, but there’s something about the candy cane crunch that tells your tastebuds the holidays have arrived.
Let’s just say there’s one small secret in the mix that makes the peppermint flavor hit deeper. I’ll get to that in a minute.
Let’s first talk through each ingredient, and why it matters.

Why These Ingredients Matter in Candy Cane Snowball Cookies
White Chocolate Chips
These form the base of the fudge and they behave very differently than dark or milk chocolate. White chocolate scorches quickly, so you have to melt it slow. But once it sets, it gives that smooth, rich texture that holds shape in every snowball cookie. I don’t use baking bars for this because chips melt into a better pourable texture in my experience.
Sweetened Condensed Milk
This isn’t just for sweetness. It adds density and stickiness to the fudge. Without it, you’d end up with something too soft or too chalky. It gives each ball structure. You’ll notice how it binds everything even before the chilling step.
Unsalted Butter and a Pinch of Salt
These two balance the sweetness and deepen the flavor. The butter smooths the texture, and that tiny bit of salt lifts the vanilla and mint, making them brighter on the tongue.
Vanilla Extract and Peppermint Extract
They don’t just fight for attention. They layer. Vanilla softens the sharpness of peppermint. I’ve tested ratios, and one teaspoon of vanilla plus just a quarter teaspoon of peppermint hits that nostalgic, candy cane lane flavor. If you want the mint bolder, you can add a drop more peppermint, but a heavy hand here can overpower.
Crushed Candy Canes
They bring texture, color, and crunch. I’ve used both fine and chunky pieces. The chunkier bits add more of that crackly shell on the outside, but a mix gives the best finish. For anyone who enjoys Candy Cane Truffles or Peppermint Balls Christmas style, this coating is what ties it all together.
You can find a similar balance of texture in these Candy Cane Chocolate Mousse Cups if you’re exploring multiple peppermint desserts this season.
How the Steps Work and What to Watch
Melt Gently for Consistency
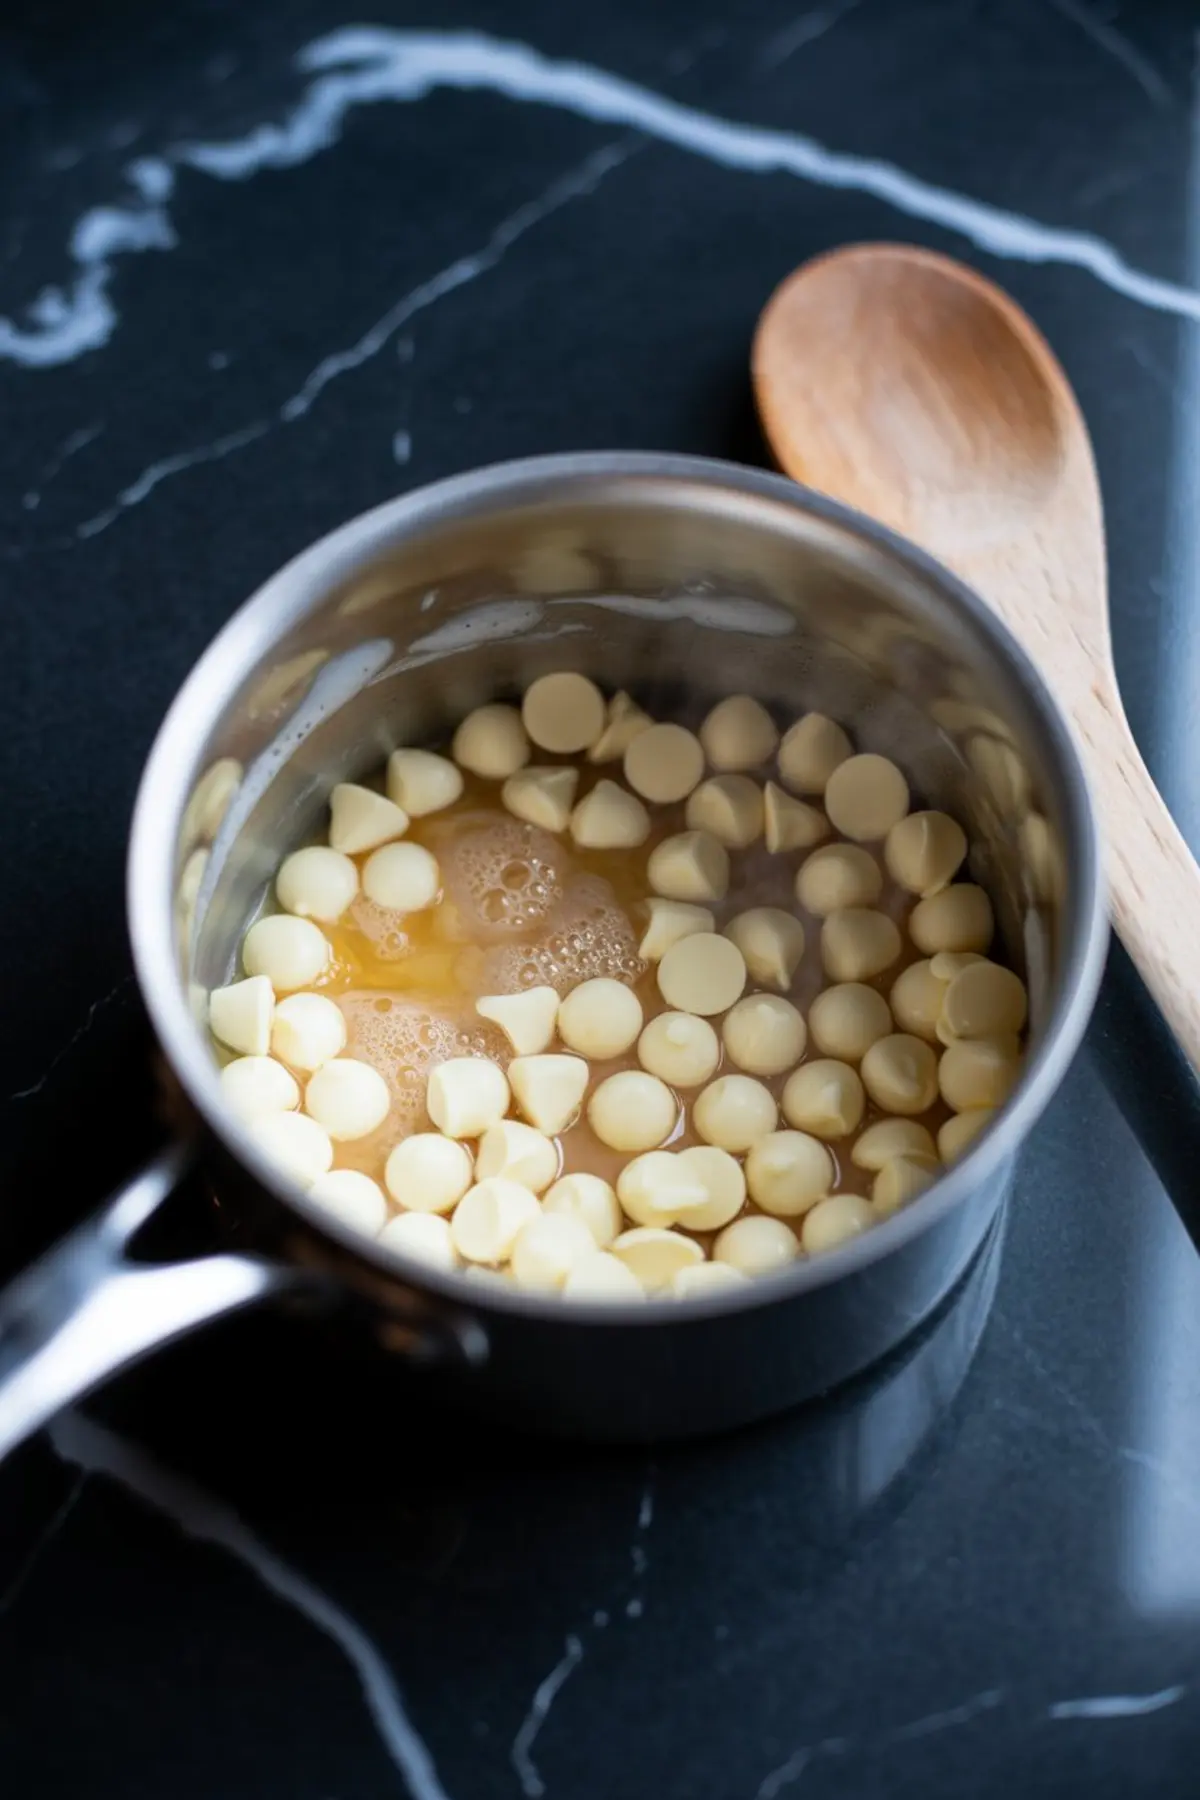
When combining the white chocolate, condensed milk, and butter, keep the heat low and stir constantly. I know it’s tempting to crank the heat, but white chocolate burns before it even bubbles. If you’ve ever made snowball cookie recipe batches that tasted off, it might’ve been scorched white chocolate. Patience here makes all the difference.
Let the Flavors Settle in the Chill
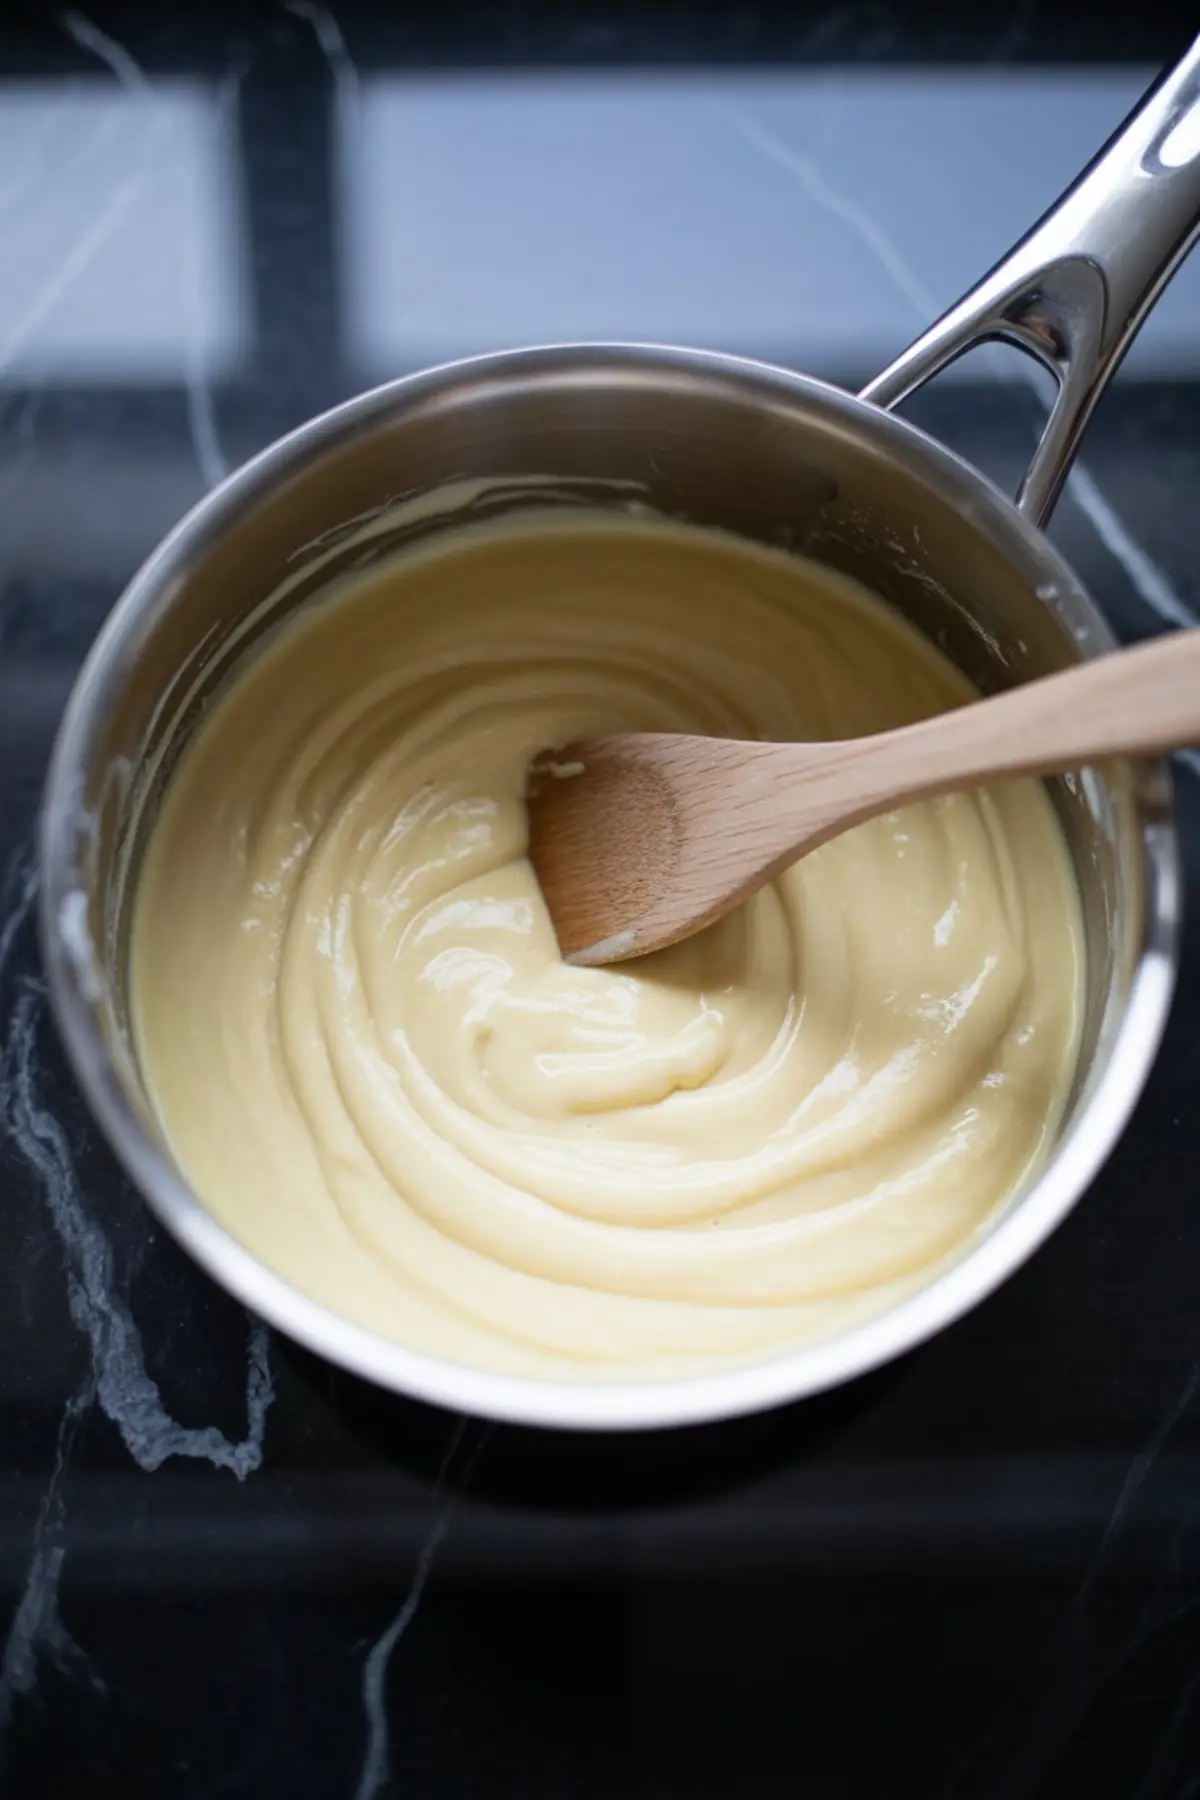
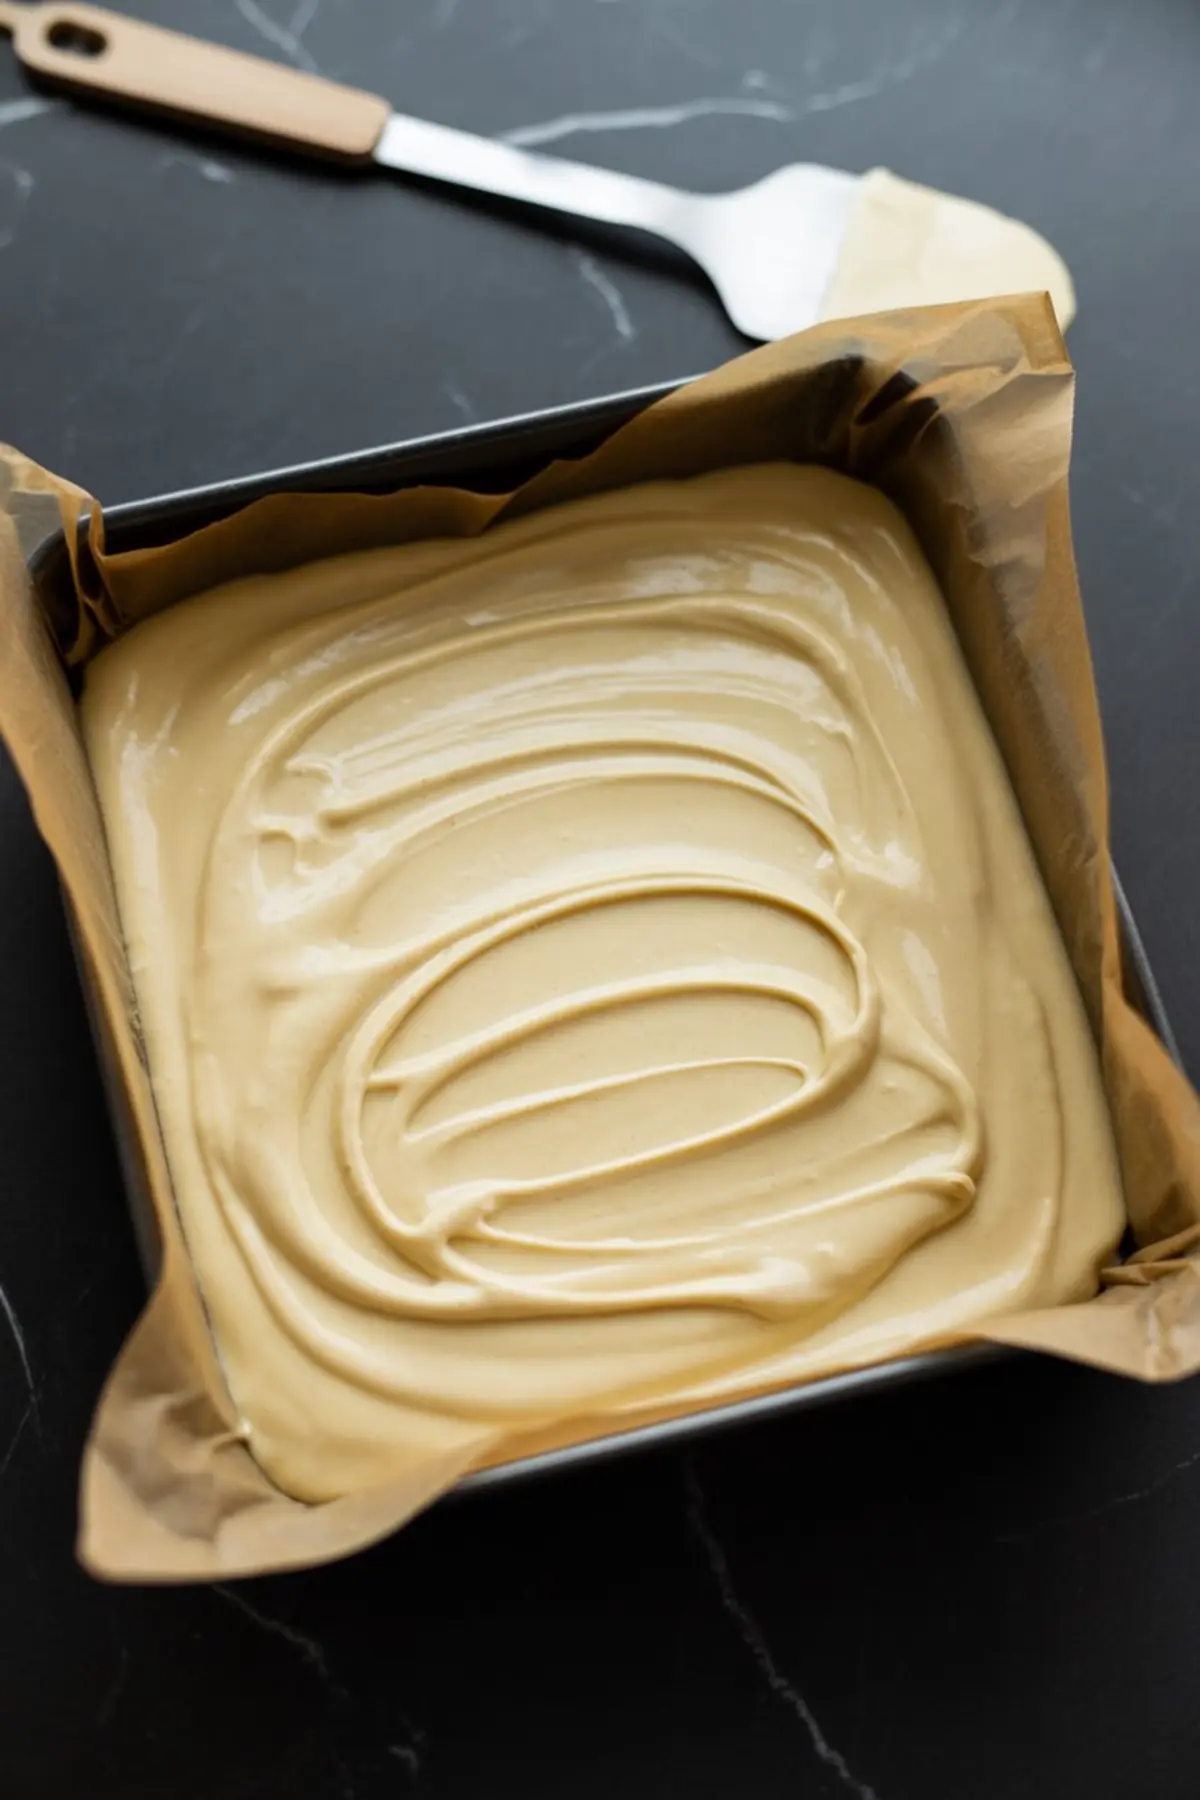
Once you add in the vanilla and peppermint and pour the fudge into the pan, don’t rush the chill. Give it a full two hours. The structure firms up, but something else happens too. The extracts meld into the chocolate. The first time I skipped this and rolled them early, they tasted flat.
If you’re making Candy Cane Pie or other peppermint desserts ahead of a party, chilling also lets the flavors bloom without needing extra sugar or decoration.
Coat Right After Shaping
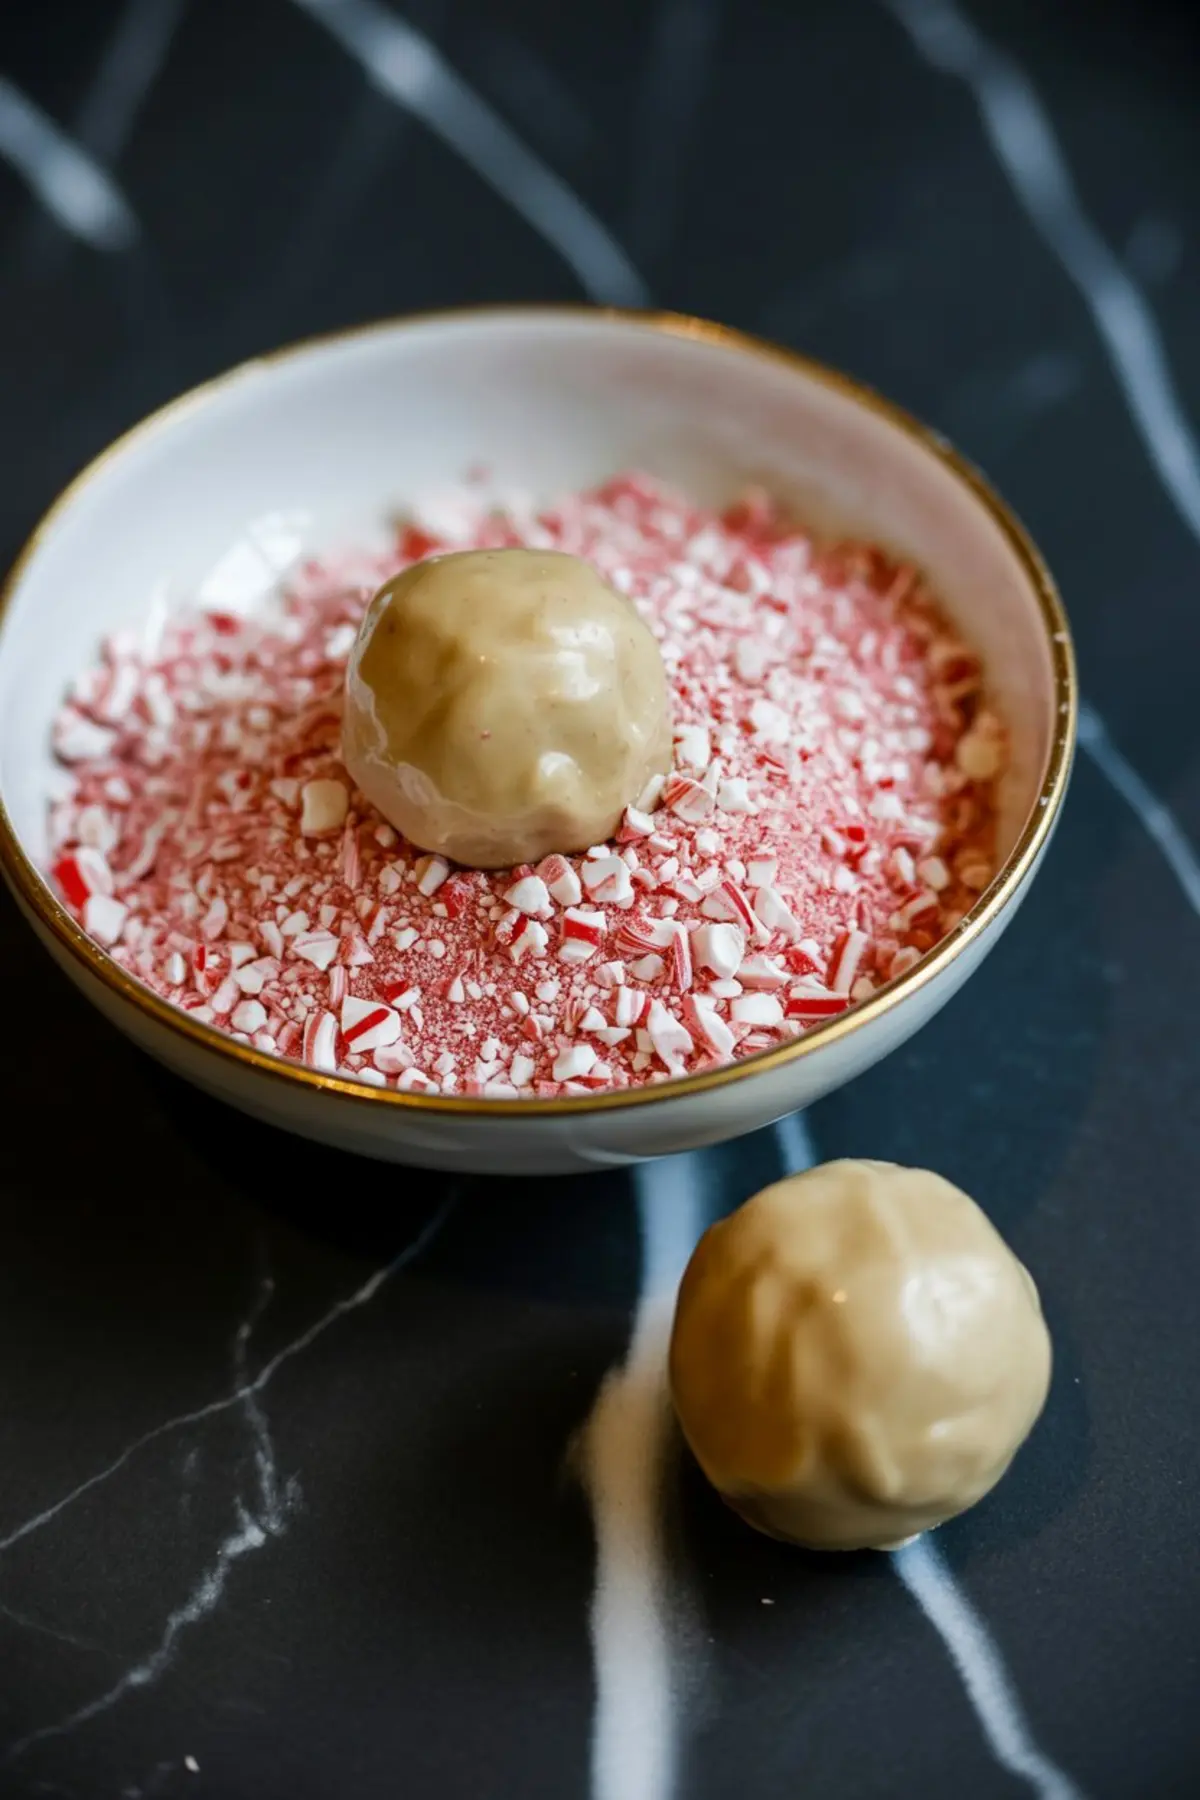
I’ve tried letting the fudge balls sit too long before rolling. The surface dries out a bit and the crushed candy doesn’t stick as well. Scoop, roll, then press into candy. The peppermint pieces grip better when the fudge is still soft on the surface.
If you love Snowball Cookies or Peppermint Crunch Balls, this moment of coating makes or breaks the finish.
Candy Cane Truffles or Coated Snowballs? A Small But Mighty Difference
I’ve made these both ways. You can fold the crushed candy canes into the fudge before chilling. That gives more of a truffle feel, like a true Candy Cane Truffle. But I found it softens the candy and leaves less texture contrast.
Rolling only on the outside keeps that shell crisp. It also keeps your fudge center creamy and rich. My notes tell me that folding makes them more minty throughout, but you lose the visual sparkle and snap. If you’re gifting or serving on dessert boards, coating-only wins for presentation.
You’ll notice this same coating-forward technique in the Candy Cane Heart Cake where the peppermint decor becomes part of the visual storytelling.
The Secret Behind the Peppermint Punch
Remember that small hint I left in the intro?
It’s the tiny drop of extra vanilla. I’ve made these snowballs without it. They tasted minty, yes, but flat. When you add that full teaspoon of vanilla, it fills in the gap. It gives the peppermint space to sparkle instead of dominate.
A few of my older recipes skipped it. I went back and rewrote them after realizing what a difference it made.
Make Them Ahead, Store Them Right
You can prep these snowballs days in advance. I keep them in an airtight tin in the fridge. They last for up to a week. If you’re gifting, place parchment between layers so the peppermint coating doesn’t smudge.
These also freeze well, though the candy cane coating loses some of its snap after thawing. If texture matters most, make them fresh and chill only.
For more festive ideas, you can explore our collection of Christmas Candy Recipes which includes options with similar prep time but different textures.
Save These Snowballs for Your Candy Cane Board

Pin this recipe if you’re building a Christmas dessert board. These snowballs hold their shape, travel well, and add a candy cane crunch you won’t get in other treats.
Have questions about rolling, storage, or how to crush the candy without making a mess? Drop them in the comments below.
I’d love to hear how yours turned out or how you’ve customized the coating. Let’s keep the holiday baking spirit alive.
Candy Cane Fudge Snowballs

These Candy Cane Fudge Snowballs are rich chocolate fudge truffles coated in crushed peppermint for a crisp, minty shell. Easy to make and no baking required, these festive treats double as peppermint balls Christmas candy and edible holiday gifts. If you love snowball cookies or classic snowballs recipe, this version adds a candy cane truffles twist with a holiday crunch. Roll them in powdered sugar or extra peppermint crunch balls for a decorative finish. Save this Christmas candy recipe for your holiday trays, dessert boards, or party favors.
Ingredients
- 3 cups white chocolate chips
- 1 (14-ounce) can sweetened condensed milk
- 3 tablespoons unsalted butter
- Pinch of salt
- 1 teaspoon vanilla extract
- 1/4 teaspoon peppermint extract
- 6 to 8 standard-size candy canes, crushed
Instructions
- PREP THE PAN: Line an 8x8-inch baking pan with parchment paper, leaving a slight overhang on two sides for easy removal after chilling.
- MELT THE BASE: In a medium saucepan over low heat, combine the white chocolate chips, sweetened condensed milk, butter, and salt. Stir constantly until fully melted and smooth. Do not leave unattended, as white chocolate can scorch easily.
- ADD FLAVOR: Remove the pan from heat and stir in the vanilla extract and peppermint extract. Mix thoroughly to ensure even flavor distribution.
- CHILL THE FUDGE: Pour the mixture into the prepared pan and smooth the top with a spatula. Cover and refrigerate for 2 to 3 hours, until the fudge is firm and set.
- CRUSH THE CANDY: While the fudge chills, place the candy canes in a zip-top bag and crush them with a rolling pin into a mix of fine and chunky pieces. Pour the crushed candy into a shallow bowl or dish for rolling.
- FORM THE SNOWBALLS: Once the fudge is fully chilled, use a small scoop or spoon to portion it into bite-sized balls. Roll each ball between your palms until smooth and round.
- COAT IN CANDY: Press each fudge ball into the crushed candy canes, rolling gently to coat all sides. The crushed pieces should stick well to the surface.
- FINAL CHILL: Place the coated snowballs on a parchment-lined tray and refrigerate for 15 minutes to firm up the coating.
Notes
Store snowballs in an airtight container in the refrigerator for up to 1 week. For a firmer texture, chill longer before serving. To vary texture, crushed candy canes may be folded into the fudge before chilling, though coating-only keeps them crisper.
Nutrition Information:
Yield:
24Serving Size:
1Amount Per Serving: Calories: 150Total Fat: 8gSaturated Fat: 5gUnsaturated Fat: 3gCholesterol: 9mgSodium: 28mgCarbohydrates: 18gFiber: 0gSugar: 16gProtein: 1g
