
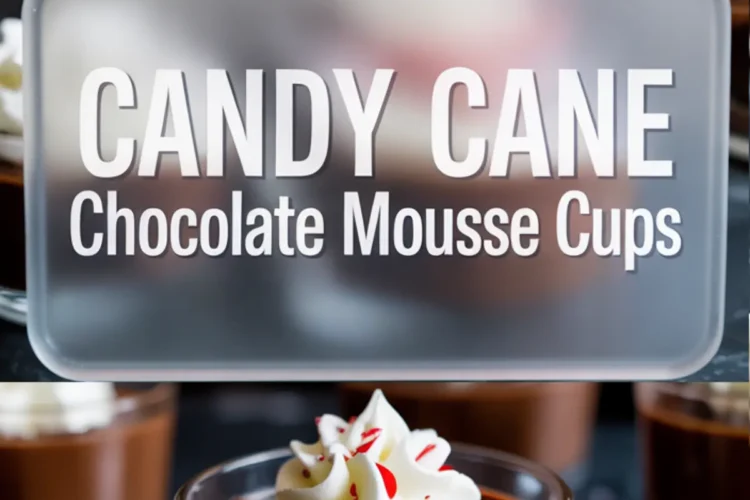
Rich mousse, peppermint crunch, and a quiet surprise at the base.
Chocolate mousse carries its own kind of elegance. These Candy Cane Chocolate Mousse Cups take that soft luxury and lace it with peppermint brightness and layers of gentle contrast.
You’re not just spooning up one texture. You’re breaking into cold silk, then crunch, then something deeper below. It’s part Christmas chocolate mousse, part snow-dusted dream, and completely your secret weapon for December sweets.
There’s plenty to learn from this recipe. You’ll get a hands-on rhythm for whipping cream to the right stiffness. You’ll see how egg yolks bring a soft weight to chocolate. And by the end, you’ll know how to create individual Christmas mousse cups that taste like they were made by someone who cares a little too much about dessert. Which might be you now.
These festive chocolate mousse cups are strong contenders for your Xmas food board. I’ll show you why, and how to make every spoonful feel like a ribbon-tied gift. There’s even a hidden dash of something extra. It sits low in the glass and quietly shifts the whole experience. I’ll show you what it is. But let’s build up to it.
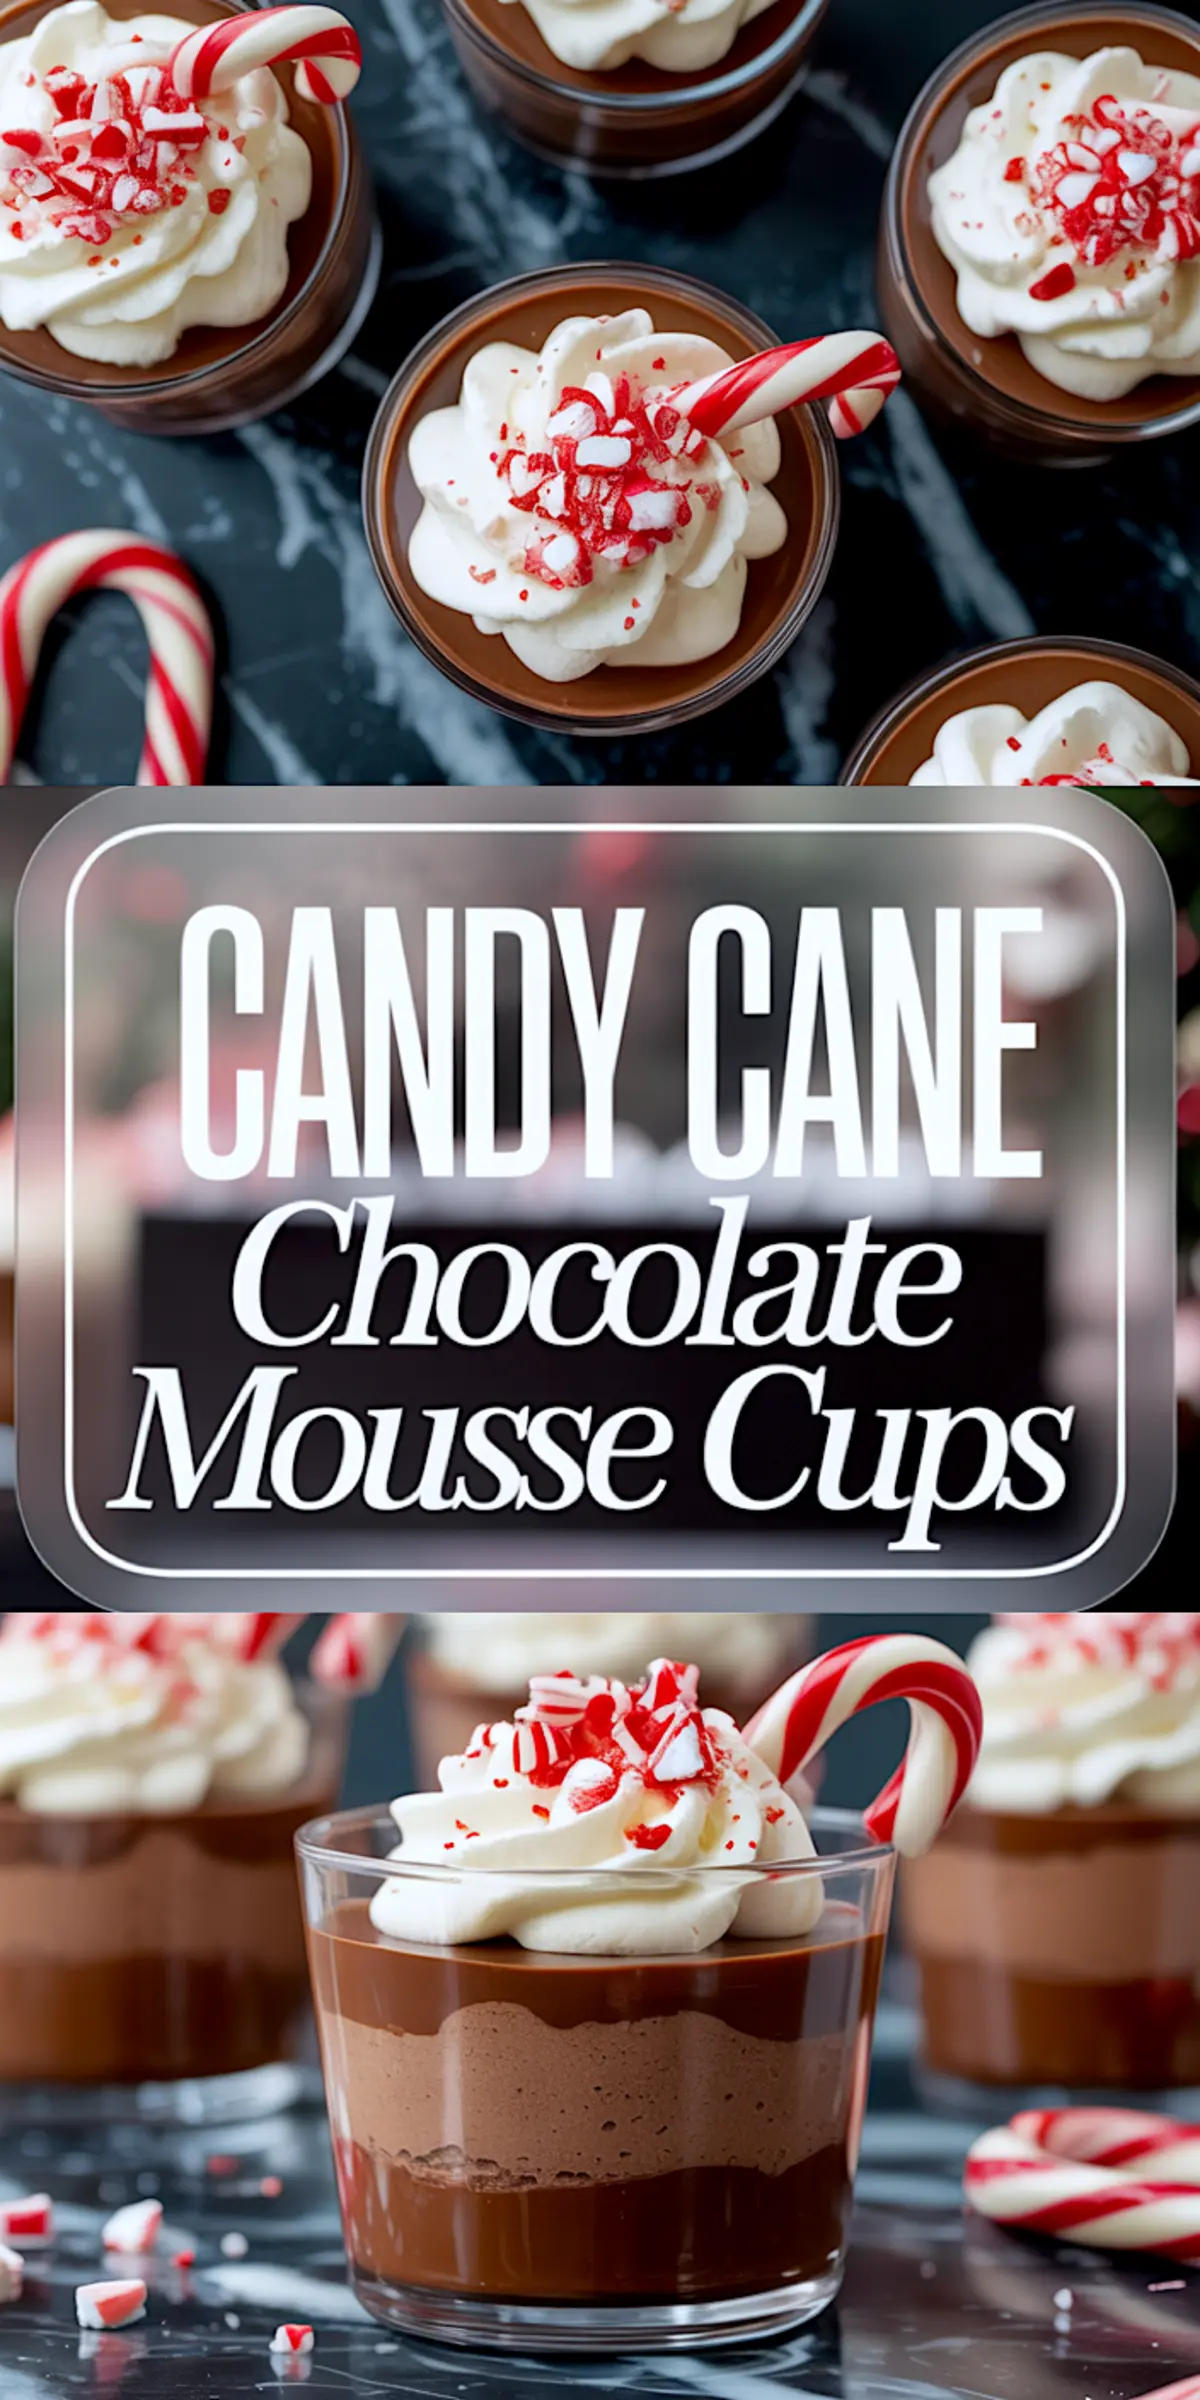
Why These Ingredients Work Together: A Flavor That Feels Layered
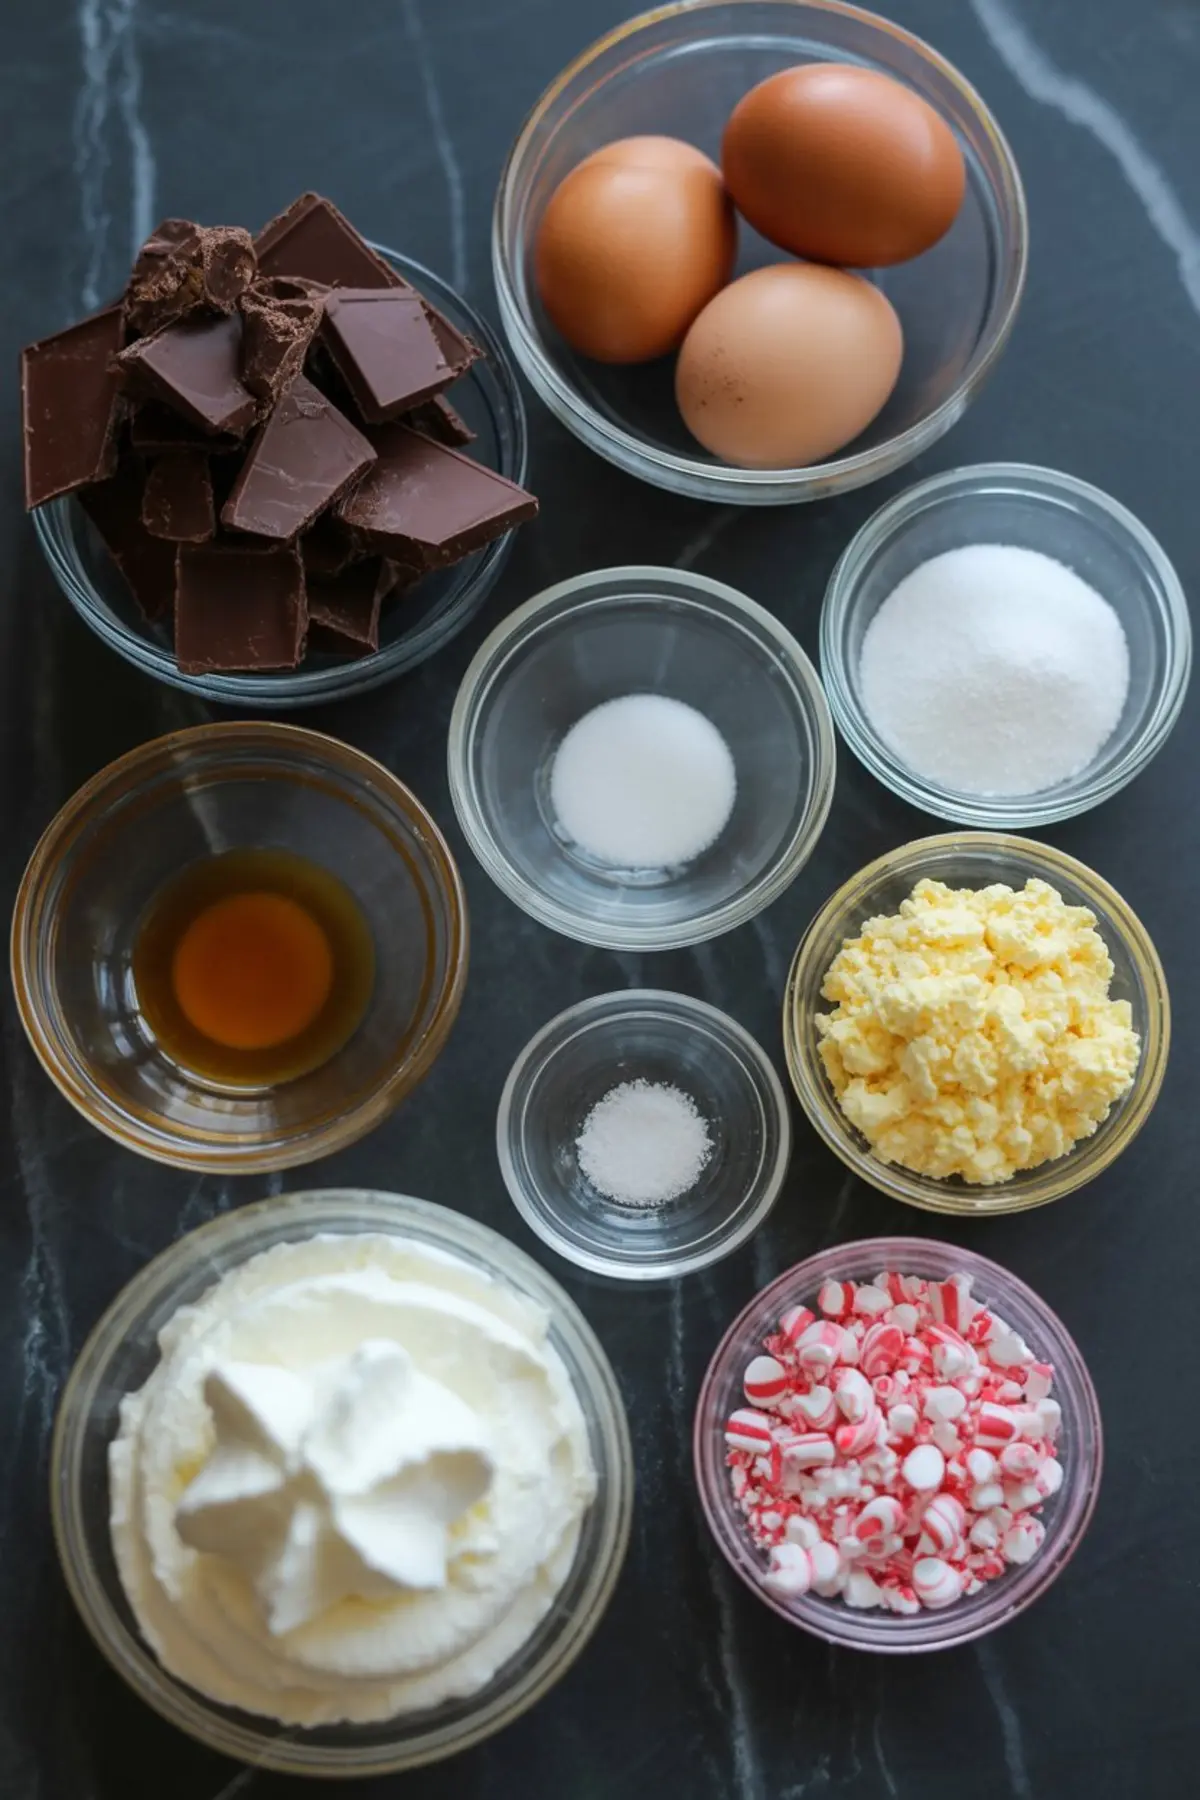
Chocolate that sets the tone.
I always use a chocolate above 60% cocoa here. Not too dark. Not cloying. Just enough edge to balance the sugar. In my Pin Notebook, I wrote a note once that said: “Don’t let mousse be sweet pudding.” That stuck. This chocolate brings structure and character.
Egg yolks that soften and stabilize.
They don’t just thicken. They mellow the chocolate, hold the mousse, and make it feel rich instead of dense. I’ve tried versions without eggs. They whip faster, but they melt quicker in the mouth, losing the weight. This version holds firm and tastes slow.
Heavy cream that holds the lift.
There’s no skipping the cold bowl here. Cold cream whipped in a cold bowl will give you volume that lasts past the first spoonful. It’s the kind of texture you remember. Airy but not foam.
Vanilla and salt to balance it all.
That tiny pinch of salt is the whisper that makes the chocolate speak louder. And vanilla. I once swapped it for peppermint extract thinking it would heighten the theme. It flattened the mousse. Stick with vanilla in the base. Save the peppermint for the top.
A Helpful Comparison: Yolks vs No Yolks in Mousse
I’ve tested it both ways.
Using egg yolks in mousse builds richness and stability. It feels like a French patisserie version — more set, more luxurious. Skipping the yolks gives you a faster whip, but the texture starts to loosen if you’re prepping ahead or plating for a crowd.
If you’re making these Christmas mousse cups for a party, keep the yolks. They’ll give you structure and a smooth, lingering bite.
Whipping the Cream: It’s All About the Timing
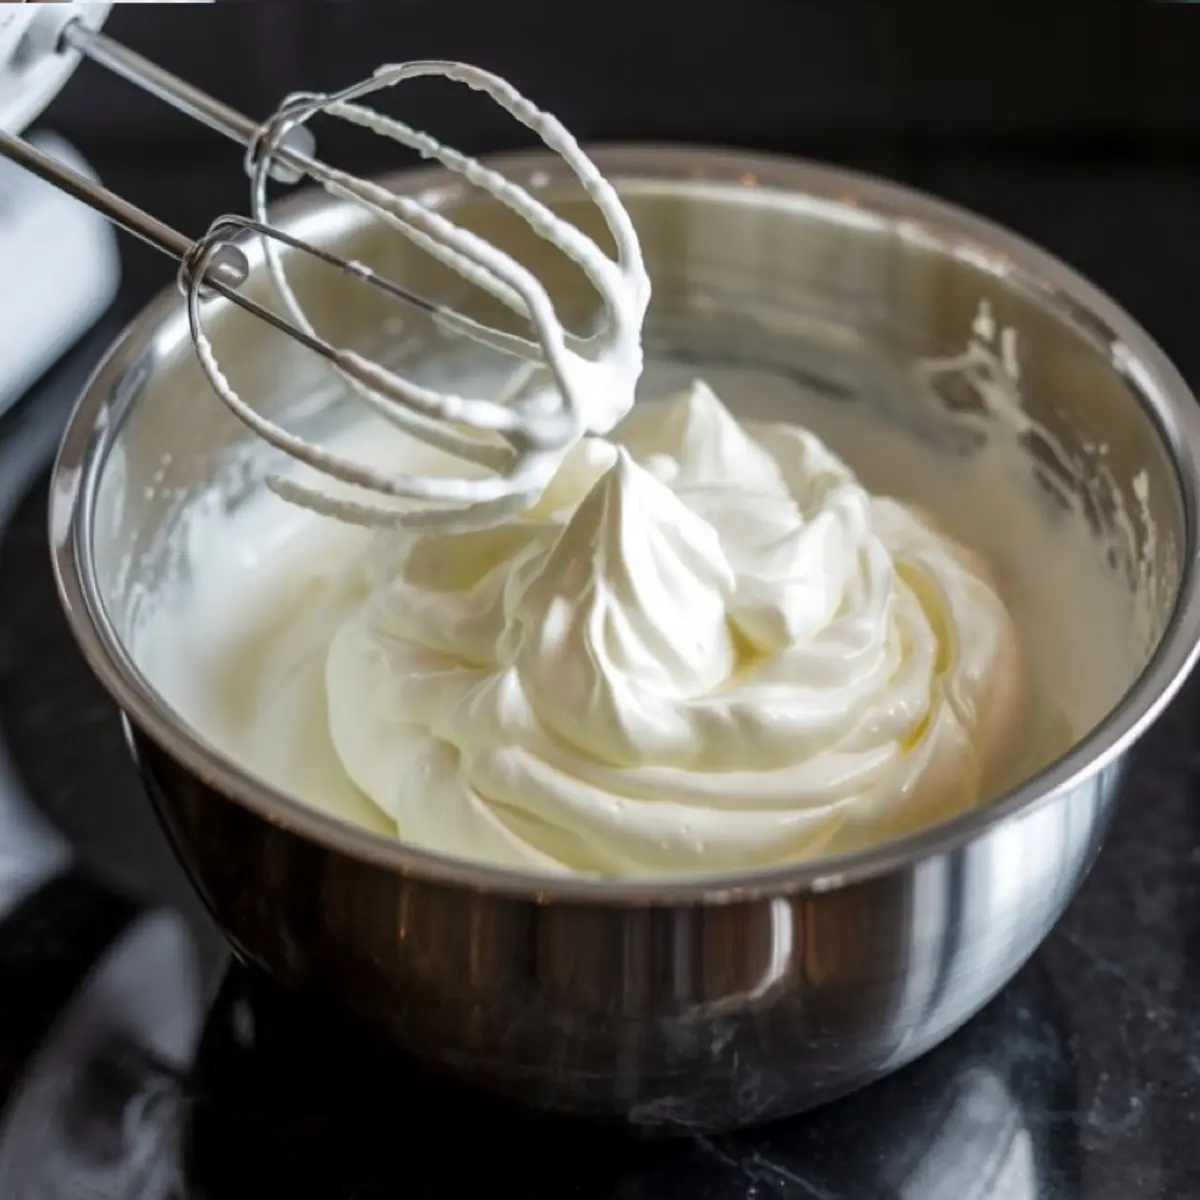
Start with chilled cream.
Always. If the cream is lukewarm, it won’t hold. I learned that after a rushed December afternoon and one batch that fell flat in the fridge. Whip to stiff peaks for the mousse. You want to see peaks that stay put when you lift the whisk.
For the topping, go gentler. Medium peaks give you a swirlable, pipeable texture. That contrast between the denser mousse and the light whipped cream keeps the dessert from feeling too heavy.
This stage is where your Christmas food desserts go from good to worth repeating.
Folding for Air: A Pause, Not a Rush
You’ll start with one scoop of whipped cream into the chocolate base. Stir that in. That lightens the mixture so the rest folds more easily. Then go slow. Fold, not stir. Big, round motions with a spatula. It’s okay if a few streaks remain before the final fold.
It’s the mousse that tastes like effort. Even if the effort took less than 30 minutes.
Layering the Cups: The Secret at the Bottom
Here’s where I finally tell you. That unexpected element I hinted at?
It’s ganache. A spoonful at the bottom of the cup.
Not enough to dominate. Just enough to deepen. That bite of glossy, soft chocolate beneath the mousse brings something richer. If you chill it before adding the mousse, it stays distinct. And that gives every guest a little surprise with the last spoon.
You’ll taste the peppermint dessert twist at the top, and the ganache depth at the base. That balance in a glass? It’s a quiet kind of magic.
You can find a similar layering idea in these White Chocolate Cranberry Tiramisu Cups, but the experience here is colder, denser, and silkier.
The Candy Cane Topping: Texture, Brightness, and Crunch
You’ll whip the cream and stir in crushed candy canes just before serving. That way, they stay crisp and don’t melt into the cream. The color adds contrast, but the flavor brings brightness. It cuts through the mousse and resets your palate between bites.
Top each cup right before you serve. If you like more texture, add a sprinkle of extra crushed candy canes just before handing them out.
For garnish, I tuck in a mini candy cane standing upright. It’s playful, and people always smile. Especially the kids.
Want more holiday presentation ideas? You might enjoy how I topped this Eggnog Panna Cotta with soft cream and spice. The styles differ, but both bring joy to the table.
Chill and Serve: A Make-Ahead Gift
The mousse sets in the fridge within 2 hours, but I prefer to make it the night before. The structure holds better, and the flavor settles into itself. Store the mousse covered. Add the topping just before serving so it stays light and fluffy.
This dessert works well for gatherings where you want to prep ahead without compromising texture. It also sits beautifully on a dessert tray next to something like this Christmas Pavlova or even these Peppermint Bark Cheesecake Bars.
Pin This, Save This, Share This
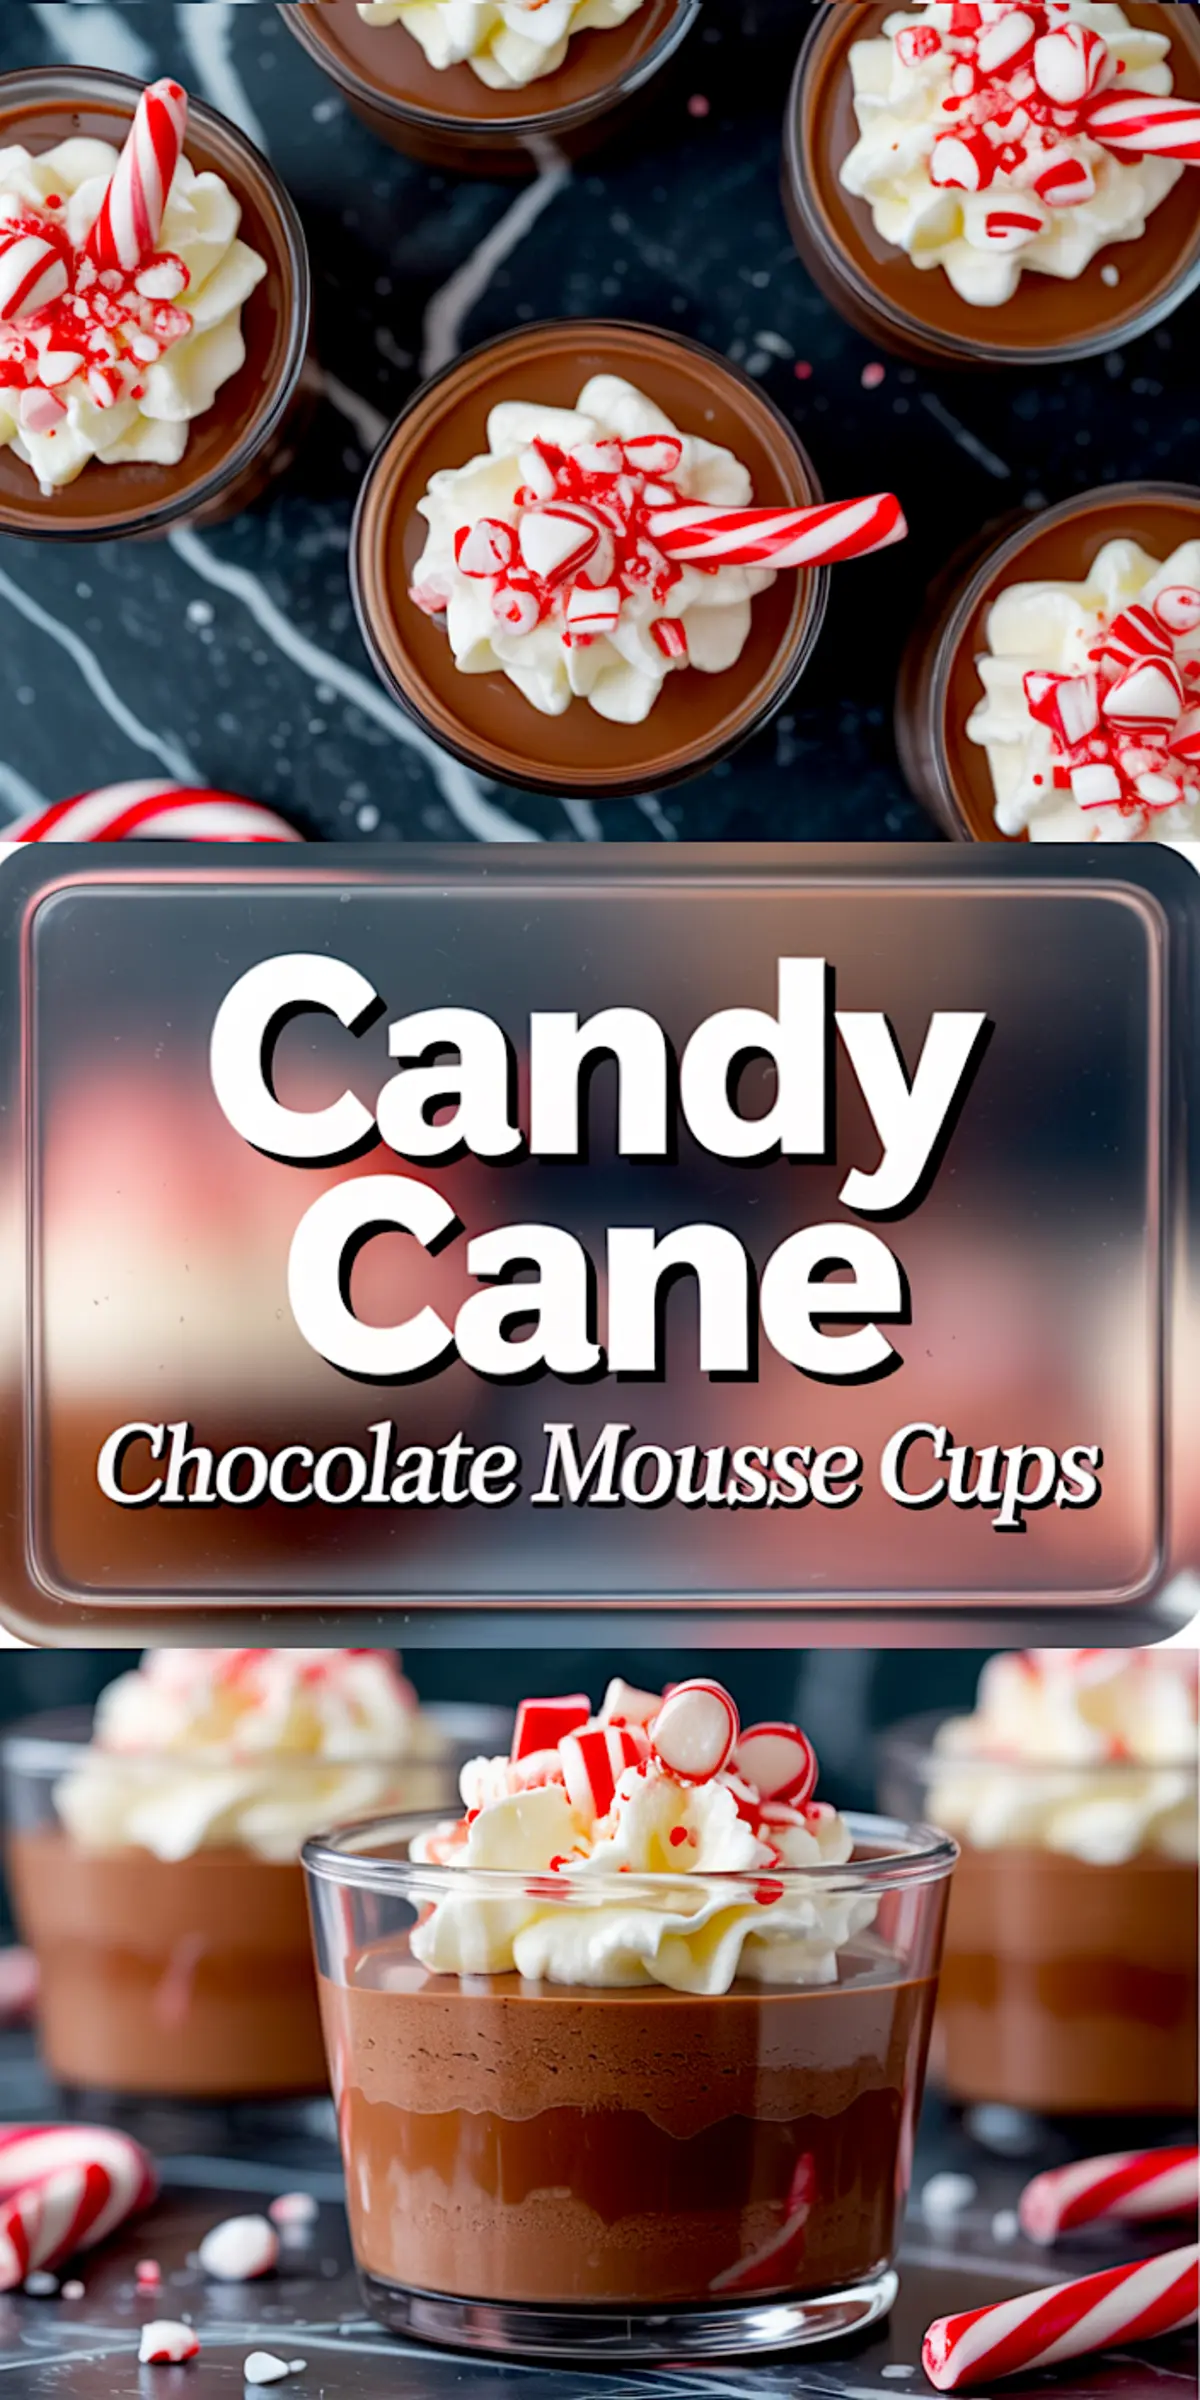
If these Candy Cane Chocolate Mousse Cups make it to your December table, I hope they earn their place again next year. They’re cool, rich, peppermint-topped, and quietly full of surprises.
If you try them, I’d love to know.
Leave a comment with how yours turned out. Did you add the ganache layer? Did the mini candy cane stand up? I’ll be here reading, replying, and probably snacking.
And don’t forget to save this on Pinterest so you can find it again when the next snowflake falls.
Candy Cane Chocolate Mousse Cups
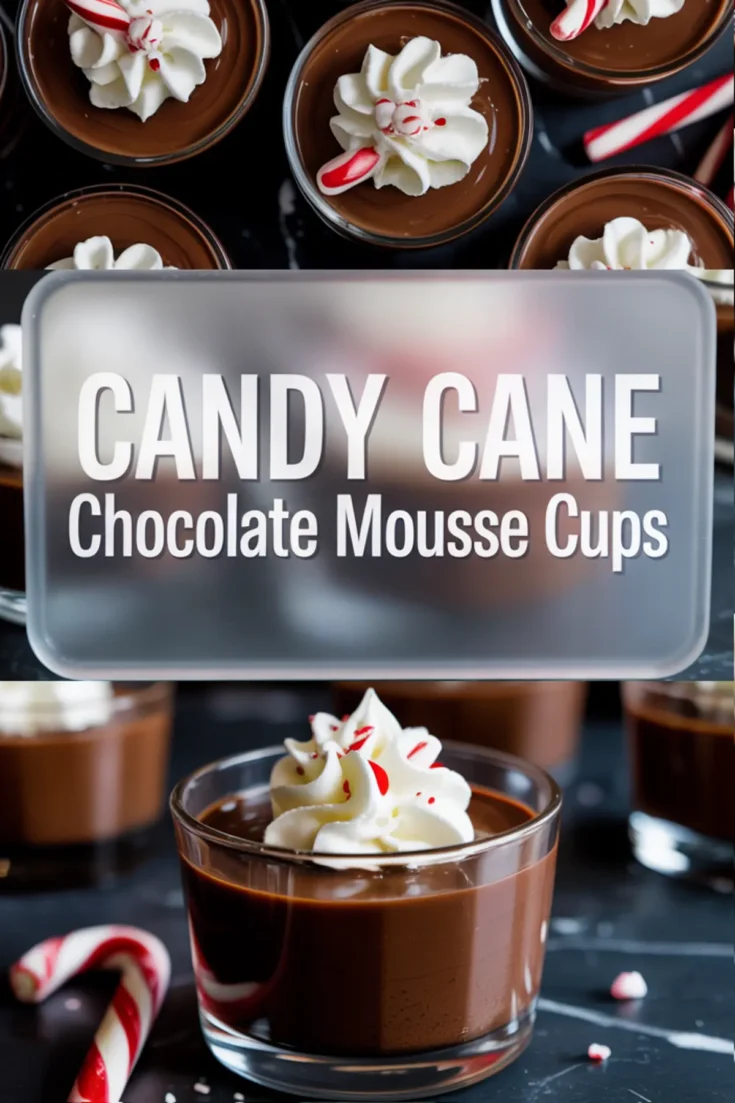
These festive chocolate mousse cups are a decadent and beautiful addition to your holiday table. With layers of silky chocolate mousse and a crushed candy cane topping, each serving feels like an indulgent gift. Perfect for Christmas food desserts and elegant gatherings, these Christmas mousse cups are served individually—ideal for parties or dessert trays. This peppermint dessert balances rich chocolate with a refreshing minty crunch, making it one of the best layered desserts to serve this season. If you’re looking for easy Xmas food ideas or want to impress with a stunning sweet course, these Christmas chocolate mousse cups are your go-to. Add it to your list of must-try mousse recipes for the holidays!
Ingredients
- FOR THE MOUSSE
- 6 oz semi-sweet or dark chocolate (60% cocoa or higher), chopped
- 3 large egg yolks
- 3 tablespoons granulated sugar
- 1 ¼ cups heavy whipping cream, cold
- ½ teaspoon vanilla extract
- Pinch of salt
- FOR THE TOPPING
- ½ cup heavy whipping cream, cold
- 2 tablespoons crushed candy canes
- 6 mini candy canes (whole, for garnish)
- OPTIONAL LAYERS
- ⅓ cup semi-sweet chocolate chips or chopped chocolate
- 2 tablespoons heavy cream
Instructions
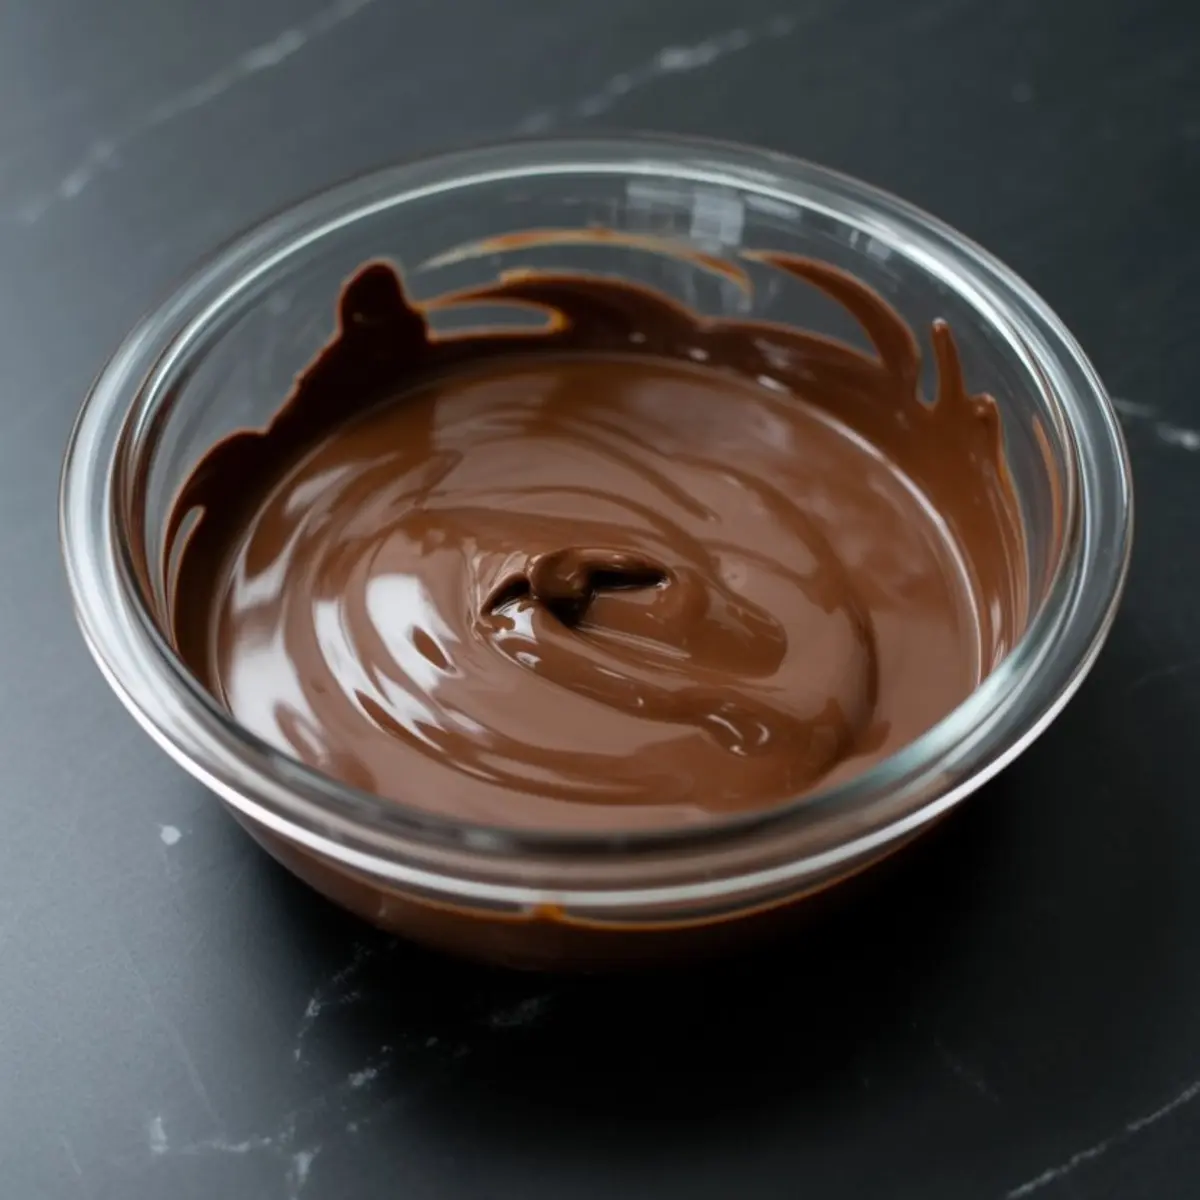
- MELT THE CHOCOLATE: Place chopped chocolate in a heatproof bowl over a pan of gently simmering water. Stir until fully melted and smooth. Remove from heat and allow to cool slightly.
- WHISK THE EGG YOLKS AND SUGAR: In a medium bowl, whisk egg yolks and granulated sugar vigorously until the mixture becomes pale, thick, and slightly increased in volume. This usually takes about 2–3 minutes.
- COMBINE WITH MELTED CHOCOLATE: Slowly stir the slightly cooled melted chocolate into the egg yolk mixture. Mix gradually to avoid scrambling the eggs. Stir until fully incorporated and smooth.
- WHIP THE CREAM: In a chilled bowl, beat 1 ¼ cups heavy cream with vanilla extract and a pinch of salt until stiff peaks form. Use a hand mixer or stand mixer for best results.
- FOLD THE CREAM INTO CHOCOLATE MIXTURE: Add one scoop of whipped cream to the chocolate mixture and stir to lighten it. Gently fold in the remaining whipped cream using a spatula, maintaining as much air as possible for a light mousse.
- OPTIONAL LAYERING – GANACHE BASE: If using ganache, melt ⅓ cup chocolate with 2 tablespoons cream until smooth. Spoon a small amount into the bottom of each serving glass. Chill for 10–15 minutes until set before adding mousse.
- ASSEMBLE THE MOUSSE CUPS: Spoon or pipe the mousse evenly into 6 small glasses or dessert cups. If desired, add a thin top layer of ganache (melted chocolate with a bit of cream) and chill again for 10–15 minutes.
- CHILL THE MOUSSE: Refrigerate the filled cups for at least 2 hours, or up to 4 hours, until fully set and cold. For best texture, prepare the mousse the night before serving.
- PREPARE THE WHIPPED CREAM TOPPING: Just before serving, whip ½ cup heavy cream until medium peaks form. Fold in 2 tablespoons of crushed candy canes.
- FINISH AND SERVE: Spoon or pipe the peppermint whipped cream on top of each mousse cup. Sprinkle with additional crushed candy canes and garnish with one whole mini candy cane per cup.
Notes
Use high-quality chocolate for best flavor. Make sure the chocolate is cool before adding to the egg yolks to prevent curdling. The ganache layer adds contrast but is optional. Dessert can be made one day in advance and topped just before serving.
Nutrition Information:
Yield:
6Serving Size:
1Amount Per Serving: Calories: 680Total Fat: 48gSaturated Fat: 28gTrans Fat: 1gUnsaturated Fat: 16gCholesterol: 257mgSodium: 108mgCarbohydrates: 57gFiber: 3gSugar: 45gProtein: 9g
