
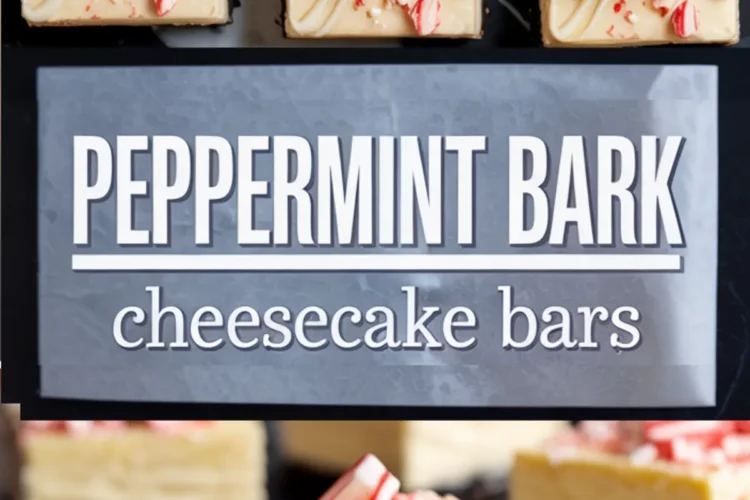
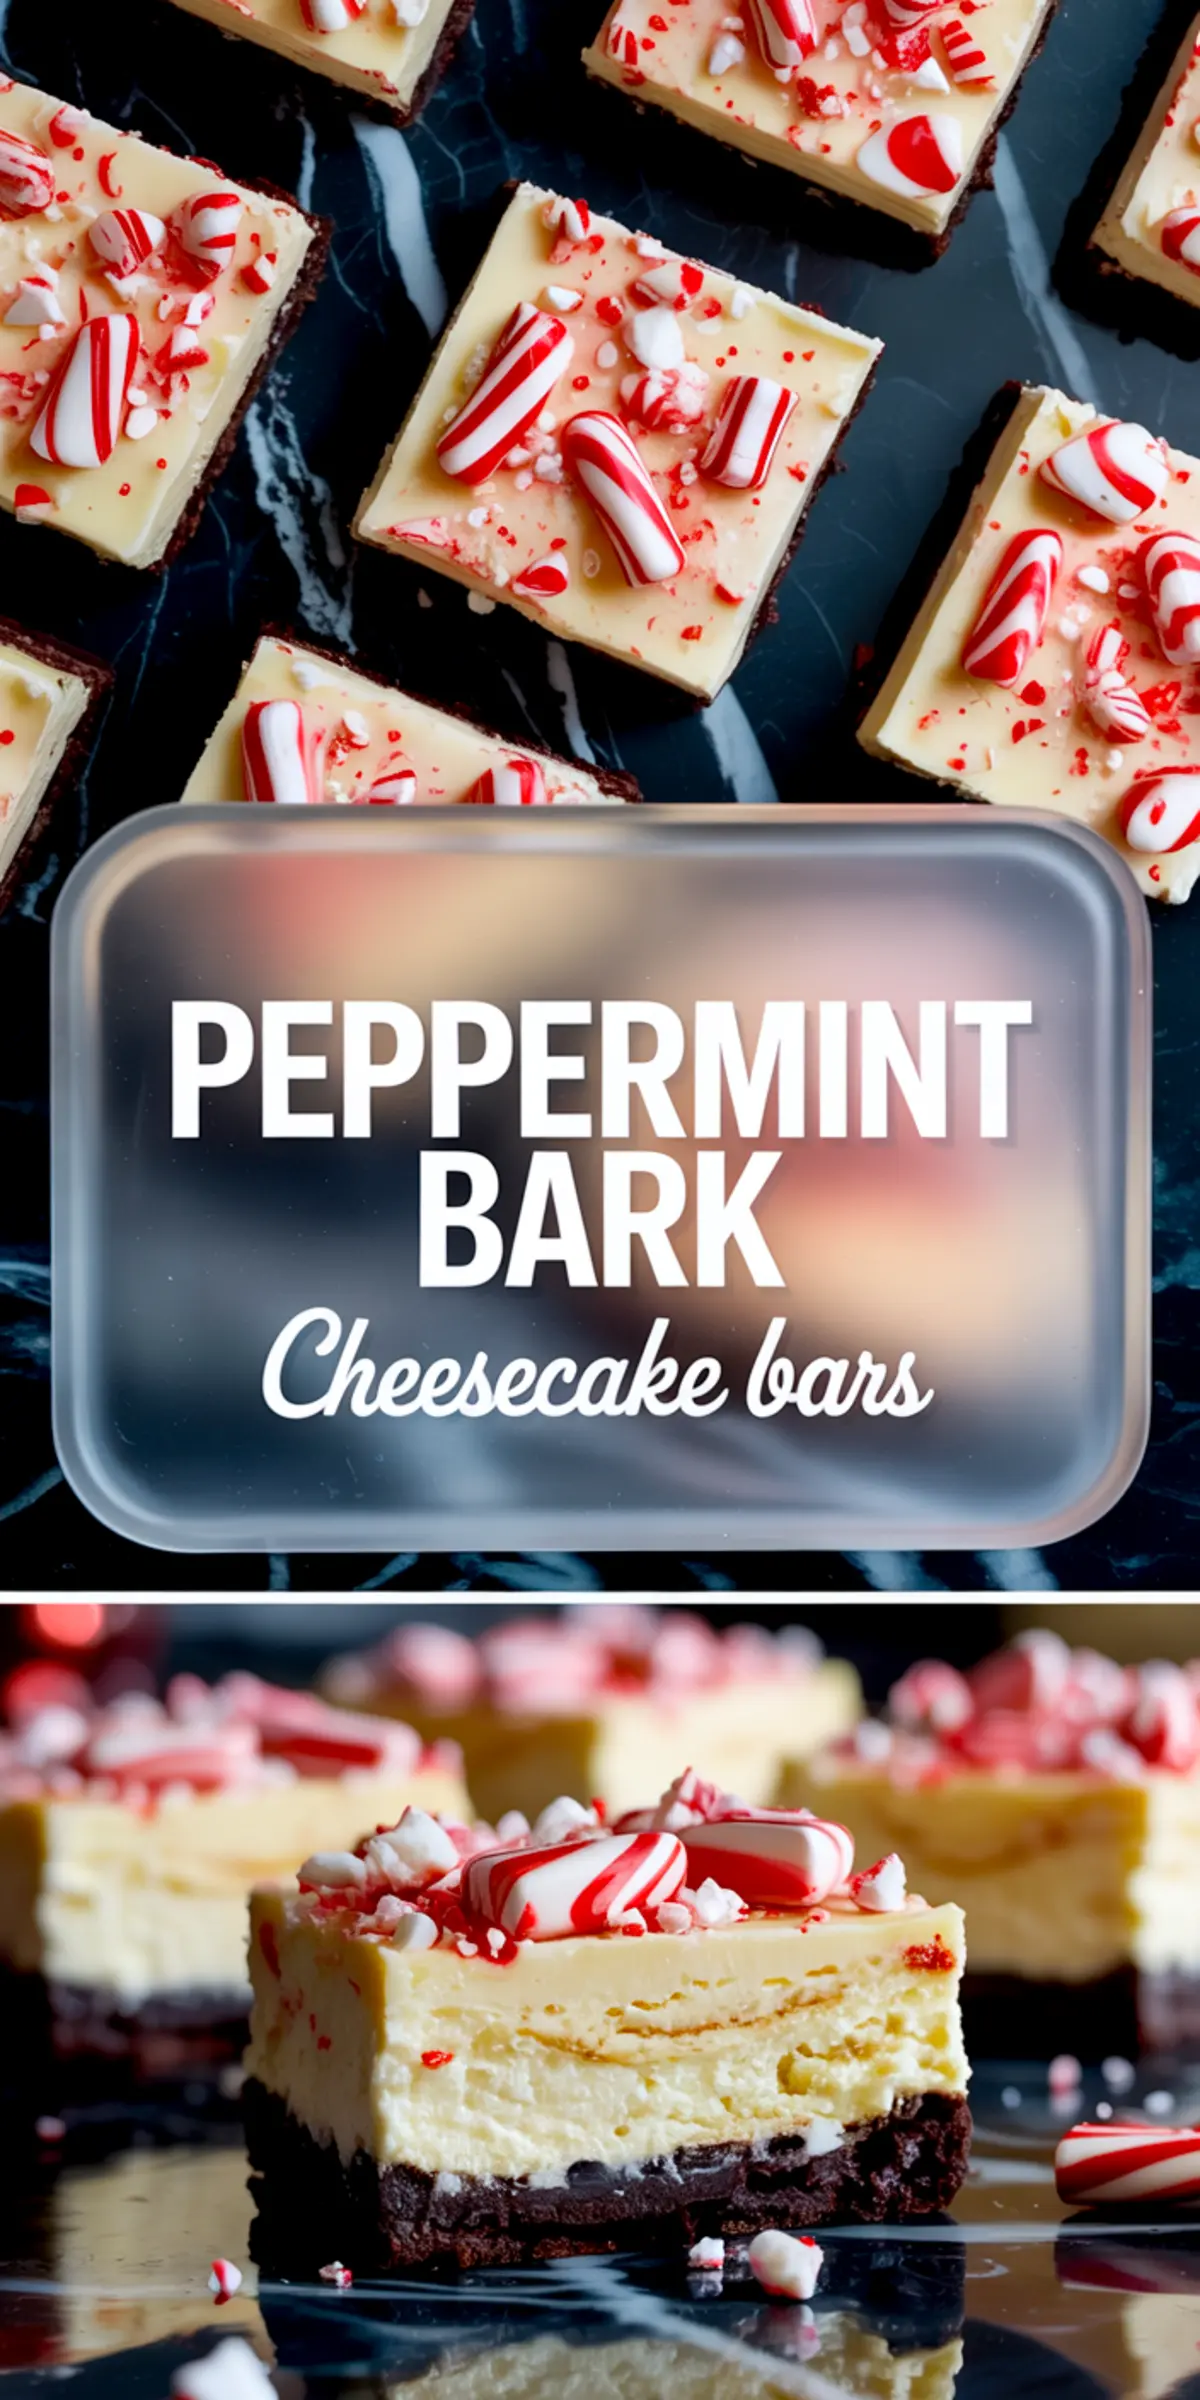
There’s something oddly satisfying about holding a cold cheesecake bar with one hand and brushing crushed peppermint crumbs off the other. These Peppermint Bark Cheesecake Bars deliver that satisfaction in every square.
You get a fudgy chocolate crust, a peppermint cheesecake center that’s creamy but not too dense, and a festive top layer that snaps like peppermint bark. The textures stack. The flavors balance. And unlike some Christmas cheesecake bars that lean cloyingly sweet, this one knows when to stop.
This post will walk you through each layer with calm, practiced steps. You’ll learn how the crust keeps its bite, why the filling stays smooth, and what sets the topping apart. The secret lies in a small trick I saved for last. We’ll get there.
But first, let’s talk about what makes these peppermint cheesecake bars different from the rest. There’s a grounded logic behind each ingredient, and each one earns its place.
The Crust That Holds Without Crumbling
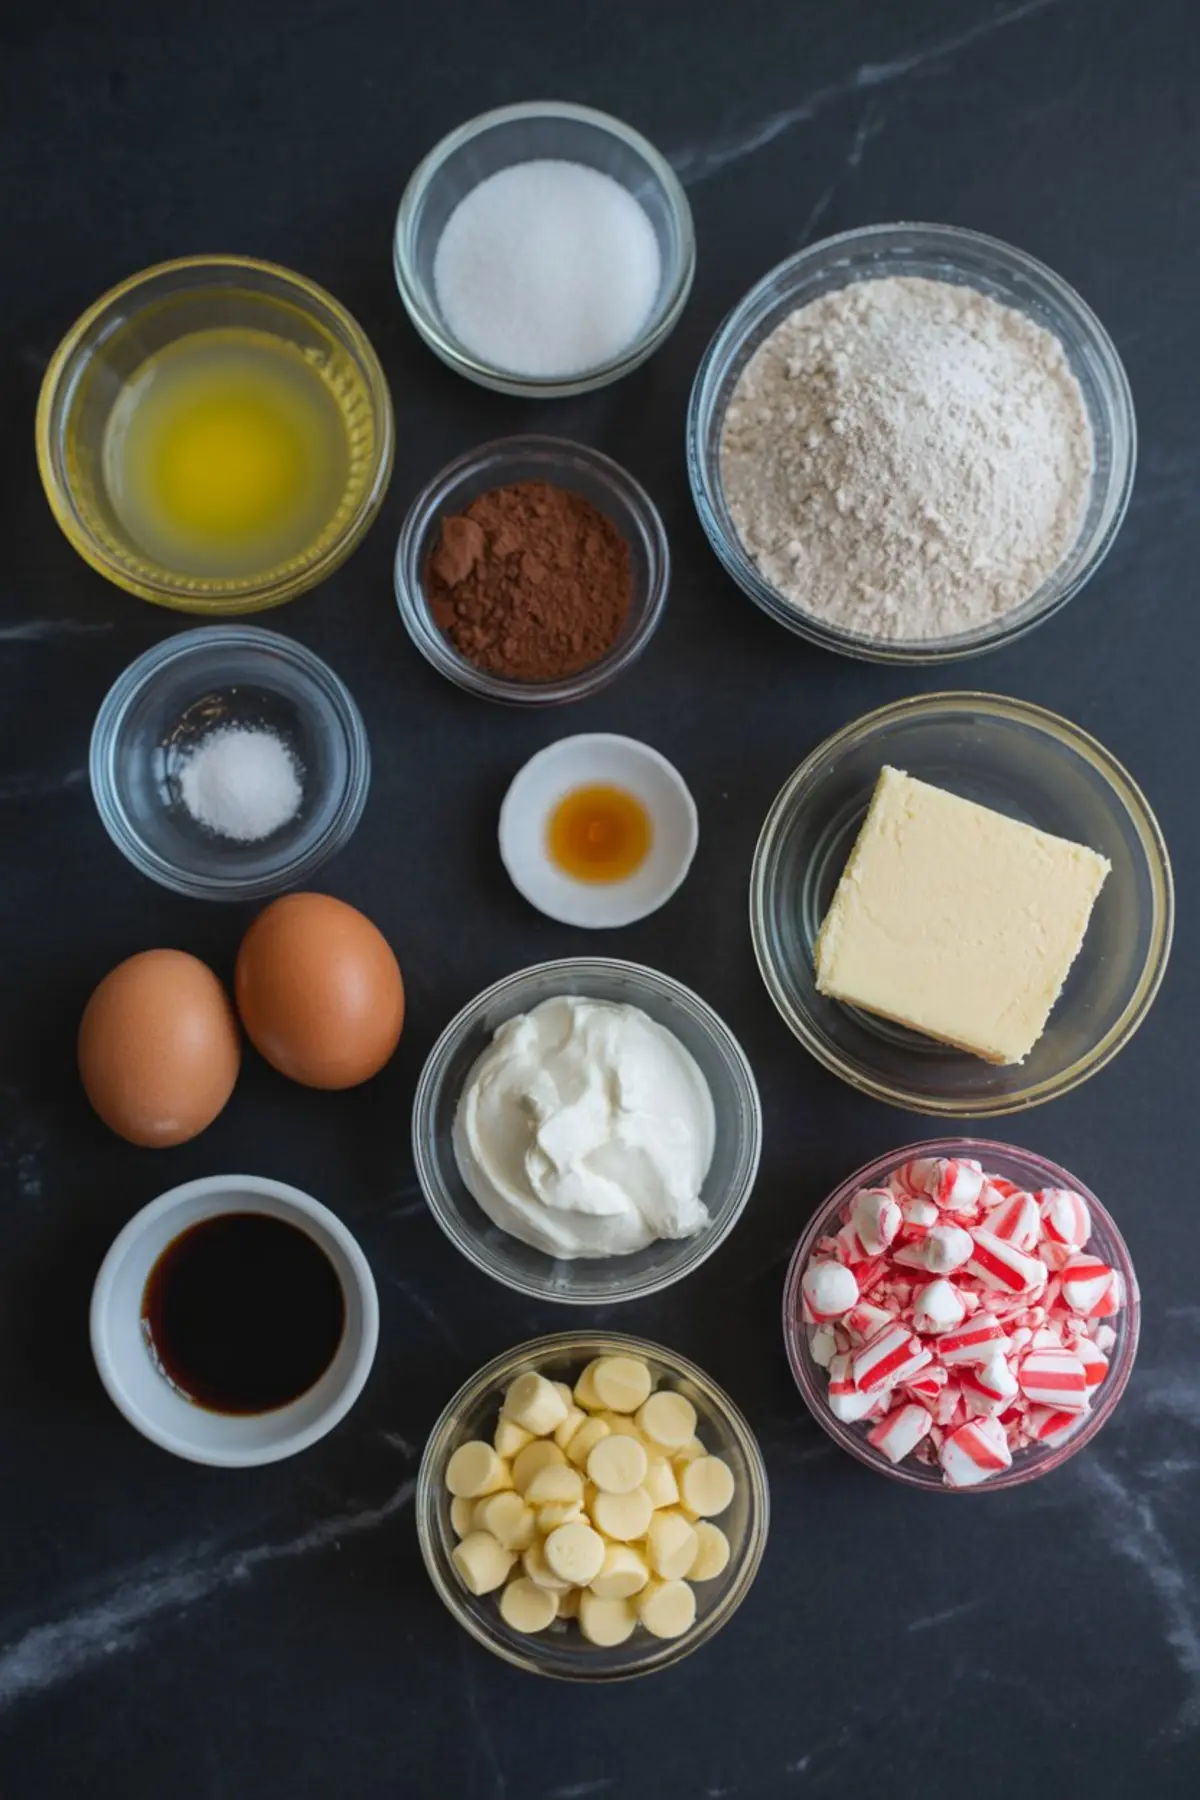
I used a cocoa powder crust instead of the usual cookie base. Here’s why.
Chocolate cookie crumbs are easy, sure. But they can go soft or greasy under a baked filling. I’ve tested both approaches in recipes like my Red Velvet Cheesecake Cookies, and the scratch crust always delivers more structure and flavor.
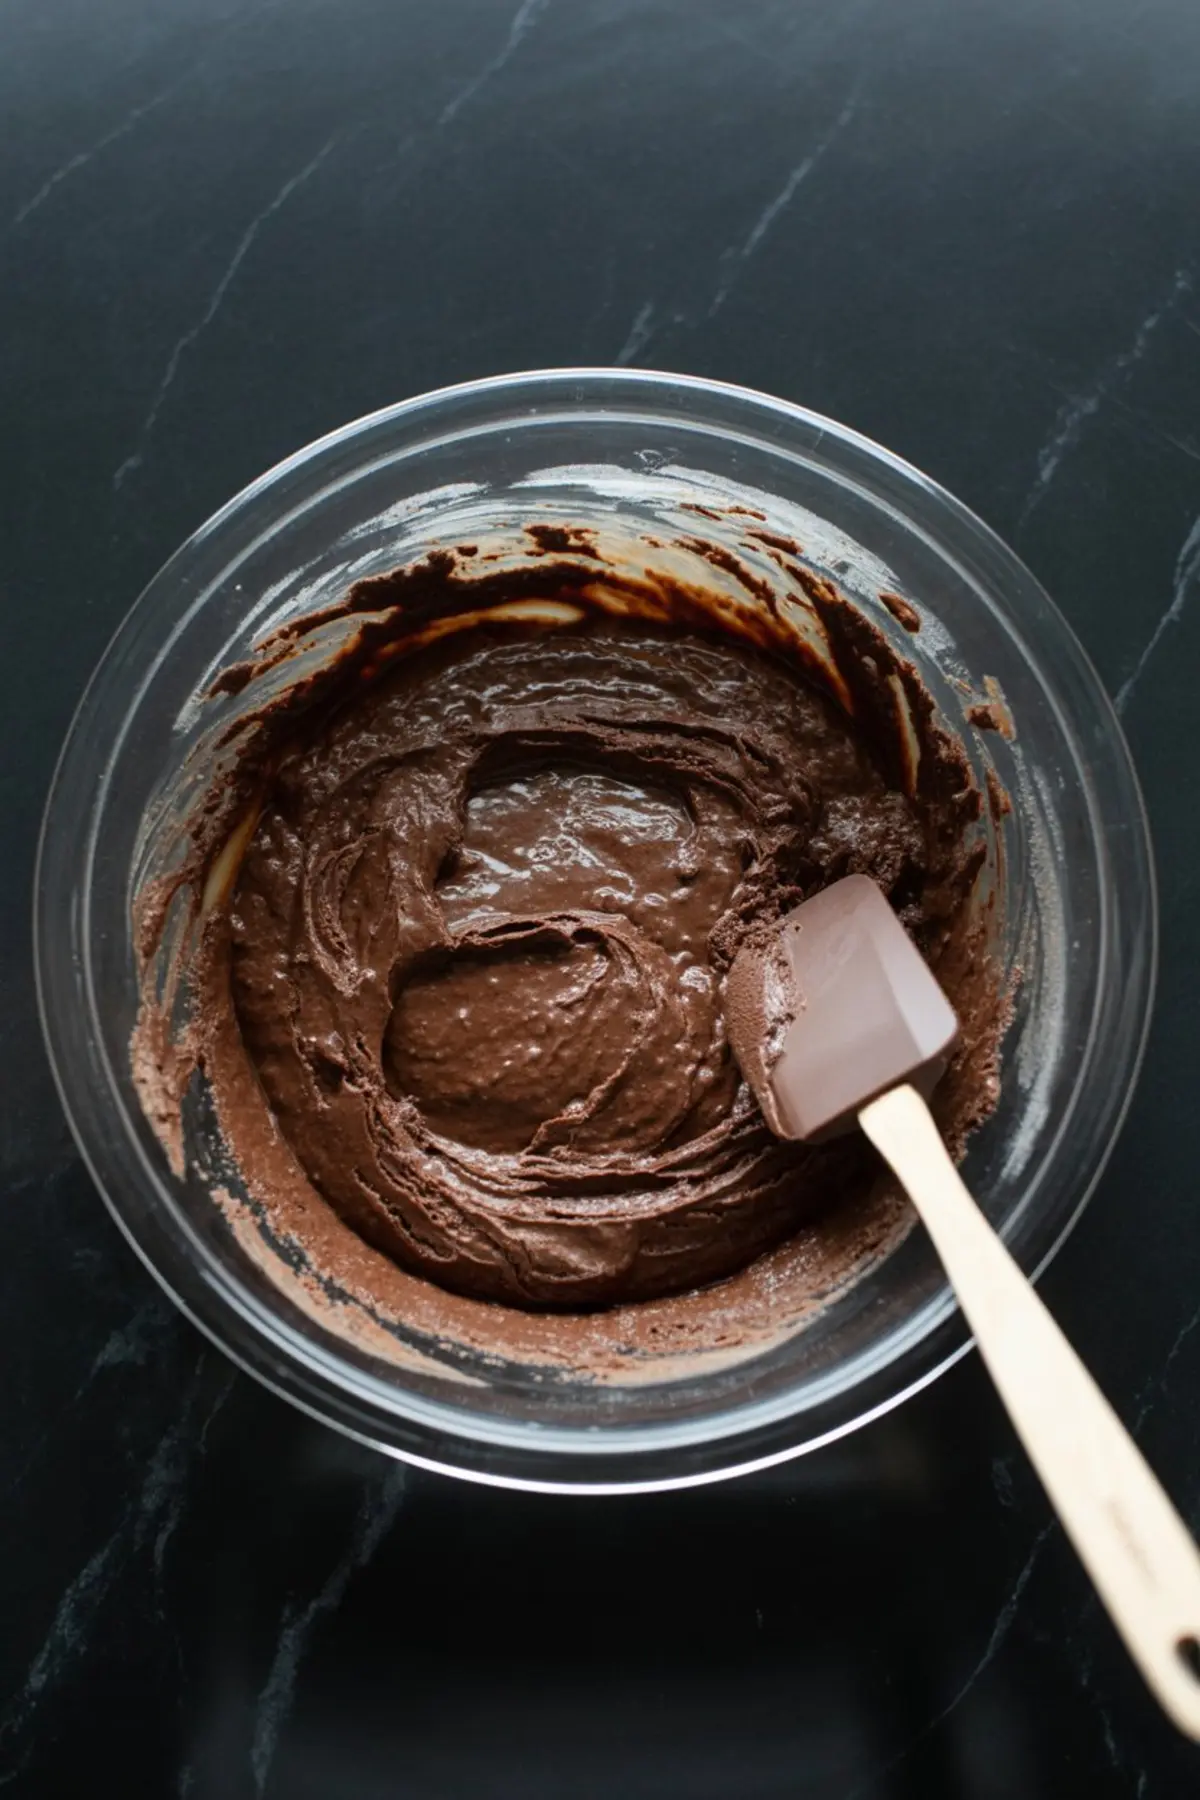
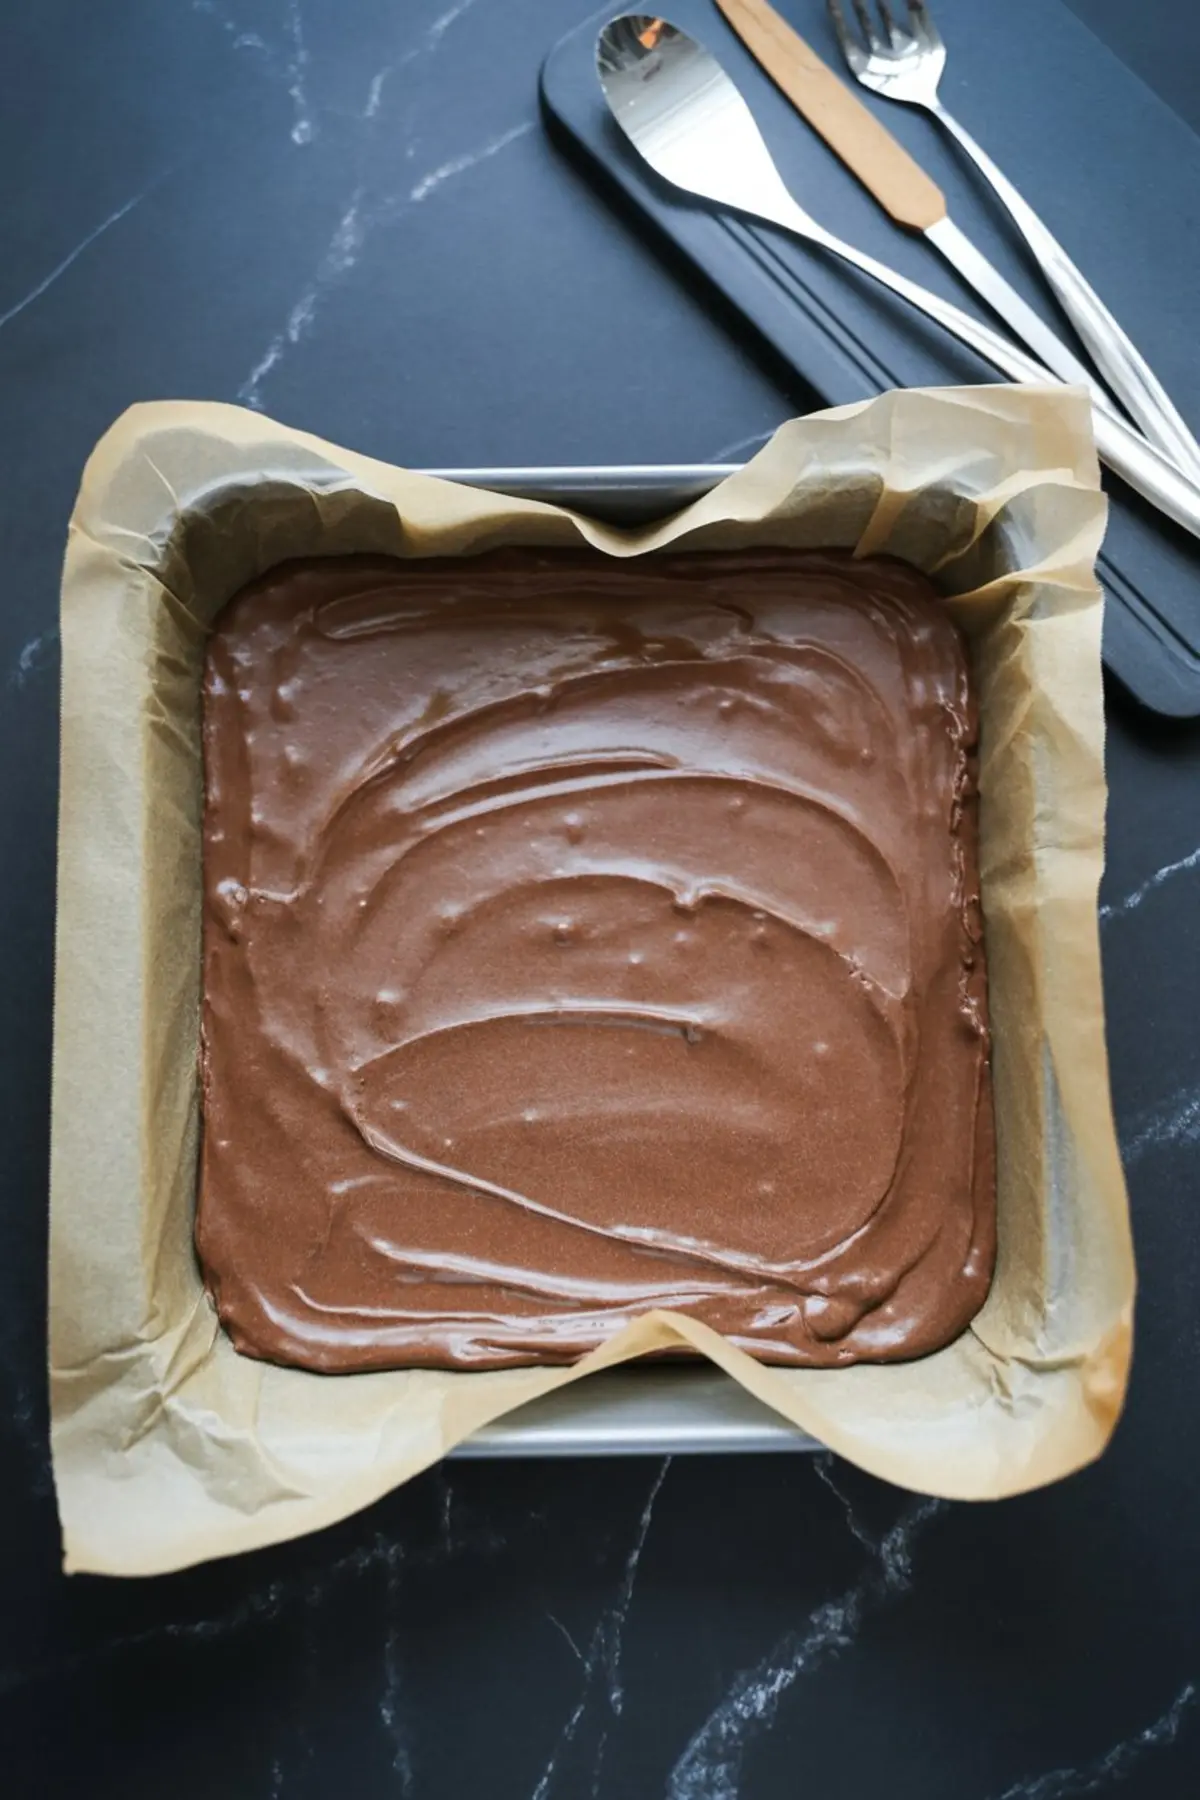
In this one, melted butter and sugar bond with Dutch cocoa to create a dough-like base. The egg adds elasticity, and the flour holds it together during baking. After 15 minutes in the oven, it turns into a soft brownie bottom—thick enough to hold the cheesecake, thin enough to slice cleanly.
Why Full-Fat Cream Cheese Matters
Cream cheese is the backbone of any cheesecake bar. But not all cream cheese is equal.
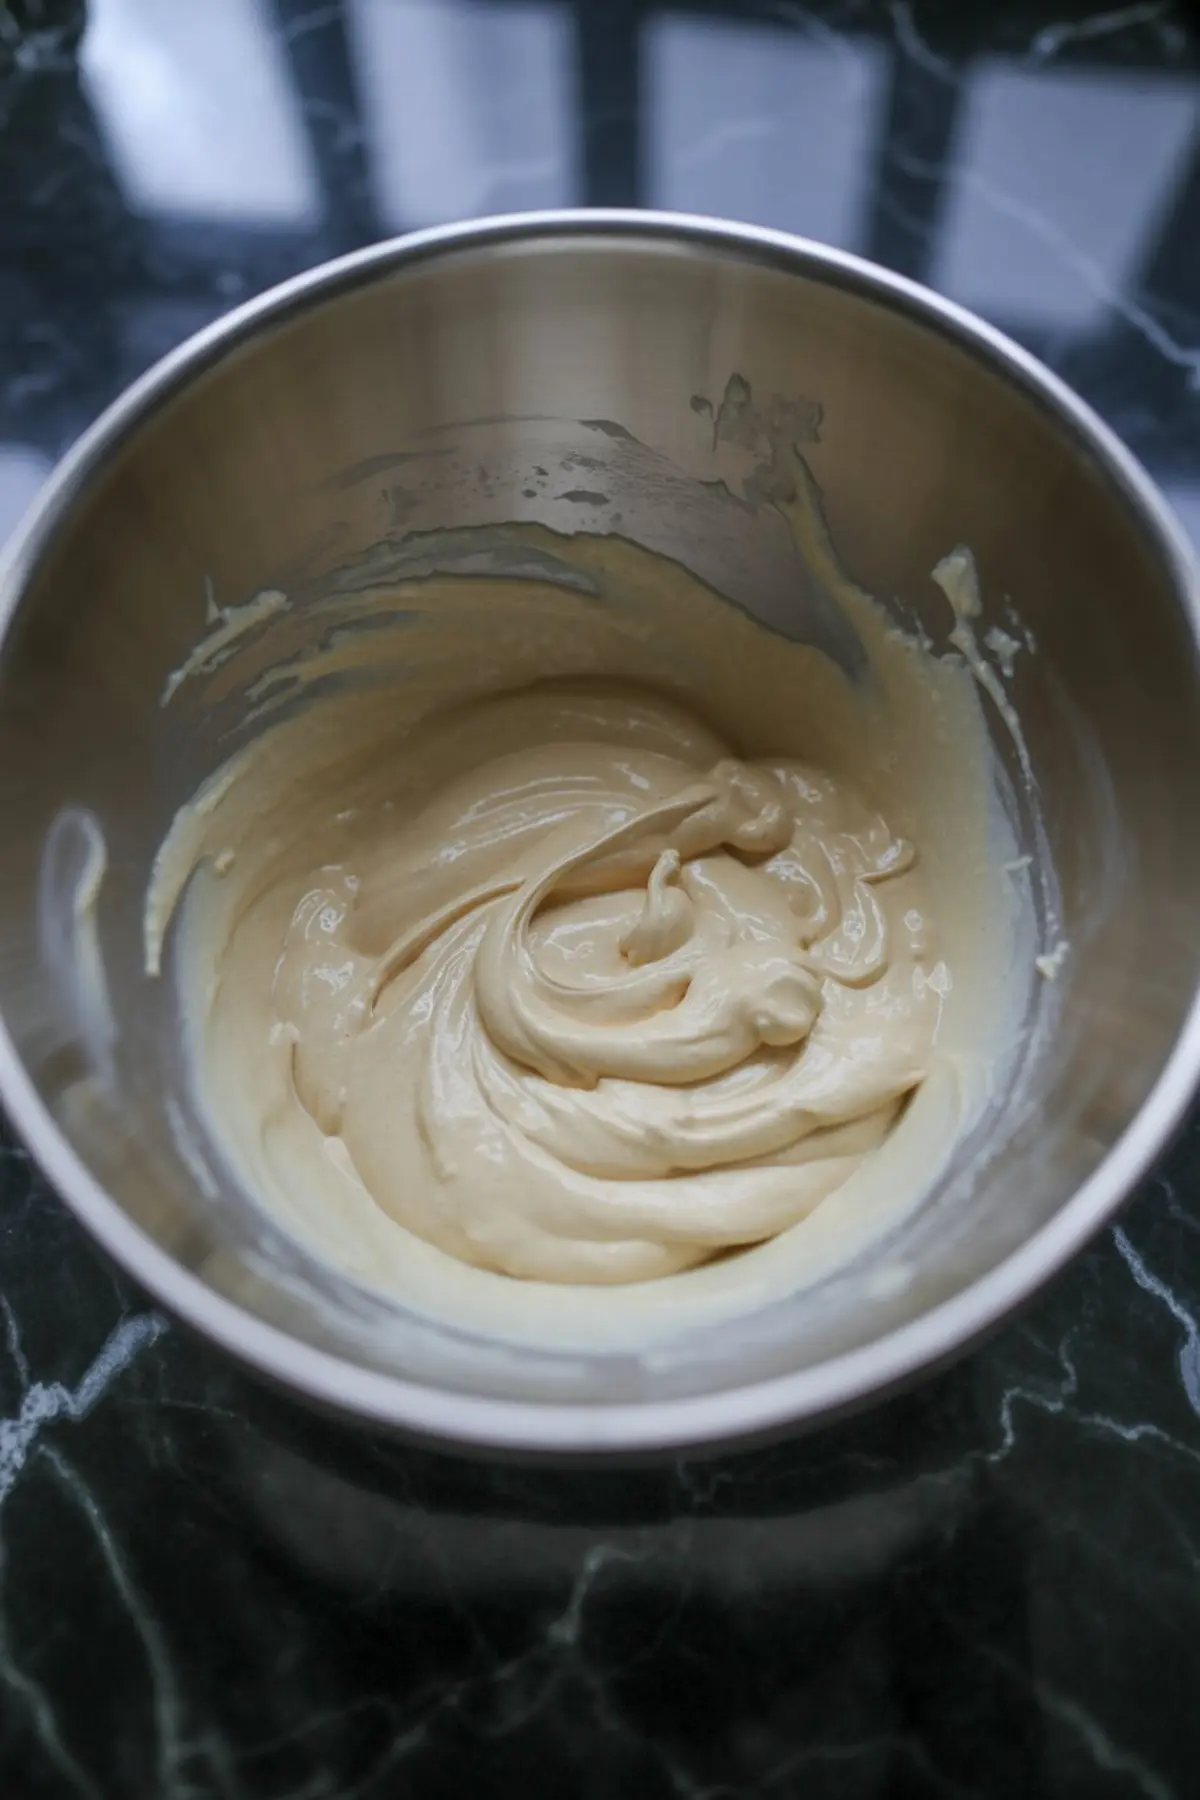
I only use full-fat blocks, never the whipped or spreadable kinds. Low-fat versions introduce water, which dilutes the filling and leads to soft-set centers. I learned this the hard way when I once tried to make a “lighter” version. It didn’t slice. It didn’t chill evenly. It didn’t hold up on a party platter.
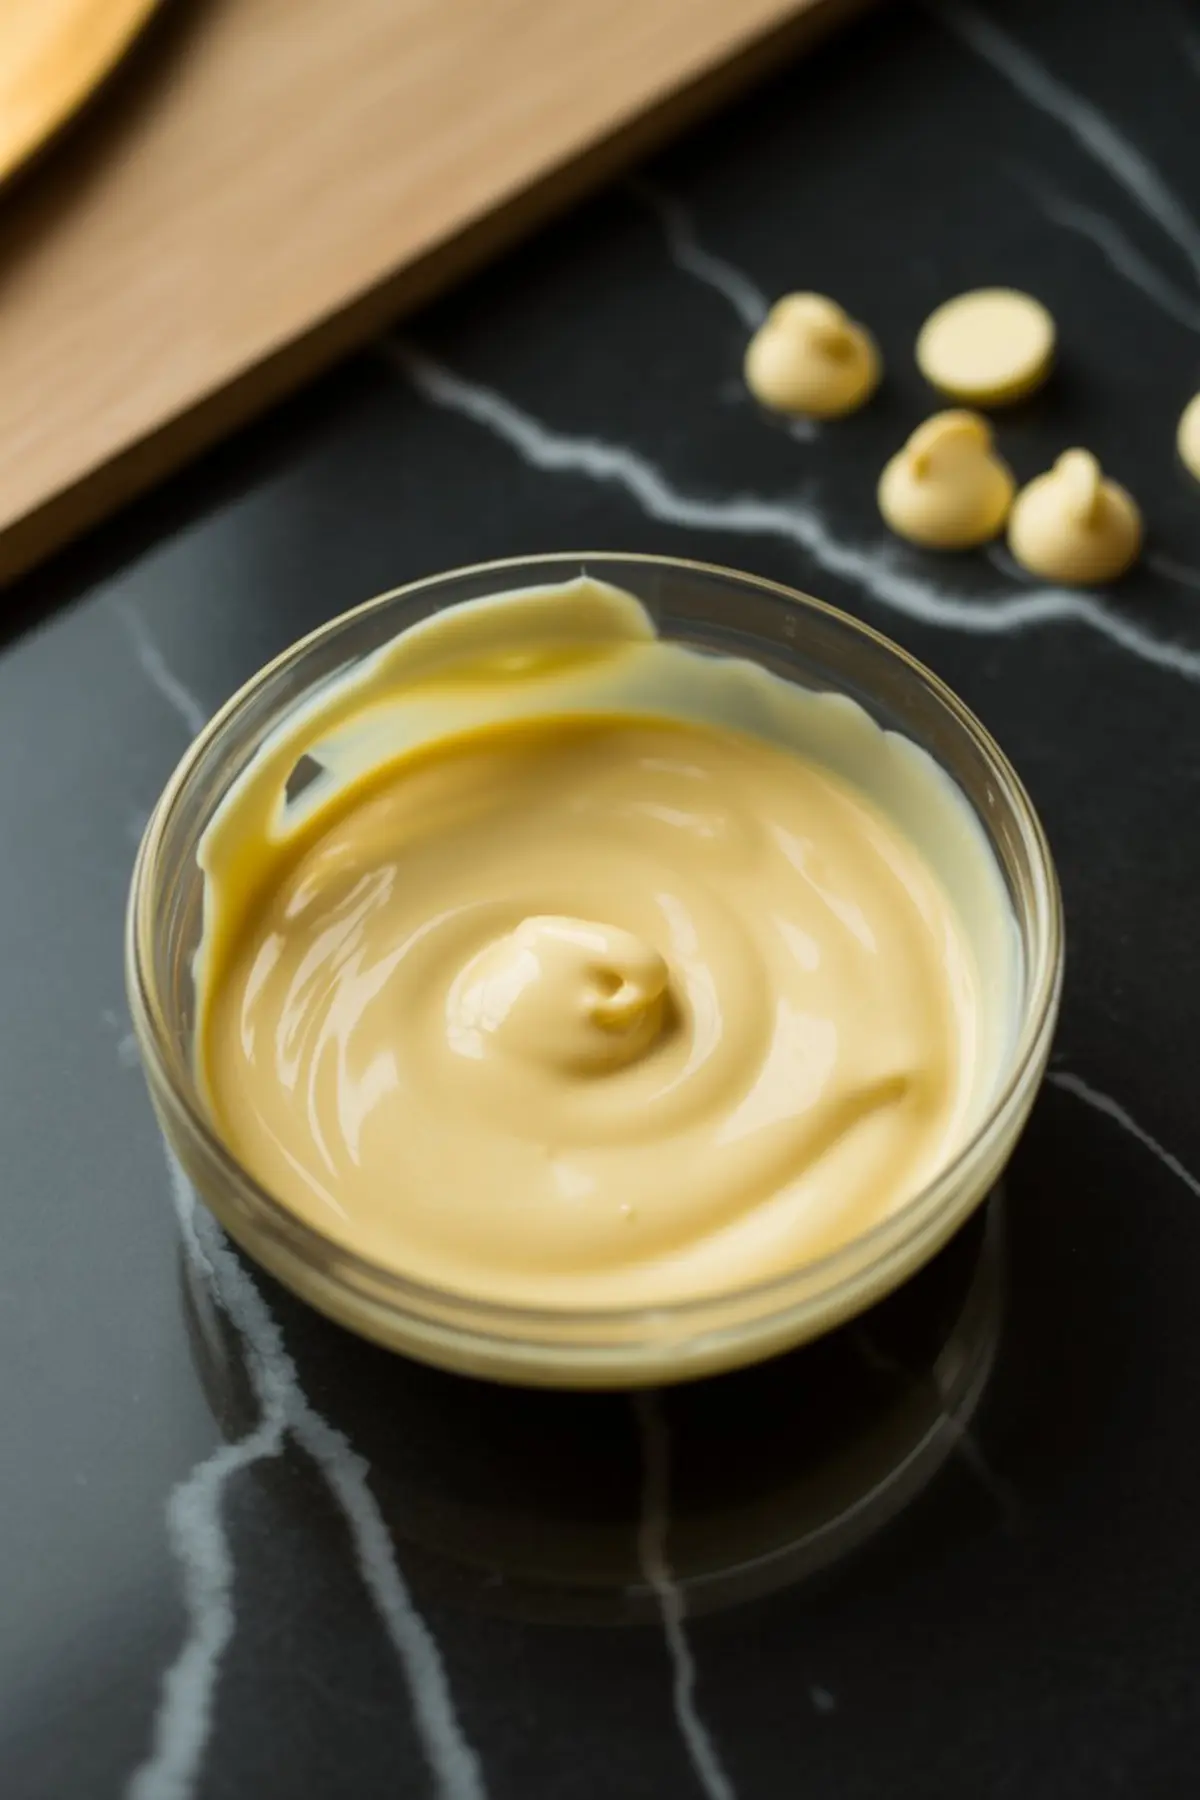
The filling here uses just the essentials: cream cheese, sugar, sour cream, vanilla, and peppermint extract. The sour cream gives it tang. The sugar keeps the edges from cracking. The extract brings that unmistakable peppermint brightness without overpowering the chocolate.
A Quick Note on Peppermint Extract
This part matters more than people think.
Peppermint extract can go from fresh to toothpaste in seconds if you use too much. I found that half a teaspoon does the job without overwhelming the base. In my notes, I’ve written “1 teaspoon = candy cane bomb” next to this recipe, and that still holds true.
I’ve made versions with mint extract, too, and they come out greener and less sharp. If you’re after that crisp, clear peppermint bark flavor, stick with pure peppermint.
You’ll taste the difference.
Filling and Baking with Gentle Hands
Once the crust is baked and cooling, you’ll want to mix the filling with care.
Cheesecake doesn’t like air. It bubbles, it cracks, it puffs too much if overbeaten. So I always blend until just combined. First the cream cheese. Then sugar. Then the sour cream and flavorings. Finally, the eggs—one at a time, and only until they disappear into the batter.
Pour the filling over the cooled crust and give it a few light taps. I usually hold the pan a couple inches above the counter and let it fall once. That settles the batter and brings any hidden bubbles to the surface.
It bakes for just under 40 minutes. The center should wobble slightly, like gelatin. The edges should feel firm. It finishes cooking as it cools.
A Cheesecake Topping That Snaps Like Candy
This is the part that usually catches people off guard.
Most peppermint cheesecake bars stop at the filling. I don’t. Once chilled, I top mine with melted white chocolate and crushed peppermint candy. The thin bark layer adds crunch and color. But here’s the part I’ve never seen anyone else do: I drizzle melted red candy melts over the white chocolate in clean, thin lines.
It gives the bars a striped holiday finish that reminds me of candy canes in motion.
And it’s that drizzle—just a tablespoon or two—that turns these from cheesecake bars into peppermint bark cheesecake bars. The red adds contrast. The stripes make it feel designed, even though it takes less than a minute to do.
It’s a small detail. But it always draws compliments.
One Key Comparison: Dutch Cocoa vs. Melted Chocolate
I’ve tested this crust both ways.
Melted chocolate adds richness, yes, but also makes the crust dense and sometimes sticky once chilled. Dutch-processed cocoa, on the other hand, provides bold flavor without changing texture.
It creates a dry mix that bakes up like soft cake, not like a brownie slab. I prefer it here because it keeps the bar clean-cut when slicing. It’s also easier to mix—no need for a double boiler or extra bowl.
If you’re tempted to use melted chocolate, save it for something else. These bars do better with cocoa.
Other Holiday Cheesecakes You’ll Love
I make these alongside Eggnog Cheesecake Bars when I want variety on the dessert table. The eggnog version is softer and warmer in flavor. These peppermint ones feel brighter, colder, and sharper.
I also love layering these next to something light like the Gingerbread Cheesecake Parfait for contrast in shape and texture.
If you’re hosting, offering one in cups and the other in bars gives your table a thoughtful look without more work.
The Small Detail That Changes Everything
Remember the hint I dropped at the start?
The final touch that elevates these bars isn’t the drizzle or the candy. It’s the cooling time.
Letting the bars rest in the fridge overnight transforms them. I used to chill for just four hours, and while that works, the texture sets cleaner and creamier after 12. The chocolate bark layer firms up better, the peppermint candies stay crisp, and the slices hold their shape.
So if you can wait, chill overnight. It’s the kind of patience that rewards you.
Pin This Peppermint Christmas Dessert and Join the Conversation
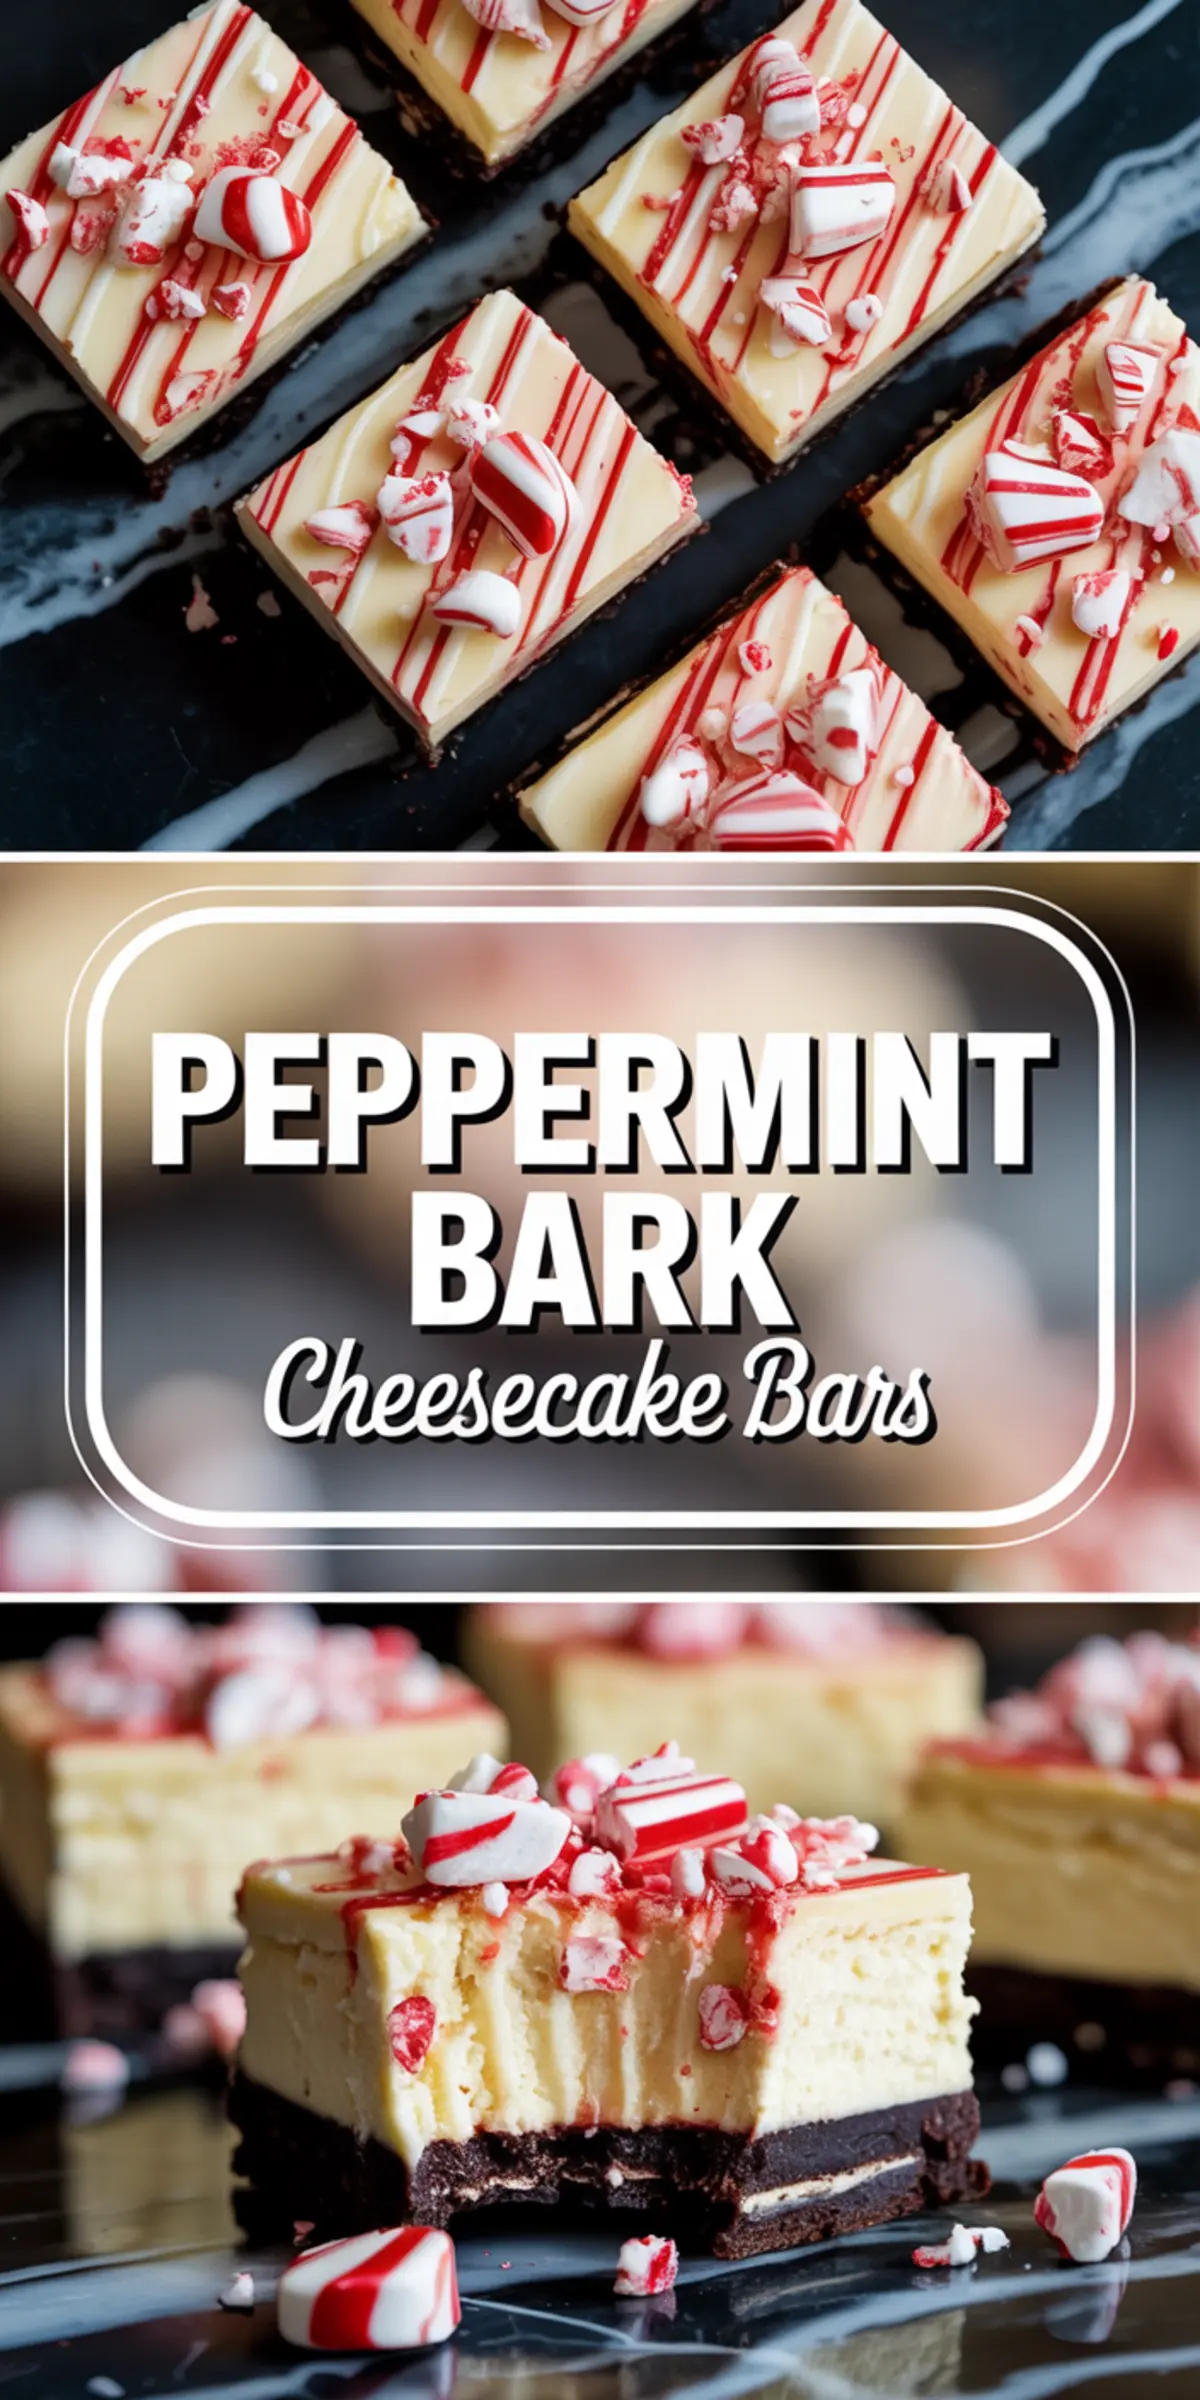
If these Peppermint Bark Cheesecake Bars made your holiday table brighter, I’d love to know.
Save this recipe to your Christmas desserts board for later so it’s ready when peppermint season rolls around. And if you try it, share in the comments.
What did you love? What did you tweak? I always learn from your kitchen just as much as you learn from mine.
Peppermint Bark Cheesecake Bars
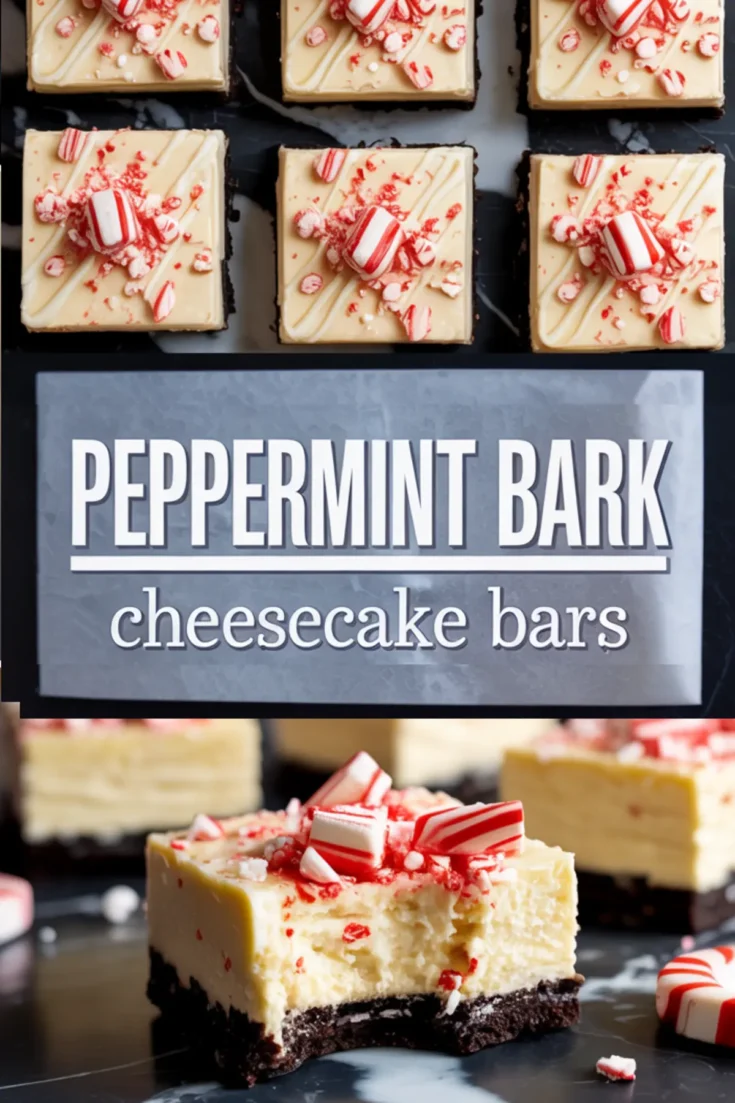
These creamy Peppermint Bark Cheesecake Bars are the ultimate holiday cheesecake treat! With a chocolate cookie crust, silky peppermint cheesecake filling, and a layer of rich peppermint bark on top, every bite delivers festive flavor and crunch. Perfect for gifting, parties, or casual baking days, these peppermint cheesecake bars are an easy crowd-pleaser. Crushed candy cane topping and a smooth chocolate drizzle make them both beautiful and delicious. If you’re planning peppermint Christmas desserts this season or need a new go-to Christmas cheesecake recipe, these bars are a must. Add them to your favorite cheesecake bars collection for the holidays!
Ingredients
- FOR THE CRUST
- 8 tablespoons (113g) unsalted butter, melted
- 3/4 cup (150g) granulated sugar
- 1/2 cup (42g) Dutch-processed unsweetened cocoa powder
- 1/4 teaspoon fine sea salt
- 1/2 cup (63g) all-purpose flour
- 1 large egg
- FOR THE CHEESECAKE FILLING
- 16 ounces (454g) full-fat cream cheese, at room temperature
- 2/3 cup (134g) granulated sugar
- 1/3 cup (80g) sour cream, at room temperature
- 1 teaspoon vanilla extract
- 1/2 teaspoon peppermint extract
- 2 large eggs
- FOR THE TOPPING
- 6 ounces (170g) white chocolate, finely chopped
- 1/3 cup (30g) crushed peppermint candies
- 1–2 tablespoons red candy melts or white chocolate tinted with red gel food coloring
Instructions
- PREHEAT THE OVEN: Set your oven to 325°F (163°C). Line a 9x9-inch square baking pan with parchment paper, leaving a slight overhang on all sides to make the bars easier to lift out once chilled.
- MAKE THE CRUST: In a medium bowl, combine the melted butter, granulated sugar, cocoa powder, and salt. Stir until the mixture resembles dark, damp sand. Add the egg and mix until fully incorporated. Fold in the flour until a thick batter forms. Press the mixture evenly into the bottom of the prepared pan.
- BAKE THE CRUST: Bake for 15 minutes, or until the crust appears set and slightly puffed. Remove from the oven and let it cool at room temperature while preparing the filling.
- PREPARE THE CHEESECAKE FILLING: In a large bowl, beat the cream cheese until completely smooth, with no visible lumps. Add the granulated sugar and continue beating until well combined. Mix in the sour cream, vanilla extract, and peppermint extract until fully blended. Add the eggs one at a time, mixing gently after each addition just until incorporated to avoid incorporating too much air.
- ASSEMBLE AND BAKE: Pour the cheesecake batter over the cooled crust and spread evenly with a spatula. Bake for 35 to 40 minutes, or until the edges are set and the center has a slight jiggle when the pan is gently shaken.
- COOL AND CHILL: Remove the bars from the oven and cool at room temperature for 1 hour. Transfer to the refrigerator and chill for at least 4 hours, or overnight, until fully set.
- ADD THE TOPPING: Once chilled, melt the white chocolate gently using a double boiler or in short bursts in the microwave, stirring until smooth. Pour the melted chocolate over the top of the cheesecake layer and spread into a thin, even layer using an offset spatula.
- SPRINKLE AND DRIZZLE: Immediately sprinkle the crushed peppermint candies over the melted white chocolate. Melt the red candy melts or tinted white chocolate and drizzle over the top in thin lines to create a festive striped effect. Allow the topping to set completely before slicing.
- SLICE AND SERVE: Lift the bars from the pan using the parchment overhang. Use a sharp knife to cut into 16 squares, wiping the blade clean between each cut for neat edges.
Notes
For best texture, use full-fat cream cheese and avoid low-fat substitutes. Be sure to cool and chill the bars completely before topping and slicing. Store bars in the refrigerator in an airtight container for up to 5 days.
Nutrition Information:
Yield:
16Serving Size:
1Amount Per Serving: Calories: 422Total Fat: 25gSaturated Fat: 14gTrans Fat: 0gUnsaturated Fat: 8gCholesterol: 89mgSodium: 191mgCarbohydrates: 46gFiber: 1gSugar: 37gProtein: 5g
