

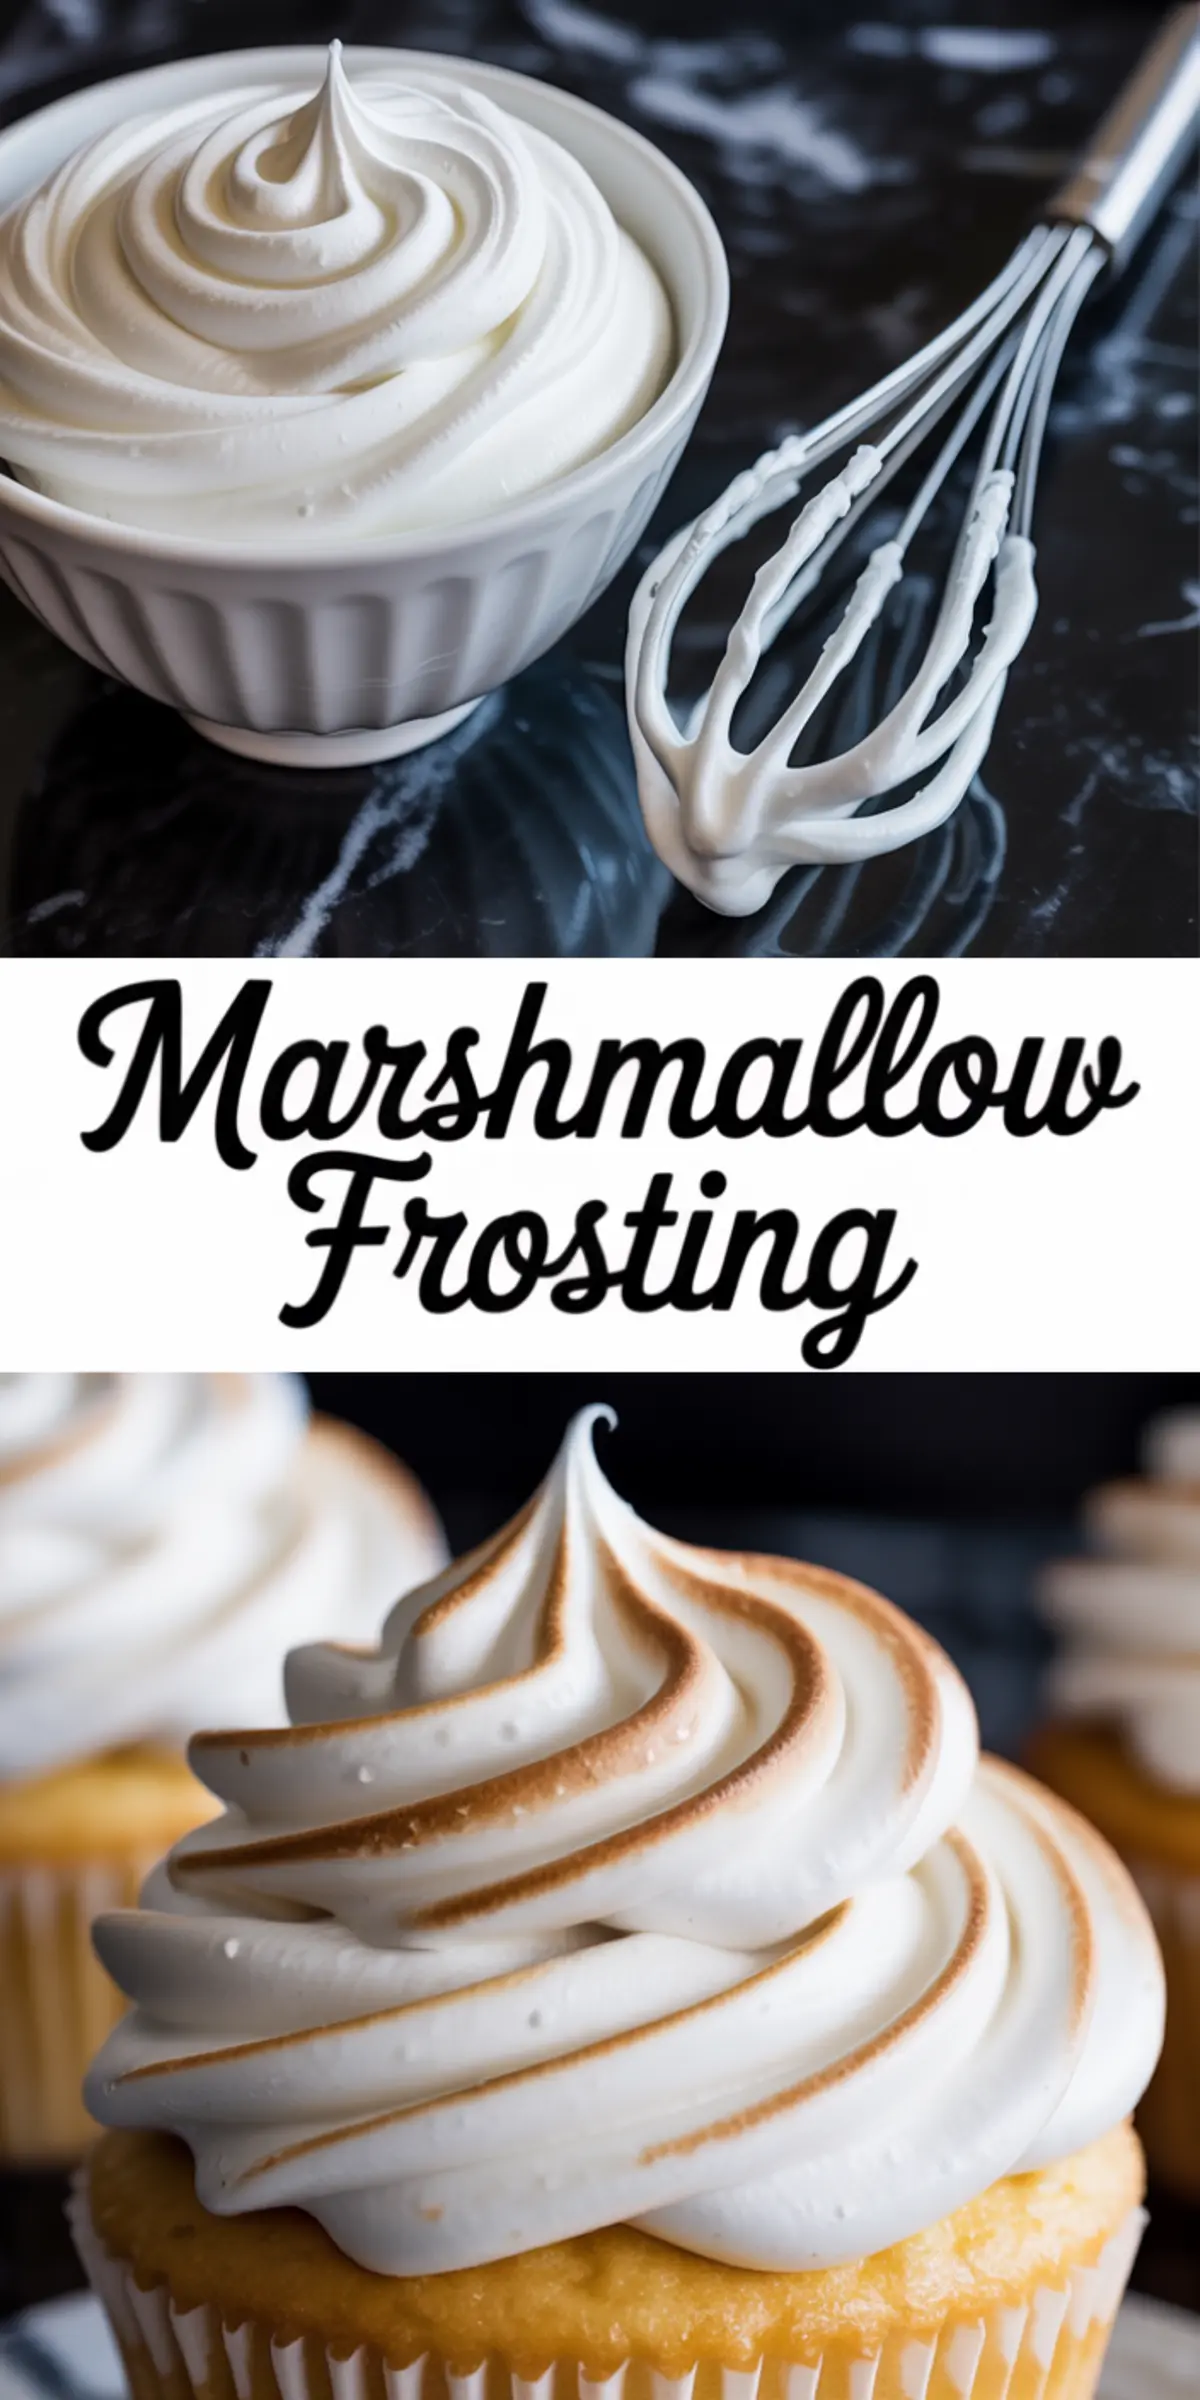
This marshmallow frosting recipe makes a light, glossy, and pipeable topping that spreads like silk and toasts like a dream. You’ll learn how to make it from scratch, why each ingredient matters, and how to get that cloud-like structure that doesn’t collapse.
It holds its shape beautifully and complements cakes, cookies, and brownies without weighing them down. It gives you the look of a bakery-style finish, but without butter or powdered sugar as the base.
The method uses a hot sugar syrup whisked into foamy egg whites, creating strength and volume. That’s what gives this frosting its signature shine and texture.
There’s one ingredient here that gets overlooked but makes the recipe work. I’ll come back to it after the steps, because it’s worth saving for last.
Let’s start where things usually go sideways for people: the egg whites.
Why Room Temperature Egg Whites Matter for Fluff Frosting
Egg whites whip up bigger and more stable at room temperature. Cold whites trap less air, and that’s a problem in a frosting built on volume.
I’ve tried both. Once, I was impatient and used them straight from the fridge. The result was flat and loose, no matter how long I mixed.
After that, I started leaving the eggs out while I prepped the rest. A full 30 minutes makes a difference in colder months.
And don’t forget. Those whites are the frame that holds the sugar syrup in place and gives this frosting its height.
On denser cakes, I still love a soft Buttercream Frosting but this fluff version floats higher.
What Cream of Tartar Really Does in This Recipe
Cream of tartar isn’t here for flavor. It’s a stabilizer.
Just a quarter teaspoon strengthens the egg whites as they whip. It helps them keep their form when the hot syrup hits.
Skip it, and your frosting risks weeping or falling flat. Use it, and everything stays structured and glossy.
I keep it in a labeled jar just for frostings like this. I never measure with guesswork anymore.
In my notes, there’s a double underline: “Don’t skip cream of tartar.”
This little helper does more than people realize. It’s quiet but powerful.
If you like that whipped finish, another option is 7 Minute Frosting, which uses a similar base.
How to Handle the Sugar Syrup Without Stress
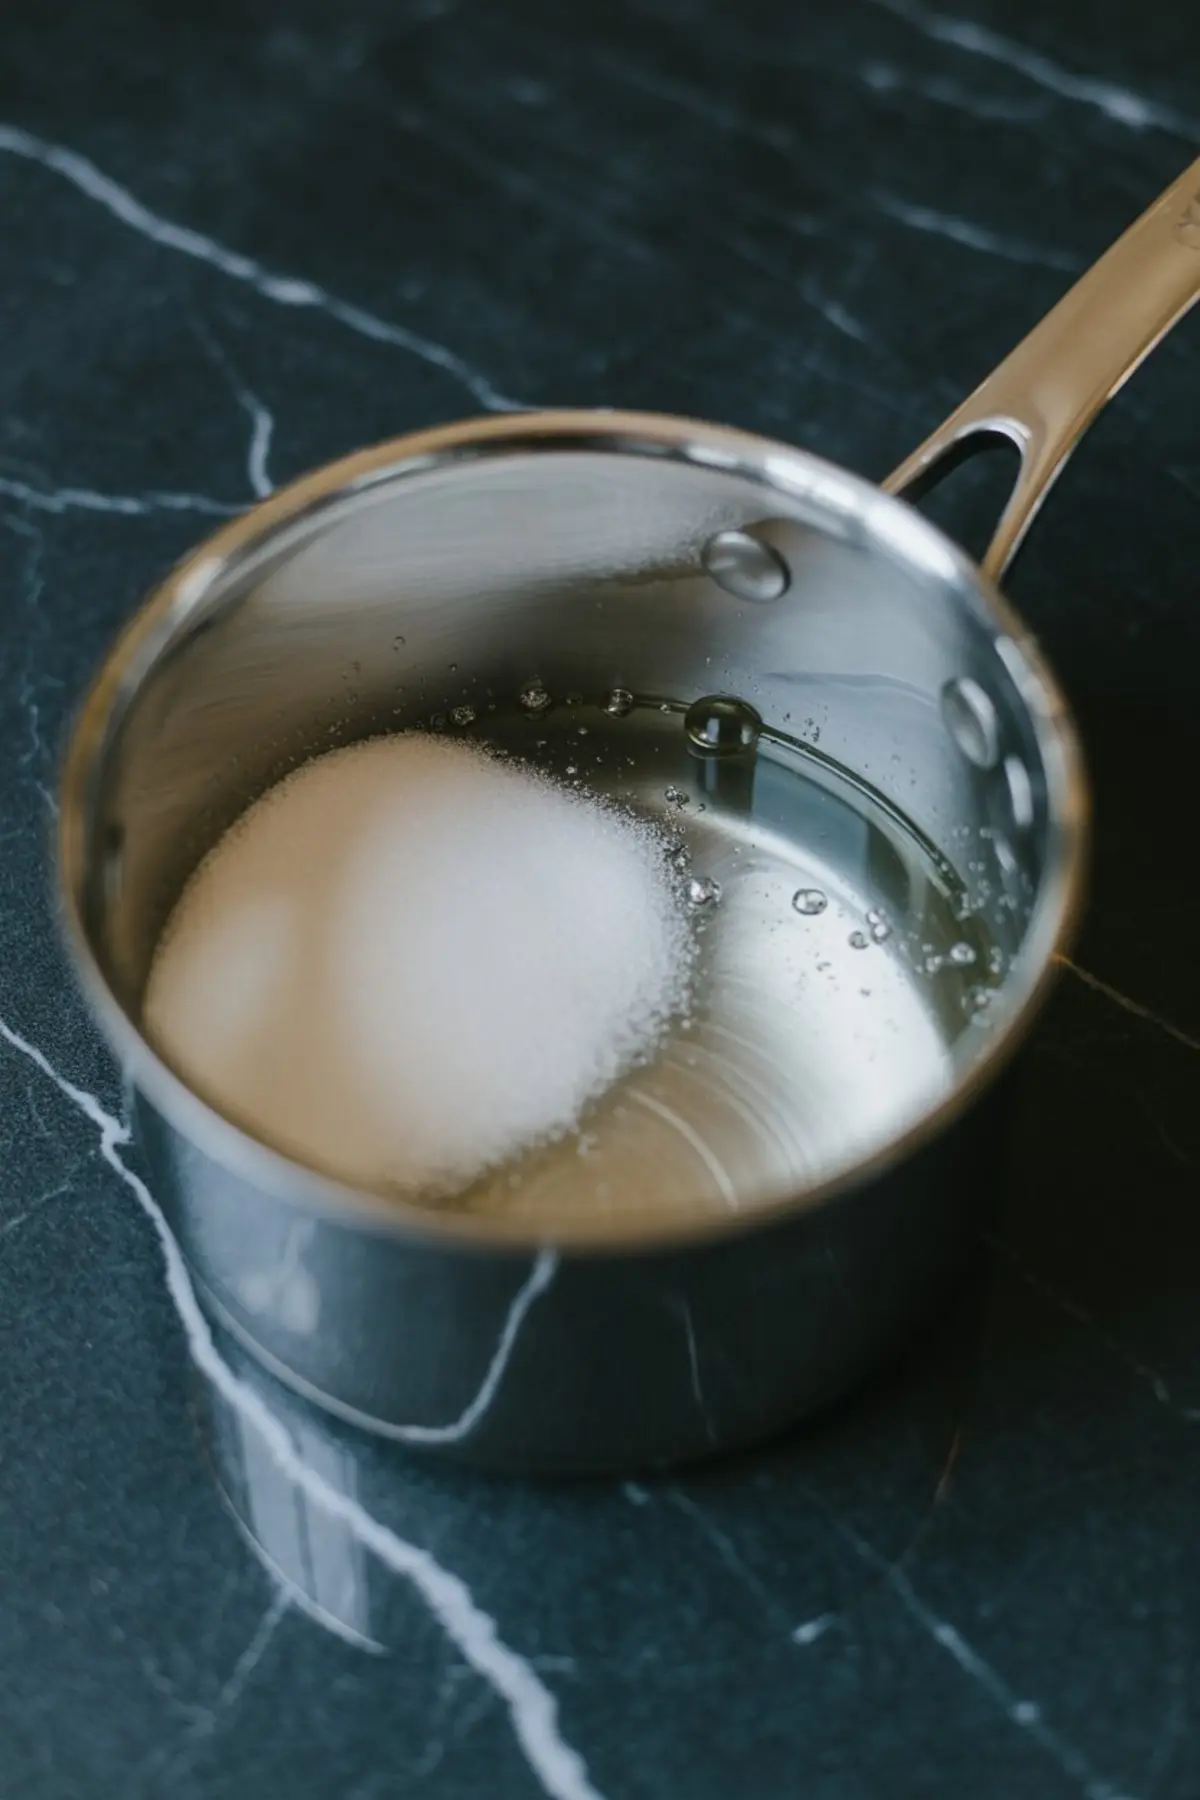
This part needs attention. Sugar and water melt together in a saucepan until they reach 240°F.
At this soft-ball stage, the syrup can bind with egg whites without turning gritty or hardening on contact.
If you pull it early at 230°F, the result won’t hold. If you wait until 250°F, the syrup starts to darken and throws off the taste.
I made that mistake once while multitasking. The whole batch smelled burnt and felt sticky.
Now I keep my candy thermometer clipped on and don’t stir once the sugar dissolves.
The key is heat consistency and no distractions. Just watch it rise and trust the thermometer.
Why Pouring Technique Changes the Texture
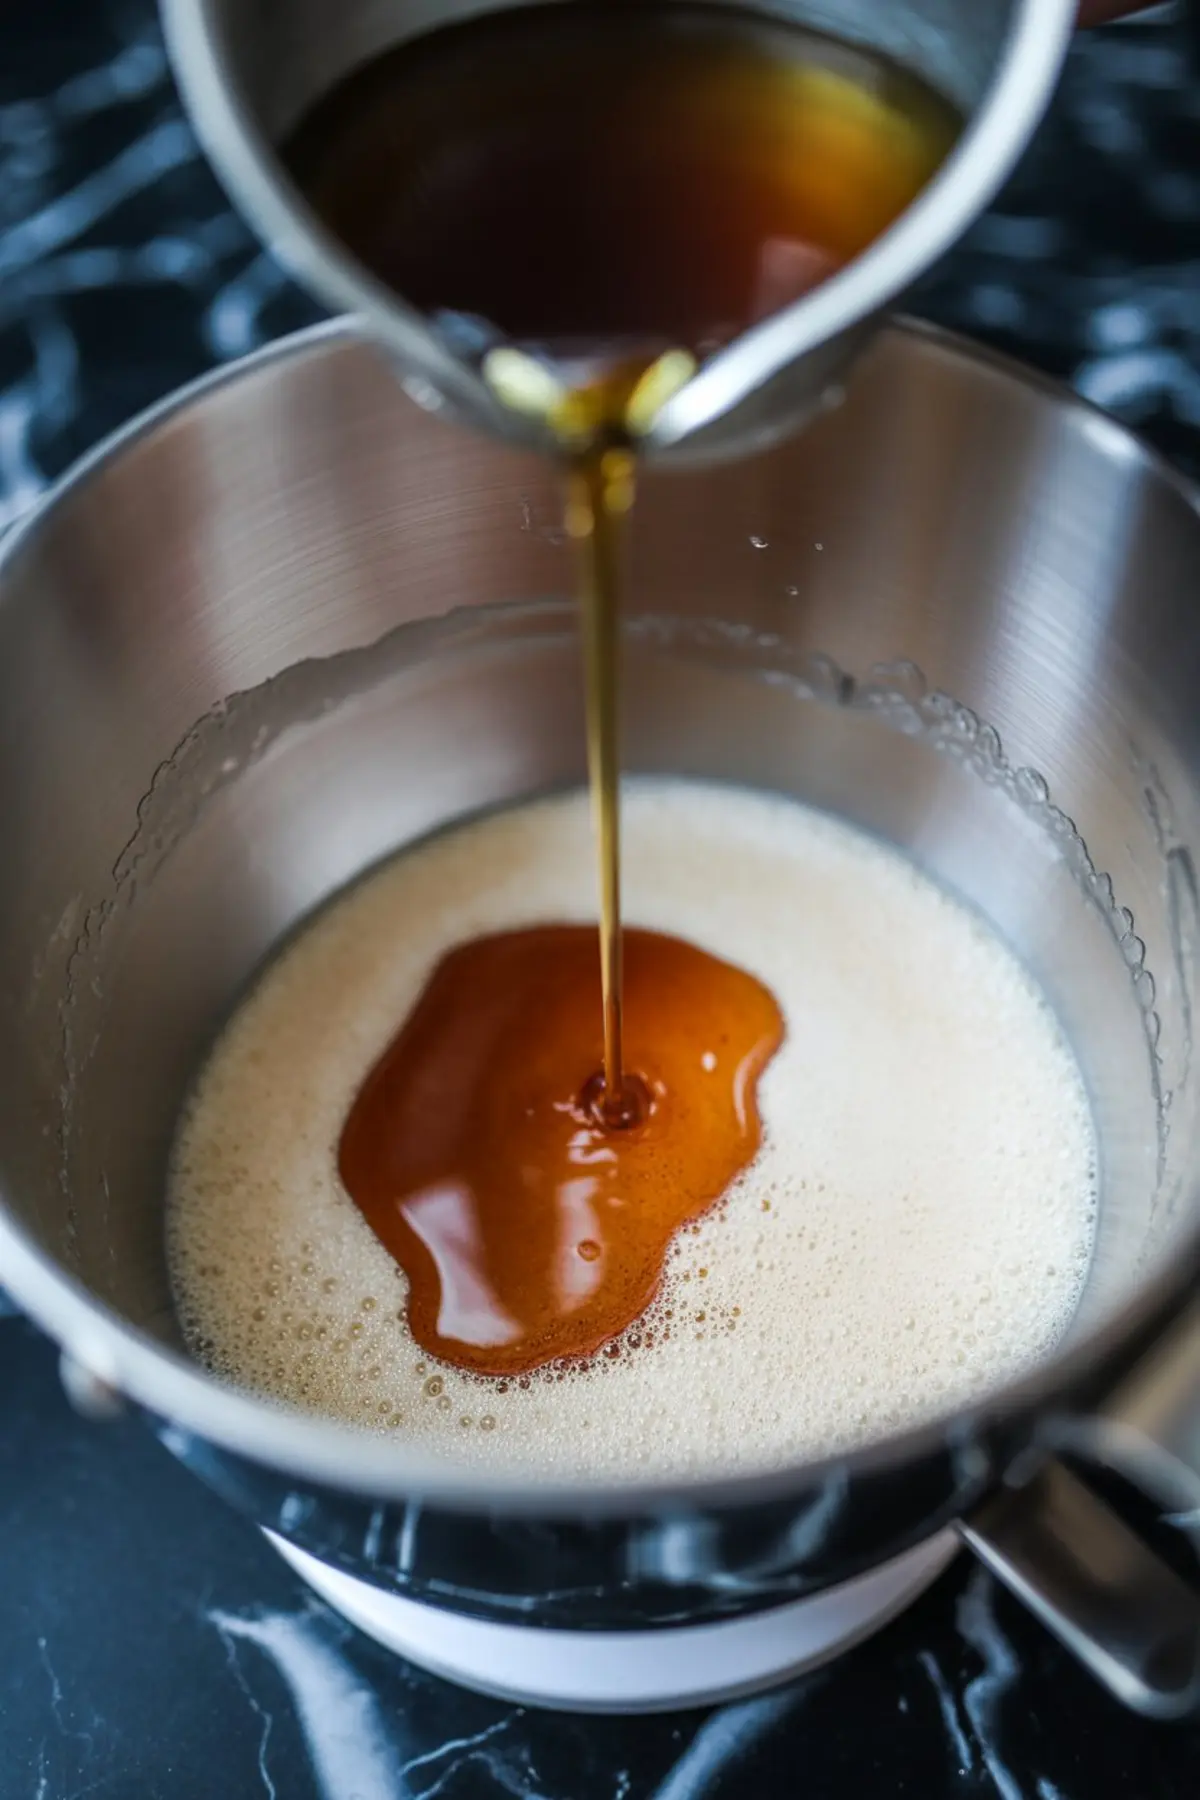
When the syrup is ready, you start pouring it slowly into the egg whites. But where you aim matters.
You want to stream it down the inside wall of the mixing bowl. Not directly into the whisk.
If it hits the whisk, the syrup splatters and cools too fast. That ruins the mix before it can set.
I used to rush this step. Now I slow down and pour steady, always at the side of the bowl.
That’s where the volume starts to grow, and the gloss starts to build. It’s subtle but transformative.
The moment you get it right, the texture will tell you.
For something equally smooth but with a touch of elegance, I use Mascarpone Frosting on fruit-layer cakes.
Whipping Until the Bowl Cools – Don’t Rush It
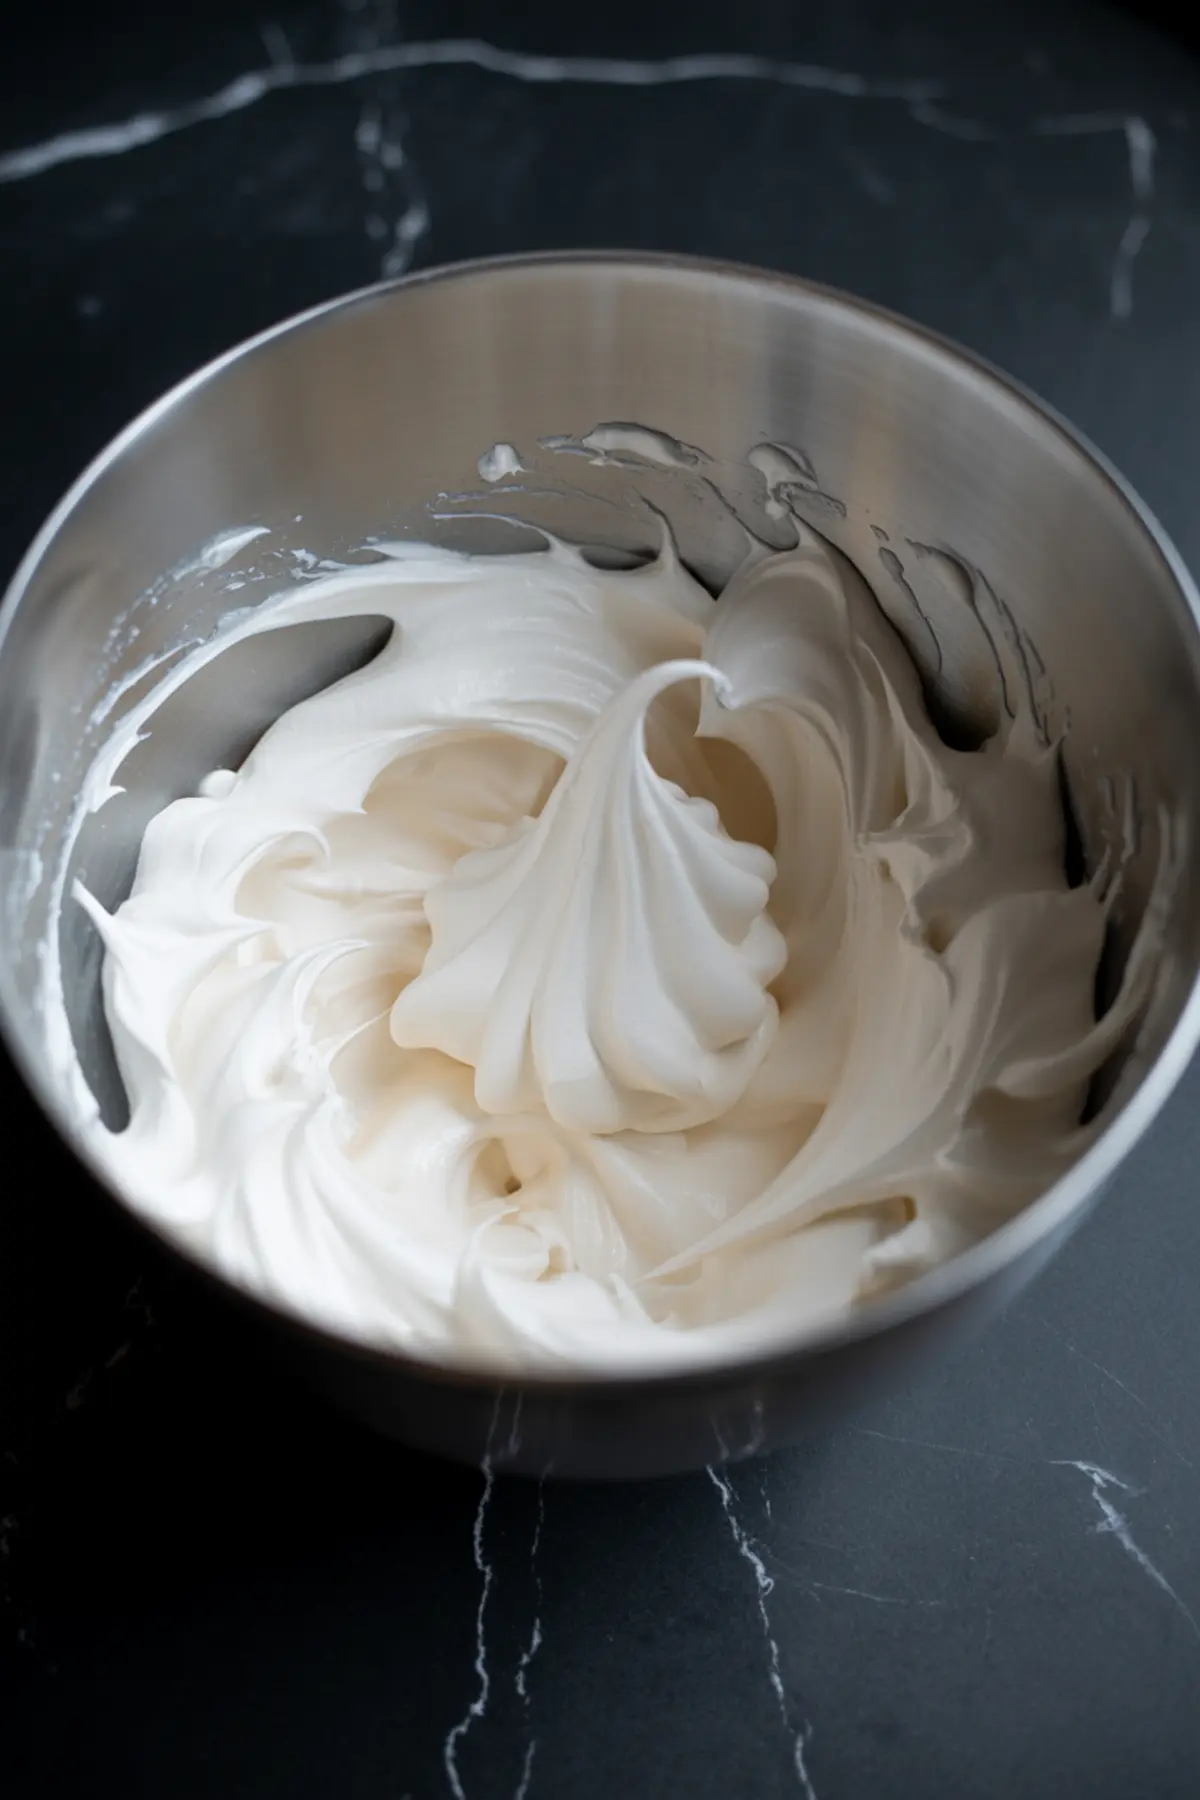
Once all the syrup is in, the mixture needs to whip at high speed. And it needs time.
I always wait until the bowl feels cool to the touch. Usually, that takes 6 to 8 minutes.
Stopping too early means soft peaks. Keep going, and you get thick, pipeable fluff frosting that holds its shape for hours.
I touch the side of the metal bowl after six minutes and check with the back of my hand. If it’s still warm, I keep beating.
This frosting rewards patience. It feels like a small act of discipline with a big return.
When it’s glossy, thick, and won’t budge, that’s when I know it’s ready.
The Vanilla Finishing Note and Optional Torch
After the structure forms, you add the vanilla extract. Just a teaspoon.
I only use pure extract here. Imitation gives off a bitter note, especially with warm sugar and egg.
This addition rounds off the sweetness and makes the flavor finish clean instead of sharp.
Then comes the fun part. You can pipe it, spread it, or toast it.
A kitchen torch gives that golden, caramelized top. It smells like toasted marshmallow and adds a dramatic finish with no effort.
One slow sweep across the piped swirls changes the whole dessert. The color, the aroma, the bite.
And now, the small but mighty detail I promised earlier.
The Secret That Changed Everything – It’s the Water
The unsung hero of this frosting is three tablespoons of water. That’s what you add to the sugar before boiling.
When I tried two tablespoons, the sugar heated too quickly and crystallized. Four tablespoons took too long and never thickened.
Three tablespoons give just enough liquid for an even melt and fast boil without burning.
It sounds small, but it changed the entire outcome. I’ve written “use exactly 3 tbsp water” in all caps in my kitchen notebook.
Sometimes it’s the smallest things that matter the most.
Should You Use This or Cream Cheese Frosting?
If you’re deciding between this and a classic Cream Cheese Frosting, think about the feel you want.
Marshmallow frosting pipes clean and stands tall. It works best when you want a whipped, glossy finish that stays soft.
Cream cheese frosting adds tang and richness. It’s firmer, weightier, and pairs better with strong flavors like pumpkin or carrot.
I’ve tested both on vanilla cupcakes. Marshmallow wins for visual impact. Cream cheese wins when you want balance.
Neither is better. Just different tools for different moods.
Save This Marshmallow Buttercream for Cakes, Cookies, and More
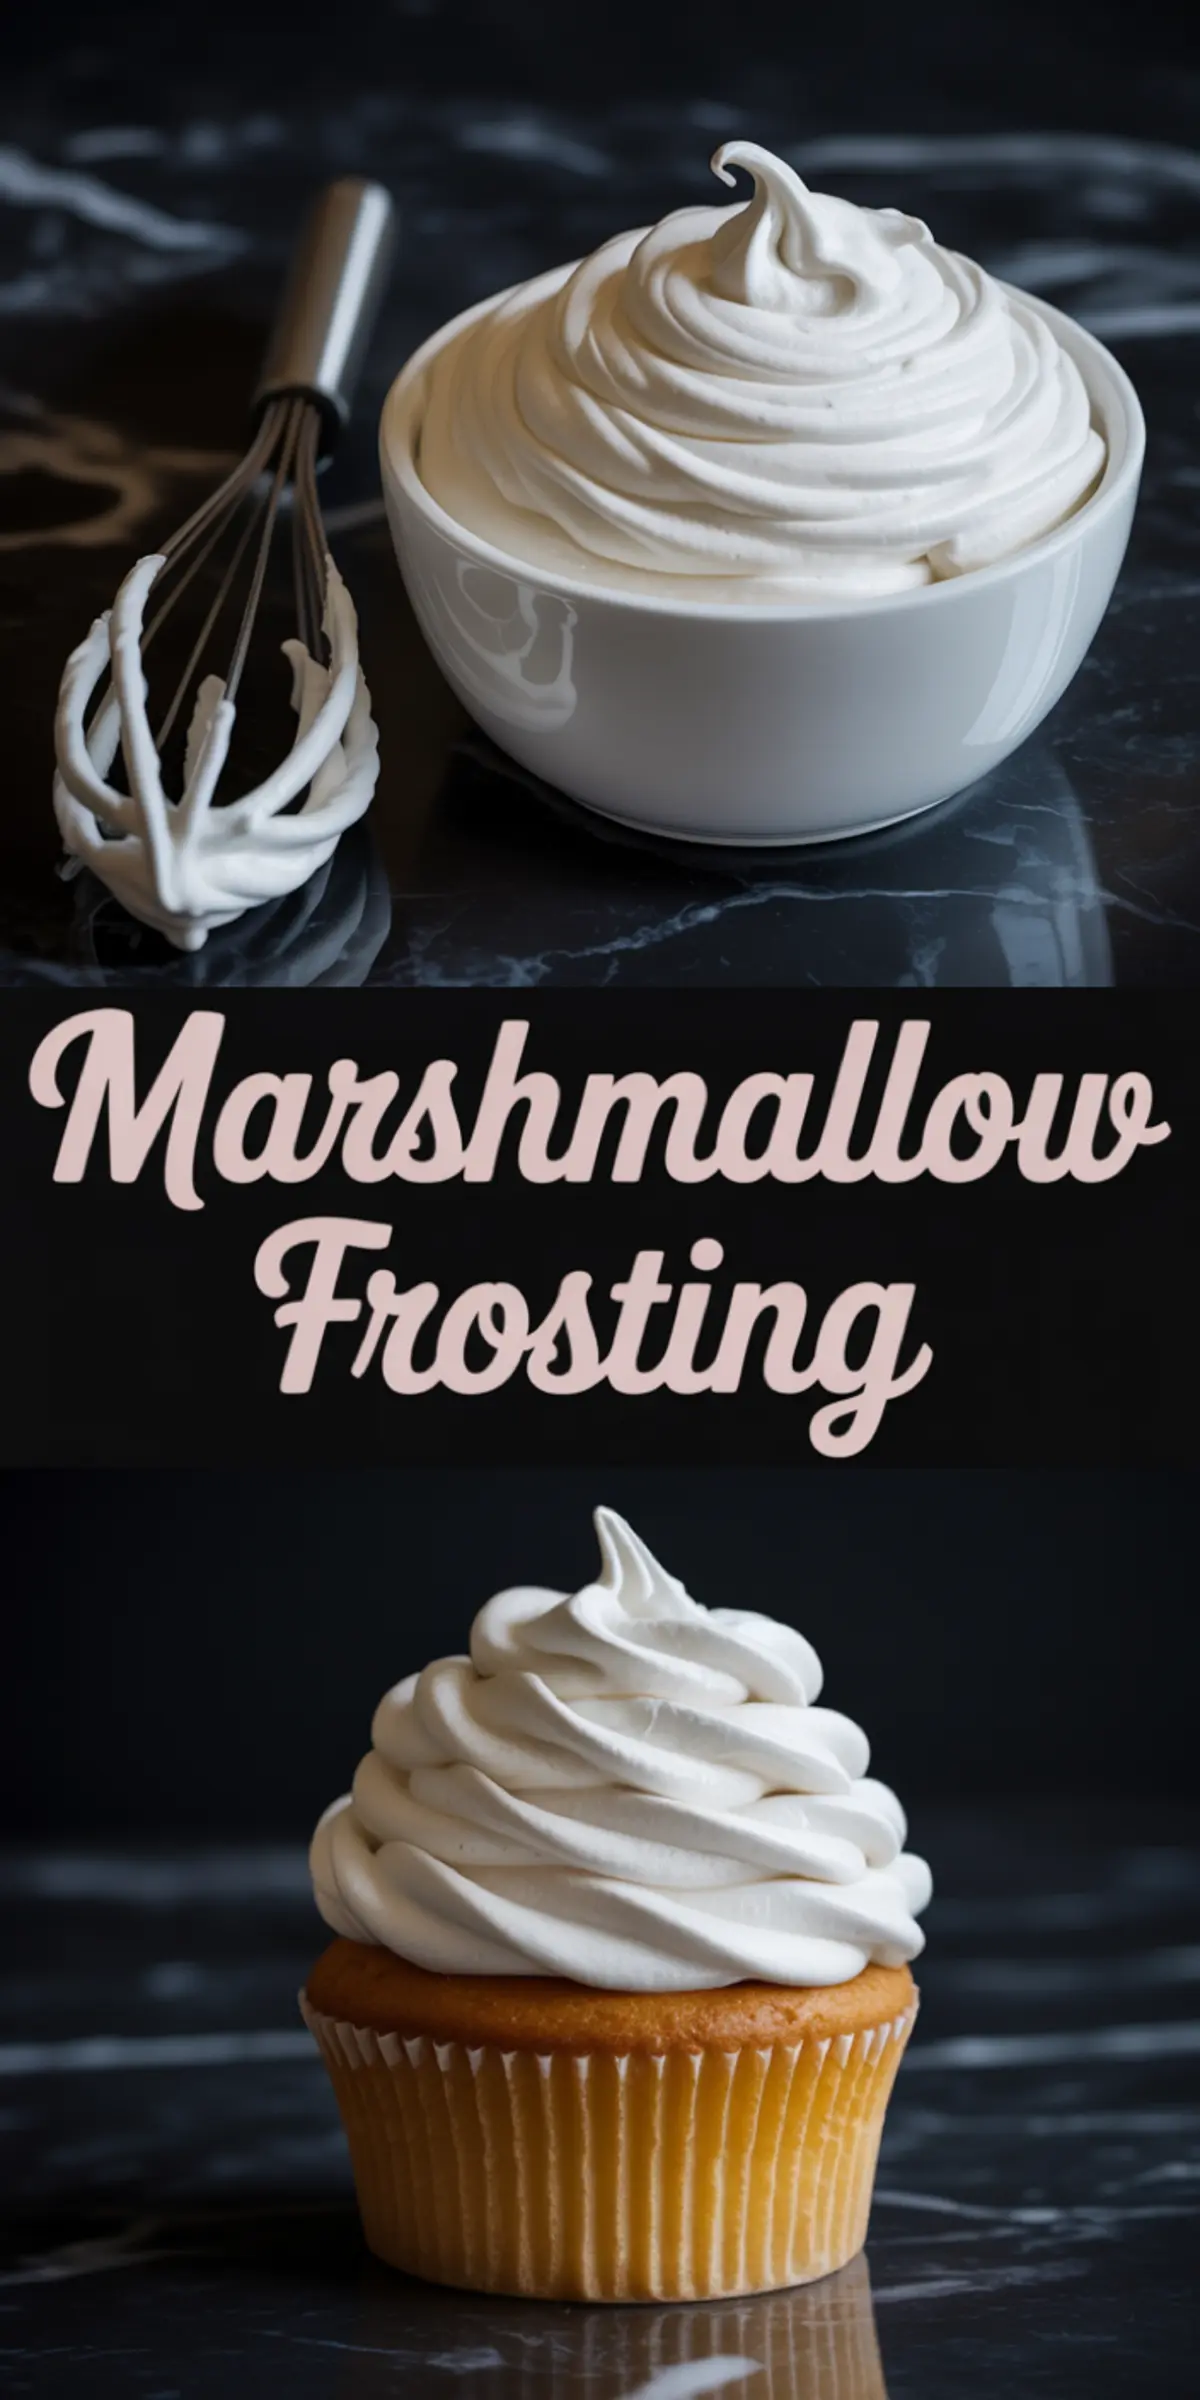
This marshmallow icing pipes like a dream and tastes like toasted fluff. It’s lighter than buttercream and easier to control than royal icing.
It works on cupcakes, brownies, cookies, or as a spoonable topping over sheet cakes.
I love using this when I need a frosting that looks polished but doesn’t feel heavy. It spreads beautifully and toasts in seconds.
If you’re after clean, dry cookie lines, you can also try this rRoyal Icing Recipe for sharp edges and cookie detail.
Did you try this recipe? Let me know in the comments if you torched it or left it glossy.
And if you loved it, pin it now so you have it saved for your next cake day.
Marshmallow Frosting Recipe
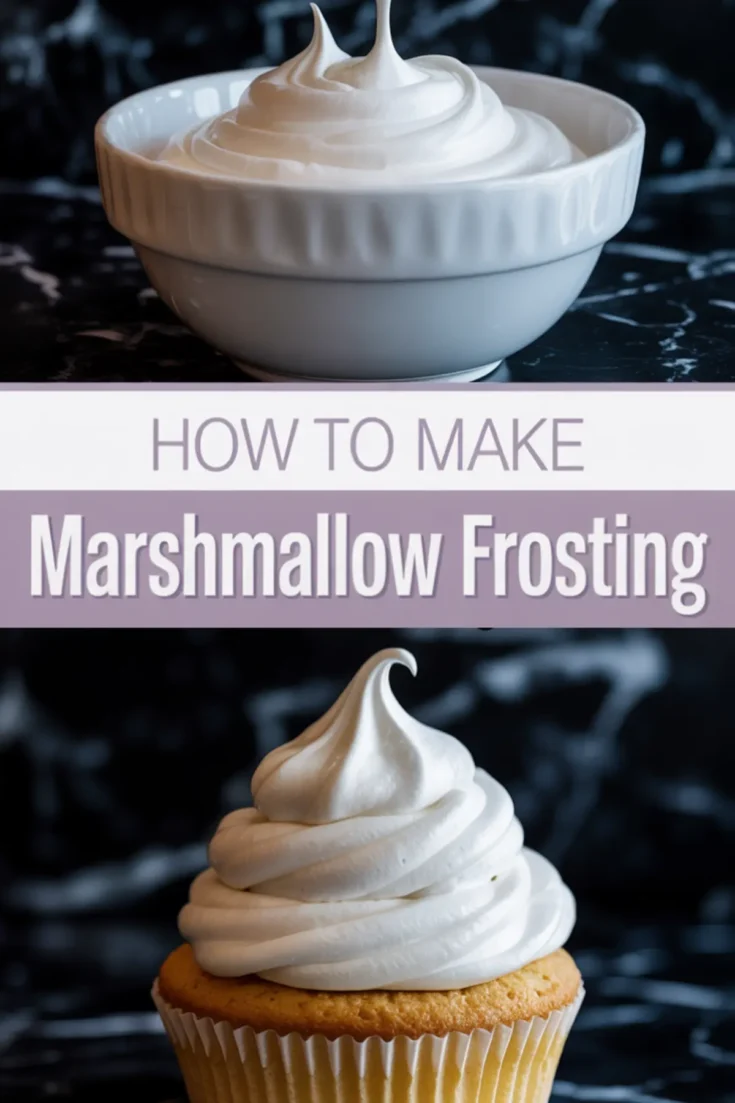
This ultra fluffy Marshmallow Frosting is the perfect cloud-like topping for cakes, cupcakes, cookies, or brownies. Made with simple ingredients like marshmallow fluff, butter, and powdered sugar, it whips up into a light, glossy frosting with just the right amount of sweetness. Whether you’re looking for a twist on classic buttercream or a new way to elevate your bakes, this easy recipe is for you. Ideal for piping or spreading, it holds its shape beautifully and pairs especially well with chocolate or vanilla cakes. Save this one if you love experimenting with homemade frosting, frosting recipes easy, or want to try something new with marshmallow fluff recipes. A must-try cake frosting recipe!
Ingredients
- 3 large egg whites, at room temperature
- ¾ cup (150 g) granulated sugar
- ¼ teaspoon cream of tartar
- 1 teaspoon pure vanilla extract
- 3 tablespoons water
Instructions
- PREPARE THE MIXER BOWL: Add the egg whites and cream of tartar to the bowl of a stand mixer fitted with the whisk attachment. Do not start mixing yet. Set a candy thermometer nearby.
- COOK THE SUGAR SYRUP: In a small saucepan, combine the granulated sugar and water. Stir gently just until the sugar starts to dissolve, then stop stirring. Clip the candy thermometer to the side of the pan and heat the mixture over medium heat until it reaches 240°F (soft-ball stage), about 5–8 minutes.
- START WHIPPING THE EGG WHITES: Once the syrup reaches about 230°F, begin whipping the egg whites on medium speed. They will become foamy, then gradually turn white and glossy as they build volume.
- POUR IN THE SYRUP: When the sugar syrup reaches 240°F, remove it from the heat. Turn the mixer to low speed and carefully pour the hot syrup into the egg whites in a slow, steady stream, aiming for the side of the bowl to avoid hitting the whisk directly. Use caution, as the syrup is extremely hot.
- WHIP TO STIFF PEAKS: After all the syrup is added, increase the mixer speed to high. Beat the mixture for 6–8 minutes, or until the frosting is thick, glossy, and the bowl feels cool to the touch.
- ADD VANILLA: Add the vanilla extract and beat for another 30 seconds, just until fully incorporated.
- USE OR TOAST: Use the frosting immediately for piping or spreading. For a toasted finish, use a kitchen torch to lightly brown the surface after applying it to baked goods.
Notes
This frosting is best used the day it’s made. Avoid making it in advance, as it can deflate or weep over time. Make sure all equipment is grease-free to help the egg whites whip properly. A candy thermometer is essential for accuracy when cooking the sugar syrup.
Nutrition Information:
Yield:
1Serving Size:
1Amount Per Serving: Calories: 646Total Fat: 0gSodium: 168mgCarbohydrates: 152gSugar: 151gProtein: 11g
