
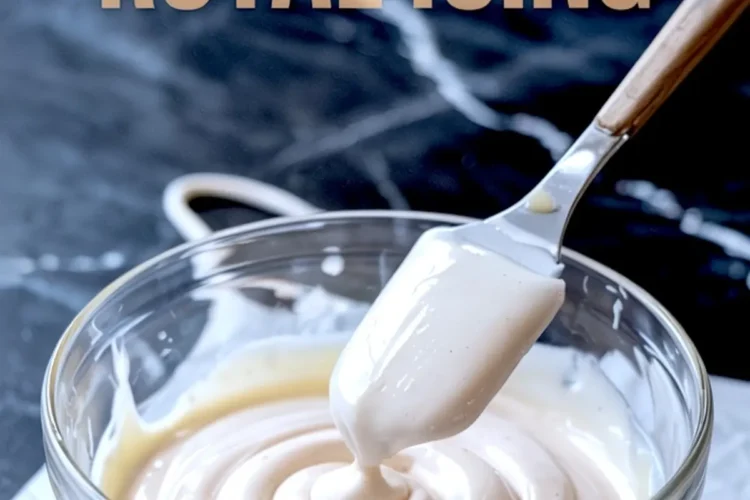
Every baker reaches a moment where cookies need more than a sprinkle of sugar. You want edges that look sharp, designs that stay crisp, and a finish that shines in the light like glass. That is the promise of this easy royal icing recipe.
You will learn how to prepare a decorating royal icing recipe that feels approachable even if you are making your first batch. Confidence comes from understanding why each ingredient matters, how to control the consistency, and how to test before piping. Once you see how it dries smooth and glossy, you will feel ready to decorate sugar cookies for any season.
I should mention something here. There is a quiet ingredient that makes a surprising difference. It is not in most beginner guides. I keep it in my Pin Notebook under “dash magic.” I will share it later after the steps. For now, let’s start where every royal icing begins.

Ingredients in Royal Icing with Unique Roles
Powdered sugar is more than sweetness. Its fine texture dissolves quickly and gives icing that smooth finish without graininess. I always sift it because lumps leave tiny bumps on cookies that glare under holiday lights.
Meringue powder is what creates structure. It dries into a surface you can touch without leaving fingerprints. Some bakers use egg whites, and that works too. But I find meringue powder keeps batches more stable when I store them for a few days.

Warm water decides how your icing flows. Four tablespoons will give a strong base, but you may need another spoonful or two depending on the design. I learned long ago that a teaspoon can make the difference between runny lines and clean outlines.
A splash of lemon juice or vanilla extract is optional. I reach for lemon when I want brightness with gingerbread. Vanilla gives warmth for sugar cookies. You can try both, and each changes the flavor story in a small but noticeable way.
If you need a separate frosting that stays soft on cakes instead of drying firm, you can check my notes on powdered sugar frosting.
A Personal Comparison: Meringue Powder vs Egg Whites
In my kitchen, I have tested both. Meringue powder gives consistency every time. It stores well and does not risk separation. Egg whites, on the other hand, create a silkier shine that feels almost luxurious on cookies.
When I prepare big holiday trays, I choose meringue powder because I know every batch will behave. When I want to teach my daughter how old recipes used to be made, I bring out fresh egg whites. Both work. It depends if you value shine or stability more.
Step One: Preparing the Base
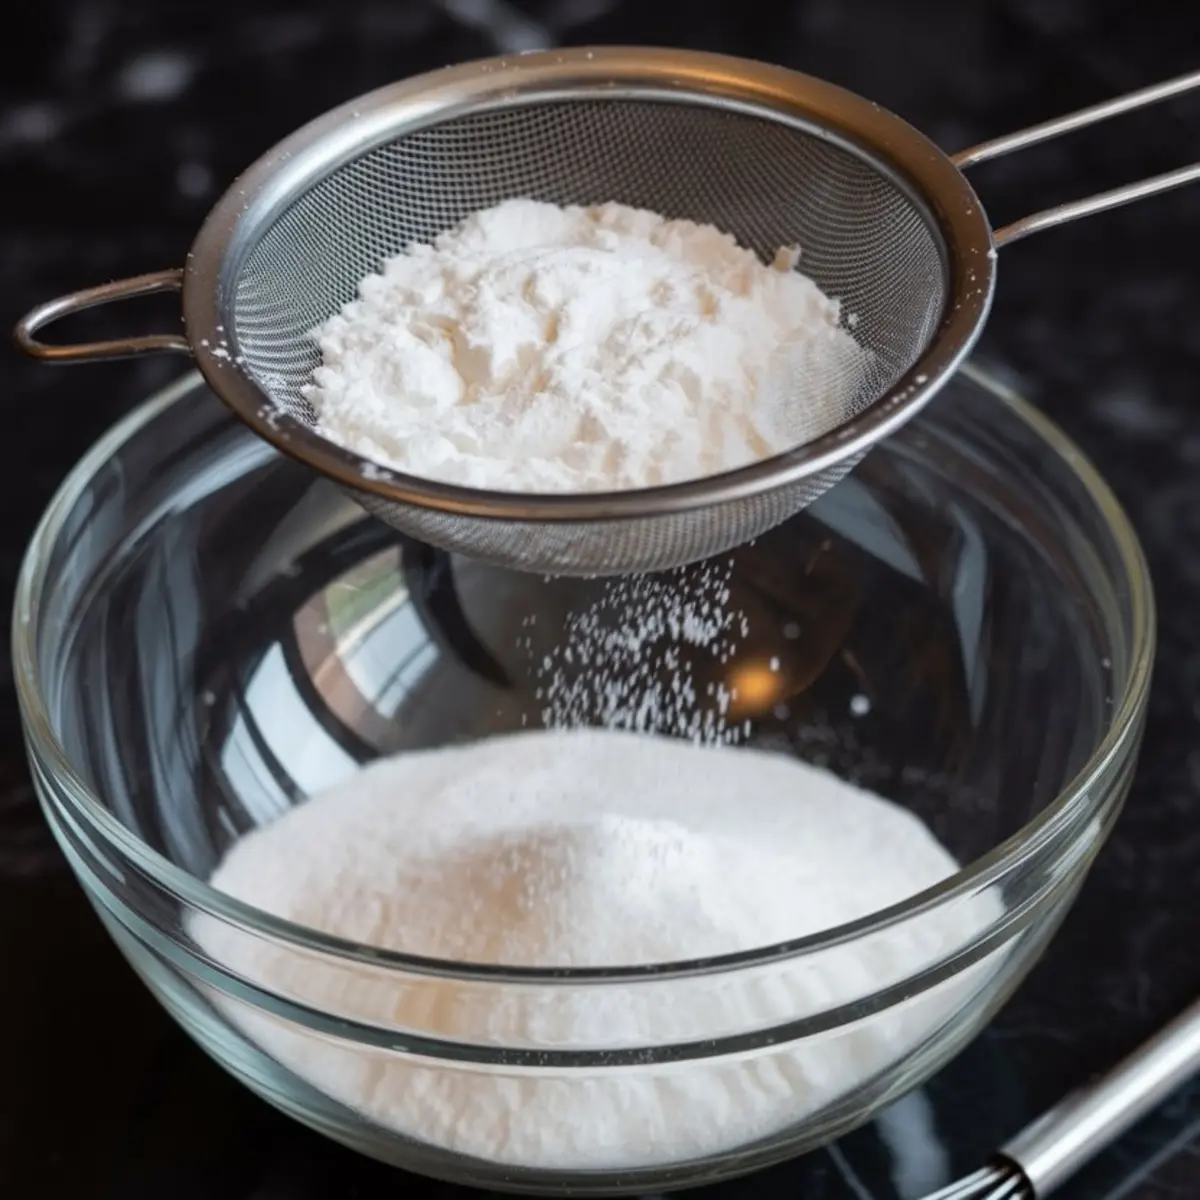
Sifting the powdered sugar feels small, but it sets the stage. When I skip it, I regret it. A clean bowl of fine sugar catches the light differently, and it shows later in the smooth finish. This is also where I whisk meringue powder into the sugar so it blends evenly.
I often think about my grandmother when I sift sugar. She would stack three bowls, each finer than the last, until the powder felt like silk. My version is faster, but the spirit is the same.
Step Two: Adding Liquids with Care
Warm water loosens the sugar, but I add it slowly. Four tablespoons first, then check the feel. If I want lemon, I add just a teaspoon here. Vanilla goes in when I am planning maple brown sugar cookies because the flavors complement each other.
When I use egg whites instead of meringue powder, I beat them until frothy before folding them in. This gives a lighter base.
Step Three: Mixing Without Clouds
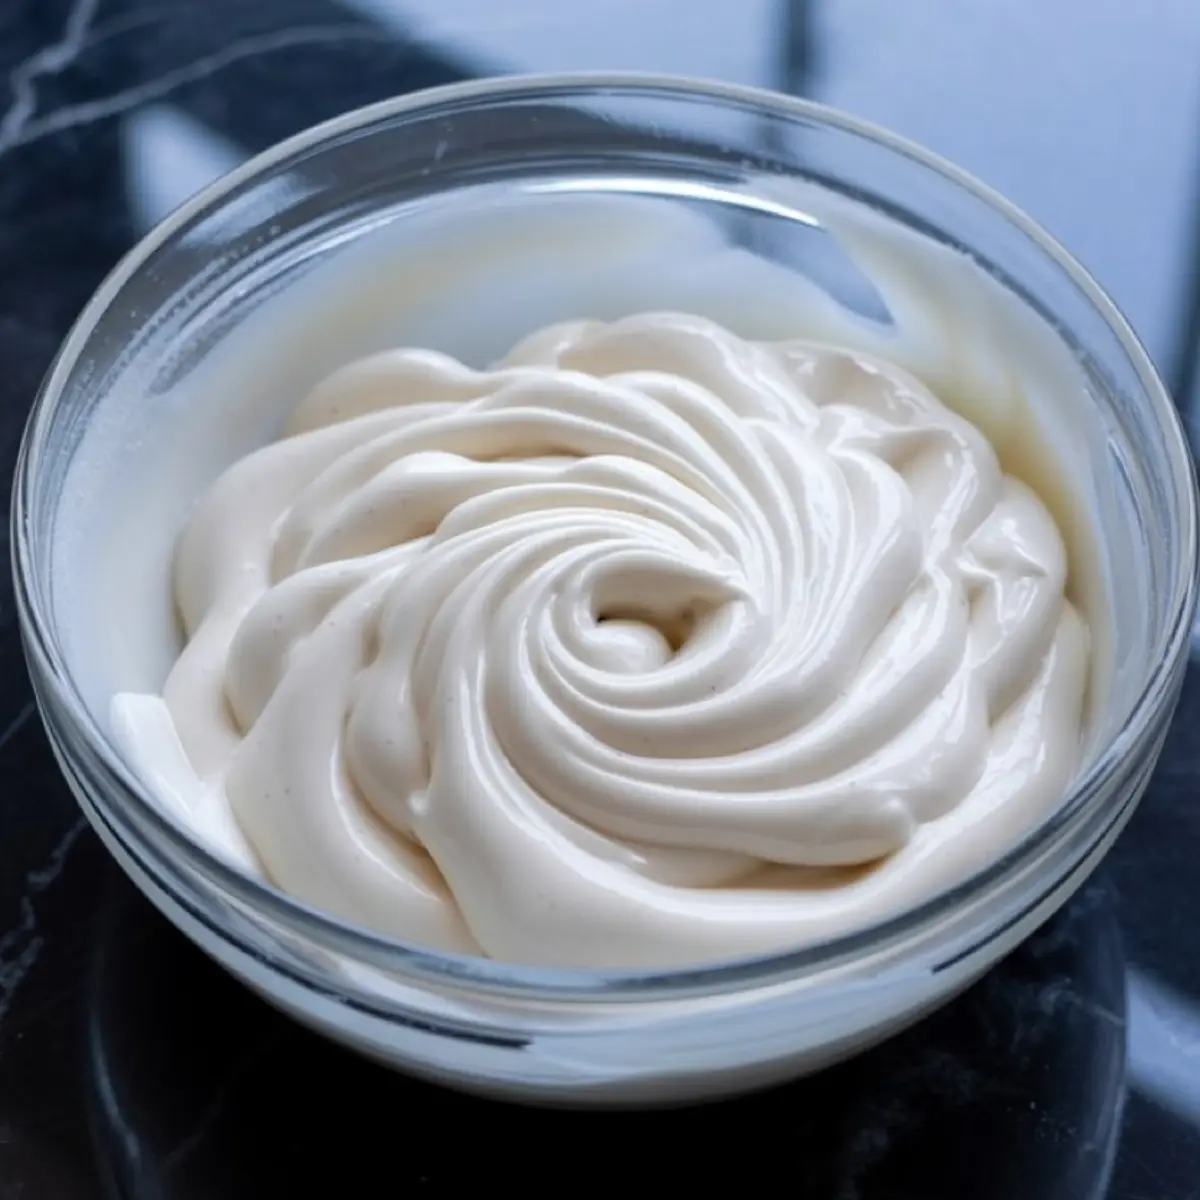
The mixer stays on low at the start. If you rush, powdered sugar covers everything in reach. One quiet minute at low speed allows the liquid to pull in the sugar. Then I raise the speed, and the icing begins to change. It thickens, then turns glossy. After about six minutes, the shine deepens.
I always lift the beater to test. Ribbons that disappear in ten seconds mean it is ready.
Step Four: Adjusting Consistency
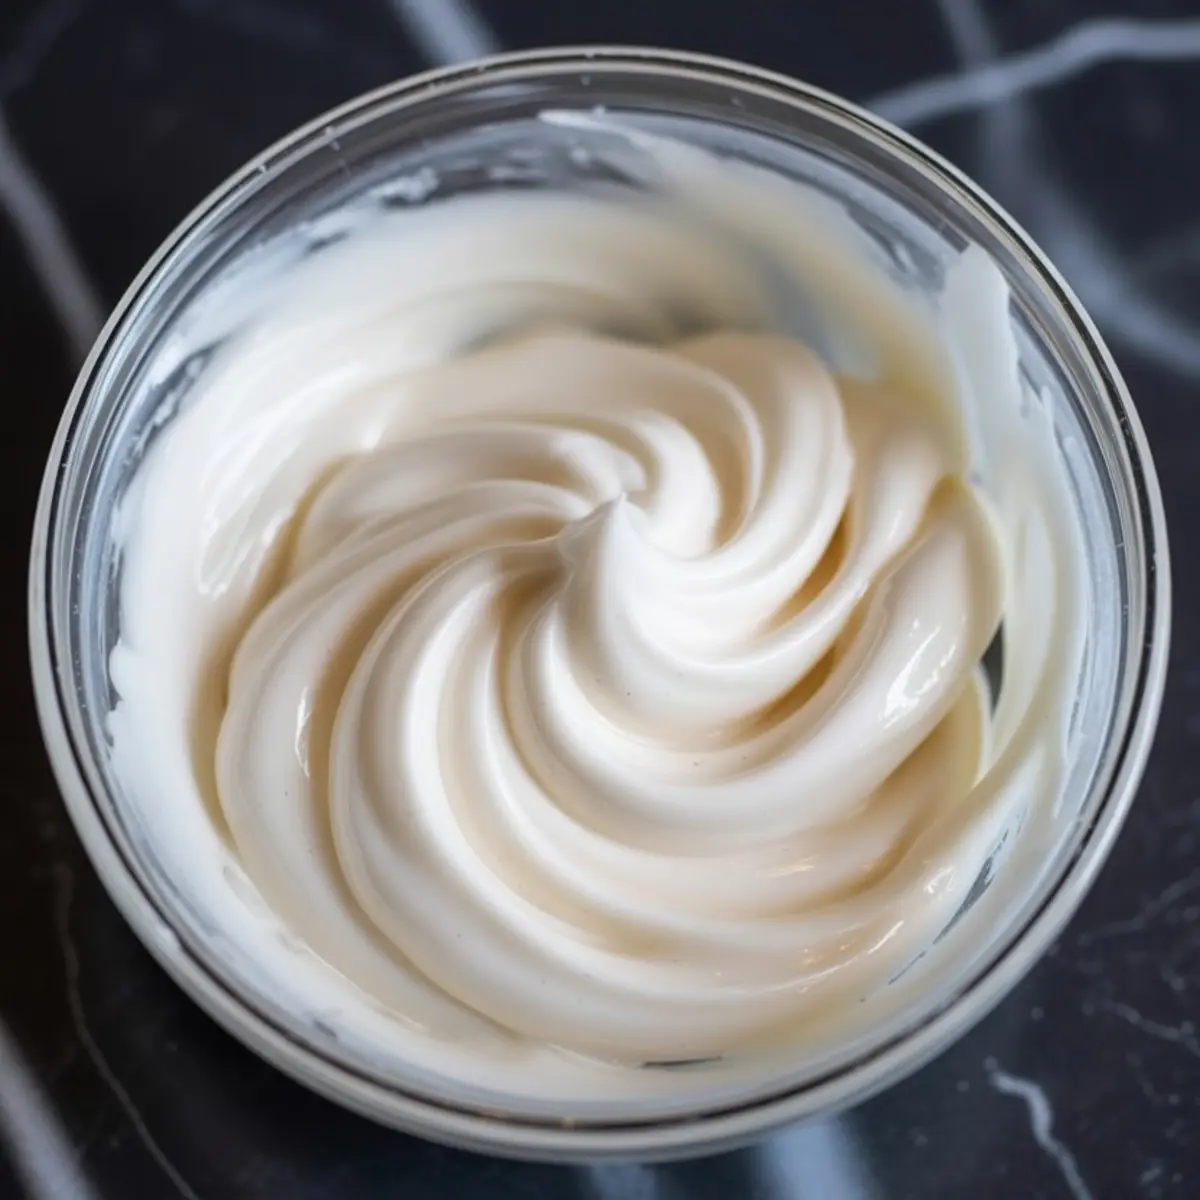
Royal icing consistency is where skill shows. Too stiff and the piping feels heavy. Too thin and it spreads beyond the outline. I use a spoon to check. If it forms peaks that stay sharp, I add a teaspoon of water. If it slides too fast, I sprinkle more sugar.
Testing matters. I pipe a small line on parchment. If it stays sharp, I continue. If it blurs, I fix it. This step takes patience, but patience saves cookies.
Step Five: Using or Storing
I use royal icing immediately if I can. Covering the bowl tightly with plastic wrap prevents crusting on the surface. For longer storage, I transfer it to an airtight container in the refrigerator. Re-whipping before decorating brings it back to life.
For special projects like gingerbread, this icing pairs beautifully with my gingerbread house icing. It holds walls and decorations steady through entire holiday weekends.
How to Use Royal Icing on Cookies
This icing is ideal for outlining and flooding. Outline consistency should hold shape while still flowing. Flood consistency needs a bit more water so it spreads smoothly within the outline.
When I decorate pumpkin sugar cookies in October, I keep two piping bags ready: one thick for outlines, one thin for flooding. The design looks sharper that way. You can see my notes on pumpkin sugar cookies for how this works in practice.
For softer flavor combinations, I use royal icing on maple brown sugar cookies. The vanilla in the icing blends with the caramel notes of brown sugar.
The Dash Magic I Promised
I hinted earlier at a secret. Here it is. A tiny pinch of cream of tartar. It stabilizes the meringue and keeps the icing from separating. I call it dash magic because it is just that, a dash. Without it, the icing is fine. With it, the icing stays glossy even after a week in storage.
It is the kind of detail I keep in my Pin Notebook, circled in red ink. Small, yet powerful.
Save and Share Your Royal Icing Experience

Royal icing turns a plain cookie into something you remember. It gives edges their shine and designs their strength. With powdered sugar, meringue powder or egg whites, and a little dash of magic, you now hold the confidence to decorate cookies beautifully.
I encourage you to save this recipe as a pin for later. Add it to your board and return when holiday baking calls. Share in the comments how your cookies turned out, or ask questions if you want to experiment. This community grows stronger with every story told.
Royal Icing Recipe
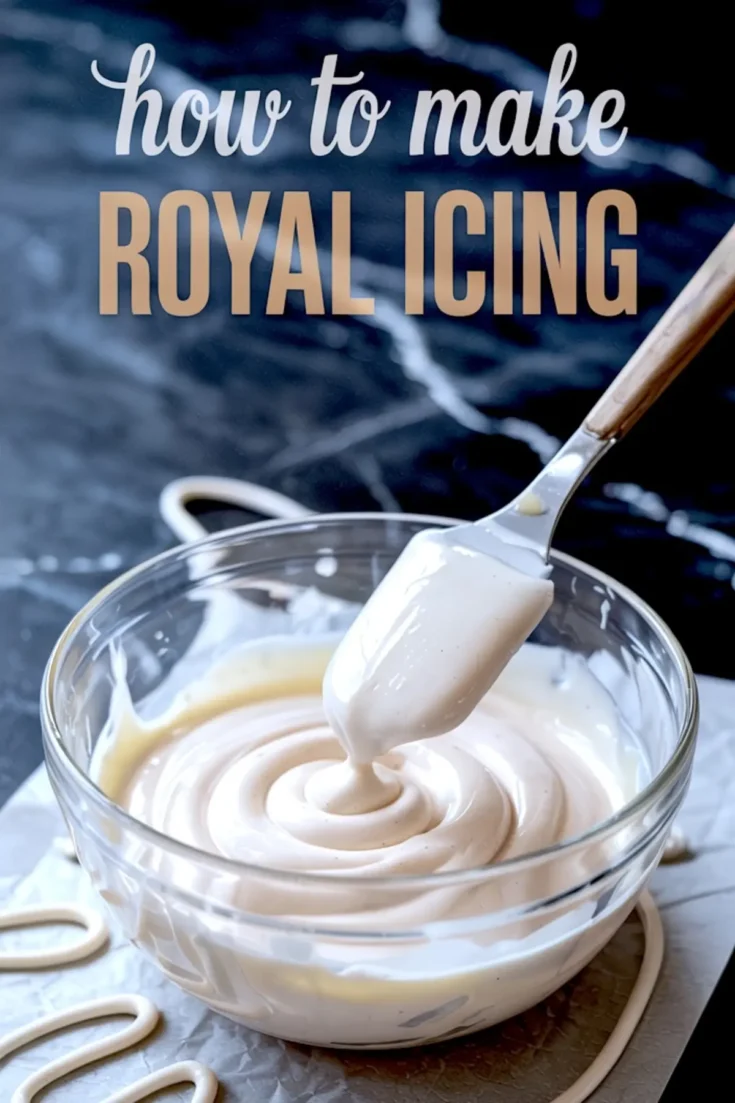
Royal icing recipe starts with powdered sugar, meringue powder, and water for a smooth, pipeable texture that dries firm. I use this easy royal icing recipe to outline and flood cookies without cracks or air bubbles. It’s the best icing for cookie decorating when I want clean edges and glossy finishes that actually set. I adjust the thickness depending on the design, and it holds its shape well even on small details. If you’ve been looking for a decorating royal icing recipe that’s beginner-friendly, this version works every time. I keep it with my sugar cookie icing recipe notes and bring it out for every holiday batch. Save it under royal icing cookies for beginners or any cookie icing recipe folder you trust.
Ingredients
- 4 cups powdered sugar, sifted
- 3 tablespoons meringue powder or 2 egg whites
- 6 tablespoons warm water, divided (start with 4 and add more as needed)
- 1 teaspoon lemon juice or vanilla extract (optional)
Instructions
- PREP THE BASE: Sift the powdered sugar into a mixing bowl to remove any clumps. If using meringue powder, whisk it into the sugar using a fork or small whisk until evenly combined.
- ADD THE LIQUIDS: Start with 4 tablespoons of warm water. Add the water to the sugar mixture, followed by the lemon juice or vanilla if using. If using egg whites instead of meringue powder, beat them in a separate bowl until frothy before adding them gradually to the sugar mixture.
- MIX AT LOW SPEED: Use a hand mixer or stand mixer fitted with a paddle or whisk attachment. Begin mixing on low speed for 1 minute to incorporate all ingredients and avoid a sugar cloud.
- BEAT UNTIL GLOSSY: Increase the speed to medium and beat for 5 to 7 minutes. The icing should be smooth, thick, and glossy. Lift the beater to check consistency—ribbons of icing should fall slowly and disappear into the bowl within 10 seconds.
- ADJUST IF NEEDED: If the icing is too thick and holds stiff peaks, add water 1 teaspoon at a time and mix again. If it’s too runny and disappears instantly, mix in a small amount of sifted powdered sugar until it thickens slightly.
- TEST THE ICING: Transfer a small amount of icing to a piping bag or squeeze bottle. Pipe a test outline on parchment paper. It should hold a clean edge without spreading. If it runs, return it to the mixer for adjustment.
- STORE OR USE IMMEDIATELY: Use the icing right away for decorating, or cover the bowl tightly with plastic wrap pressed directly onto the surface to prevent crusting. For longer storage, transfer to an airtight container and refrigerate for up to 1 week. Re-whip before using.
Notes
Royal icing consistency is key. Outline consistency should be thick and slow-flowing, while flood consistency may need an extra teaspoon or two of water to thin. Always keep unused icing covered with plastic wrap to prevent it from drying out.
