

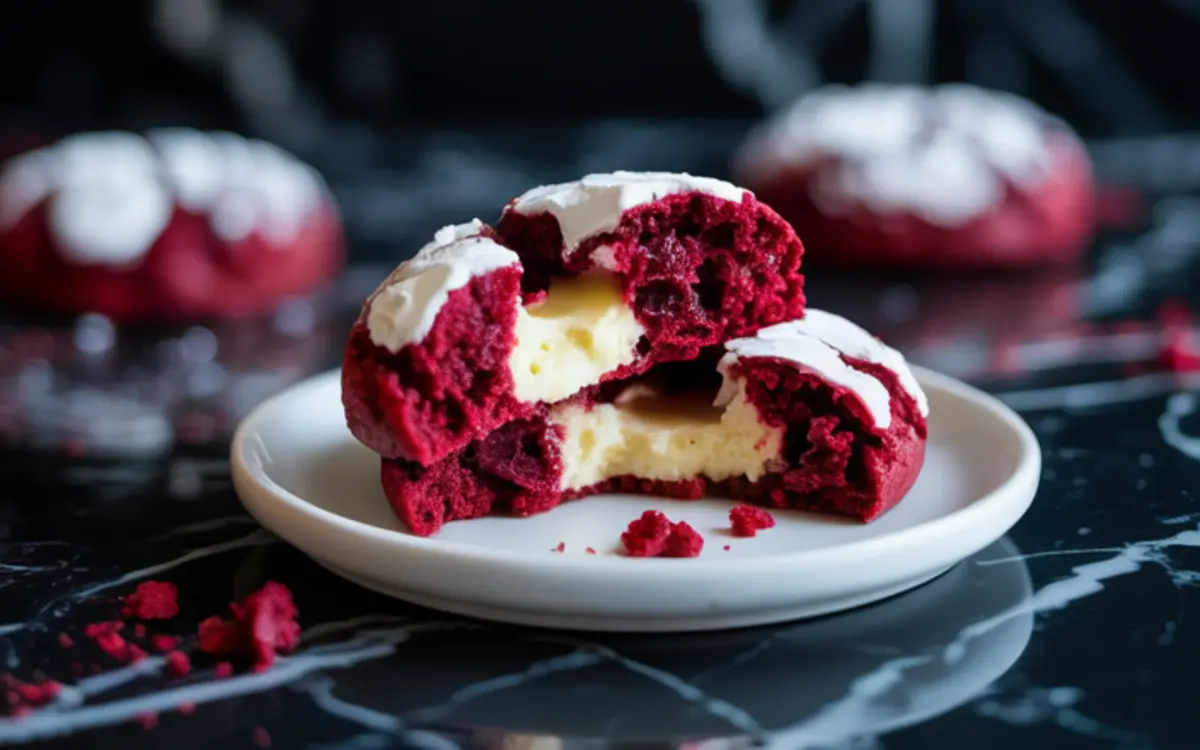
These red velvet cheesecake cookies offer something more than color or cream. Each bite blends the deep cocoa of red velvet with a cold, sweet pocket of cheesecake hidden in the middle. The result is a soft, stuffed cookie with just enough drama to stand out on any Xmas desserts platter.
You’ll learn exactly how to bake them without cracks, leaks, or deflation. You’ll also see why each ingredient choice matters. And by the end, you’ll know my favorite way to keep that cream center frozen just long enough to bake evenly into the dough.
I’ve baked many red velvet recipes over the years. This one always draws the question: how did you get that filling to stay inside? We’ll get to that. First, let’s break down what makes these red velvet cheesecake stuffed cookies different from a red velvet cheesecake cake or other red velvet stuffed cookies. It’s all in the method.

Why This Dough Works for Stuffed Cookies
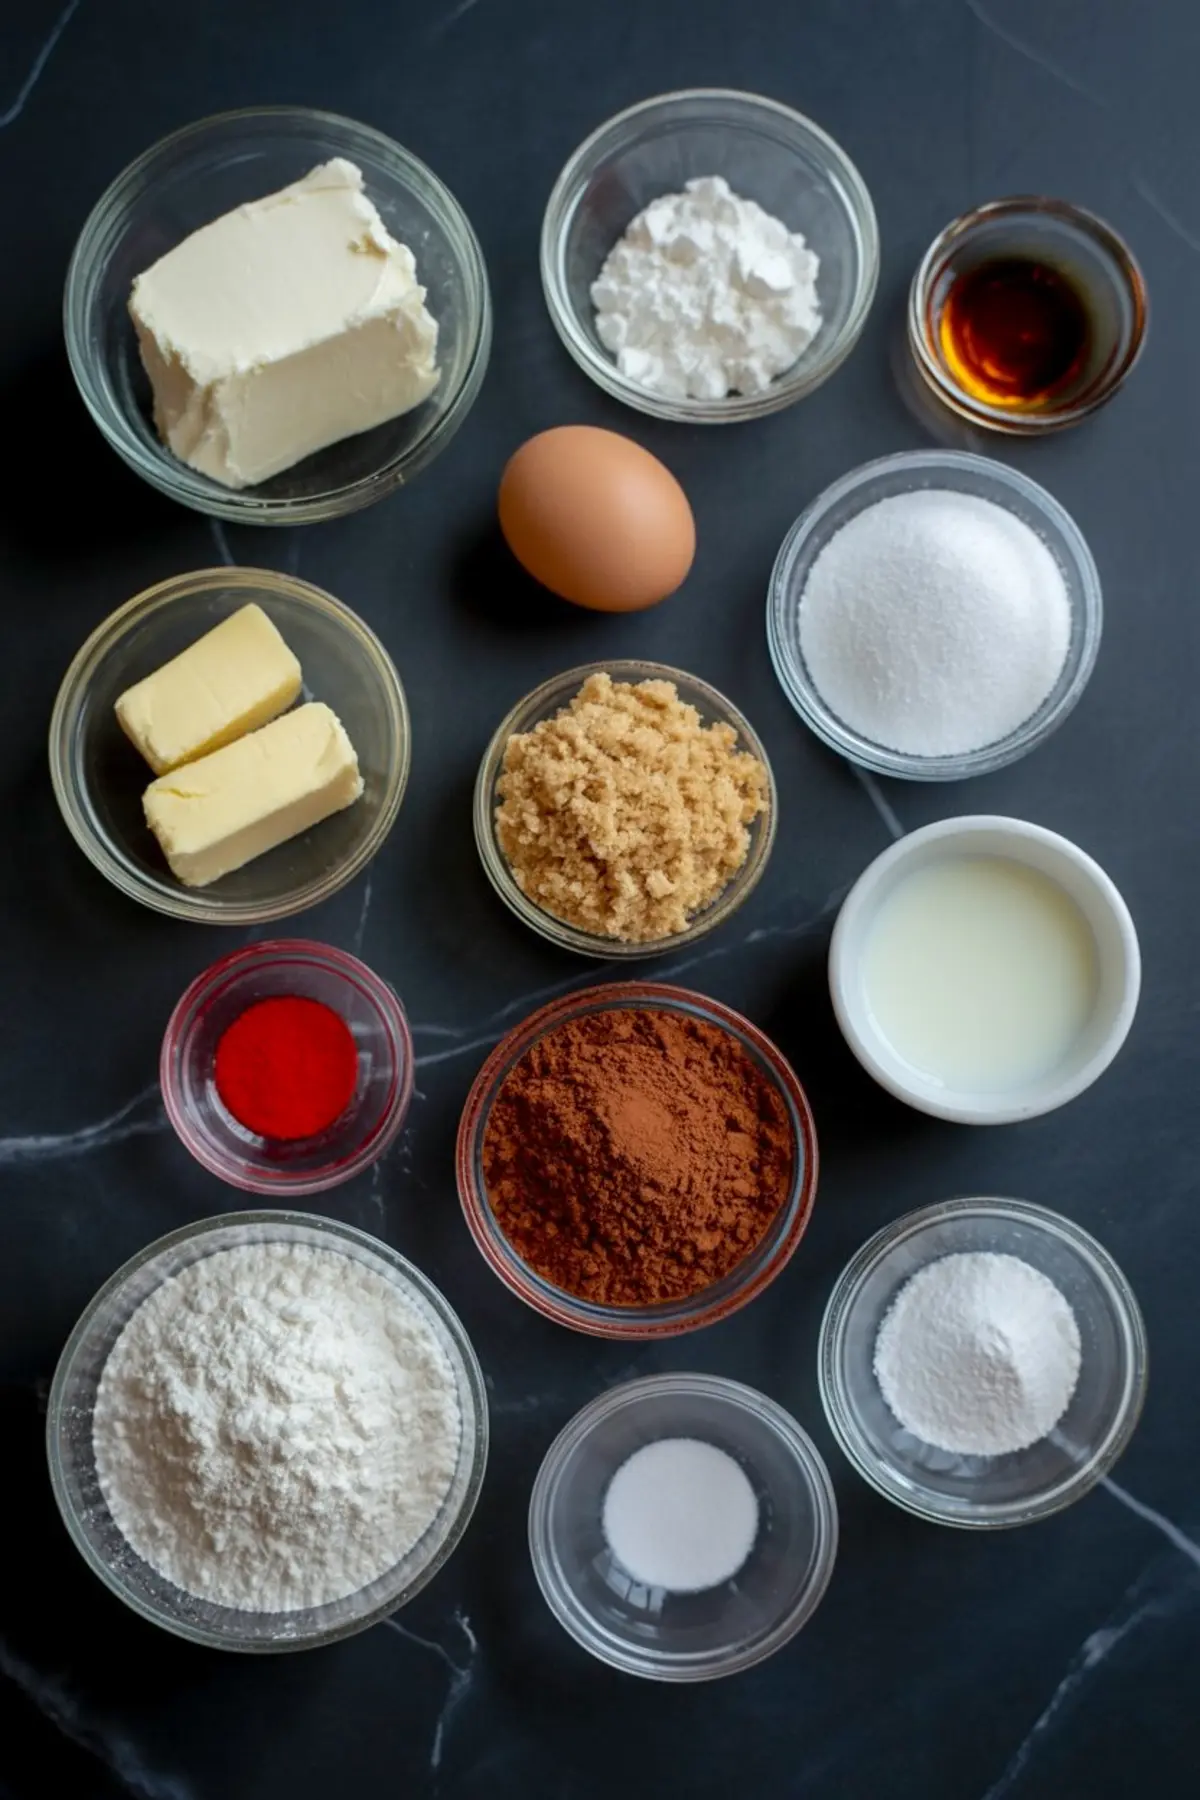
Red velvet dough can be tricky. If it’s too soft, it spreads too far. If it’s too firm, it cracks around the filling. I’ve balanced both by keeping butter to just half a cup and adding a mix of white and brown sugar. The brown sugar adds a bit of moisture and chew that helps these cookies stay soft without falling apart.
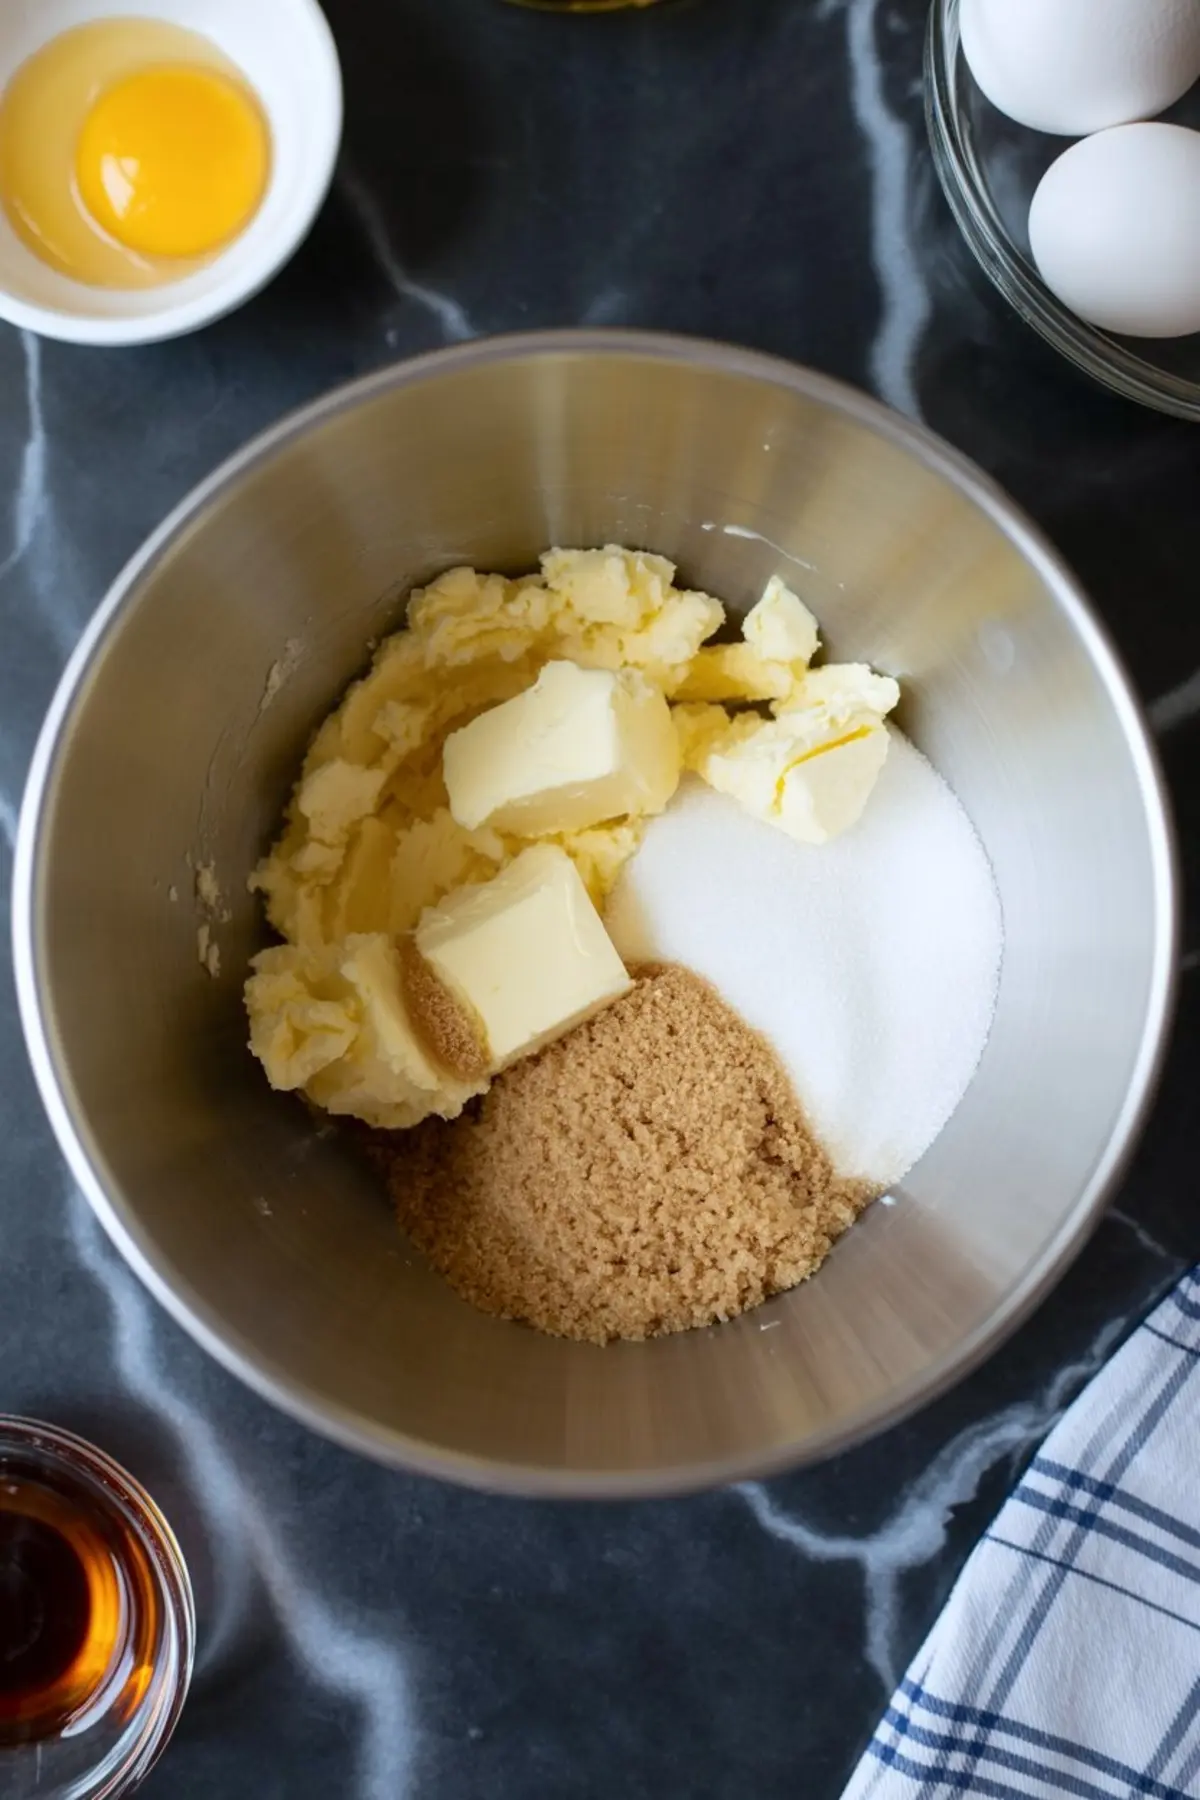
I use both vinegar and red food coloring. Not for show. That slight tang from the vinegar isn’t optional in my kitchen. It brings out the cocoa and keeps the flavor from tipping too far into sweet. If you’ve ever tried red velvet cookies without vinegar, you’ll notice they taste flat. One small change, but it makes all the difference.
For another take on a sweet but balanced holiday treat, try my Christmas Fudge after this one.
A Freezer Trick That Solves a Common Problem
The cream cheese filling needs to be firm. If it softens while you shape the dough, it breaks through. That’s why I freeze small scoops before I start the dough. Not chilled. Not cool. Fully frozen.
You can make the filling the night before. That’s what I usually do when baking for a crowd. The cold center holds its shape long enough for the cookie dough to bake around it without melting into a mess. If you’ve had stuffed cookies leak cream while baking, this step solves that. No guessing.
The same freeze-first trick also works in my Sugar Cookie Fudge, where texture matters from the first bite.
Choosing Between Natural and Dutch-Processed Cocoa
In my notes, I’ve tried both types of cocoa. Dutch-processed gives a darker color and milder flavor. Natural cocoa leans slightly sharper. For these red velvet cheesecake cookies, I stick with natural cocoa powder.
The acidity plays nicely with the vinegar and gives that gentle tang red velvet is known for. Dutch-process makes the dough smoother, yes, but it also softens the overall bite too much. For me, natural cocoa strikes the right balance.
You can see this balance in other red velvet cookies, but once you taste the filling wrapped in that slightly tangy shell, you’ll understand why I keep the cocoa choice consistent.
Assembly Tips for Even Filling
There’s a rhythm to assembling these cookies. Start with chilled dough and frozen filling. That part stays the same. But the real trick is flattening the dough just enough to cover the cream center.
If the disc is too thin, it cracks. If it’s too thick, it won’t bake through. I roll each portion gently, tucking the edges up and around, then give it one quick press to smooth the top. That’s it.
You’ll want to avoid over-handling. The warmth from your hands can soften the cream inside. Work in small batches if needed. Keep half the filling frozen while shaping the others. If I bake with my son around, I often prep in sets of four so nothing softens too quickly.
Want more festive treats with a similar make-ahead bonus? Take a look at this Christmas Pie Recipe which also holds up well when prepped early.
Baking Time and Texture
You’re looking for slightly cracked tops and set edges. That’s when you pull them. Not when they look fully baked. They’ll finish on the tray as they cool. Ten to twelve minutes usually does it.
If you overbake, the center loses its creaminess. It becomes more of a cake filling. Which isn’t bad. But that contrast of soft dough and creamy core? That’s the goal here. I always set a timer and test at ten minutes. Never guess.
These are thick cookies, so spacing matters. Leave two inches between each one. They won’t spread wildly, but they do puff and settle.
And if you love a cookie with a surprise center, don’t miss these Grinch Cookies Decorated with hidden layers of color and crunch.
The Secret Ingredient That Adds Depth
Now that we’ve walked through the how, let me share what I hinted at earlier. The secret is white vinegar. Not apple cider. Not lemon. Plain white vinegar.
It wakes up the cocoa and balances the sugar. I’ve tested batches with and without, and the difference is clear. That one spoonful shapes the flavor from deep sweetness into something with structure.
You won’t taste vinegar directly. It blends in. But without it, the red velvet just reads as chocolate. With it, you get that unmistakable flavor that makes red velvet recipes stand apart from regular chocolate cookies.
Save This for Your Holiday Baking and Share the Love

Pin this red velvet cheesecake cookies recipe to your dessert board and come back to it every December. These cookies check every box for Christmas cookie trays, edible gifts, and holiday movie snacks.
And if you bake them, I’d love to hear how they turned out. Drop a comment below and tell me your tweaks, questions, or favorite moments from the process. I always enjoy seeing your spins on these delicious cookie recipes.
Red Velvet Cheesecake Cookies

These Red Velvet Cheesecake Cookies combine the richness of red velvet with a creamy cheesecake filling for the ultimate stuffed cookie experience. Soft, thick, and vibrant red, each cookie hides a sweet cream cheese center that melts in your mouth. A festive twist on classic cheesecake cookies, they’re perfect for holiday dessert trays, edible gifts, or cozy winter baking. Whether you’re a fan of red velvet recipes or just want something new for your Xmas desserts, these red velvet cheesecake stuffed cookies deliver indulgence in every bite. Try this easy recipe and wow your family with a delicious cookie that’s as beautiful as it is irresistible.
Ingredients
- FOR THE CHEESECAKE FILLING
- 8 oz cream cheese, softened
- 1/3 cup powdered sugar
- 1/2 teaspoon vanilla extract
- FOR THE RED VELVET COOKIE DOUGH
- 1/2 cup unsalted butter, softened
- 1/2 cup granulated sugar
- 1/2 cup packed light brown sugar
- 1 large egg
- 1 tablespoon milk
- 1 teaspoon vanilla extract
- 1 teaspoon white vinegar
- 1 tablespoon red food coloring
- 1 3/4 cups all-purpose flour
- 1/4 cup unsweetened cocoa powder
- 1/2 teaspoon baking soda
- 1/2 teaspoon salt
Instructions
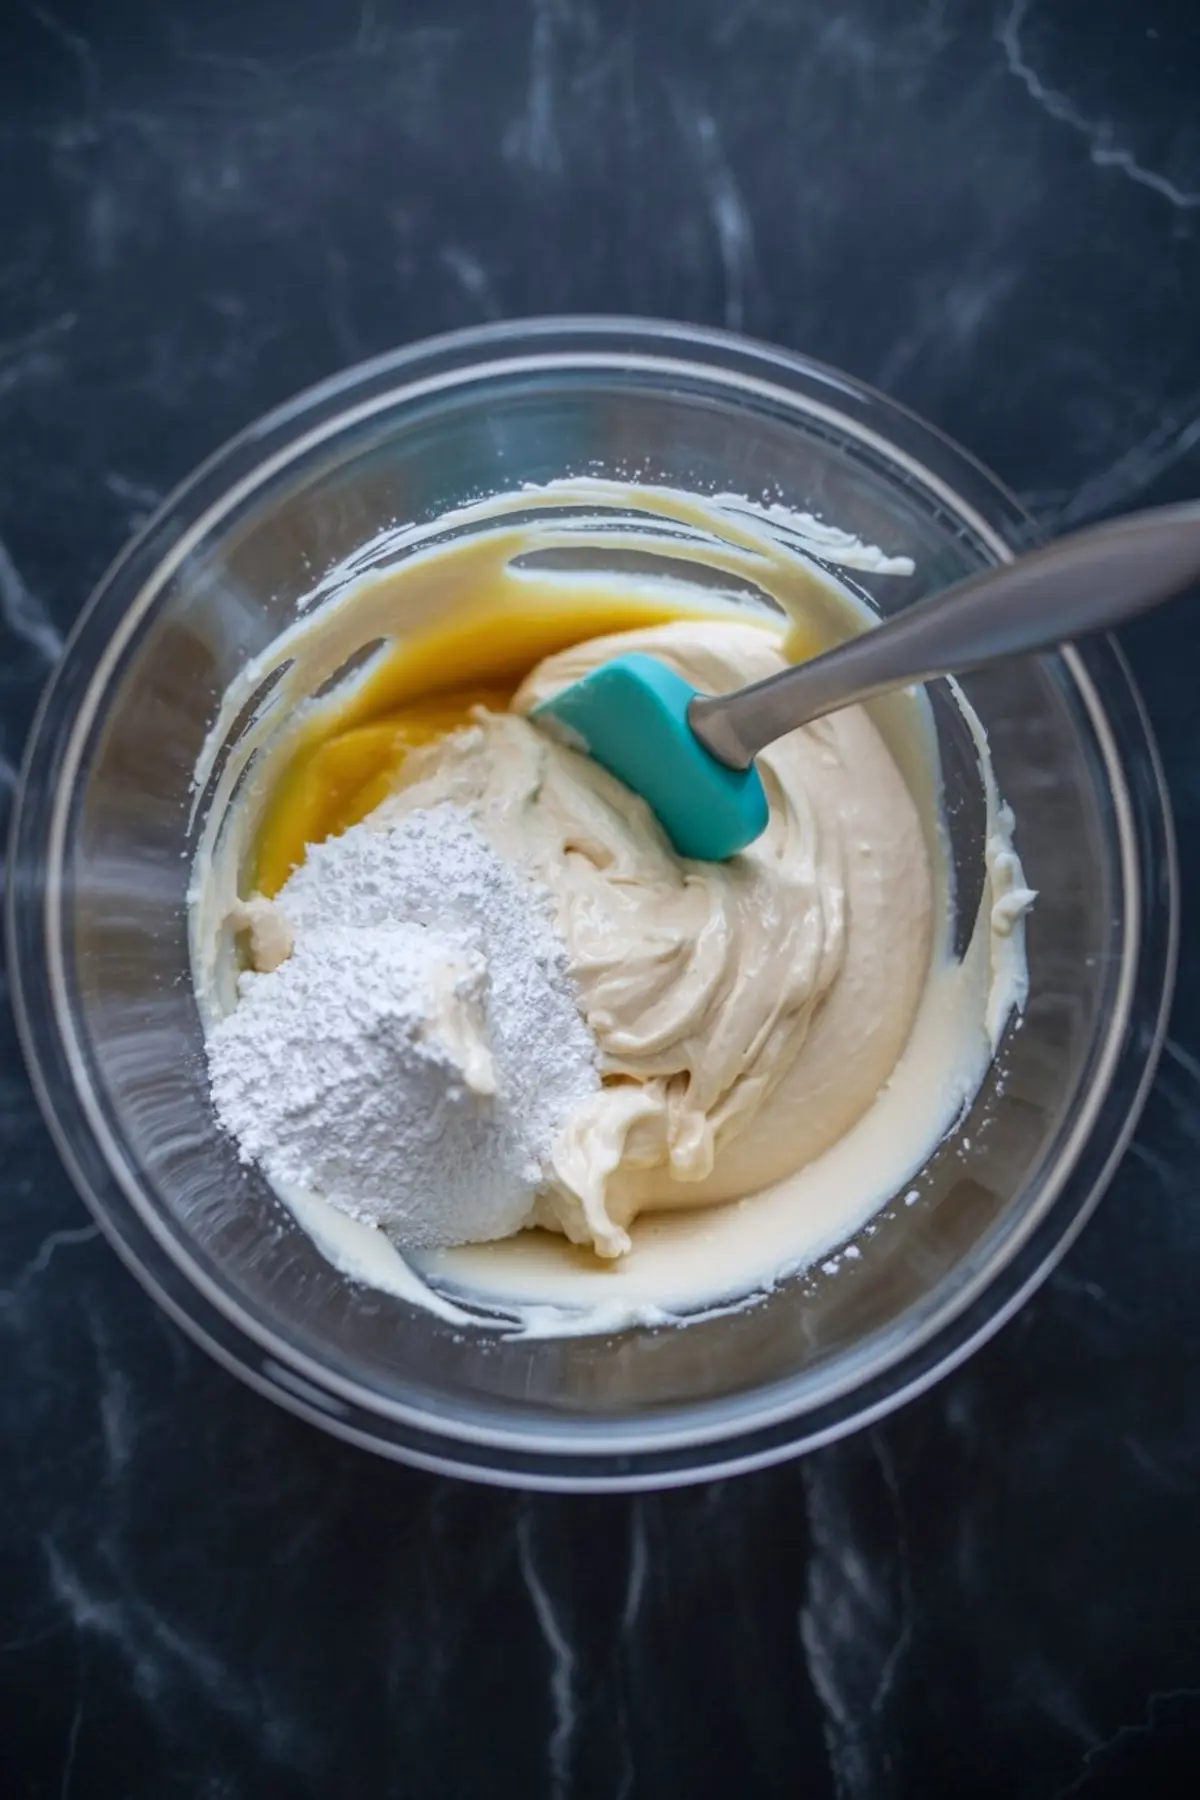
- MAKE THE FILLING: In a medium bowl, combine the softened cream cheese, powdered sugar, and vanilla extract. Mix until smooth, then scoop teaspoon-sized portions onto a parchment-lined baking sheet. Freeze for at least 30 minutes to firm up the filling.
- CREAM THE BUTTER AND SUGARS: In a large bowl, beat the softened butter, granulated sugar, and brown sugar together until light and fluffy, about 2–3 minutes using a hand mixer or stand mixer on medium speed.
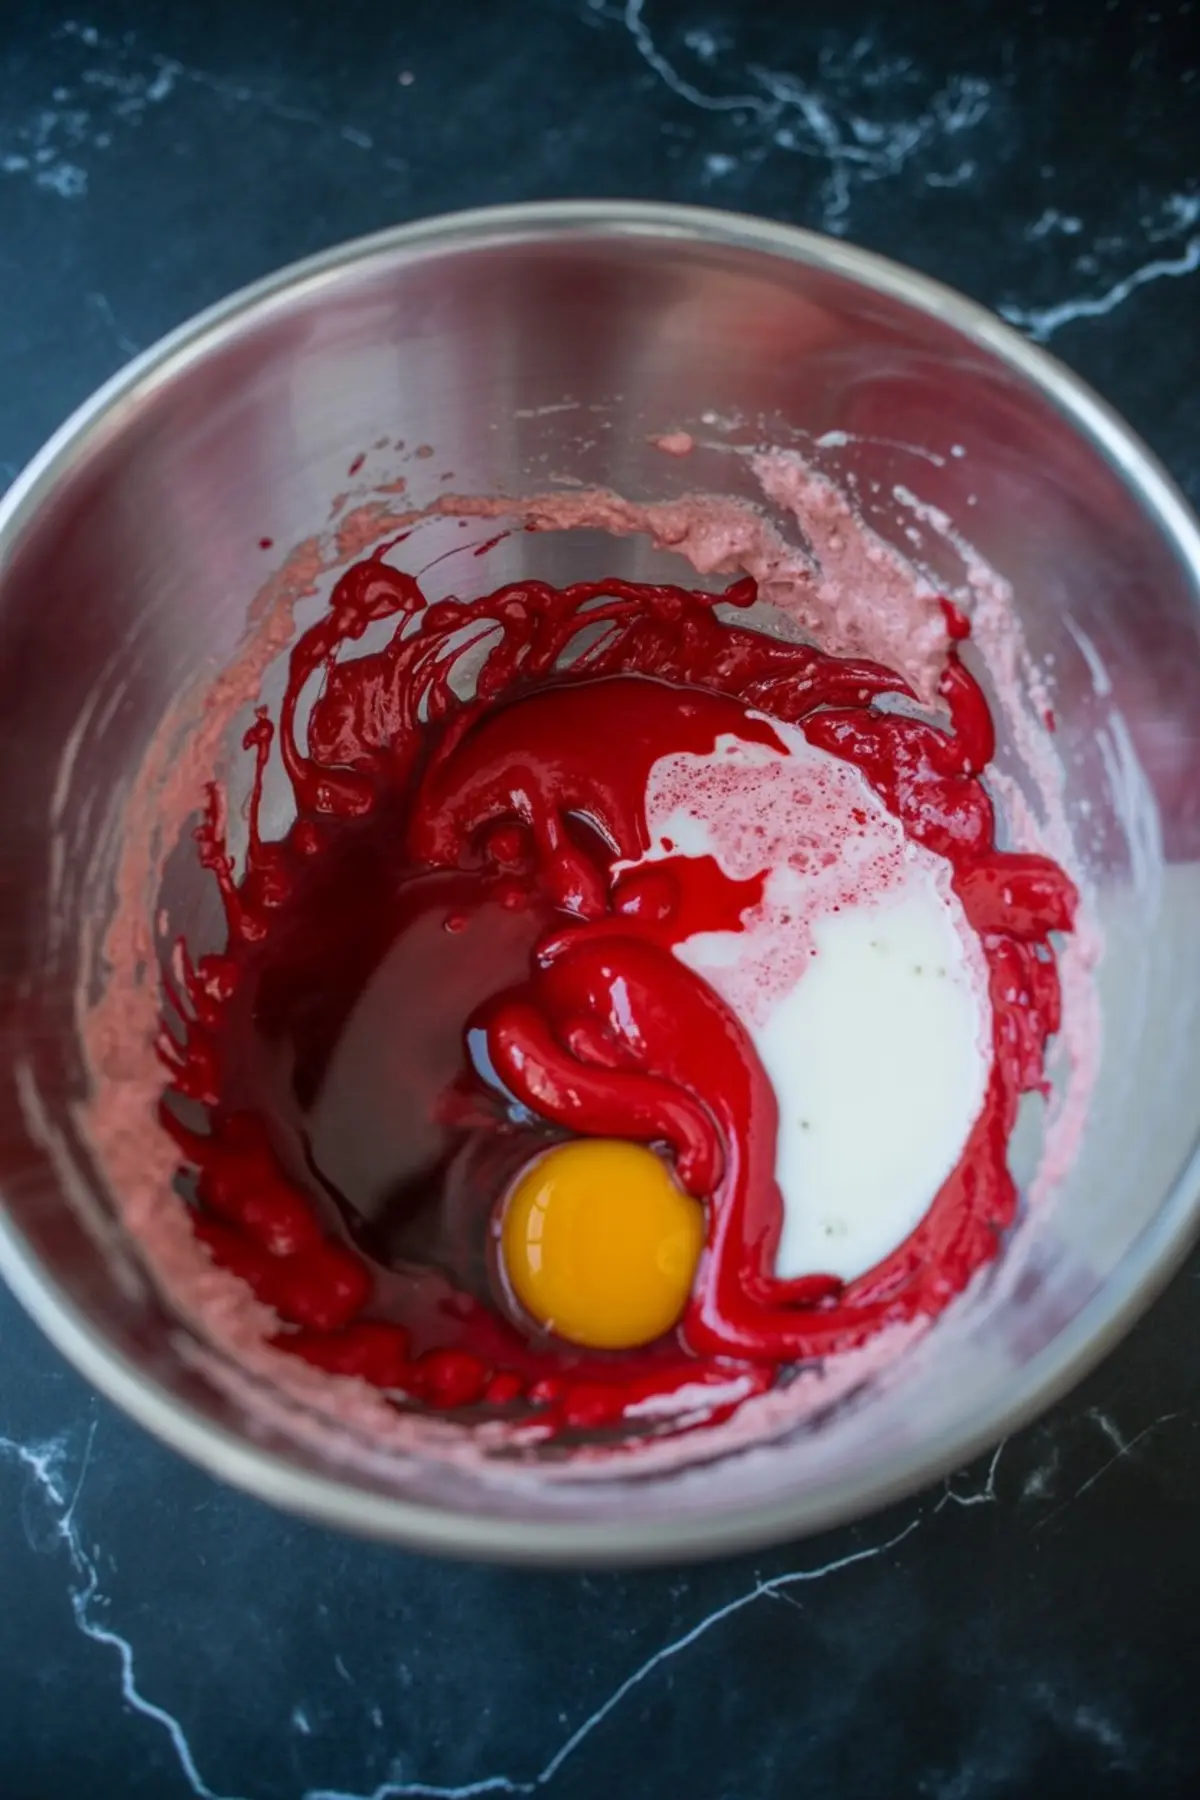
- ADD WET INGREDIENTS: Beat in the egg, milk, vanilla extract, white vinegar, and red food coloring until fully incorporated and evenly colored.
- MIX DRY INGREDIENTS: In a separate bowl, whisk together the flour, cocoa powder, baking soda, and salt. Gradually add the dry ingredients to the wet mixture, mixing just until a soft dough forms. The dough will be thick and slightly tacky.
- CHILL THE DOUGH: Cover and refrigerate the dough for at least 1 hour to help it firm up and prevent spreading during baking.
- PREP THE OVEN: Preheat the oven to 350°F (175°C) and line two baking sheets with parchment paper.
- ASSEMBLE THE COOKIES: Scoop about 2 tablespoons of chilled dough and flatten it into a disc. Place a frozen cheesecake ball in the center and fold the dough around it, sealing the edges completely. Roll gently between your palms to form a smooth ball. Repeat with the remaining dough and filling.
- BAKE: Place cookies 2 inches apart on the prepared baking sheets and bake for 10–12 minutes, or until the edges are set and the tops appear slightly cracked. Do not overbake.
- COOL: Allow the cookies to cool on the baking sheet for 10 minutes, then transfer to a wire rack to cool completely.
- OPTIONAL FINISH: Once cooled, dust with powdered sugar or serve as is.
Notes
For best results, keep the cheesecake centers frozen until just before wrapping to prevent them from softening in your hands. You can make the filling up to a day ahead and keep it frozen until ready to bake.
Nutrition Information:
Yield:
16Serving Size:
1Amount Per Serving: Calories: 251Total Fat: 13gSaturated Fat: 8gTrans Fat: 0gUnsaturated Fat: 5gCholesterol: 46mgSodium: 199mgCarbohydrates: 29gFiber: 1gSugar: 17gProtein: 4g
