

Some Christmas cookie recipes holiday traditions feel like a song that plays every year without fail. Others sneak in unexpectedly, and before you know it, they stay. Grinch cookies fall into the second group. They’re playful, green, and a little cheeky, yet they still carry that homemade comfort that only real baking brings.
You’ll learn here how to make cake mix Grinch cookies that stay soft, bake evenly, and decorate beautifully. I’ll share how each ingredient shapes the result, and why this recipe has become my holiday shortcut. Most important, you’ll see why one detail at the end changes everything. That’s the little magic I keep in my Pin Notebook.
I’ve baked unique Christmas cookies for years, from gingerbread to sugar cookies. But these Grinch cookies decorated with bright colors stand out on a tray the way a candle stands out in a dark room. And yes, there’s one hidden trick that gives them their holiday character. Let’s hold that thought for a bit.

Why These Grinch Cookies Win Every Cookie Exchange
All-purpose flour gives the cookies structure, but it’s not heavy. The light crumb makes them easy to bite into without being crumbly. I’ve tested other flours, but classic all-purpose always holds the cleanest edge for cookie cutters.
Butter is the flavor anchor here. Room temperature butter whips with sugar to trap air, and that air translates into soft centers. I once tried margarine in a pinch, and the cookies baked flat and lifeless. Butter is worth it.
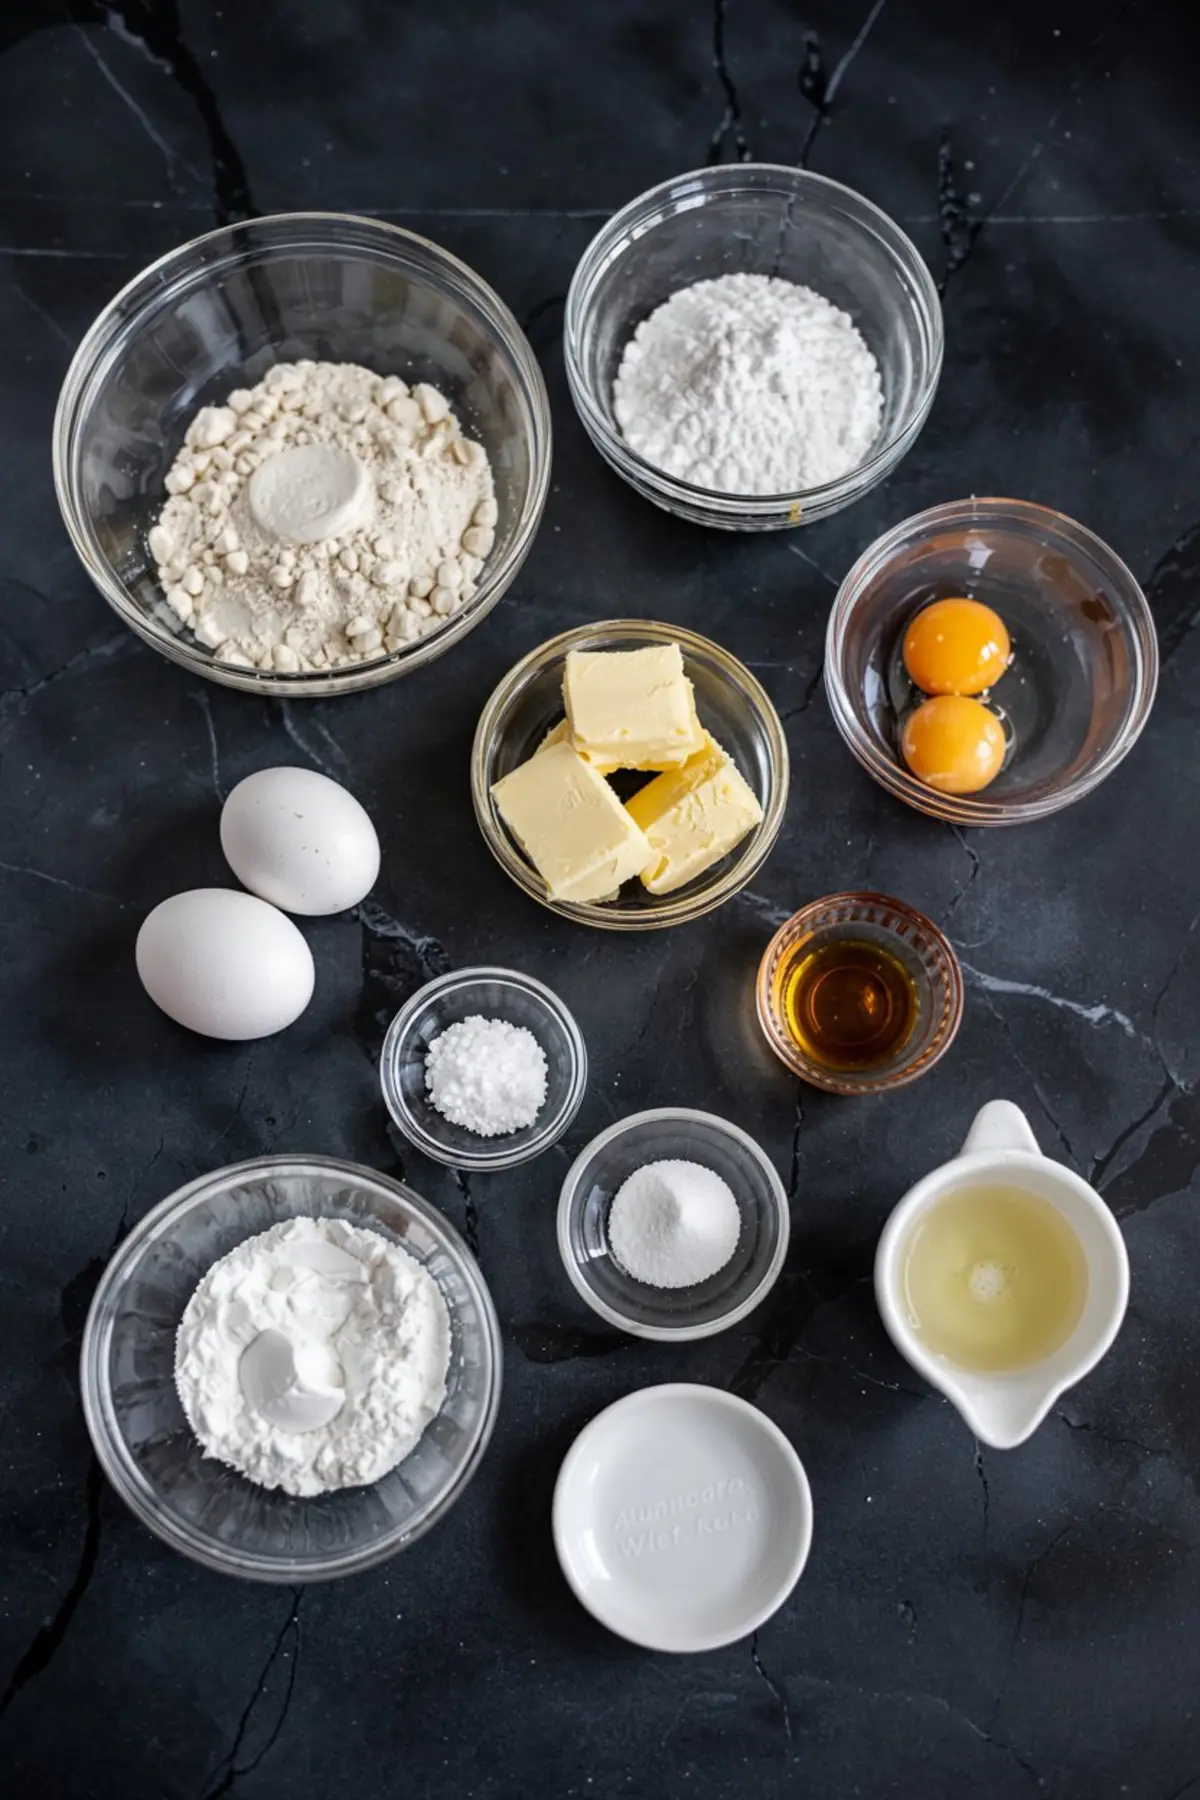
Sugar balances the salt and makes the green color pop once the food gel blends in. Eggs keep the dough pliable. Vanilla adds that quiet background note, the one you only notice when it’s missing. Baking powder lifts the dough just enough to keep the edges from looking tough.
The royal icing carries its own story. Powdered sugar sets to a smooth finish, meringue powder gives it structure, and the warm water helps whip the peaks. Gel food coloring transforms icing into an artist’s palette. I’ve always said, if you want to turn cookies into conversation pieces, you need good coloring.
If you like fun themed bakes, you’ll probably enjoy these Snowman Marshmallow Pops. They have the same playful energy and make kids smile without fail.
Steps That Shape the Cookie
Creaming butter and sugar builds the foundation. I like to beat them longer than you’d expect, almost until they look like pale frosting. That stage keeps the cookie interior light.
Combining the dry ingredients separately may feel like an extra bowl to wash, but it’s the one safeguard that prevents clumps of baking powder. I learned this the hard way in my first attempt, when a single cookie carried a bitter pocket. Ever since, I whisk carefully.
Chilling the dough feels like waiting, and on busy December days that hour can seem like too much. Yet every time I’ve skipped it, the cookies spread more than I wanted. Cold dough rolls smoothly, and it holds shape in the oven.
Rolling and cutting turns into an event on its own. My nieces love pressing the cutters into the dough, and I always remember to sprinkle flour lightly across the counter first. Otherwise, you’ll end up peeling dough off the surface with a spatula.
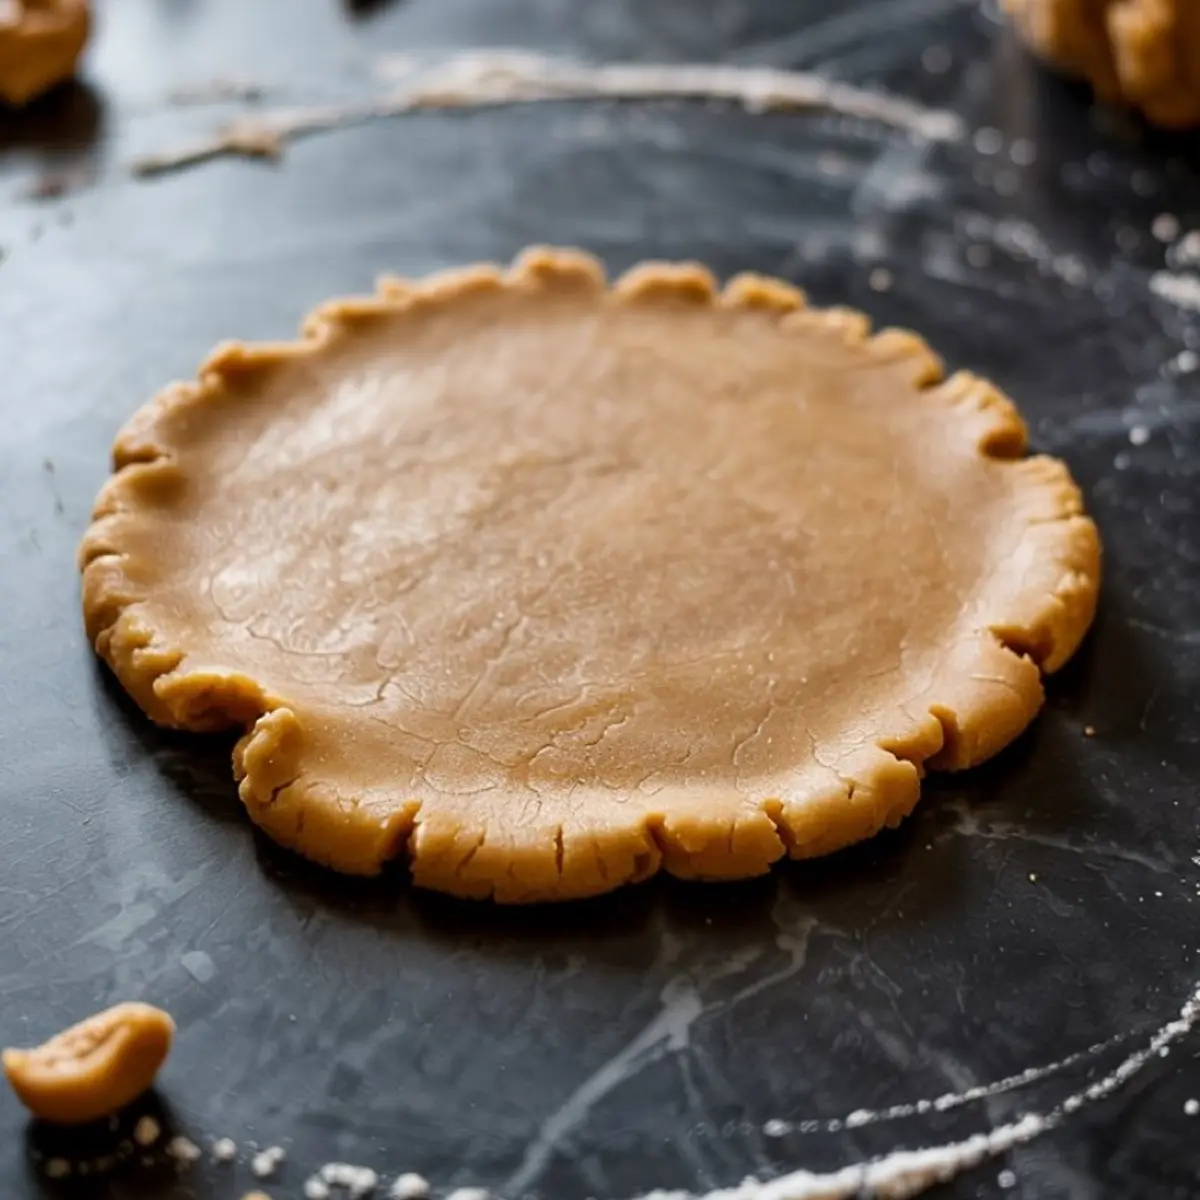
Baking takes just minutes. I like to pull the tray when the centers still look a touch soft. Cookies continue to cook from the heat of the tray, and overbaking leaves them tough. Cooling completely is key before decorating, no matter how impatient the kids get.
If you need another centerpiece treat for the holidays, this Gingerbread Castle makes a dramatic contrast next to these small Grinch cookies.
Icing, Decorating, and the Hidden Magic
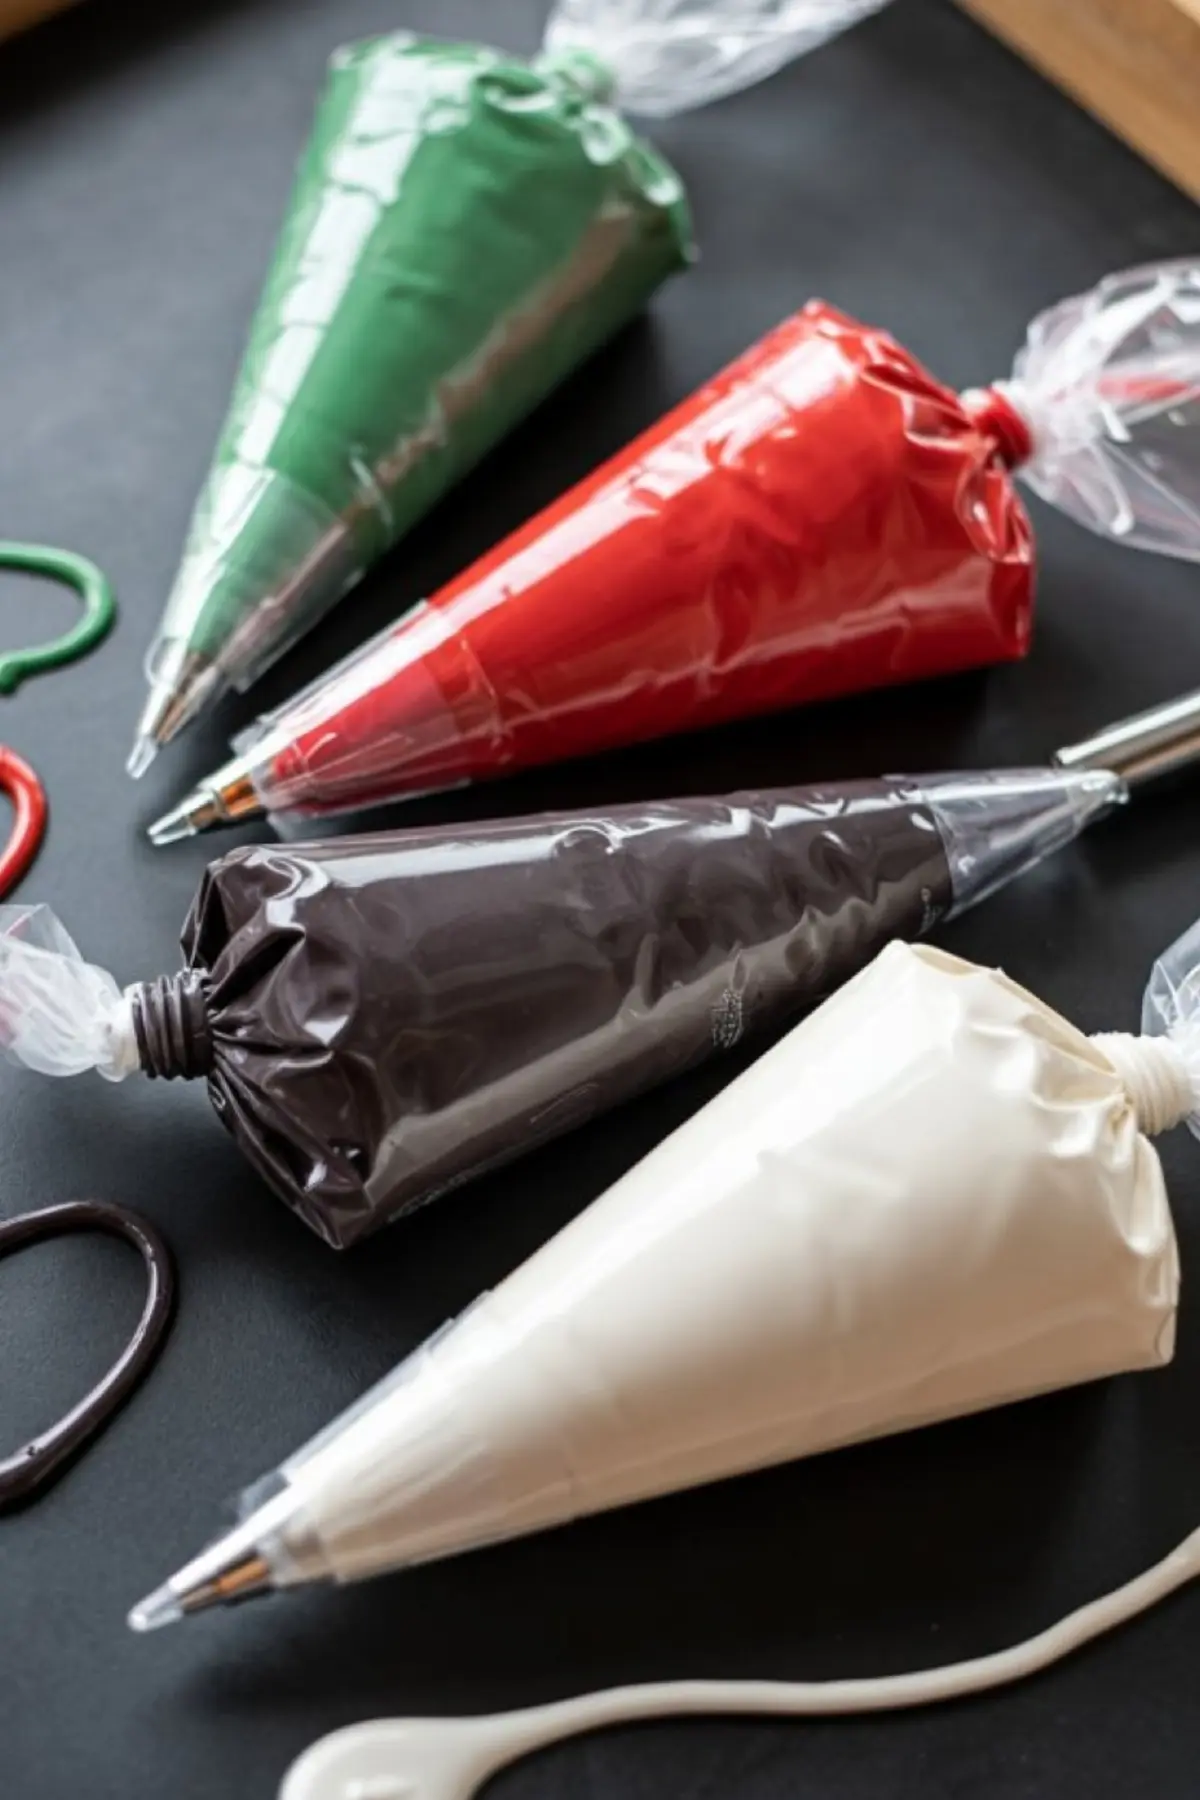
Royal icing may sound formal, but it works like a painter’s base coat. You pipe the green first, then wait. Each drying step matters, because rushing blends the colors in messy ways. The black lines sharpen the faces, the red adds the Santa hat or candy heart, and the white makes eyes come alive. A touch of yellow for pupils turns them from cookies into characters.
The decorating can stretch over hours, but I’ve never seen anyone complain. Guests love watching the faces take shape, and kids often invent their own expressions. That’s part of the charm.
Now, for the hidden element I hinted at earlier. My Pin Notebook holds a note in the margin from three winters back: add a pinch of cinnamon to the green icing. It sounds unusual, but the warmth surprises you. It doesn’t change the color, but it gives each bite a whisper of spice that pairs with cocoa or Christmas Chocolate beautifully.
I’ve used it ever since, though quietly. People taste something extra, but they can’t quite name it. That small addition is my favorite part of the recipe.
Choosing Ingredients with Care: My One Comparison
I’ve tried both gel food coloring and liquid food coloring in these cookies. Gel wins every time. Liquid adds too much water and thins the icing, making it spread instead of holding sharp lines. Gel blends with less product, and the color stays strong. If you plan to invest in one decorating item for Christmas baking recipes, gel coloring is the one.
This comparison may seem small, but it shapes whether your cookies look like the Grinch or just a pale mint round. In my notes, I marked it with a star the first time I tested both side by side.
For another festive bake with colors that shine, these Christmas Pancakes make a breakfast as joyful as these cookies do for dessert.
Final Thoughts and Community Invitation

Grinch cookies decorated with detail bring life to a cookie tray. They make people laugh, and laughter belongs at every table. The recipe is simple enough to become a yearly ritual, yet flexible enough to let you add your own spin. That pinch of cinnamon is mine. Yours might be peppermint or even nutmeg.
If you want another idea for holiday gifting, these Sugar Cookie Fudge also pack neatly into tins beside Grinch cookies.
Save this recipe to your board so you have it ready when the season starts. And when you bake them, come back and share in the comments. I’d love to hear if your family laughed as much as mine did when the cookies hit the table.
Grinch Cookies Decorated Recipe

Grinch cookies bake soft and chewy with a signature green tint and a red candy heart pressed on top. I make the dough from scratch so the texture stays tender and the color comes through just right. These Grinch cookies decorated for Christmas feel playful but still fit into classic holiday cookie trays. They’re fun to bring to any cookie exchange and always earn compliments for being just the right mix of cute and homemade. If you’re looking for unique Christmas cookies that use simple ingredients and don’t rely on a box, this Grinch cookies recipe delivers. I keep it saved under holiday cookie recipes and bring it out every year as one of my go-to Christmas baking recipes for festive cookies that disappear fast.
Ingredients
- FOR THE COOKIES:
- 2 ¾ cups all-purpose flour, plus more for rolling
- 1 cup unsalted butter, softened
- 1 cup granulated sugar
- 2 large eggs, room temperature
- 2 teaspoons pure vanilla extract
- 1 teaspoon baking powder
- ½ teaspoon salt
- FOR THE ROYAL ICING:
- 4 cups powdered sugar, sifted
- 3 tablespoons meringue powder
- 6–8 tablespoons warm water, more as needed
- Gel food coloring: green, red, yellow, black, white
- TOOLS NEEDED FOR DECORATING:
- Small round piping tips (Wilton #1 or #2)
- Piping bags
Instructions
- MAKE THE DOUGH: In a large bowl, cream the softened butter and granulated sugar until pale and fluffy, about 3 minutes using a mixer or 5 minutes by hand. Add the eggs one at a time, beating well after each addition. Stir in the vanilla extract until fully combined.
- COMBINE DRY INGREDIENTS: In a separate bowl, whisk together the flour, baking powder, and salt. Gradually add the dry mixture to the butter mixture, mixing just until the dough comes together. It should pull away from the sides of the bowl but still feel soft.
- CHILL THE DOUGH: Divide the dough in half, flatten each half into a disc, wrap tightly in plastic wrap, and refrigerate for at least 1 hour. Chilled dough is easier to roll and helps the cookies hold their shape while baking.
- ROLL AND CUT: Preheat the oven to 350°F (175°C). On a floured surface, roll out the chilled dough to ¼-inch thickness. Use a Grinch-face cookie cutter or a round cutter. Transfer shapes to a parchment-lined baking sheet, spacing them evenly.
- BAKE THE COOKIES: Bake for 8–10 minutes or until the cookies appear set and the edges are still pale. Remove from the oven and allow them to cool completely on a wire rack before decorating.
- PREPARE THE ICING: In a mixing bowl, combine sifted powdered sugar, meringue powder, and warm water. Beat on medium-high speed for 5–7 minutes until stiff peaks form. Adjust water amount as needed to reach piping consistency.
- COLOR THE ICING: Divide the icing into separate bowls and tint each with gel food coloring. Use green for the base face, black for outlines and expressions, red for Santa hats, white for hat trim and eyes, and yellow for pupils if desired.
- DECORATE THE COOKIES: Pipe the green base layer first and allow it to dry completely. Add facial outlines, eyes, and hat details using corresponding colors. Allow each layer to dry before adding the next to prevent bleeding.
- DRY AND STORE: Let the decorated cookies dry uncovered at room temperature overnight. Once fully set, store in an airtight container. The icing will harden to a smooth, stackable finish.
Notes
For smoother icing, always sift powdered sugar before mixing. Use gel food coloring only—liquid versions will change the icing texture. Cookies stay fresh up to one week when stored in a sealed container at room temperature.
