

Why These Tree Cookies Stay on My Table Every Year
Sugar cookie Christmas trees have never left my December baking list. They’ve been on my handwritten card since before Chloe was my student, back when I used to bring them in for the faculty cookie exchange. You can use the same dough year after year. It rolls clean, holds shape, and bakes into something dependable. There’s comfort in that.
These Christmas Tree Sugar Cookies give you space to be creative without requiring perfection. I’ve piped neat little garlands. I’ve let my grandchildren douse them in green floods and sprinkles that fall like snow. The cookies turn out charming either way.
What makes this dough special is how it balances flavor with structure. The vanilla and almond extracts give it character, while the butter keeps it soft. This recipe lets the trees stand tall without spreading into blobs. That’s the kind of detail I keep in the margins of my notes.

The Key to Flavorful Dough That Holds Its Shape
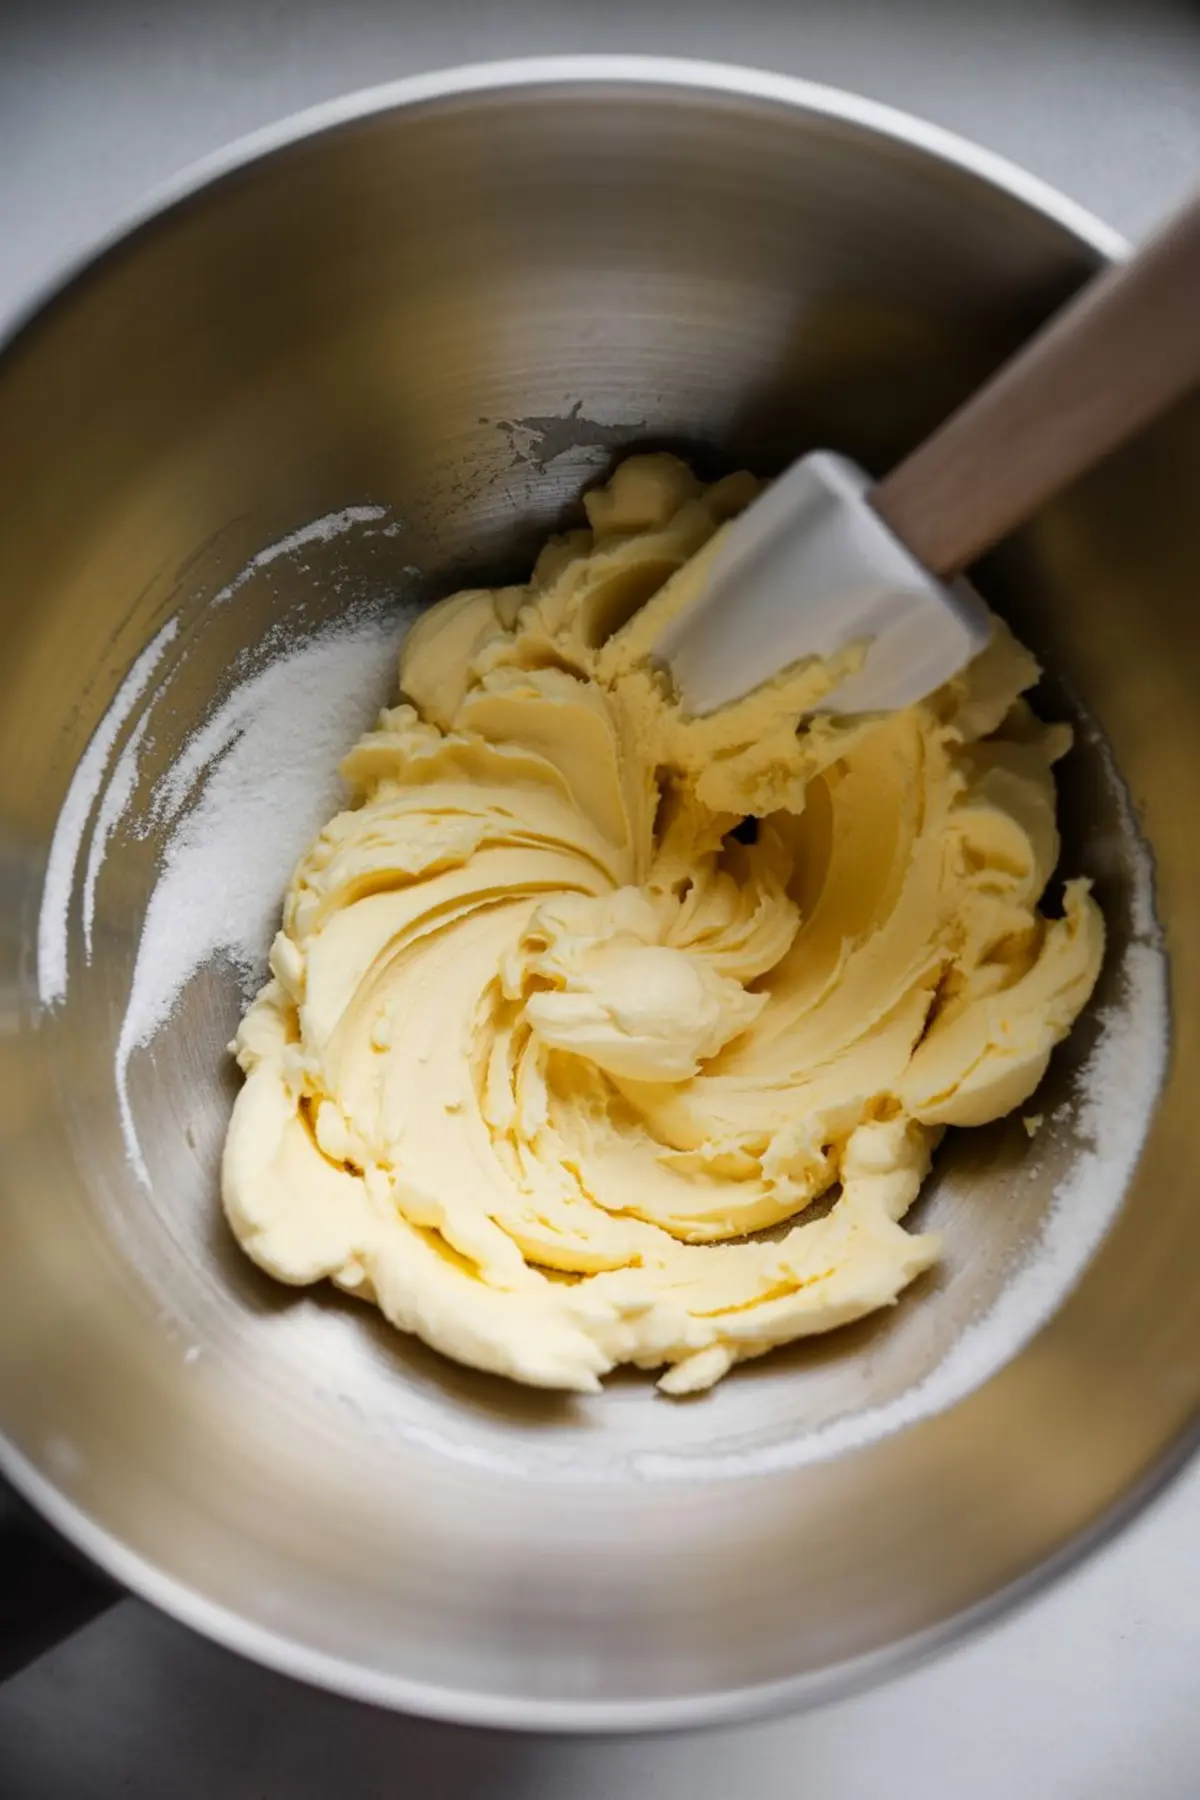
The butter and sugar need time to come together. I give them a full three minutes in the mixer. You’ll see the mixture turn pale and airy. That step helps the cookies bake light, with soft centers and crisp edges. Skipping it leads to dense cookies, and I’ve made that mistake once or twice on rushed mornings.
I keep the almond extract listed as optional, but I always include it. A tiny bit goes a long way. It rounds out the sweetness and brings a memory of marzipan and Christmas markets. Chloe prefers hers without it, and that’s all right too. If you’re baking for younger children or want something simpler, just stick with vanilla.
The flour mixture needs a gentle hand. Add it slowly and stop when the dough comes together. I’ve learned that overmixing toughens the cookie and ruins the texture. In my notes, I’ve underlined “soft but not sticky.” That’s what you’re looking for. If it feels too wet, let it chill longer. The cold helps everything stay together.
Tips for Rolling, Cutting, and Keeping the Edges Clean

I roll out my dough between two sheets of parchment. It keeps the surface even, and I don’t have to keep dusting the board with flour. That step came from an old friend’s method, and I’ve kept it ever since. The dough likes to warm quickly in a cozy kitchen, so I only roll out half at a time. The rest stays chilled.
Use a sharp-edged tree-shaped cutter to get clean lines. If the dough sticks, dip the cutter into flour. You’ll have fewer smudged edges and less frustration.
Once cut, I lift them with a thin offset spatula. That keeps the shapes from warping. It’s a little thing, but I’ve learned that little things make a difference when you want your Christmas sugar cookie designs to look tidy and intentional.
Baking the Tree Cookies Without Browning the Tips

The oven must stay at 350°F. I’ve written that in red ink on my card. Any higher, and the tips brown too fast. These cookies should stay pale, not golden. Pale means tender, and that’s how a sugar cookie should be.
Watch them closely near the end. I check at the 9-minute mark and often take them out by 10. If they overbake, the tree tips can crisp. But even if one edge turns too deep, it still gets eaten. If it cracks, don’t worry. I keep those for tea.
Let them rest on the baking sheet for a few minutes. They need that time to set before you move them. Rushing leads to breaks, and I’ve mended many a tree with extra icing.
Royal Icing and Choosing Your Decorating Method
I like royal icing because it hardens beautifully. It holds the sprinkles in place and sets firm for stacking. My handwritten note says “meringue powder works better than egg whites when kids help.” That came after one year when my youngest grandson tried piping with both hands and the icing ran off every edge.
The consistency matters. You’ll want a thicker icing for outlining and a thinner version for flooding. I usually keep the two in separate piping bags. You can mix them from the same batch, just add water slowly for the flooding version. Gel food coloring gives a stronger green without thinning the icing too much. I use just a toothpick’s worth to color a bowl.
If you enjoy decorating with kids, try simpler tools. A butter knife works for spreading. A small spoon helps them drizzle. These cookies leave space for messy joy and quiet focus, depending on the mood in the kitchen.
One year, I compared using meringue powder with a fresh egg white recipe. The texture stayed more consistent with powder, and it kept better overnight. That’s the version I teach now, and I trust it most when making large batches of Christmas tree cookies decorated with care.
Setting, Storing, and Gifting with Grace
Once decorated, the cookies need time to dry. Leave them uncovered for several hours, or overnight if the air feels damp. I lay mine on cooling racks set over parchment, just in case the icing drips.
Store the finished cookies in layers with parchment between them. I use old biscuit tins, the kind with scenes of snowy cottages. The cookies stay fresh for several days that way. If you’re adding them to gift boxes or dessert platters, nestle them gently beside softer cookies or candies. They hold their shape, but you don’t want the icing scratched.
When Chloe came by last Christmas, she brought a box of her own decorated Christmas Tree Cake Pops. You can find her version here: Christmas Tree Cake Pops. It warmed me to see her build on what she learned, with a touch of her own flair.
If you have leftover royal icing, it keeps for a day or two. Just stir it before using. And if you enjoy adding fudge to your dessert trays, you might try my Sugar Cookie Fudge. It pairs well with these cookies and shares the same comforting vanilla tones.
A Few Final Words from My Recipe Card

Take your time with these cookies. If the lines wobble, if the sprinkles fall a little crooked, they still taste like Christmas. I believe in recipes that last, ones you can return to year after year and find something familiar waiting.
These sugar cookie Christmas tree designs don’t require precision to bring joy. They only ask for your attention, a quiet hour in the kitchen, and a willingness to let your hands do the remembering.
Related Recipes to Try Next
• Red Velvet Cheesecake Cookies
If You Bake These Tree Cookies
I’d love to hear how you decorate yours. Share your favorite icing trick in the comments, or tell me if you found a new topping your family liked. Save this recipe on Pinterest so you can return to it next December when your apron still smells of sugar and spice.
Christmas Tree Sugar Cookies

These festive Christmas Tree Sugar Cookies are perfect for your holiday baking list! Made from classic Christmas sugar cookies dough and cut into charming tree cookies, each one is topped with colorful icing and sprinkles to create fun and cheerful designs. Whether you’re preparing for a Christmas cookie exchange, planning a decorating party, or just enjoying cozy baking days at home, these Christmas tree cookies decorated are always a hit. Show off your best Christmas sugar cookie designs and let the kids help decorate! Ideal for gifting, dessert trays, or just enjoying with a warm drink, these Xmas cookies bring a touch of magic to your Christmas cooking lineup.
Ingredients
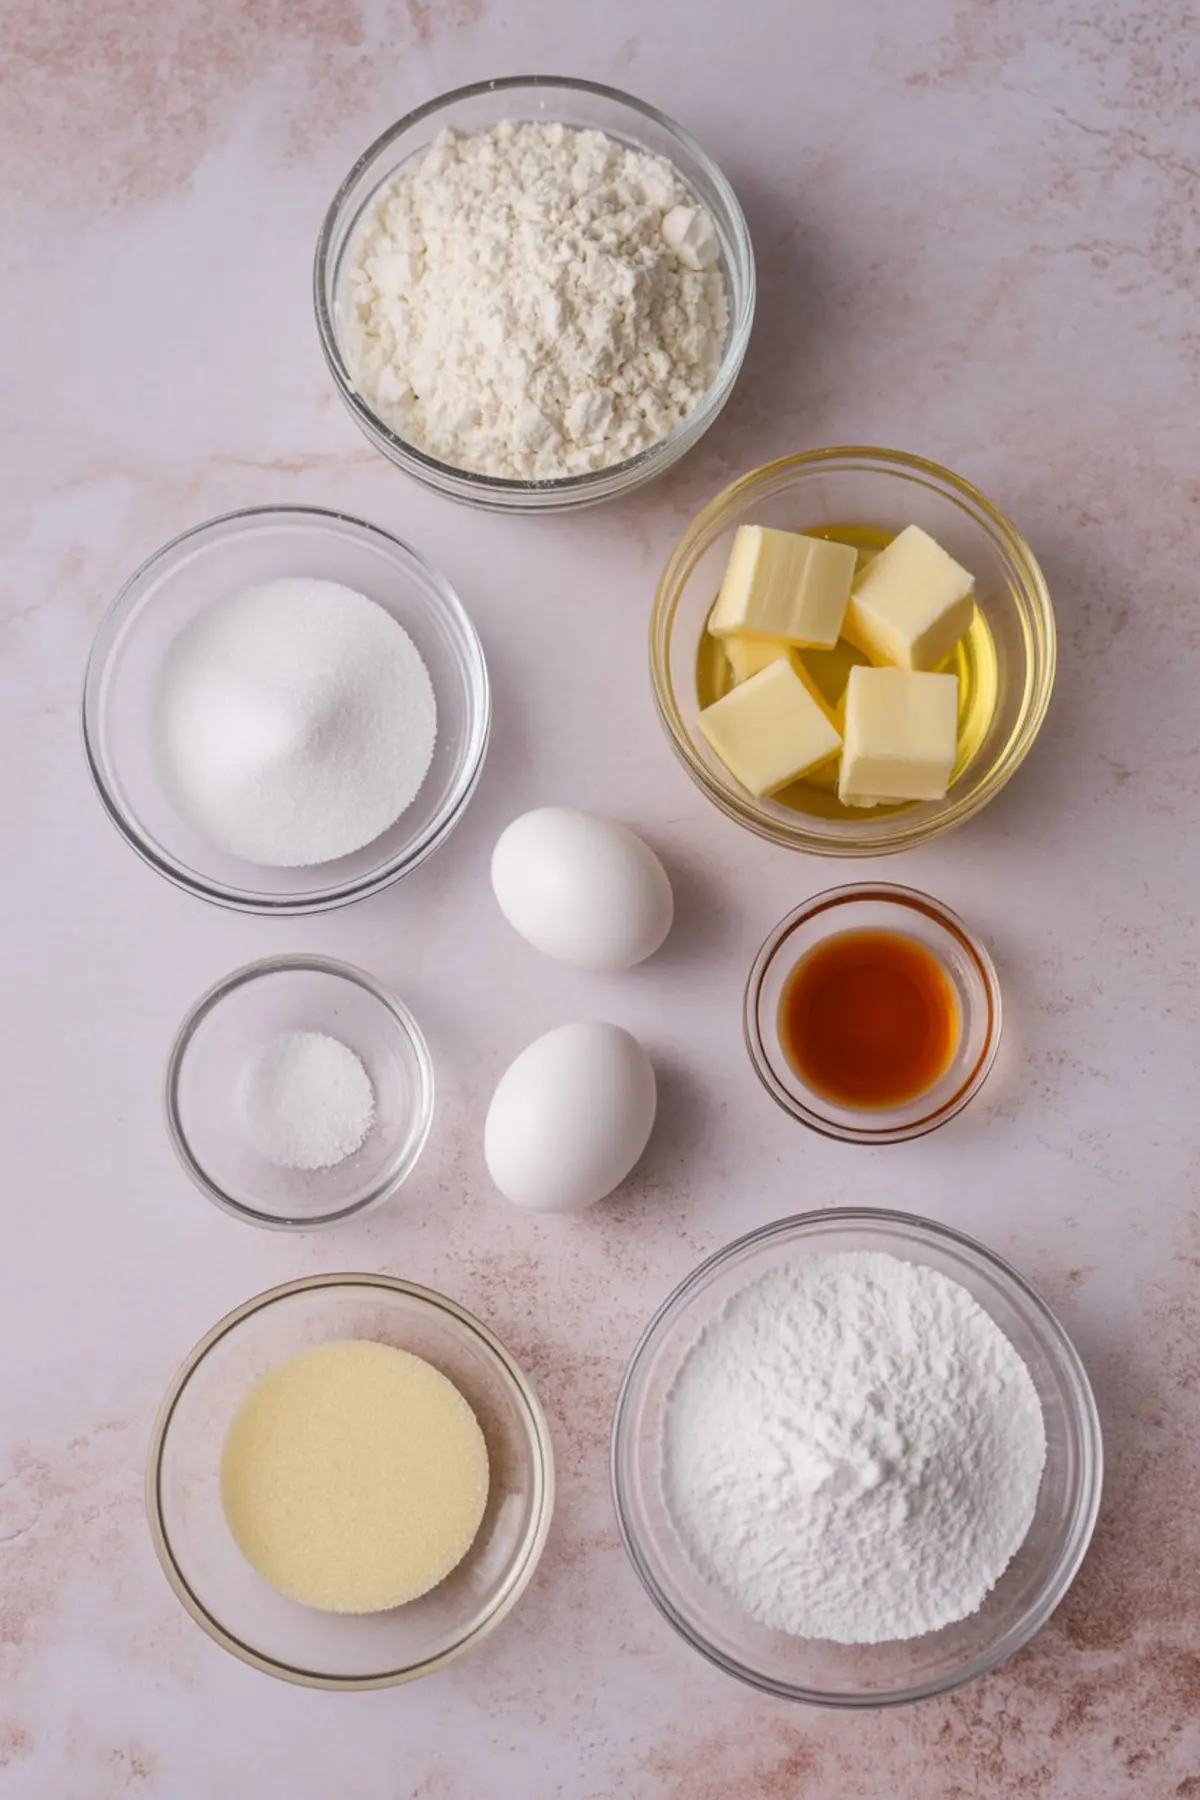
- FOR THE SUGAR COOKIES
- 2 ½ cups all-purpose flour
- ¾ teaspoon baking powder
- ¼ teaspoon salt
- ¾ cup unsalted butter, softened
- ¾ cup granulated sugar
- 1 large egg
- 1 teaspoon vanilla extract
- ¼ teaspoon almond extract (optional)
- FOR THE ROYAL ICING
- 4 cups powdered sugar
- 3 tablespoons meringue powder
- 6 tablespoons water (plus more for thinning)
- Green gel food coloring
- Yellow gel food coloring
- Assorted sprinkles or sugar pearls for decorating
Instructions
- MAKE THE DOUGH: In a large mixing bowl, cream the butter and sugar together on medium speed until the mixture is light and fluffy, about 3 minutes. Add the egg and beat until combined. Stir in the vanilla extract and almond extract, if using.
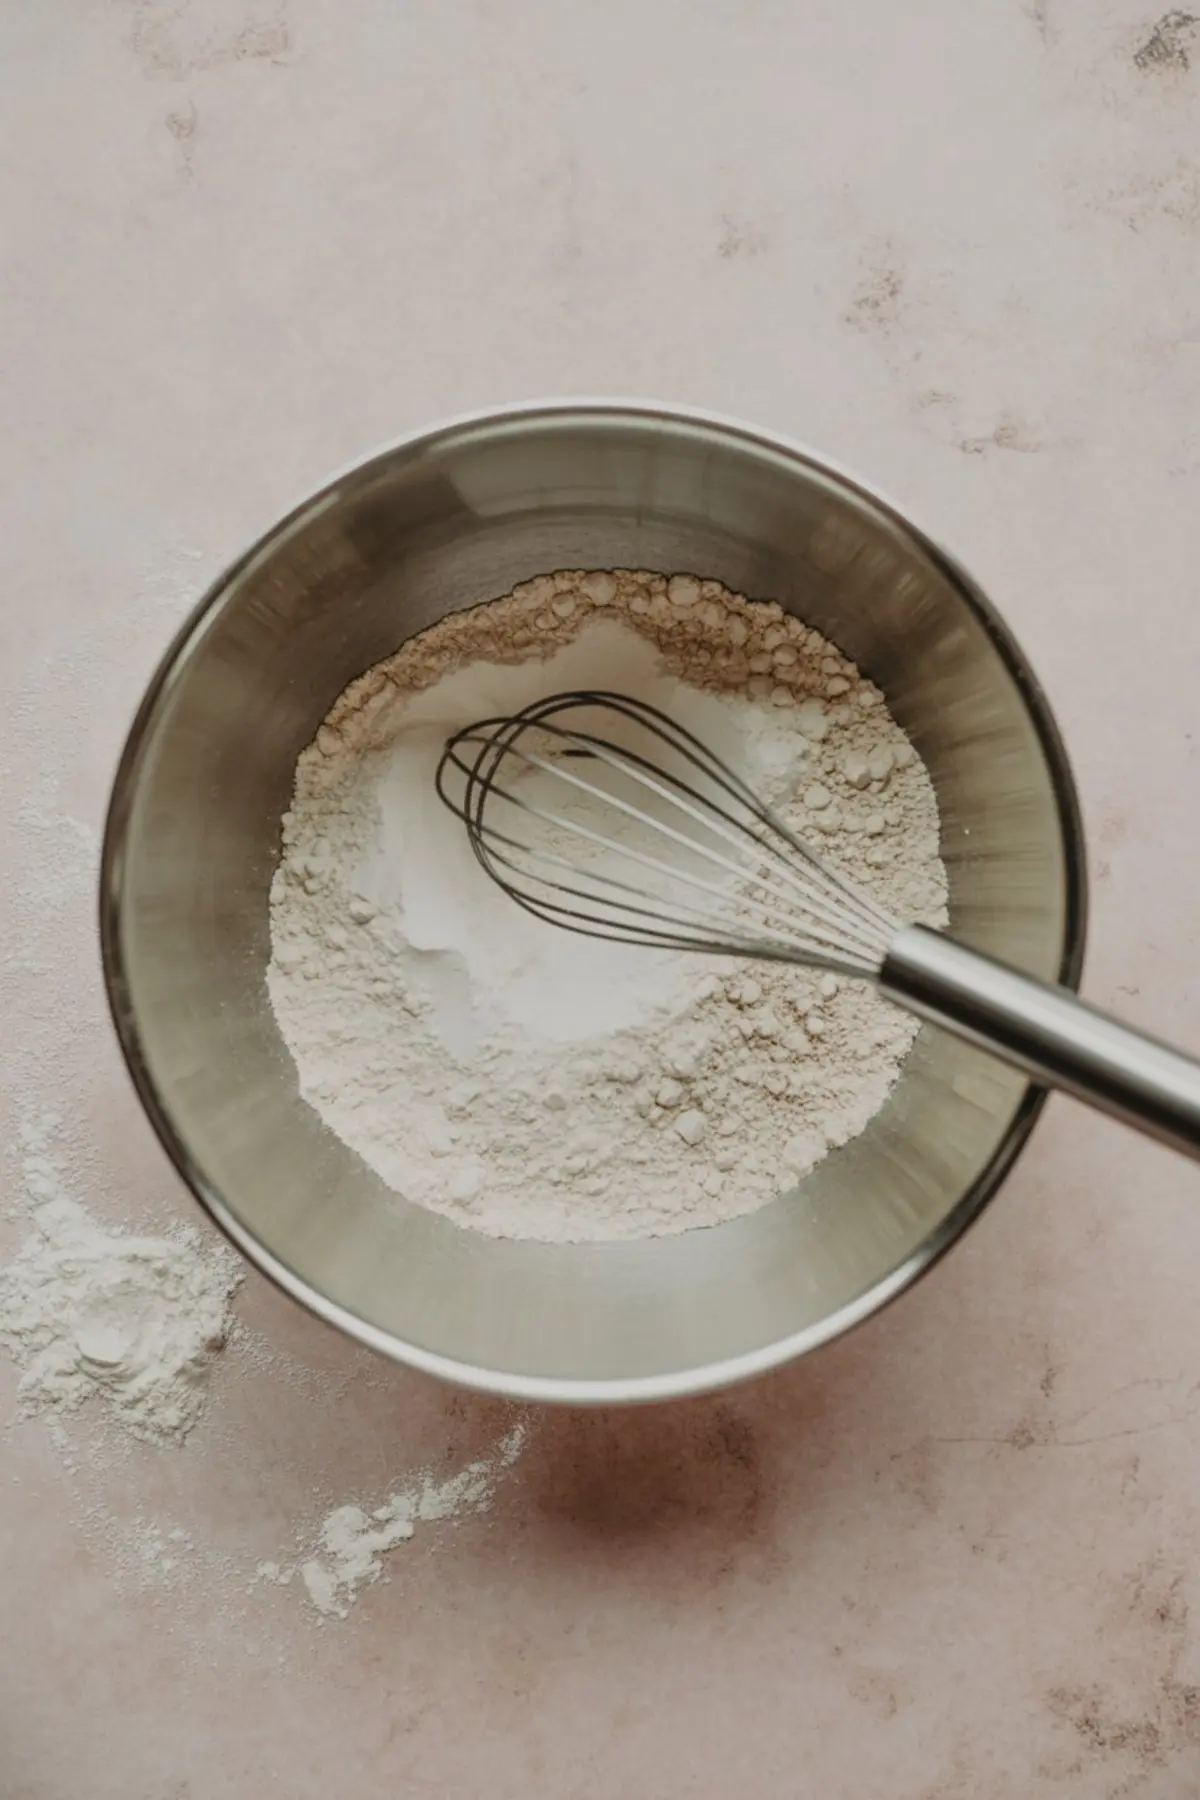
- MIX THE DRY INGREDIENTS: In a separate bowl, whisk together the flour, baking powder, and salt. Gradually add the dry ingredients to the wet mixture, mixing just until a dough forms. The dough should be soft but not sticky.
- CHILL THE DOUGH: Divide the dough into two equal portions and wrap each in plastic wrap. Refrigerate for at least 1 hour to firm up and make rolling easier.
- ROLL AND CUT: Preheat the oven to 350°F (175°C). Lightly flour your work surface, then roll one portion of dough to ¼ inch thickness. Use a tree-shaped cookie cutter to cut out cookies and place them on a parchment-lined baking sheet, spacing them 1 inch apart.
- BAKE THE COOKIES: Bake each batch for 9 to 11 minutes, or until the edges are set but not browned. Let the cookies cool on the baking sheet for 5 minutes, then transfer them to a wire rack to cool completely.
- MAKE THE ICING: In a large bowl, beat the powdered sugar, meringue powder, and water together on medium-high speed for about 5 to 7 minutes, or until stiff peaks form. Divide and tint the icing with gel food coloring as desired.
- DECORATE THE COOKIES: Use thicker icing to outline the cookies and thinner icing to flood the centers. Pipe the green icing onto each cookie to fill in the tree shape, then add sprinkles, sugar pearls, or other decorations while the icing is still wet.
- DRY COMPLETELY: Allow the decorated cookies to dry uncovered at room temperature for several hours or overnight until the icing is fully set and dry to the touch.
Notes
Store finished cookies in an airtight container at room temperature for up to one week. If stacking, place a sheet of parchment between layers. Unbaked dough can be frozen for up to 2 months. Royal icing can be made in advance and stored in an airtight container for up to 2 days. Stir before using.
Nutrition Information:
Yield:
24Serving Size:
1Amount Per Serving: Calories: 217Total Fat: 7gSaturated Fat: 4gUnsaturated Fat: 2gCholesterol: 23mgSodium: 50mgCarbohydrates: 38gFiber: 0gSugar: 27gProtein: 2g
